We’ve been sharing candle making tutorials on this blog for nearly a decade, so we wanted to put together this beginner’s guide to candle making with all our best tips and tricks, plus links to past projects you may want to try.
Making candles does require a few basic supplies, including a stovetop or something similar to melt the wax.
I love to make candles for myself, as I almost always have a candle burning in my kitchen every evening. I also love to give homemade candles as gifts.
A DIY candle makes a great housewarming gift, wedding gift, birthday, Mother’s Day, or holiday gift. Or at least I think so, as I LOVE candles!
Table of Contents
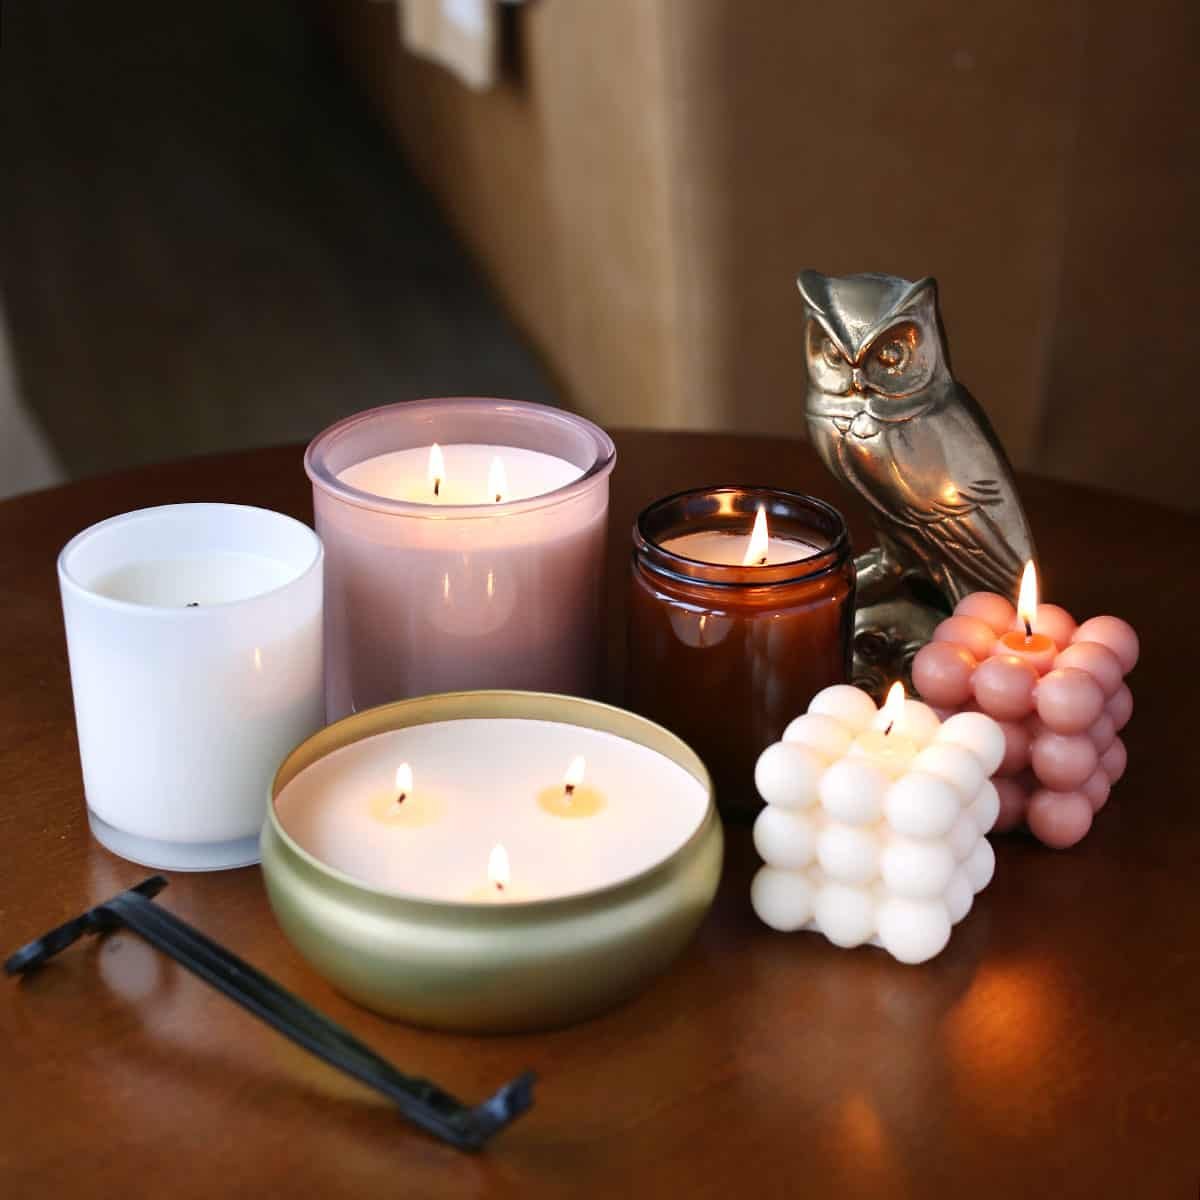
Candle Making Supplies – Basics
- Wax – beeswax, soy, paraffin, palm, or gel
- Wick – ECO wicks, hemp, or wood (different sizes based on how thick your candle will be)
- Wick stickers or hot glue and glue gun
- Scent – essential oils or blends
- Containers/vessels
- Melting pot and larger pot – to create a double boiler
- Kitchen thermometer
- Measuring cups and spoons
- Mixing spoon
- Clothespin or other stick to hold wick in place (pencils, skewers, chopsticks, etc.)
- Candle wick trimmer or scissors
- Kitchen scale (optional but helpful)
How to Make a Candle – the Basics
- Measure out your wax. The easiest way to do this is to fill your container that will become your candle with the wax pellets. Then, use your kitchen scale to find the weight so you know how much scent oil to use.
- In your melting pot, add the wax.
- In your larger pot, add enough water so it will cover your melting pot at least halfway.
- Heat the larger pot with the water and melting pot over medium heat. This is essentially a double boiler, like you might use to melt chocolate. While you can melt the wax in the melting pot directly, using a double boiler ensures the wax doesn’t overheat.
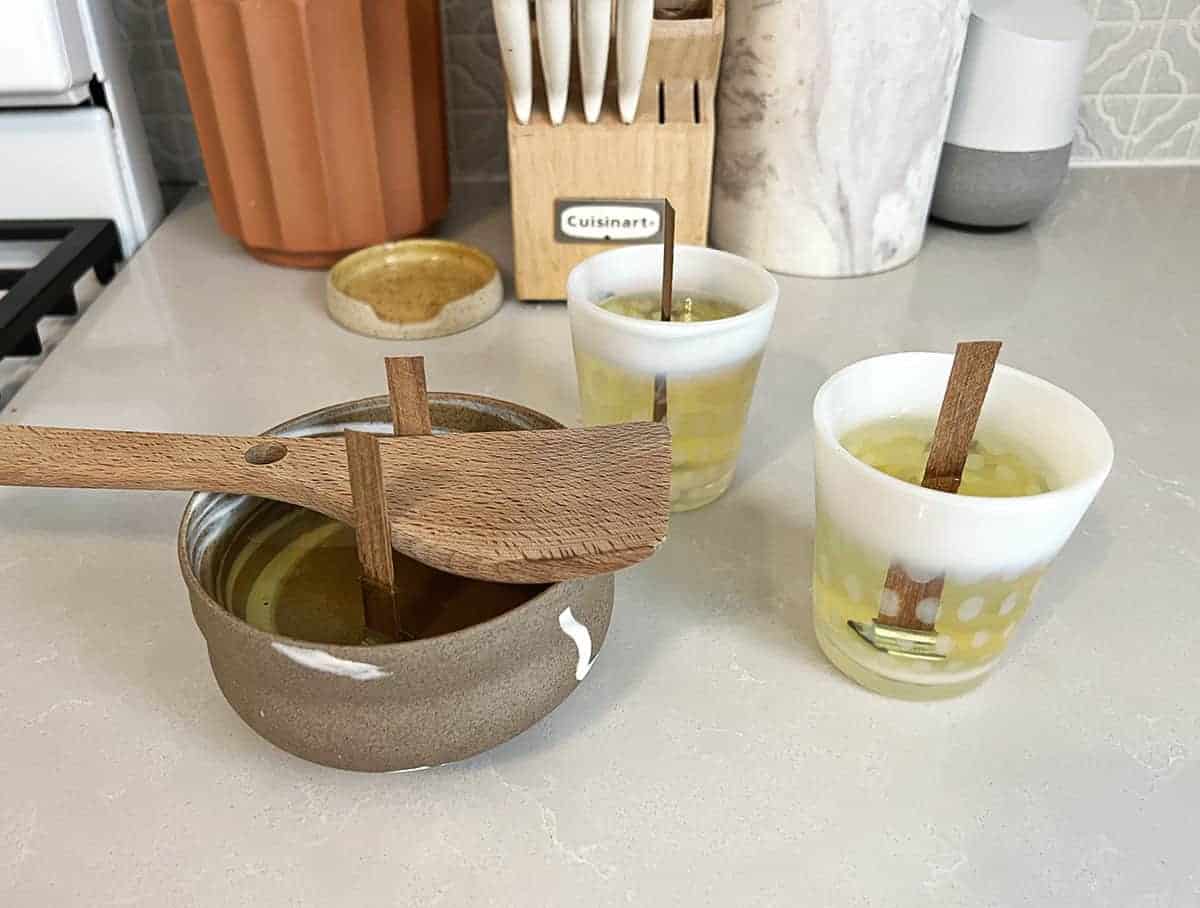
- Heat the wax to 185°F. Use your thermometer to check.
- Stir in the scent oil so it gets well distributed.
- Turn off the heat and allow your wax mixture to cool to 125°F before pouring.
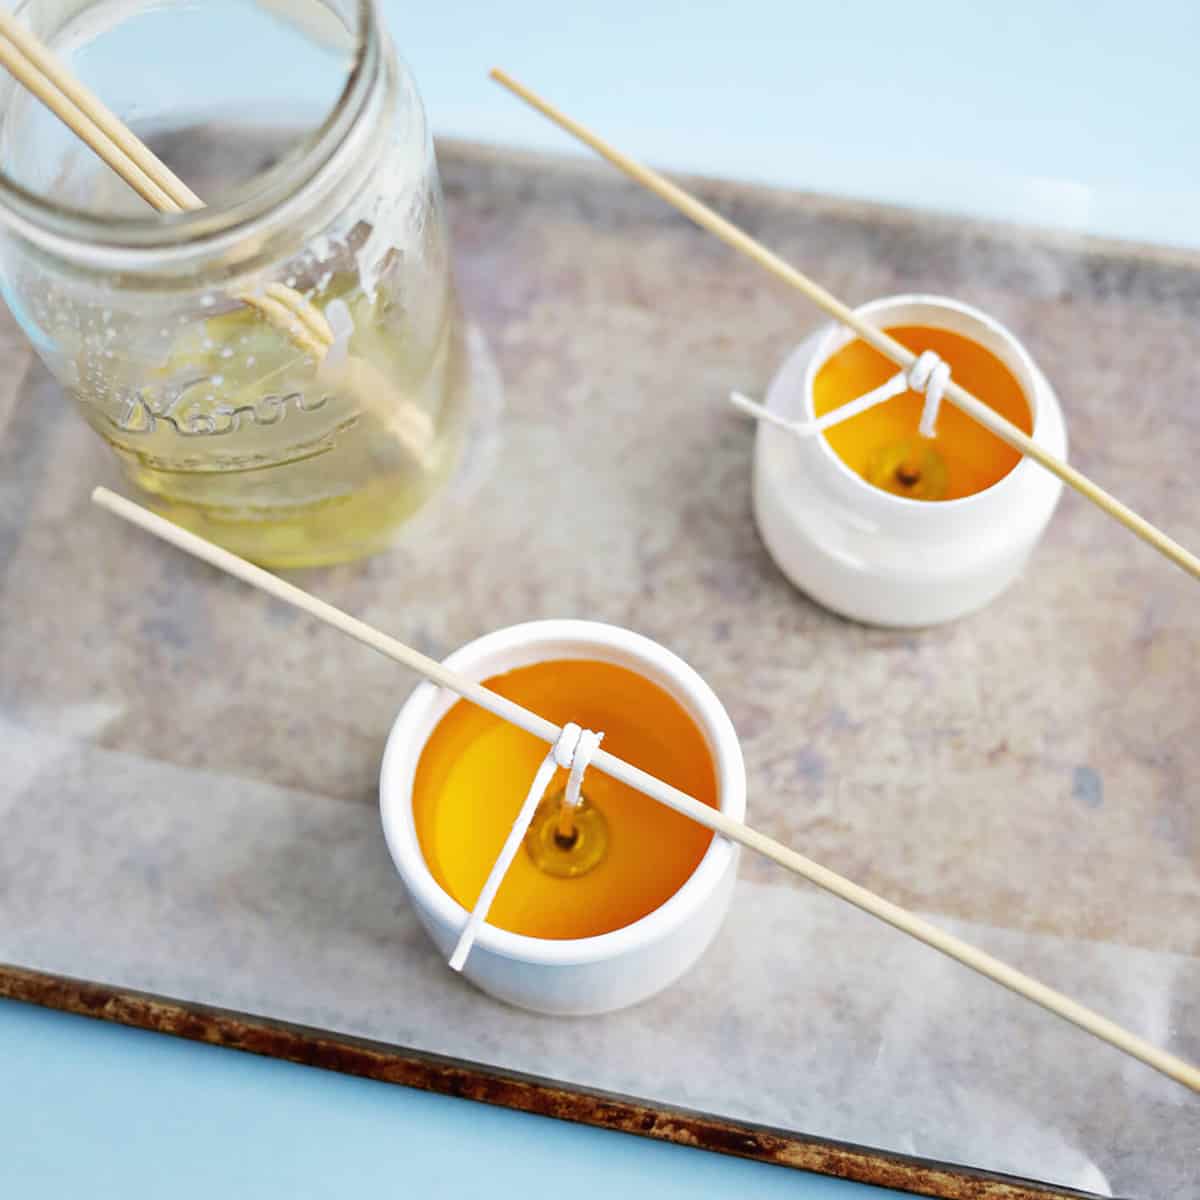
- While the wax melts (or as it cools off), add your wick to the container. Use a wick sticker or hot glue to stick the metal bottom of the wick to the bottom center of the container. Then, use a clothespin or stick to wrap the top of the wick around so it will stay center once you pour in the wax.
- Pour the wax into your container. If the wick shifts around, fix it while the wax is still hot and very liquid.
- Once your candle hardens, you’re ready to trim the wick and use it!
Types of Wax & Wicks
- Beeswax – natural, has a subtle sweet fragrance without adding oil, but can be more expensive. See how to make your own beeswax candles.
- Soy wax – natural, but often a blend so check the label. Usually more affordable than beeswax. See how to make soy candles.
- Paraffin wax – most economical but the least natural of these options
- ECO wicks – made from cotton and paper
- Hemp wicks – made from hemp
- Wood wicks – check out DIY wood wick candles to learn more
While there are other types of waxes and wicks beyond those listed above, these are likely what you will want to use as a beginner.
What is Scent Throw?
Scent throw is exactly what it sounds like; it is the radius around your candle where the scent will reach as it burns. There are four factors that affect scent throw:
- The type of wax
- Thickness of the wick
- Amount of scent oil used
- Temperature of the wax when you add the scent oil
While you may want to use different types of waxes for cost or health reasons, just know that generally the hotter the melting point of the wax the smaller the scent throw will be.
As far as how much scent oil to add, you may think adding more will always mean a larger scent throw. Not true. If you add too much oil, it can weigh down in the wax.
You should aim for 1 ounce of scent oil for every 1 pound of wax (generally). This is why you may want to use a kitchen scale once you’ve measured how much wax will fit your container so you can best calculate how much scent oil to use.
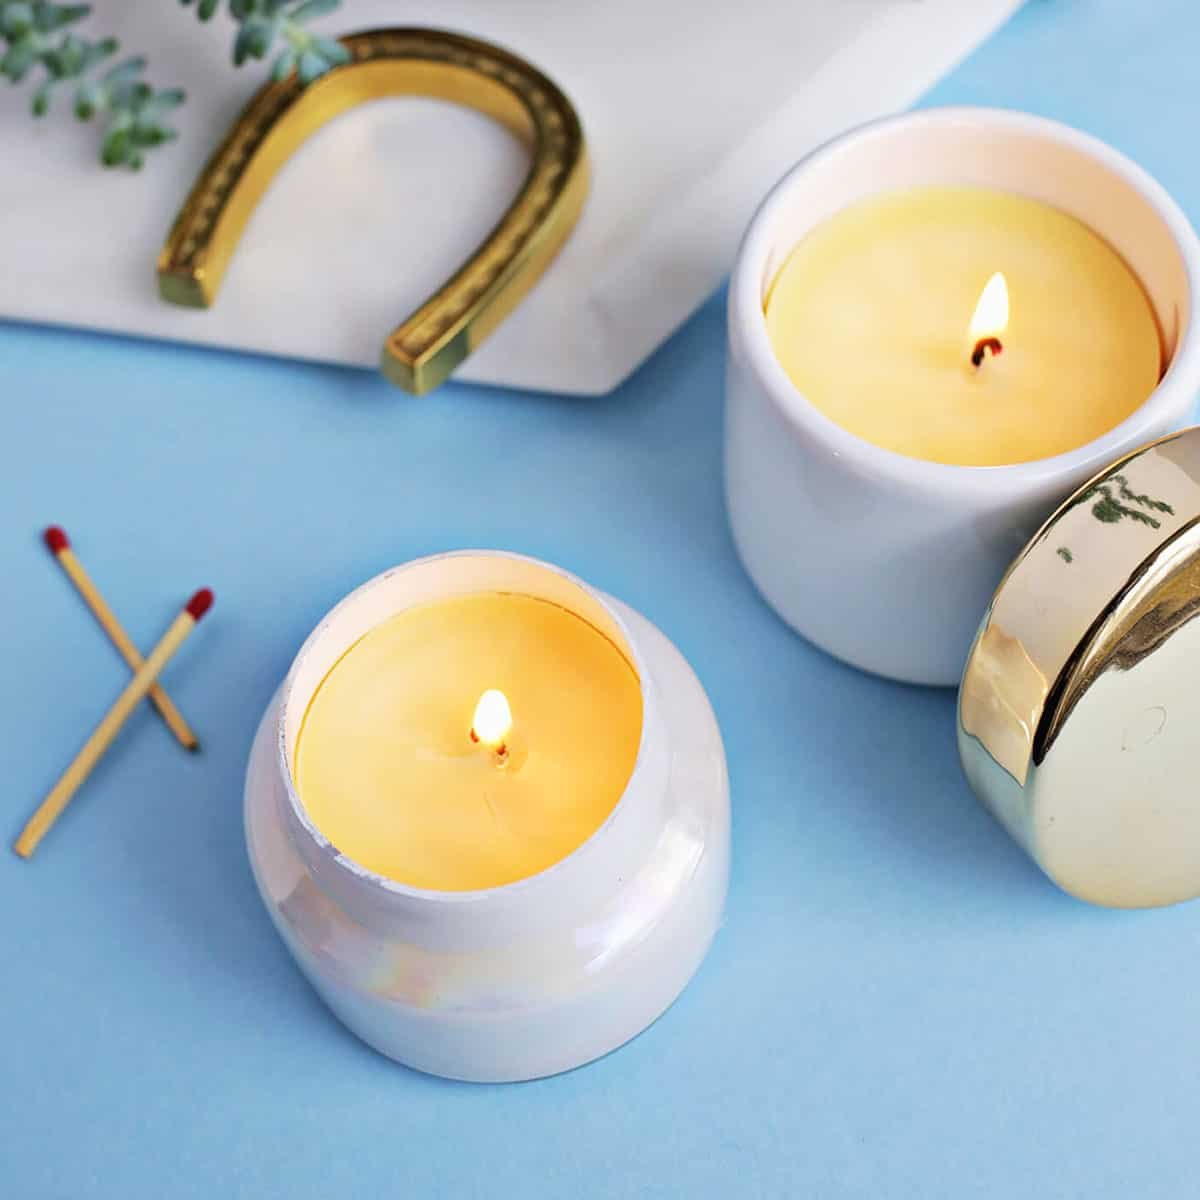
How to Make Molded Candles
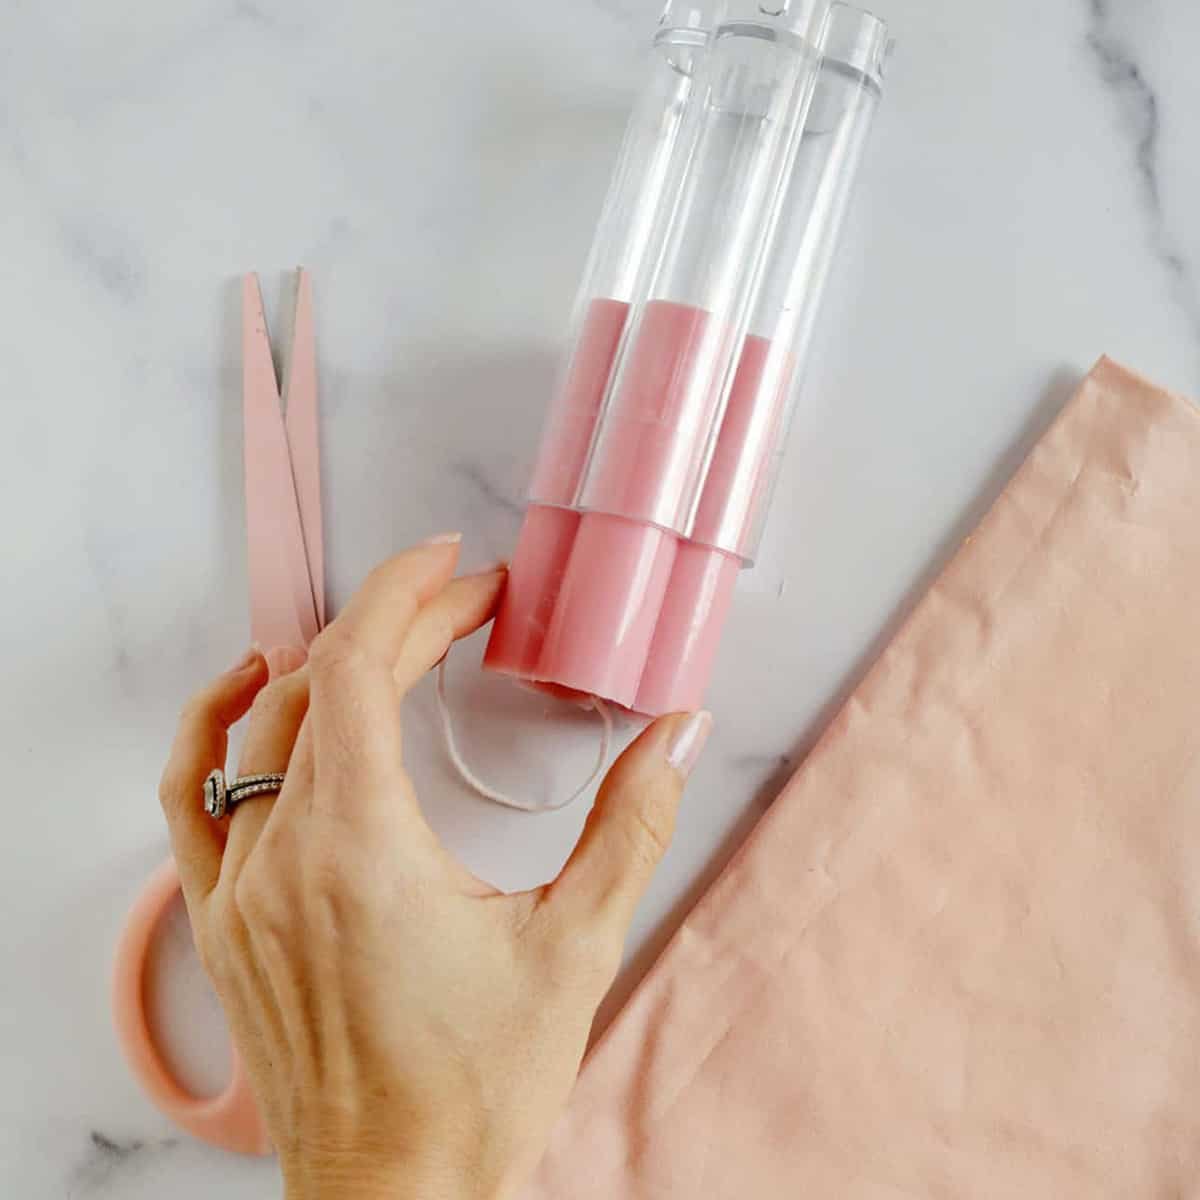
Making a candle in a mold is a little different because you will not need a container. You can reuse molds over and over if you care for them. See this tutorial for a flower pillar candle DIY for step-by-step instructions and tips for success.
Here are some cute molds:
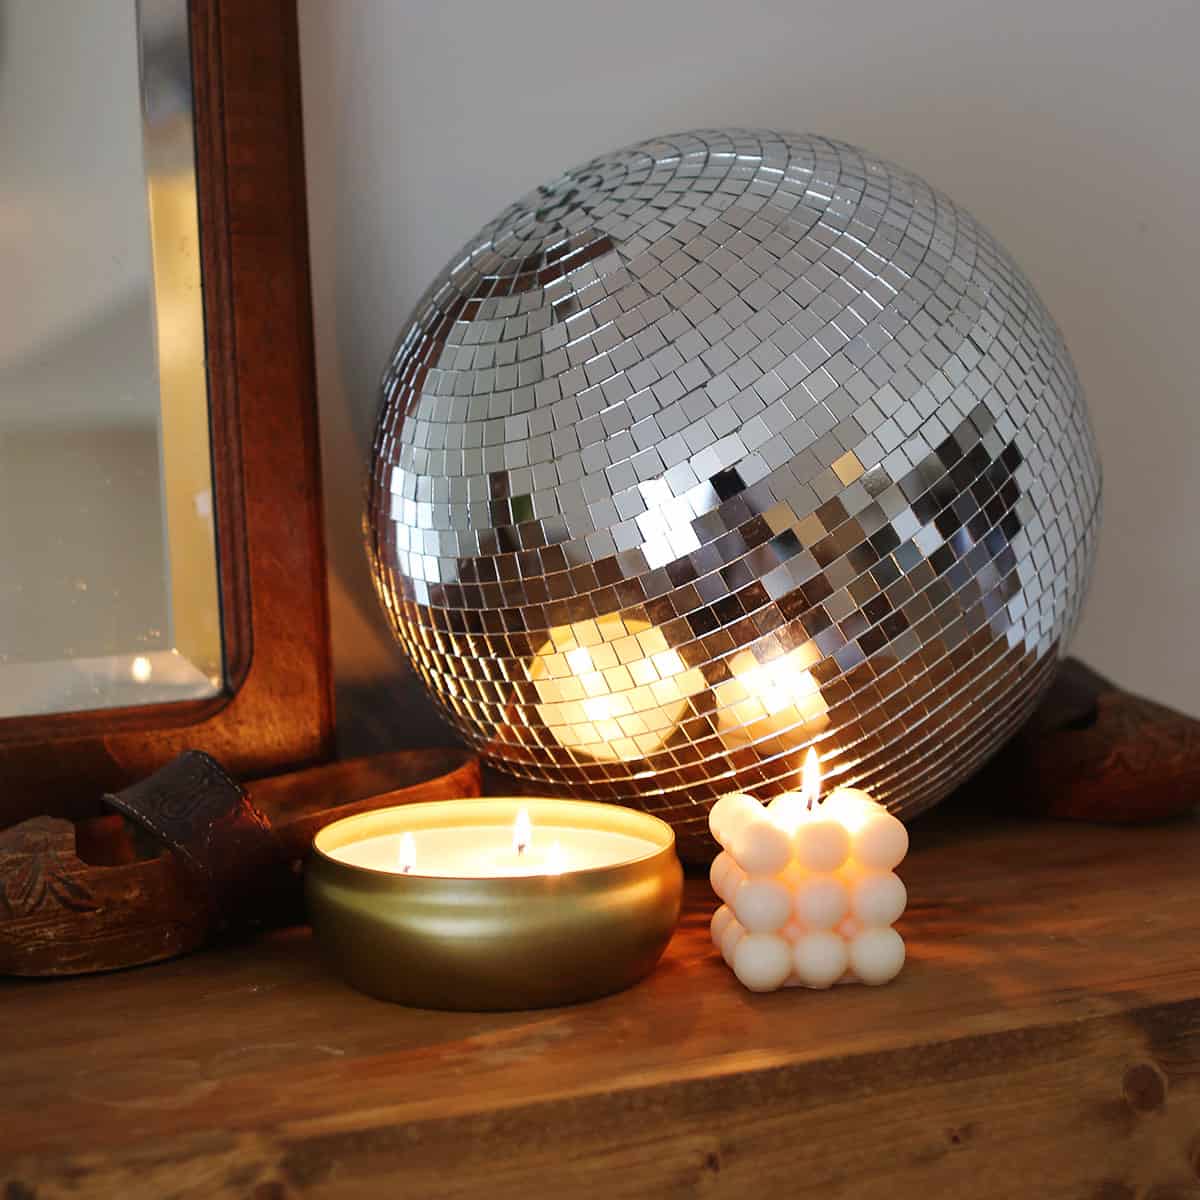
Where to Buy Containers:
- Used: thrift stores, cleaned out food containers like pickle jars, or other used glass or porcelain containers you may have. Do not use containers that can melt or catch fire, like plastic.
- New: pretty pink glasses, colorful handblown glass, a footed planter
- See how to easily remove candle wax from used candle containers so you can reuse them again!
Love this post? Sign up for our newsletter for more ideas!

Get creative ideas for recipes, crafts, decor, and more in your inbox!
 Get the How-To
Supplies
- wax
- wick
- wick stickers (or hot glue)
- scent oil or blend
- container (or mold)
Equipment
- melting pot
- larger pot
- kitchen thermometer
- measuring cups and spoons
- mixing spoon
- clothespin or sticks or holding wick
- wick trimmer or scissors
- kitchen scale optional
Instructions
- Measure out your wax – the easiest way to do this is to fill your container that will become your candle with the wax pellets. Then, use your kitchen scale to find the weight so you know how much scent oil to use.
- In your melting pot, add the wax.
- In your larger pot, add enough water so it will cover your melting pot at least halfway.
- Heat the larger pot with the water and melting pot over medium heat. This is essentially a double boiler, like you might use to melt chocolate. While you can melt the wax in the melting pot directly, using a double boiler ensures the wax doesn’t overheat.
- Heat the wax to 185°F. Use your thermometer to check.
- Stir in the scent oil so it gets well distributed.
- Turn off the heat and allow your wax mixture to cool to 125°F before pouring.
- While the wax melts (or as it cools off), add your wick to the container. Use a wick sticker or hot glue to stick the metal bottom of the wick to the bottom center of the container. Then, use a clothespin or stick to wrap the top of the wick around so it will stay center once you pour in the wax.
- Pour the wax into your container. If the wick shifts around, fix it while the wax is still hot and very liquid.
- Once your candle hardens, you’re ready to trim the wick and use it!

My sister and I had a craft day and made these candles together! It was so fun and this tutorial was perfect.
All of these tips are great, thank you! I’m hoping to do some candle making over the holidays.
Love this detailed how-to, I can’t wait to try it out after the holidays!
What causes wax to only melt in the middle, not the whole candle?
This is sometimes called tunneling and it can happen for a number of reasons. First, make sure the first time you use a candle you let it burn long enough for it to melt to the edges. This is called a memory burn (the first time you use a candle) and if you only let it melt the center it is more likely to tunnel. Other possible issues: incorrect wick size, wax blend is off, drafty area, or an off center wick
I am not much of a DIY person, but I have always had a passion for candle making. Thanks to your clear and concise instructions, I’m finally going to learn! My only questions are: should I get a pot or a wax melting machine? And do you have any brand suggestions for a beginner?
I particularly like the idea of DIY candles as gifts, which are suitable for various occasions。the suggestions for purchasing molds and containers are very helpful, allowing for more personalized creations.Now, I can also DIY some flameless candles (flamelesscandle.shop), and I can draw inspiration from your ideas
So glad I found this now I can make homemade Candles ; ) Thank you
It was good, but I guess I wanted to know the formula. How much scent to wax??
She literally states it in the instructions.
1 ounce of fragrance to 1 lb of wax its a 1:1 ratio
Nice to see some clear instructions
Love this guide!
Great instructions, thanks!
Excellent post!!!
Hej.
Tack så mycket för dina förslag!
Undrar över en sak…De små färgade …som man kan smälta snabbt med sigillmärke för paket, brev etc. Är det också som man kan använda som ljusmassa??
Kallas tydligen …Raccolta plastica!
Med vänlig hälsning
Maria