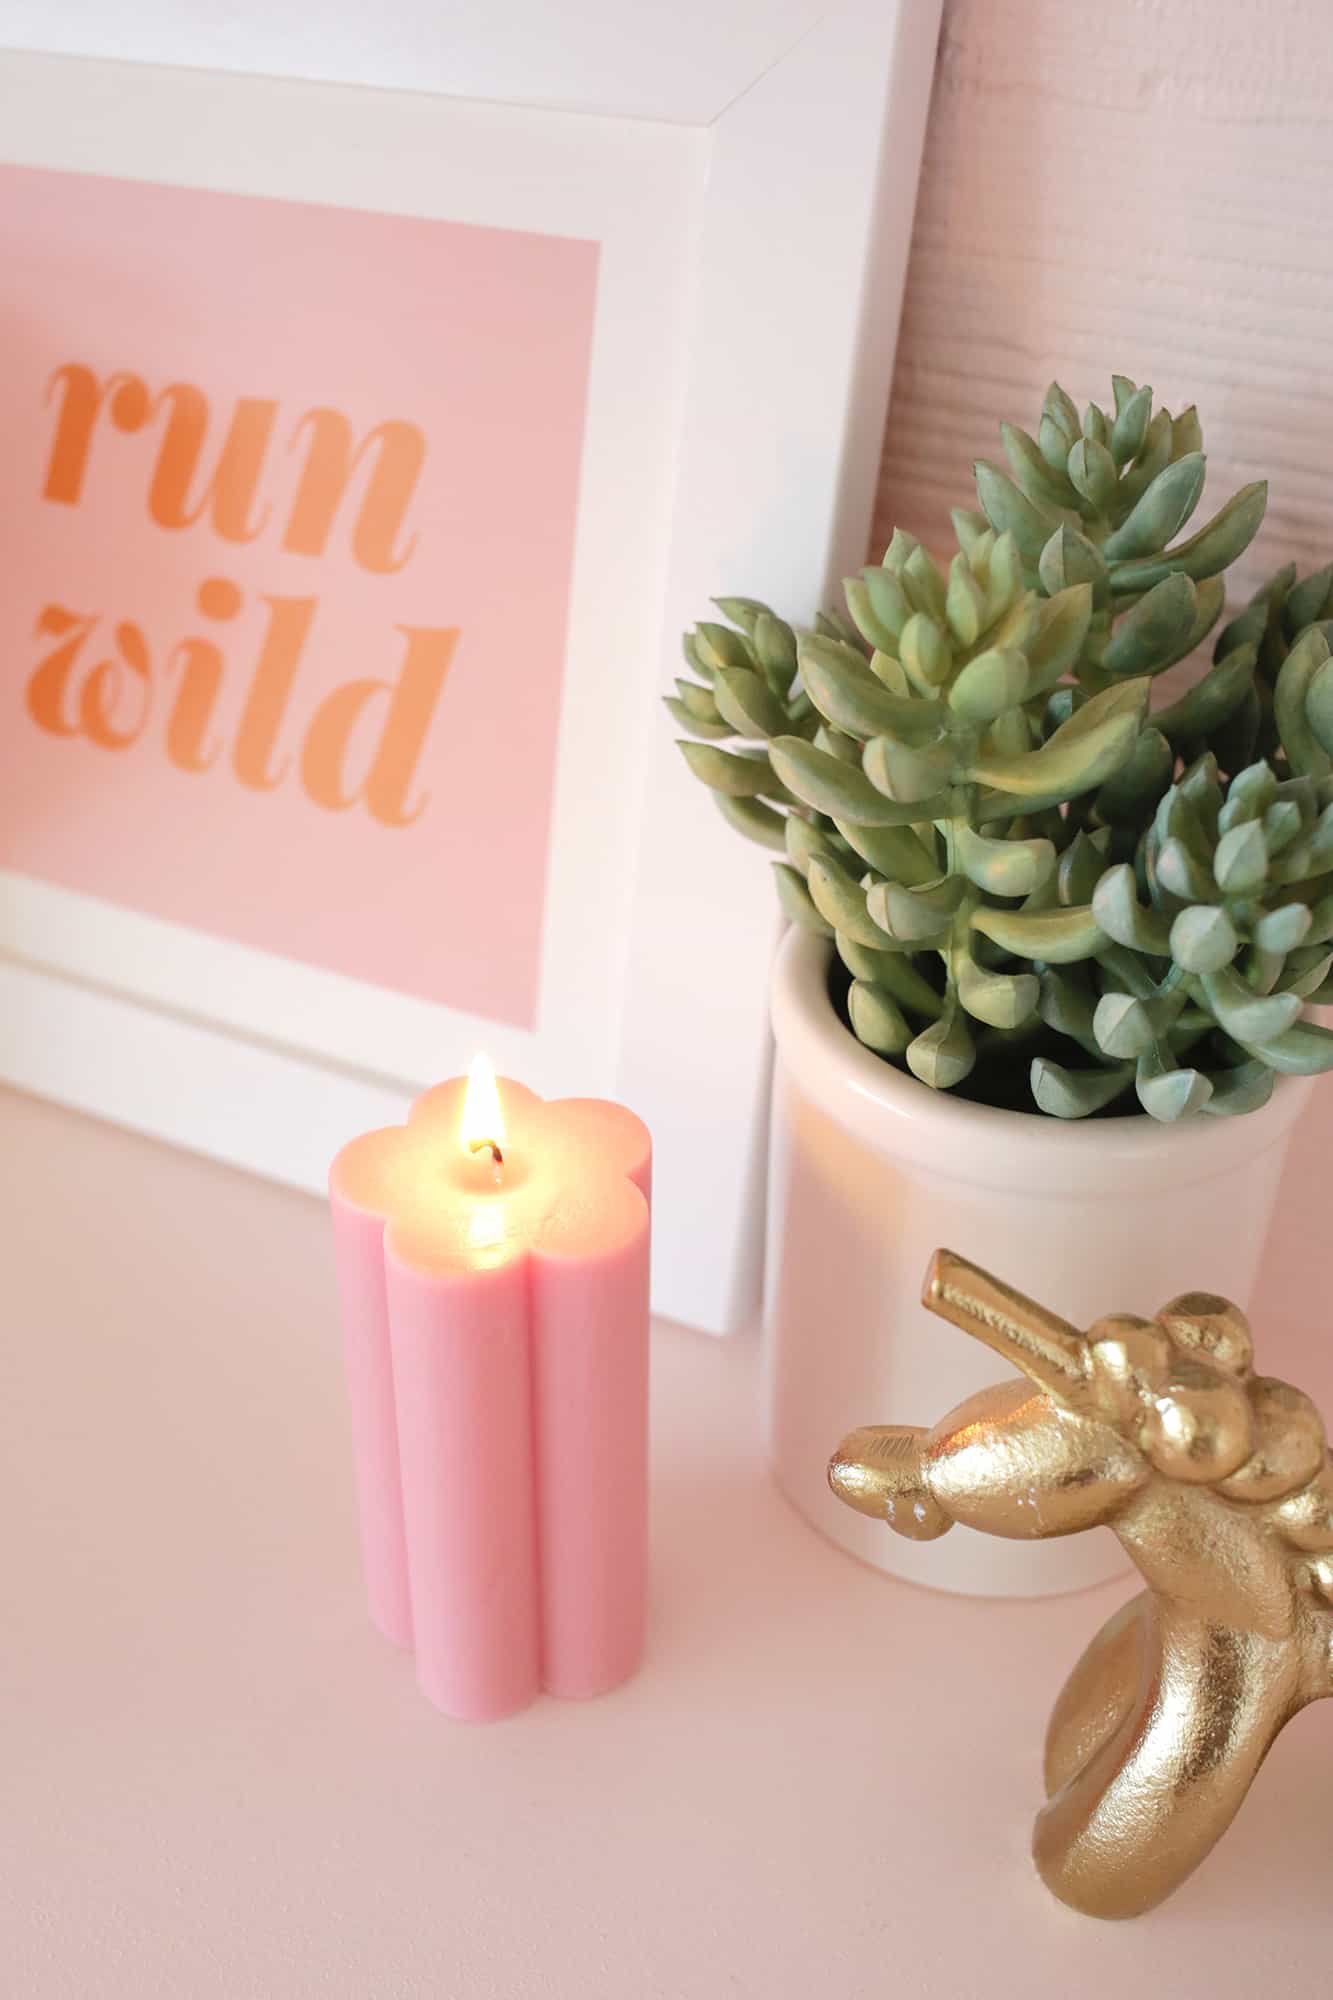
Pillar candles are great because you get some nice height on your candle (and you’ve got more candle to burn than a shorter one) and they have lots of fun molds you can use to customize your look—like this whimsical flower mold!
I thought I would make a few of these for my office, and they would be really cute for an easy gift as well! Here’s how to make your own!
Related: How to Make Candles – Beginner’s Guide
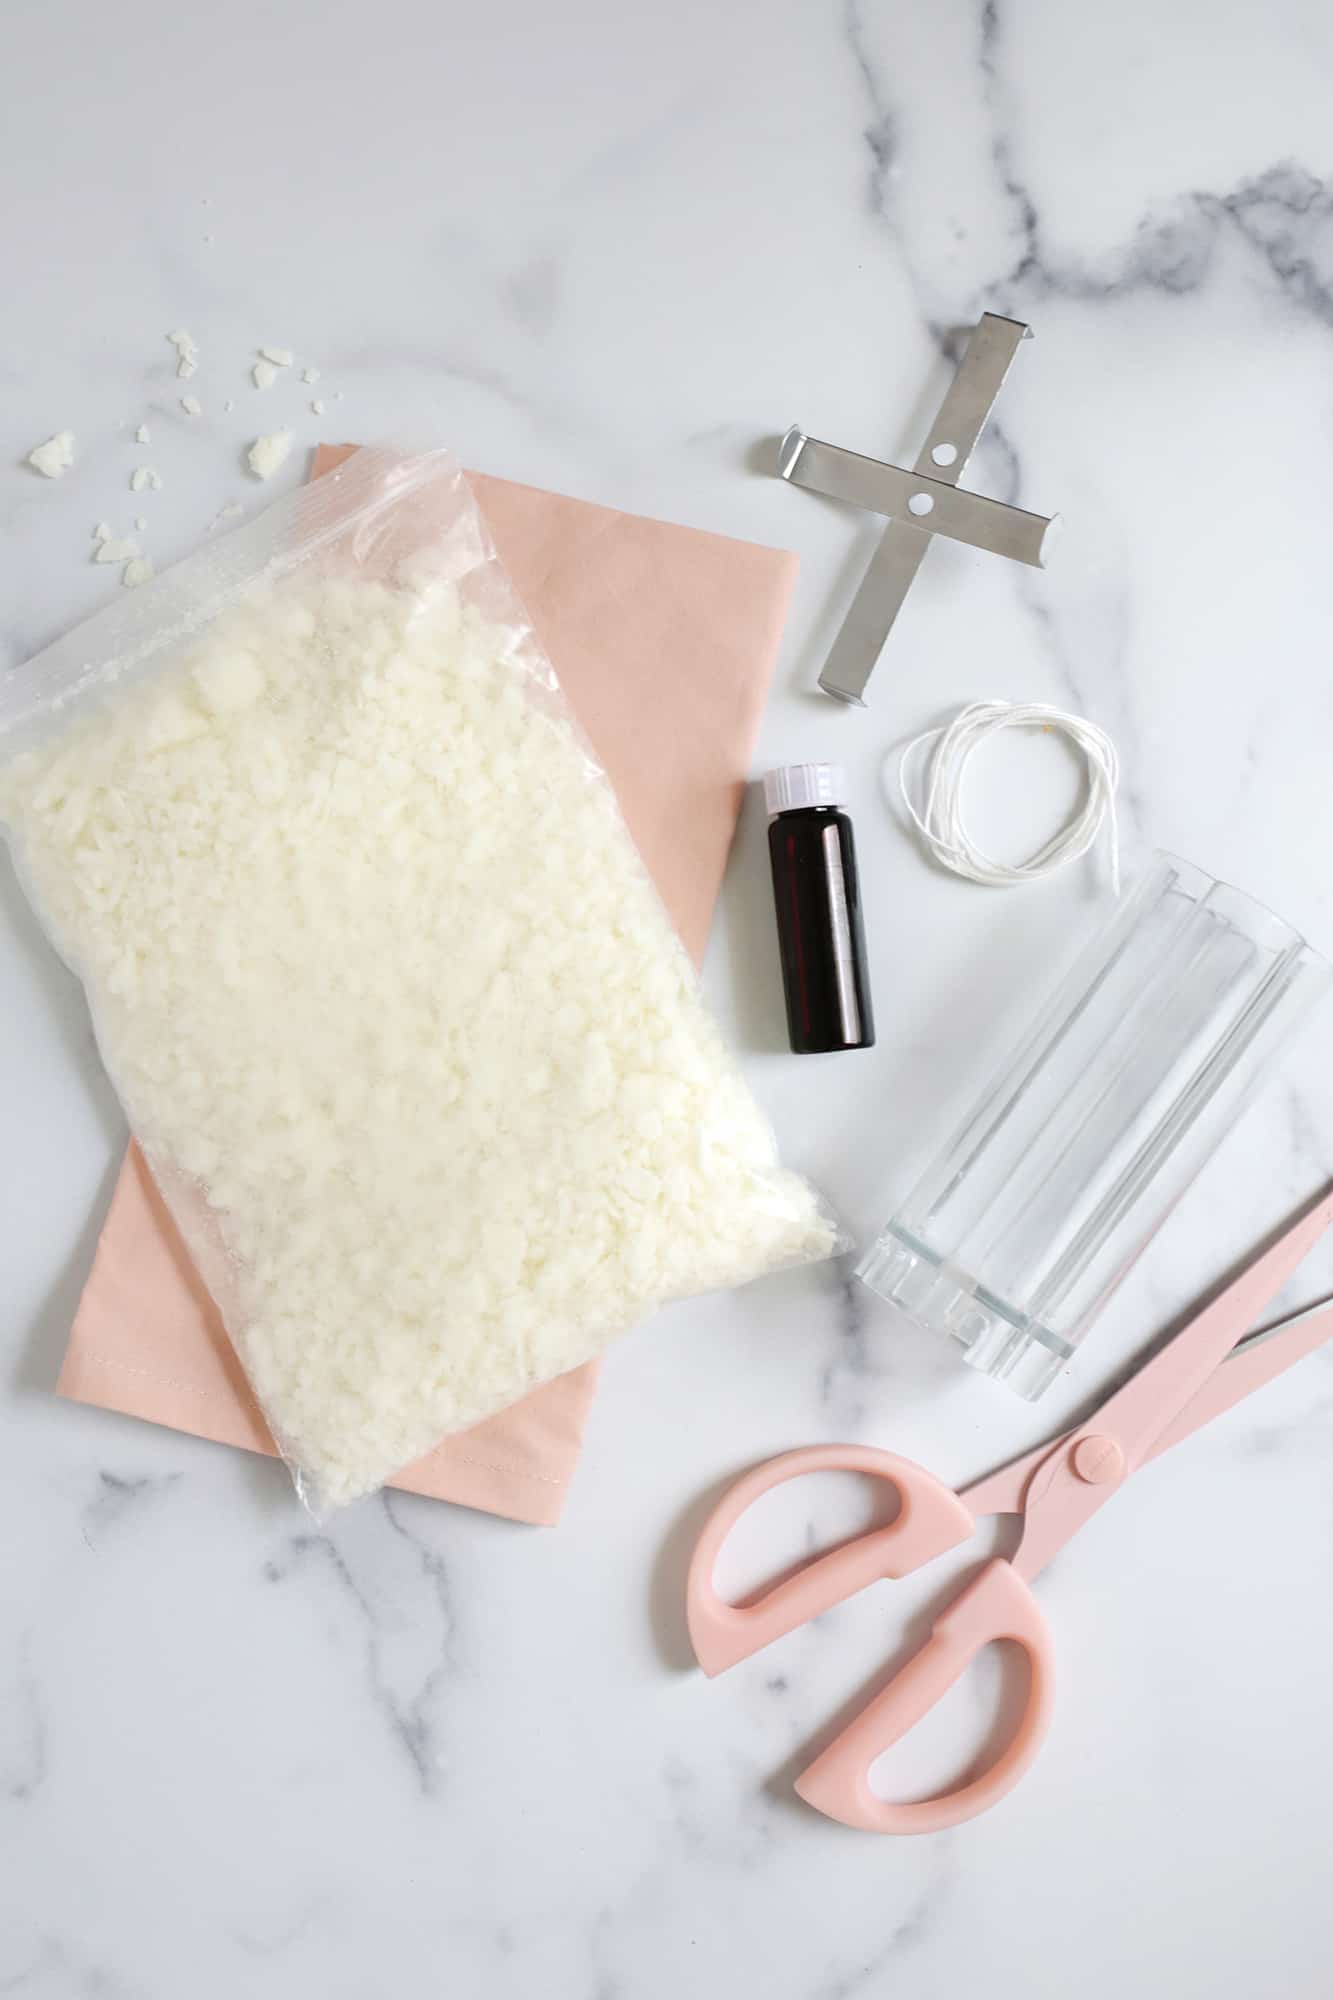
–flower mold
–microwaveable soy wax (or other melting candle chips)
–candle dye and fragrance if desired
–coconut oil (or other oil or mold release spray) and paintbrush
–pillar candle wick
–wick centering tool
–mold sealer
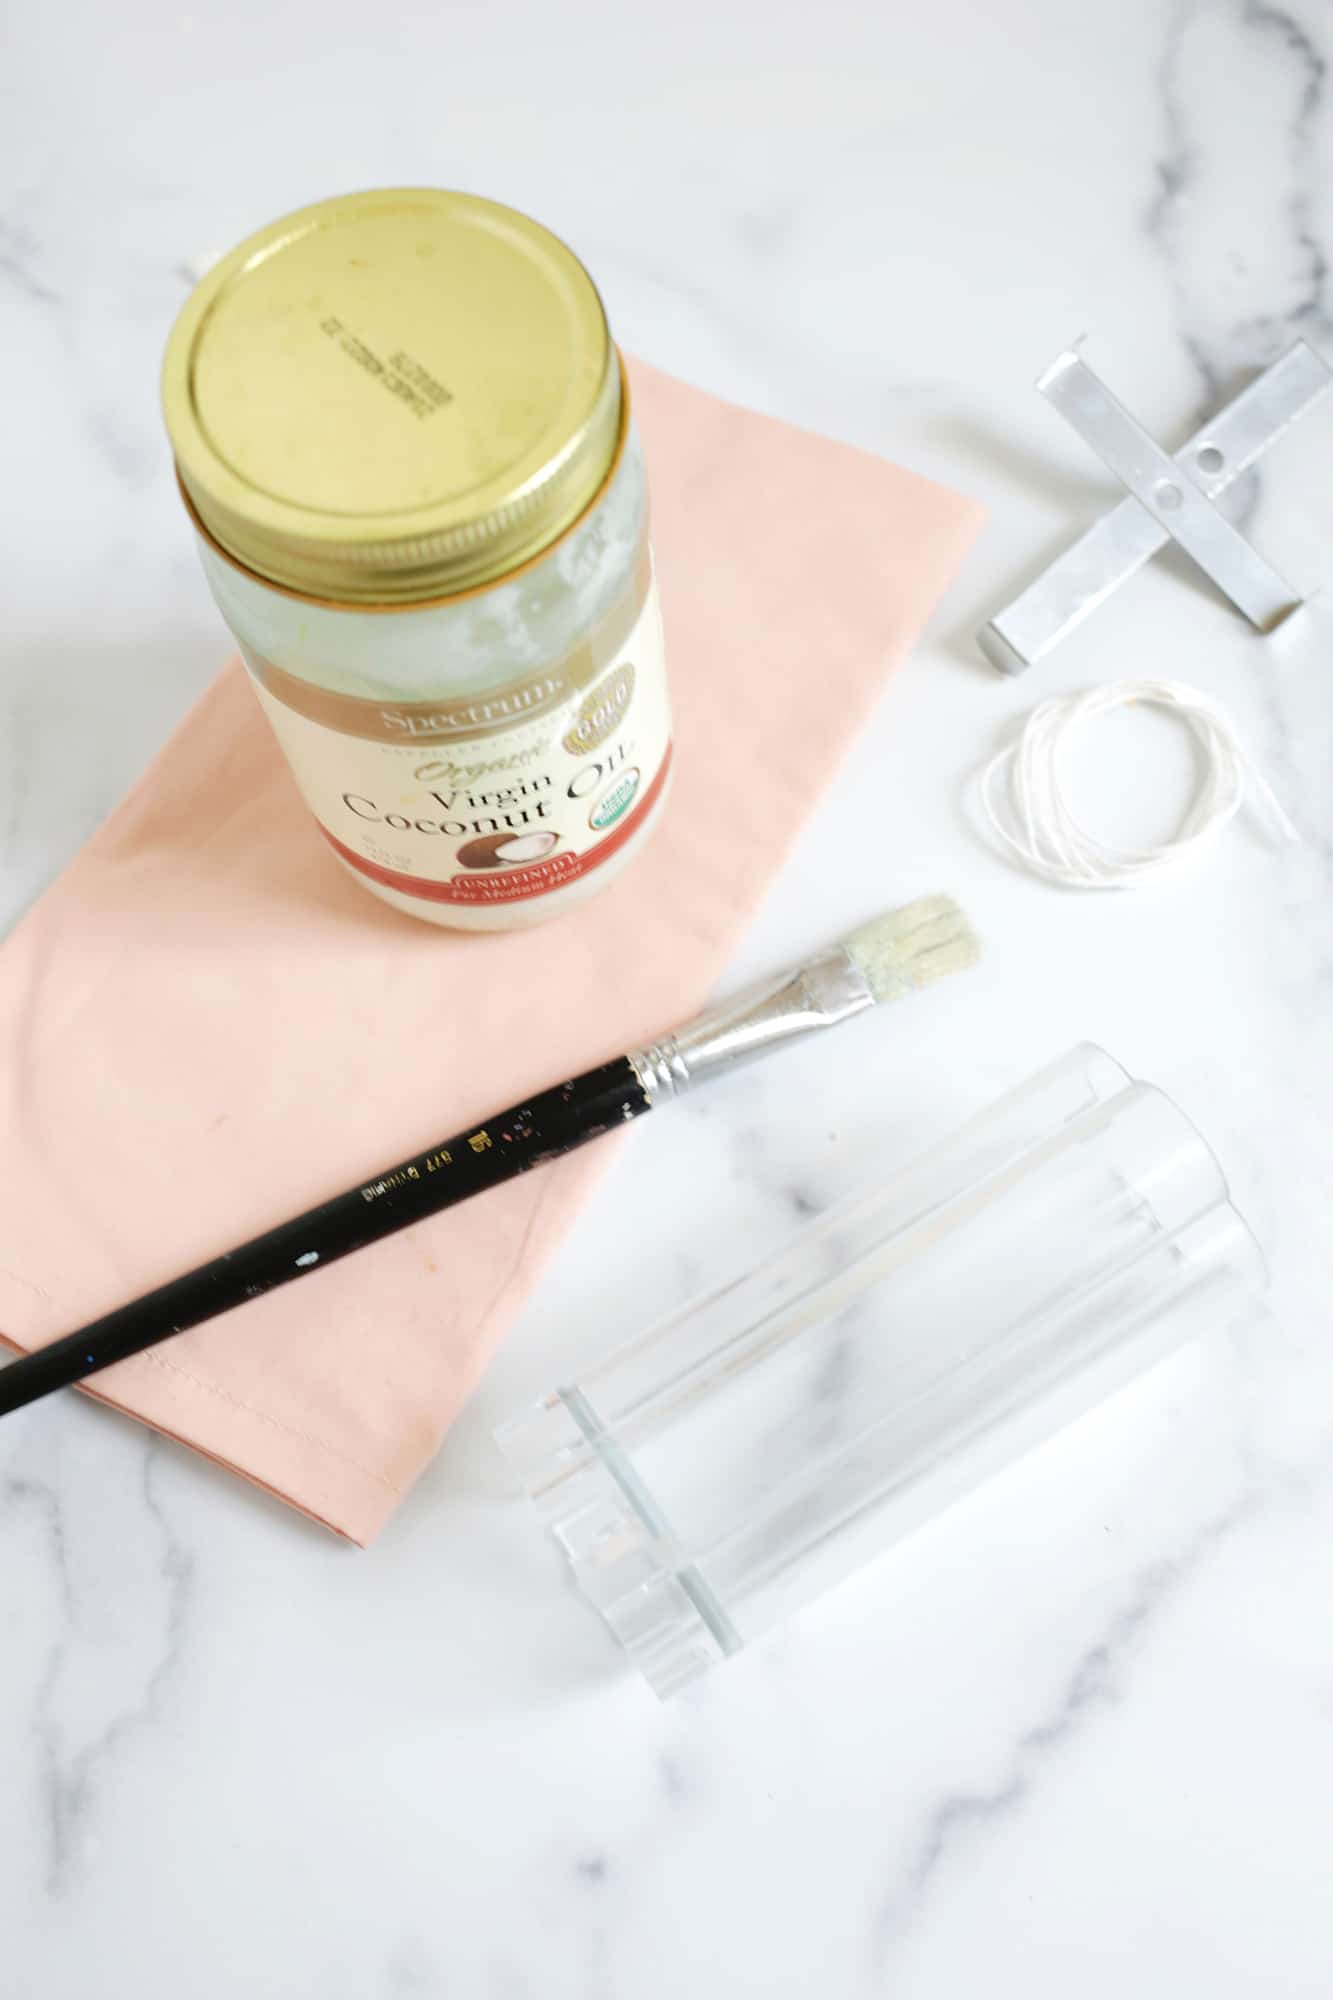

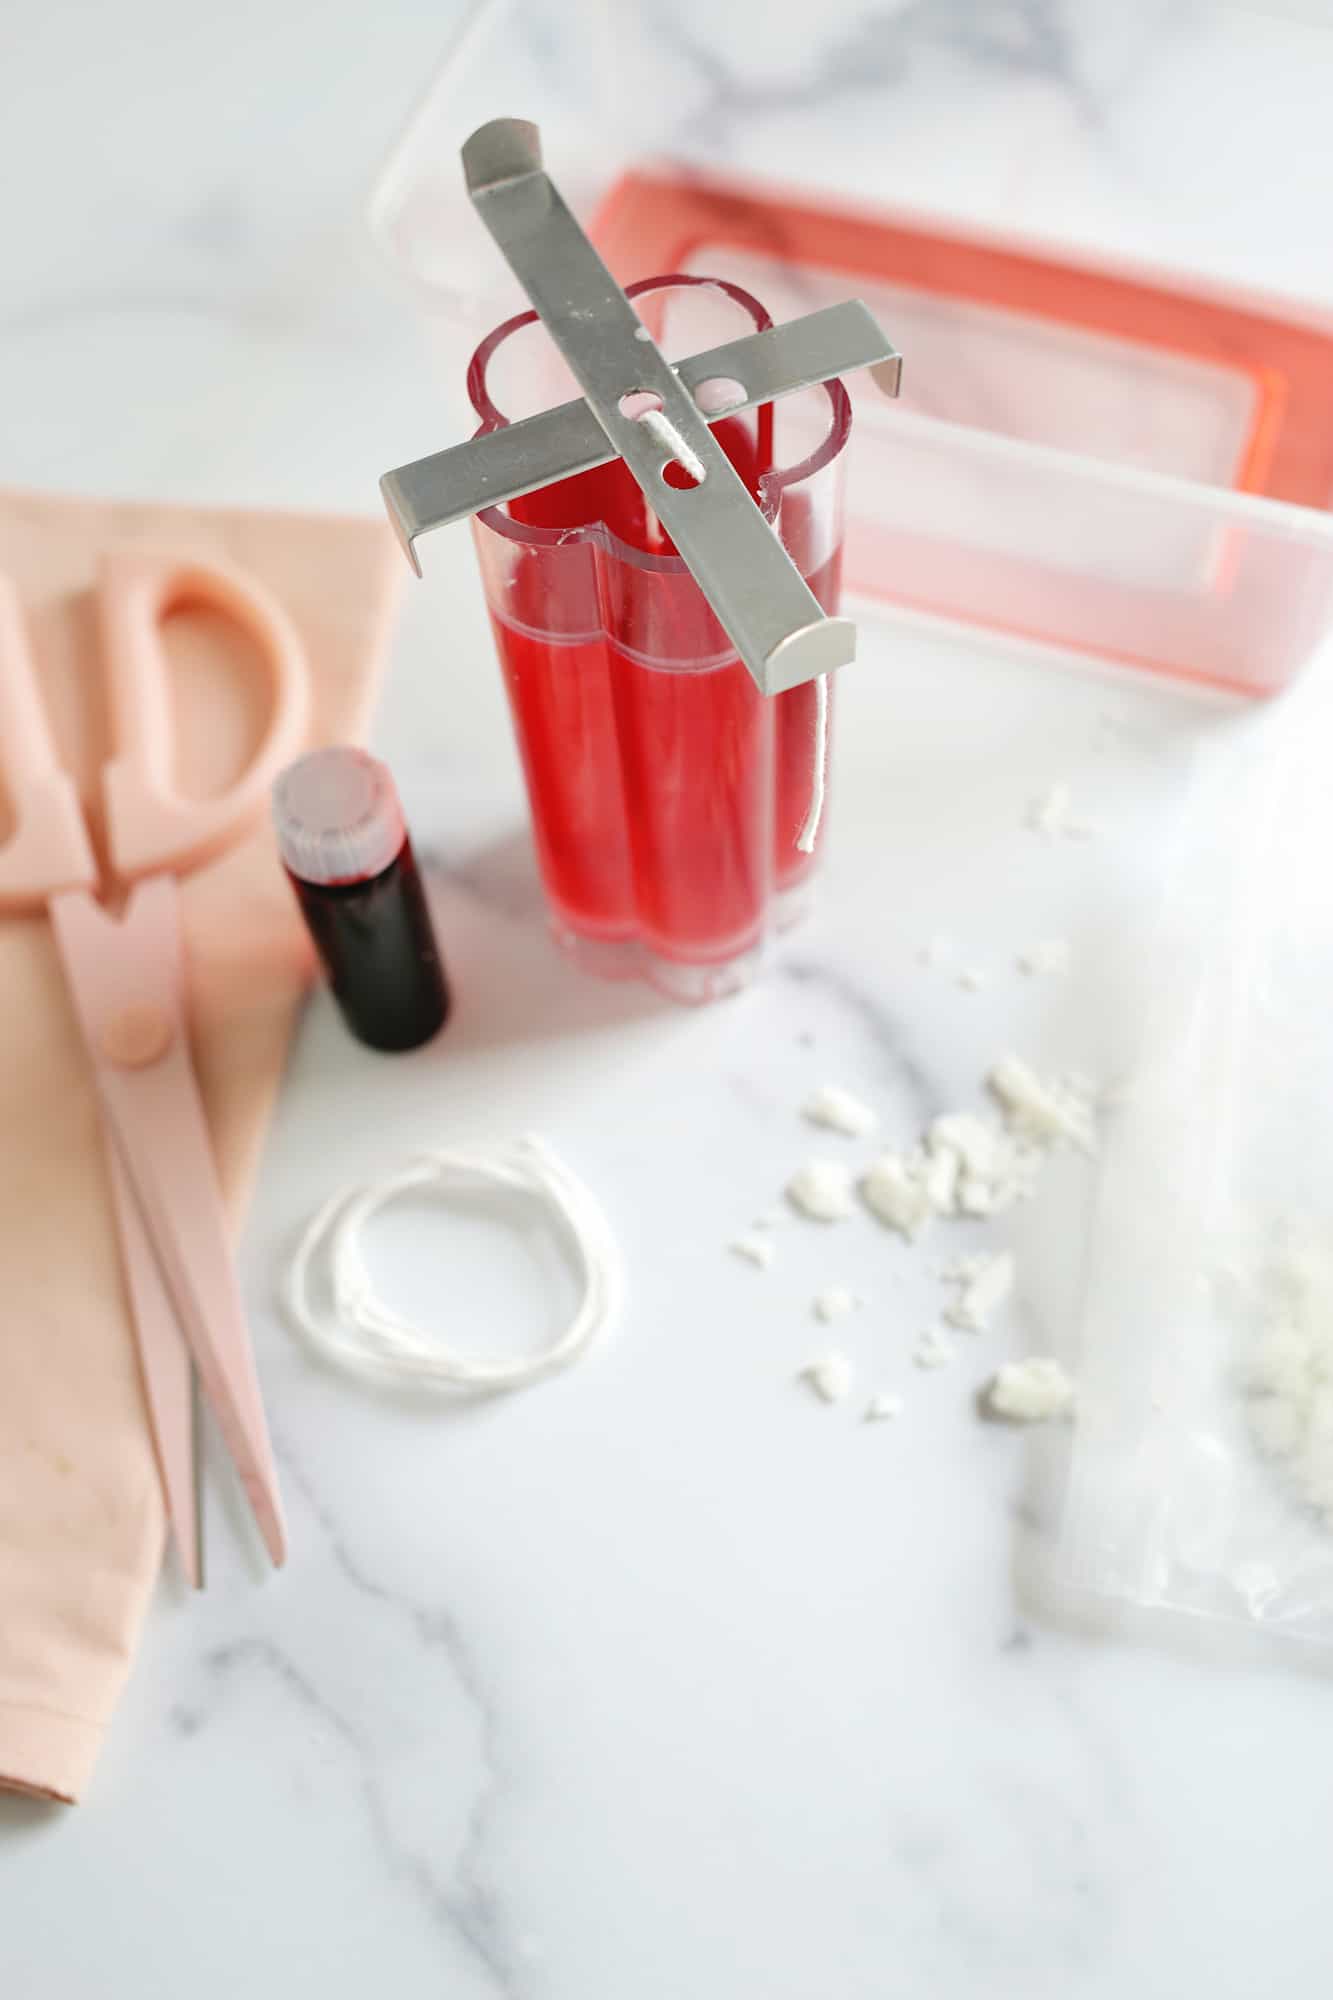
Pull the top of your wick up through the wick centering tool and pour your wax into the mold. You can use a measuring cup with a spout for this (one that you use exclusively for crafts, not for cooking), but I just poured it from the corner of my container and that worked just fine.
Make sure to save a little bit of the wax in your container to remelt in case you have any “tunneling” near your wick after the first pour.
Once your wax is poured, leave your candle to completely cool (check the directions on the wax you use, but usually only takes a few hours).
Check the area near the wick once the wax is cool to see if the wax has collapsed in to create a divot in the middle of your candle. If it has, remelt the remaining wax and pour in just enough to make the top flat again and allow it to fully cool.
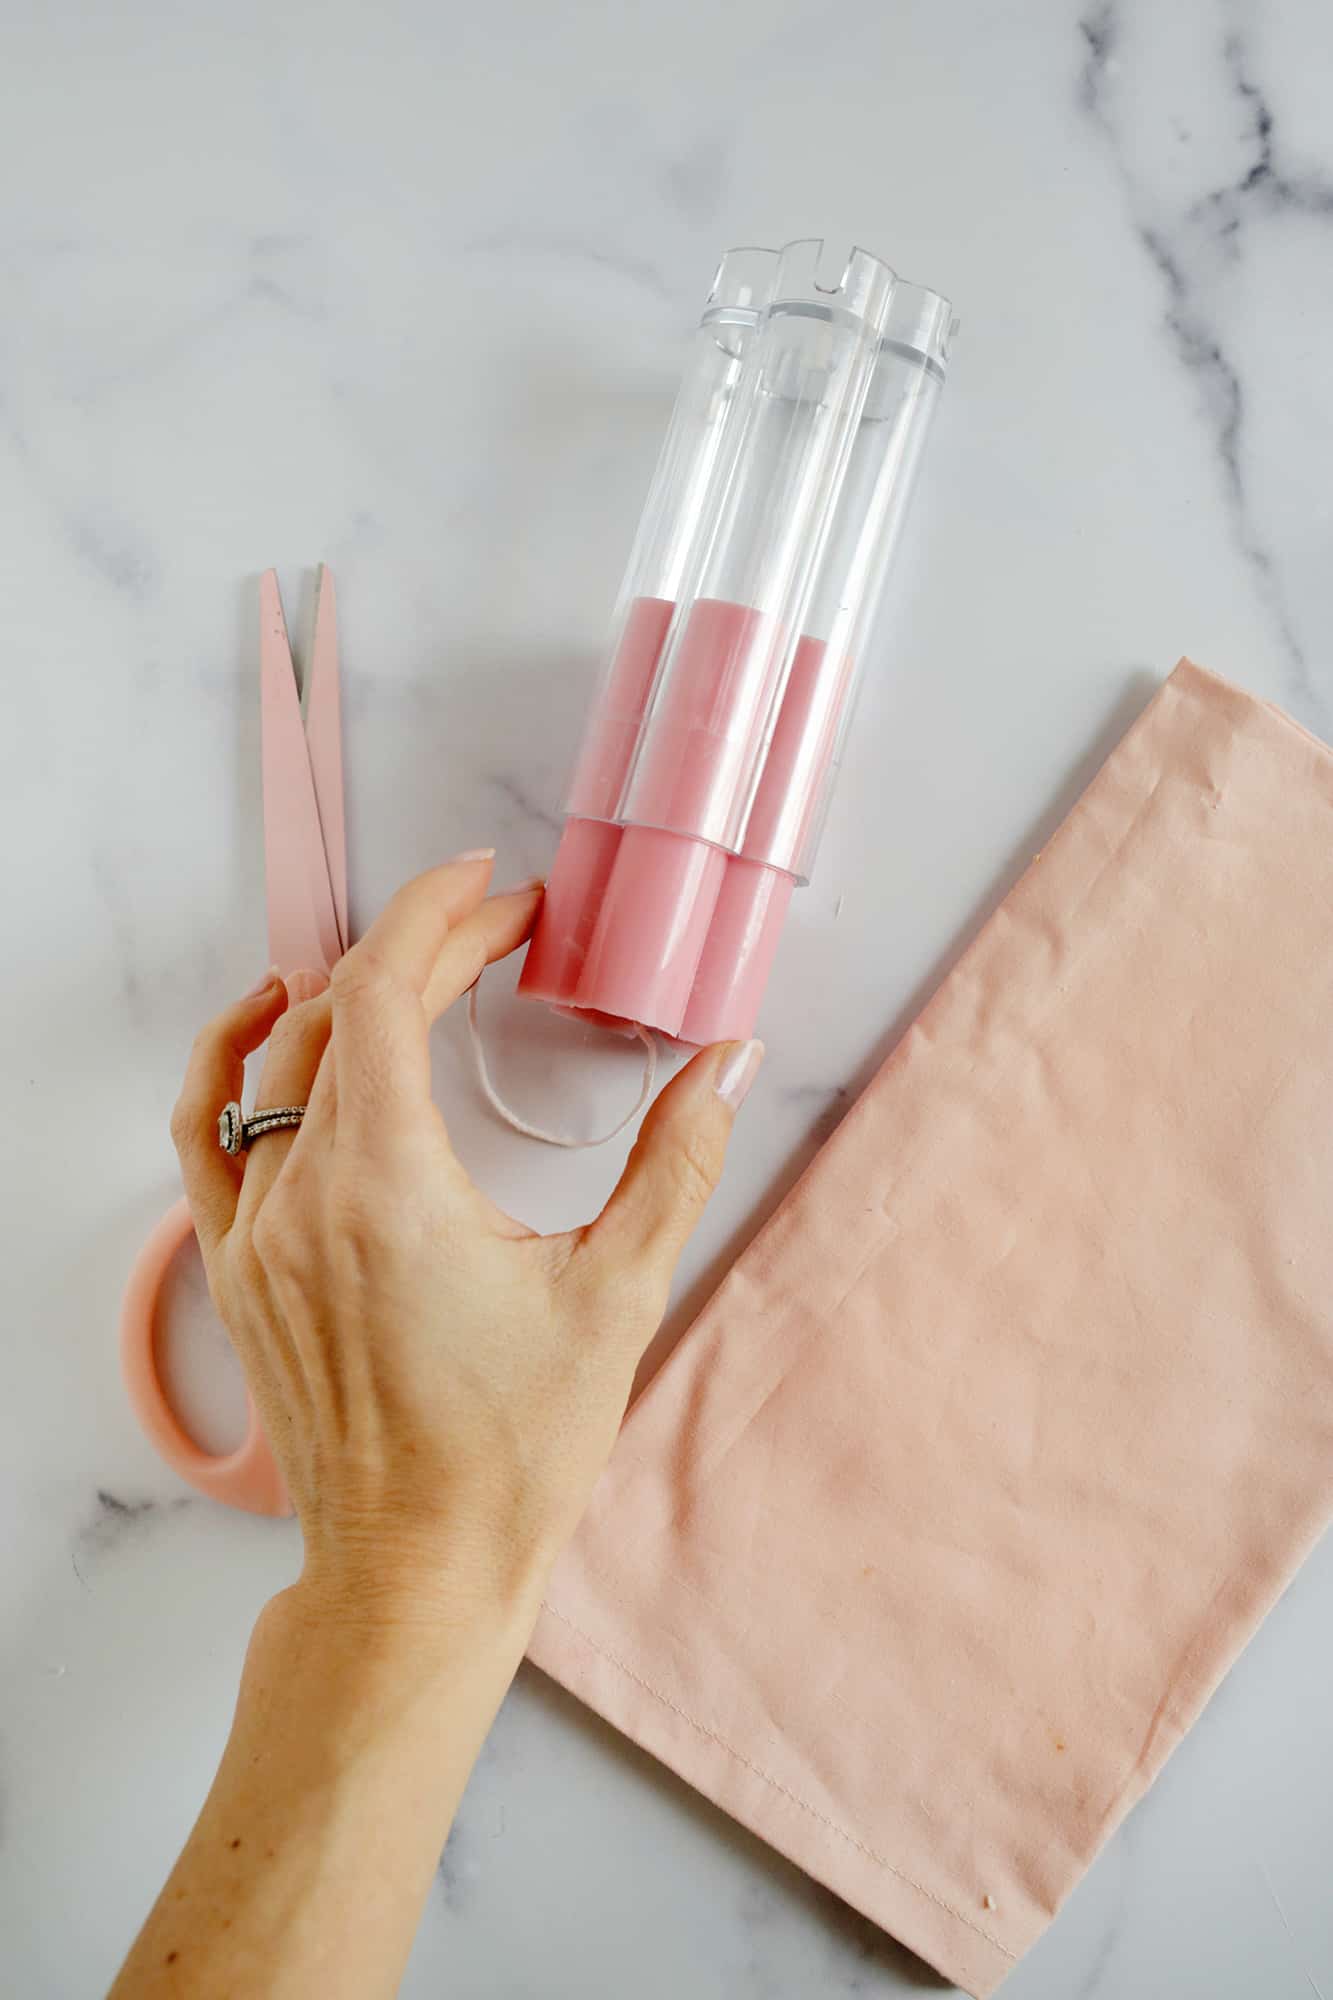
Trim the wick on the bottom and top of your candle and you’re ready to light ‘er up!
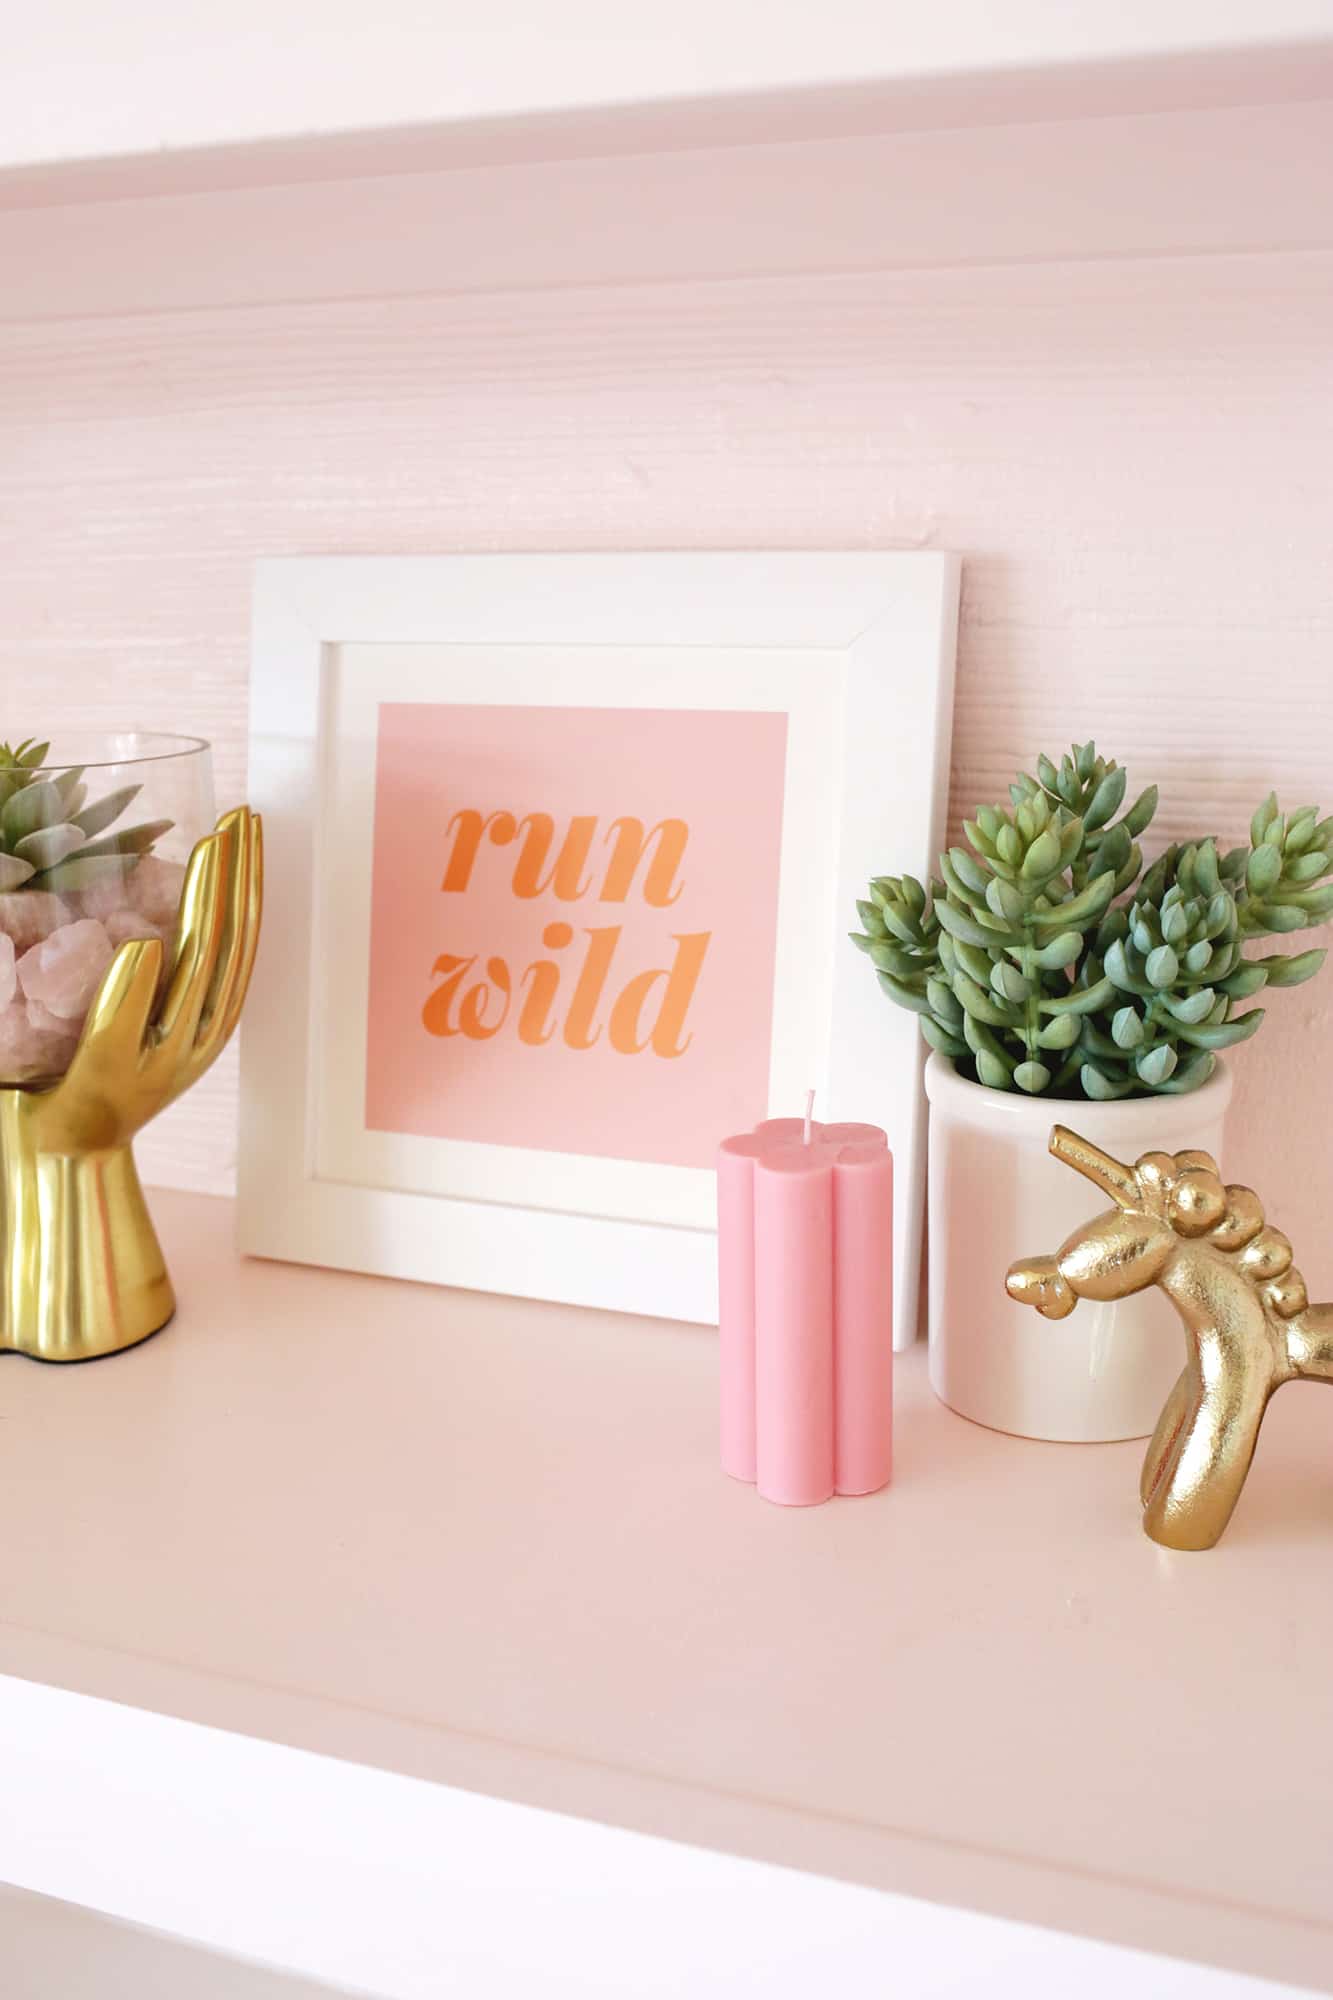
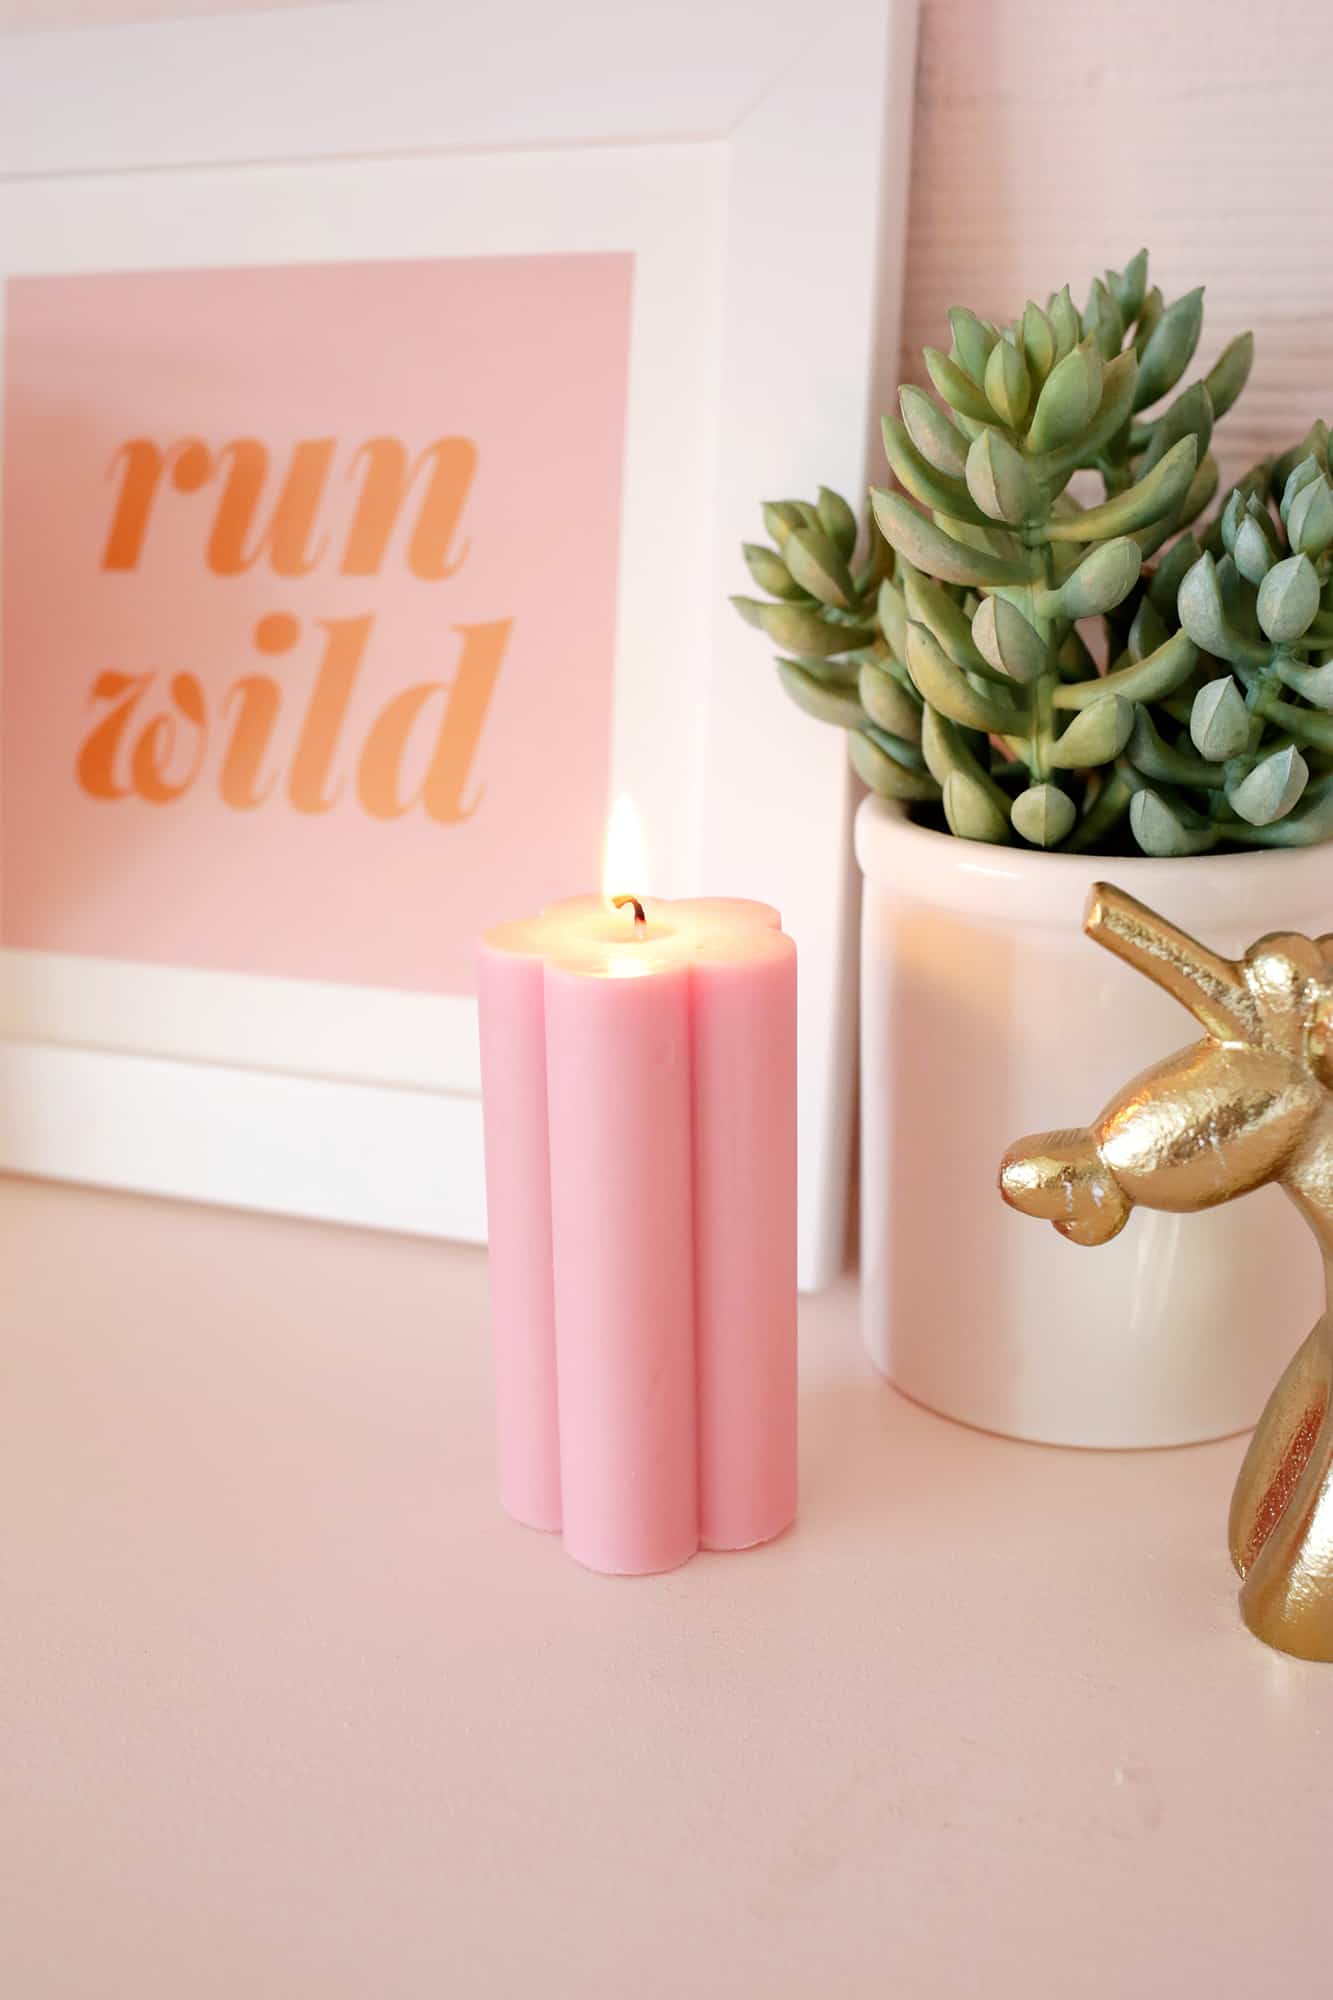

You could also make several of these in different heights to make a staggered grouping of candles. There are so many fun molds for pillar candles and once you get the hang of it, I could totally see this as a new hobby.
You can also support a candle artist if you aren’t the DIY type (check out 5 Asian-owned candle companies we love), but it feels pretty good to make your own! xo. Laura

whar are the measurements of the candle and what is the wick size? I think these things are super important to know, or to list while writing this tutorial..
This is really cute! I’ve never made candles before, but this looks pretty simple!
xoKaelen | Darling Marcelle
You can do it!
I love this! I also love a scented candle. Do you have any suggestions for making it scented? Could you add a few drops of essential oil? Thank you!
You can! I find it takes quite a bit of essential oil to really smell it once it’s cooled, or you can use candle fragrance as well at the same time you’d add the dye 🙂
Laura