During the winter months, I basically live for candles! I have an evening ritual that starts around 5 or 5:30 p.m. when the sun sets where I go around my house and pull down the shades or curtains, and turn on twinkle lights while lighting candles.
It’s my way of dealing with the winter blues, and I’ve been making these DIY wood wick candles lately, so I thought I’d share.
Related: How to Make Candles – Beginner’s Guide
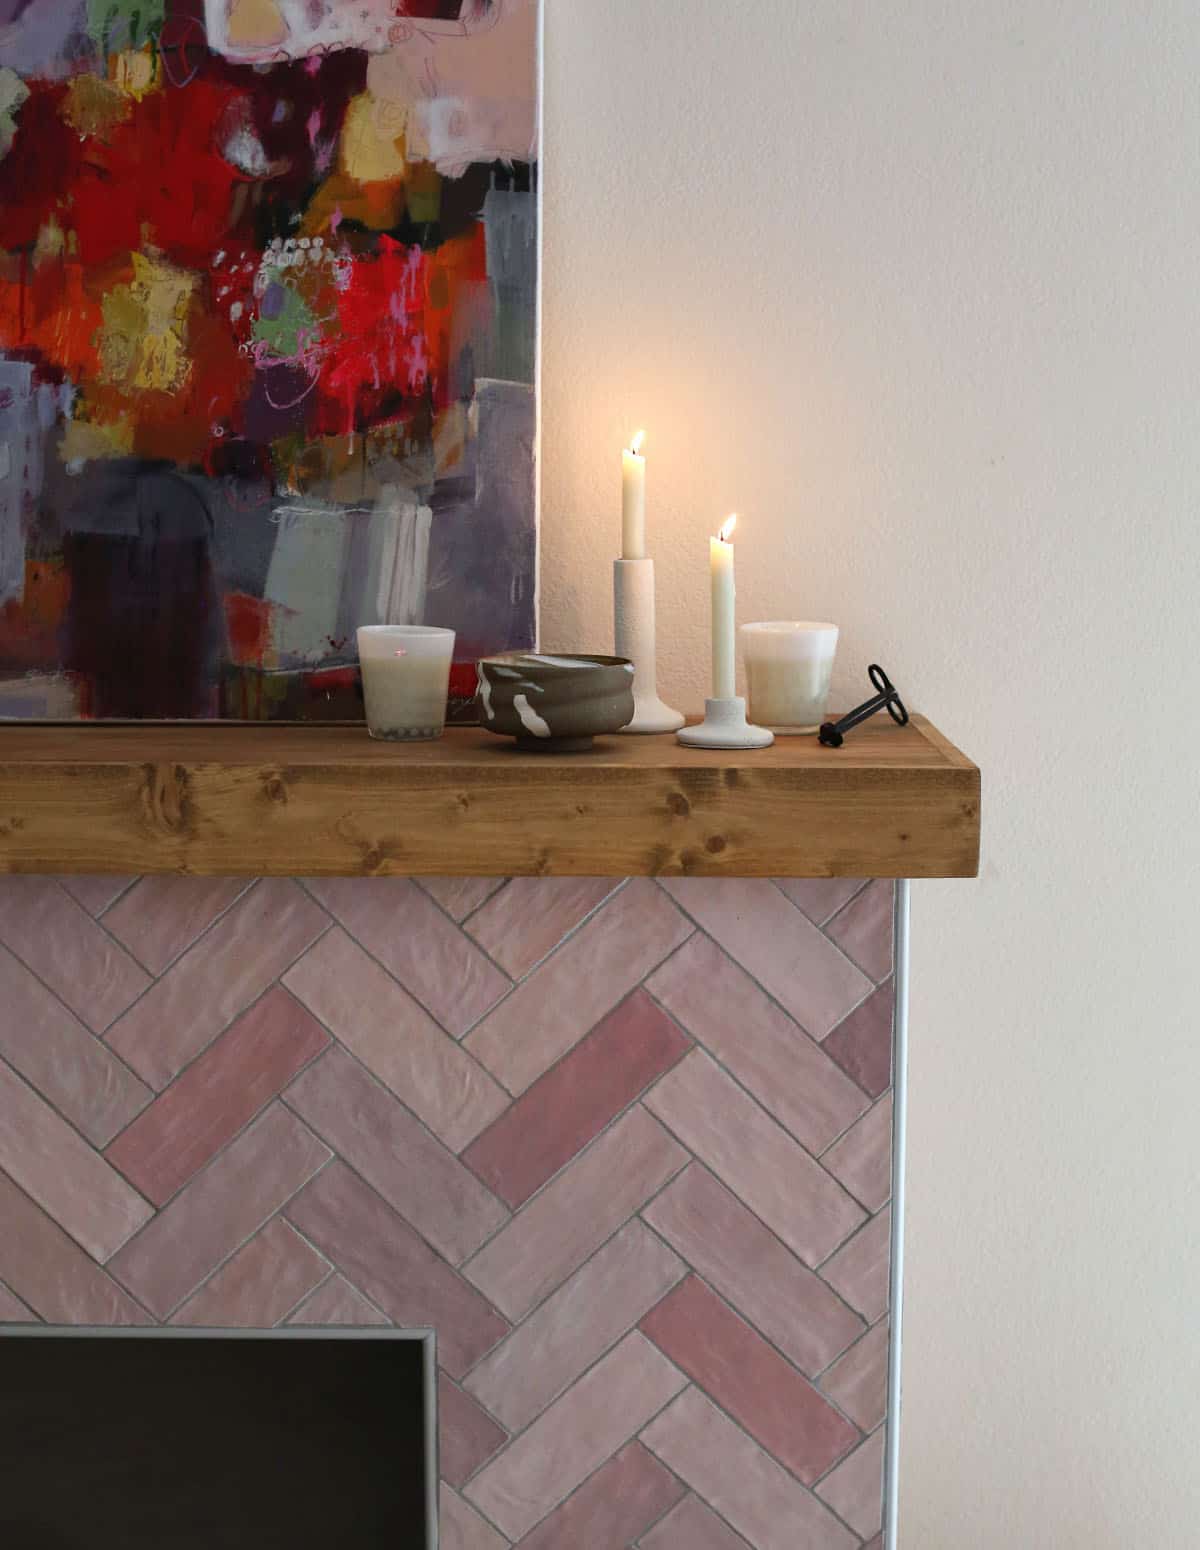
I typically make soy wood wick candles using essential oils for the scent, so that’s what I’ll be sharing here. You can learn how to make soy candles with traditional wicks and we also have a tutorial for making your own beeswax candles.
What’s so special about wood wick candles?
I love the crackling sound! The wood wicks burn a little different from traditional wicks, so they almost sound like a tiny fire; the crackle sound from wood logs burning.
I already love the smell and the glow from candles, so adding this little extra sound just turns up the cozy factor for me.
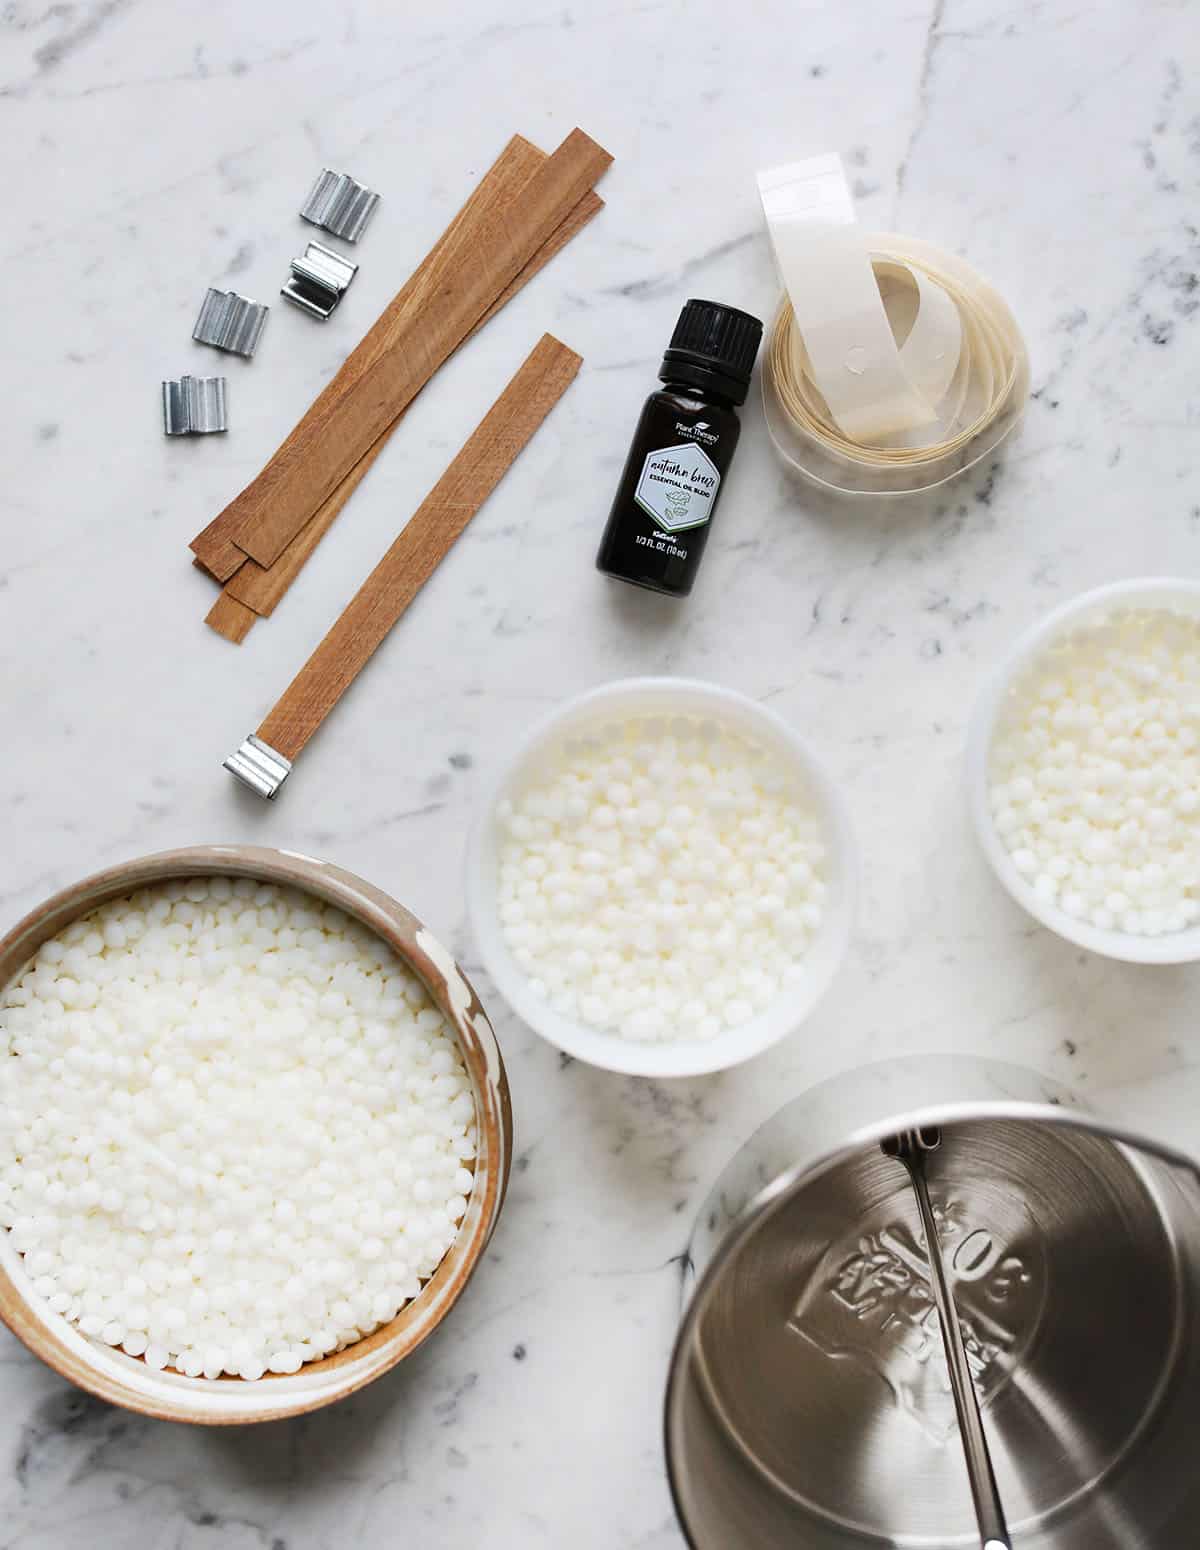
Supplies:
- soy wax beads
- essential oils
- candle making melting pot
- candle containers
- wood wicks and bases
- wick stickers, glue dots, or hot glue
You can certainly buy candle containers, but before you do, I would recommend walking around your house and just seeing if you already have things that might work well.
Here is how I easily remove leftover candle wax so I can reuse candle containers. You can also thrift containers (including things like kitchen bowls or even mixing bowls) if you want an extra large candle!
How to make wood wick candles:
1. Measure out the wax beads by filling the container(s) you plan to use. The melted wax will take up less space than the wax beads, so keep this in mind.
If you fill the container all the way to the top, the melted wax will take up less space once poured, so this is typically how I measure.
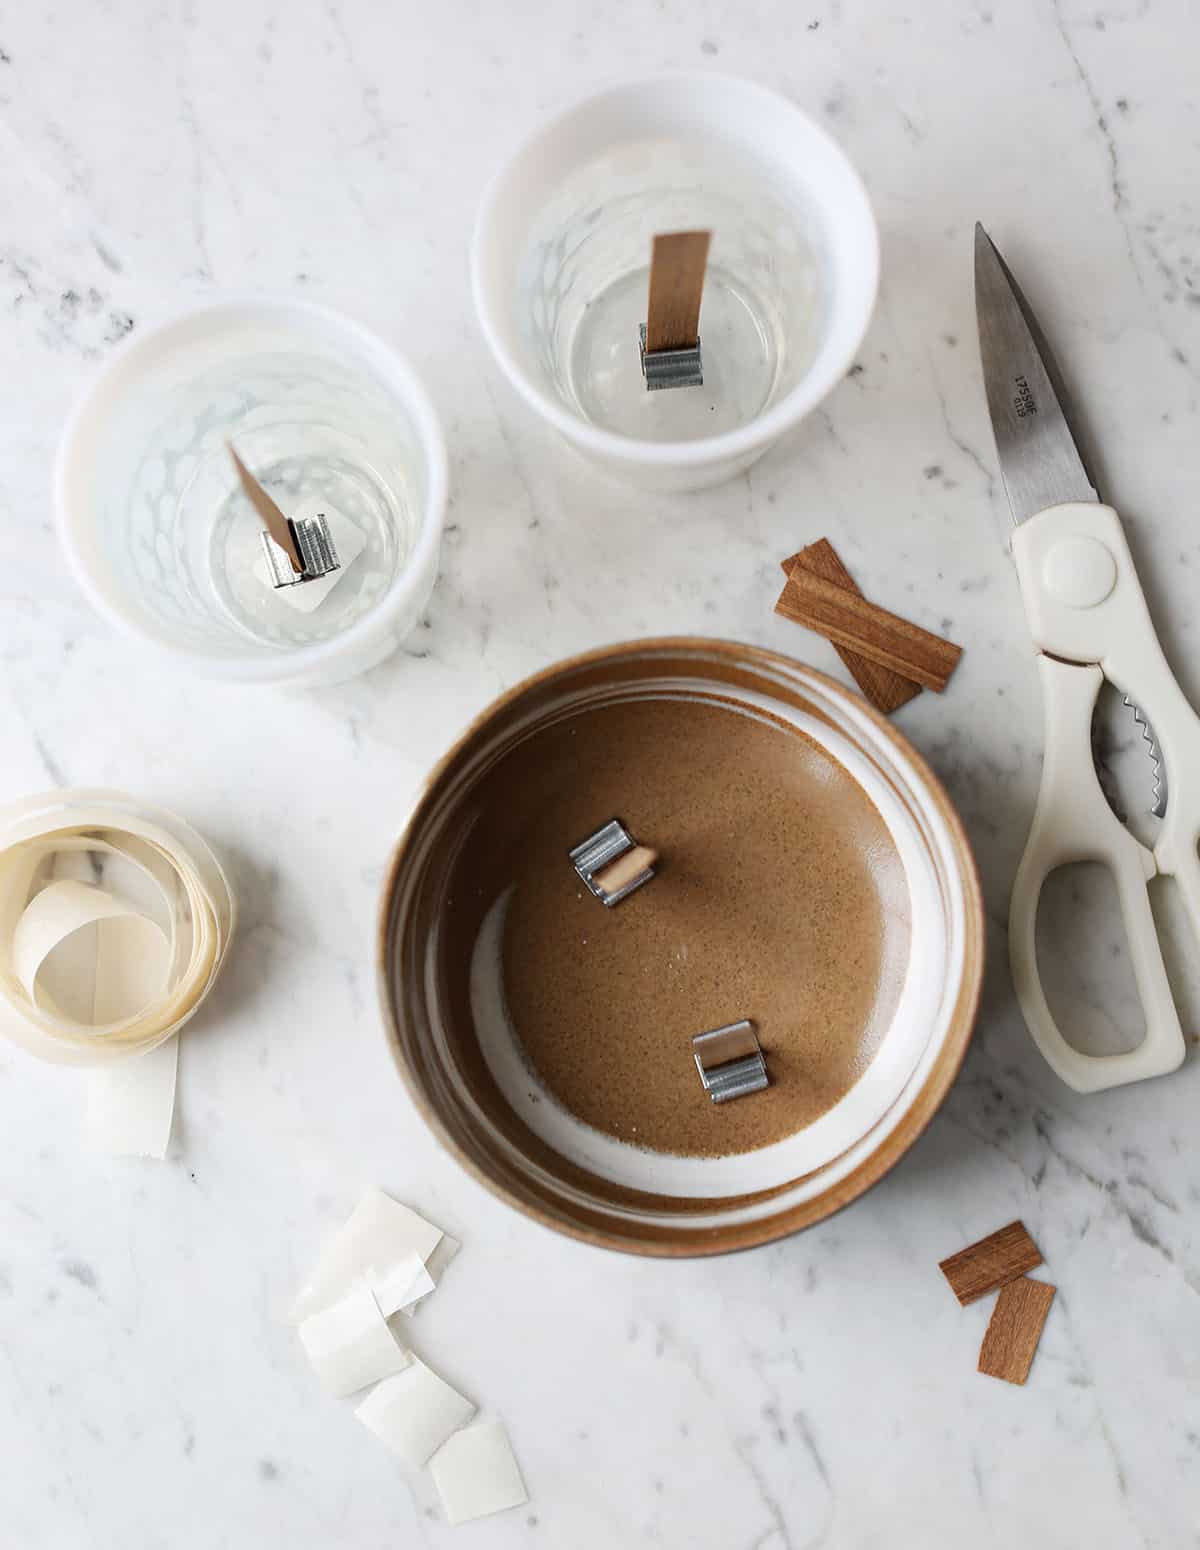
2. Add the wood wicks to the containers. They should come with a metal base. Add a wick sticker or glue dot to the bottom of the metal base once the wood wick is inserted, then add to your empty container.
3. Melt the wax, then remove from the heat and add your essential oil.
For a smaller candle, I’ll add anywhere from 8-12 drops. But you can measure based on your smell, as some people want a super scented candle and some like their candles more subtle.
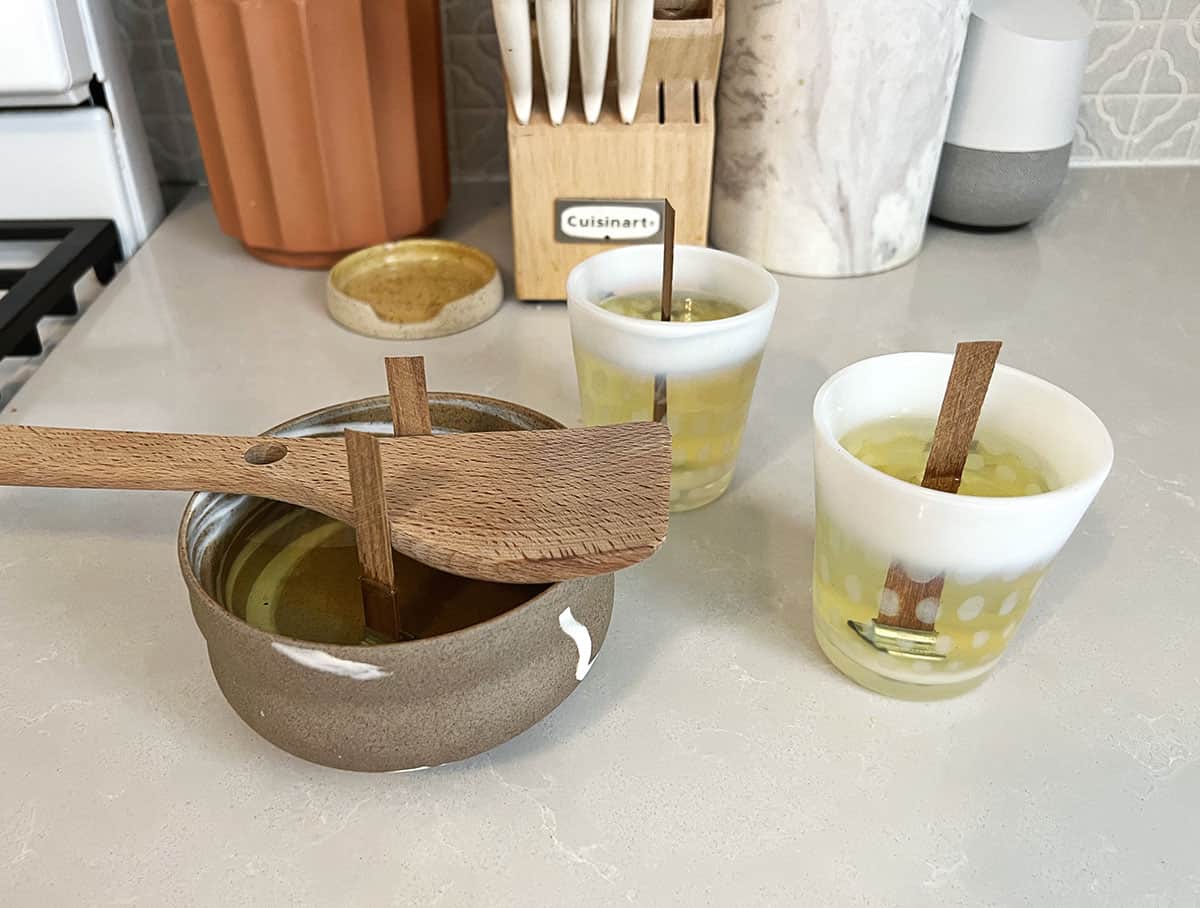
4. Pour the melted wax into the containers. If you have a candle with multiple wicks or a slightly uneven base (like a rounded bowl), you can use items like a wooden spoon to keep the wood wicks from leaning as the wax dries.
5. Once the wax is fully dry (it will become solid looking again, like the beads), trim the wood wicks before use.
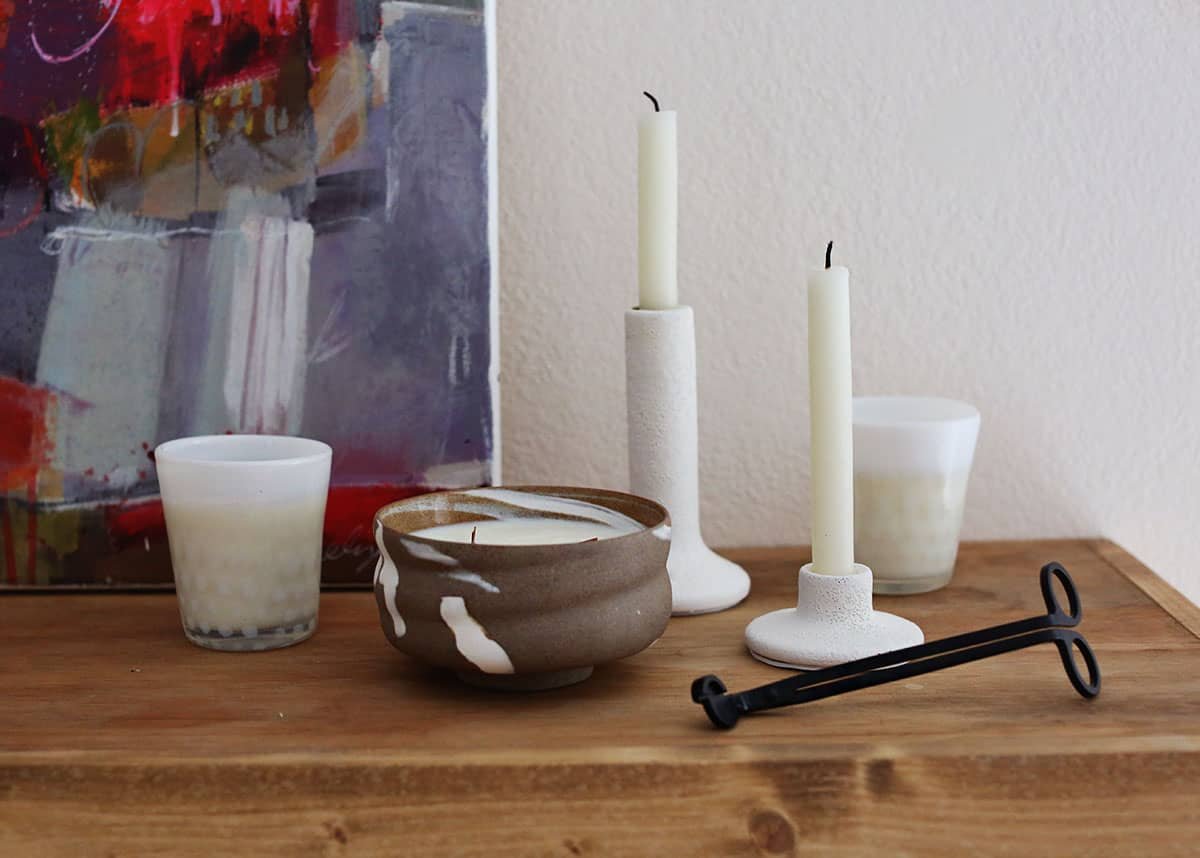
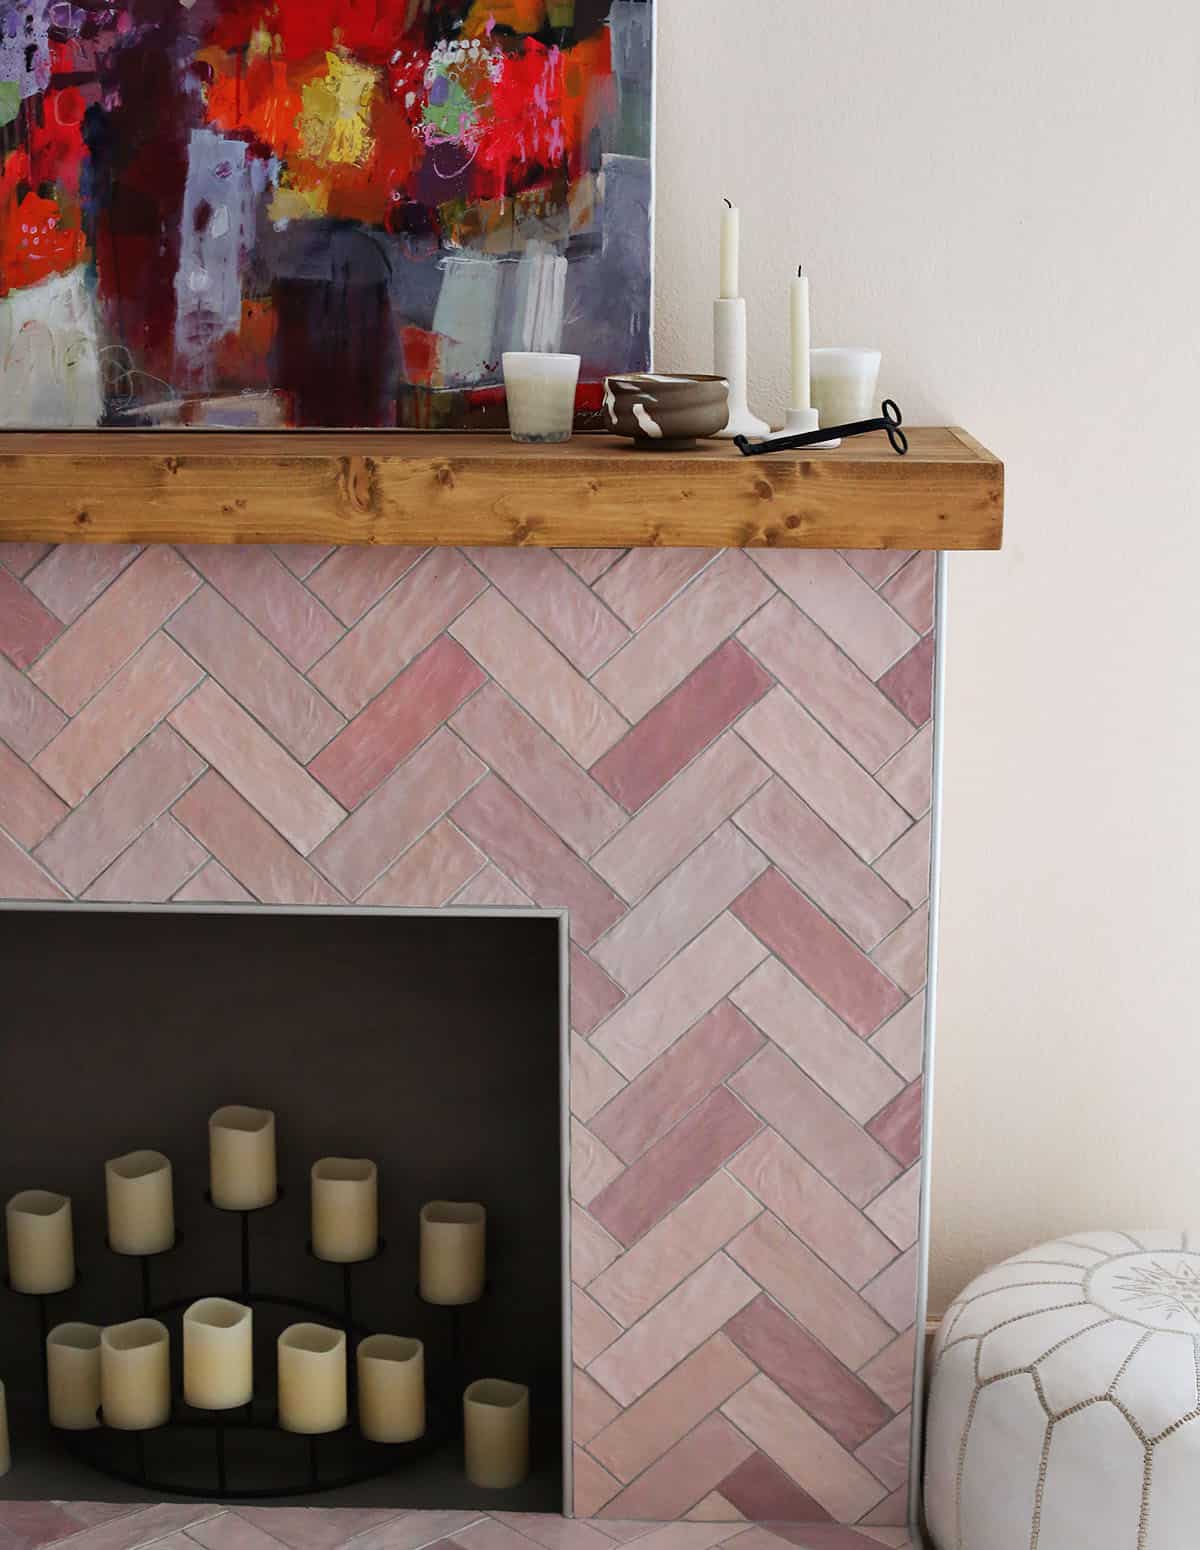
I currently use these DIY wood wick candles all around my house. But they also would make a really fun gift for friends or family. Enjoy and stay cozy this season! xo. Emma
Love this post? Sign up for our newsletter for more ideas!

Get creative ideas for recipes, crafts, decor, and more in your inbox!
 Get the How-To
Supplies
- soy wax beads
- essentail oils
- wood wicks (with metal bases)
- wick stickers, glue dots, or hot glue
Equipment
- candle making melting pot
- candle containers
Instructions
- Measure out the wax beads by filling the container(s) you plan to use. The melted wax will take up less space than the wax beads, so keep this in mind. If you fill the container all the way to the top, the melted wax will take up less space once poured, so this is typically how I measure.
- Add the wood wicks to the containers. They should come with a metal base. Add a wick sticker or glue dot to the bottom of the metal base once the wood wick is inserted, then add to your empty container.
- Melt the wax, then remove from the heat and add your essential oils. For a smaller candle, I’ll add anywhere from 8-12 drops. But you can measure based on your smell, as some people want a super scented candle and some like their candles more subtle.
- Pour the melted wax into the containers. If you have a candle with multiple wicks or a slightly uneven base (like a rounded bowl), you can use items like a wooden spoon to keep the wood wicks from leaning as the wax dries.
- Once the wax is fully dry (it will become solid looking again, like the beads), trim the wood wicks before use.


Such an excellent DIY!
Hey you guys, I know this is an older post but perhaps if you see it, well, it might bring up something. How (or do you?) stablish a “this is my home” kind of smell? I’ve been on a trip to Buenos Aires almost ten years ago but they had this vanilla-and-something else smell on the hotel corridors that I could never quite decipher, and every once in a while something remoinds me of it, and I am instantly teleported to these times. I woud really like to get to a specific smell that people would, over time, over long periods maybe, smell and think “hey! this reminds me of their place!” — I just don’t have one of those right now. Do you share this want? Any advices on how to make a loved place an olfactory memory?
Hi, I have been unable to pull up 2 blog posts of yours on Bloglovin. The first post was the spring rolls. The second post was 10 Things I love Sunday. I just get a squarish frowny face. I have tried several times on different days and still get the frowny face.
Huh. That’s weird. Thanks for letting us know!
Thanks for instructions and sharing your ideas.