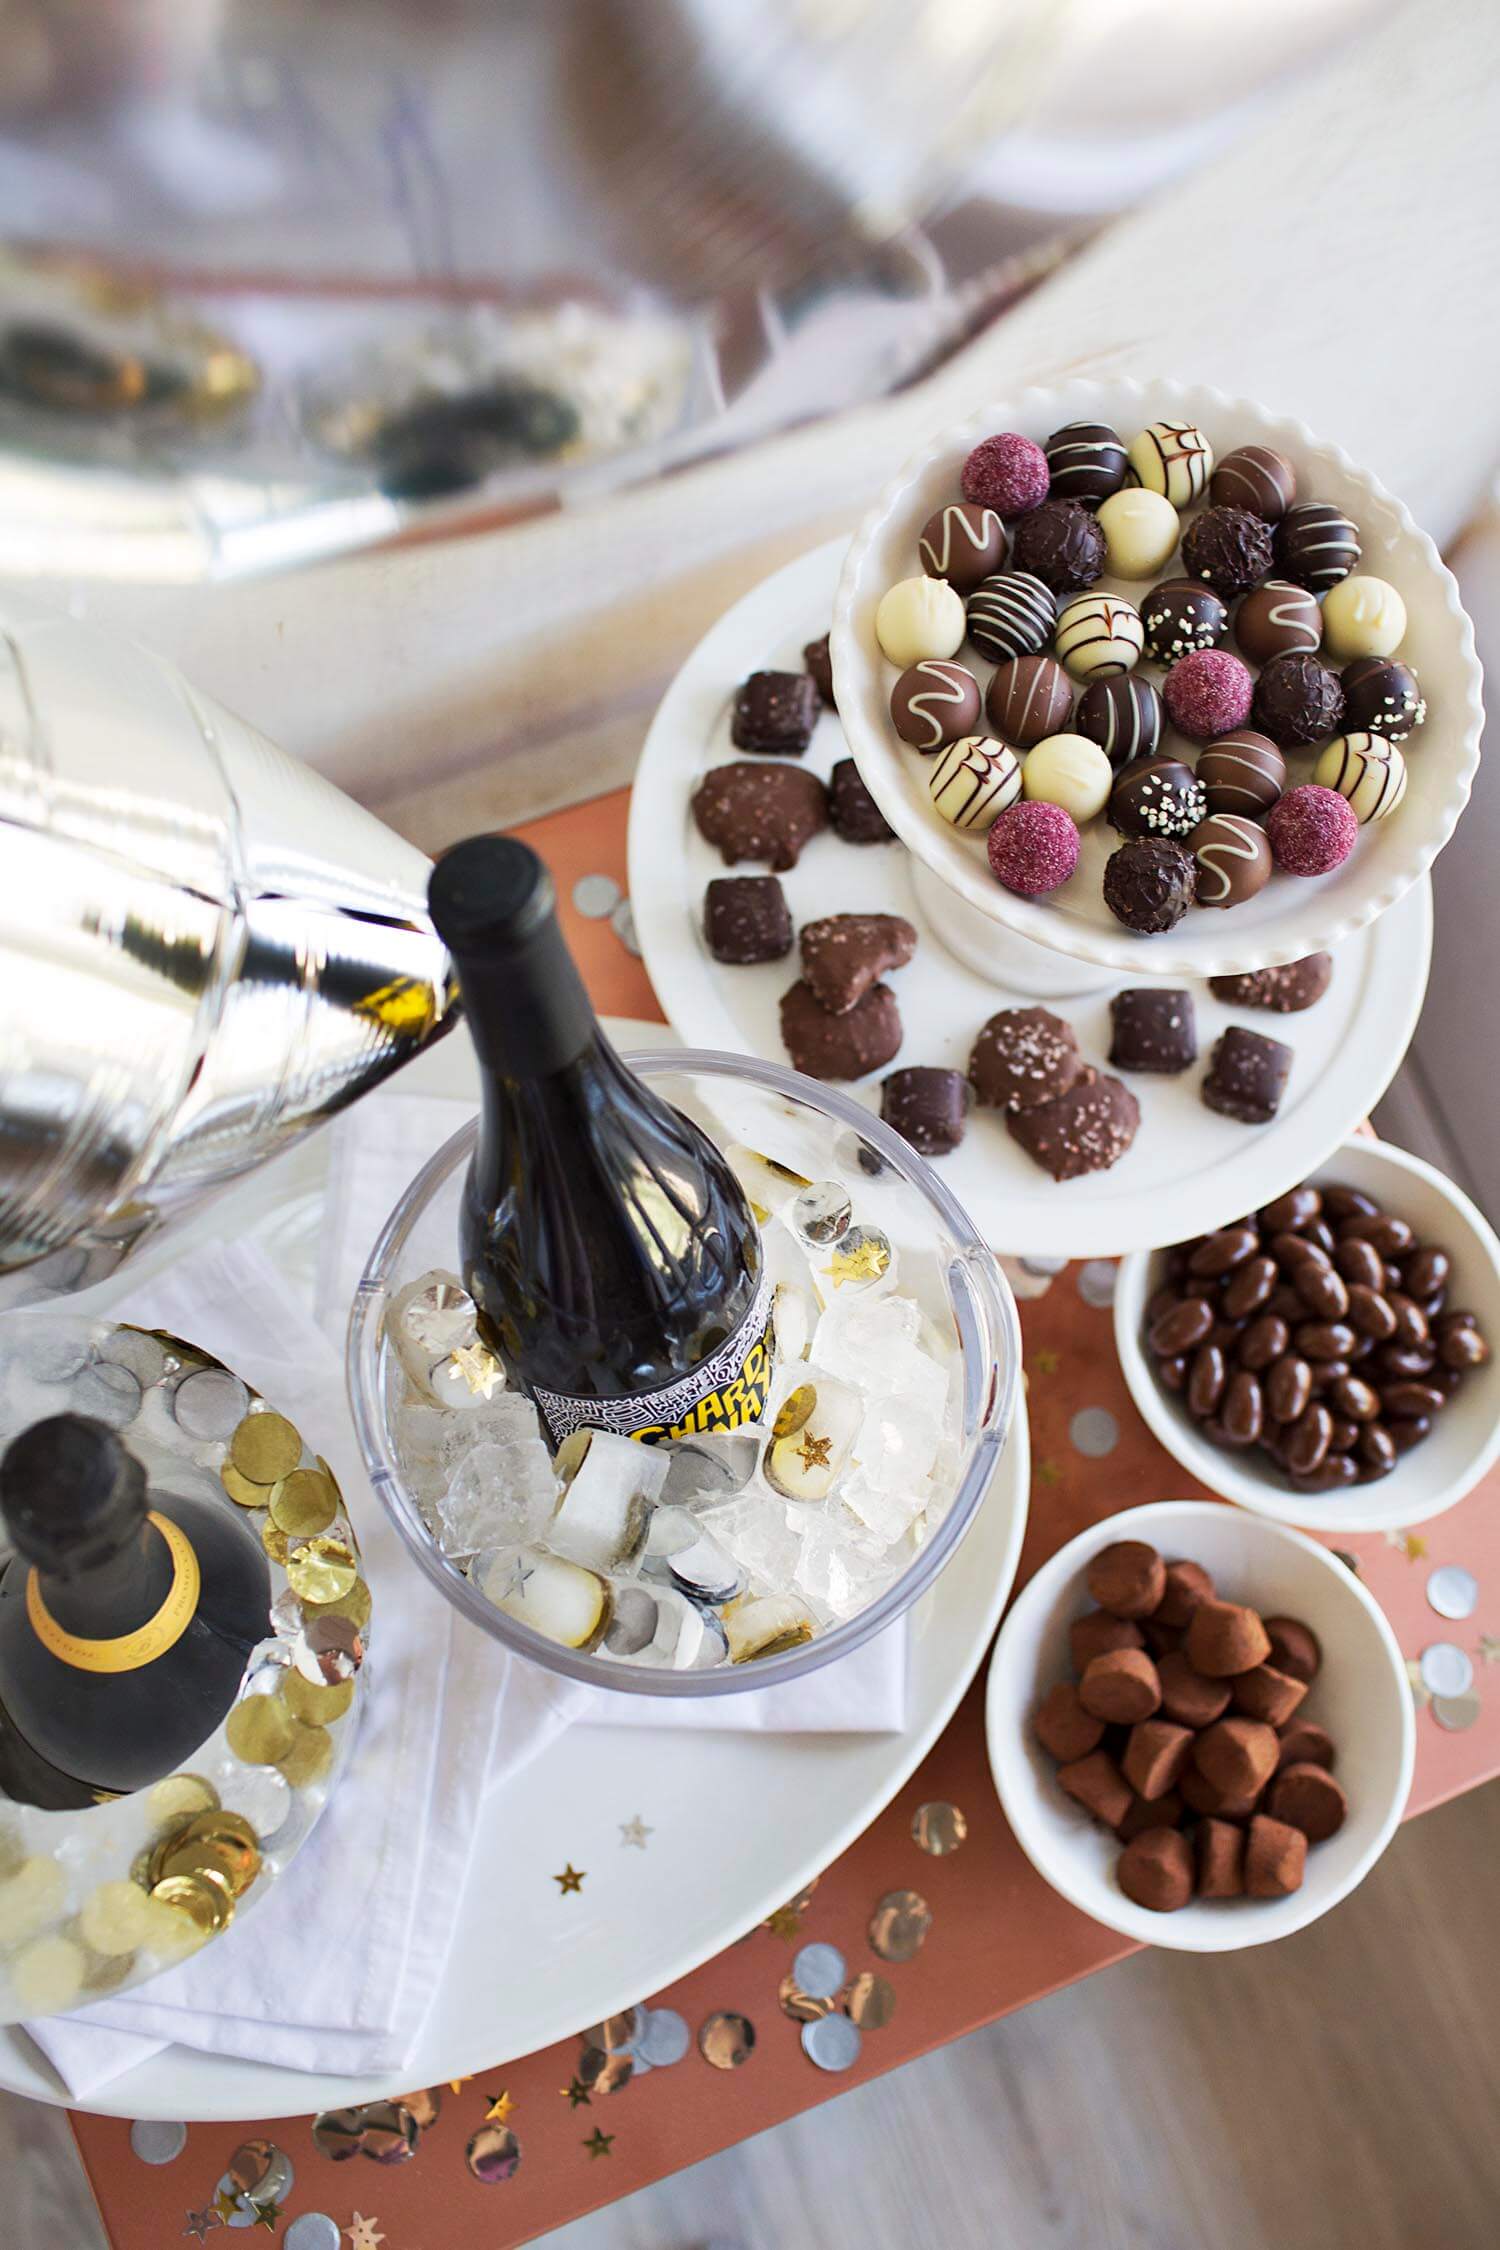
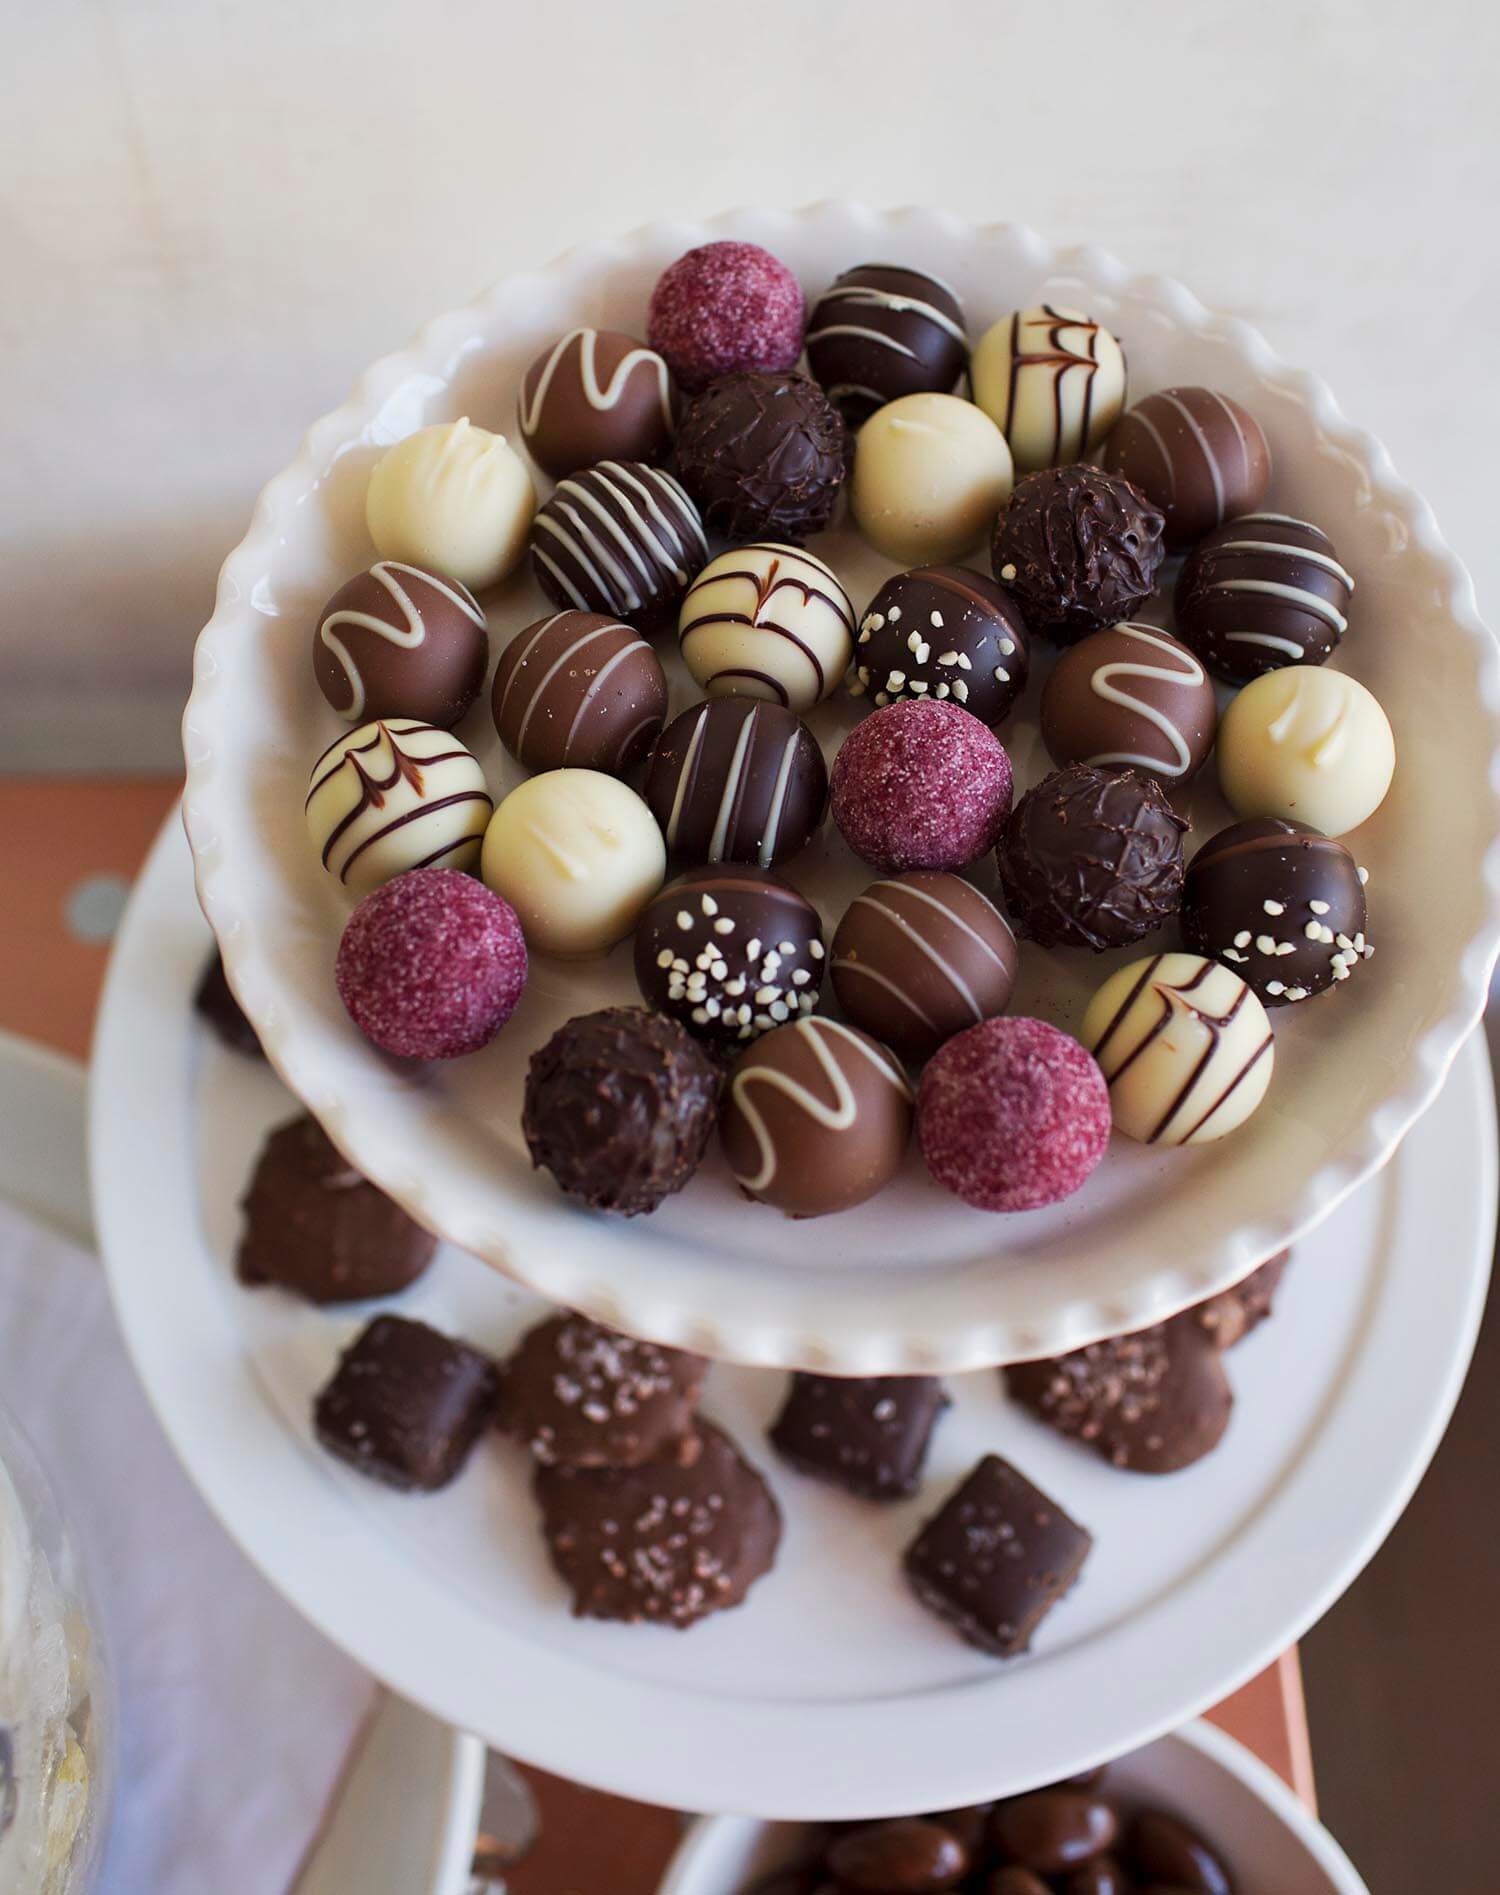
In this post, we are working with ALDI. All of the wines and chocolates you see in this post are from ALDI and they are soooooo good. Quite a few of the wines I picked up are award winners (plus they are still really affordable in case you are stocking up for a party; I got all of my wines in this post for under $50!), and I cannot get over how many great little chocolate treats they have in stores. The chocolate truffles are adorable! Makes getting ready for a party too easy. 🙂
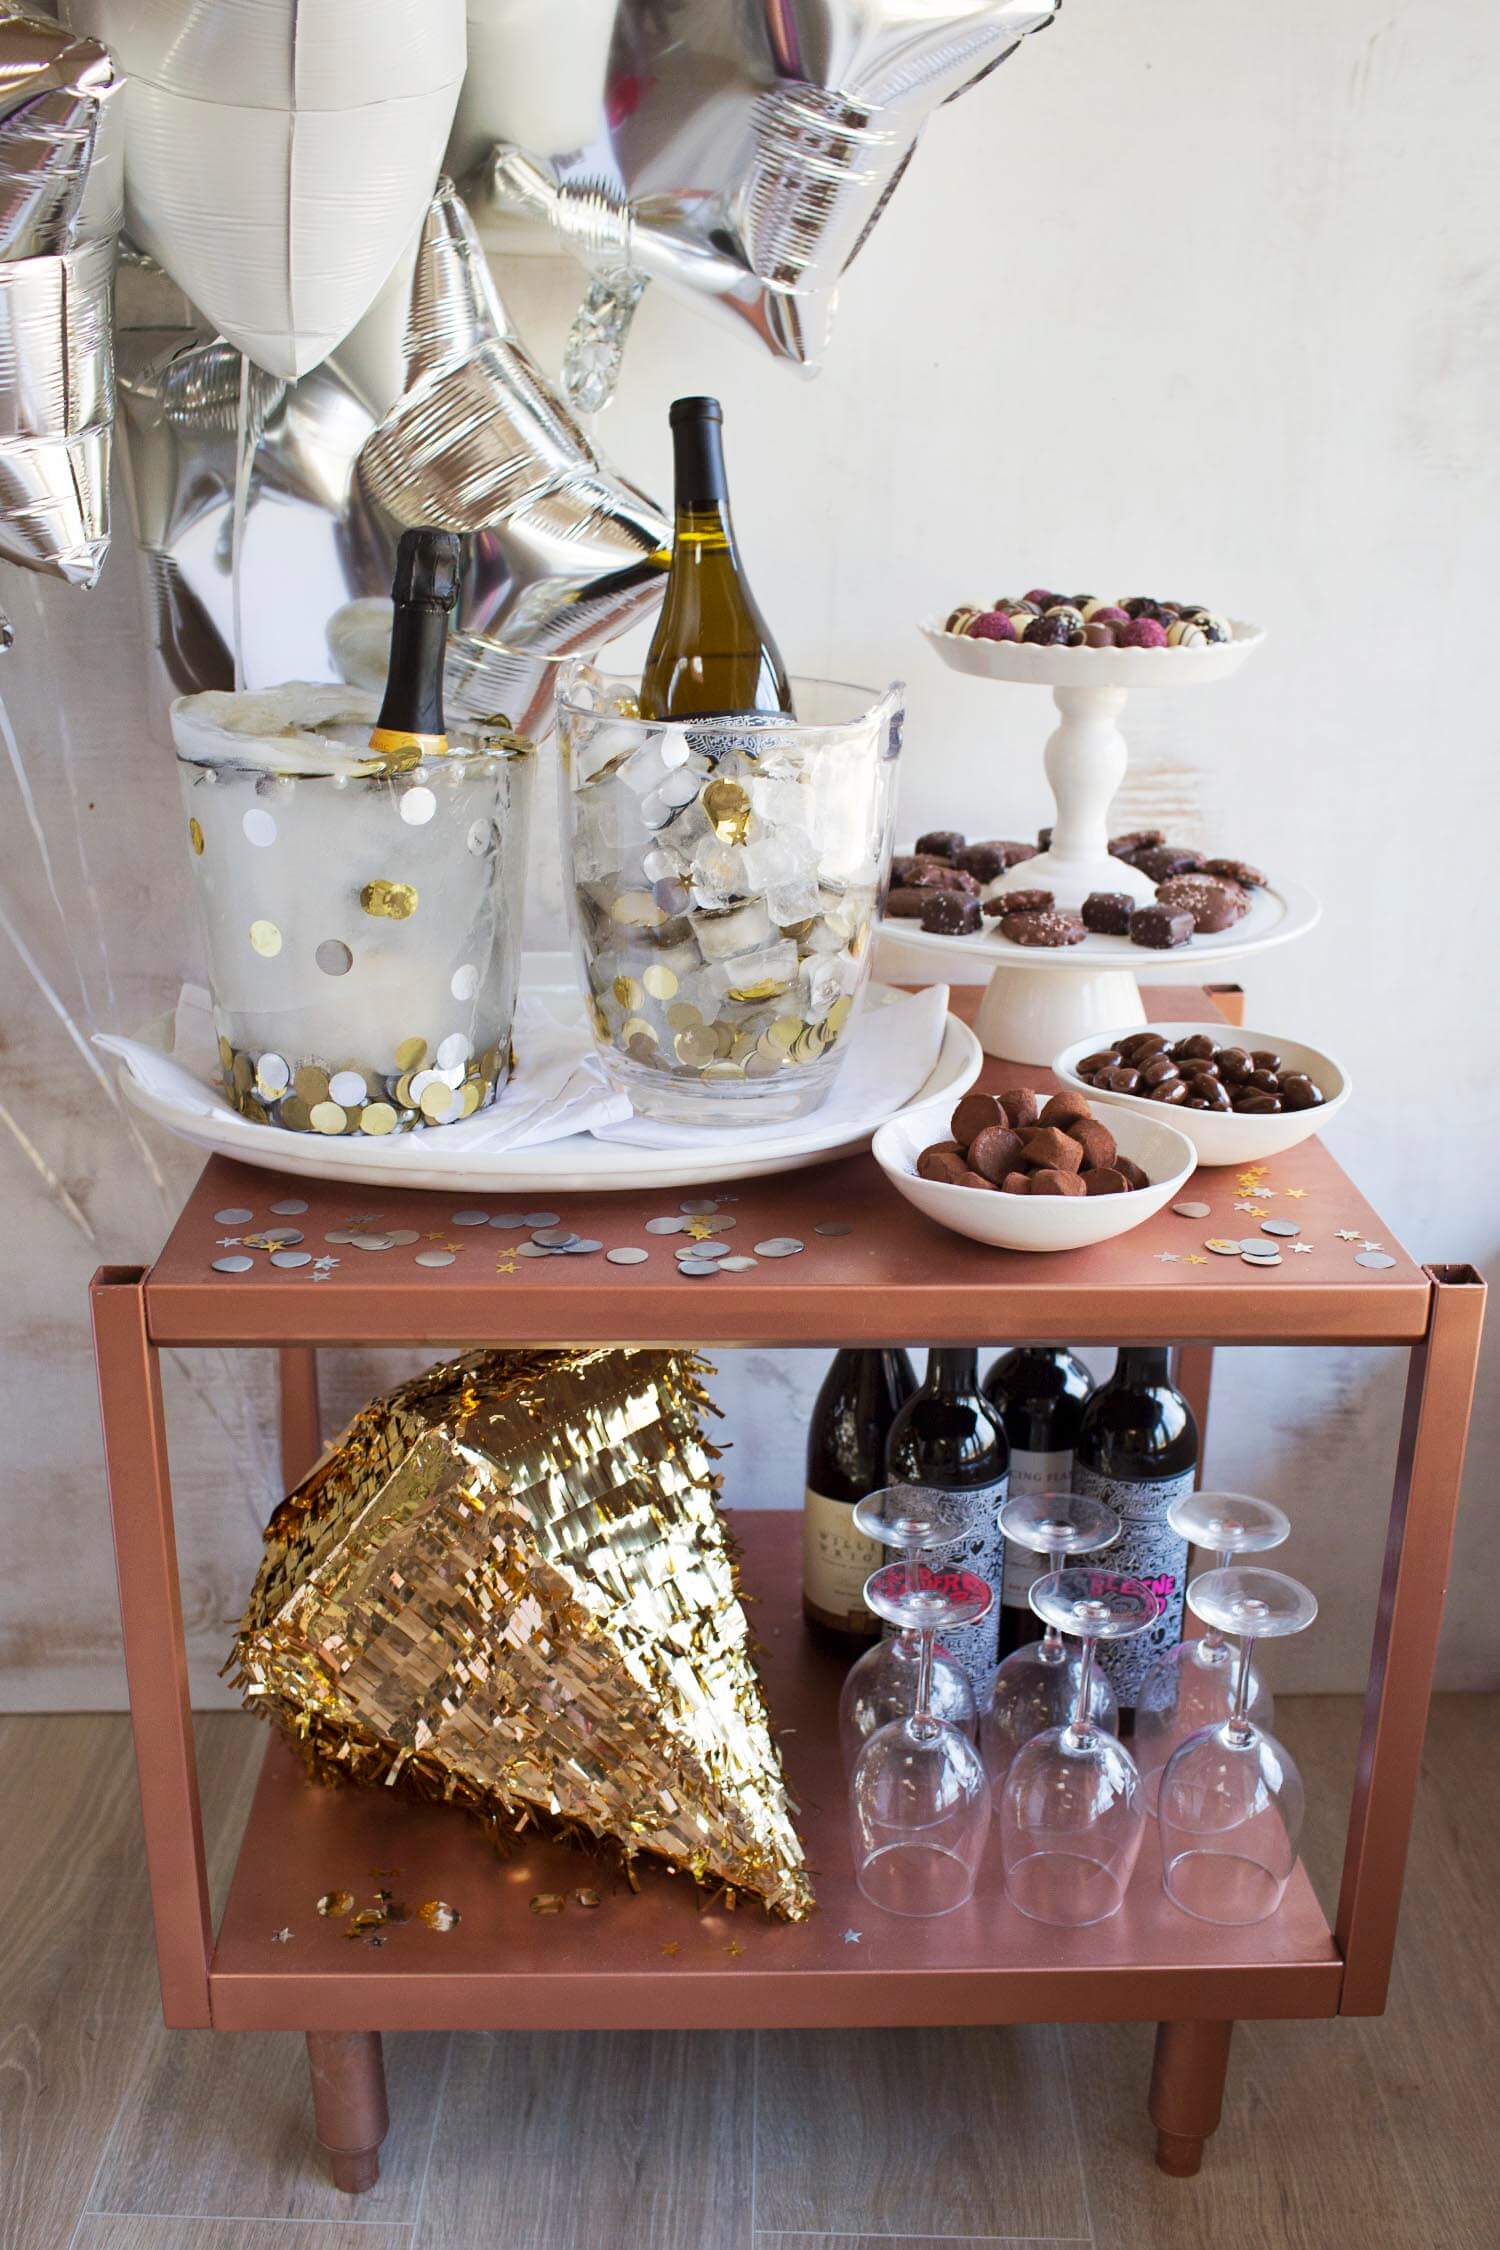
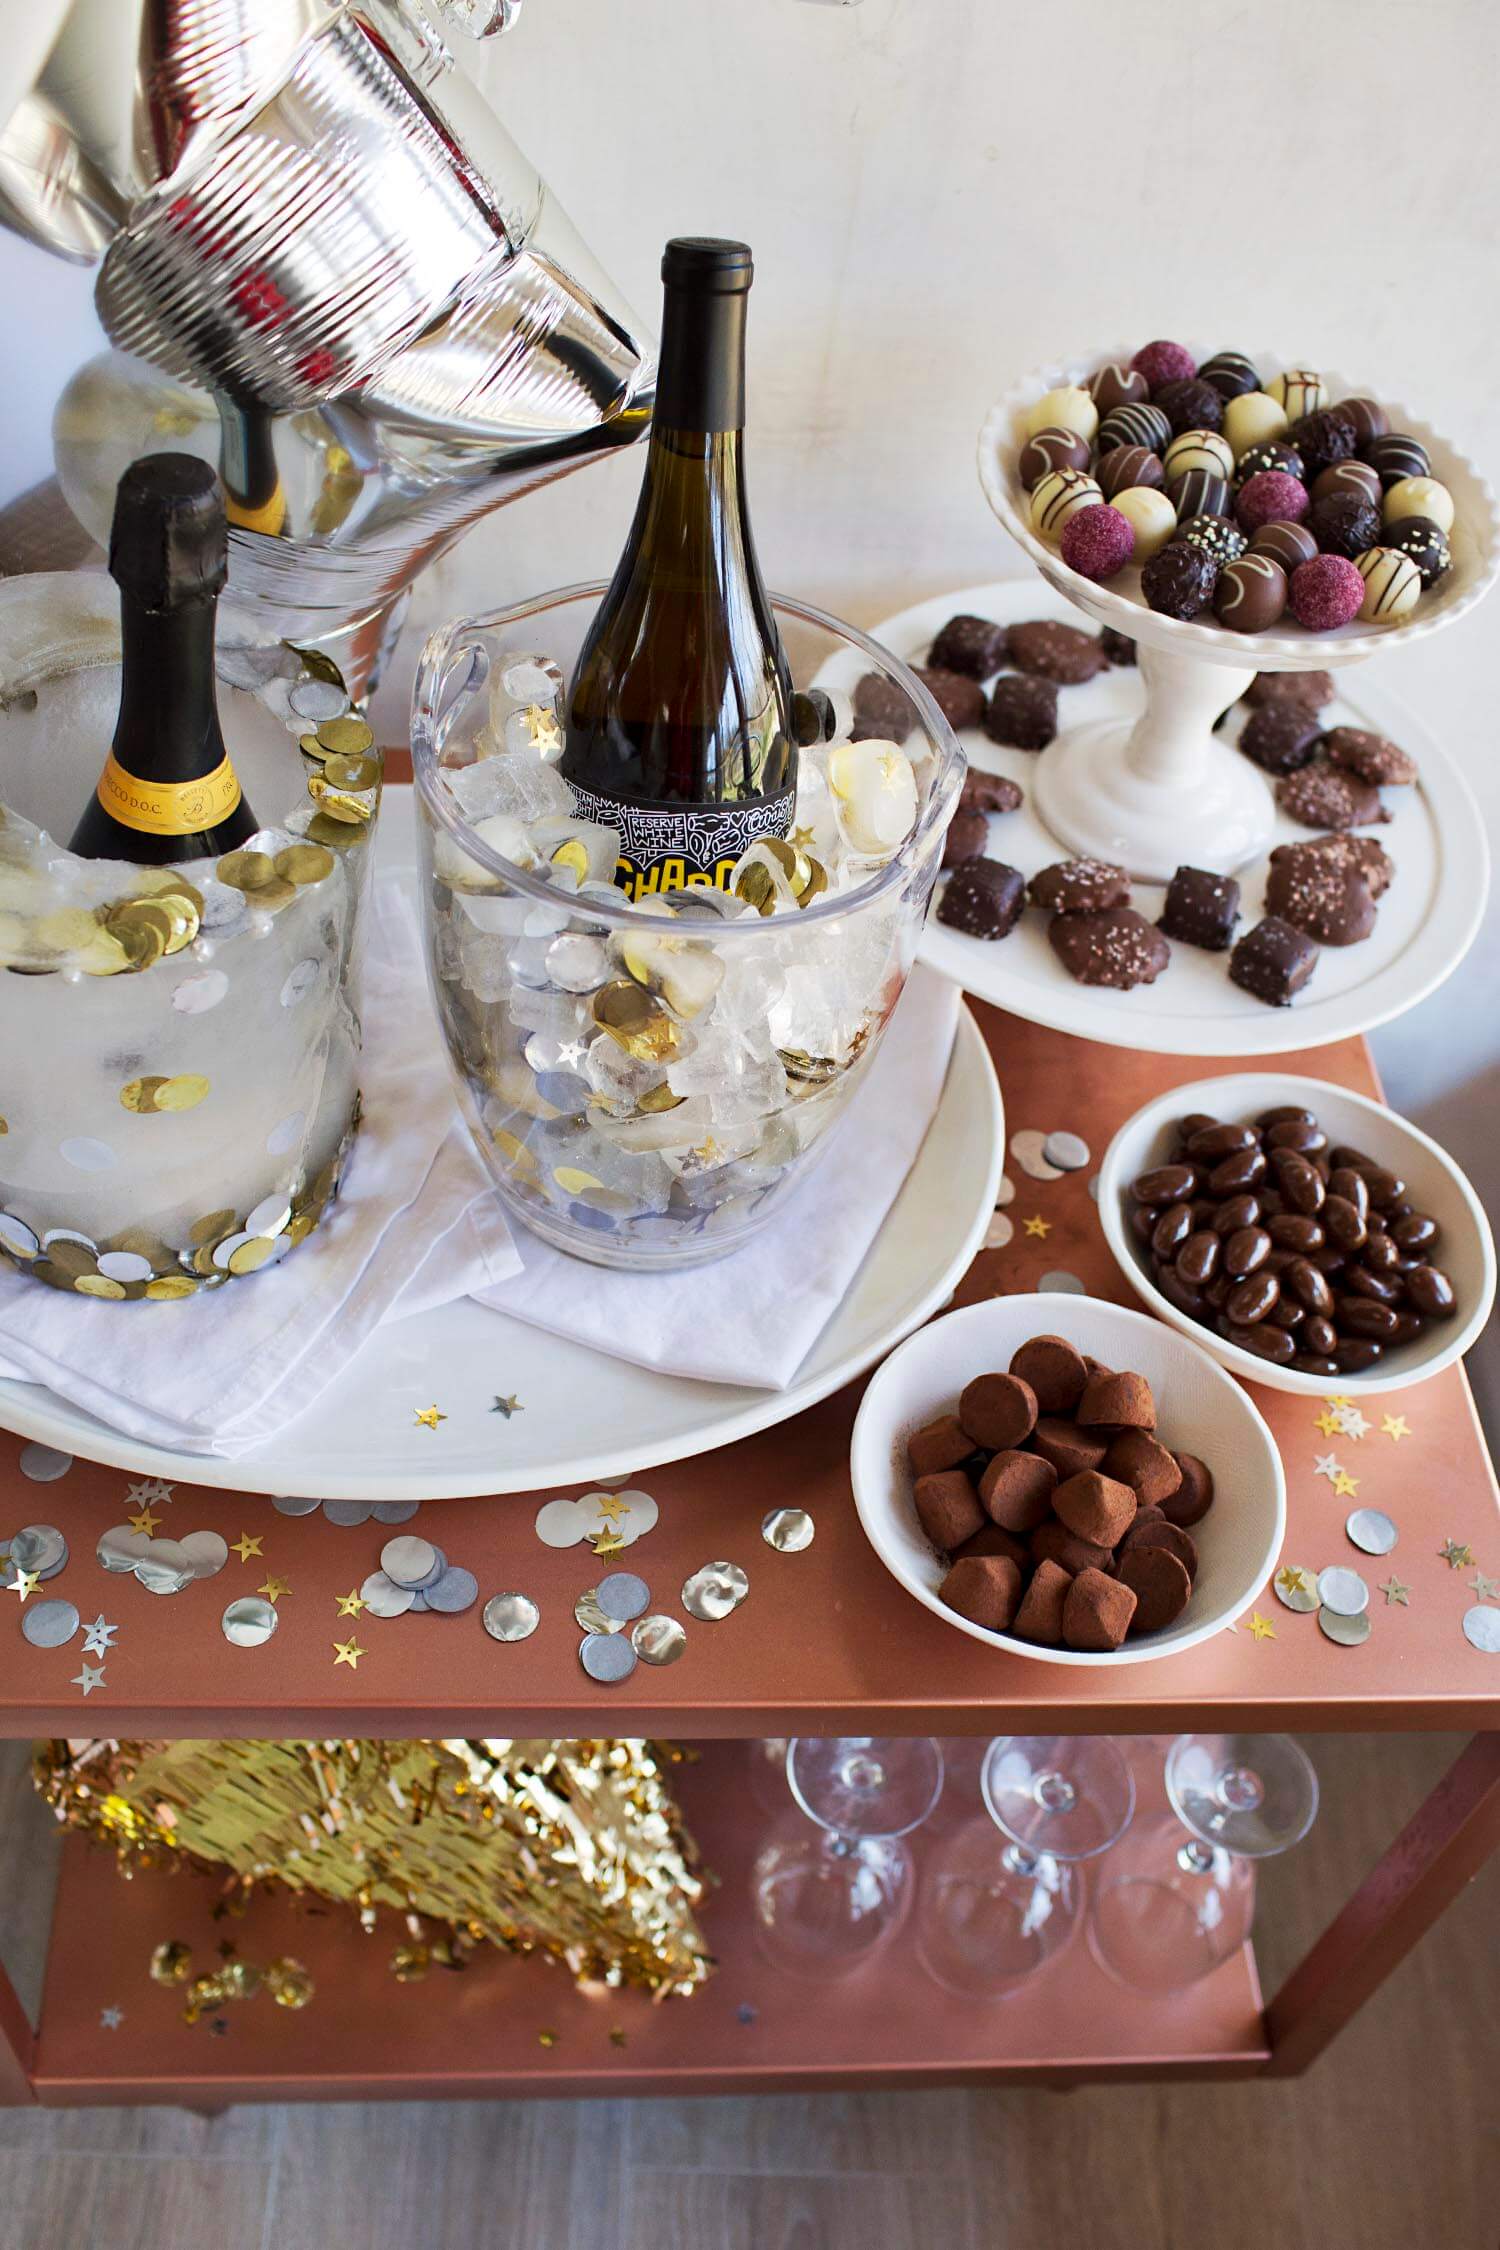
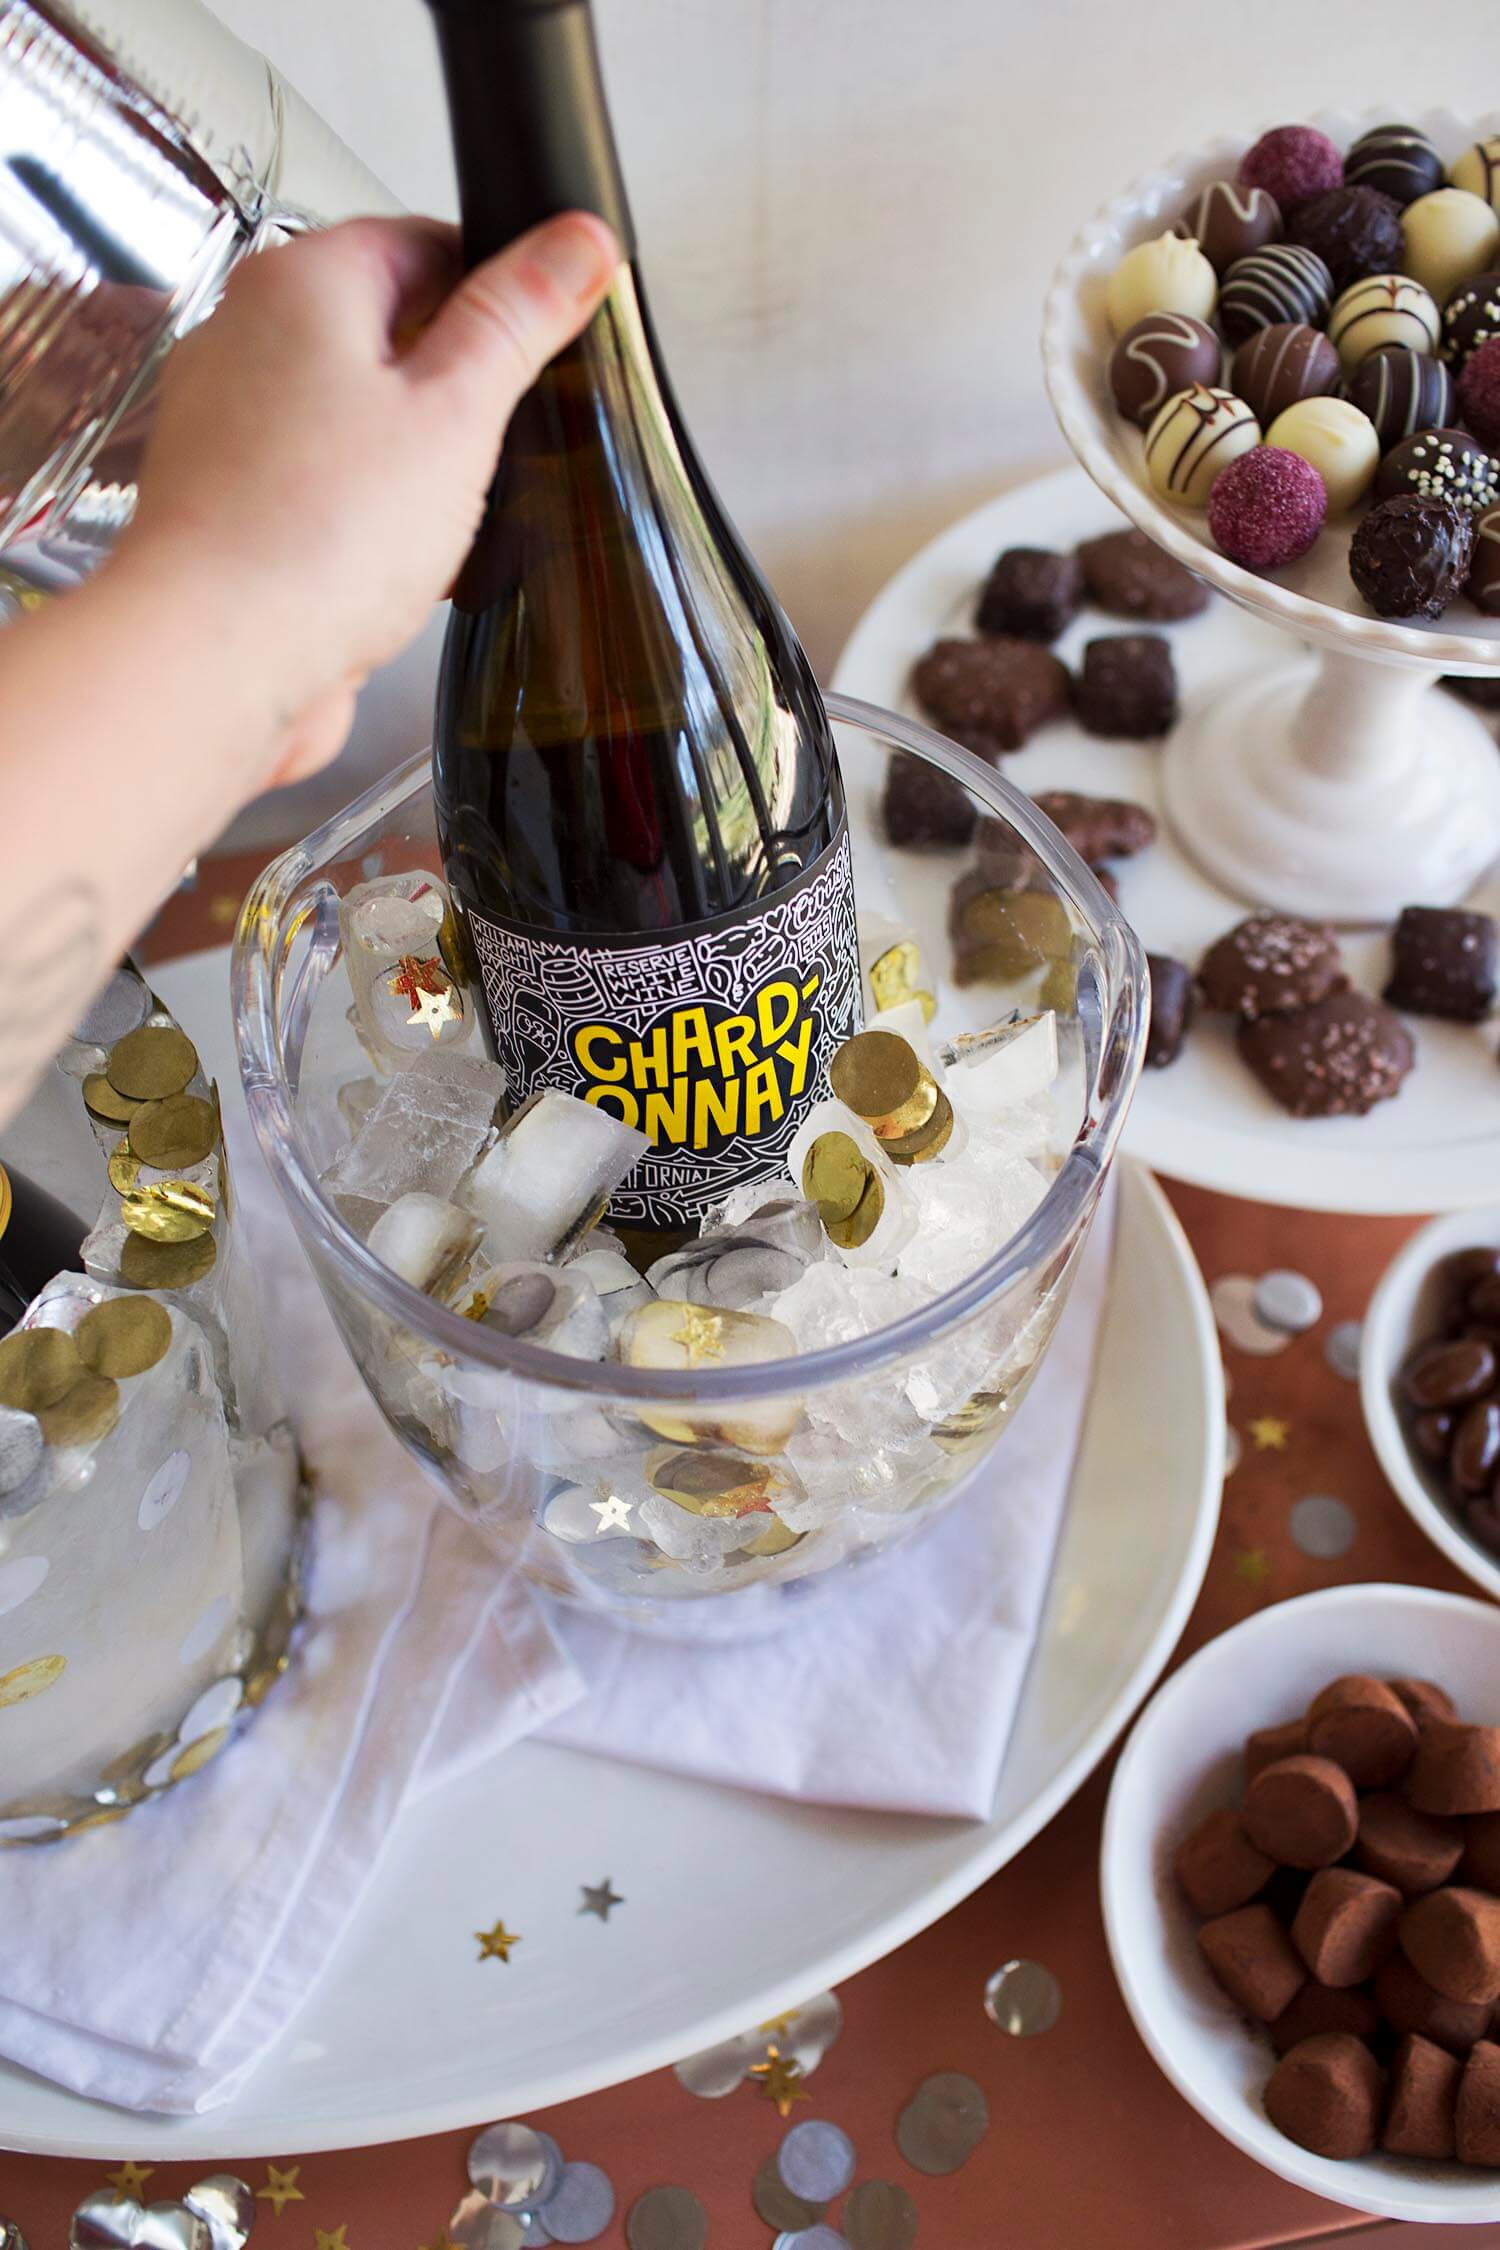
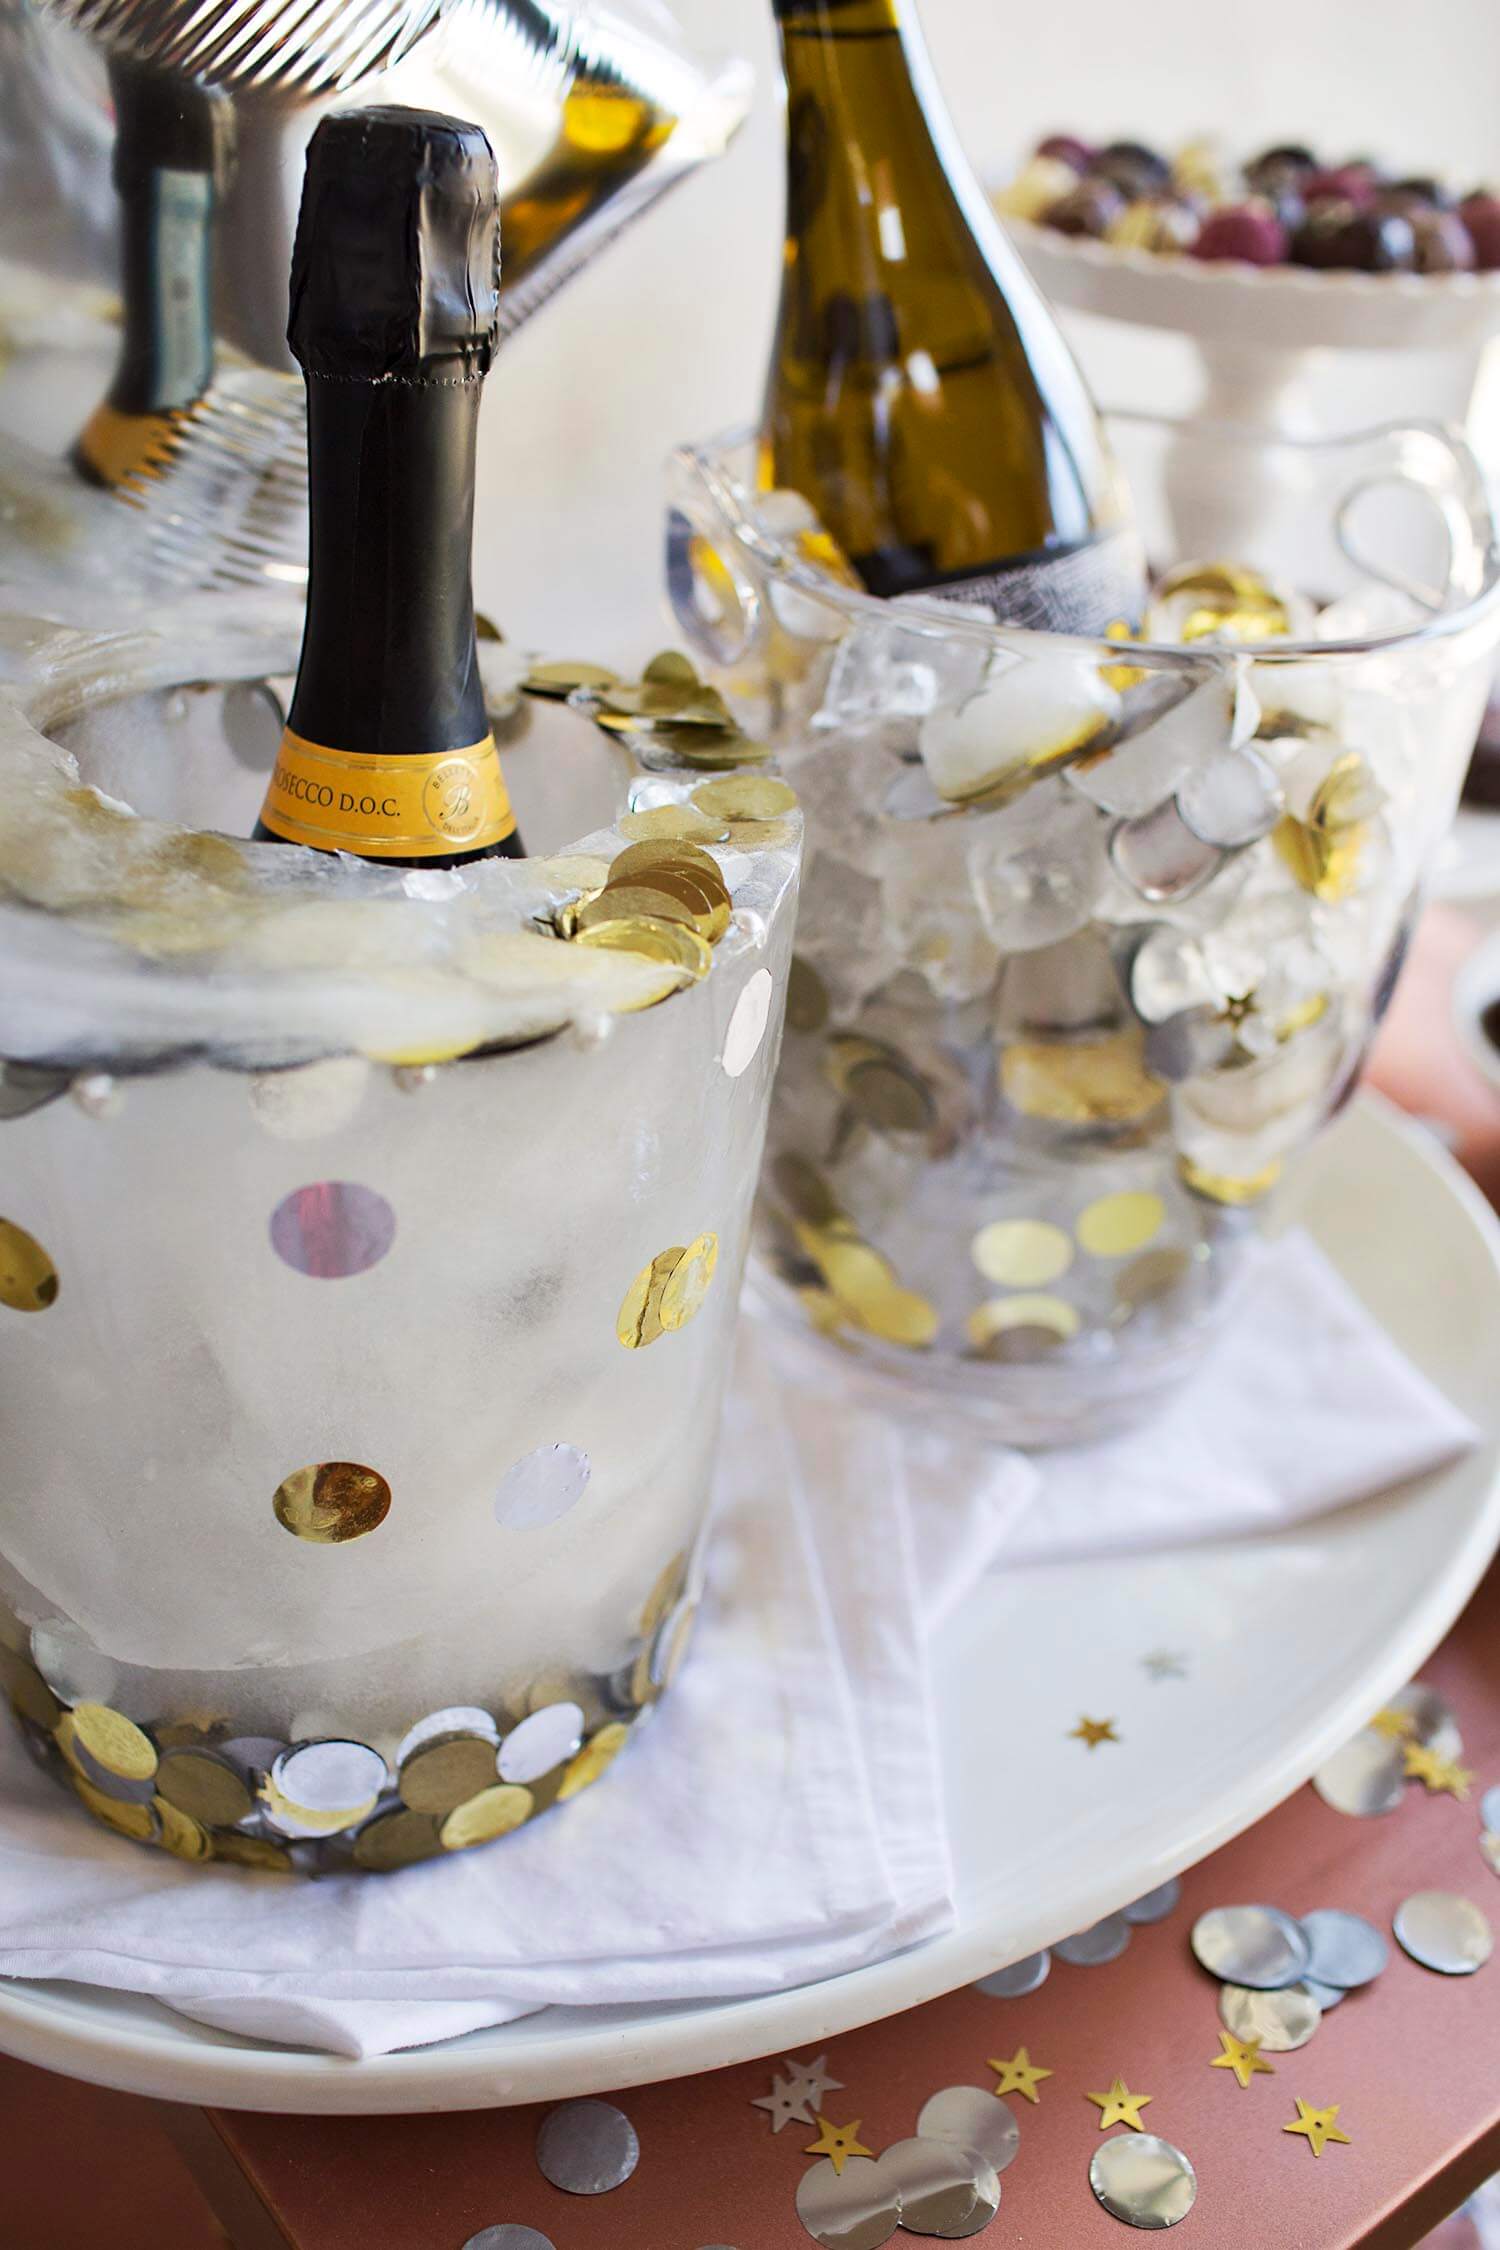
For red wines, they don’t need to be served chilled, and they are super easy to have on hand for a party. Just open an hour or so before the party so they can breathe and you’re basically good to go. But I’ve always thought wines that require refrigeration (so they can be served chilled) are a bit tricky at a party. Mainly, if they are tucked away in your refrigerator, sometimes it’s hard to remind guests that’s where they are. After all, sometimes people feel a bit odd just going through your refrigerator. Plus there’s the whole “out of sight, out of mind” issue, so it’s possibly guests may not know you have chilled wines and then it becomes your job all night to remind them. Which I don’t know about you, but I’m not a good enough hostess to remember to do that once a party gets underway.
Wouldn’t it be better if the chilled wines could somehow sit out on a table or a wine bar while looking cute but still staying cold? Good news, I’ve got two methods to recommend to you—both super cute and effective, but one is much easier than the other. 😉 Plus, who doesn’t like options?
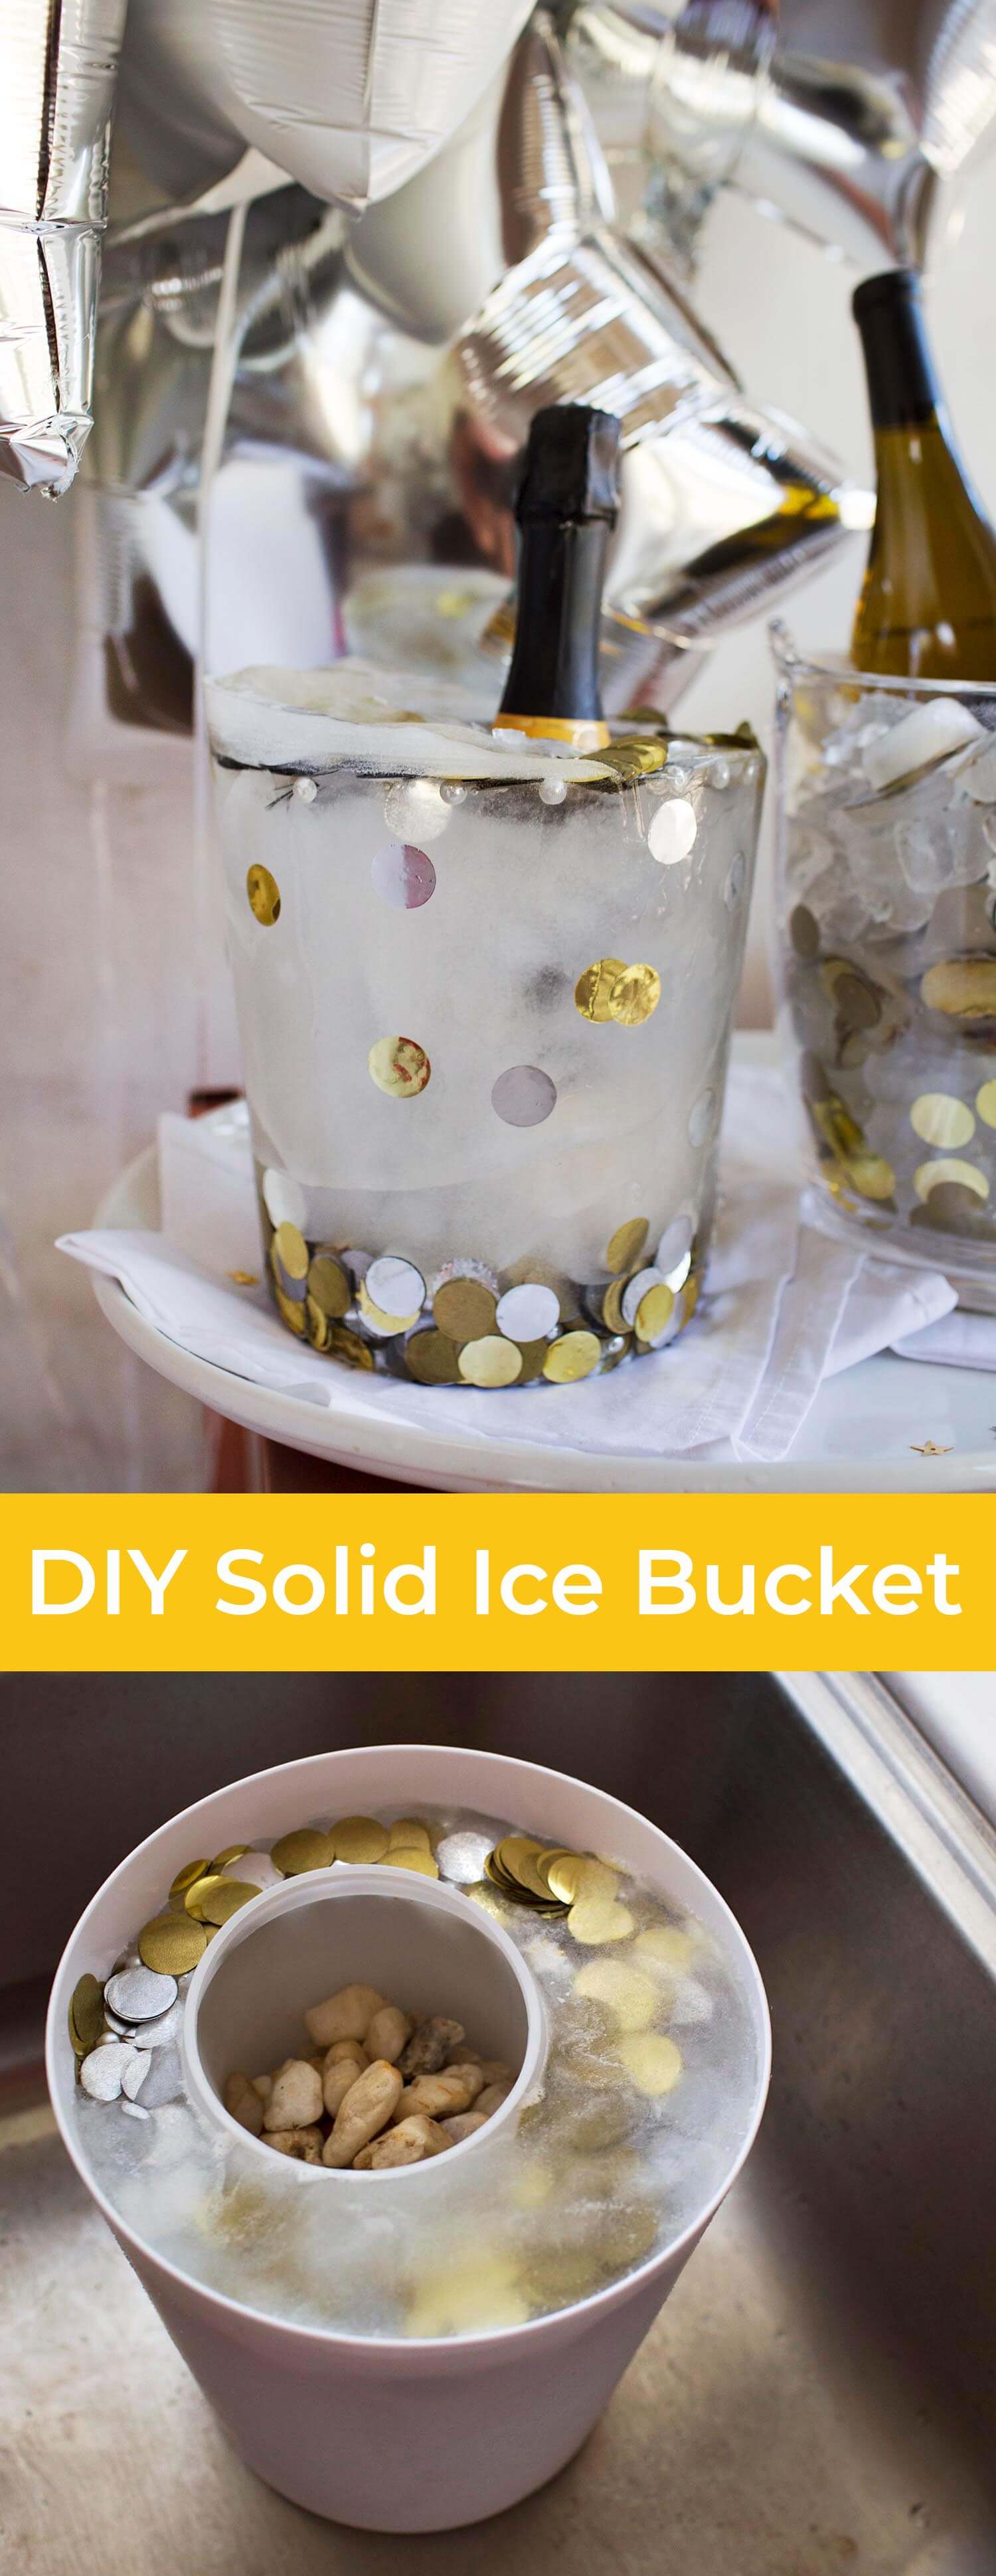
First, I wanted to see about the whole solid ice bucket thing. I’ve seen these in magazines before, but I was curious how easy they were to make and how long they might last once they were sitting out (like they would be for a party). So here’s how I made one along with tips and thoughts for you.
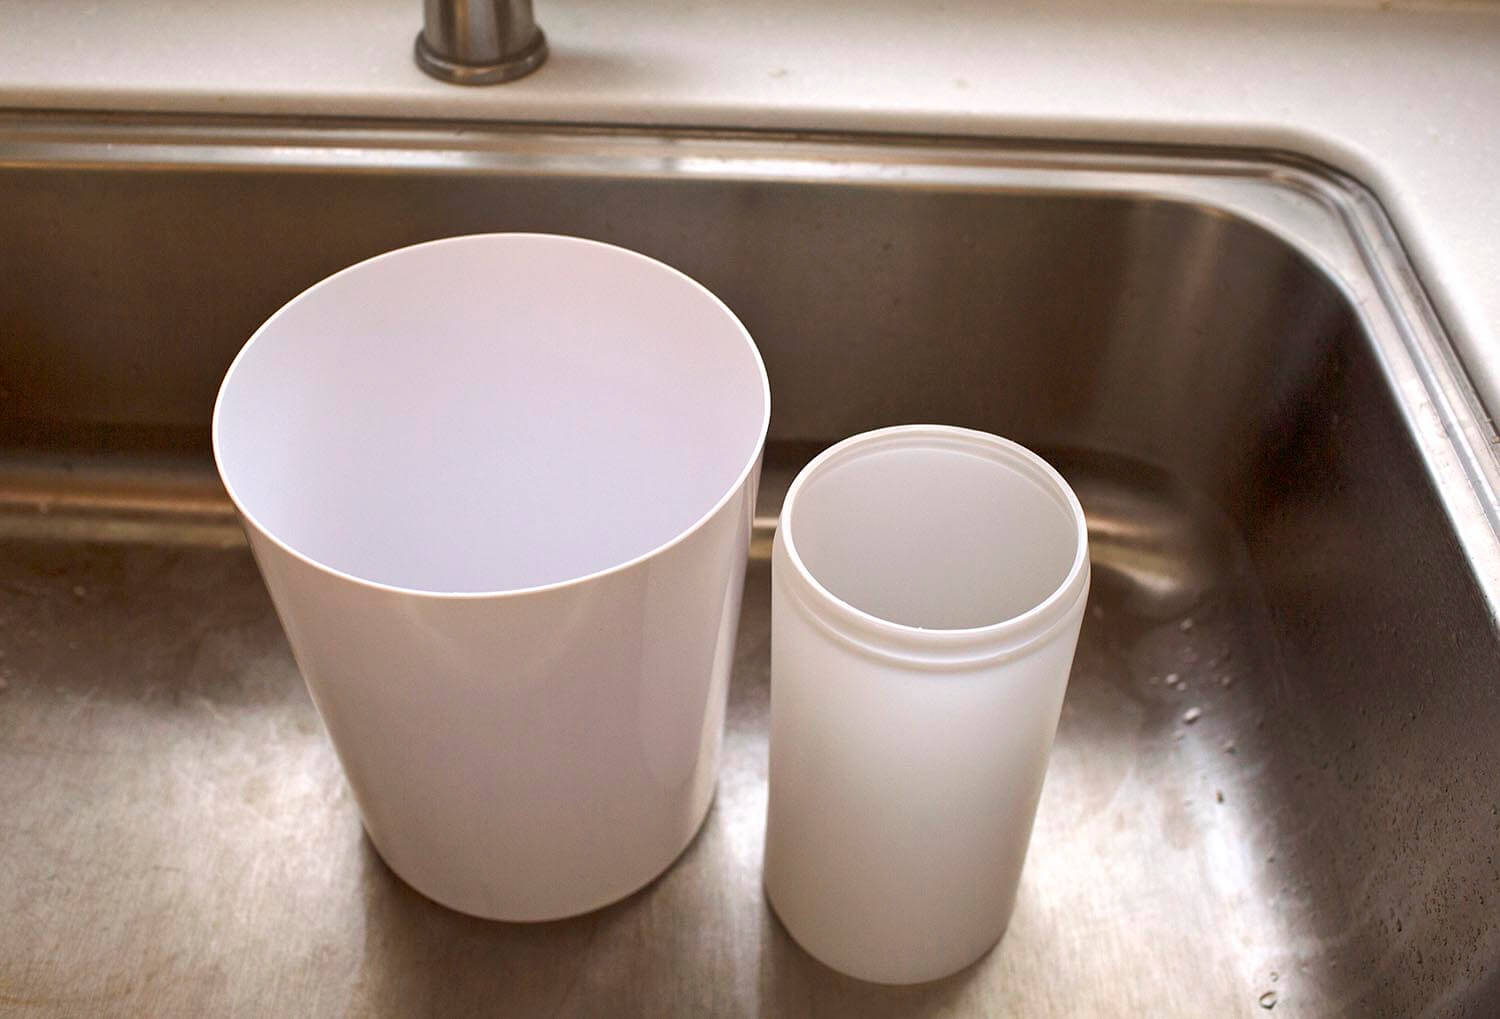
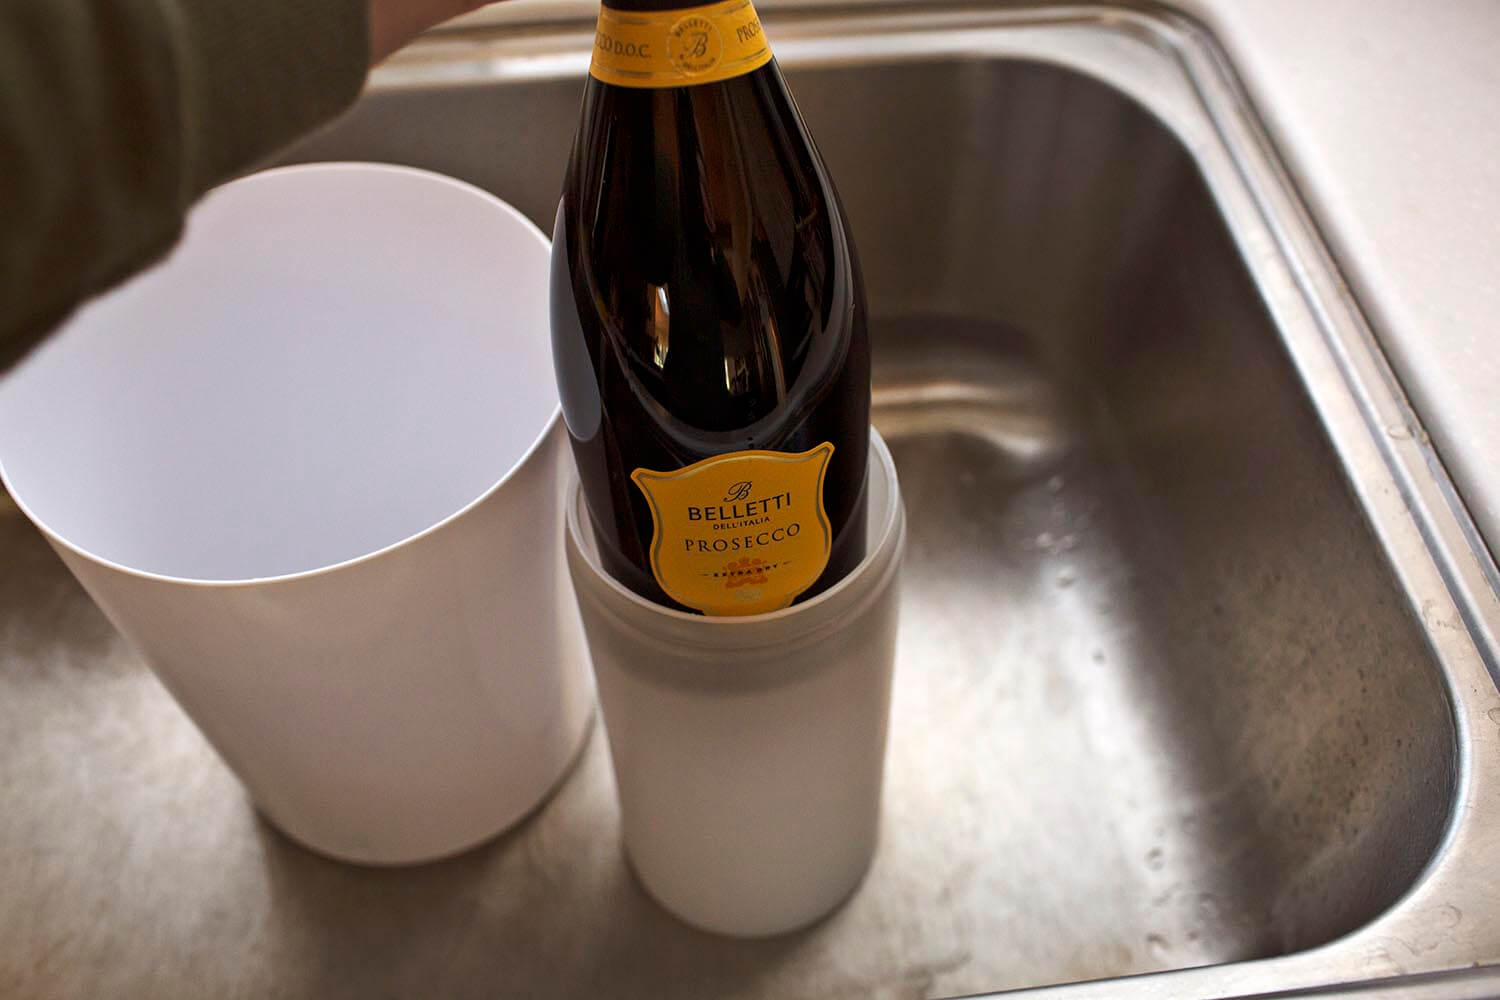
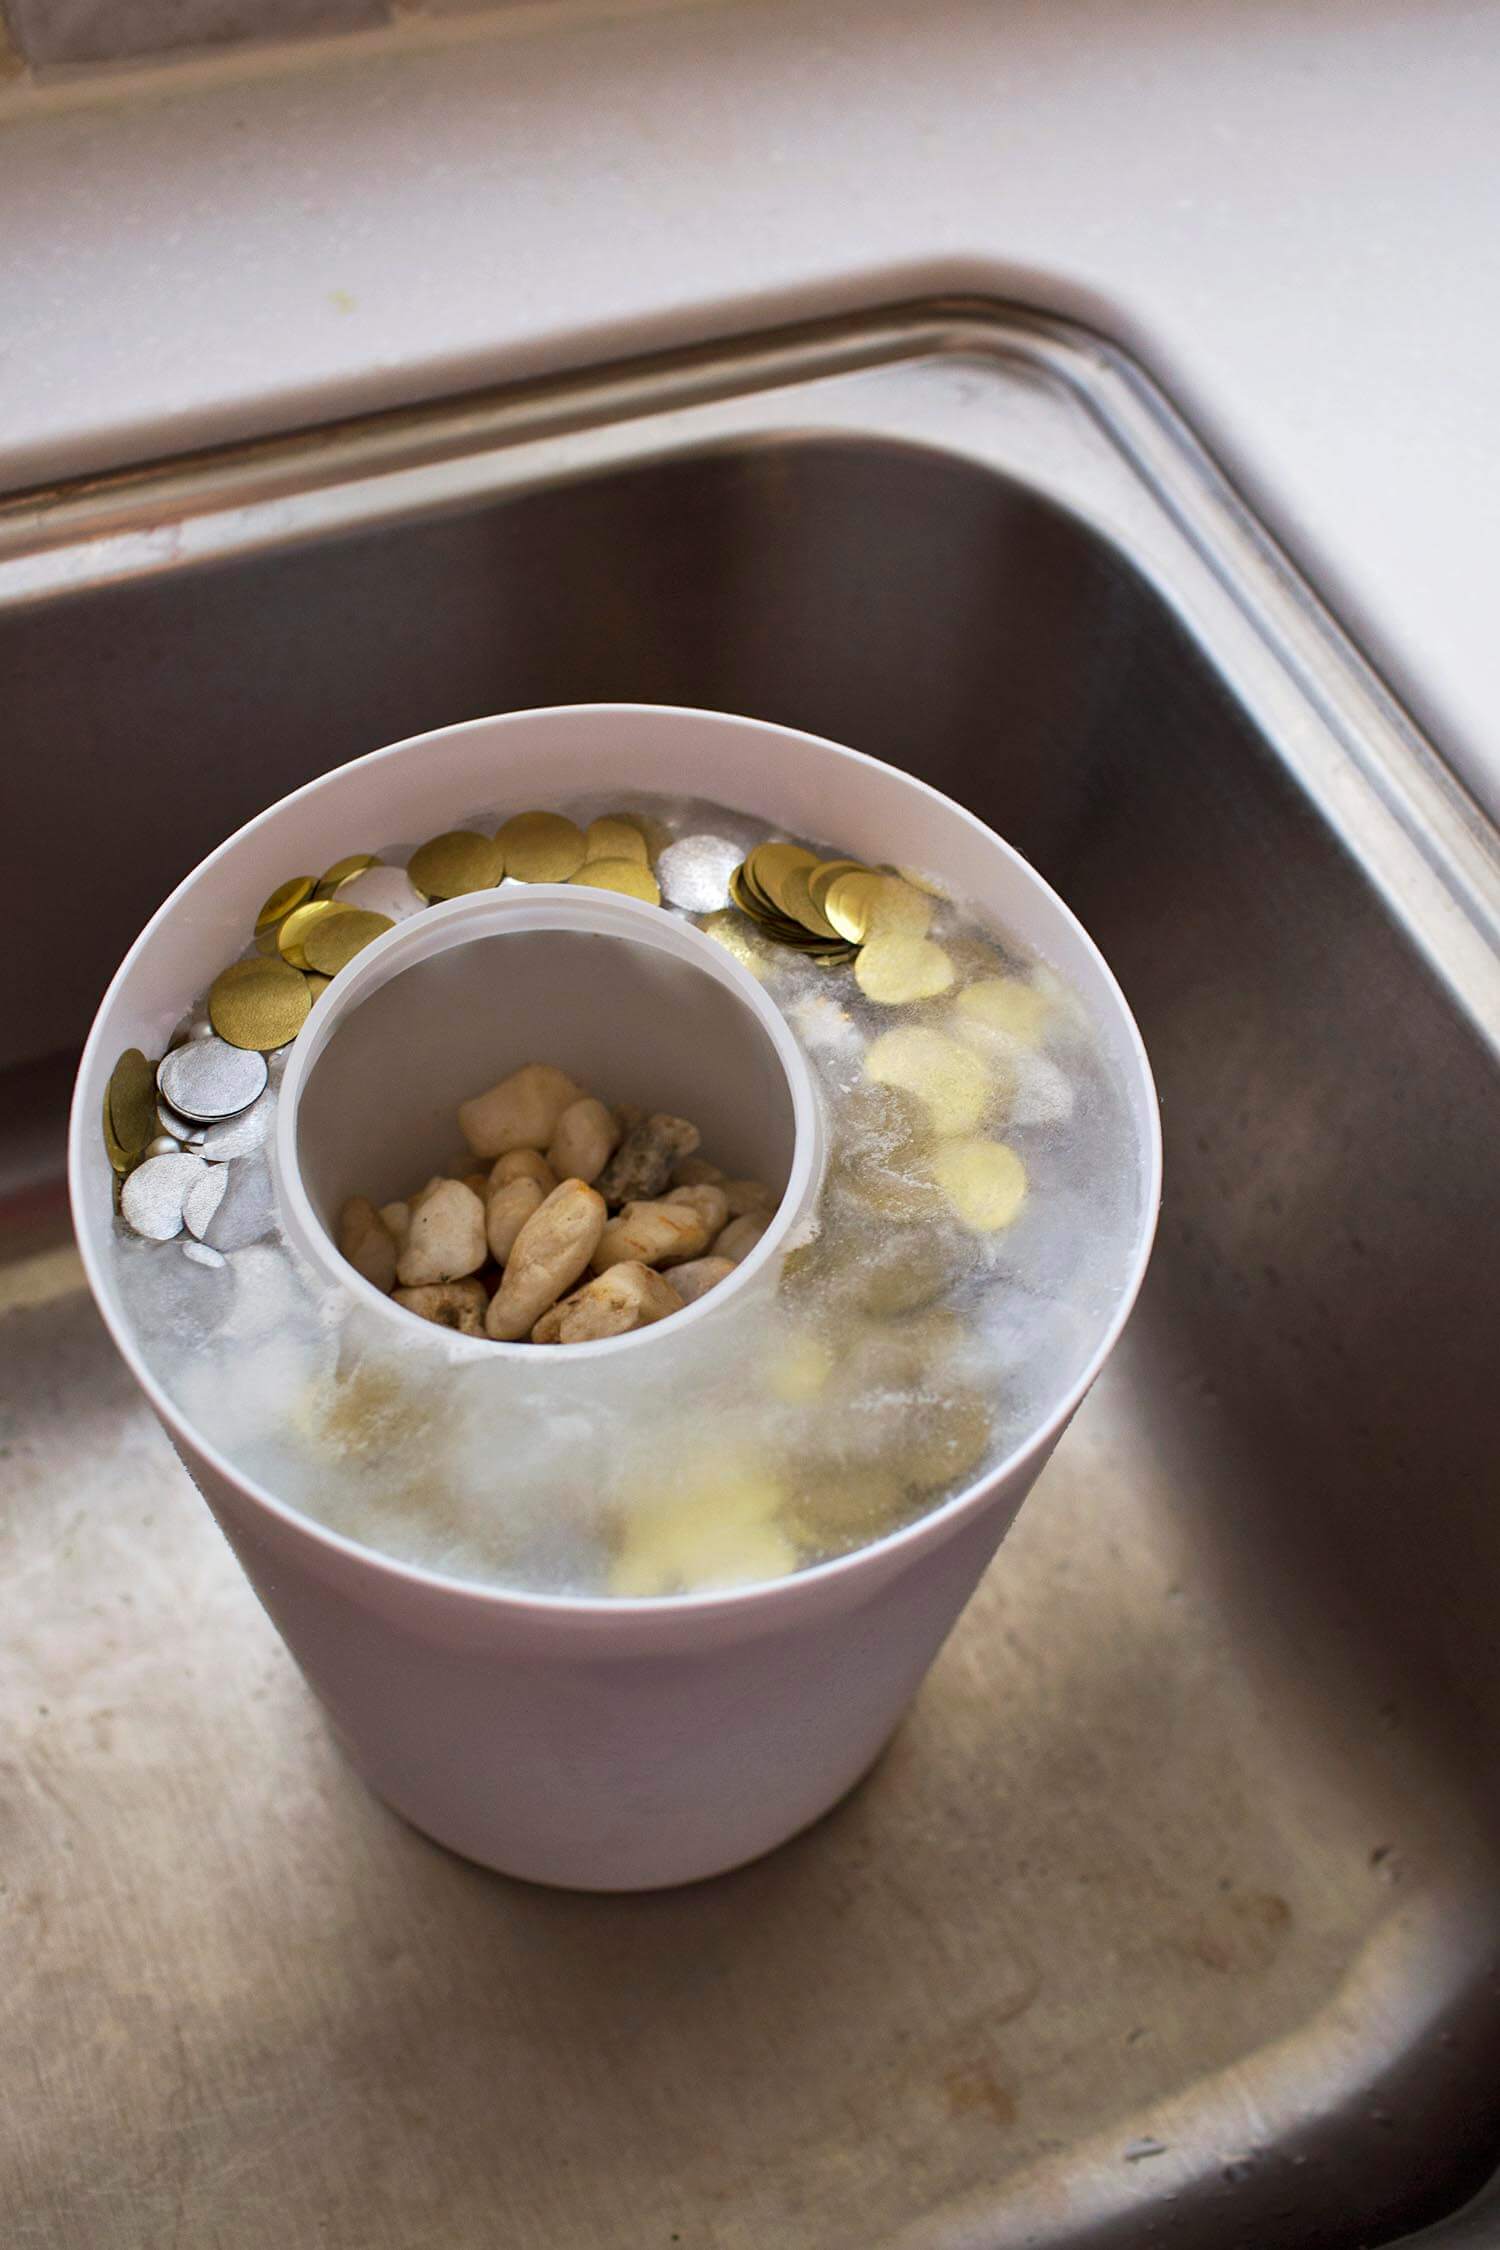
Fill the smaller container with your rocks/weights (so it will not float) and set this inside the larger container. You want some space in between the bottom of the smaller container and the larger one, so that your final frozen bucket will have an ice bottom as well. So I added a few plastic pearls under so the water would flow and freeze around the entire inside container. You could use a number of things here though; I was just using some plastic white pearls throughout, so this worked well for me.
Fill the container with water and the confetti or whatever you plan to use in the look of your ice bucket. Keep in mind that water expands as it freezes so you can leave some space at the top. Place in your freezer and freeze overnight.
I froze my container in two layers so I could get more confetti throughout the final look, but this partly depends on what you use inside the water and if they float or settle or not.
I also used very hot water (almost boiling) as I had hoped this would result in a more clear frozen ice bucket (as opposed to the cloudy ice look), but it didn’t seem to make a difference for me. So, up to you on that.
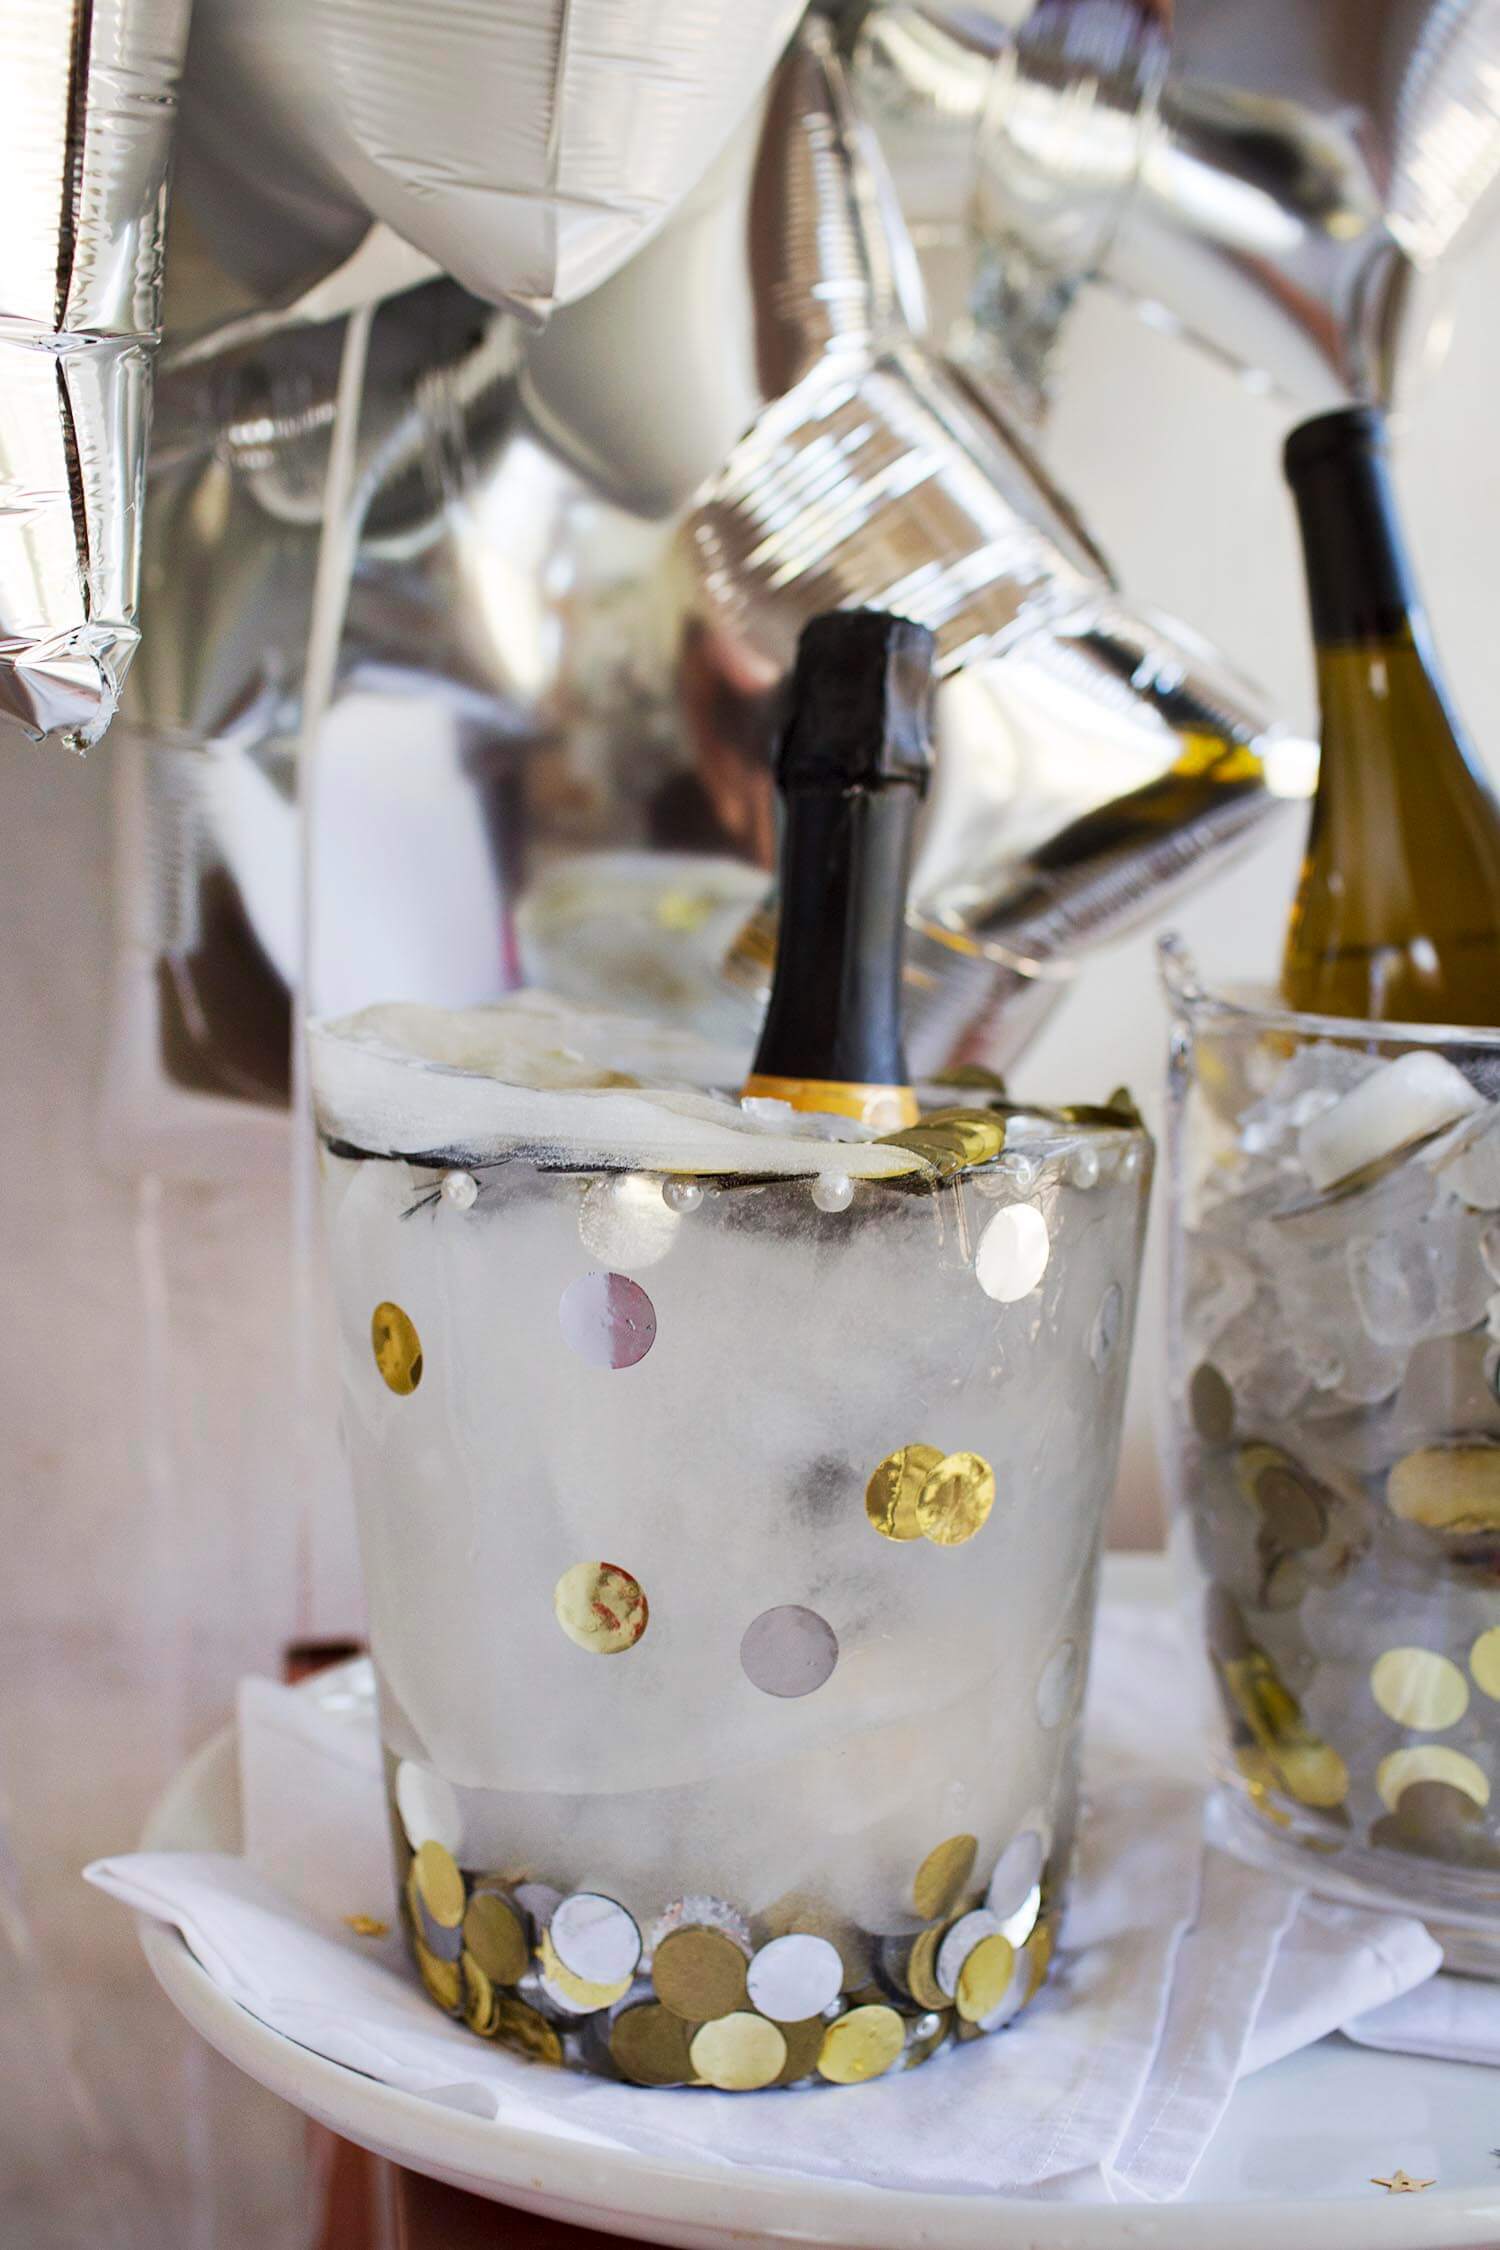
How long does it last? This was the part I was very curious about, so I tested it to see. My bucket was about 1 inch to 1.5 inches thick and it held up pretty well for a little over six hours. I did have to drain water from the serving dish once, so it wouldn’t overflow. But I was impressed how long it lasted!
Now my bucket did crack after about two hours; I guess as it began to melt, some part was weaker and this resulted in it cracking. It still held together, but just to ensure it didn’t melt and fall away, I wrapped some gold plastic ribbon around it (which still looked cute) and it actually froze back together over the next hour or more. So, if yours cracks, I’d recommend tying some ribbon around it and all will be well. 🙂
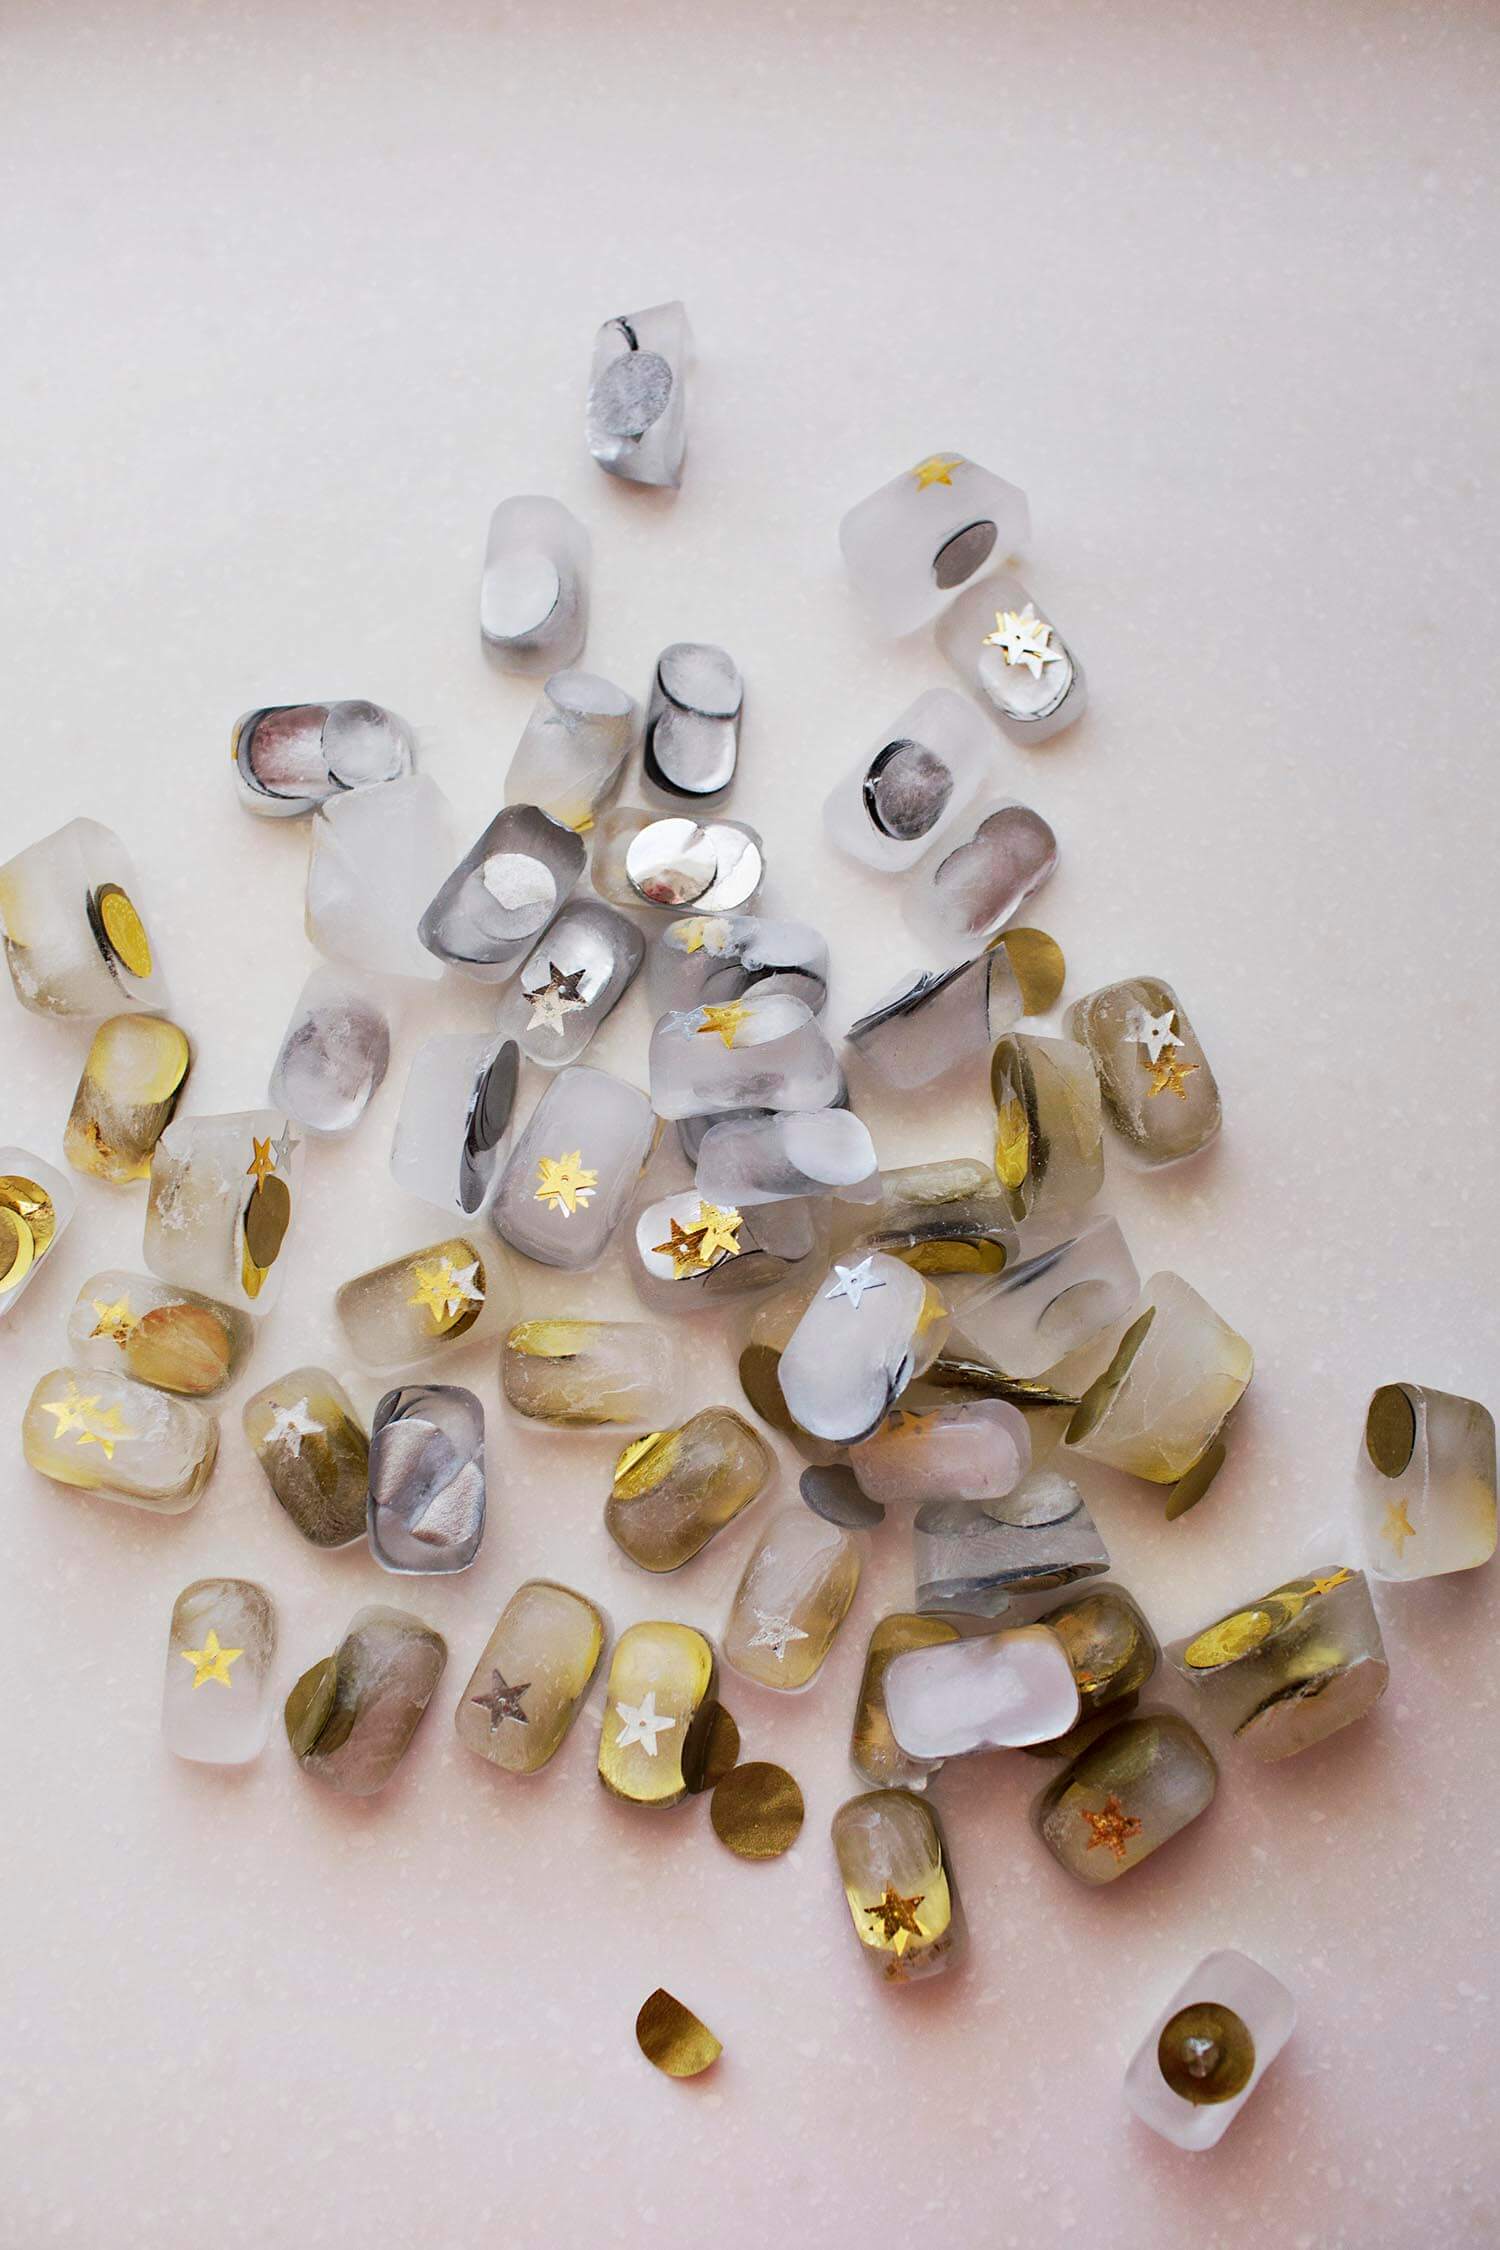
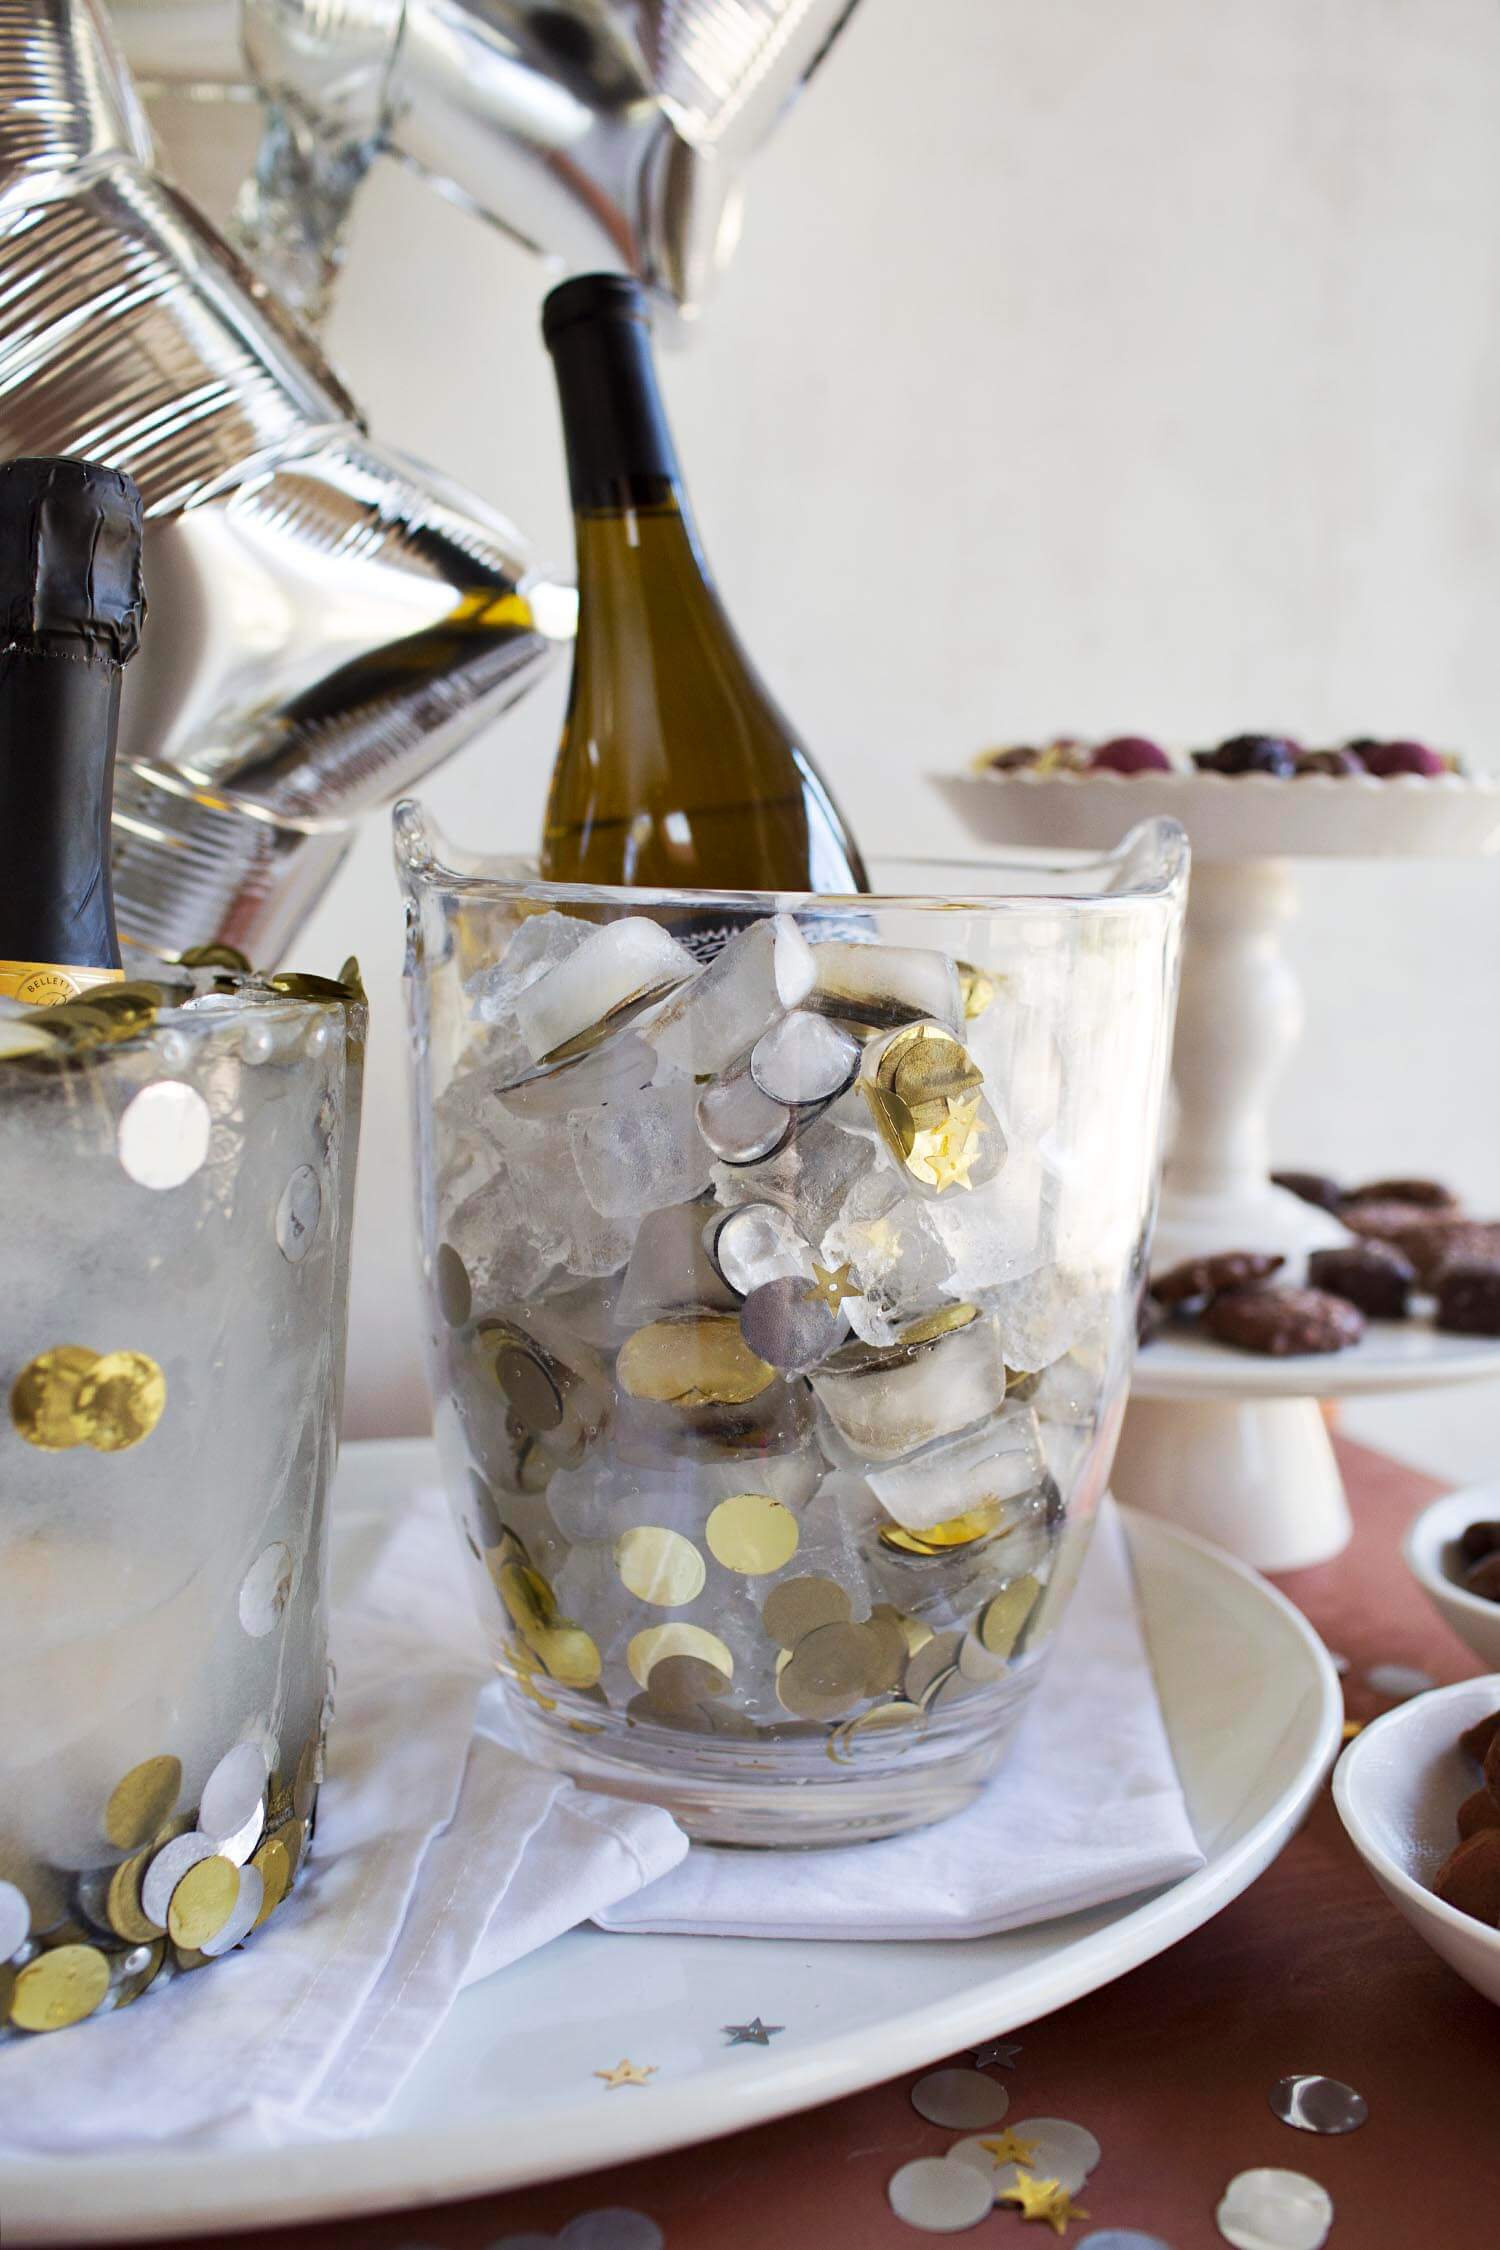

P.S. If you’re making something like this, please make sure not to ingest the confetti! 🙂

Beautiful!!
http://thepinkpineappleblog.blogspot.com/2017/12/milan-fashion-week-day-2.html
I like golden glitter, really very creative and holiday appropriate
http://www.simplenchic.com
Looks cute and very festive!
https://www.writingtoyou.com
Woah, I’m craving that chocolate now!
x Mariya
www.brunetteondemand.com
Yummy! And a good idea!
best from Iceland
https://www.our-cityscape.com/
Love the idea with the ice bucket, and it looks soo cool with the confetti!
https://www.makeandmess.com/
I love the little bar cart corner. You guys manage to look everything so sophisticated and Instagrammable! 😀
Charmaine Ng | Architecture & Lifestyle Blog
http://charmainenyw.com
Ah, they’re both cute! I like the combo here, too — they look cute together. Now I want to try this!!
During the holidays I LIVE for snack bars and trays. I mean I would eat like that all the time but it feels way more festive in the month of December ???? such a cute idea…we always stay home with our kiddos and have a little party with them so it would be cute to do this with sparkling juice!
Can I just come over and eat all of those chocolates? I’m drooling.
Paige
http://thehappyflammil.com
Ha! I would say yes but they are mostly gone now….
🙂