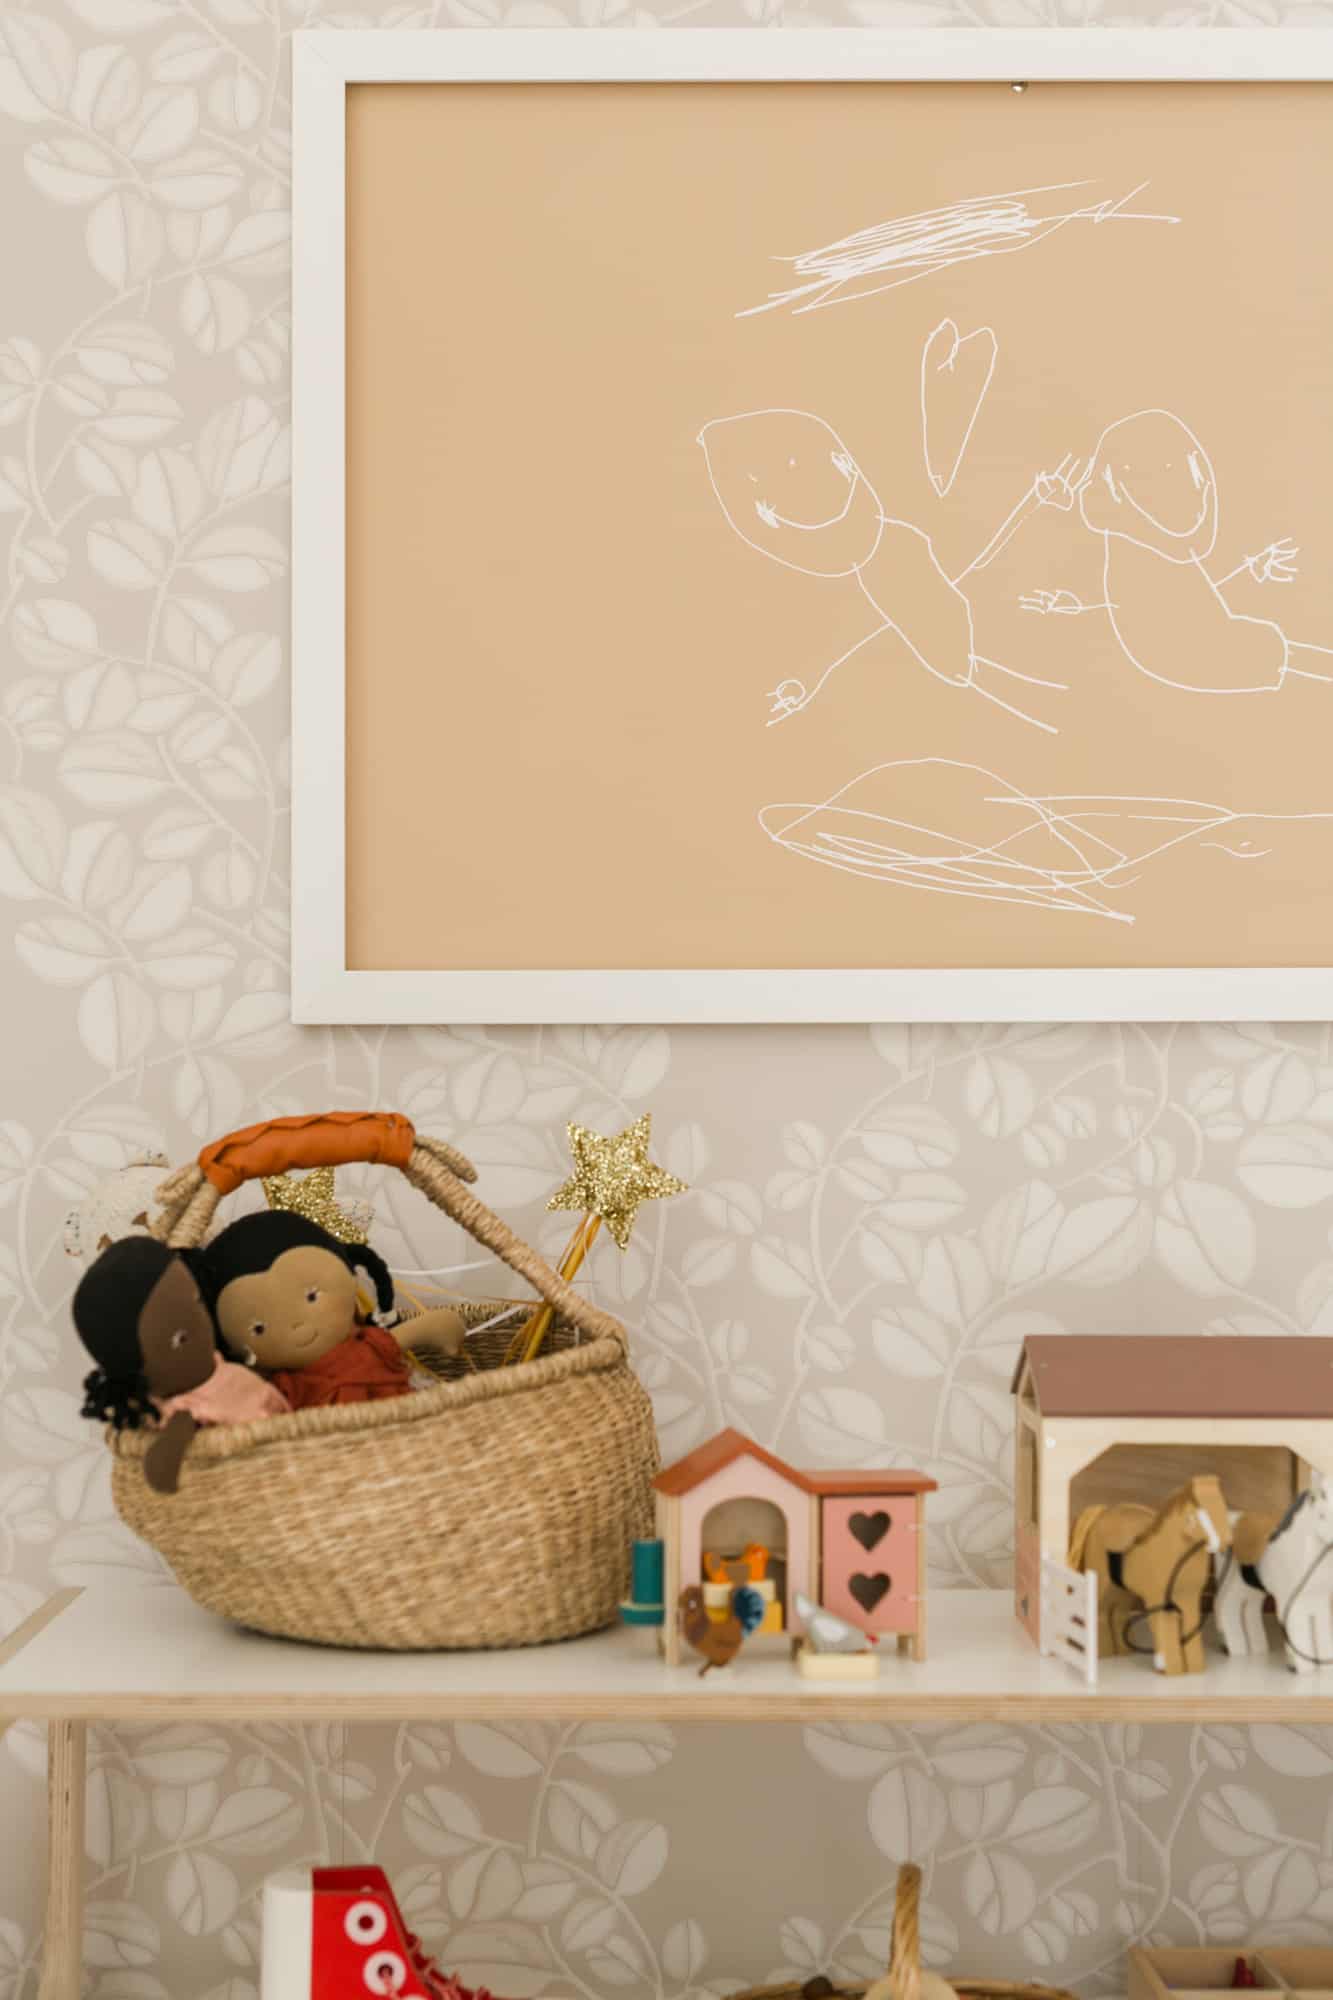
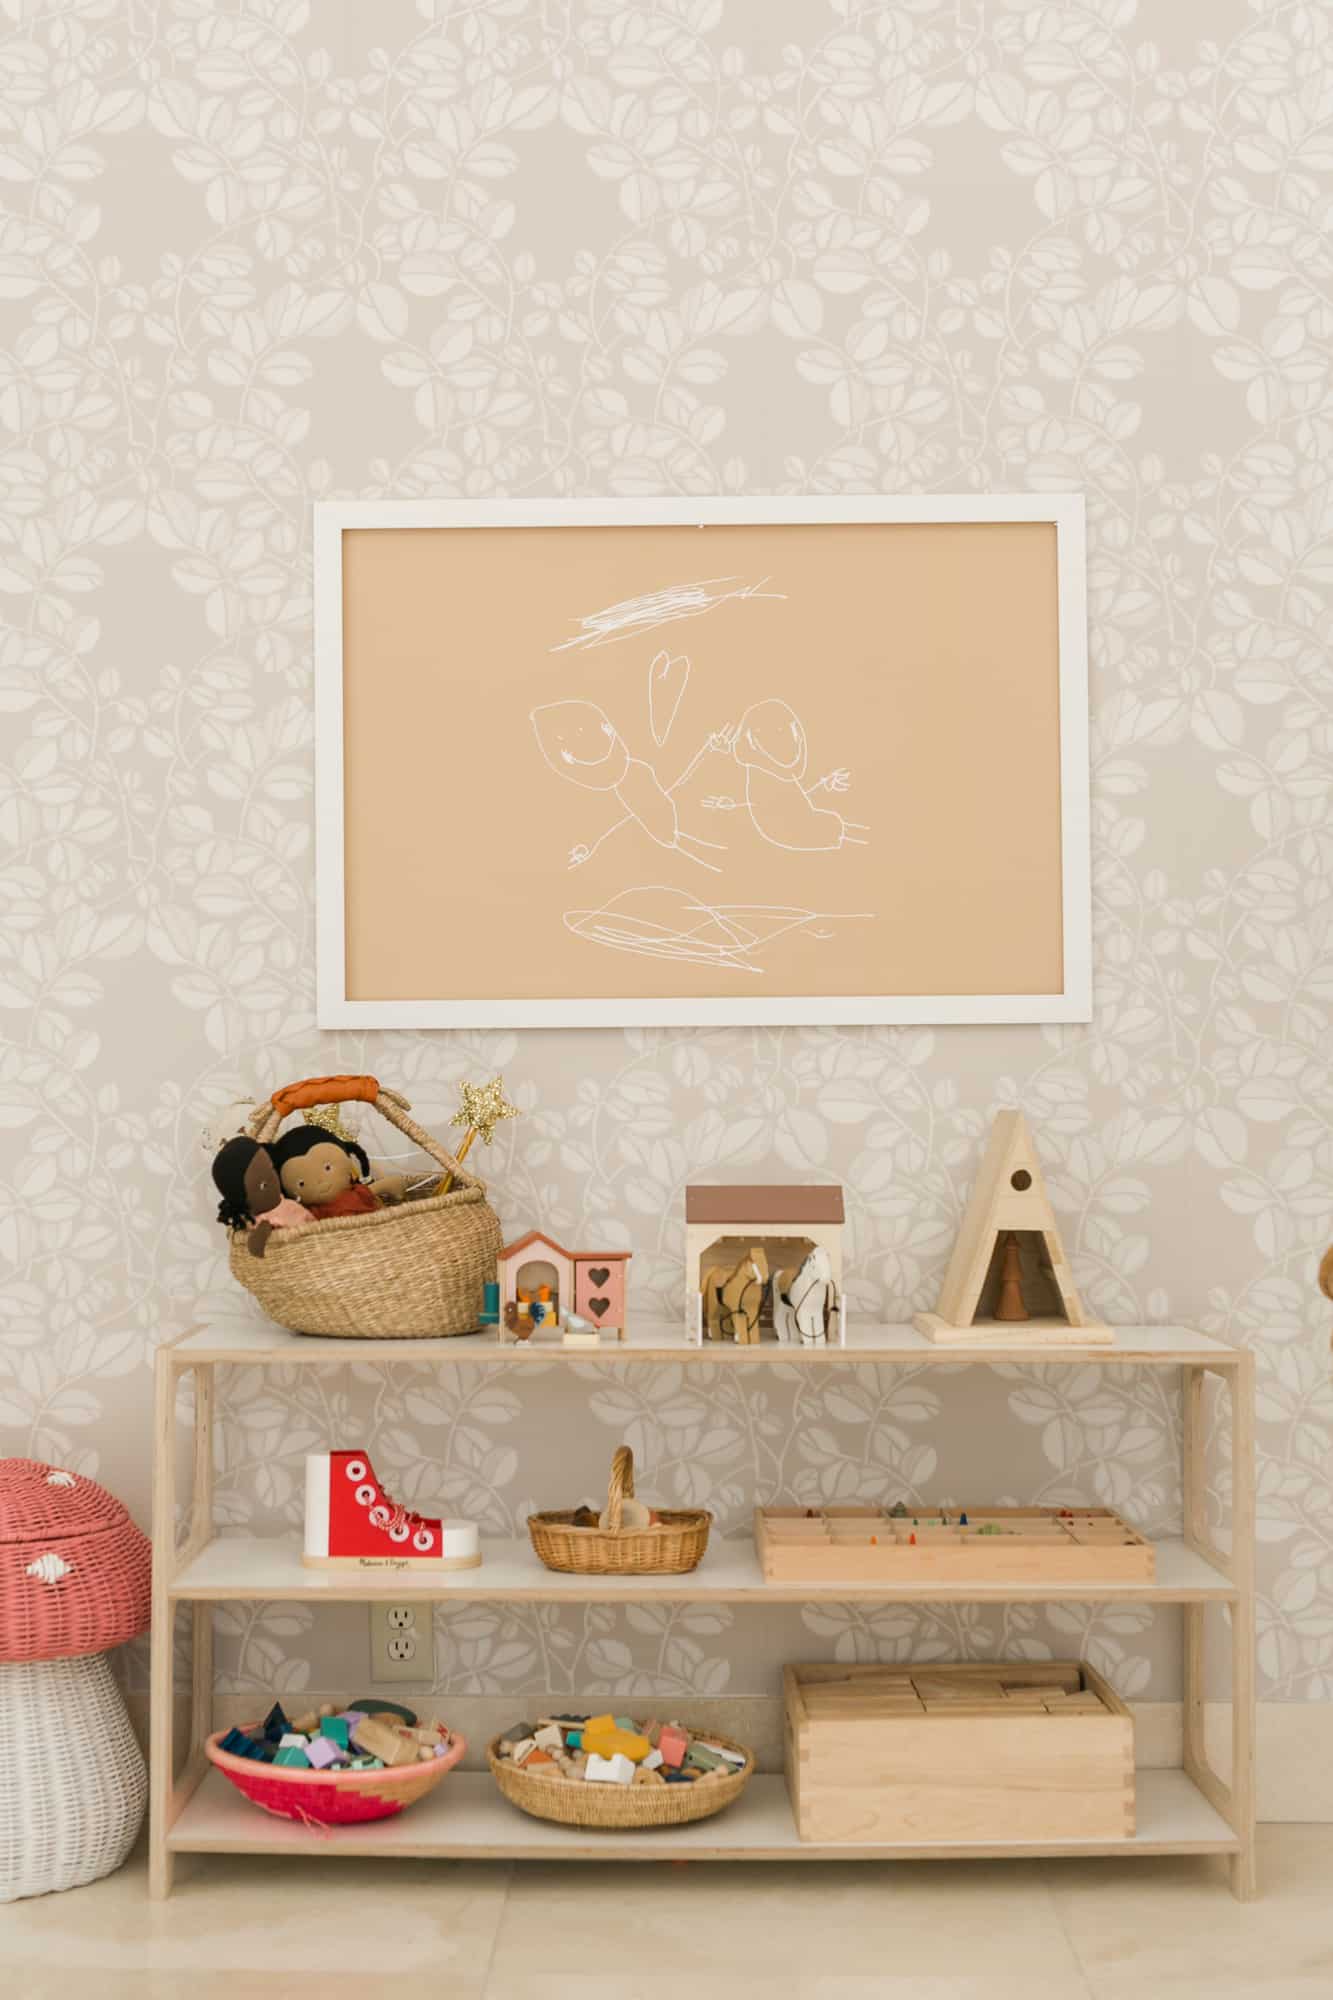
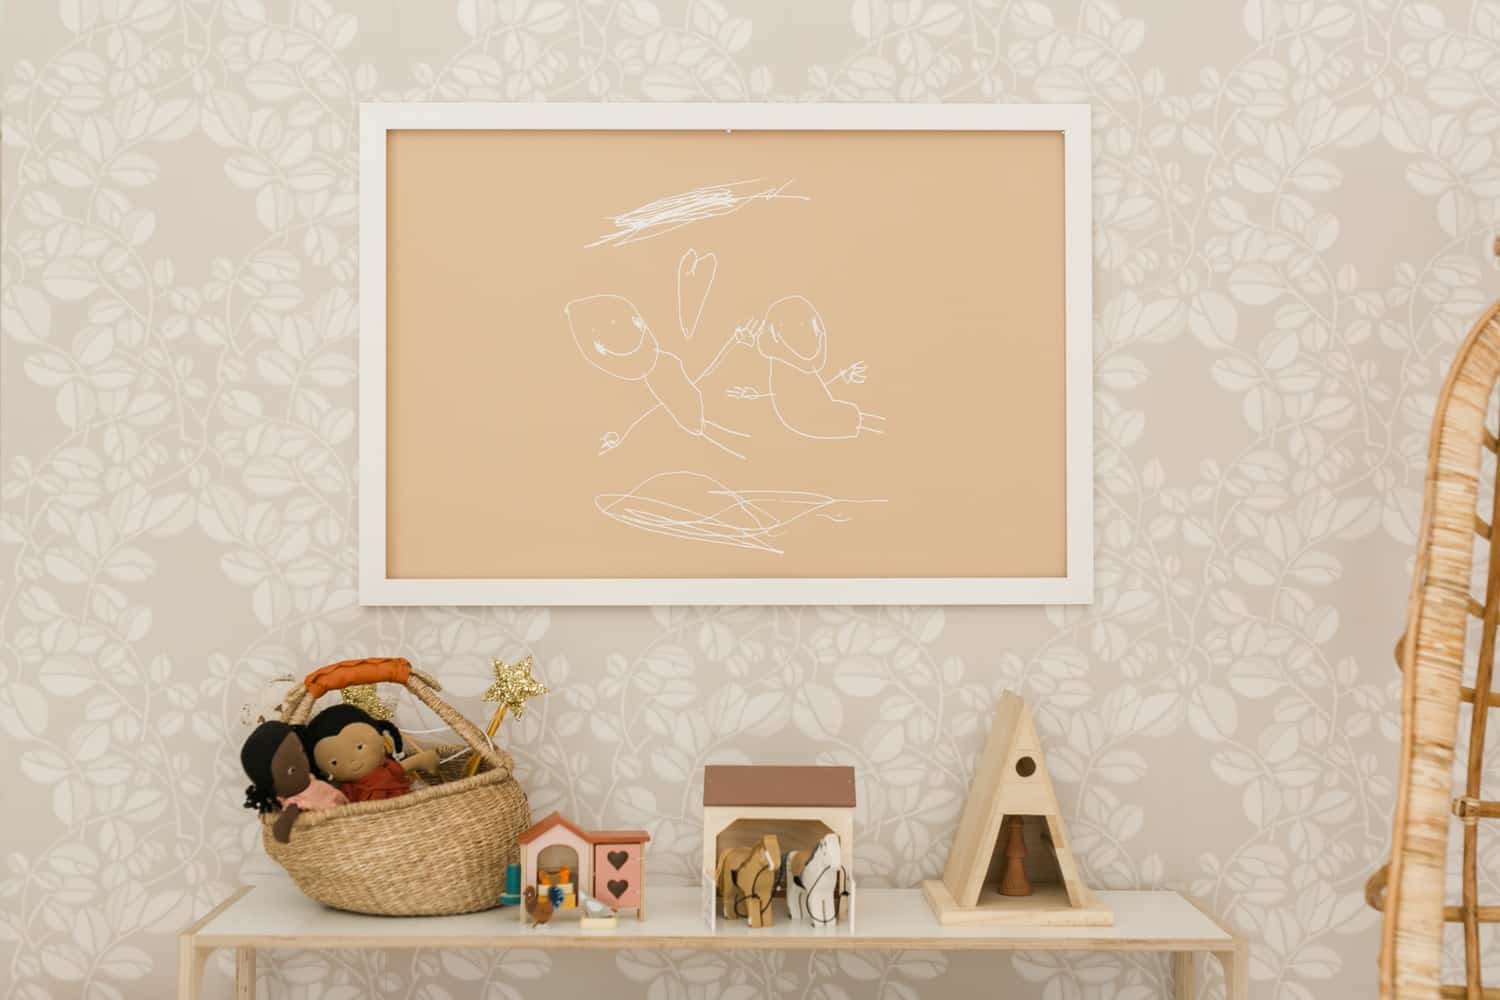
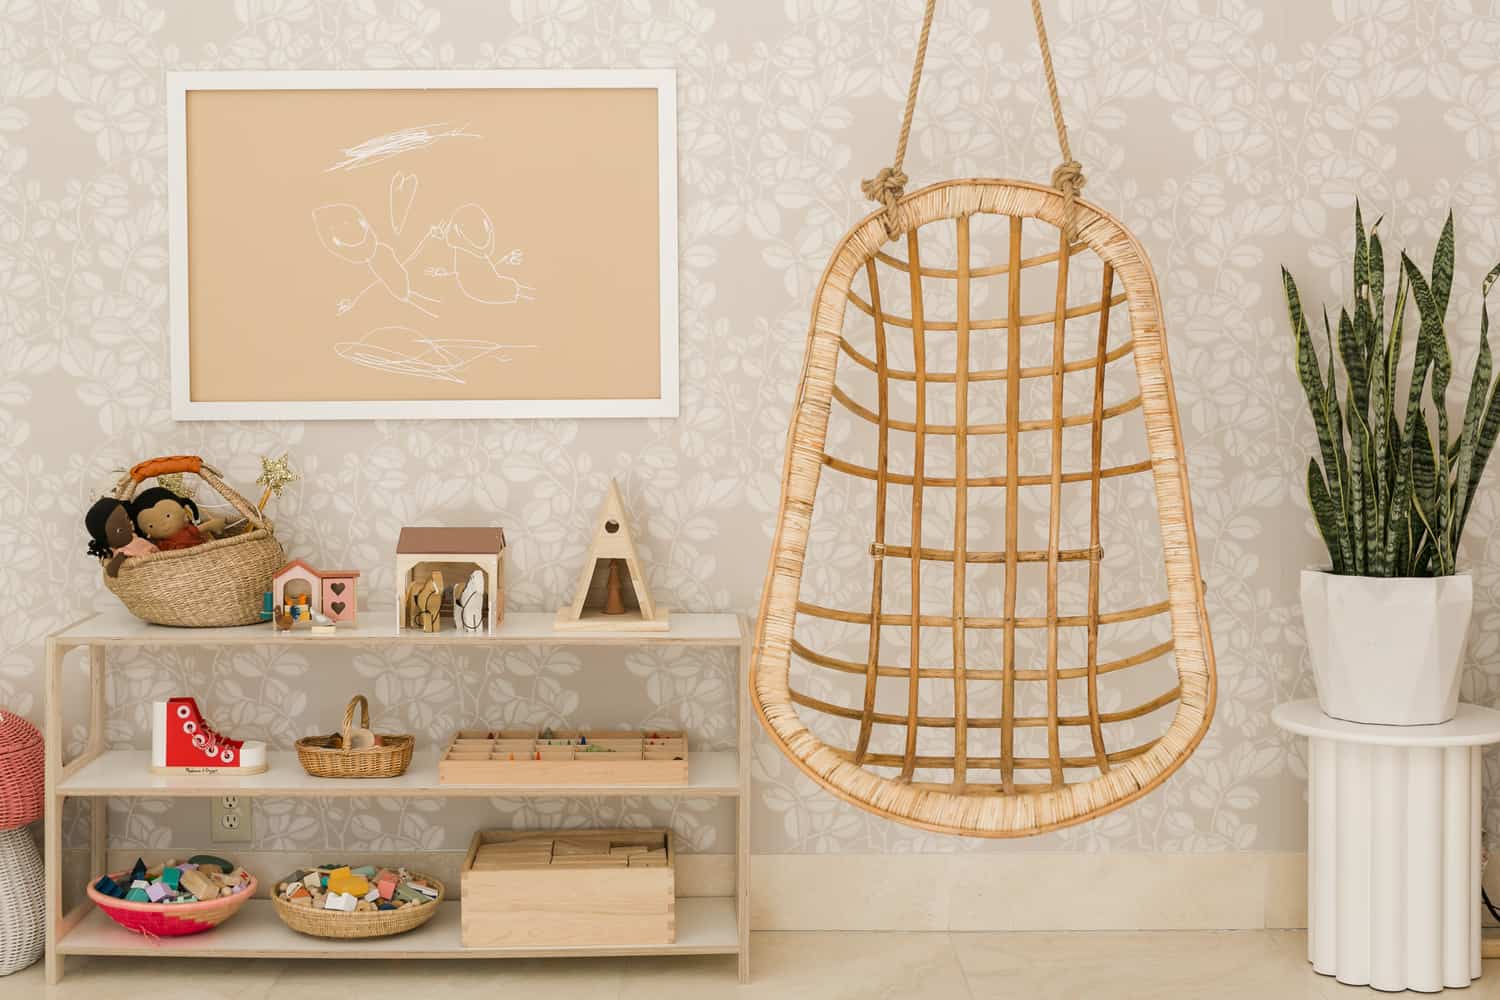
 One day not too long ago, my 5-year-old daughter ran up to me with a drawing in hand. This is a common occurrence, as every mom knows. Still, every once in a while there’s a drawing that just melts your heart.
When my daughter told me that the two people in the drawing were her and I, flying through the sky, I lost it a little. I knew this was a KEEPER. I told her I was going to frame it because I loved it so much.
It was just a pen drawing, so I decided to attempt making it into some kind of graphic art. I thought it would be the perfect sentimental art to display above our Montessori toy shelf.
Related: For more kids activities and printables check out Childhood Magic!
I don’t know much about graphic design, so I enlisted Keely to help me. She kindly offered to help make my dream poster for me and to teach YOU to make your own right here, right now. You could also make a Kid’s Art Frame DIY for smaller prints!
Tools needed: Adobe Illustrator (I’m sure there are other ways you can do this, but this is the way I know how to teach it!)
Step 1: Scan your artwork or take a photo (this tutorial works the best with two-color artwork; I recommend using black or another very dark color for a pen or marker on a piece of white paper).
Step 2: Open your scan or photo in Adobe Illustrator.
Step 3: Select your artwork, then click on “object –> image trace –> make and expand.”
Step 4: Make your background by creating a rectangle or square that covers your entire artboard. Use the color picker to determine what your background color will be, then copy the color value. You’ll need this in a moment when we change the artwork colors.
Step 5: Select your entire artboard then click on “edit –> edit colors –> recolor artwork.” If you see a color wheel pop up, click “advance options.” You should then see bars of color representing the colors in your artwork.
Step 6: Look for the color that you want to change (in this case, it’s most likely changing any white left in the photo to the background color). Click in the grey empty space directly to the right of the colored bar (there’s nothing there right now but there will be soon), click yes when you see “Do you want to add a new color to the current harmony?”, then double click on the new colored square where the empty space used to be, and paste the value of your new color (usually this will be the color of your background).
Step 7: Repeat this process to change any other color on the artwork to your liking.
Step 8: Save the artwork as a jpg or pdf in your desired size.
Step 9: Upload to your printing website of choice.
Here are few more photos of the completed poster.


I’m feeling very inspired to continue filling our walls with sentimental art, photos and meaningful treasures. xx. Elsie
P.S. Check out this Crayon Wallet DIY For Kids (Great For Travel!) so your kiddos can draw on the go!
I would also love printing website recommendations!
Love this! So simple and cute. You could definitely use free software paint.net to achieve the same outcome too ?
This is awesome!!! Although my daughter is no longer a teen, I have saved numerous drawings over her entire K – 12 school years. Now instead of them being boxed up… I can now display them in her bedroom! Thanx!!!
I love this! What printing websites do you recommend?