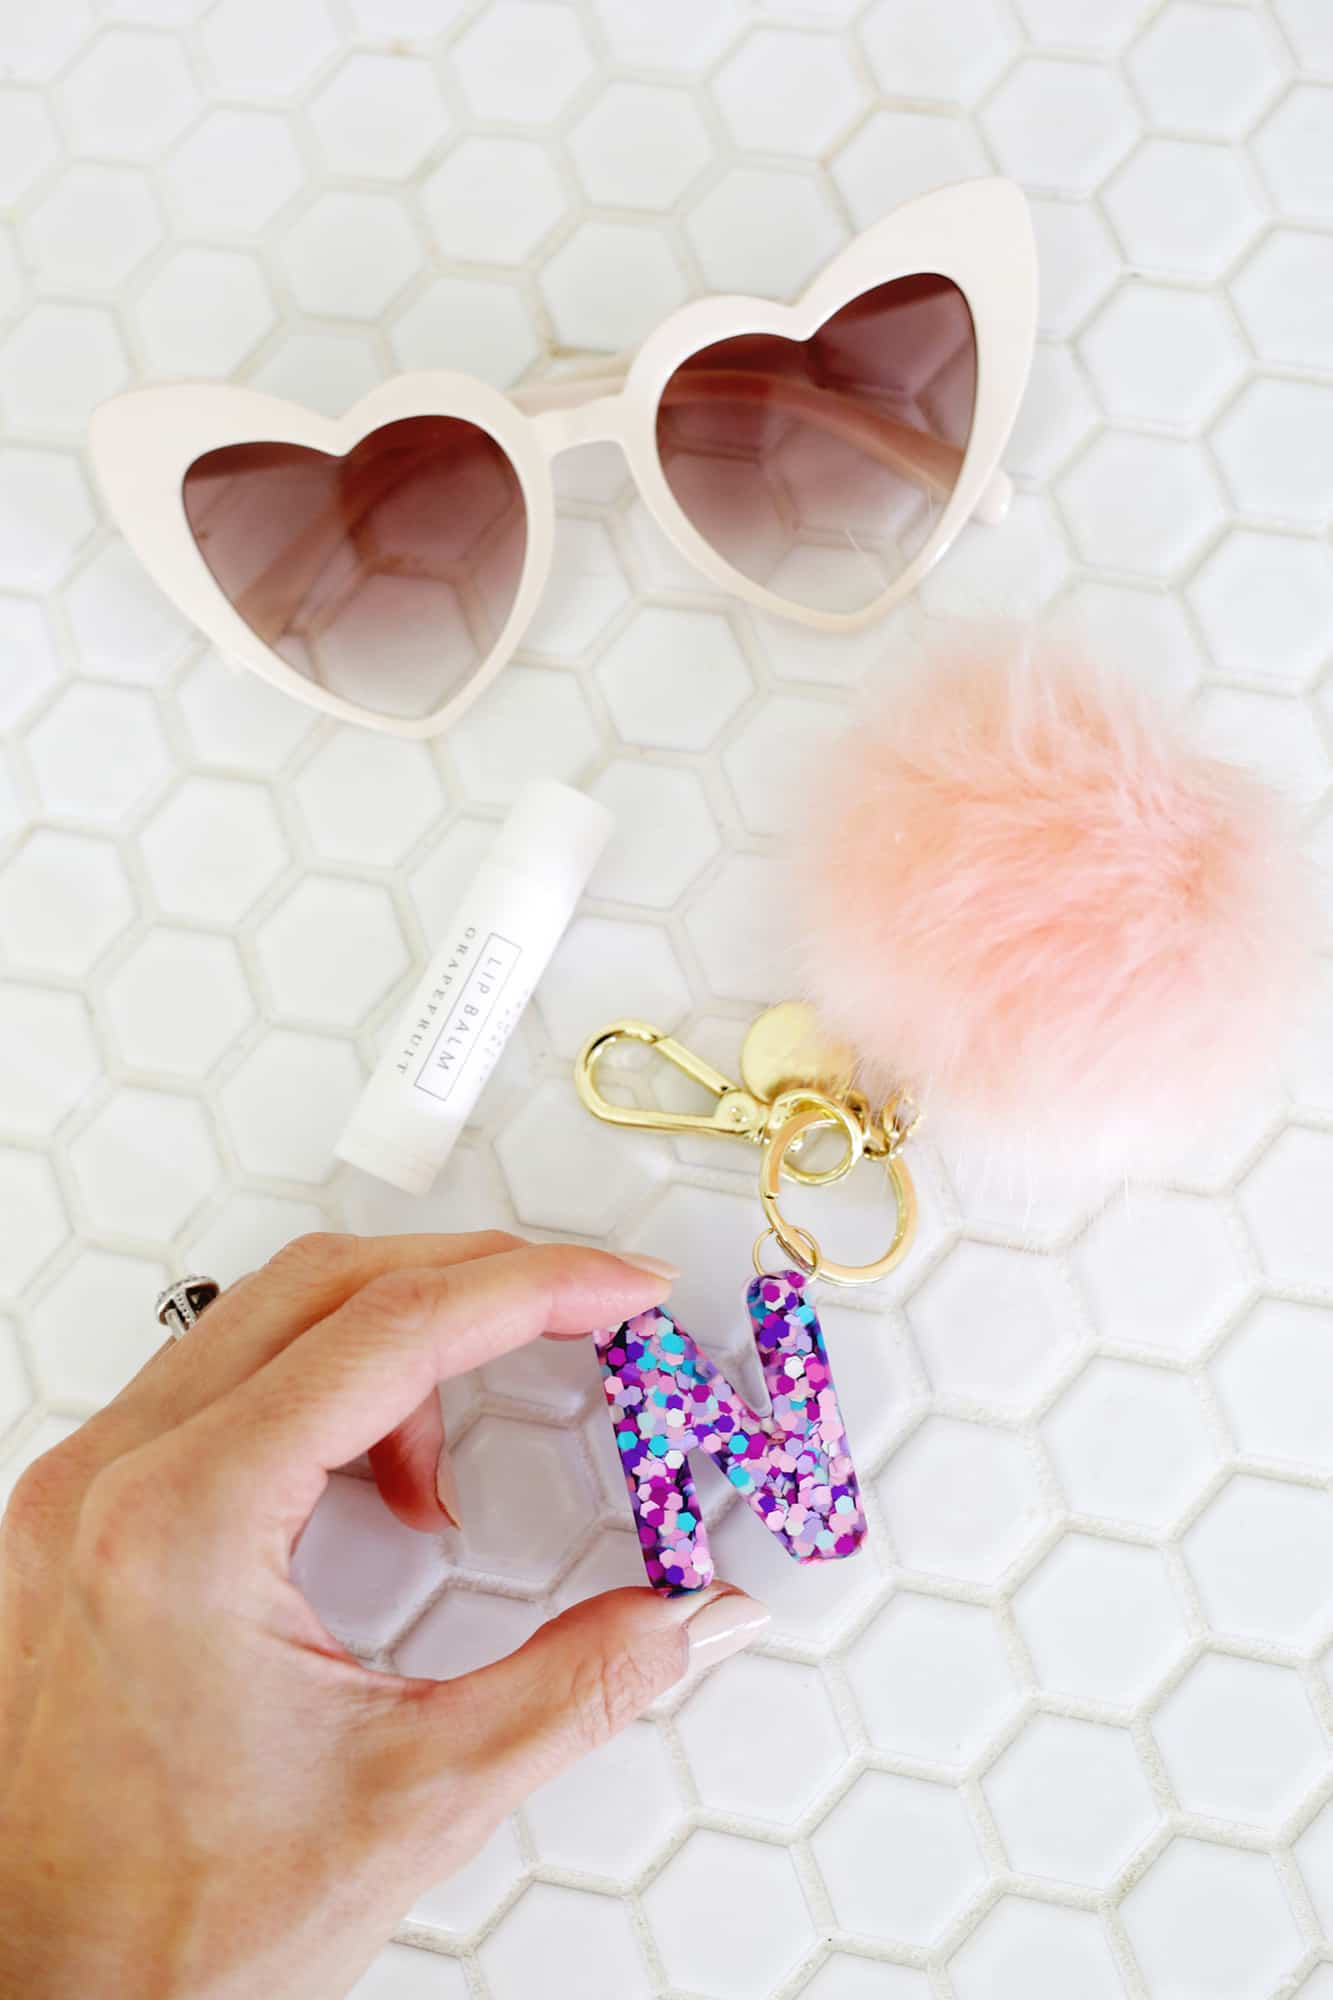
If you’re looking for some new indoor craft categories to try, may I suggest getting into acrylic projects? Using casting acrylic is really not as hard as it may sound and you can do some fun things like make these personalized letter keychains for yourself— or for gifts!
Related: Resin Art – Beginner’s Guide
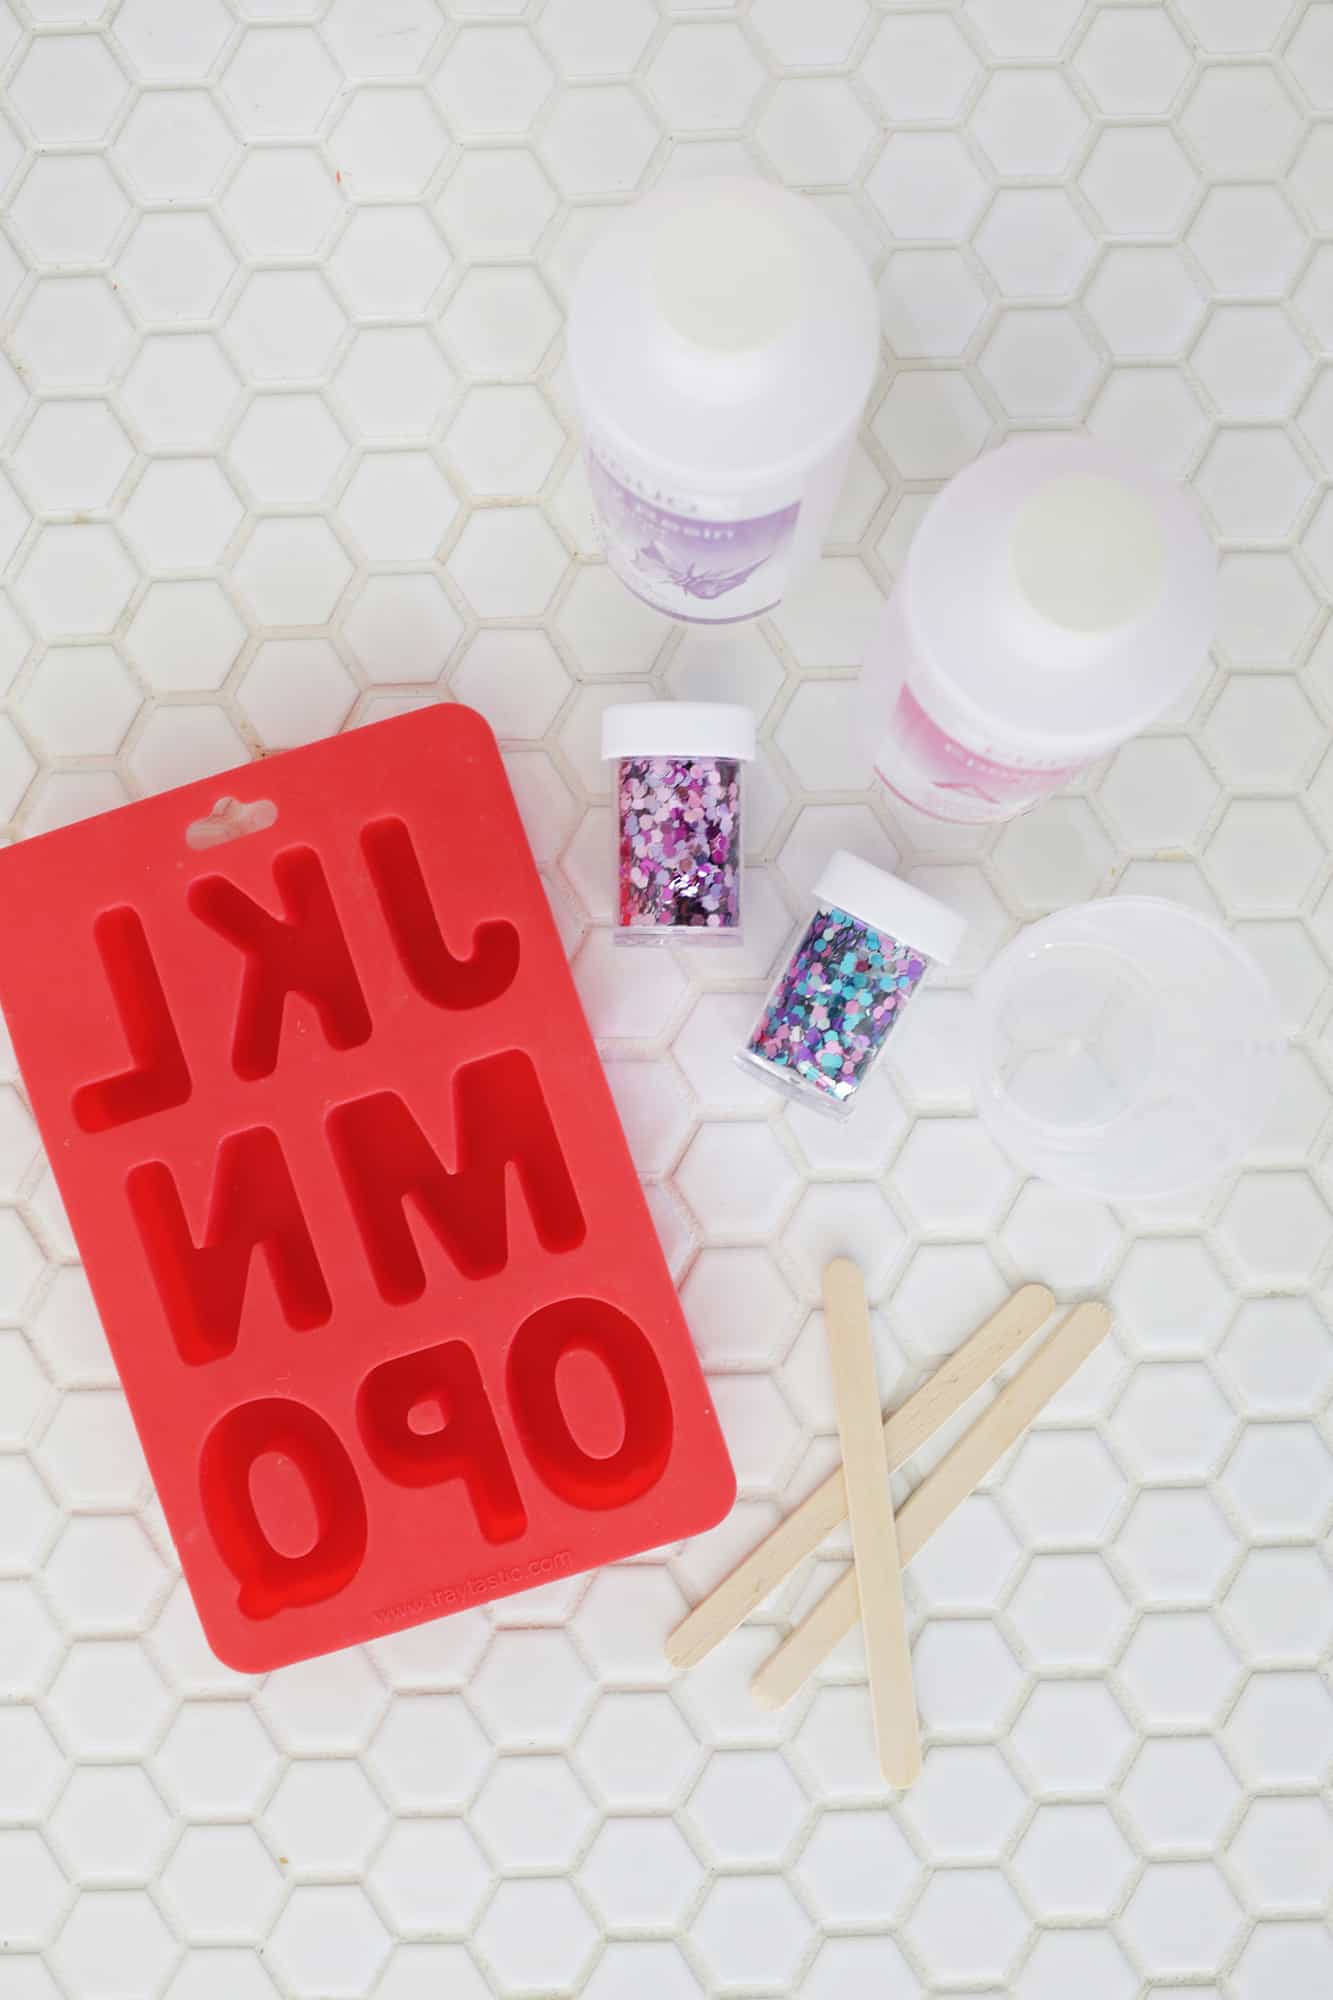
–acrylic casting resin
–loose chunky glitter in colors of your choice
–silicone alphabet mold
–mixing cup
–key ring of choice
-drill and small drill bit
–large jump rings


But if you want to drill straight down through your letter, you’ll want to make it a little thinner so you can fit the jump ring through the thickness (maybe like 1/4″ thick instead).
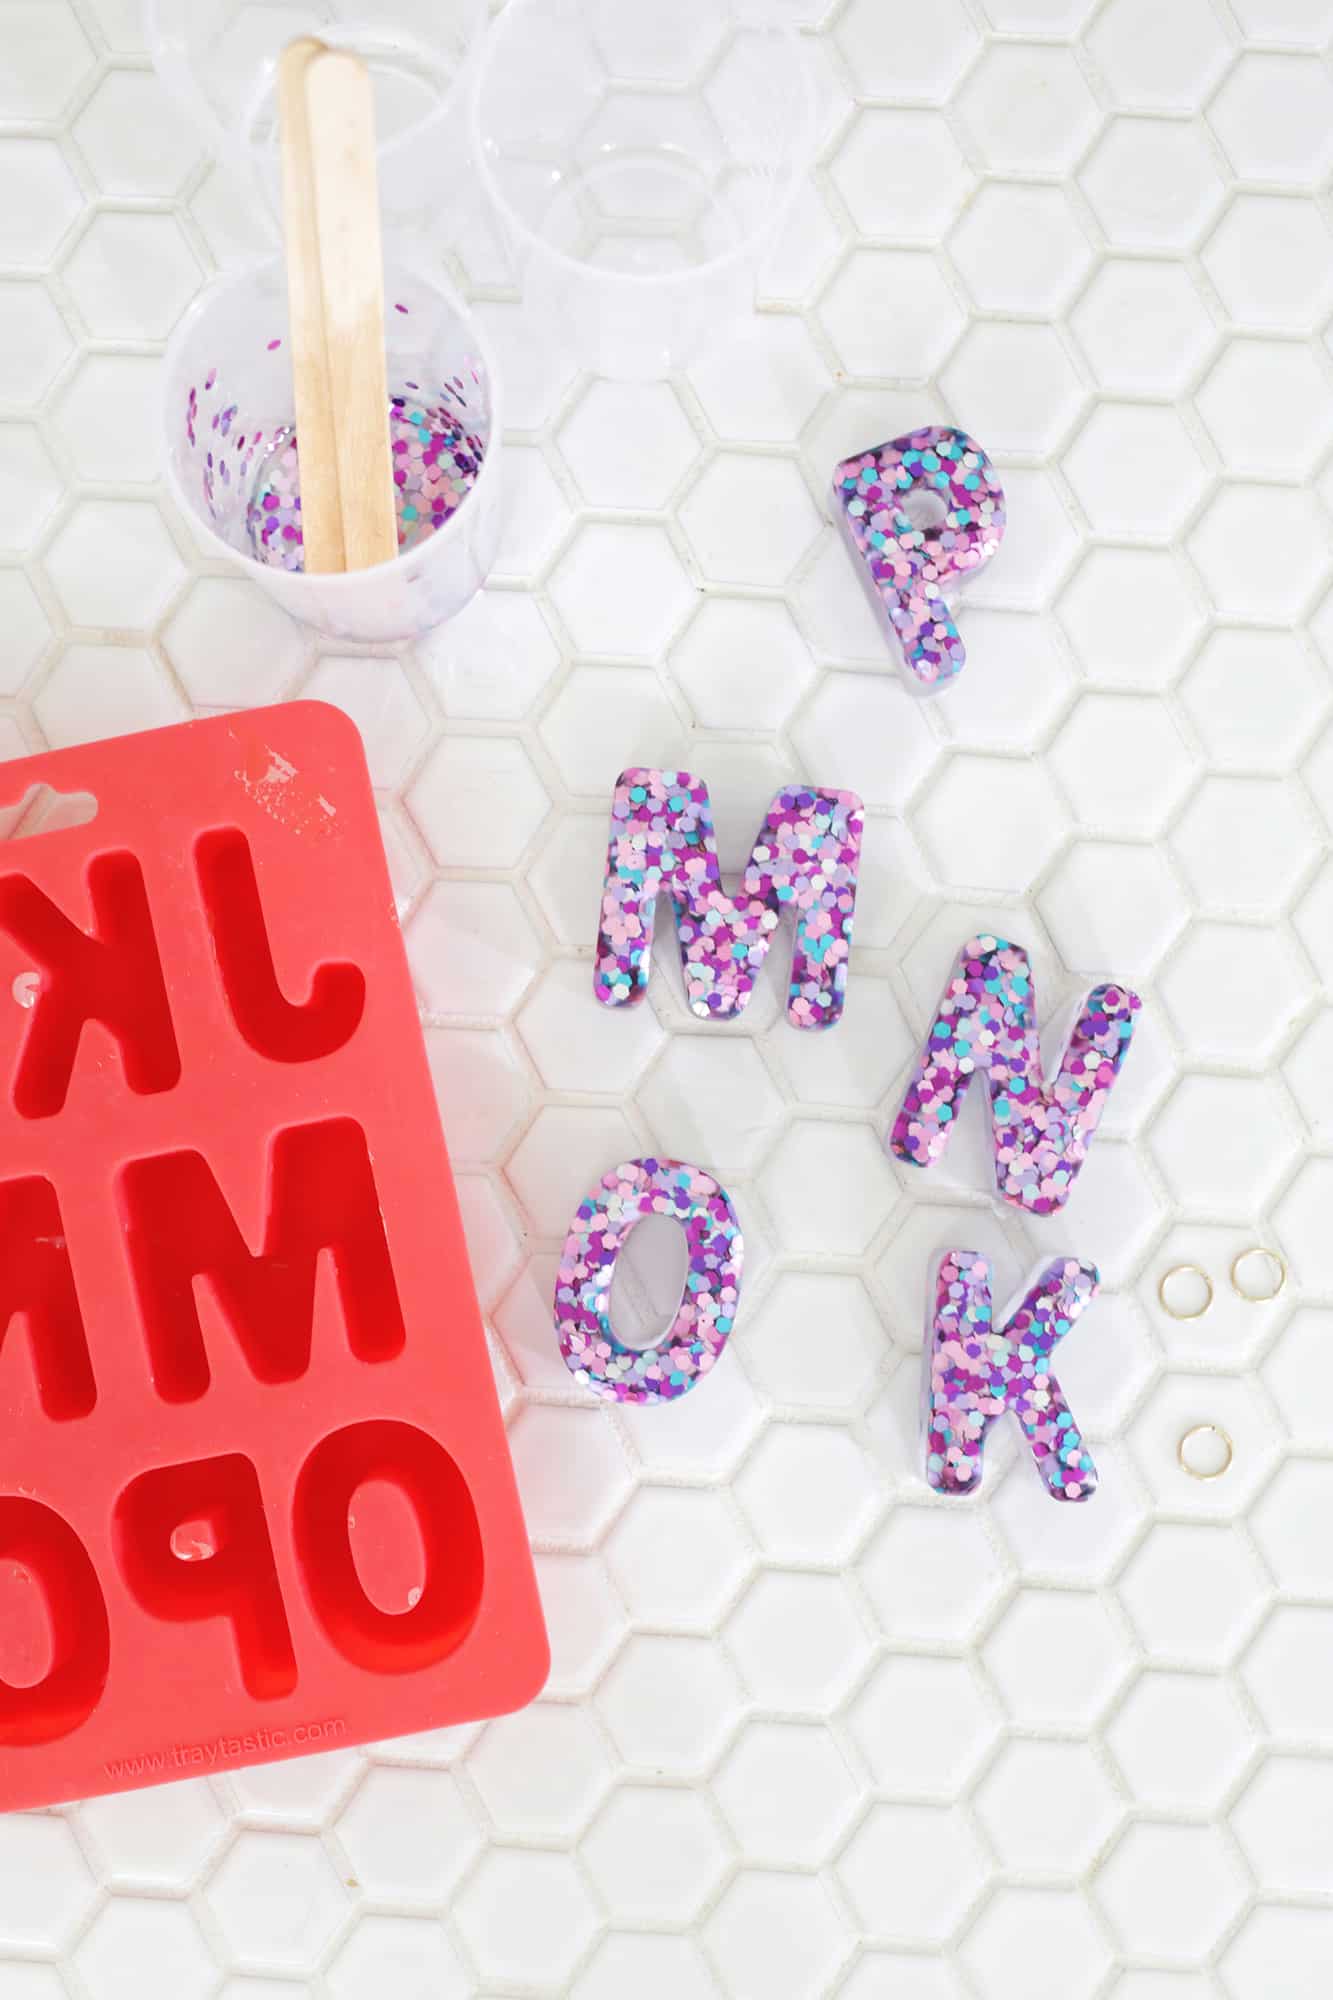

Once your jump rings are attached, you can put your new glitter letter on to your keyring of choice and your DIY is ready to go!
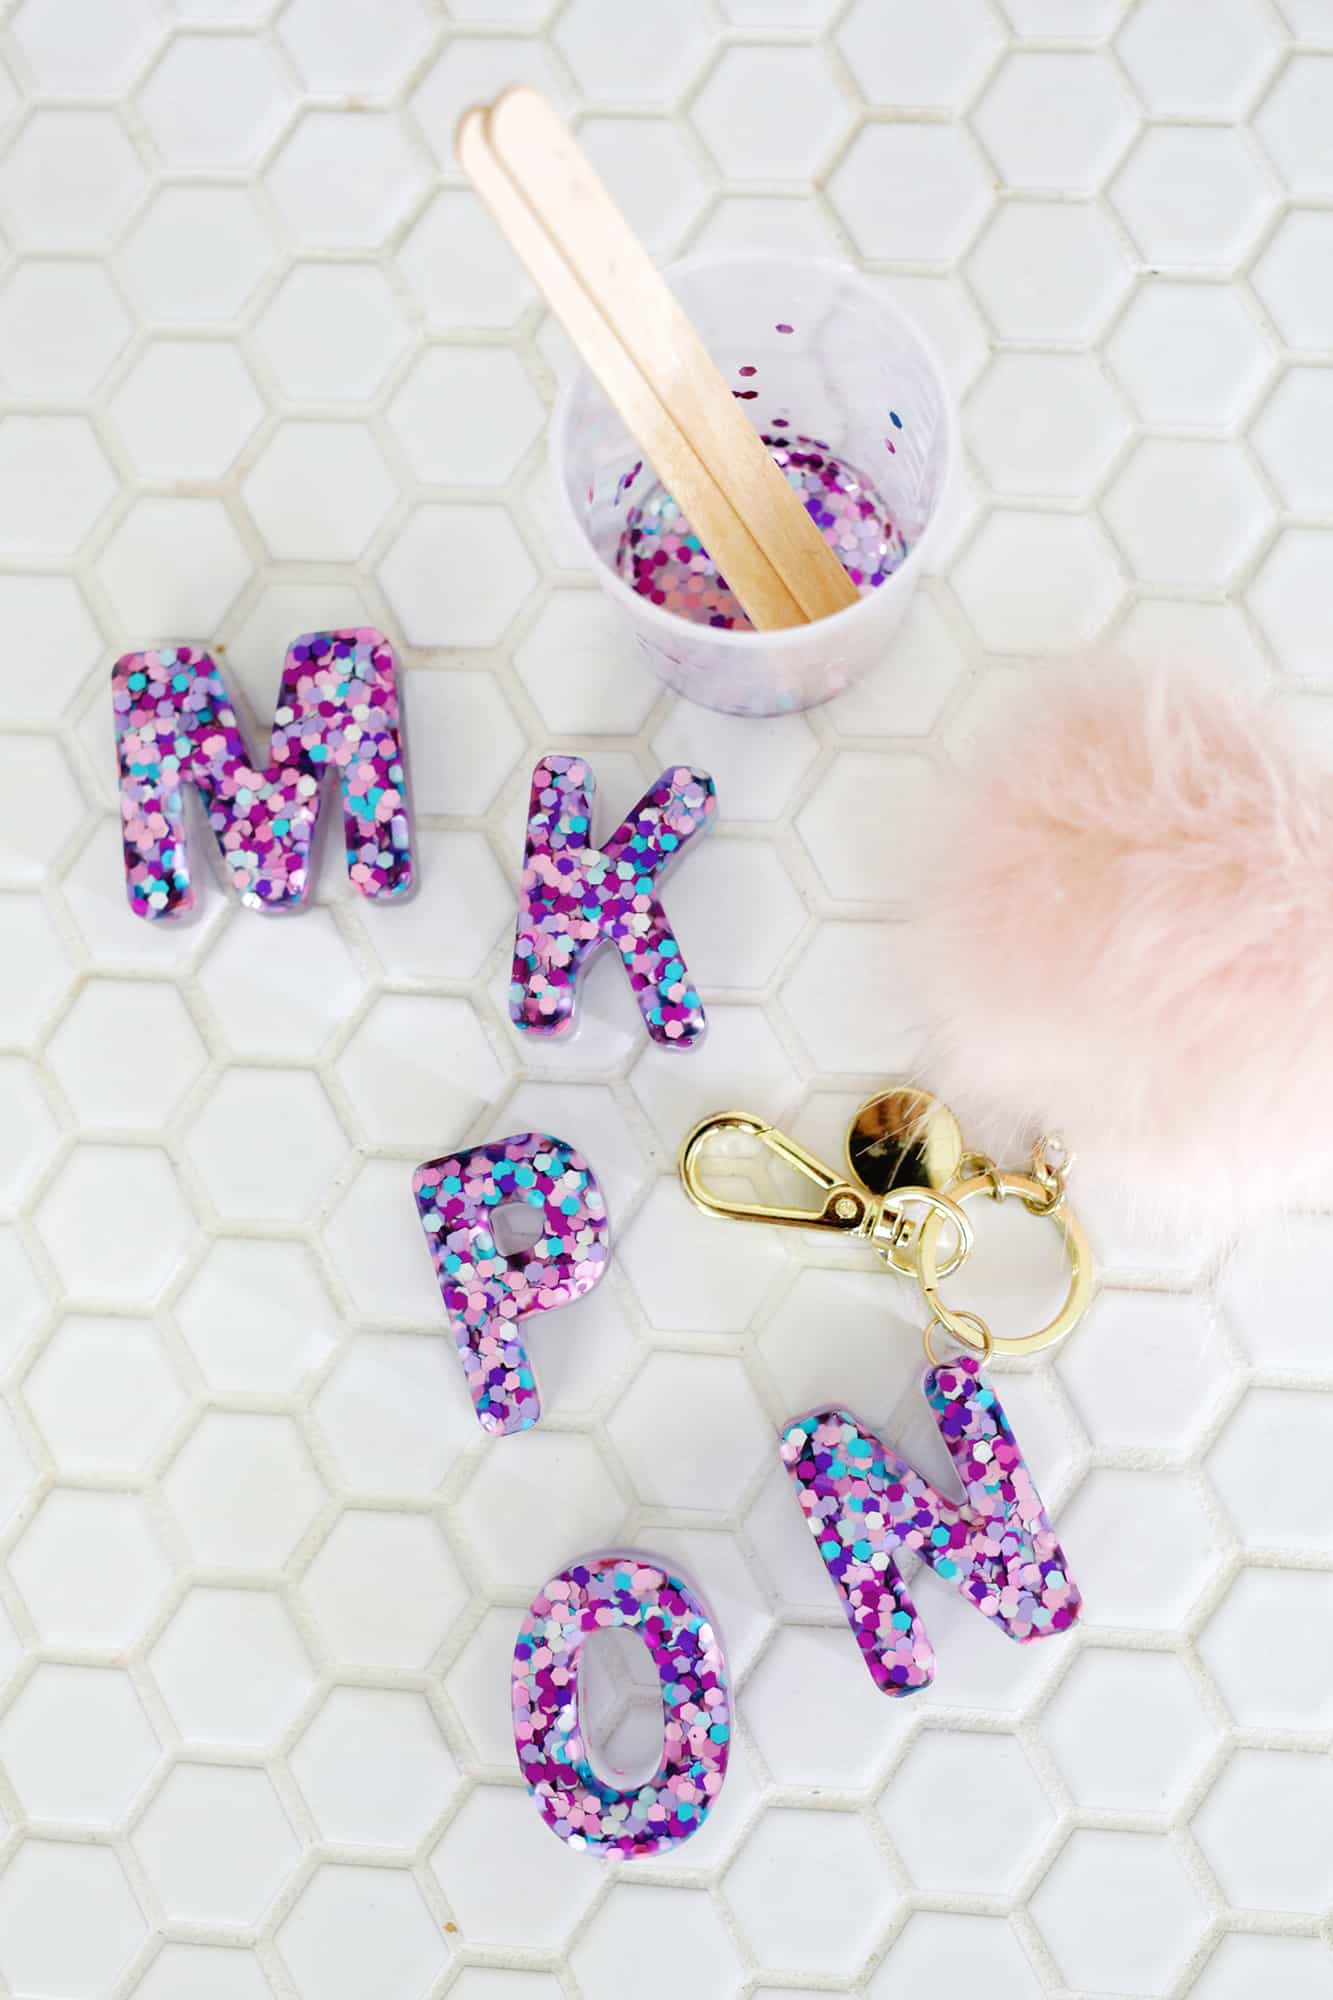
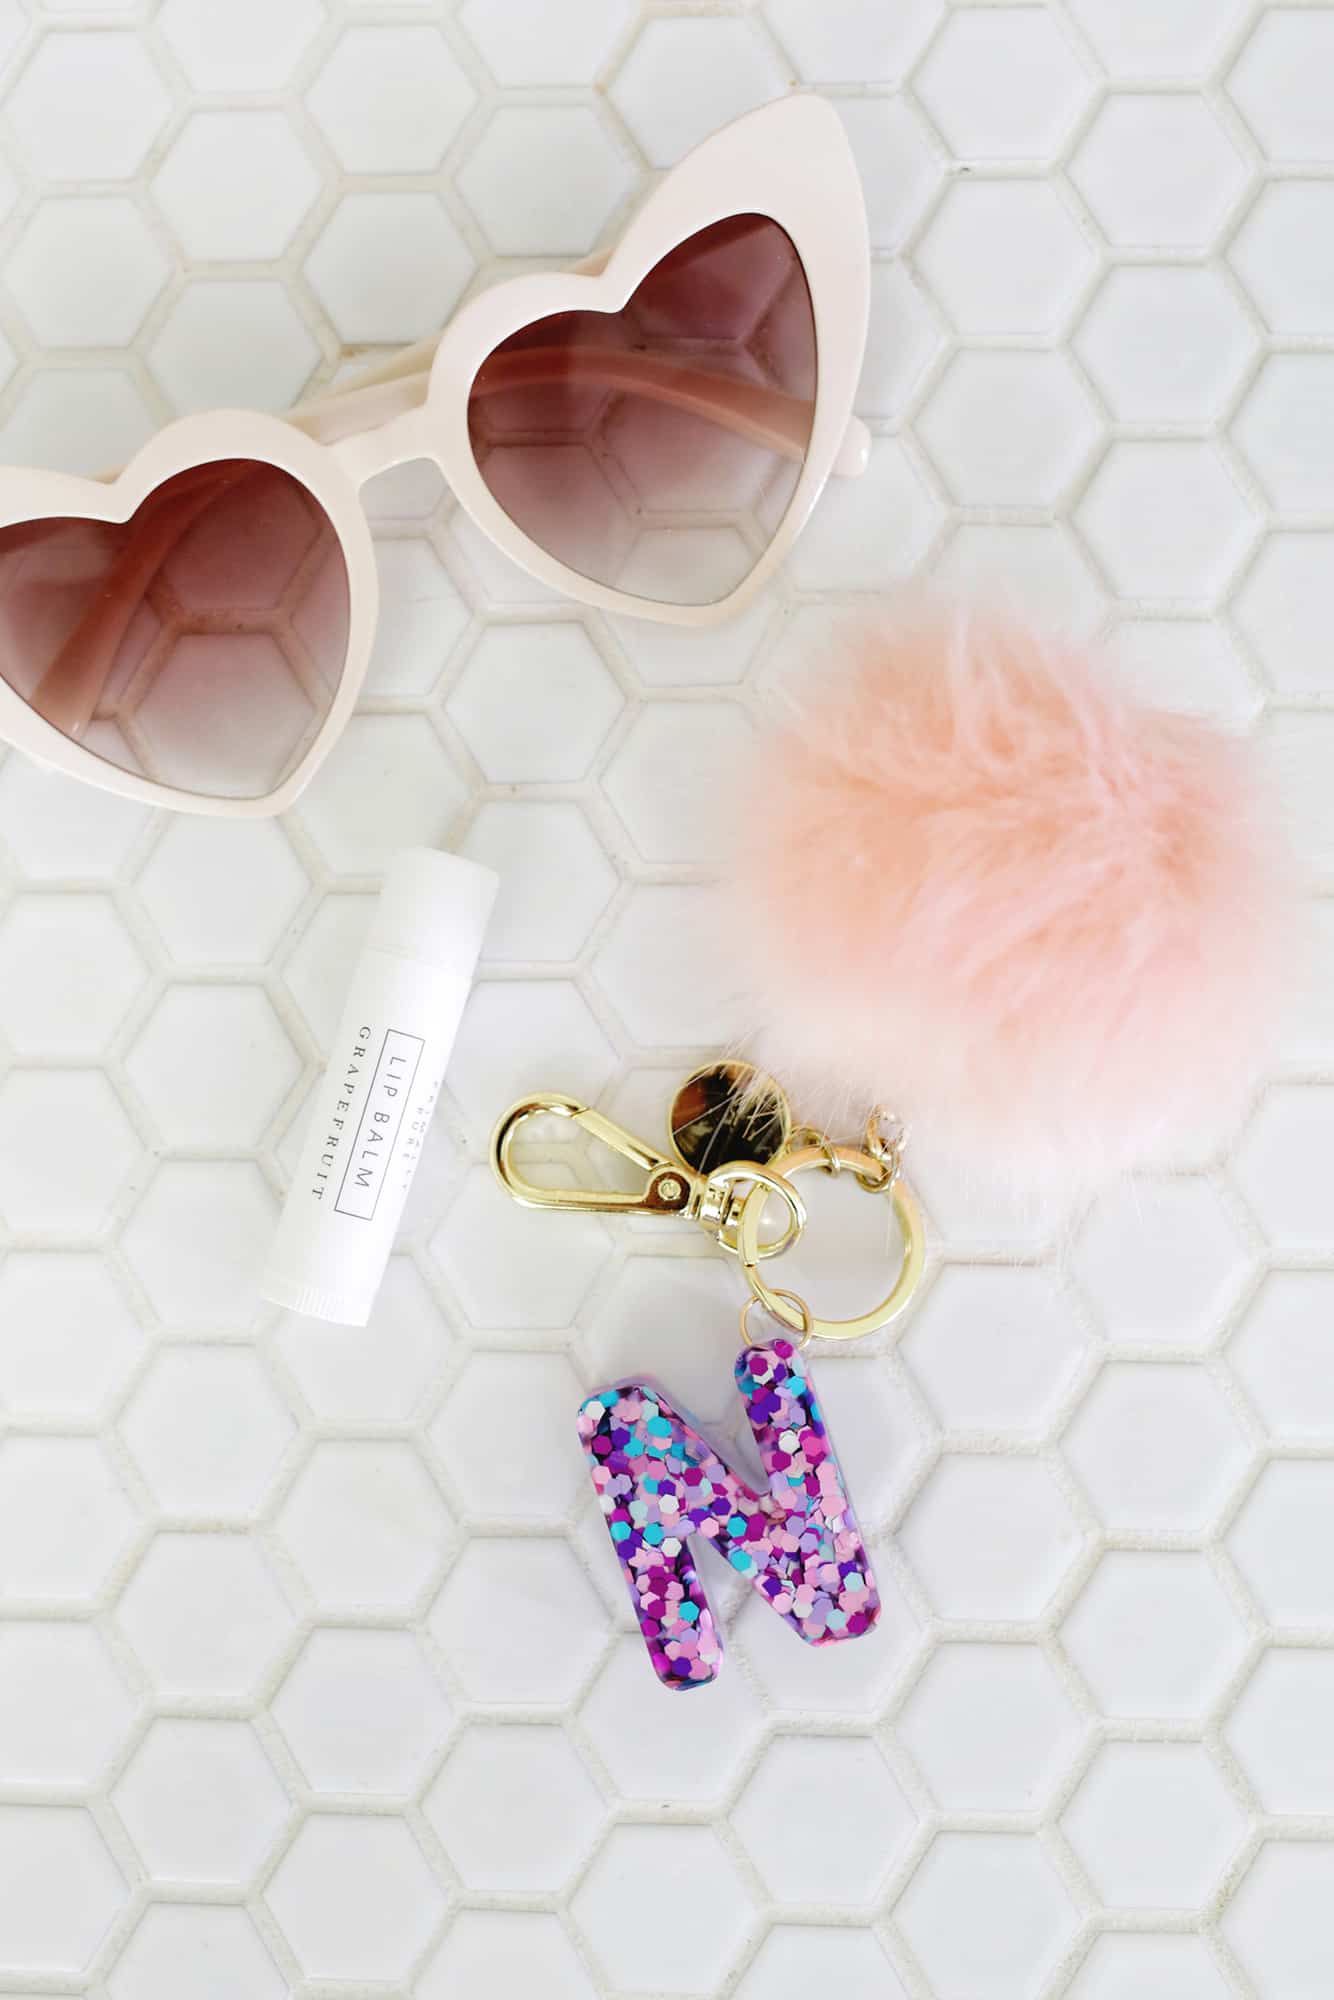
You could also use the letters to make a sign or something cool like that as well, so use your imagination for other possibilities! Have fun! xo. Laura
Love this post? Sign up for our newsletter for more ideas!

Get creative ideas for recipes, crafts, decor, and more in your inbox!
 Get the How-To
Supplies
- acrylic casting resin
- loose chunky glitter in colors of your choice
- silicone alphabet mold
- measuring cup
- key ring of choice
- drill and small drill bit
- large jump rings
Instructions
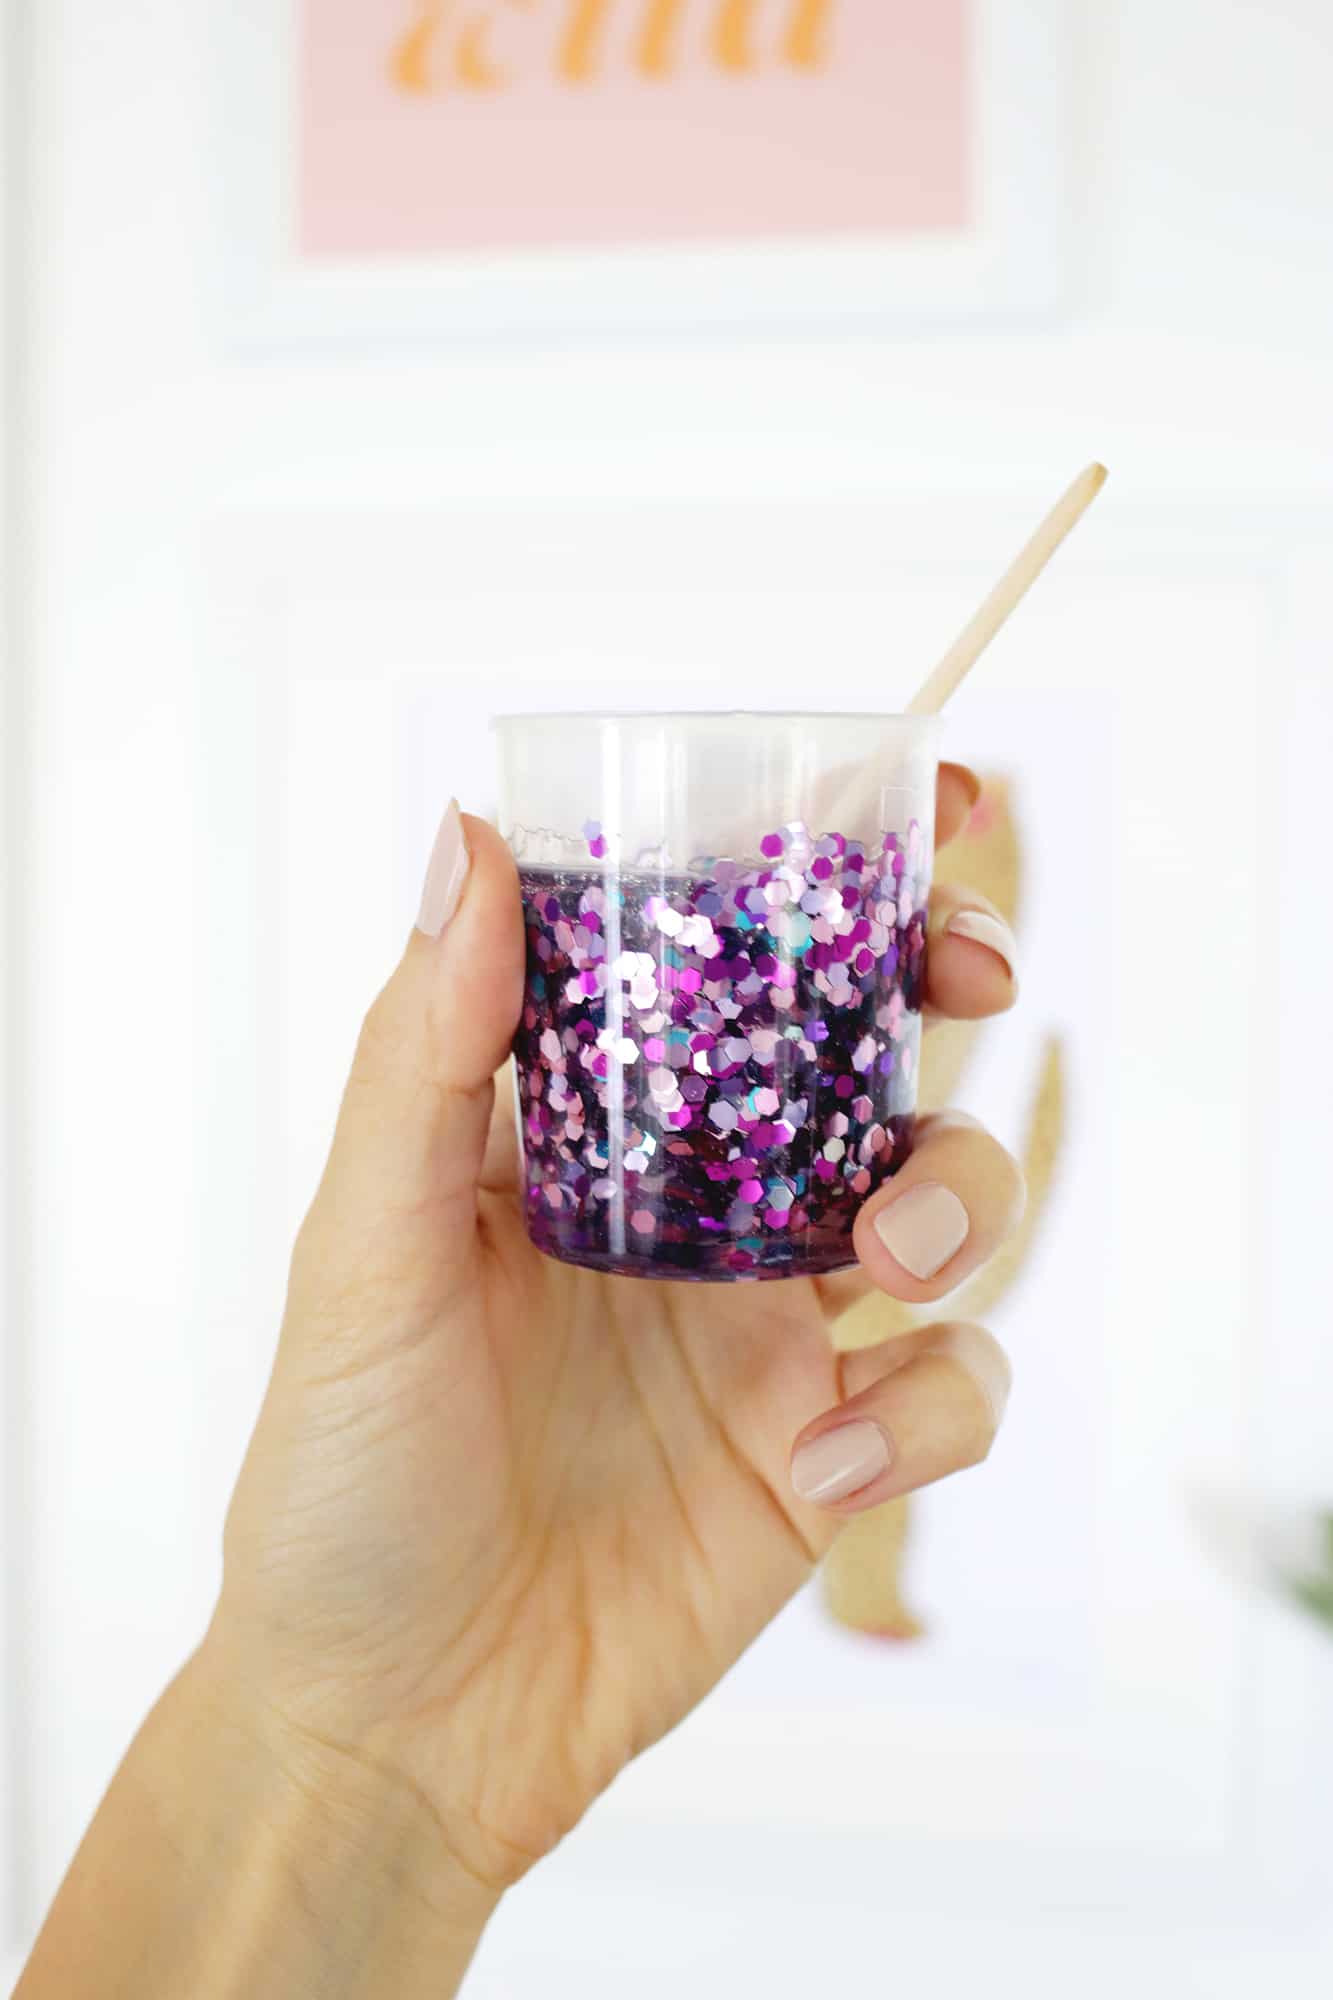
- First, you’ll want to mix up your resin according to the instructions on the package. Add in your glitter until the liquid looks pretty thick with the colors.
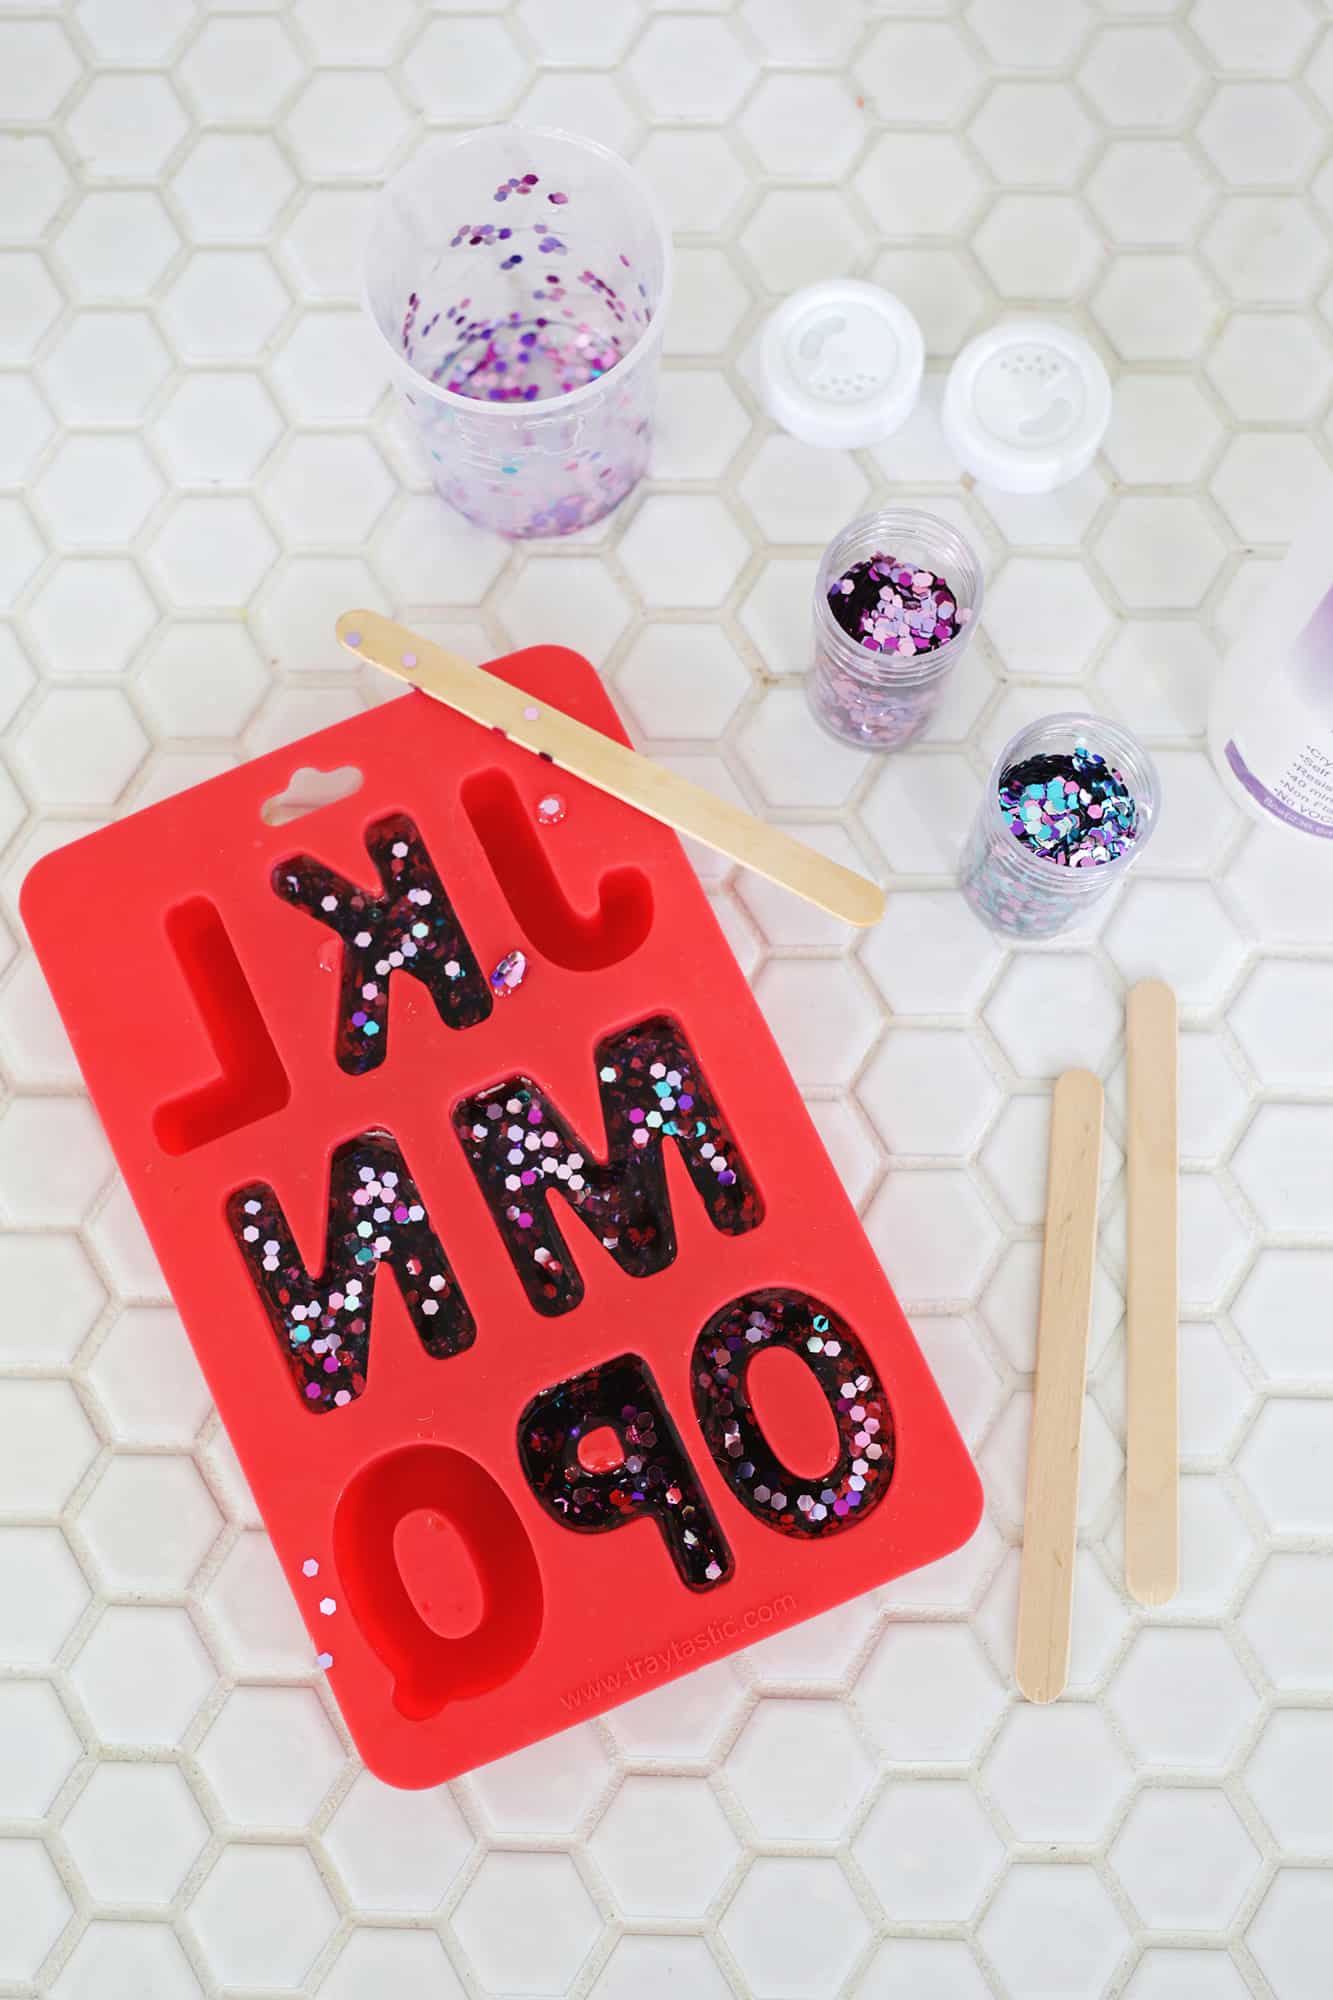
- Pour your glitter into your molds (no need to grease them or anything beforehand). If you want to do a jump ring diagonally through one of the corners, you can pour your acrylic a little thicker (like 1/2″ thick). But if you want to drill straight down through your letter, you’ll want to make it a little thinner so you can fit the jump ring through the thickness (maybe like 1/4″ thick instead.
- Let your mold sit undisturbed for about 24 hours and then you’re ready to pop them out of their mold!
- Once your letters are ready, push them out of the mold and admire your work!
- I made my letters a little thicker, so I drilled a small hole diagonally through the corners of a letter so I could open up a jump ring and insert it through the hole. You may have to bend the jump ring almost straight to get it in and then re-bend what’s sticking out to be round again. Once your jump rings are attached, you can put your new glitter letter on to your keyring of choice and your DIY is ready to go!

Love these! Could you confirm the mm of the jump ring?
Hi Laura,
These are super cute! I have a 4 year old and 2 year old at home who are both learning their letters. Would it be safe to make these for them to play with when they are complete? I don’t know much about these materials, but I think they’d love some glitter letters to learn and play with during quarantine.
Thanks!
If your kiddos are old enough that they are past putting things in their mouths these would be fun for them to play with once they are complete. But if they are still putting things in their mouths I would think something wooden or painted with non-toxic paint would be a better option.
(Not a parent, so apologies for chiming in… just trying to be helpful)
Thanks, Emma! Yes, they are past putting things in their mouths. I still might consider other options though that might be less toxic if for some reason they did decide to bite them haha
Yep, I agree with Emma! Make sure they are past putting things in their mouth but if kids were handling them a lot like a toy I might use a different material…
Laura 🙂
Love this idea for inexpensive Christmas gifts!
These are so so cute! Especially for the kiddos backpacks! Thanks for sharing.
-Kate
https://daysofkate.com/