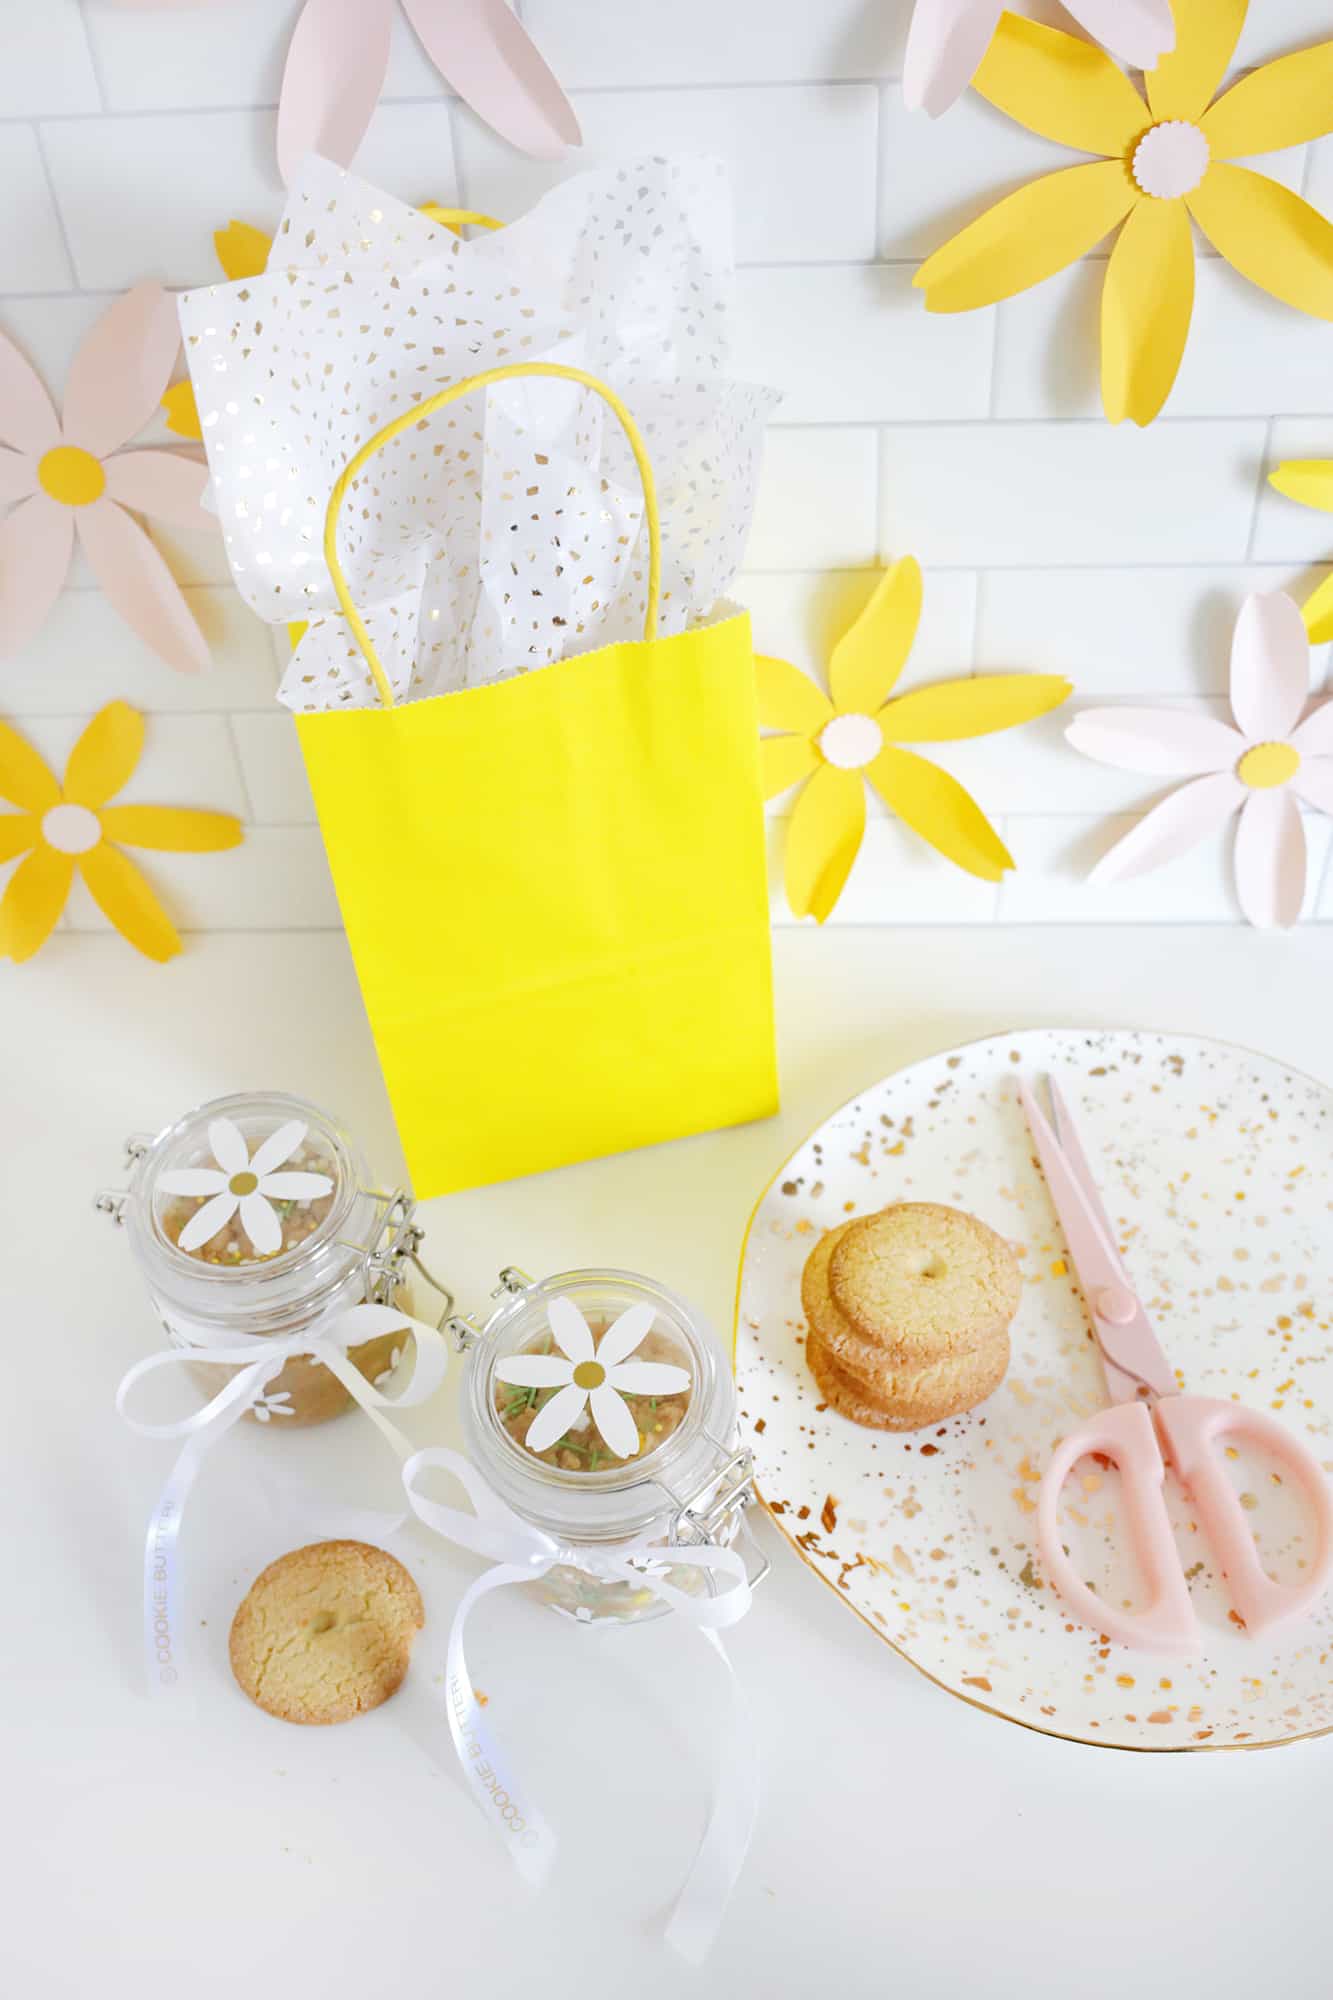
Of all the things you can give someone in a little bag to make them smile, can we all agree that cookie butter is at the top of that list?! We’ve made cookie butters a few times here at the blog, but this time we are partnering with one of our favorite craft brands, Brother, to show you a really fun way to personalize some spring-themed cookie butter to gift to someone special!
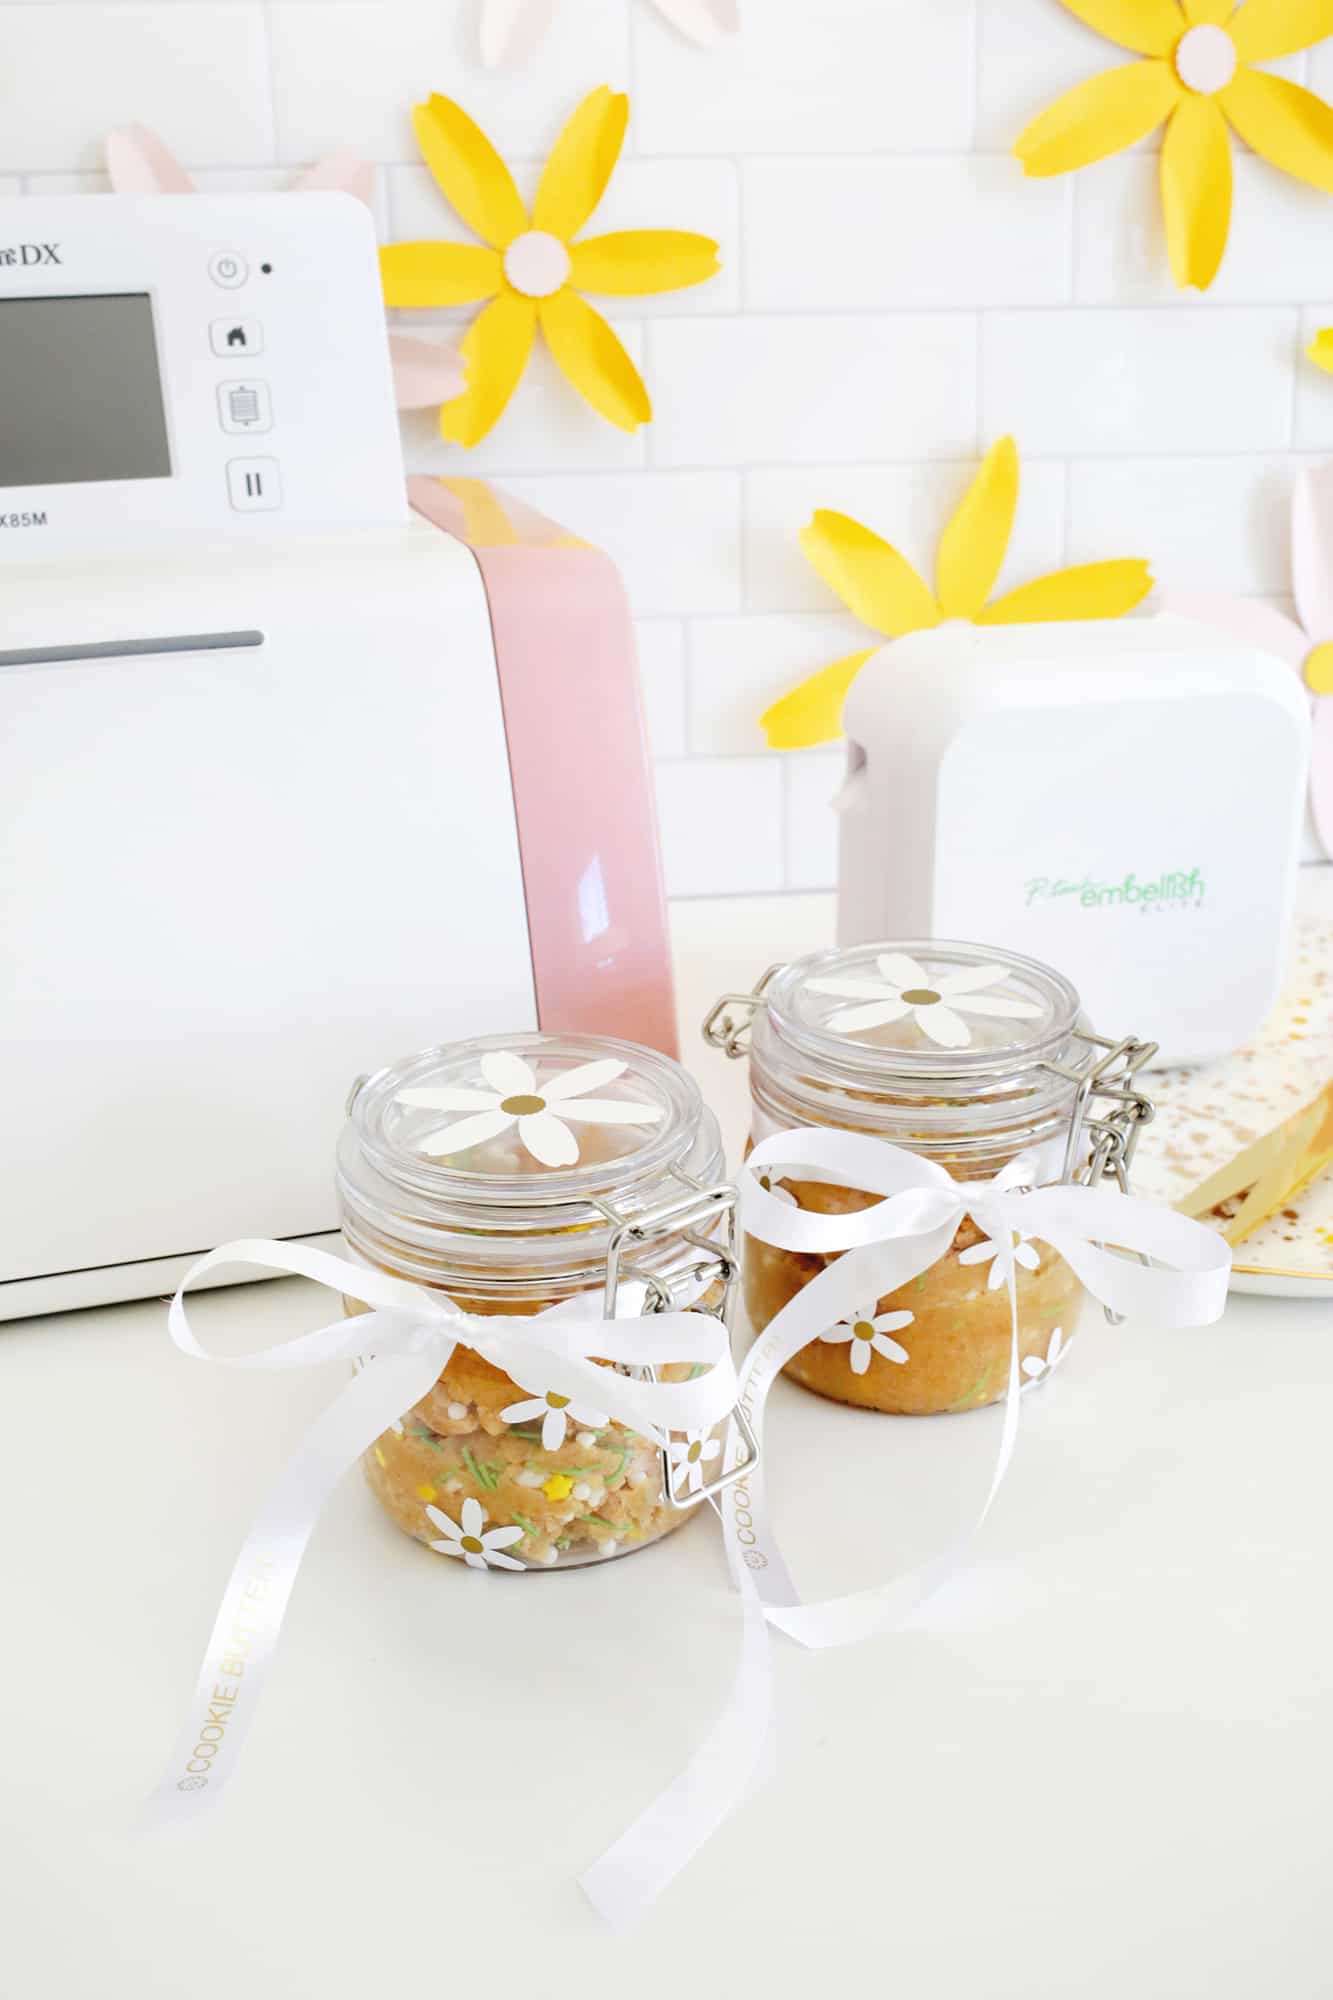
Using their P-touch Embellish ELITE and ScanNCut DX electronic cutting machine we’ve added some easy custom embellishments to our cookie butter jar that make a simple present simply adorable, and they are the perfect tool for beginner, intermediate, or experienced crafters! I know we aren’t the only ones who have found solace and relaxation in crafting from home during the last crazy year, and March is National Craft Month, so it’s the perfect time to hone your crafting skills while hanging out at home. Studies have actually shown that crafting can help reduce anxiety, and I think we could all use a little bit of that as we hit the year mark of the pandemic … let’s create something cute!
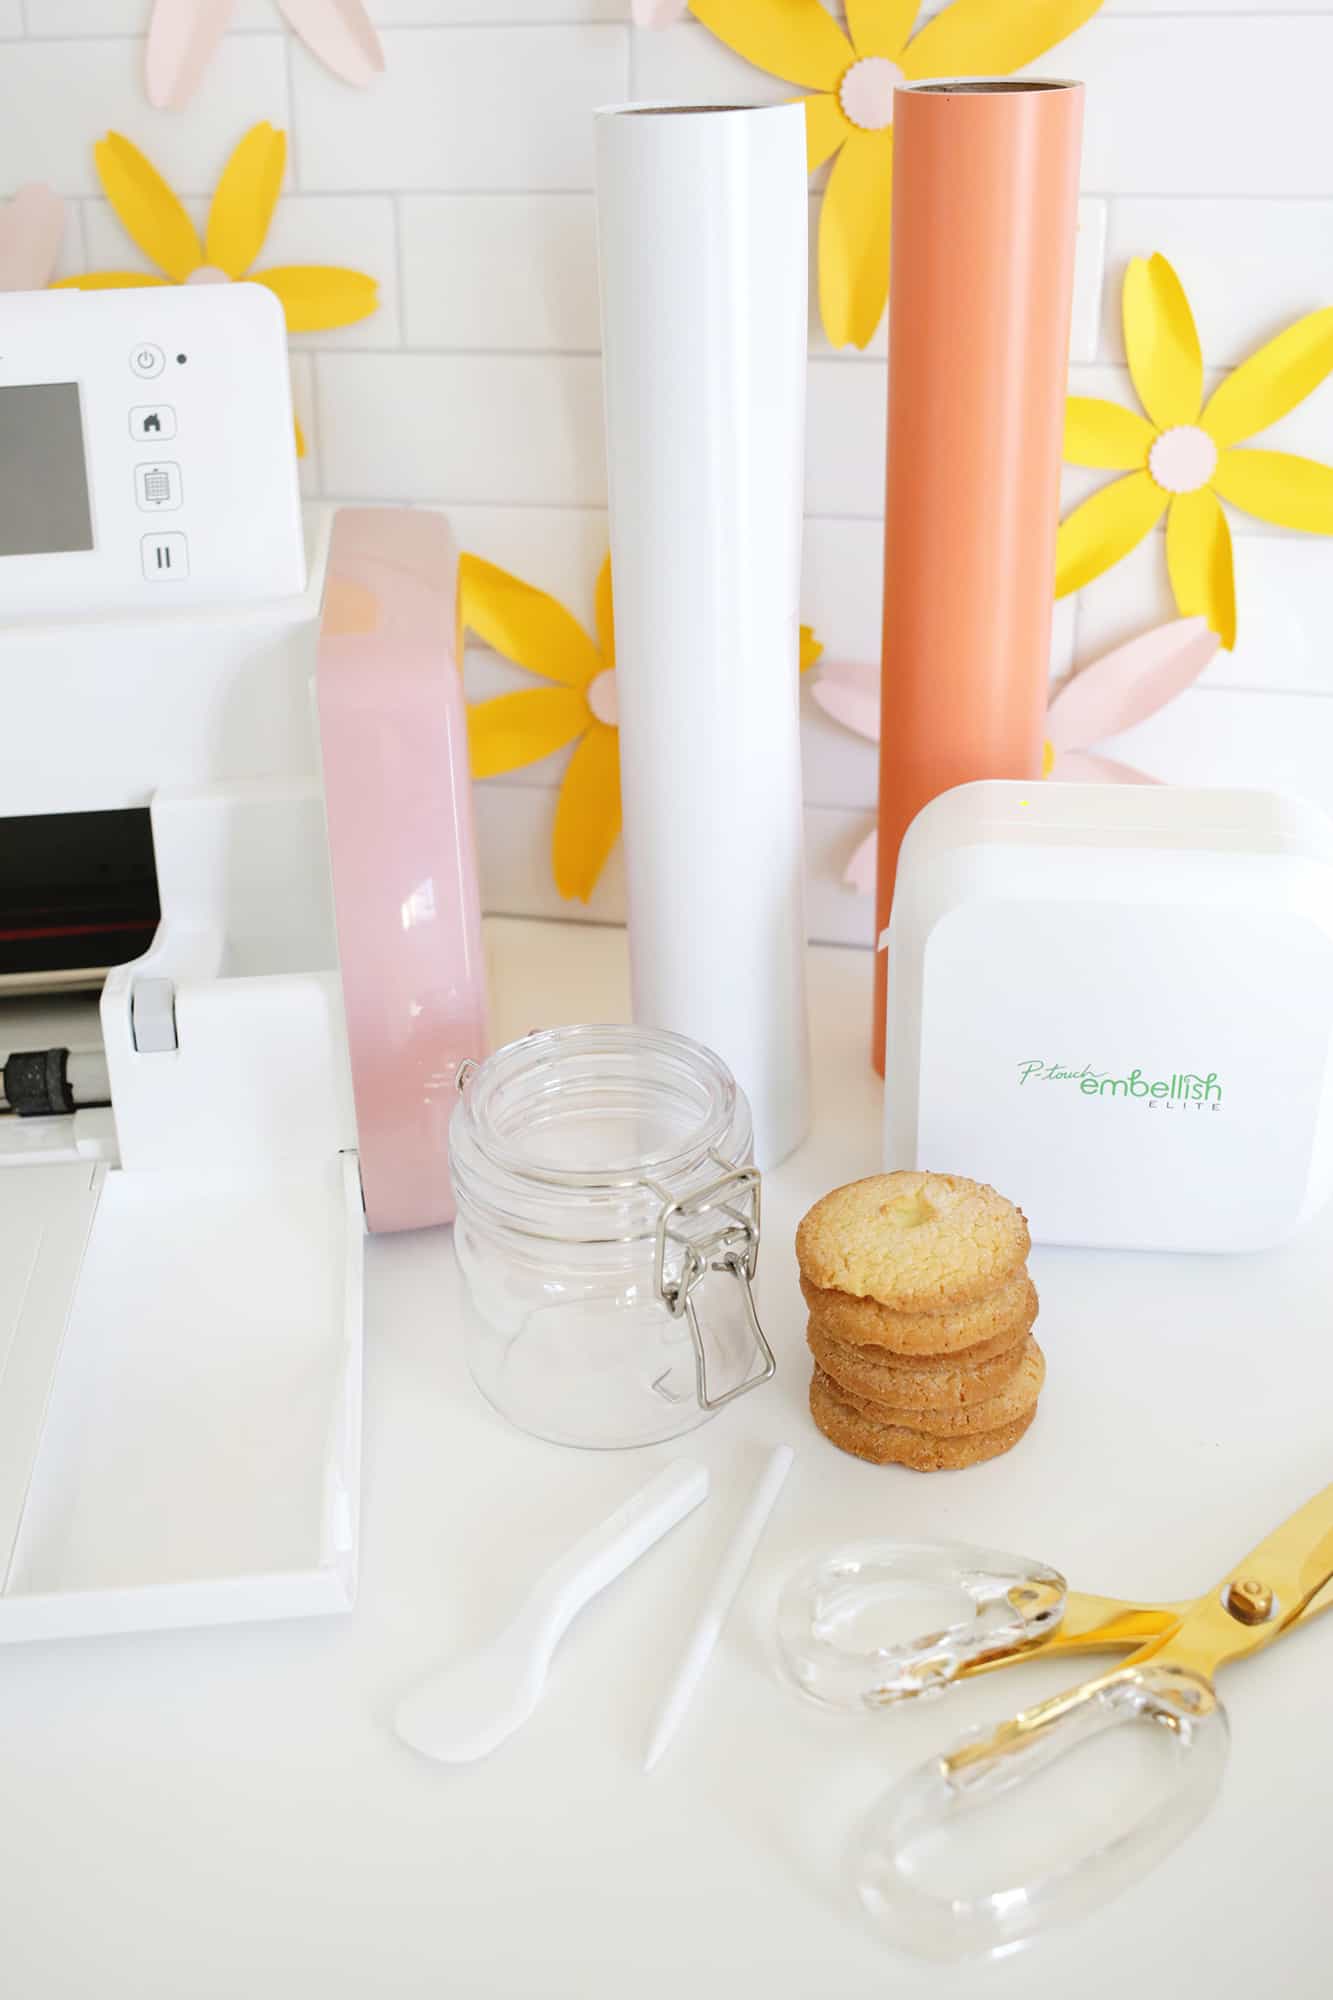
Supplies:
–P-touch Embellish ELITE
–ScanNCut DX electronic cutting machine
-white, gold, pink vinyl
-white ribbon with gold ink
–small clear jars for cookie butter
–flower template (right click to download)
-sugar cookie butter with spring-colored sprinkles
First, we’ll cut our flowers to decorate our jars. Download the flower template and open it in the Brother CanvasWorkspace program. I have two sizes of flowers on the sheet as well as the middles for the flowers. When I was cutting the white or coral flowers, I would select and erase the middles so they wouldn’t be cut, and then when I was preparing to cut the middles in the gold vinyl, I selected and erased the flower shapes so only the middles would remain. You can also move the shapes you are about to cut up to the top of your virtual mat so that you just have to put a small amount of vinyl at the top of your real mat and you won’t waste any unnecessary vinyl.
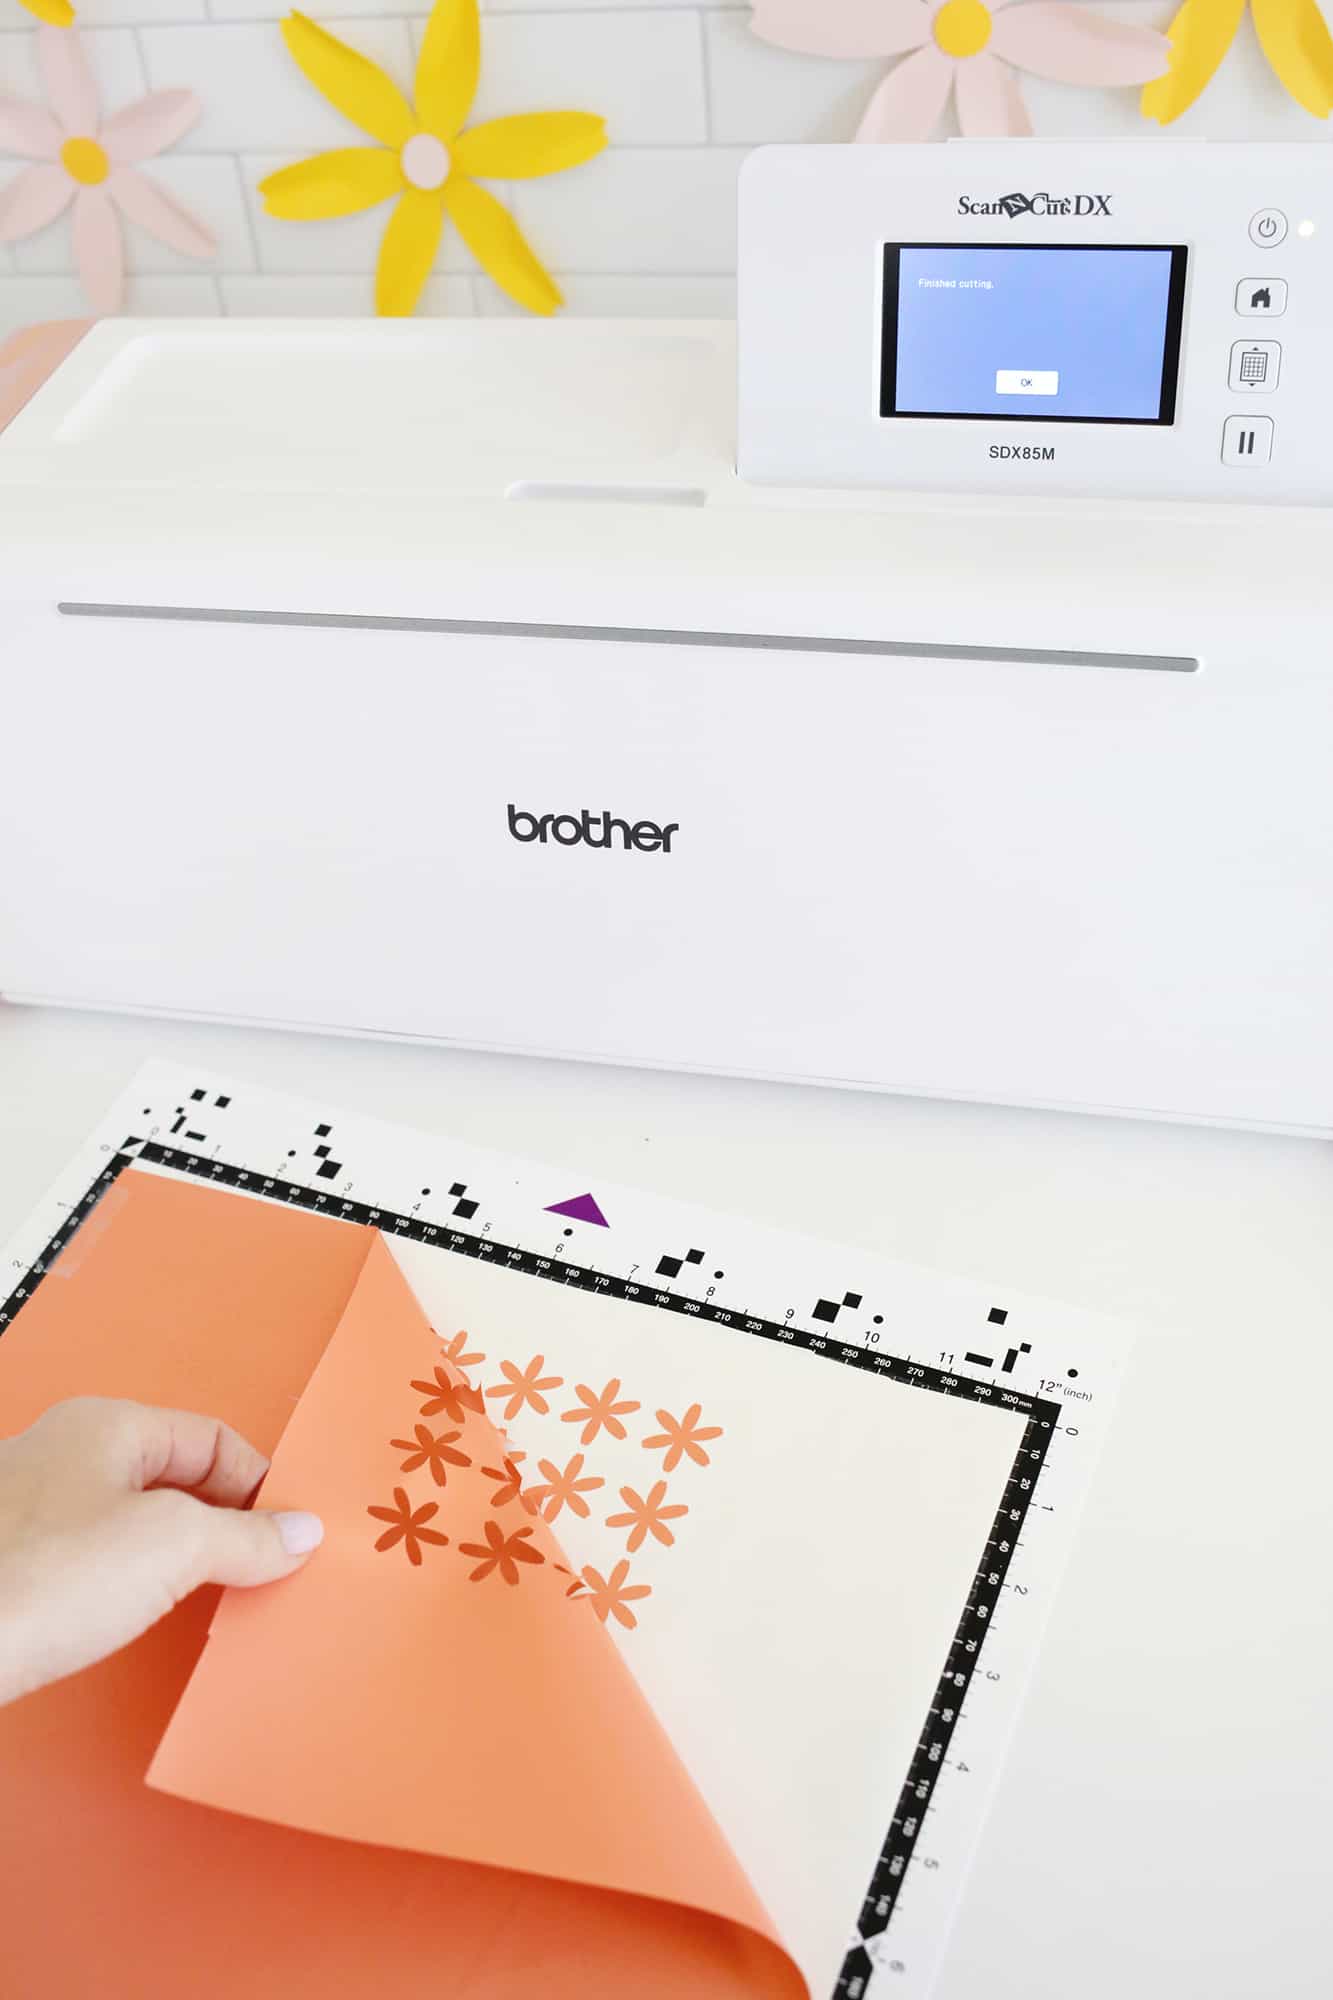
You can also load the vinyl onto your mat at this point. You can either cut a sheet to cover the whole page and then save any unused portions for another time or you can see how many squares your design covers and then cut your vinyl to cover those amount of squares on your corresponding mat grid. Place the mat aside for a moment.Once you have the shapes you are about to cut positioned at the top of your mat, you can go up to “File” and then choose “Export/Transfer FCM File” to send the file to your ScanNCut Machine. On the home screen of your cutter, you’ll go to “Retrieve Data” to bring up the file you just exported, and your design will appear on your machine screen and you can select the blue “OK” button.On the next screen, press the “please select” button and choose the “cut” option since we are going to cut out a shape. Since are cutting vinyl, we only want to cut through the vinyl layer and not through the paper layer underneath the vinyl, so you want to select the little wrench icon on your screen to scroll down and make sure the “half cut” option is toggled in the “on” mode. Use the mat button on the front of your machine to load your mat and then you can press the “start” button!Once your design is cut, press the mat button again to unload the mat and peel off the negative unnecessary vinyl on your design to leave just your needed shapes behind.
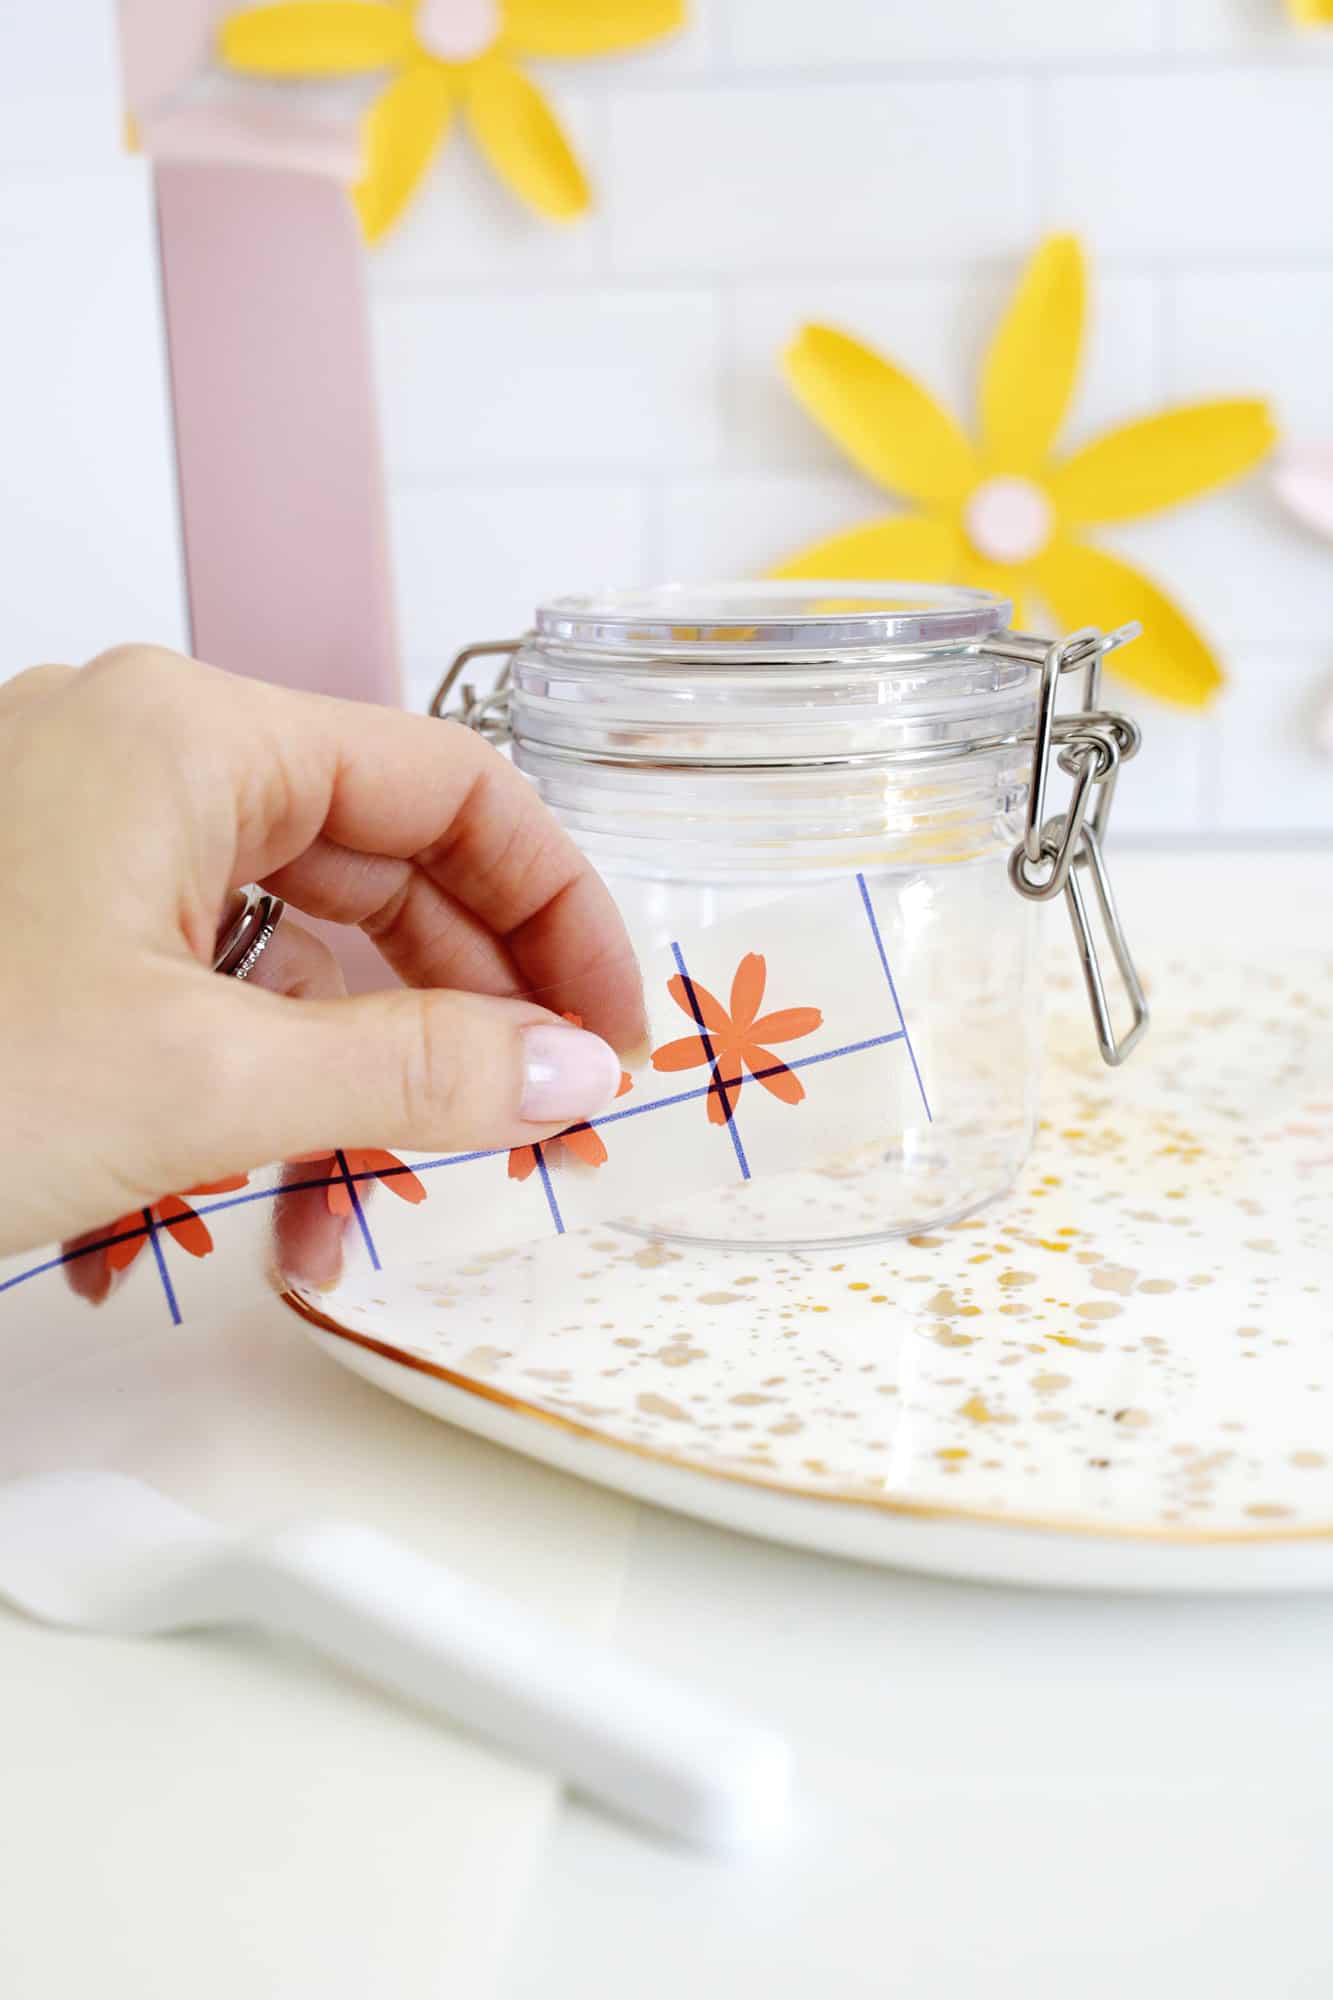
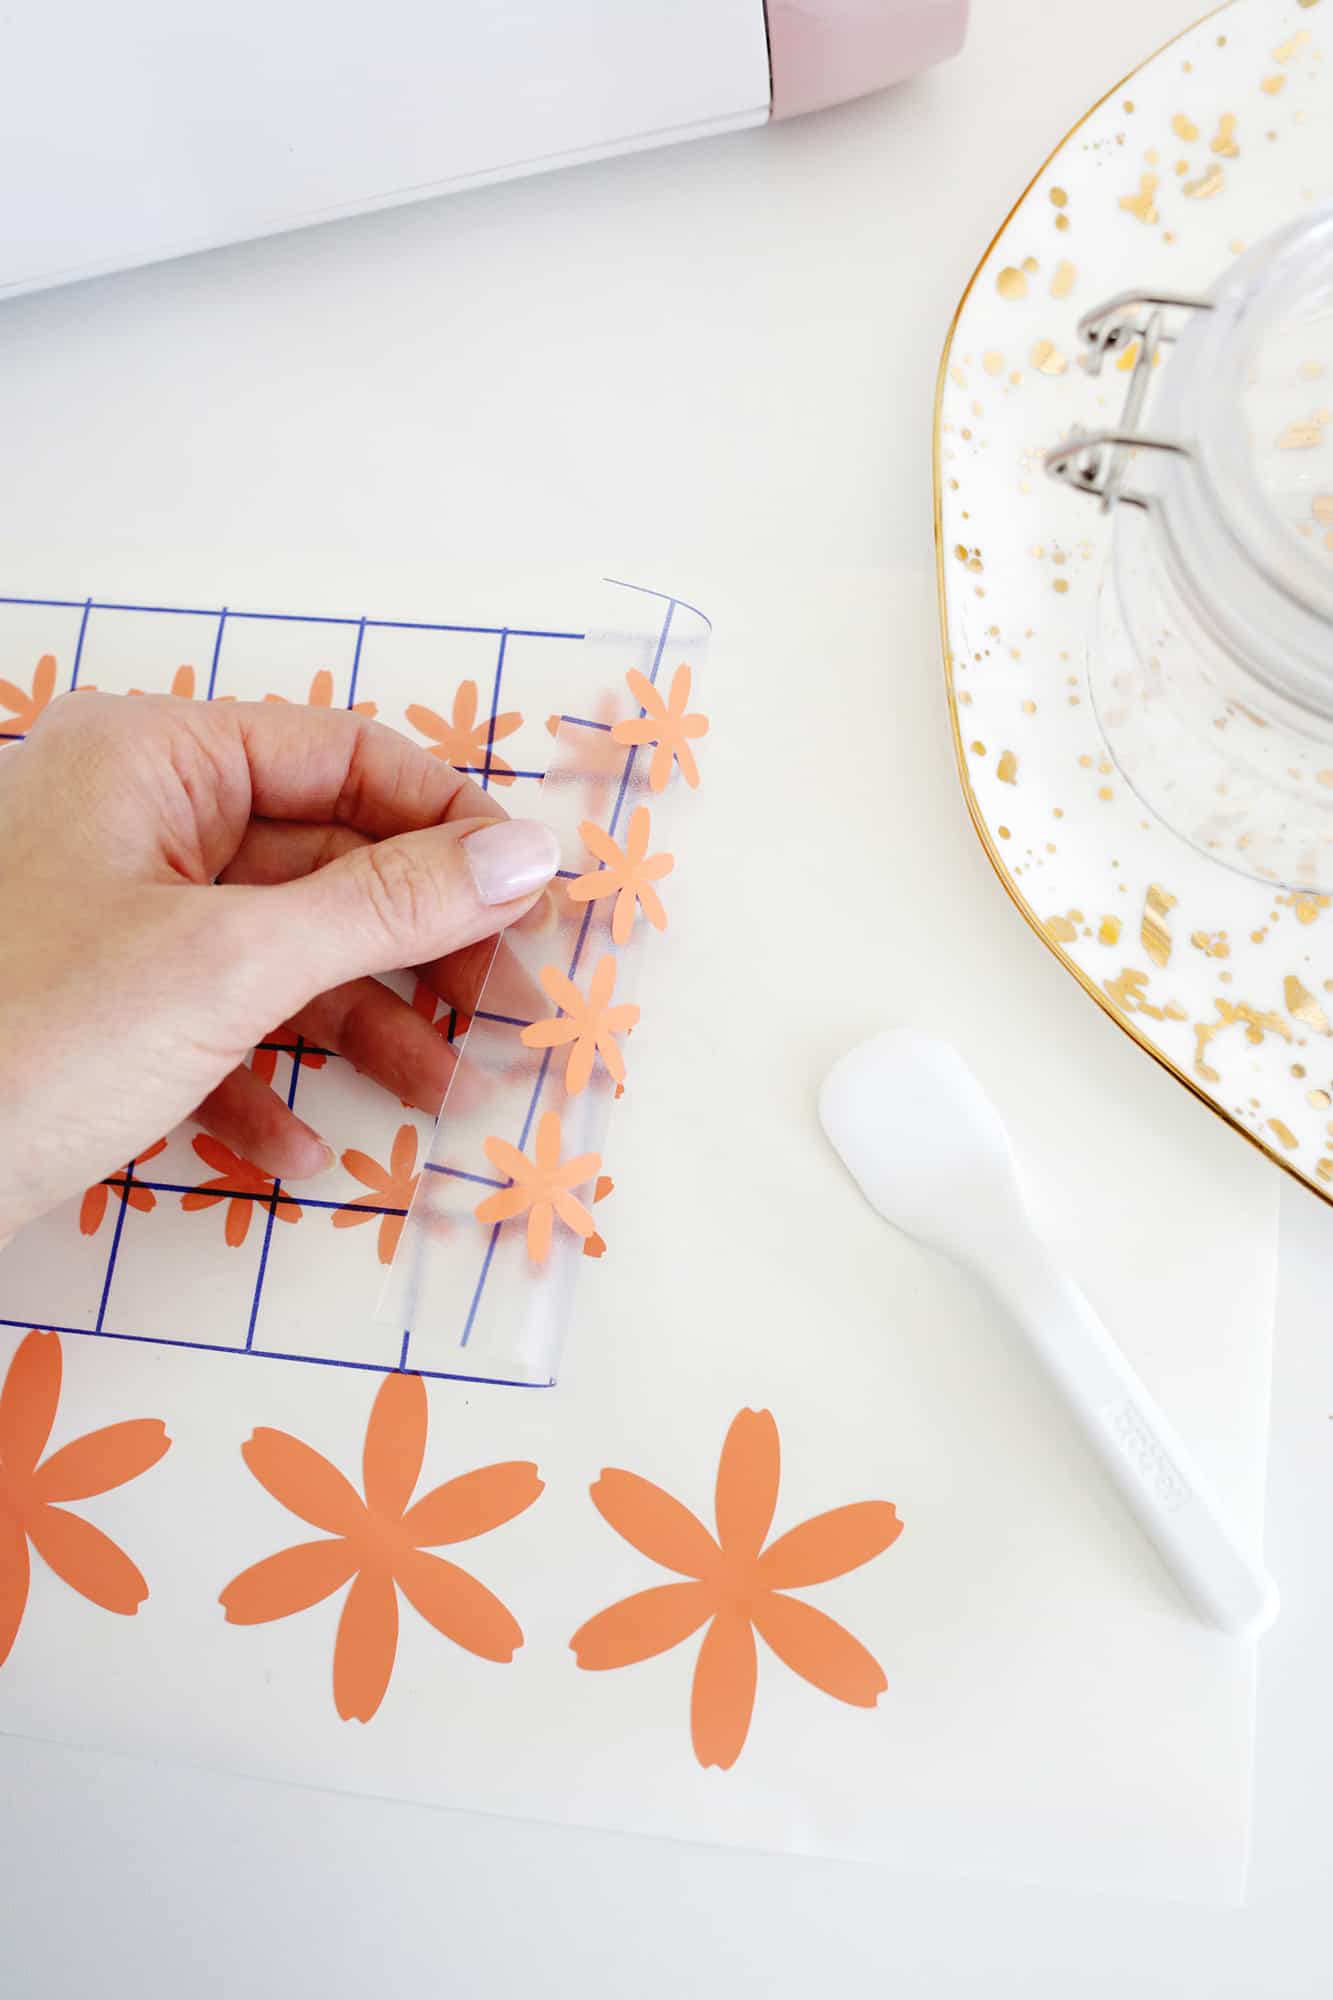
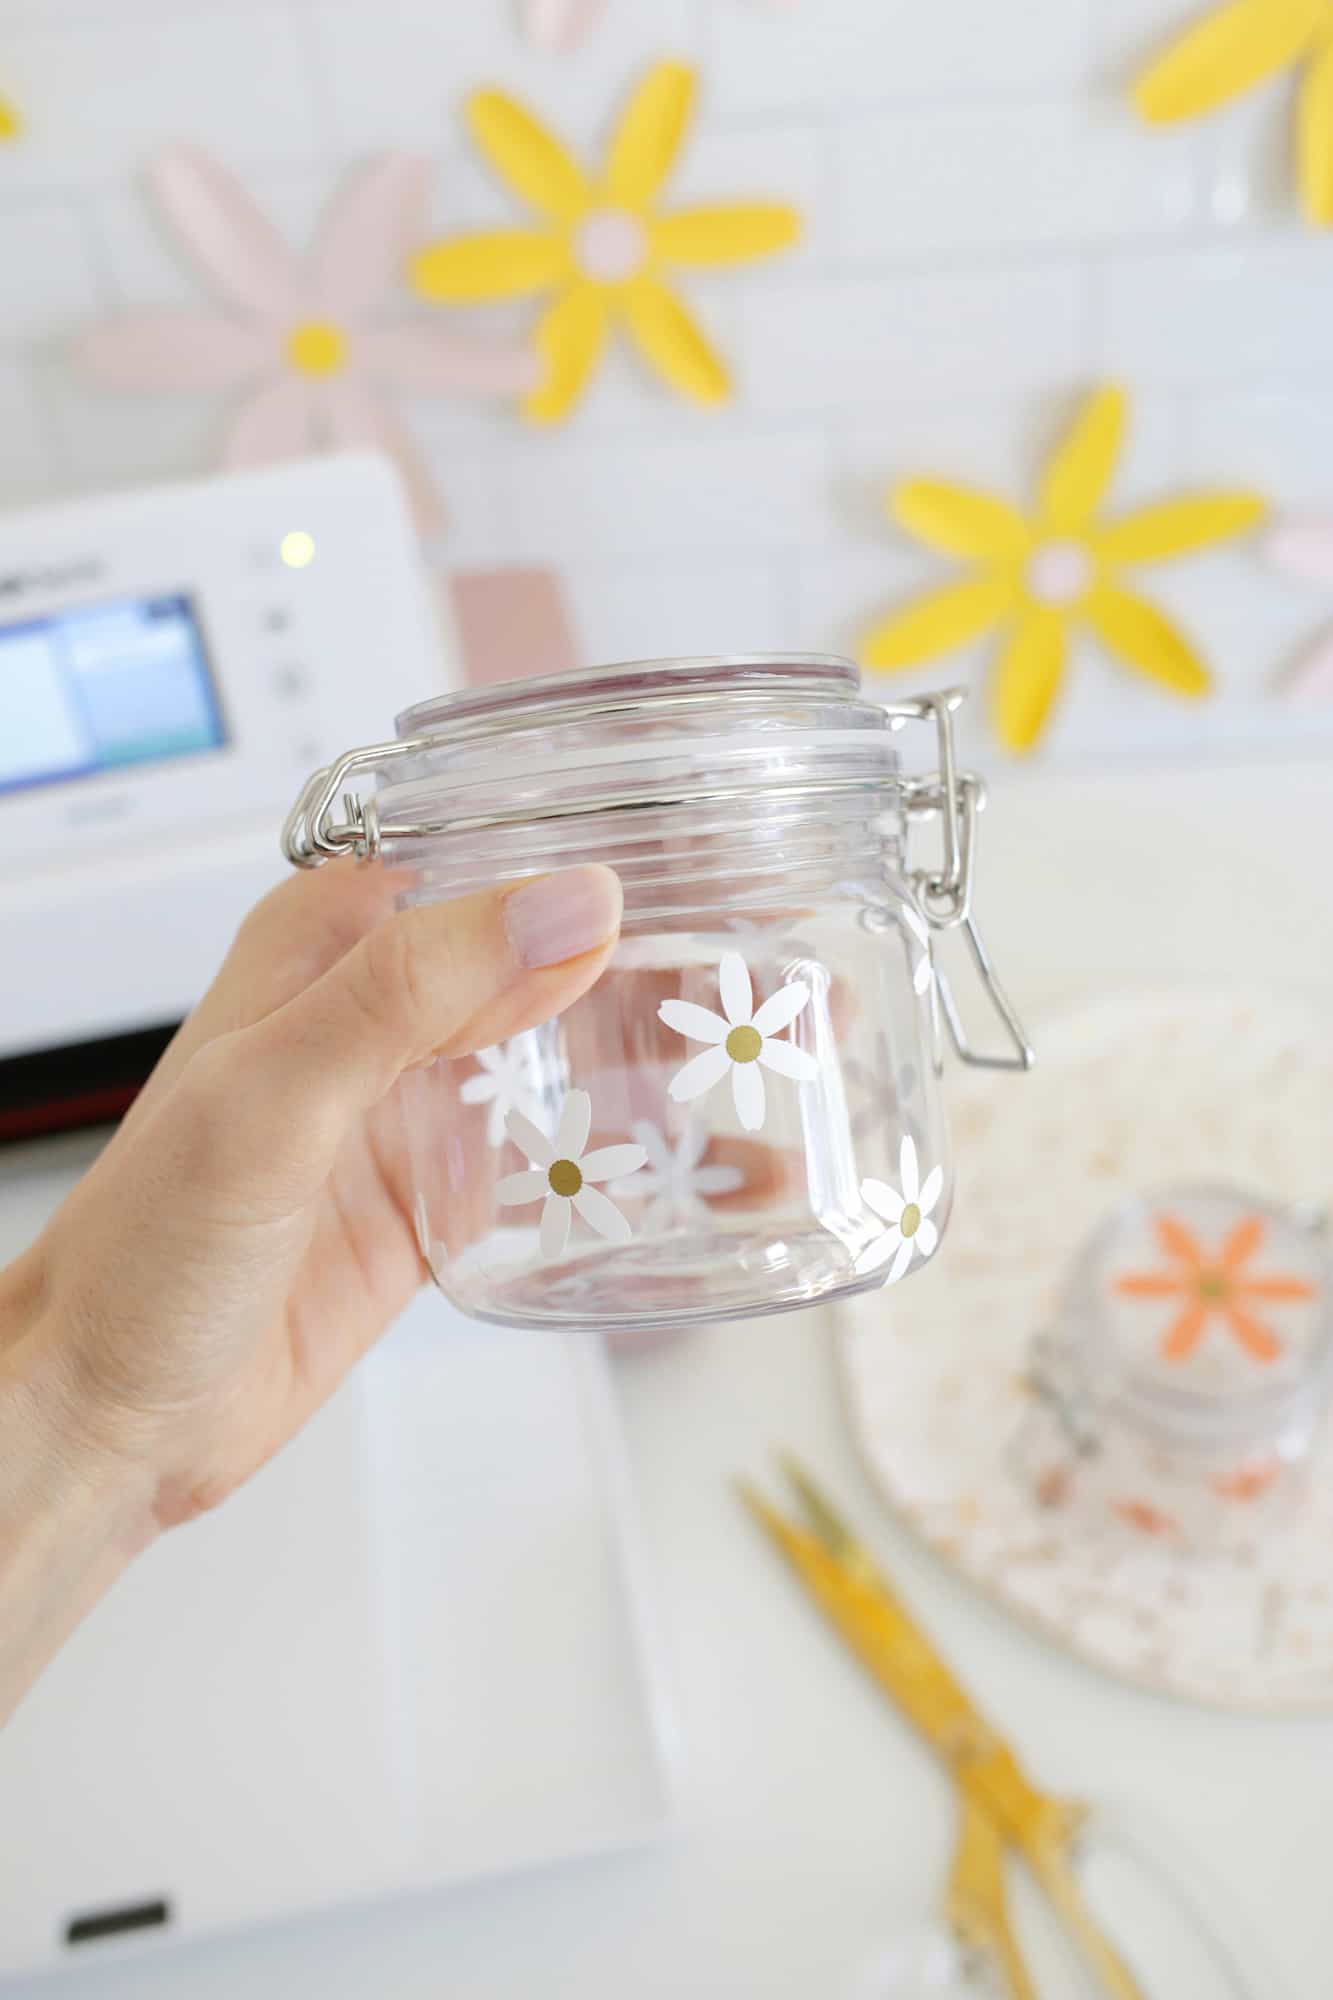
Use some of your transfer tape and rub it over your design so you can gently peel it off and lift up your vinyl shapes so they can be transferred to decorate your jar! If you’re doing two colors of flowers, then peel off your cut layer of vinyl, and add a new piece in your second color and repeat the cut and transfer process. If you have any issues with your vinyl not sticking to your transfer tape (or if you don’t have any), you can use your fingernails or the small spatula tool that comes with the machine and gently peel them up yourself and stick them on like a sticker.
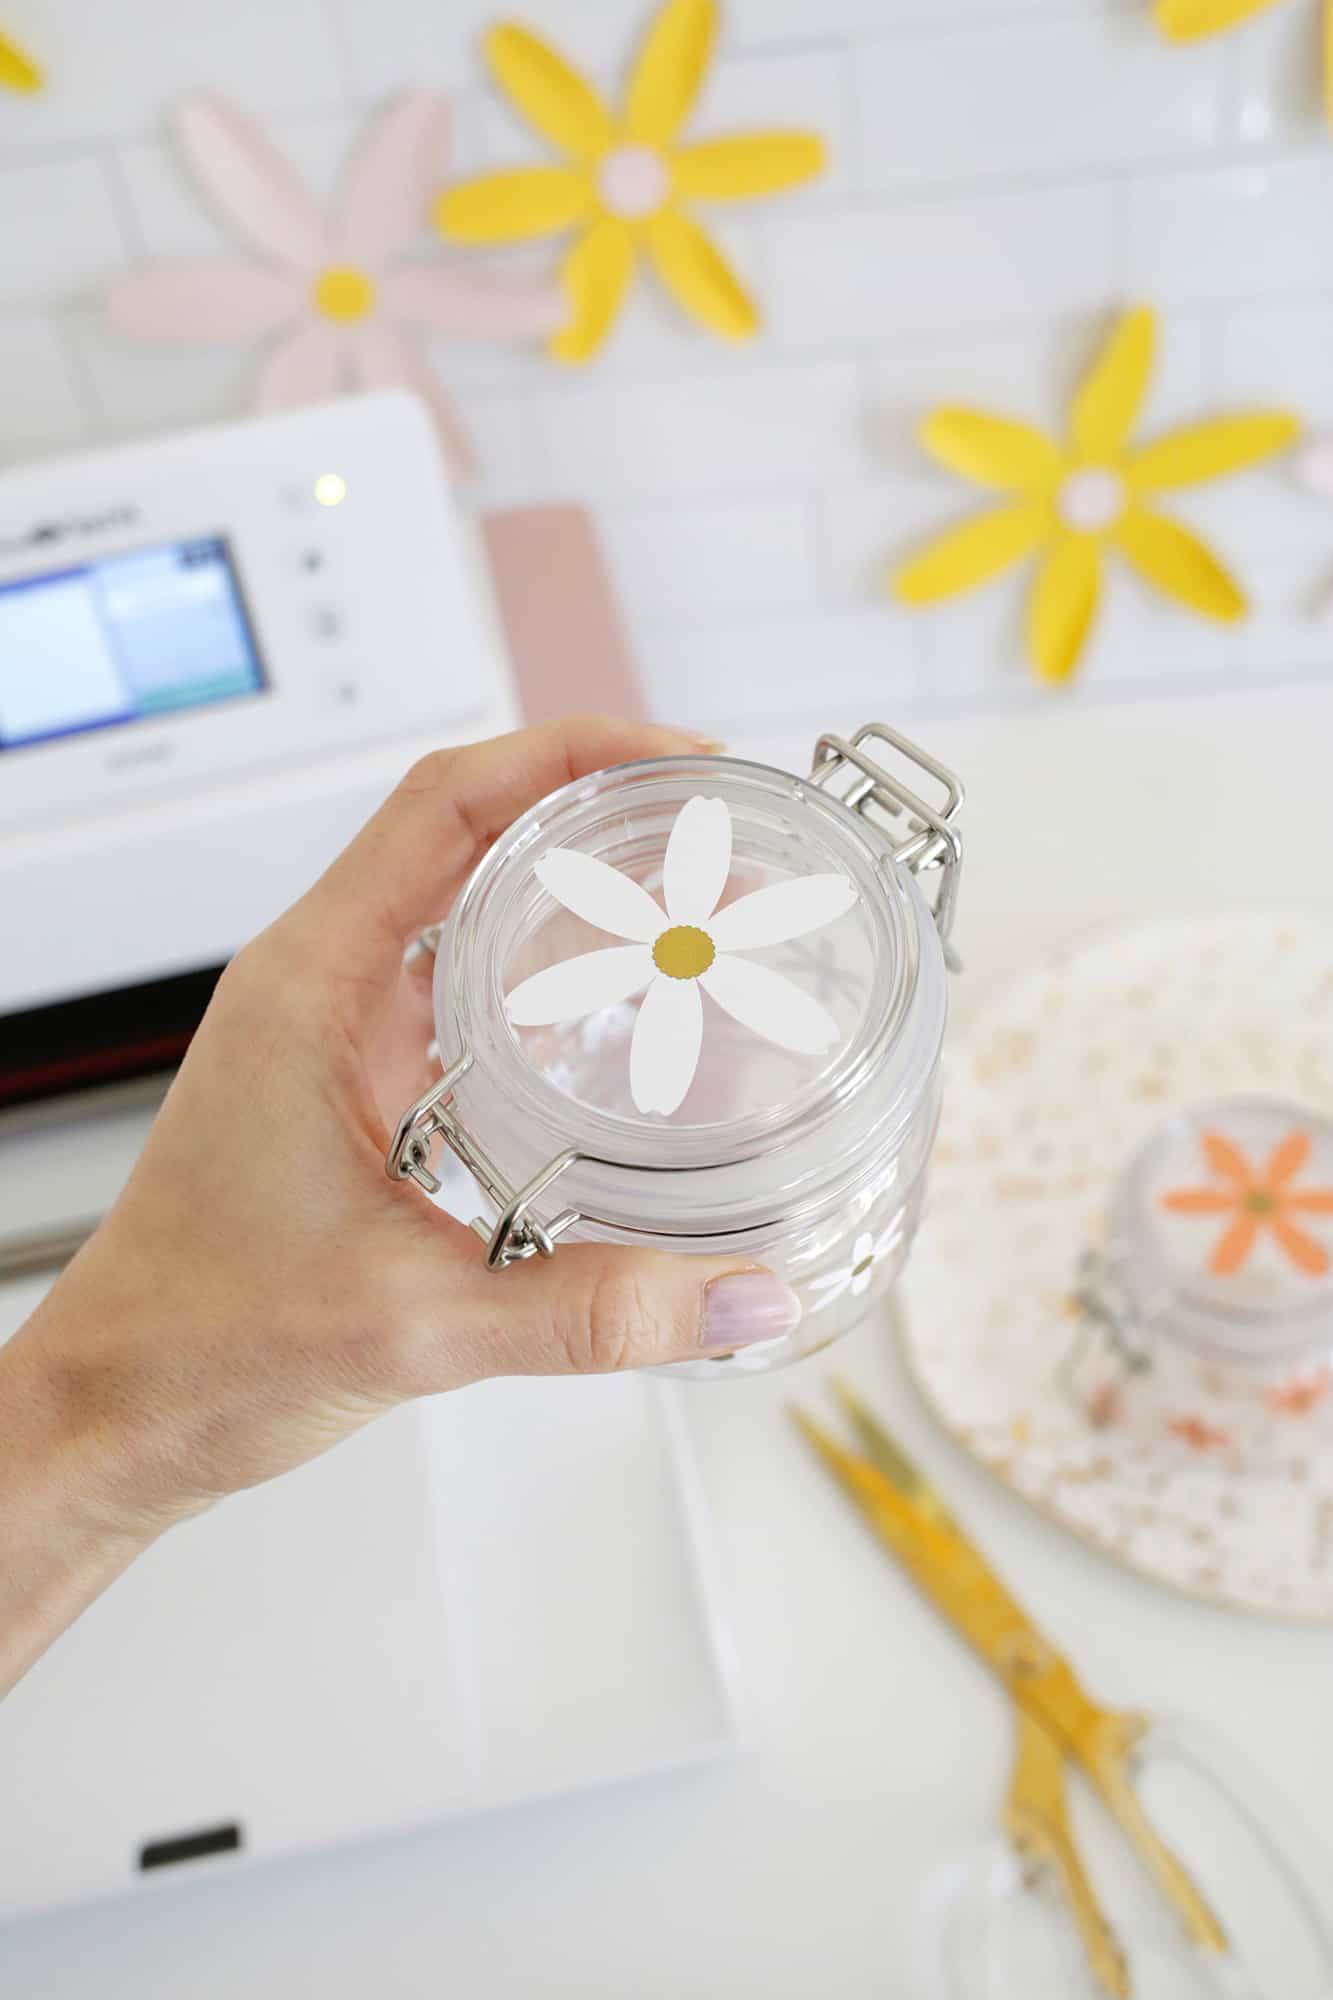
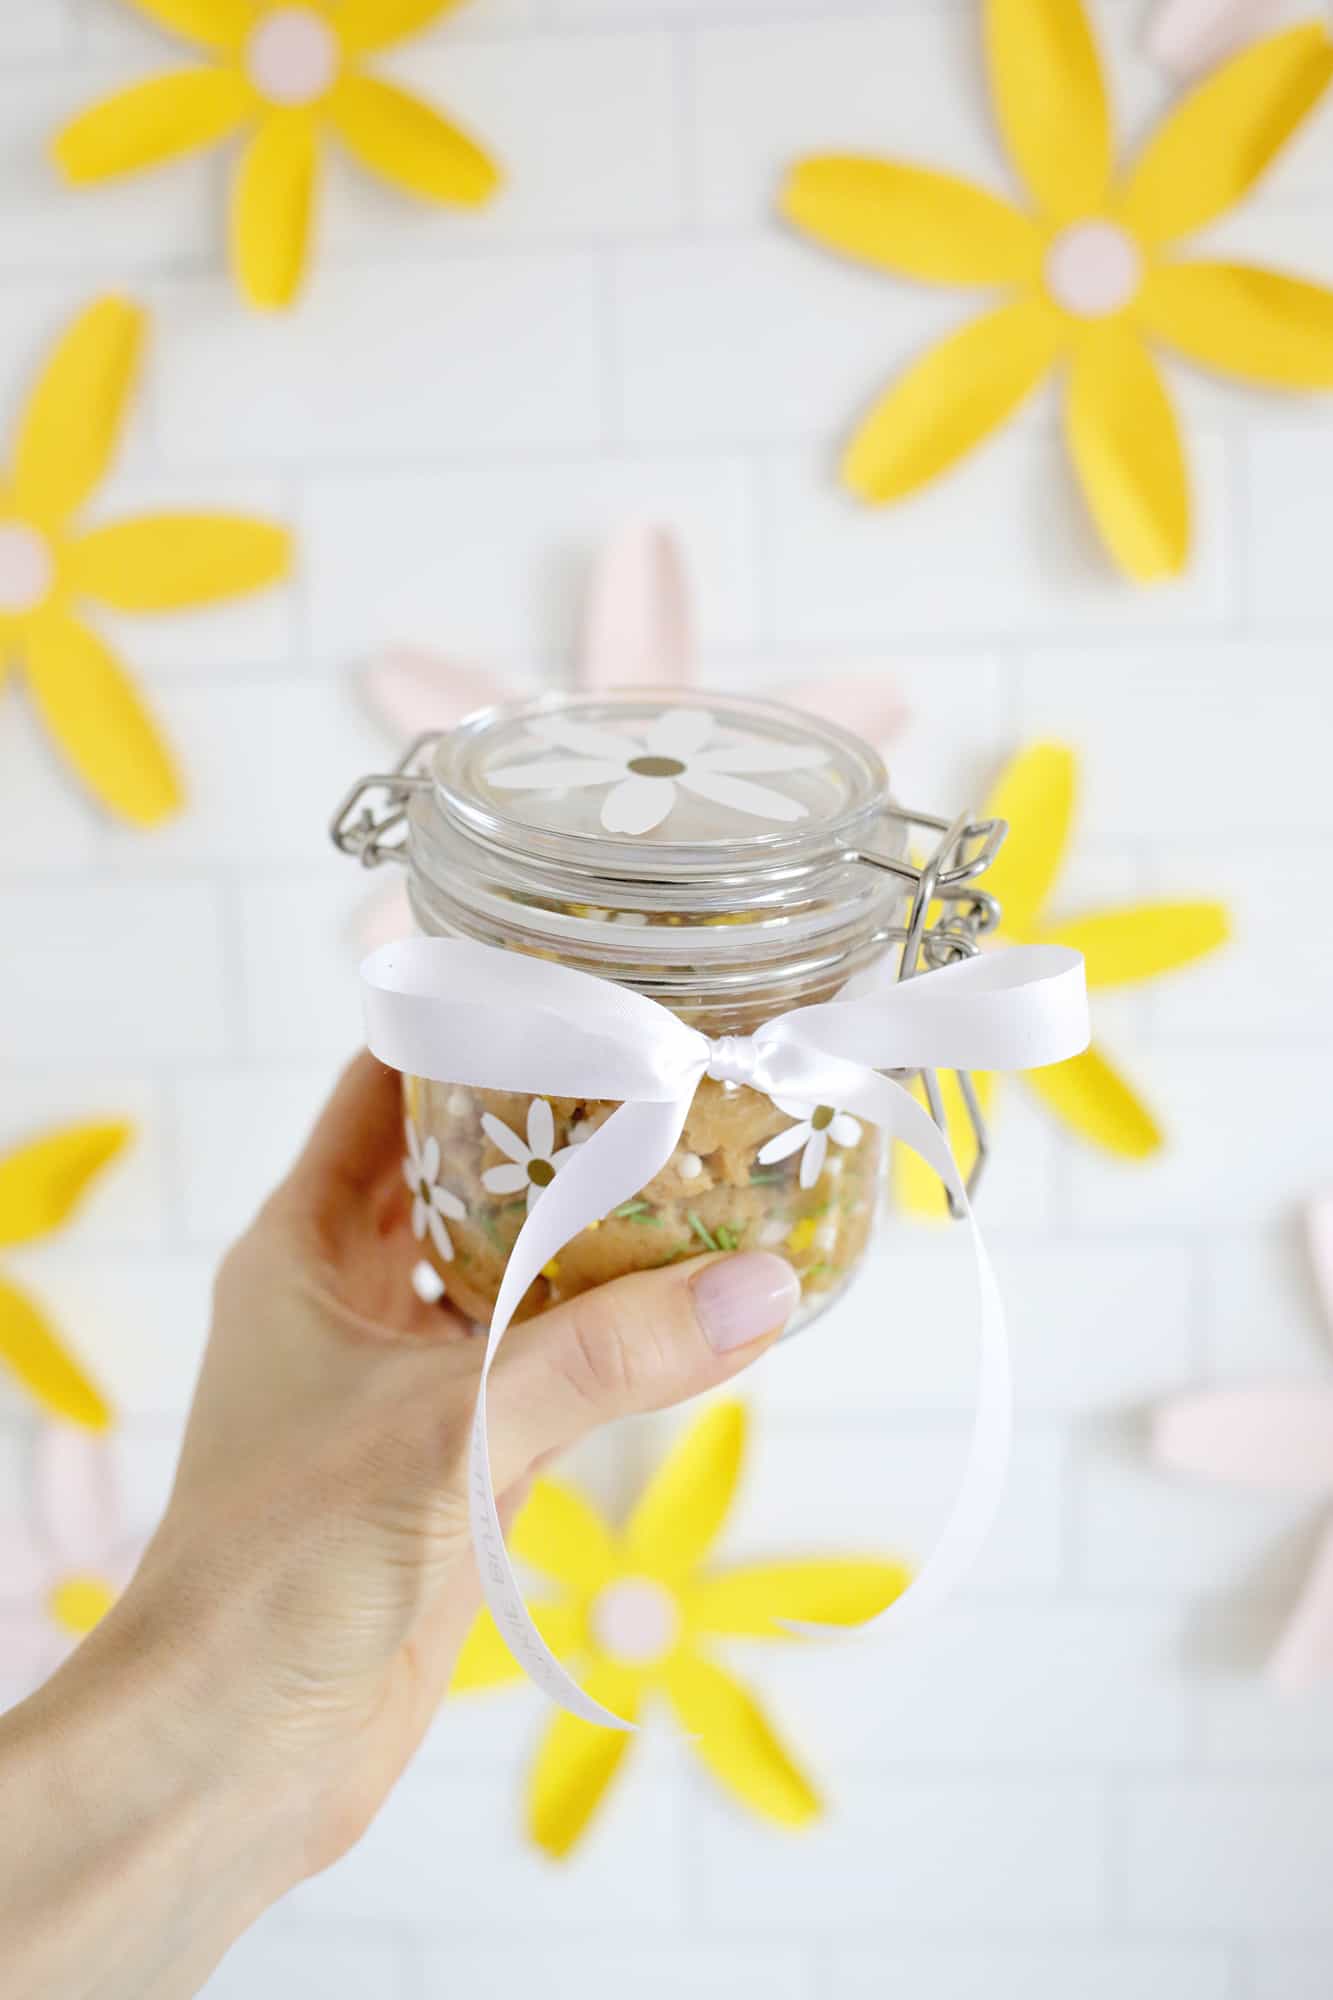
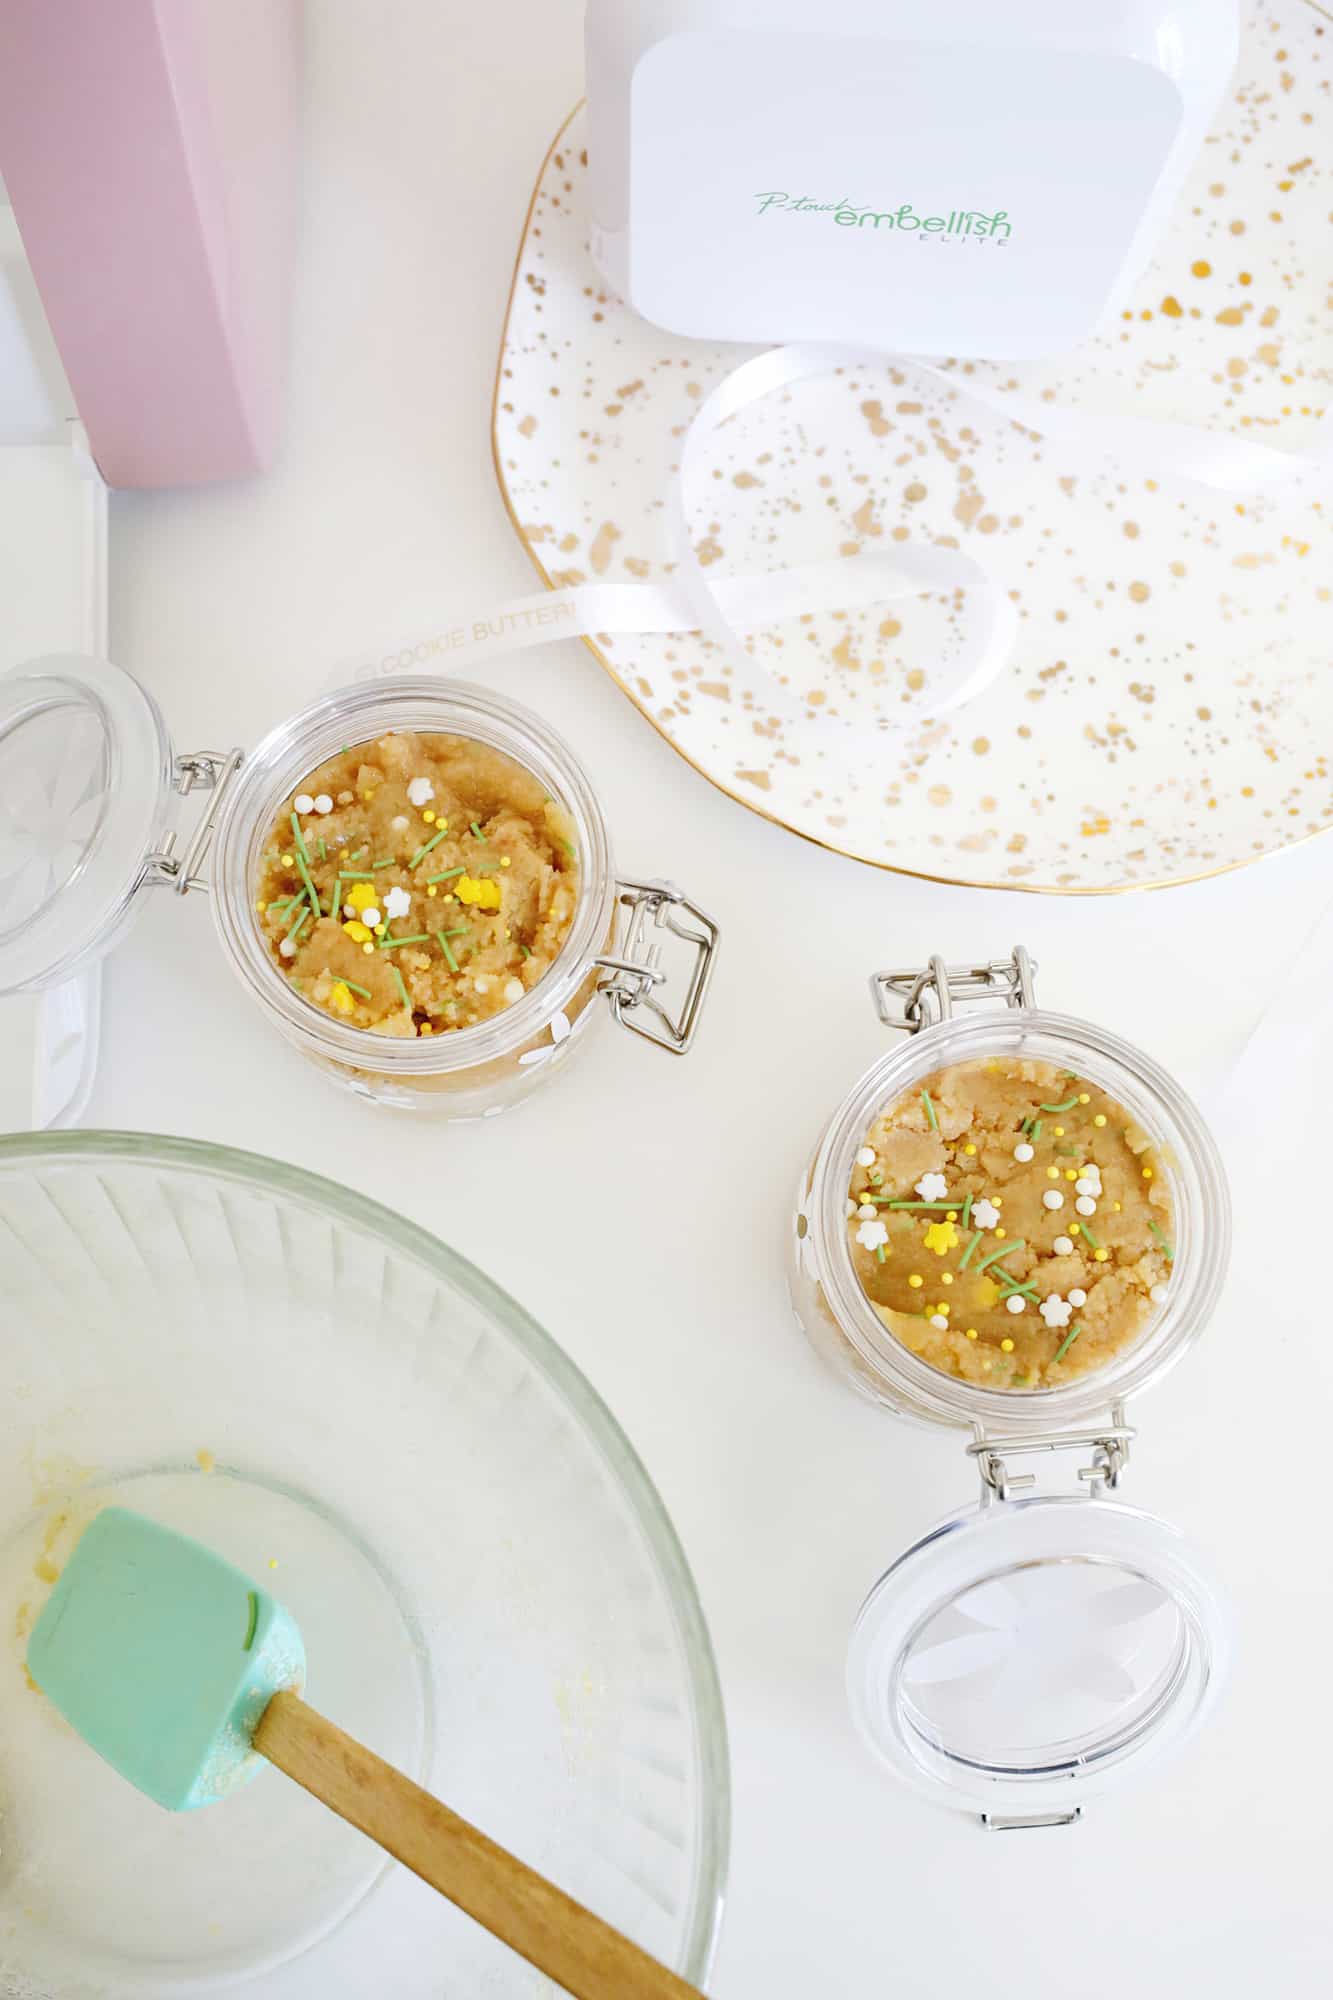
Once you’ve cut and added all your flowers, repeat the process with the middle of your flowers. Make your cookie butter, add in some spring colored sprinkles, and spoon your cookie butter into your jars.
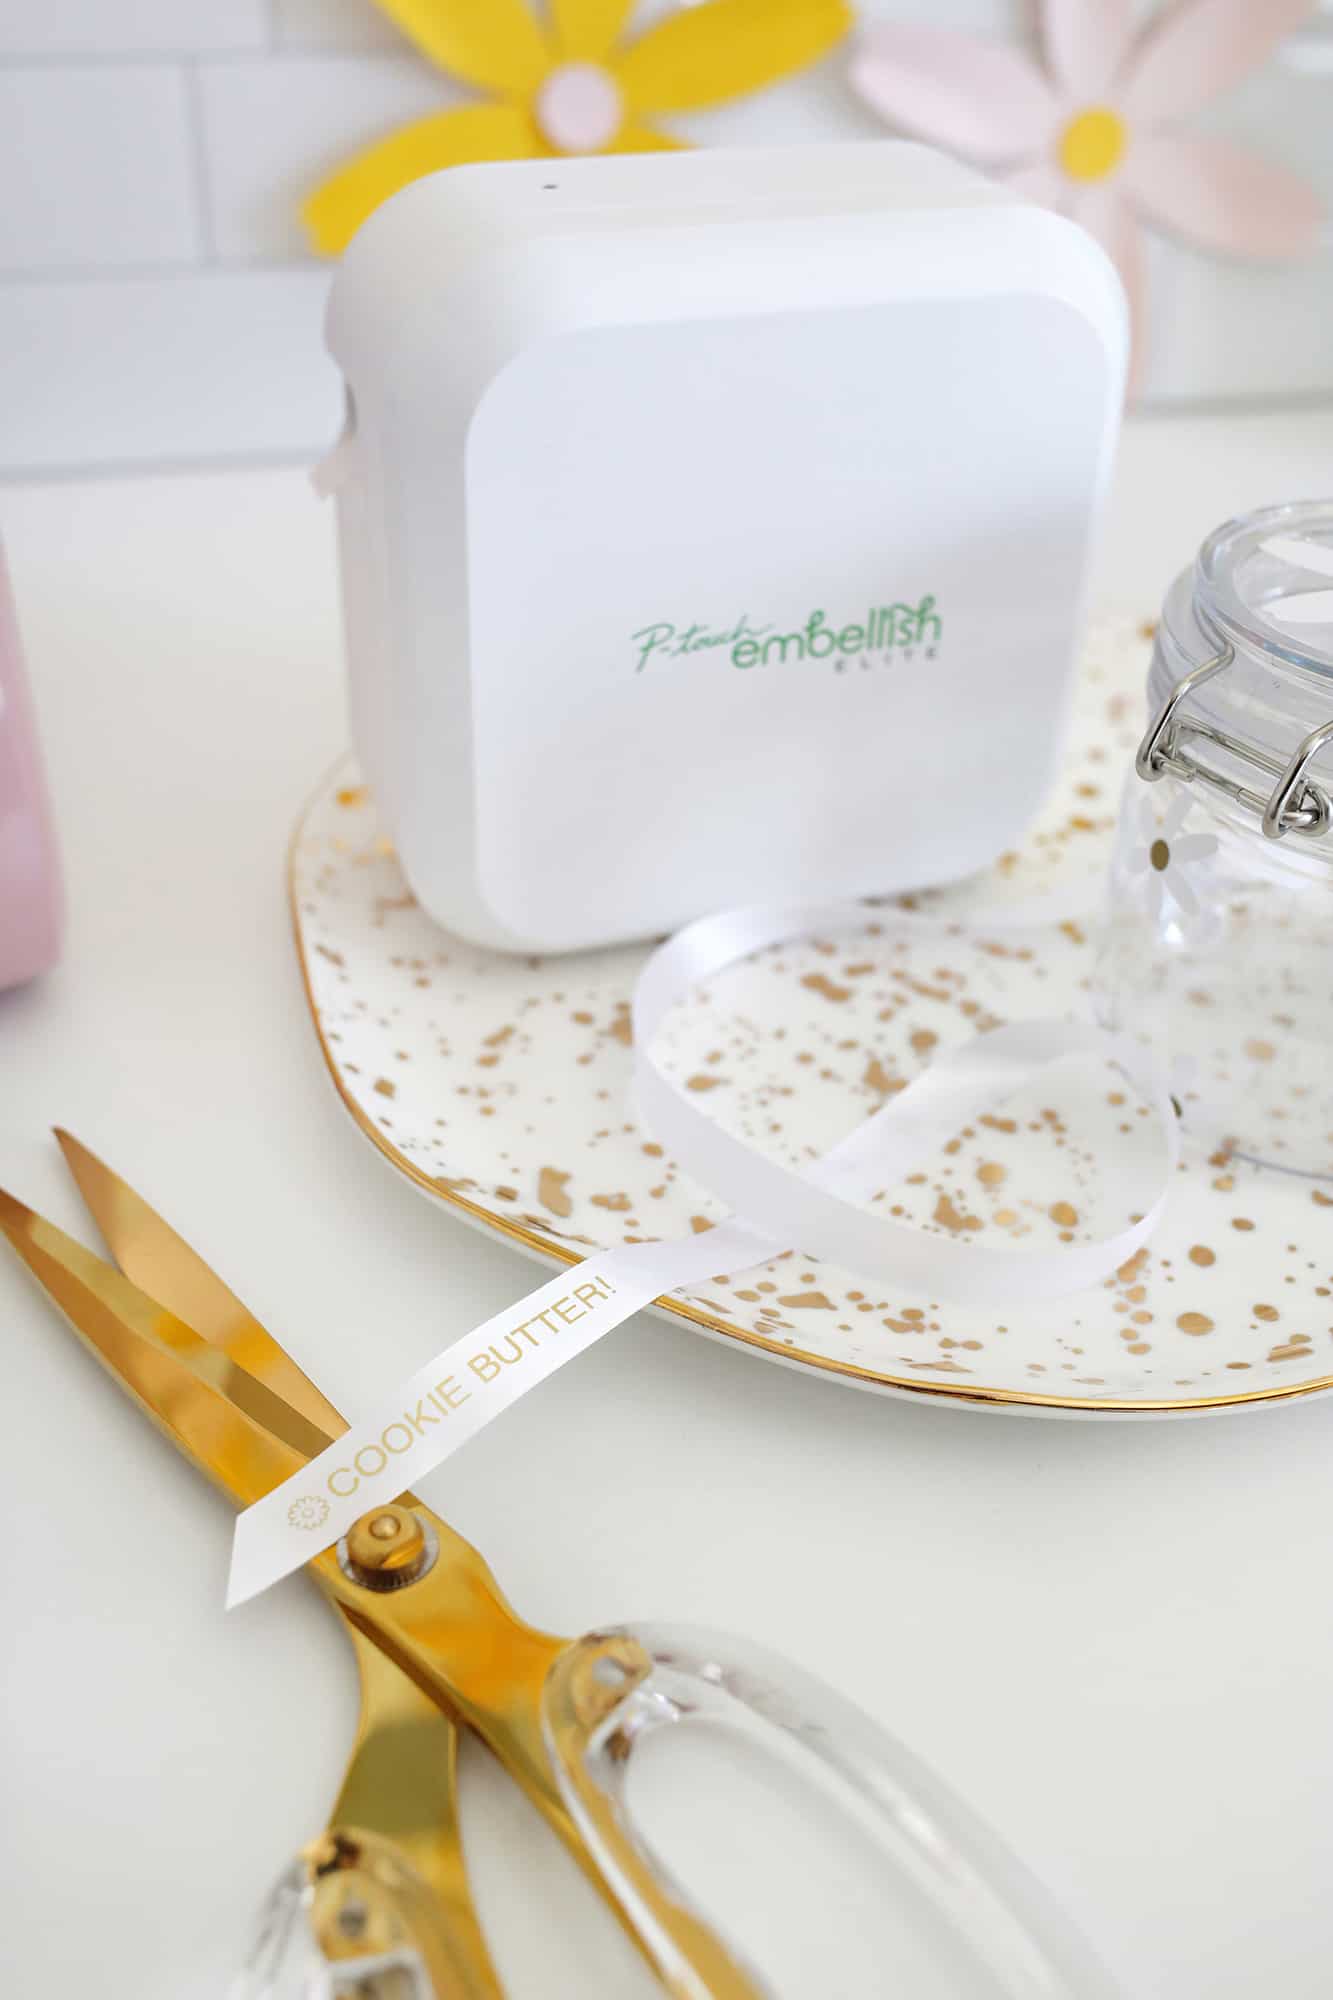
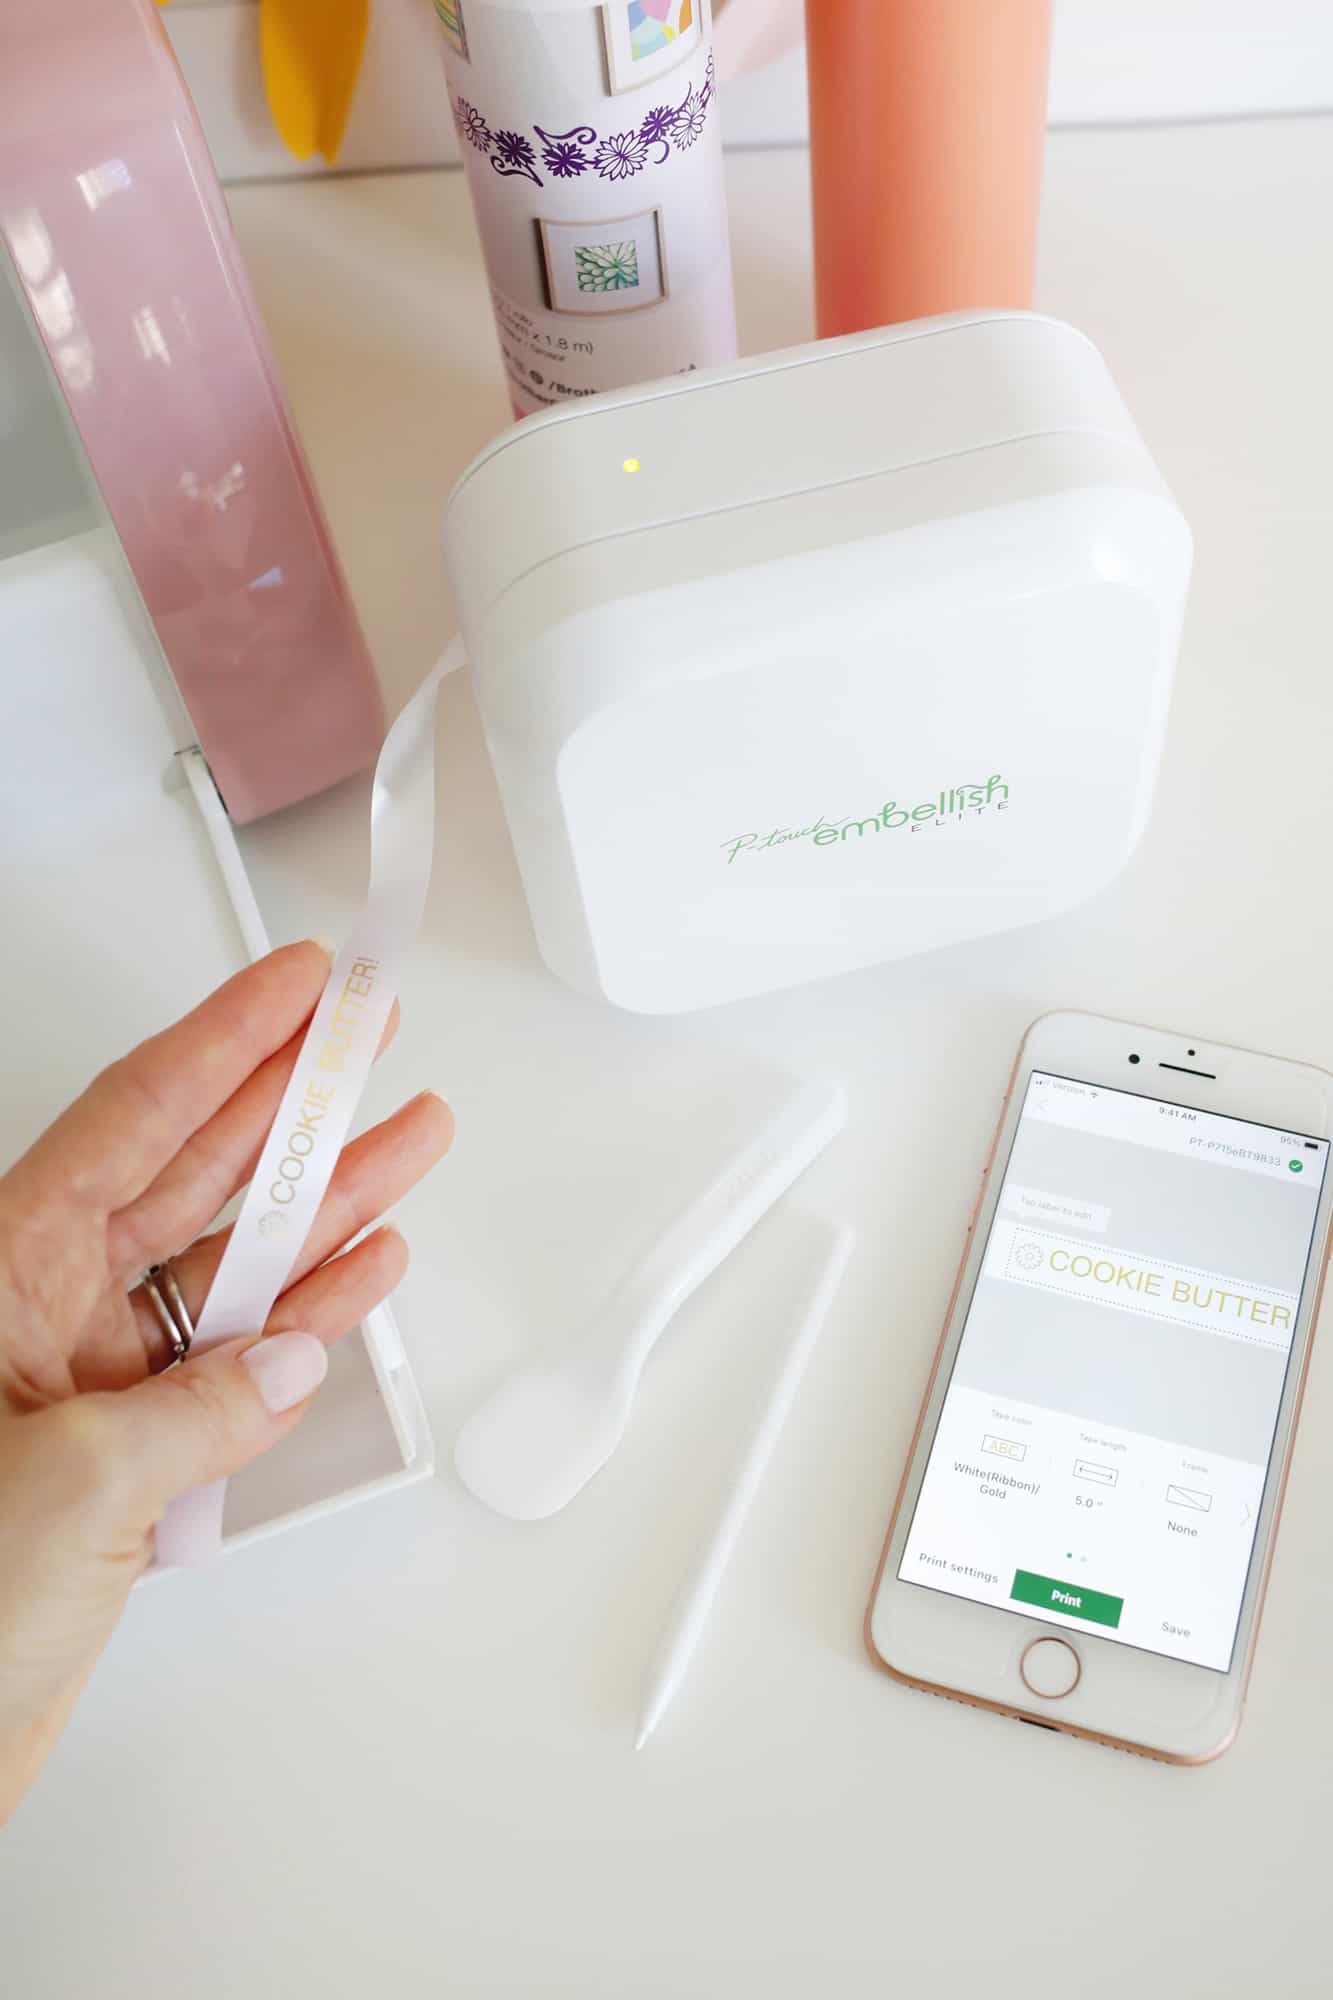
Our last step is to add a customized ribbon to tie around the jar! Use your Brother P-touch Design and Print app on your phone to create a custom label that you can print directly from your P-touch Embellish Elite. I chose a white ribbon with gold lettering and added “Cookie Butter!” and a daisy next to it to tie the ribbon into the design of the jar. You can customize your label with different colors and widths of ribbon, choose from their selection of fonts and a wide range of icons to make your creation even more customized to your needs—so cool! The machine also prints adhesive label tape as well, so you can also do all your organizing projects with it!
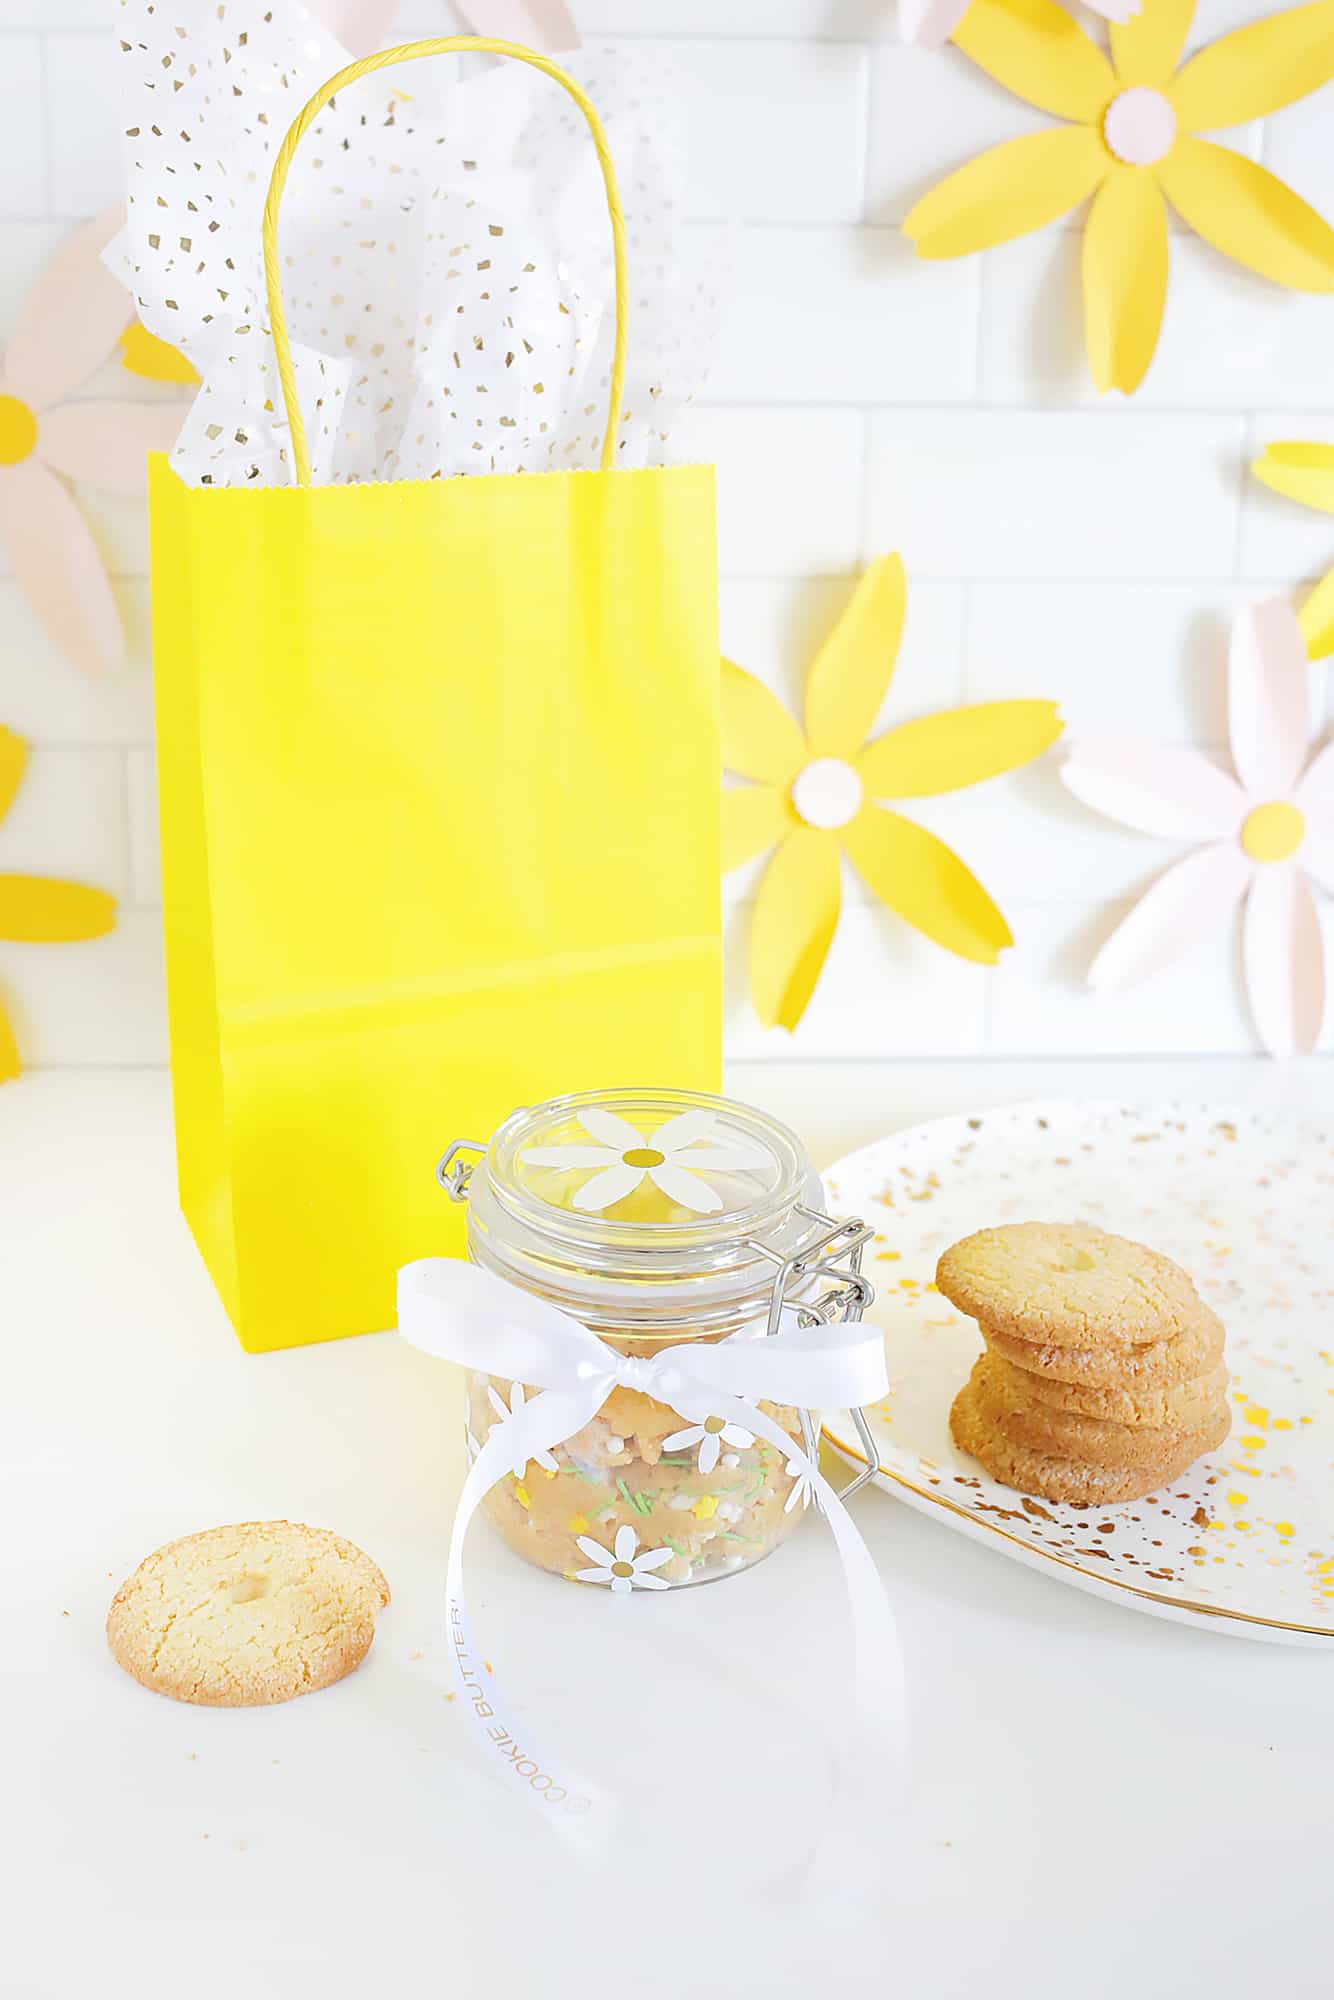
Now that my ribbon is tied onto my cookie butter, it’s ready to deliver to one very lucky recipient! I love to eat cookie butter with fruit (like strawberries) or pretzels, so you can always gift something like that along with your cookie butter to complete the set. Your lucky gift getter is going to be thrilled with it and be super impressed with your custom design thought that made the gift extra special. I can totally see doing this type of thing to decorate favors for a wedding/baby shower or a party to send your guests home with something to remember you by. We are all for making fun and custom crafts from the comfort of our own home and I hope this helps inspire some custom gifts to give in your future! xo. Laura