 For me, Valentine’s Day means a few key things: an excess of pink and heart-shaped things, excellent candy selection (I’ll take 10 Reese’s hearts, thanks), and seasonally appropriate makeup looks! I love to go crazy with pink eyeshadows and eyeliners, but today I wanted to focus on a *classique* look with a retro twist: bold lip, clean eye, glowy complexion. This look is great for someone who doesn’t wear a lot of makeup but wants a little something special for a Valentine’s or Galentine’s date—and I’m going to show you how to do the easiest cat-eye liner ever!
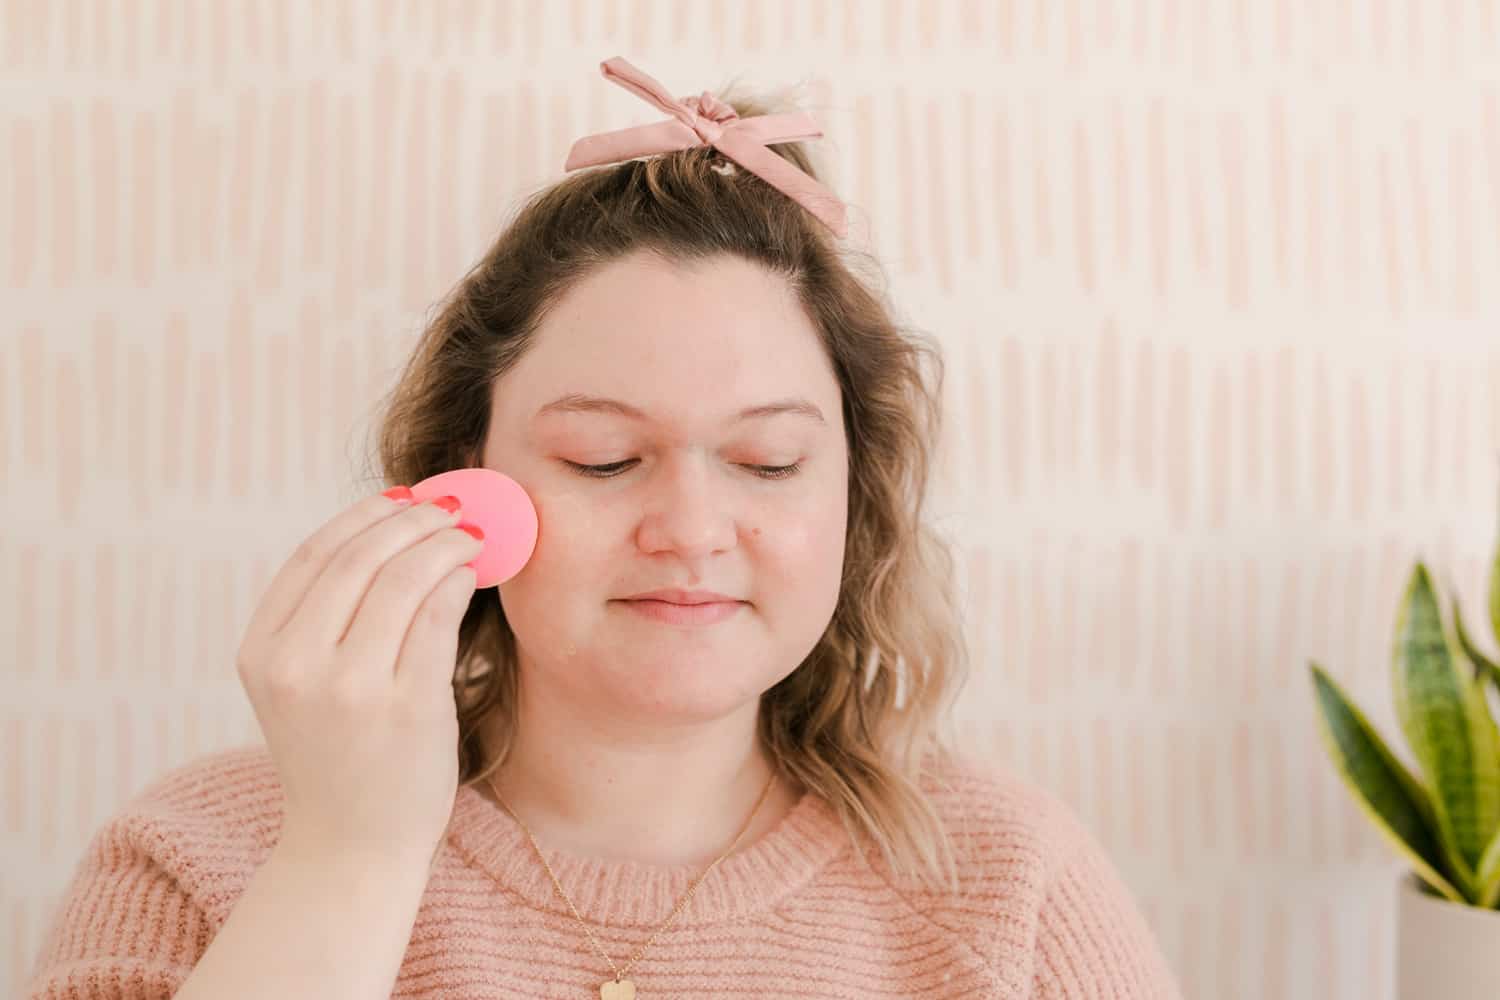
I always use a Beauty Blender to apply my foundation and concealer, and there are definitely a few tricks to using one. First, make sure your blender has been prepped by running it under water until it’s doubled in size, then squeeze out all the water you can! A damp blender will “bounce” your foundation seamlessly across your skin. One that’s too dry will absorb all your product and leave harsh lines, and one that’s too wet will dilute your foundation. Second, always clean your blender after use—all you need is some gentle soap.
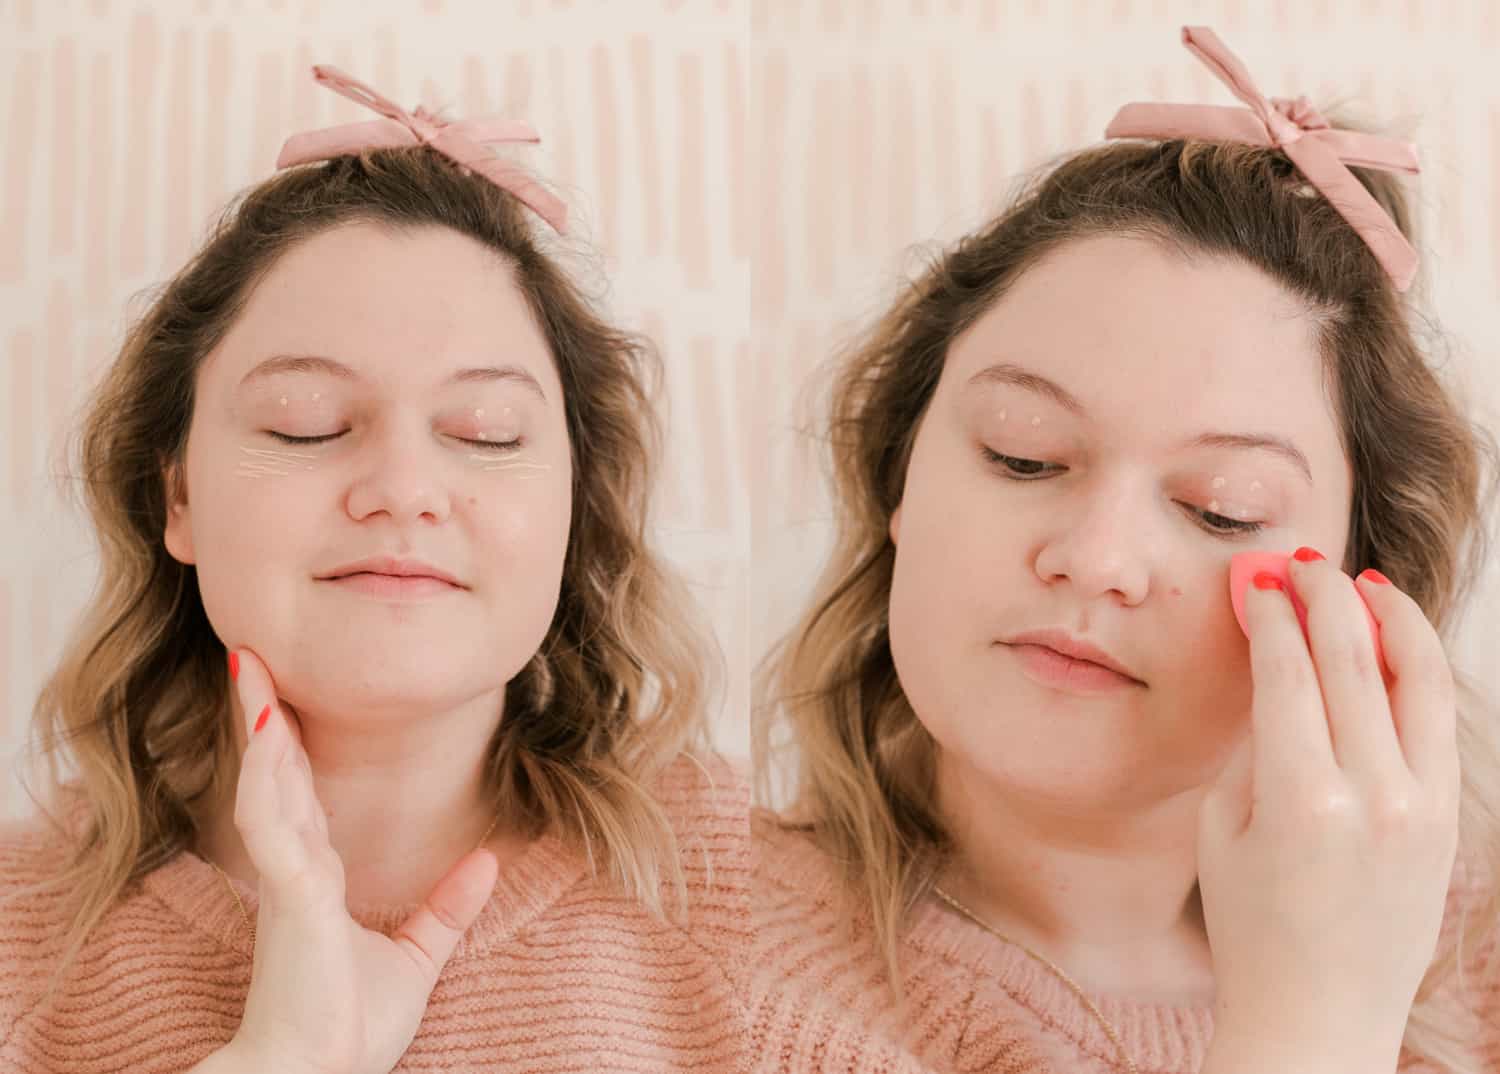
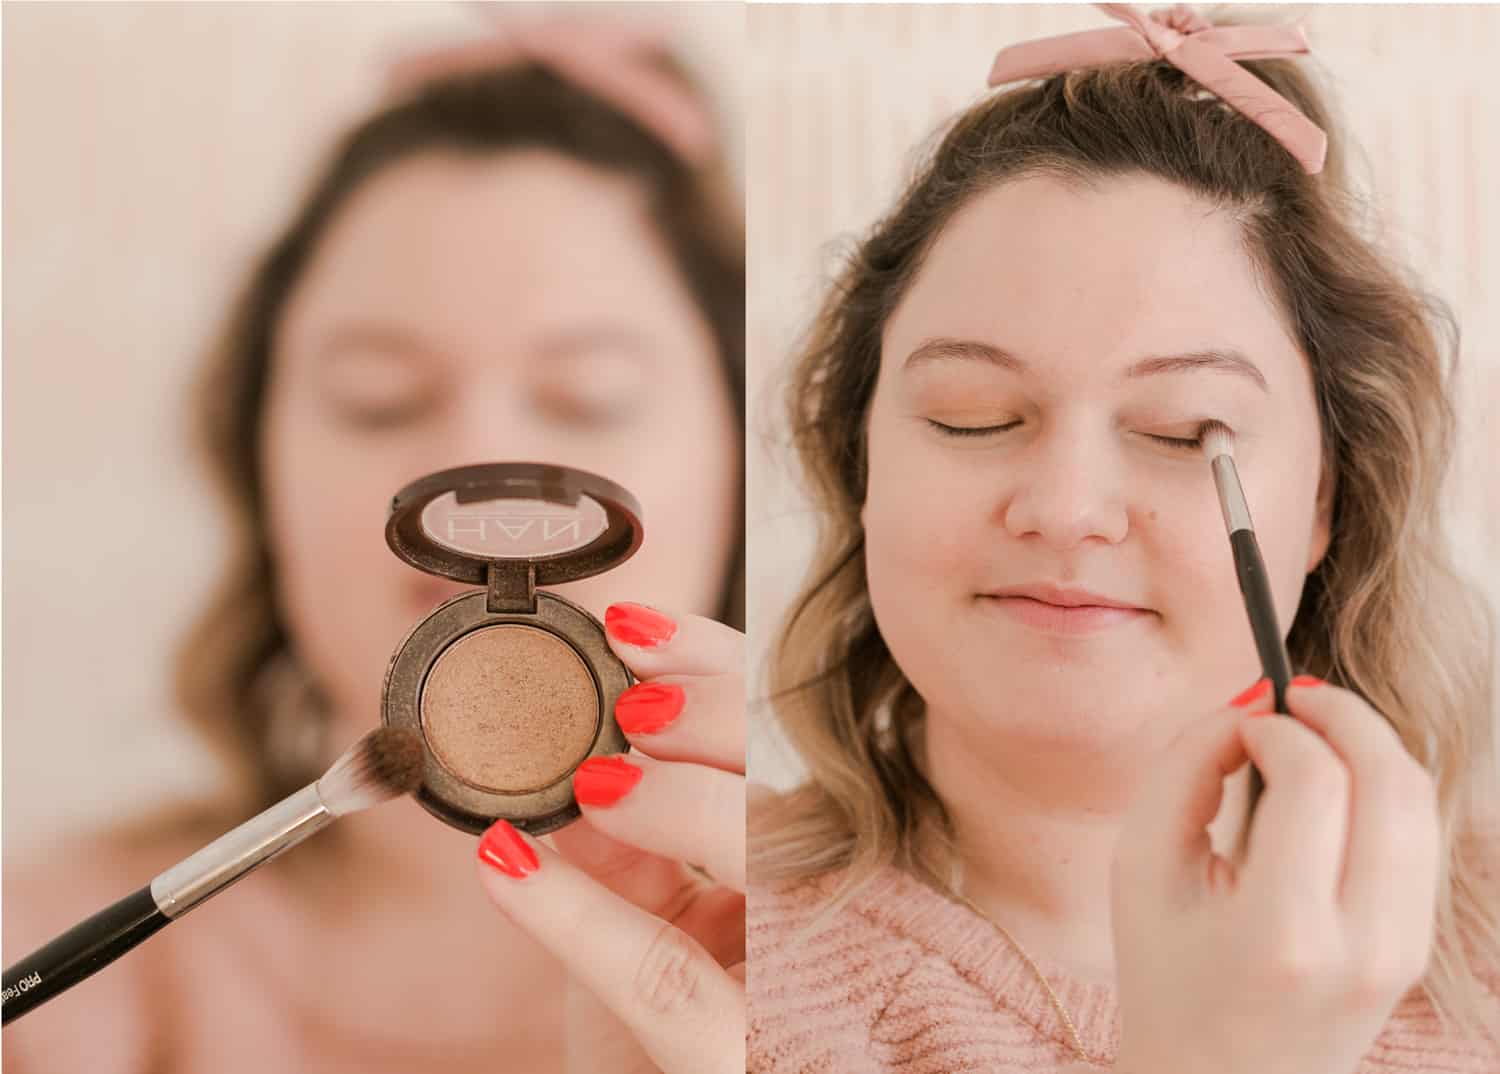
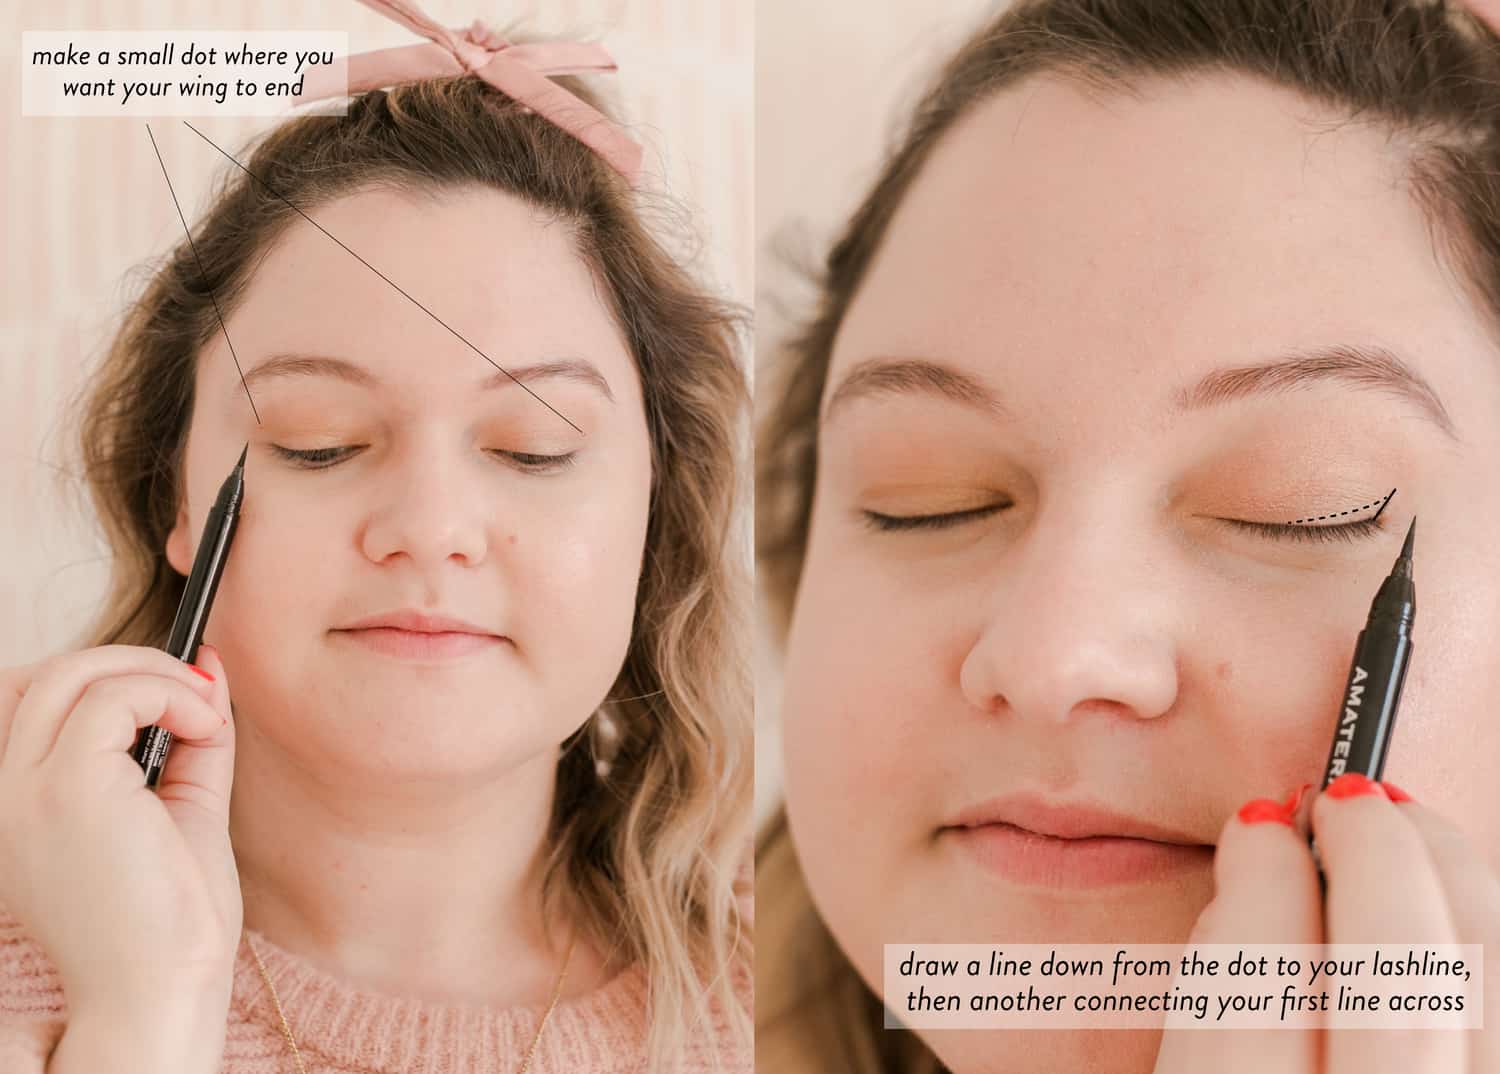
- Make a small dot where you want your cat eye to end on the sides of your eyes—this will help your wings to be an even length and the same angle.
- Draw a fine line down to connect the little dot you made with your lash line.
- Starting a little ways down on the line you just drew (leave some of the line exposed so your wing has a sharp point), draw a line diagonally across toward the inner corner of your eye.
- Shape up your cat eye by smoothing any hard angles where your line connects.
Tips: Steady your arm on a stable surface, and taper your liner so that it’s thickest toward the wing side and thinner toward your inner corner. This will give you a really clean look and will help that cat-eye shape emerge even more.
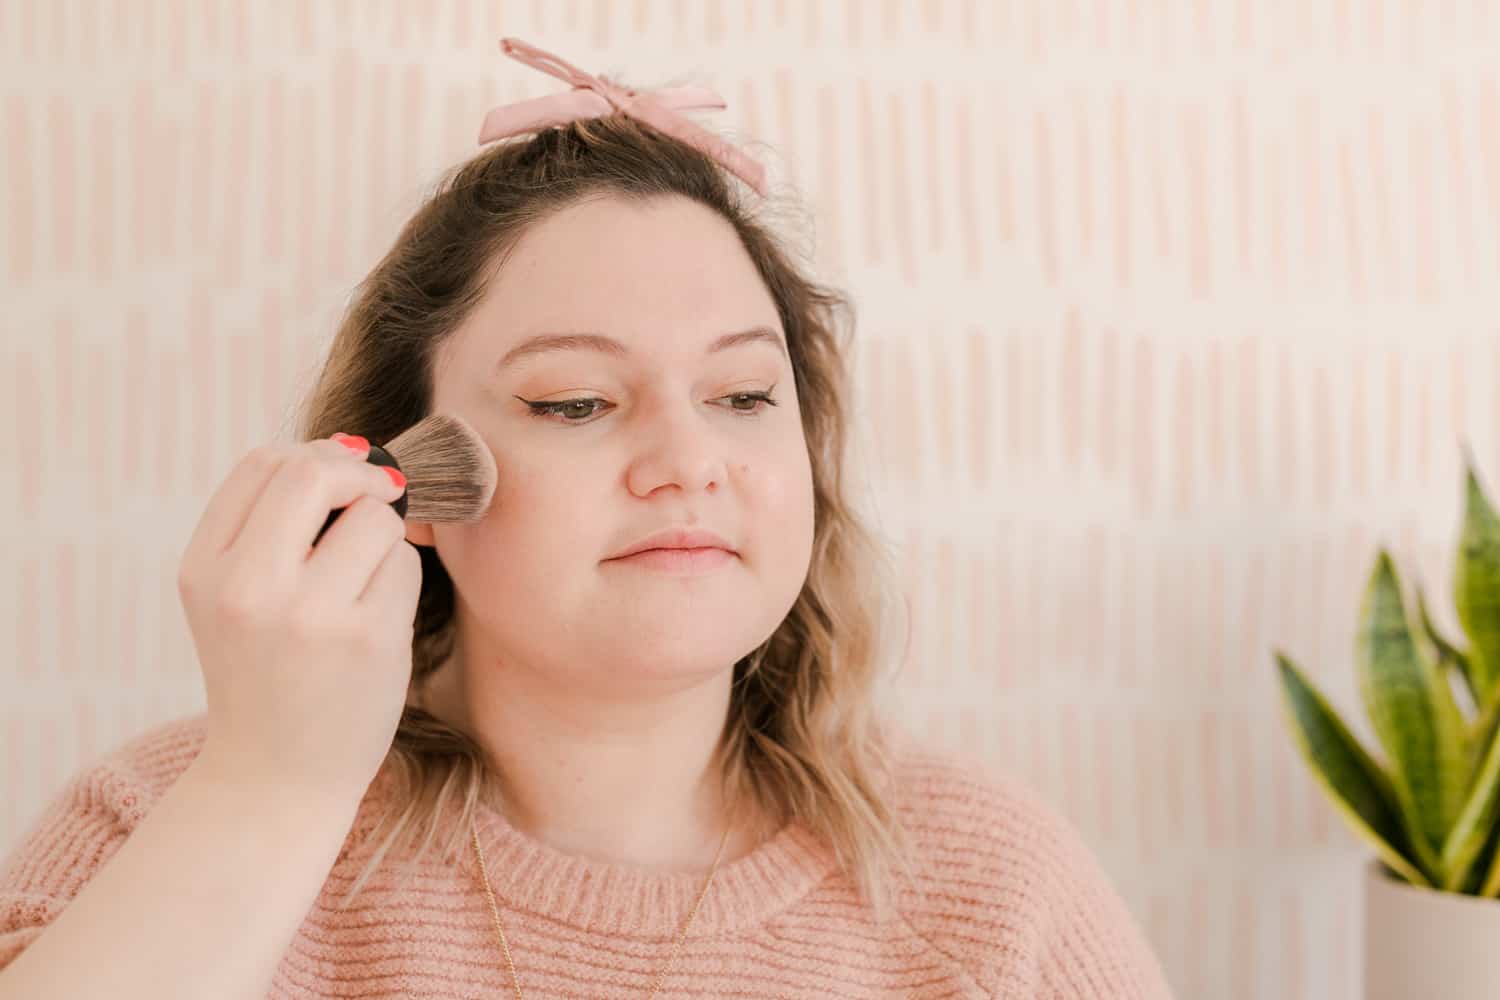
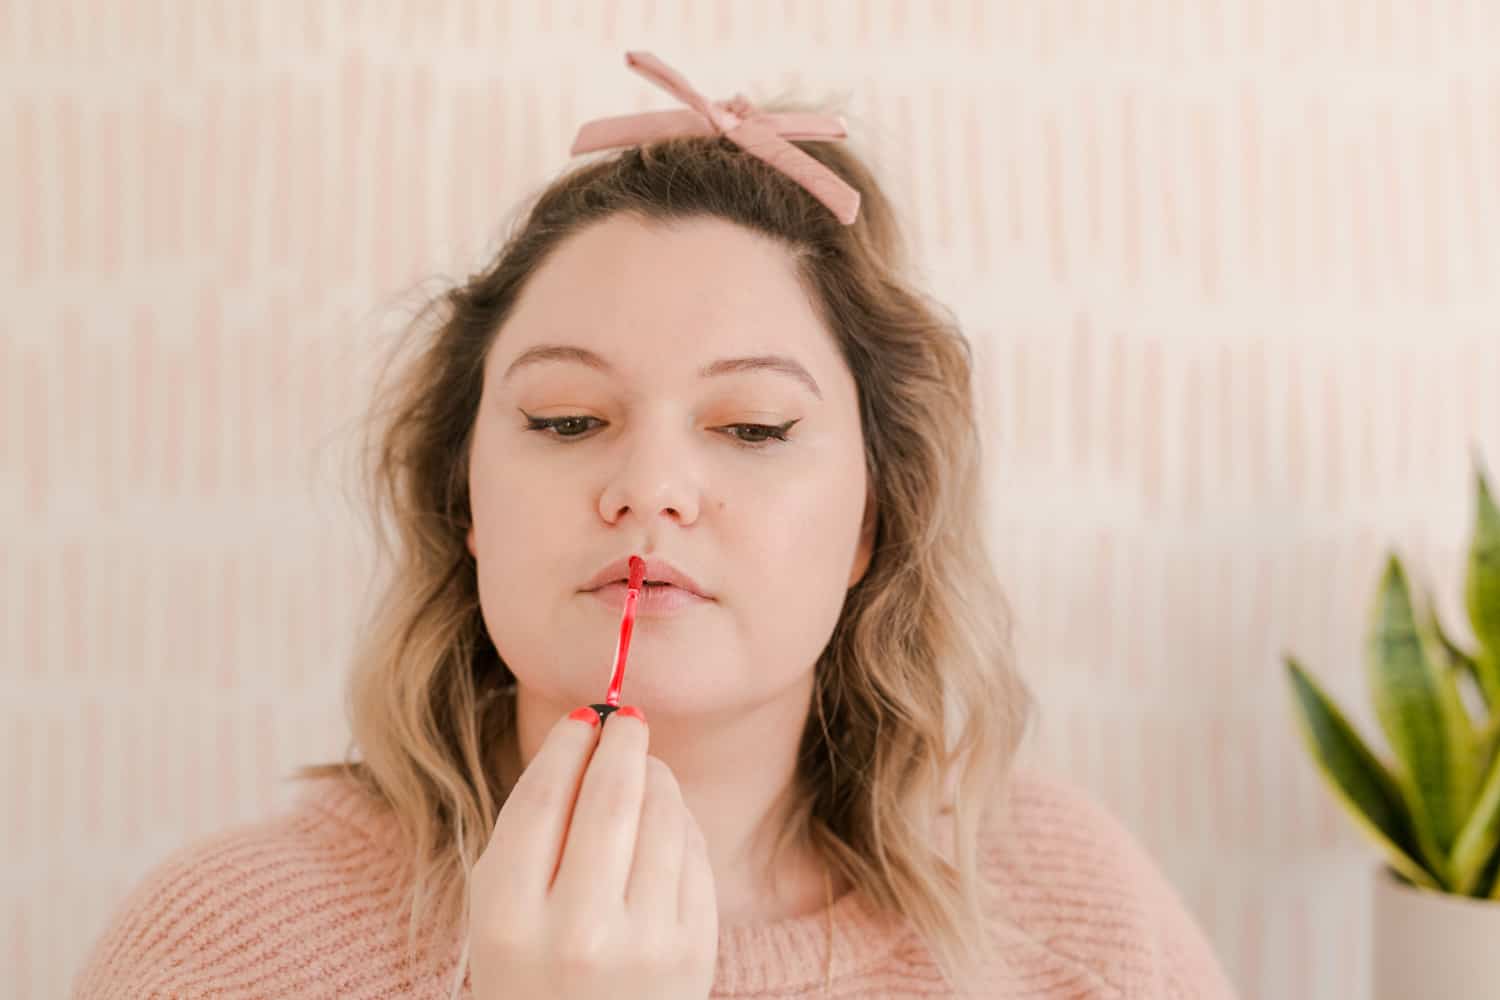
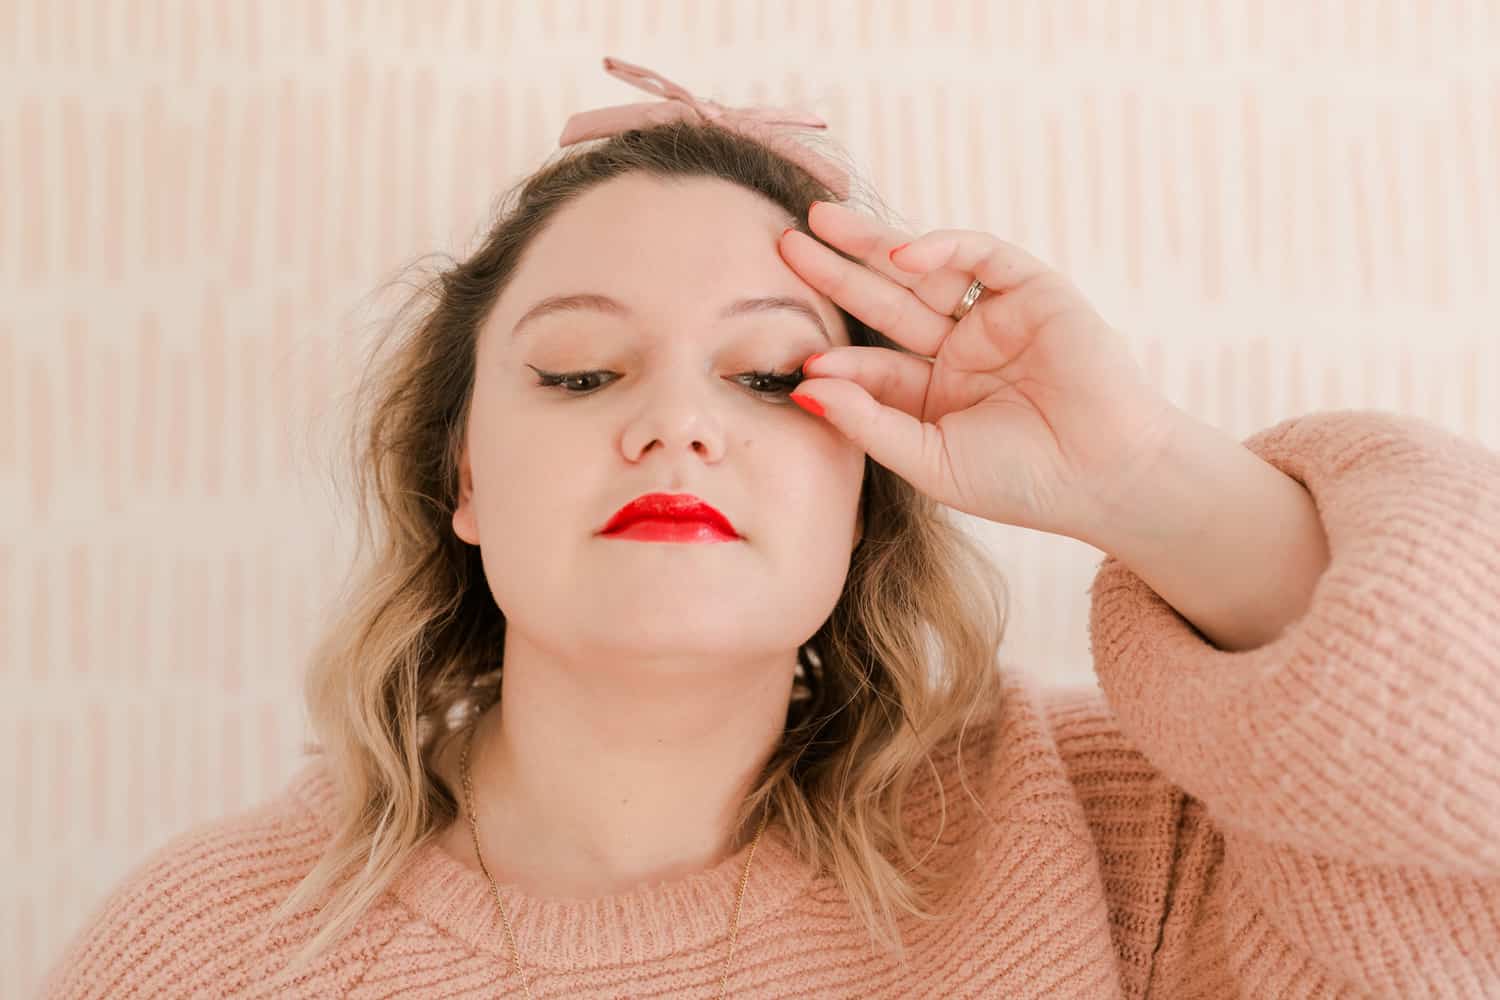
After lashes, I added some Pink House Glow Stick in Champagne to my upper cheekbones, bridge of my nose, temples and cupid’s bow, and some of my favorite blush from HAN.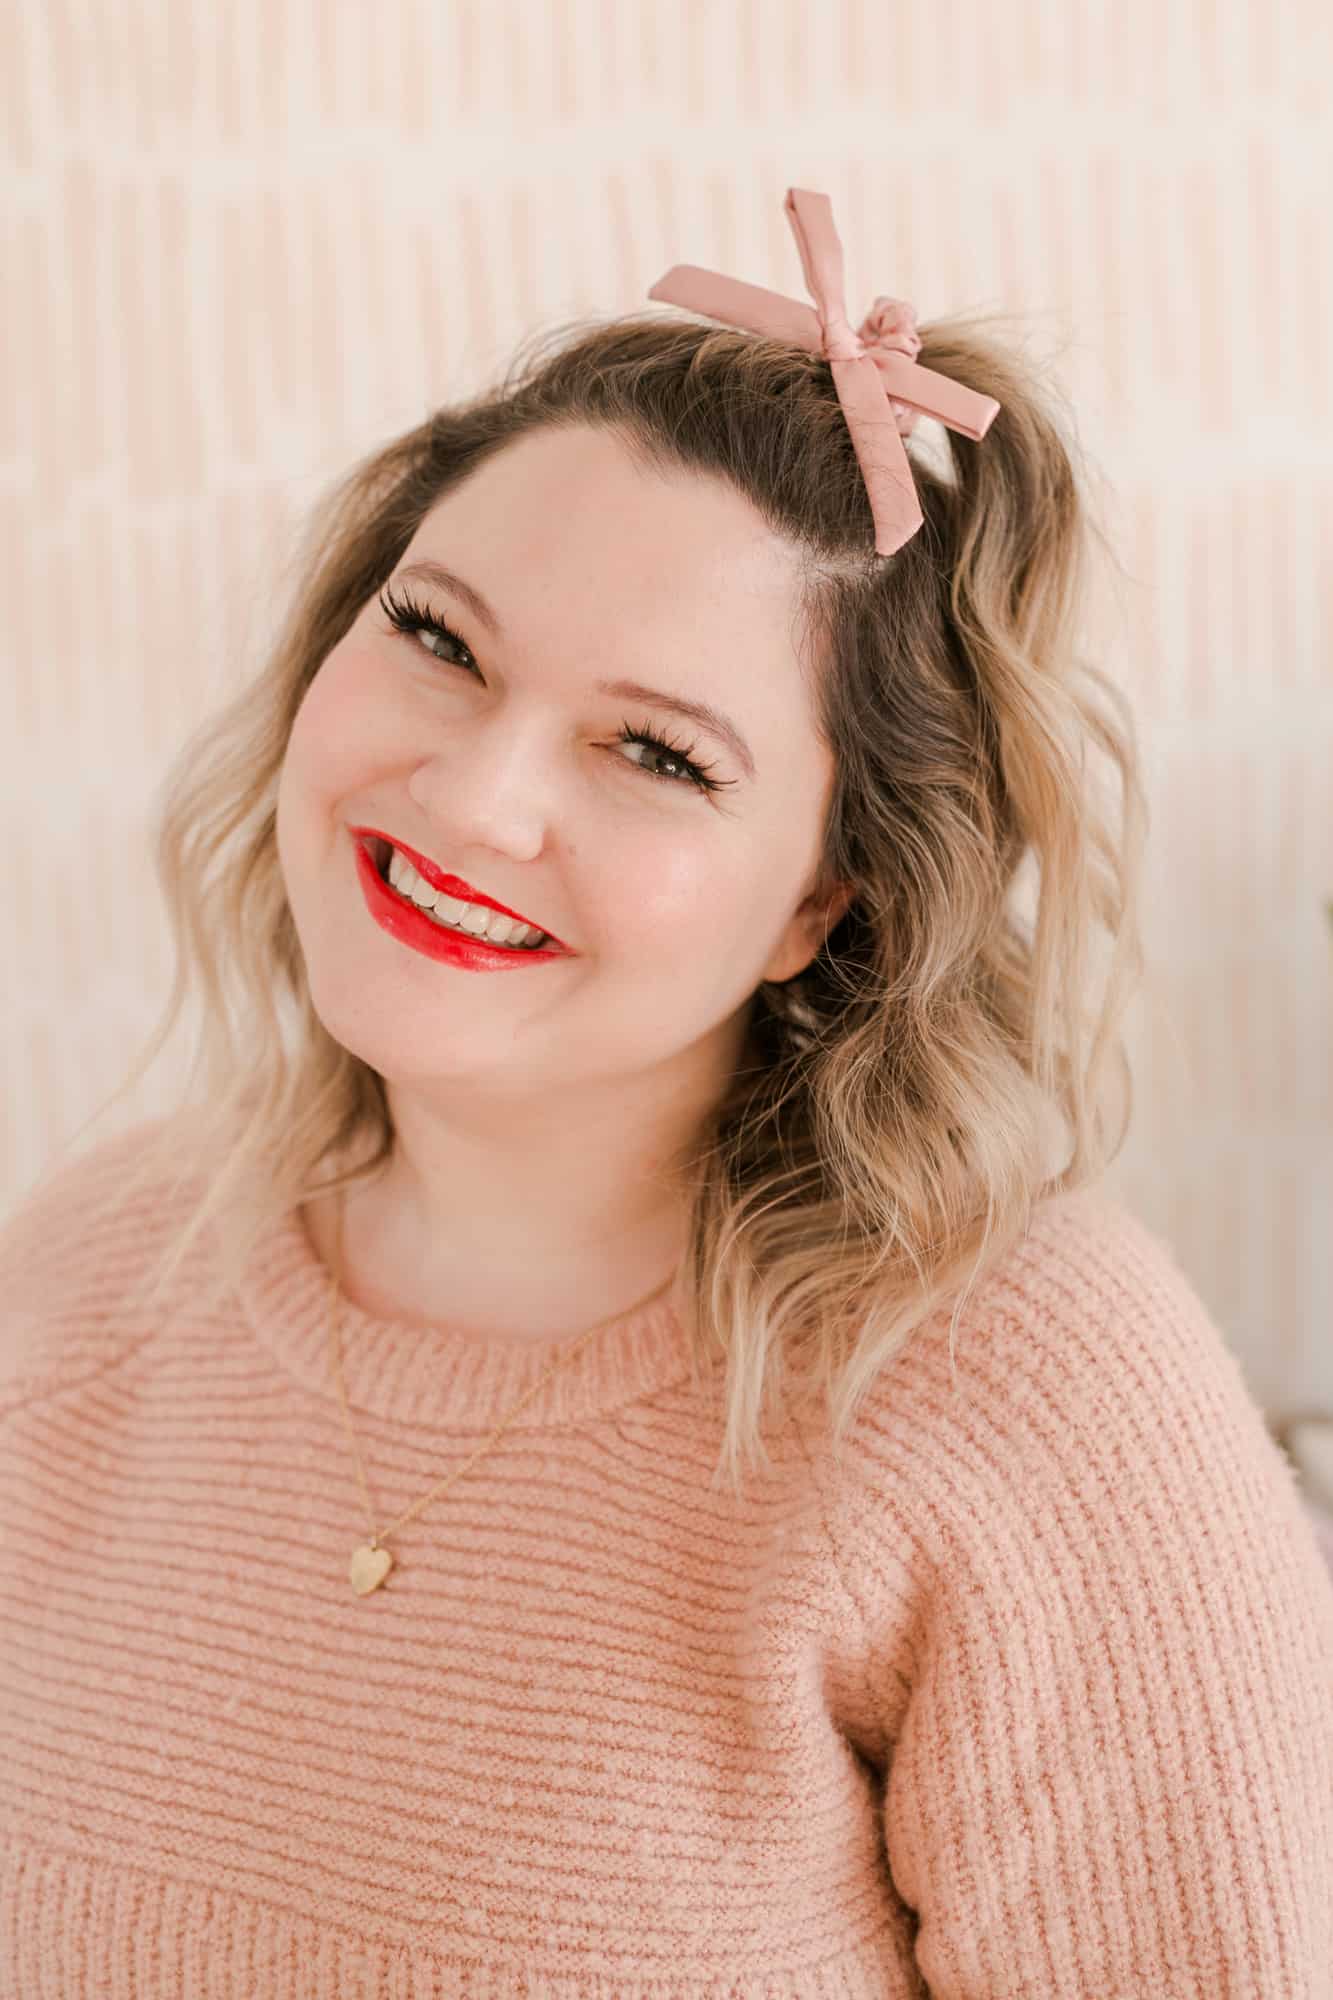
Let me know in the comments if there are any makeup skills or looks you want to learn! xo, Keely

Ooo that dot tip for the eyeliner is great!
I feel so lame when it comes to makeup skills. I might actually find the courage to try this technique. My birthday is also right after Valentine’s day, so if I like it on me I can do it again 🙂 Thanks!
We all start somewhere! This is a great look to hone some skills. 🙂 Happy early Birthday, Lindsey!
I am loving all things pink on my face and this cat eye tutorial was so helpful! Thanks for sharing, Keely!
So glad to hear it! Cat eyes can be so frustrating if you don’t have a ‘plan’, haha! xo
This is so beautiful! I always love a red lip and this one is perfect on you. I’ll have to give this a try. 🙂
Arin | www.happilyinspired.com
You look beautiful!!! I have tried so many times to do a cat eye I am going to give your instructions a try!
Gorgeous Keely!!! Love this look!!
xoxo
You look beautiful! The look is perfect on you. 🙂 ❤️
Charmaine Ng | Architecture & Lifestyle Blog
http://charmainenyw.com