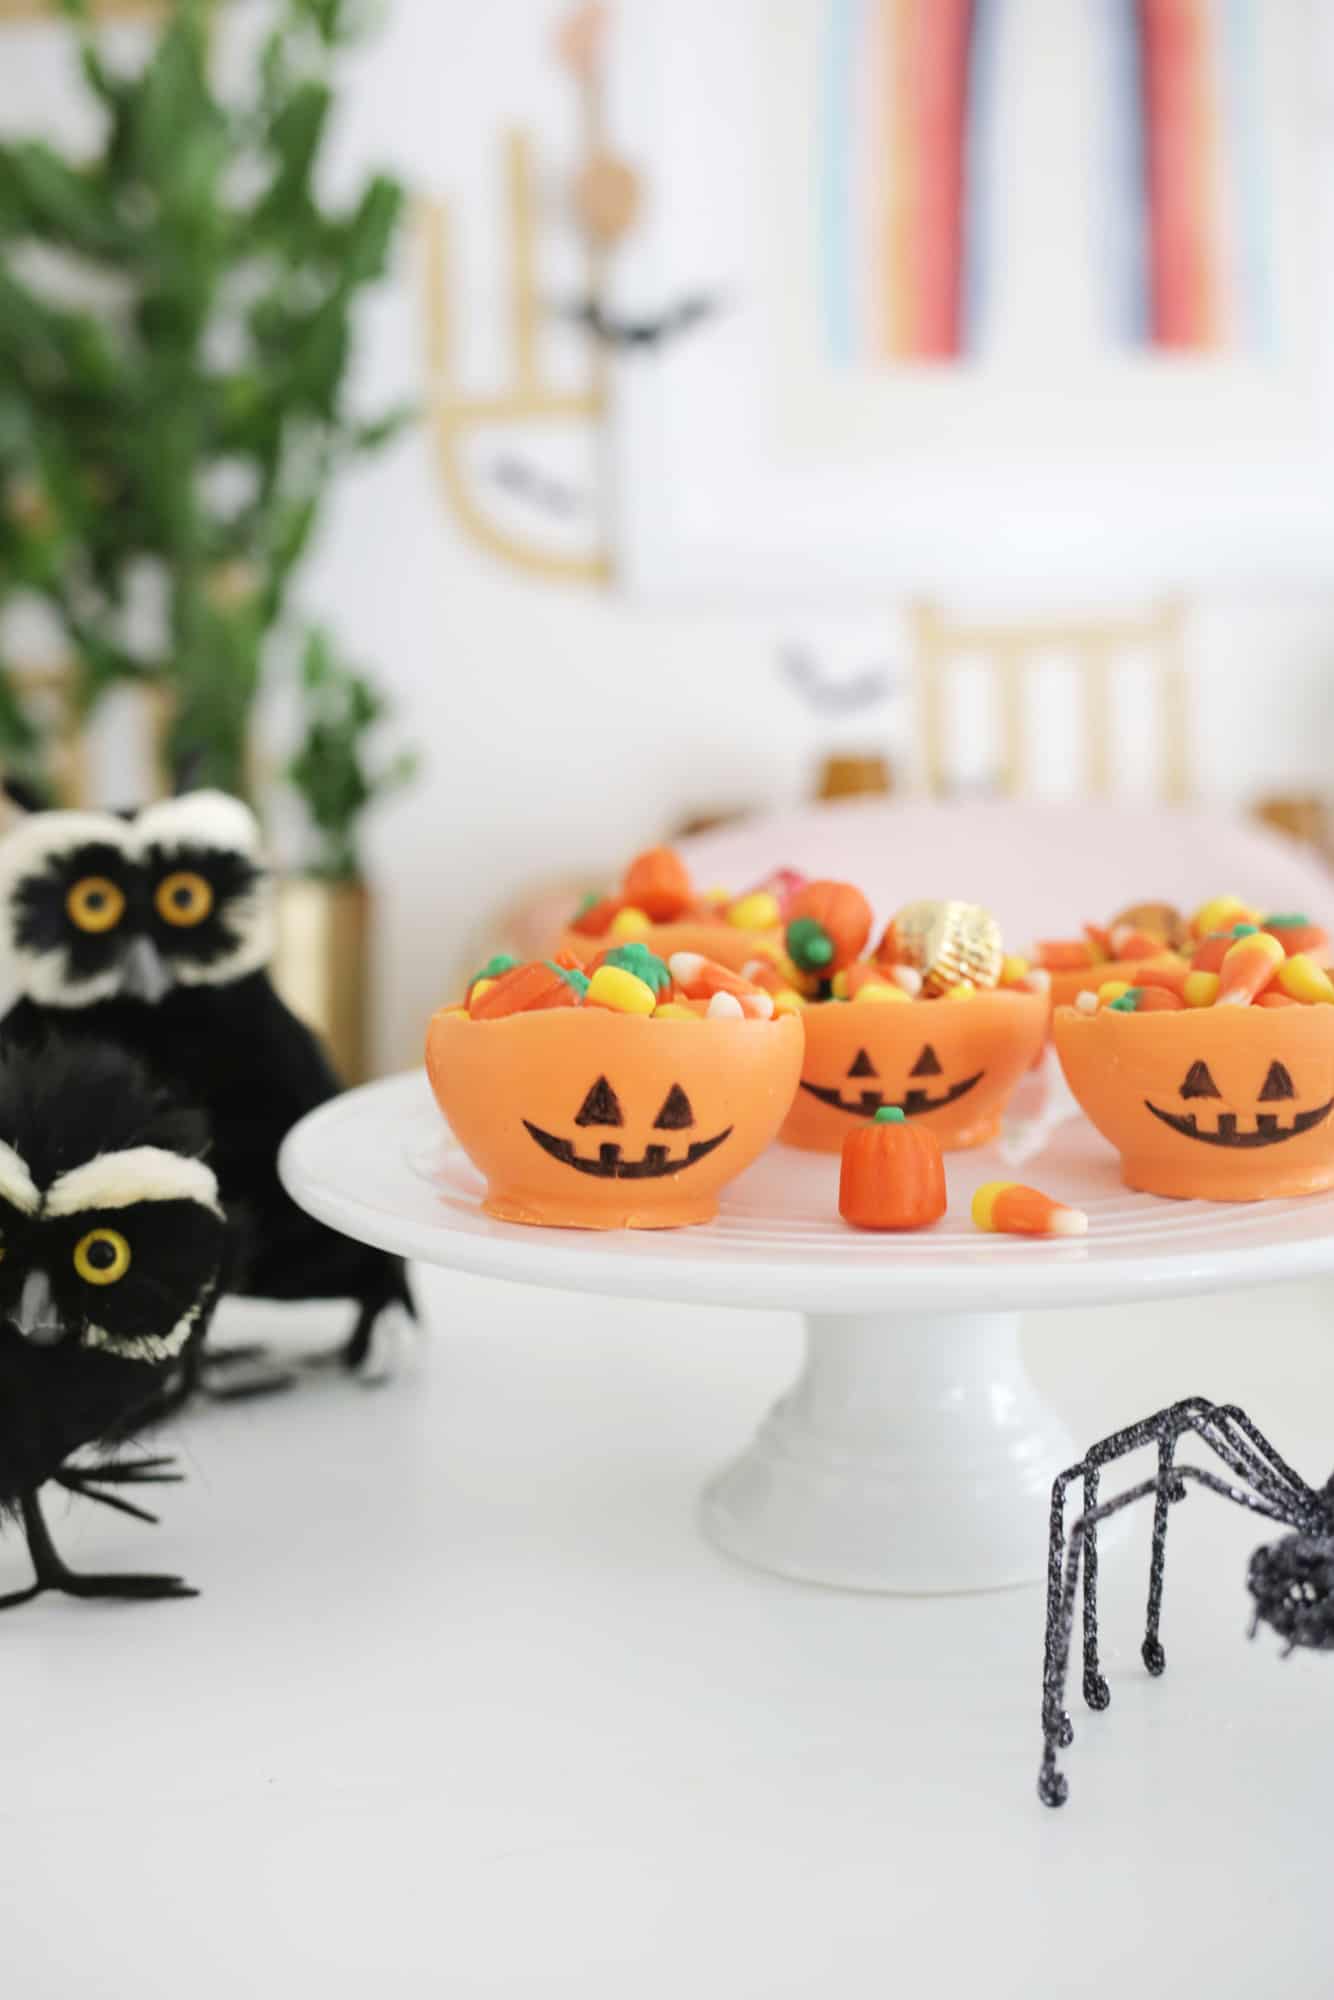
 While Halloween has all the fun of costumes and parties, let’s face it, it’s mostly an excuse to eat candy, right??
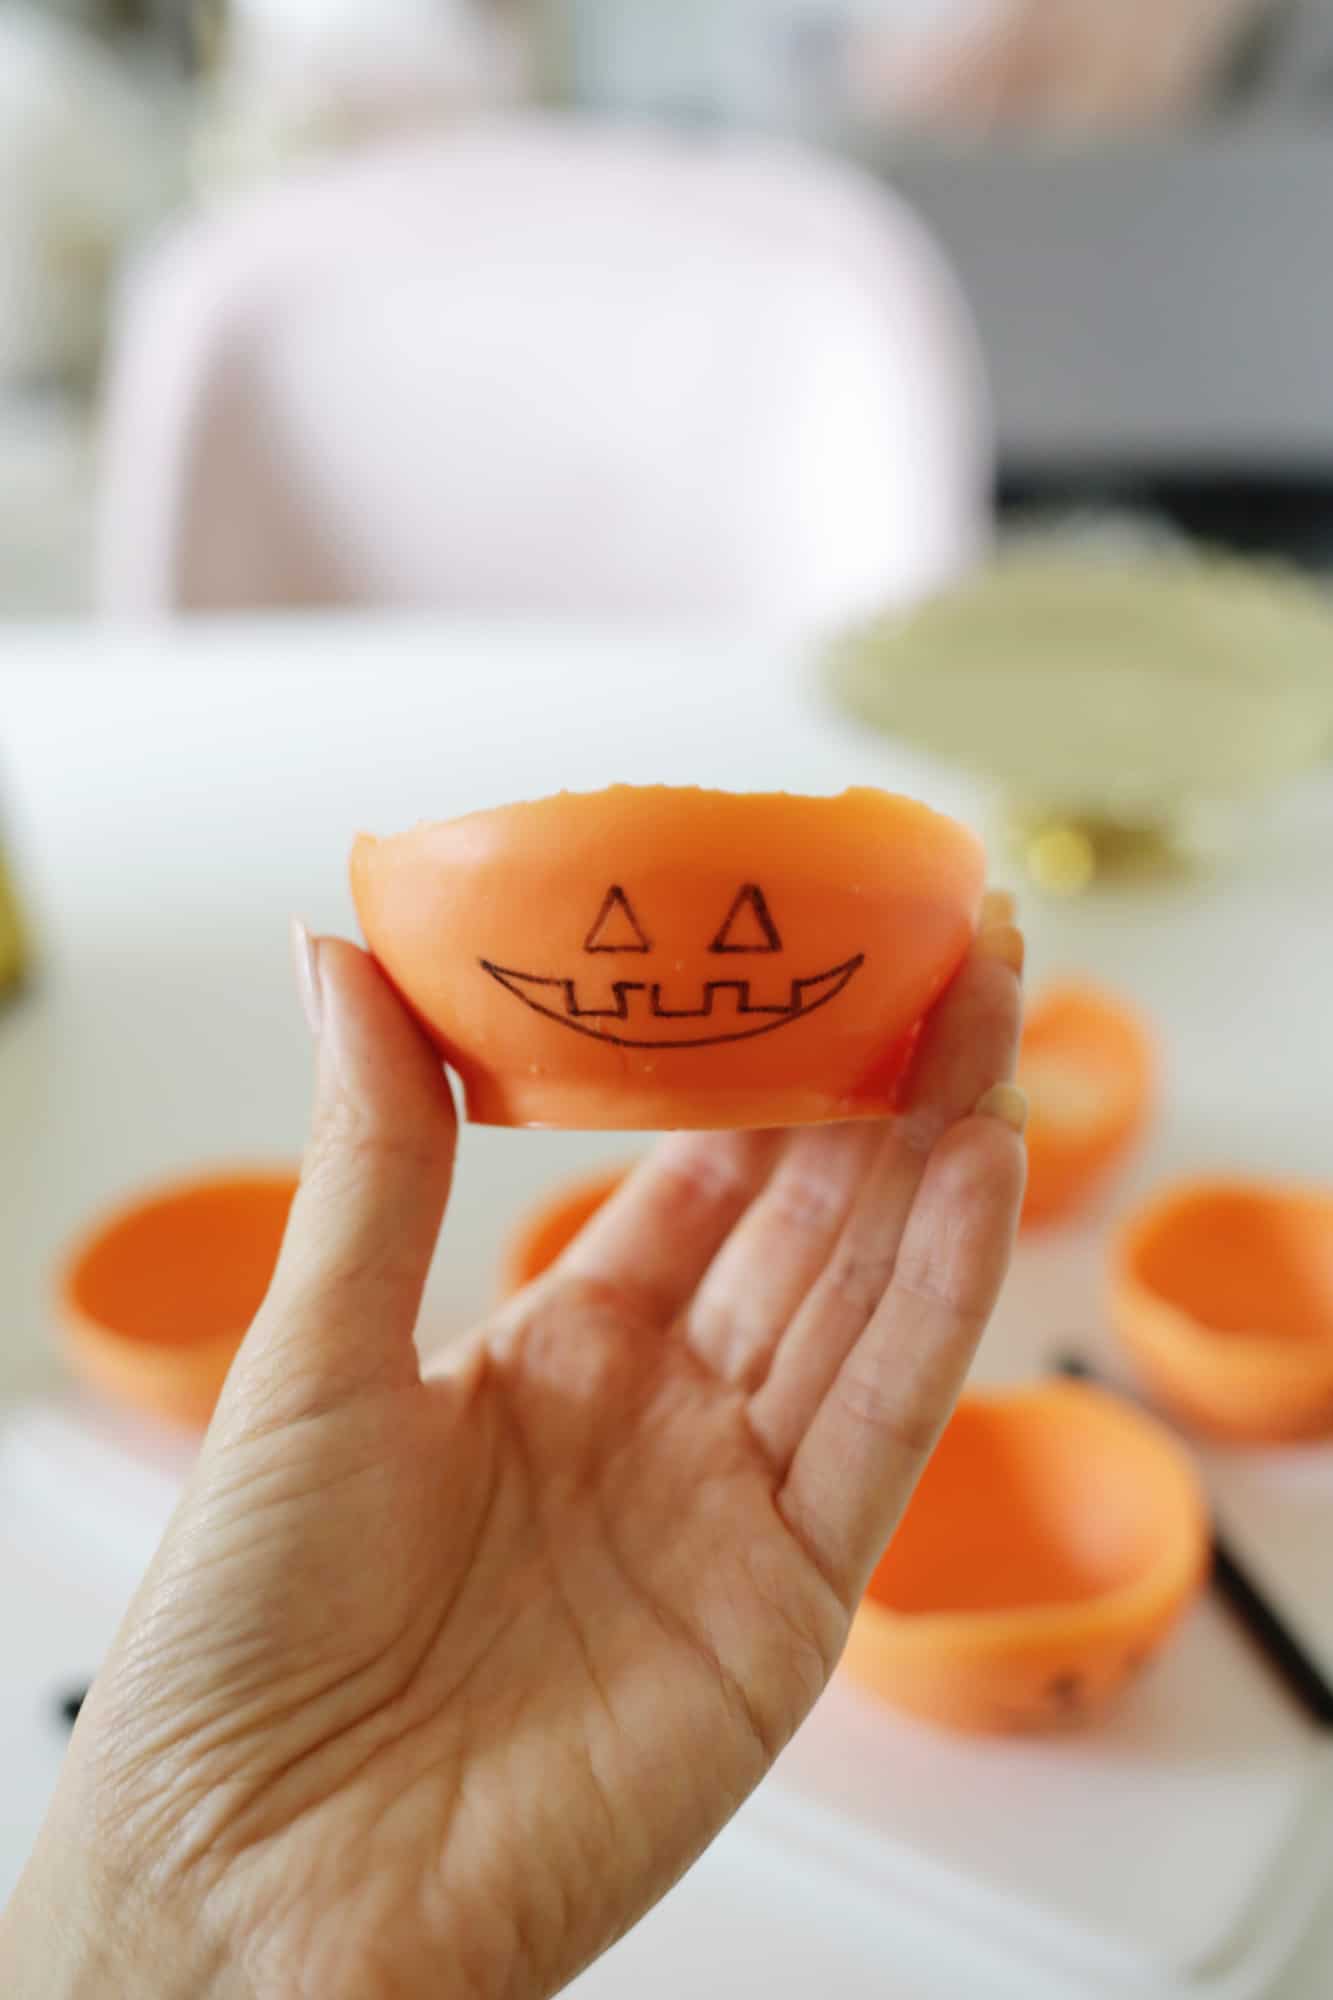
It’s always fun to make extra special treats for a themed party (especially if you are having a Halloween that involves kids), so I thought I would make a version of the “balloon chocolate bowl” to look like a jack-o’-lantern that would also hold some candy treats.
We are partnering with JOANN on this post and I took a quick trip to the store to gather my supplies for my bowls and I always love to browse their candy/baking area of the store as it has so much to choose from!
I snuck in a few Halloween cookie cutters to my cart as well while I was there so I can make some cookies with Lola for the season—they’ve thought of it all! OK, back to how to make these chocolate bowls …
Related: Halloween Cake Pops, Caramel Apples, Halloween Cupcakes.
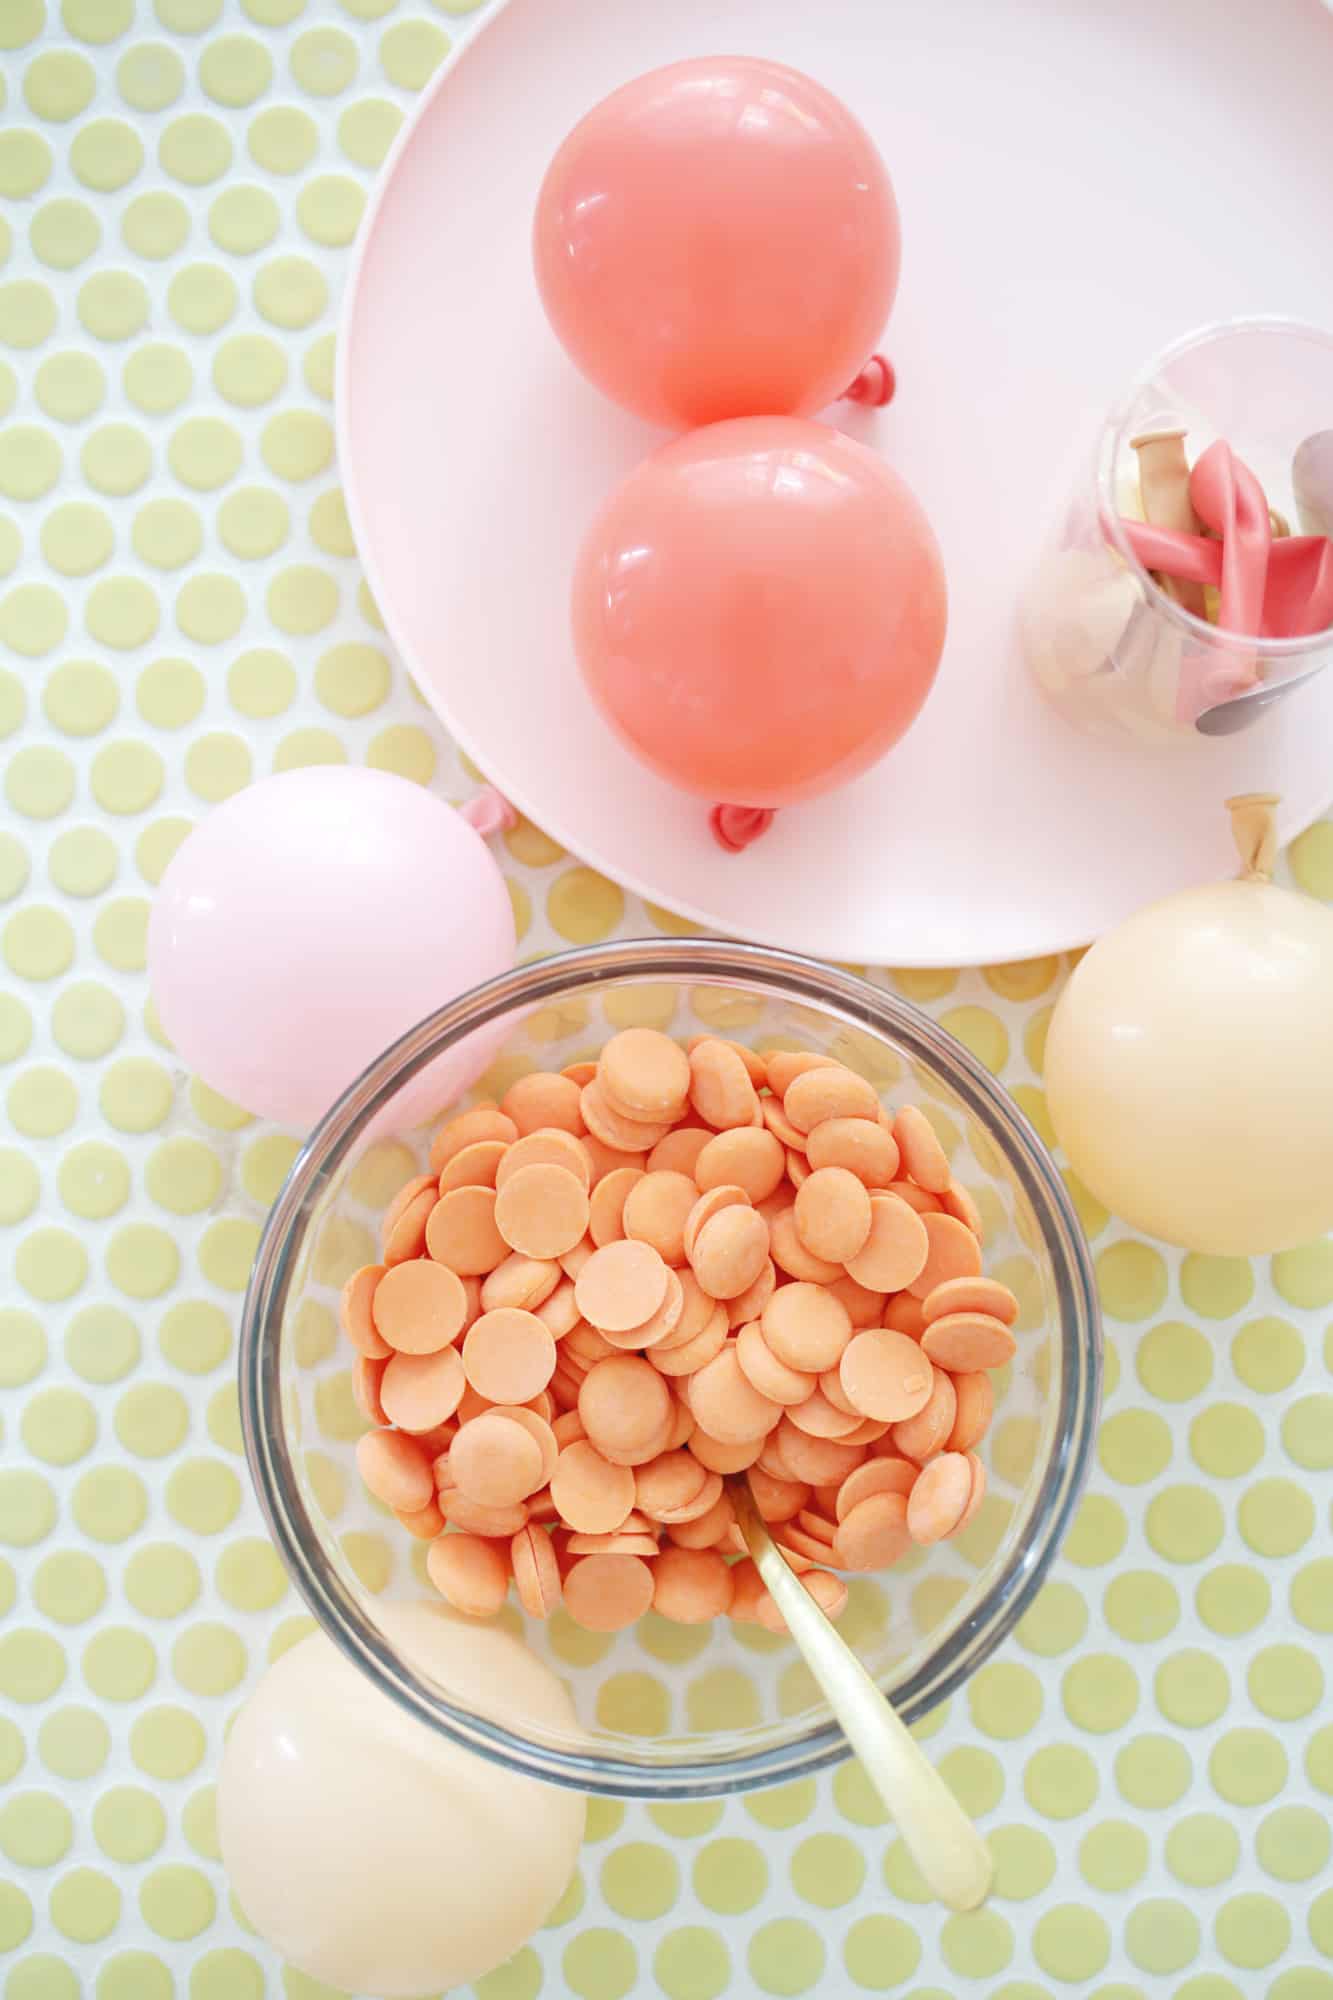
–orange melting candy (12 ounces should be enough to dip 6-8 bowls)
-shortening
-microwave-proof bowl (or double boiler for stove)
-small balloons (like water balloon size)
–edible food color markers
-wax paper
-candy for bowls

If your balloons feel coated in any sort of powder or substance, you can carefully wash and dry them before dipping. Then, melt your dipping chocolate in the microwave at 30-second intervals (or use a double boiler with water in the bottom pot), stirring between each interval, until it’s all melted.
If your chocolate feels too thick for dipping, you can stir in a few spoonfuls of shortening and that will thin it out. You want it to drip off a spoon a little, but not be too thin and runny, so try and aim for a good in between.
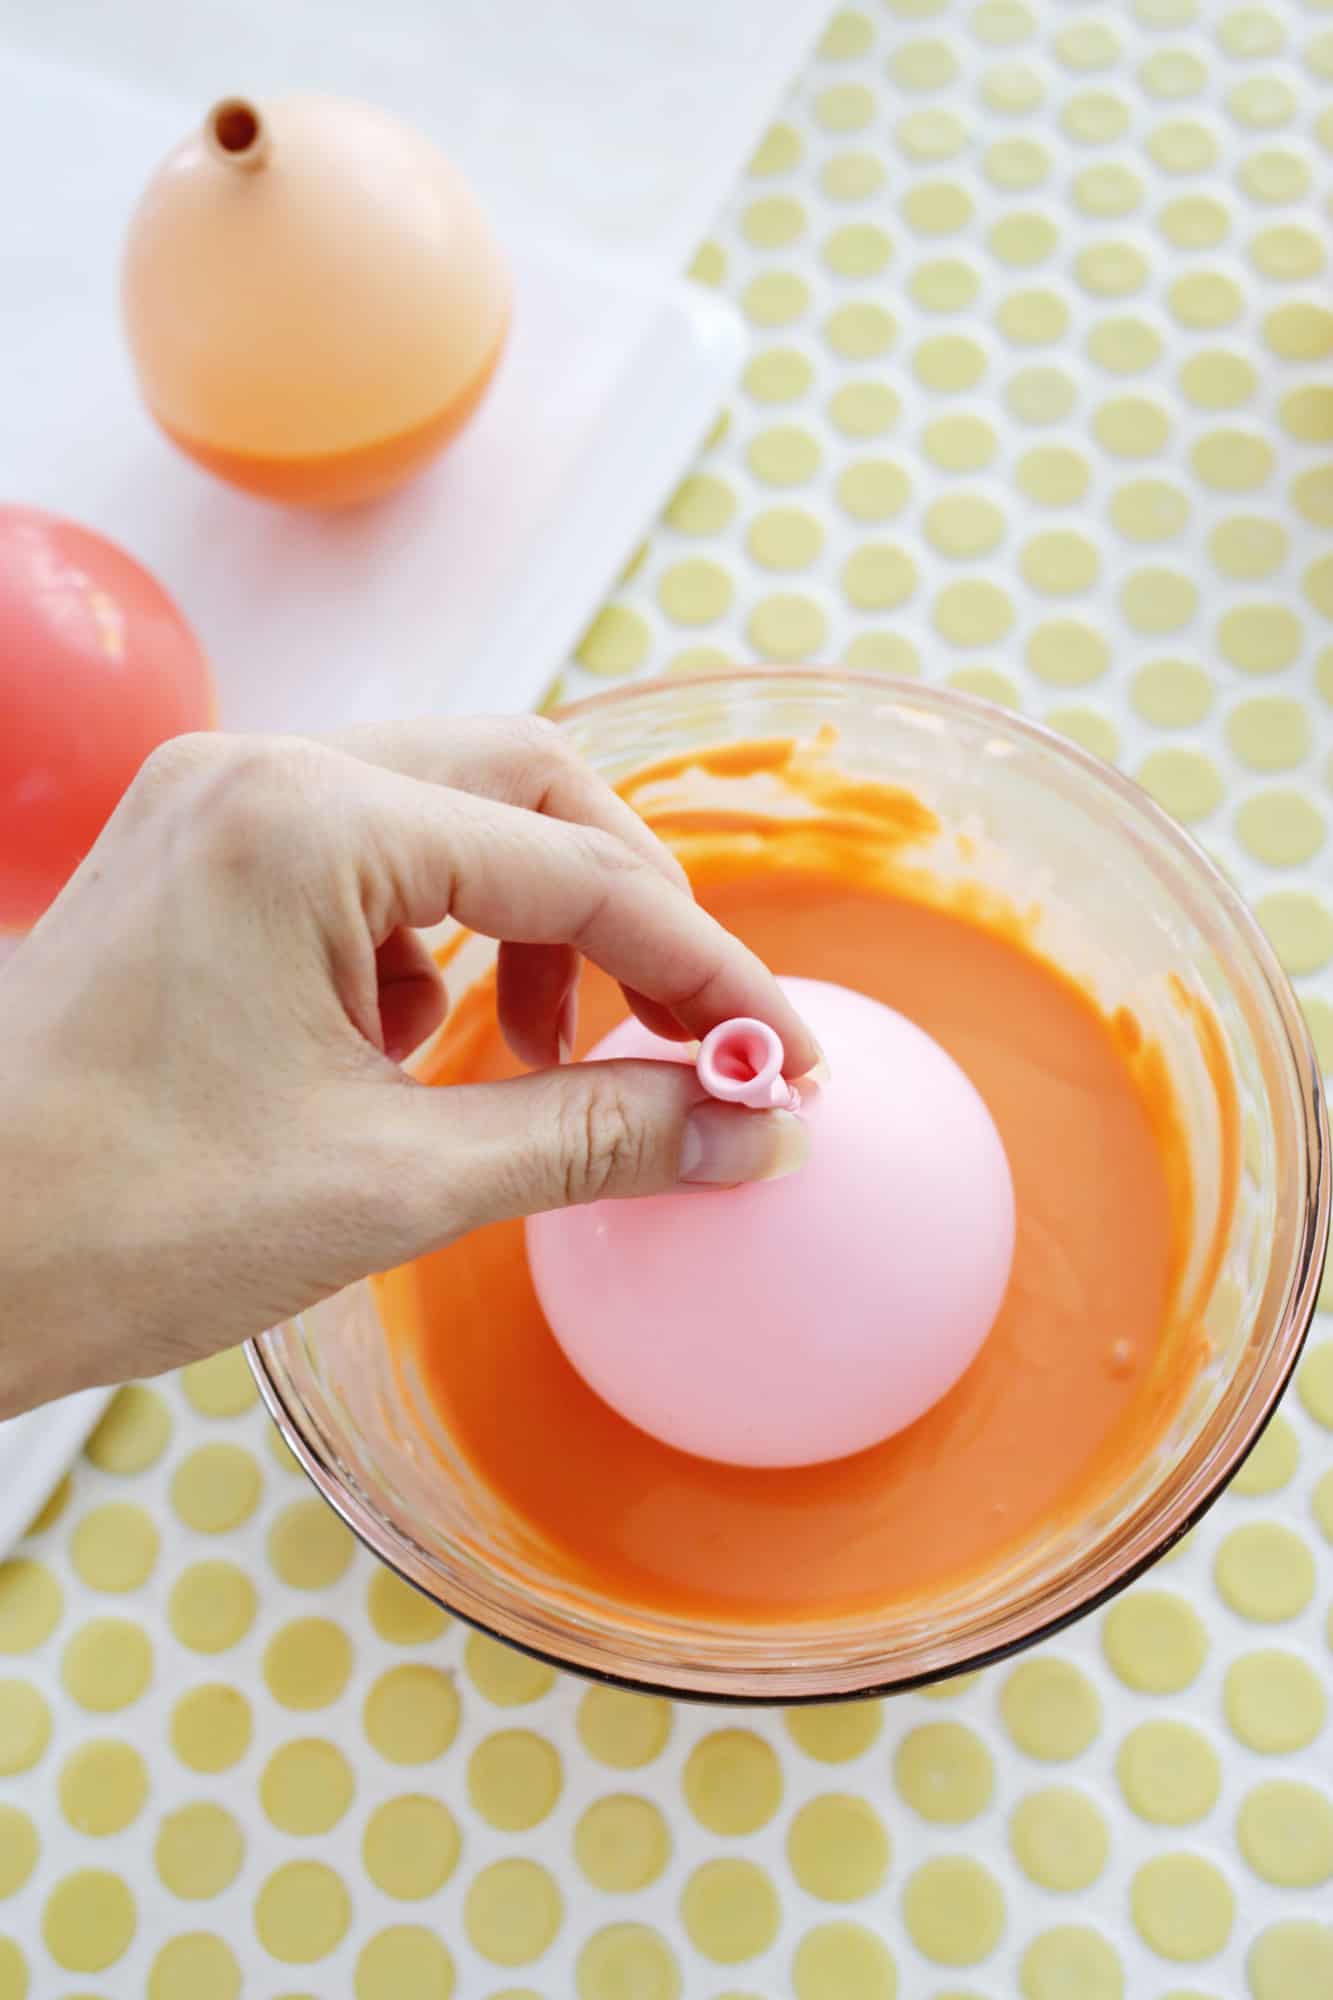
Once your chocolate is melted, wait until it is just barely warm (too hot will pop the balloon) and line a tray with wax paper. Dip each of your balloons and roll the balloon around until the chocolate has coated all the way up to the widest part of the balloon.
Try and use a bowl for dipping that’s just a little larger than your balloons so it creates a nice pool to dip into, as a super wide bowl will create a shallow pool for dipping.
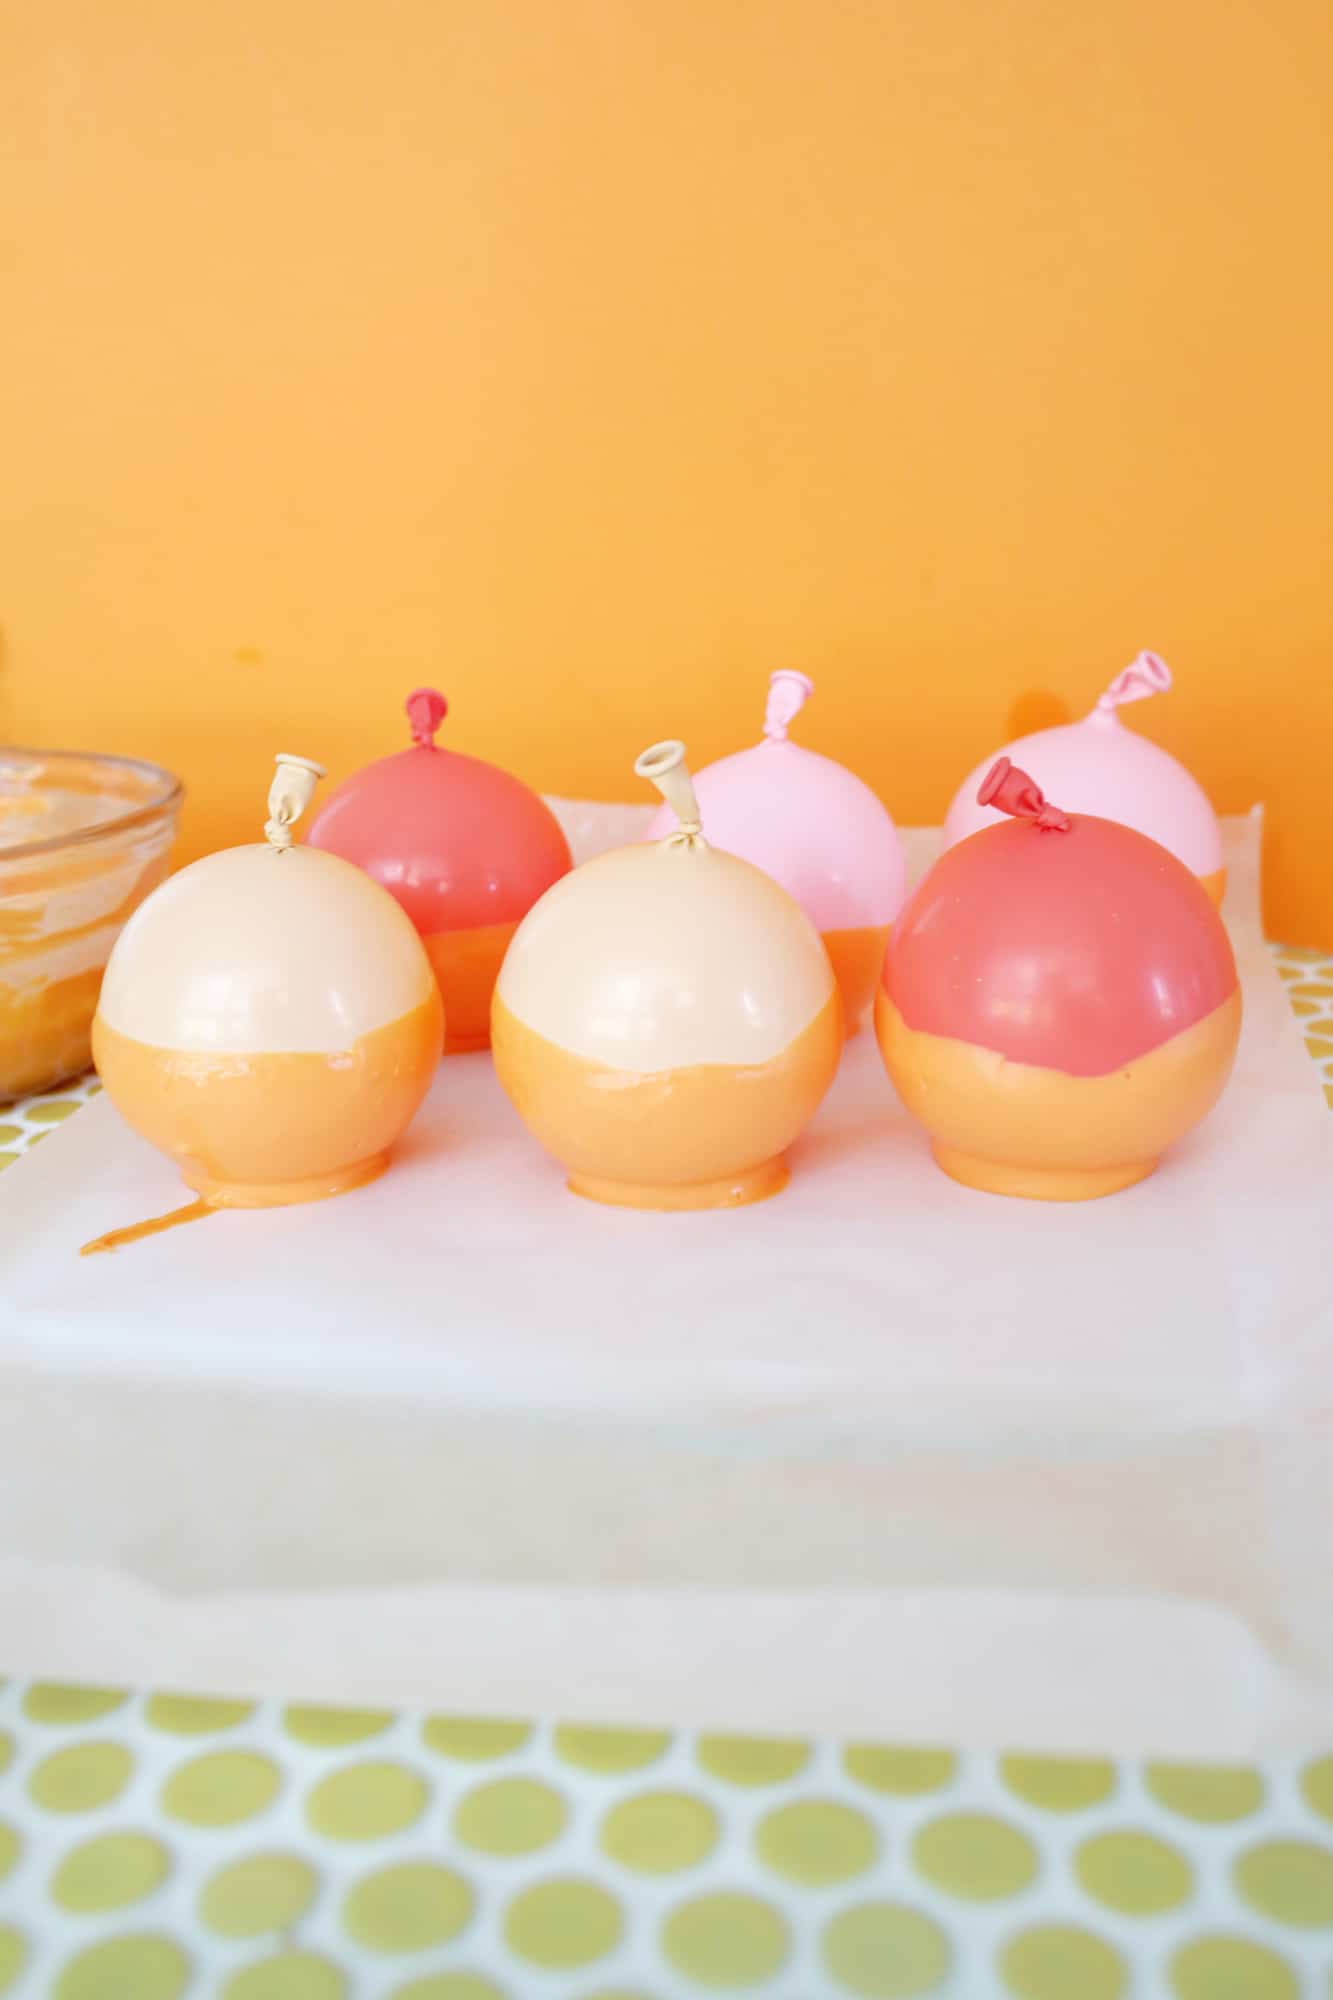
Once you dip your balloon, place it on the wax paper. Once all your balloons are dipped, place the tray in the fridge for 20-30 minutes until the chocolate is set.
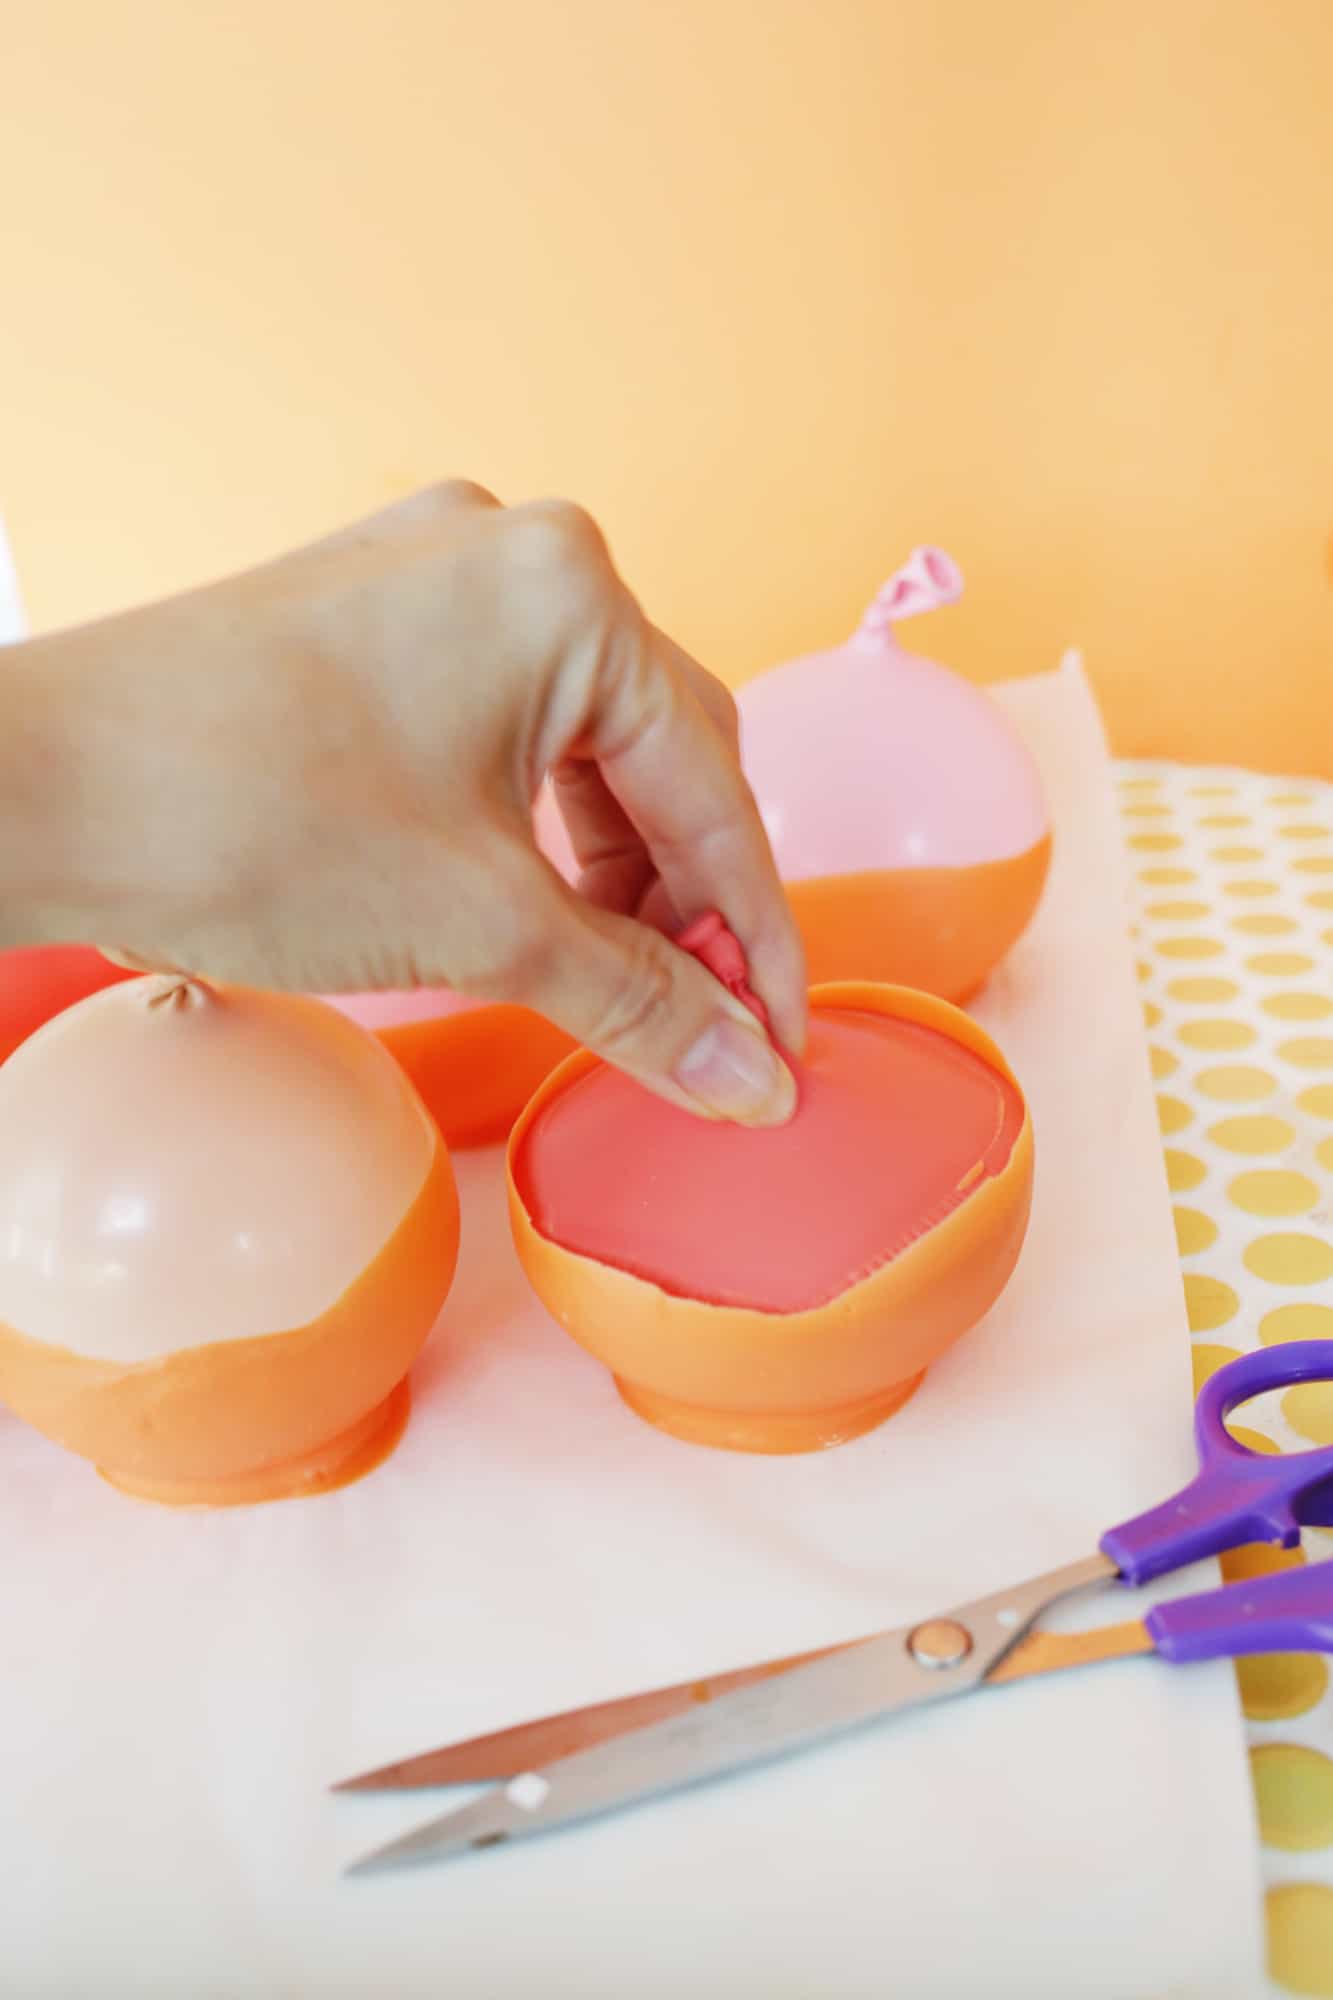
Once your chocolate has set, cut a small hole in the top of the balloon near the tie and let the air out slowly. I did have some balloon stick to the bottom of the cup once all the air was out, but I was able to gently pull it off the bottom (it may be easier to get off the bottom as the chocolate warms up a bit too).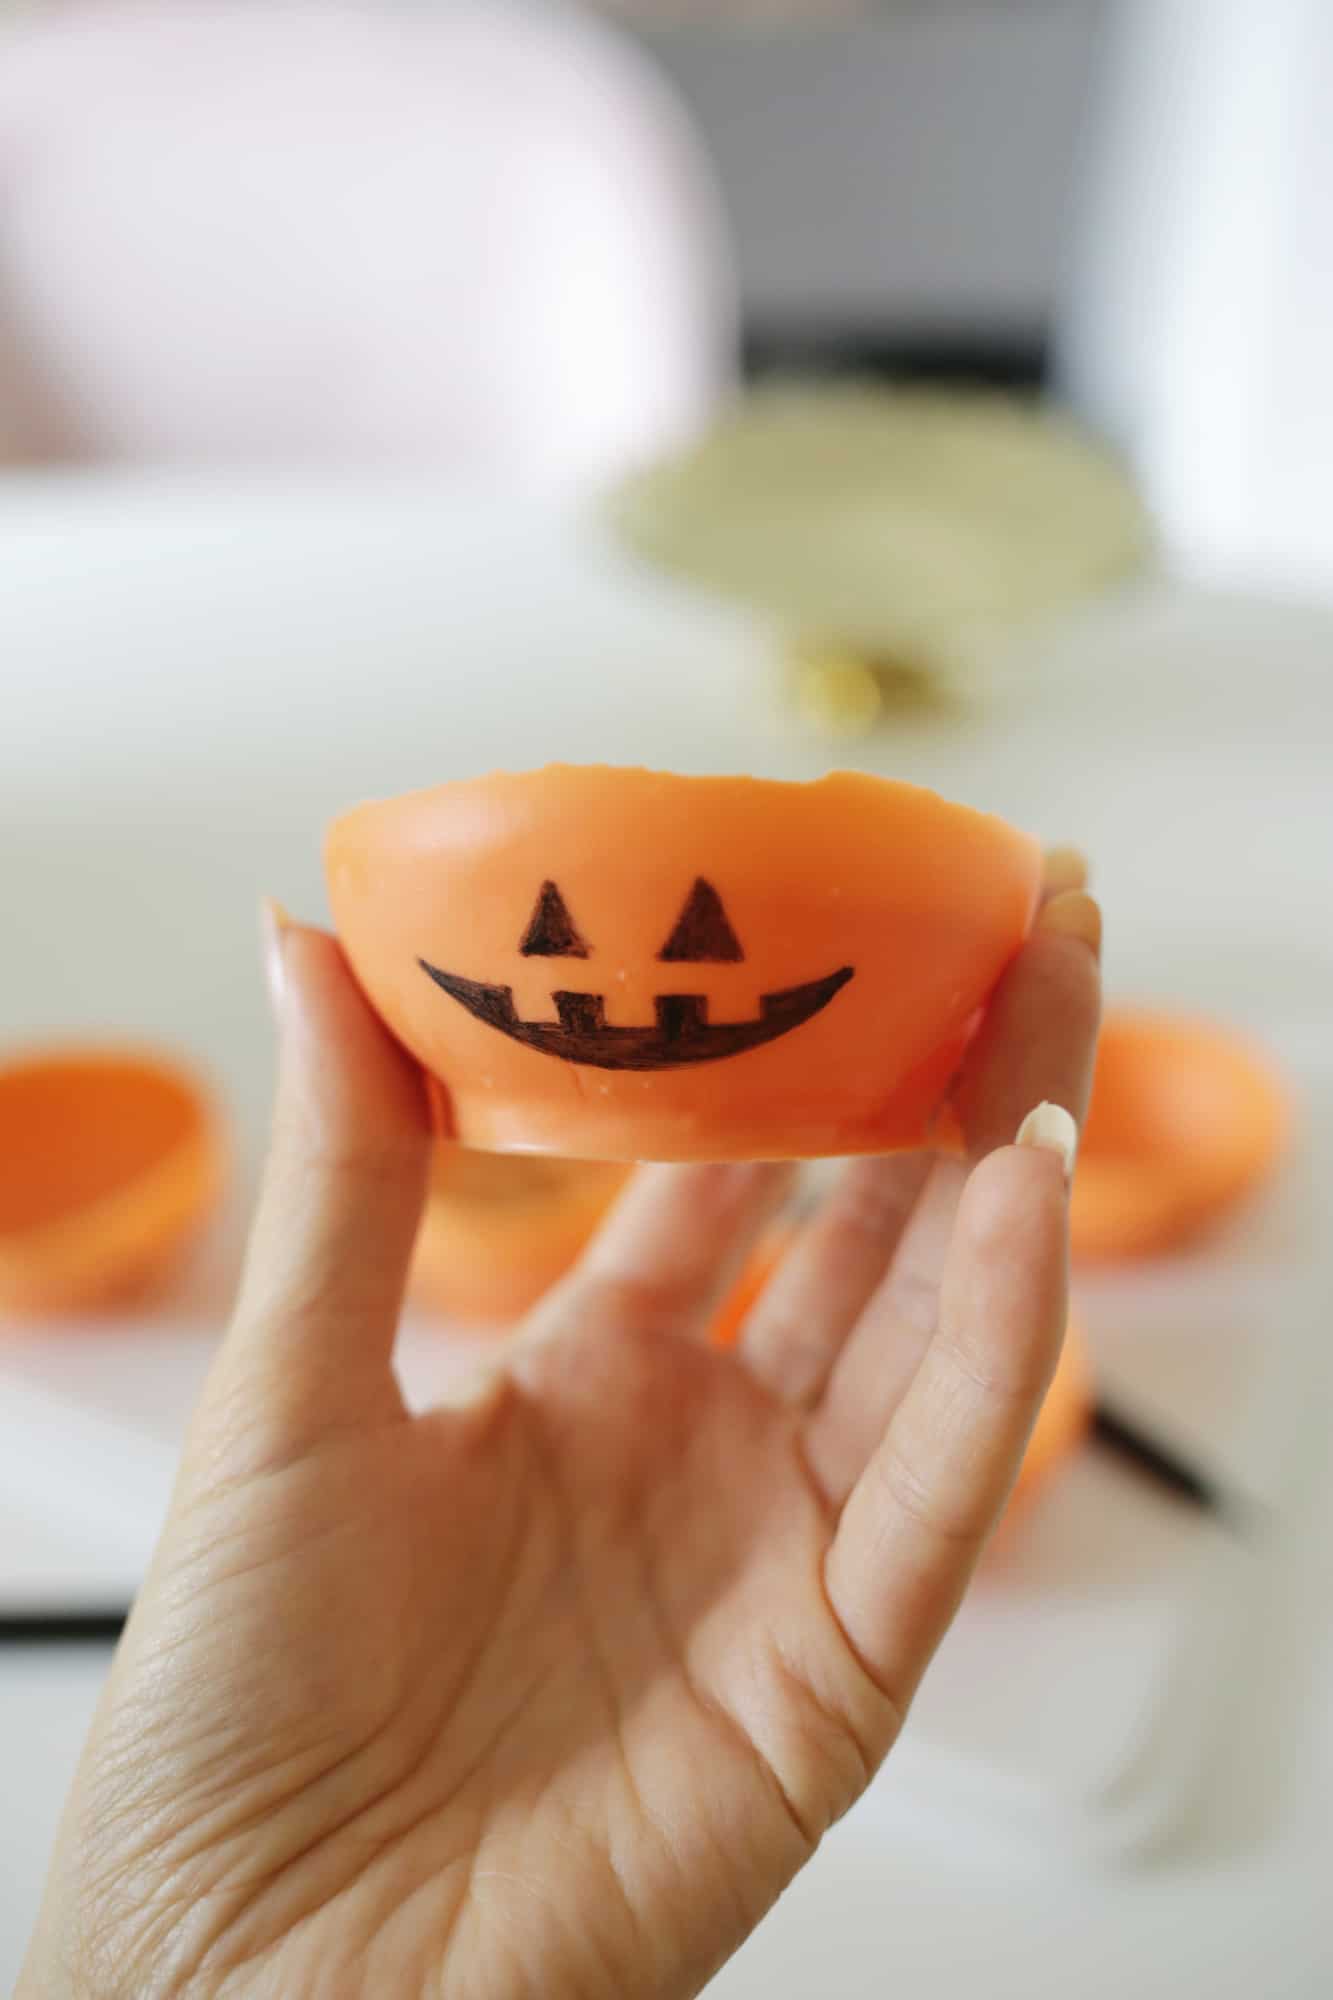

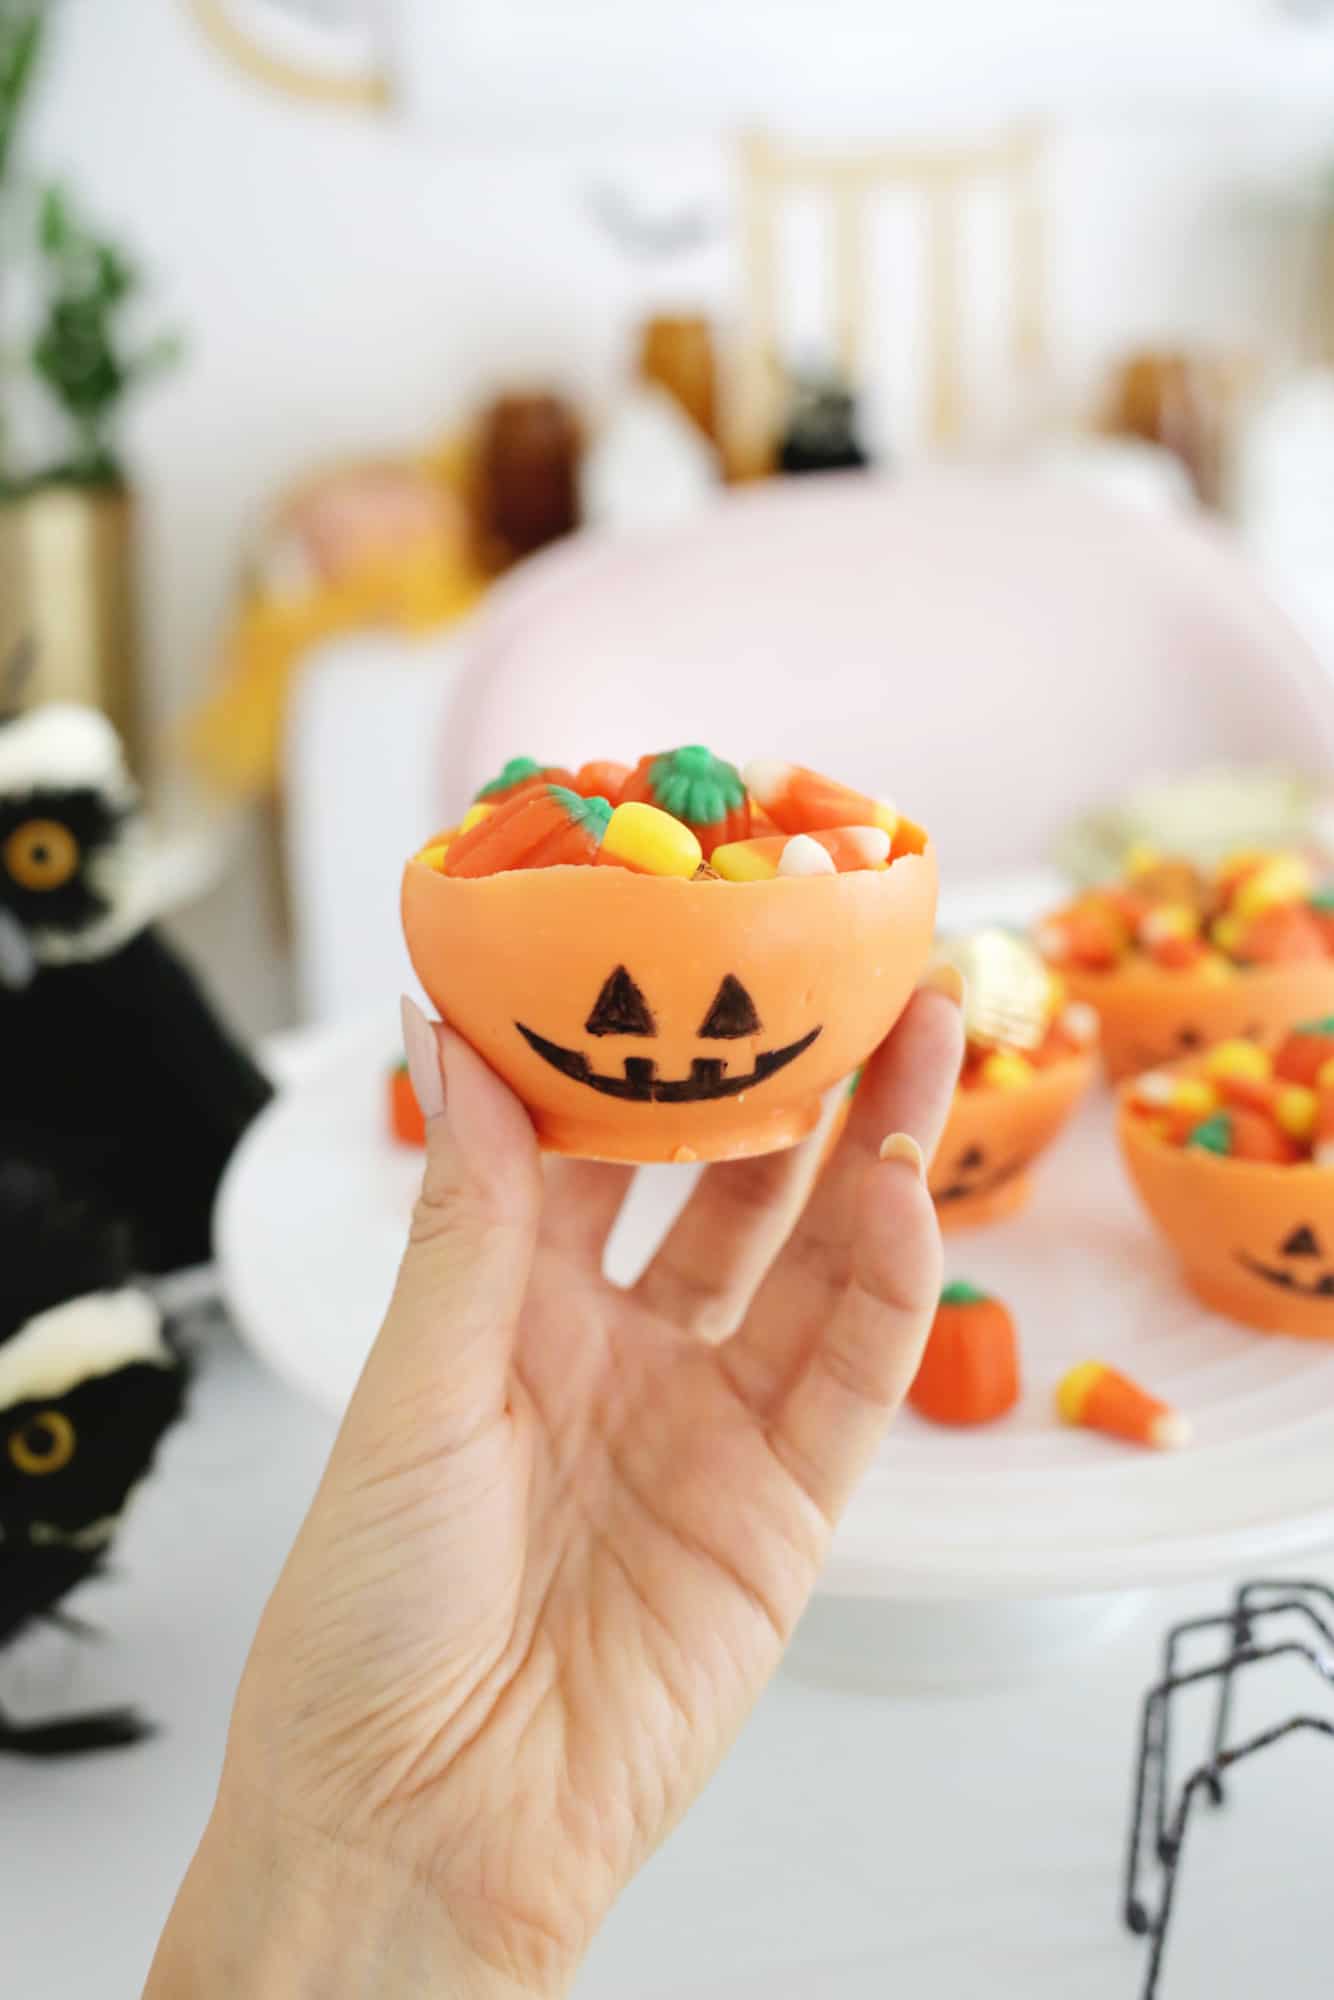
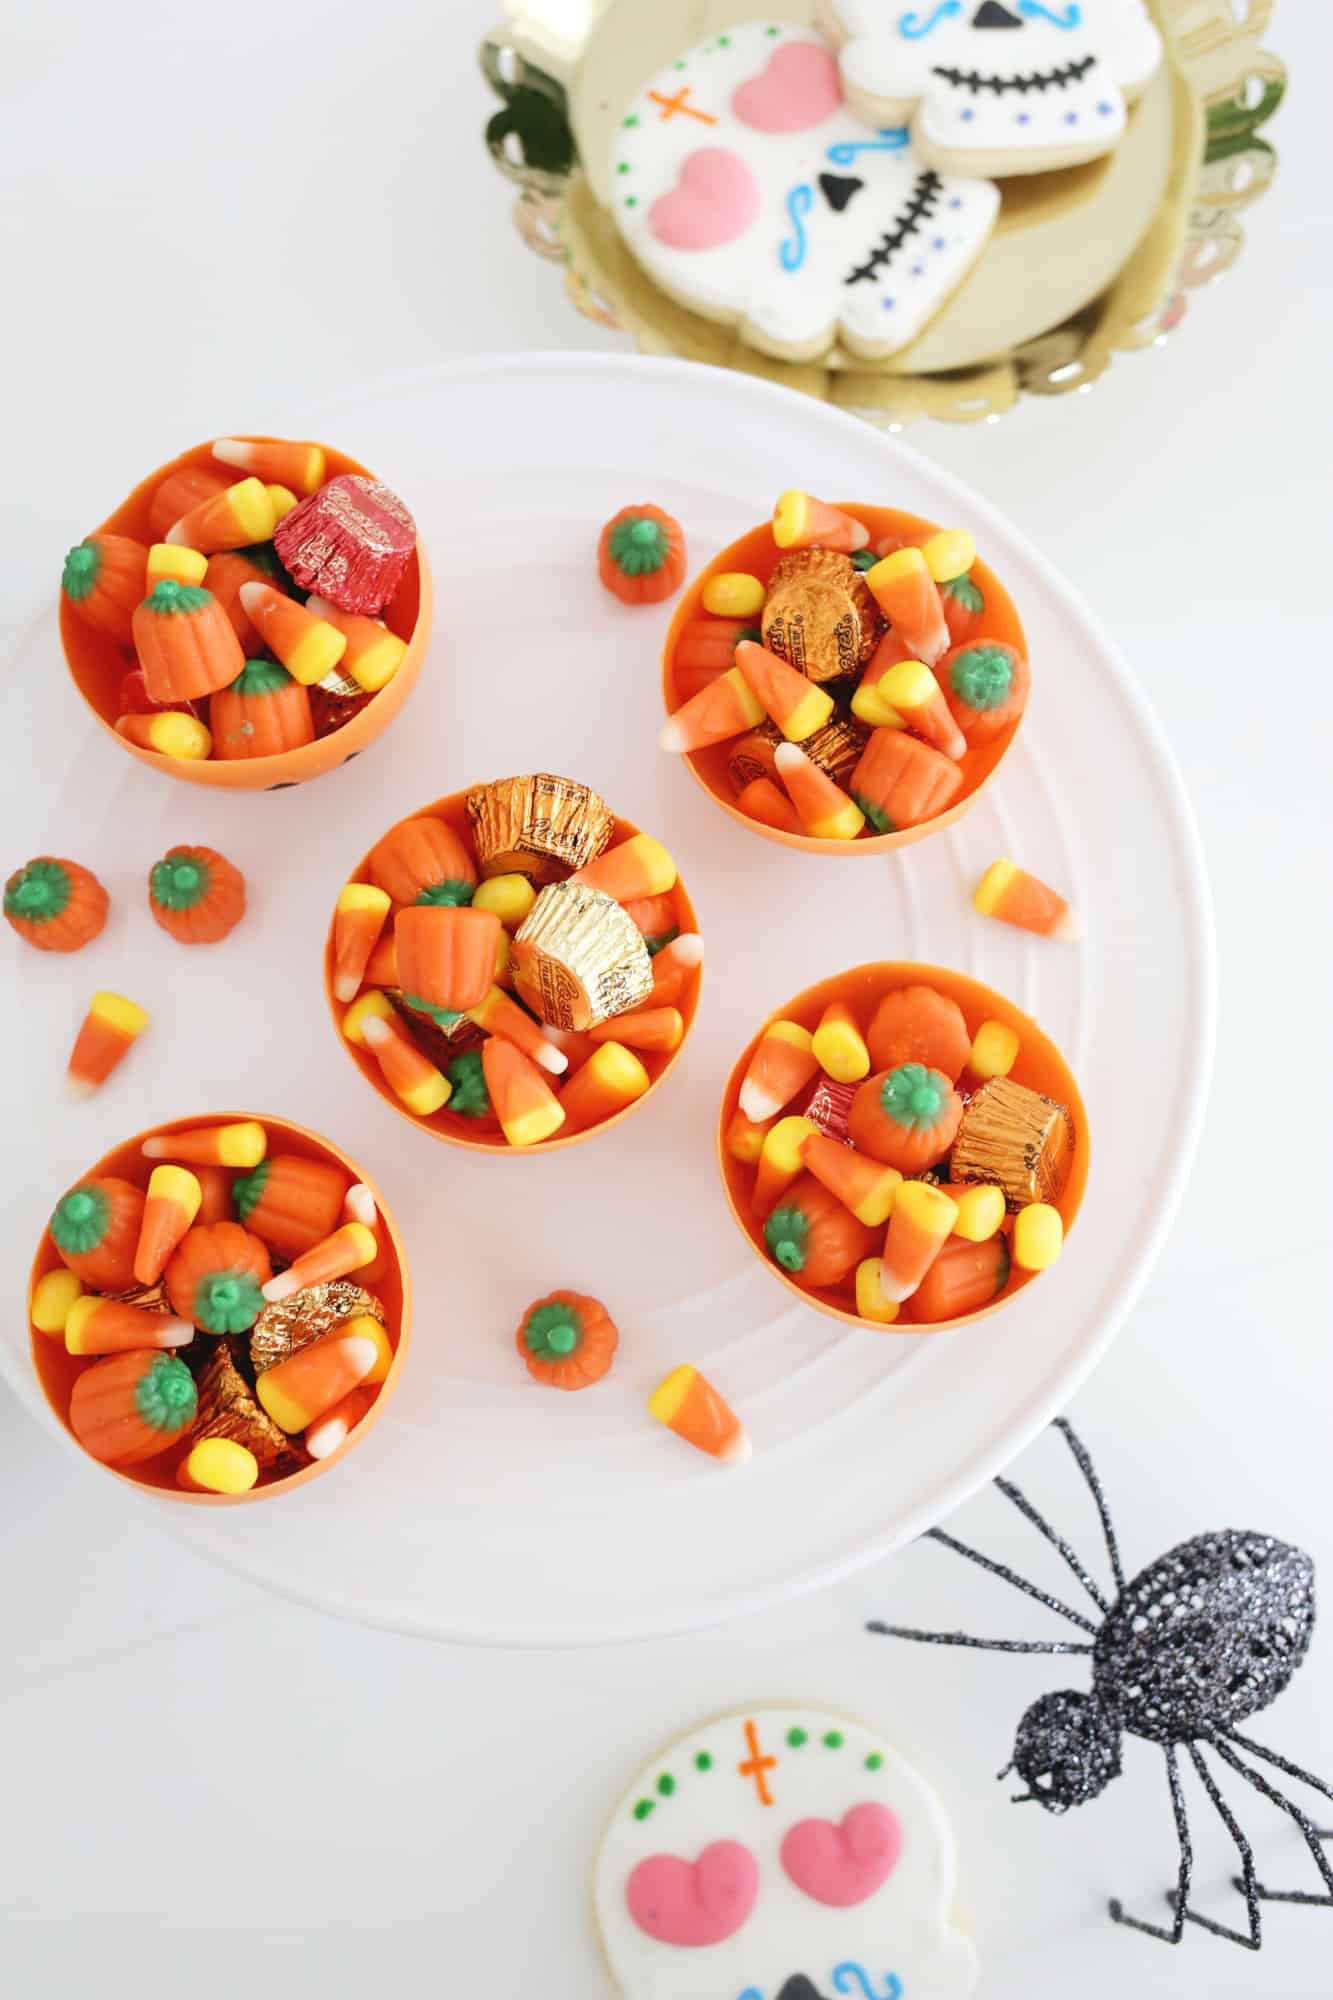

Obviously, these bowls are delicate, so you don’t want to handle them too much. But they were totally fine being filled with a ton of candy and sitting out for several hours on my counter.
Lola thought it was amazing that she could eat the bowl, so it was a big hit with the kid in our house! Hope these bowls make it to your Halloween party this year! xo. Laura

Love this! They are so cute and look so yummy too!
-Kate
https://daysofkate.com/
OMG, these are just too adorable. But first… finding orange melting chocolate. I never seen those in stores here, but I will scour some Dutch sites to find something. I want to make these for Halloween now.
Maybe some white melting chocolate with orange food coloring then?
Laura
These are SO CUTE Laura!!! xx
Will you guys start doing more scrapbooking again? I miss those posts – they were my absolute favorite!
Ooh, I’ve seen variations of this DIY numerous times, it’s super cool! I need to really go and make it this season! ❤️✨
Charmaine Ng | Architecture & Lifestyle Blog
http://charmainenyw.com