While it can be so easy to let all our photos live in our phones, actually printing them out is not just a great way to add some personal touches to your living space, but it’s also a fun decor element as well!
Family photo displays don’t have to be a cheesy thing that only grandmas do, and to prove it, here’s a bunch of tips and different ways to create family photo displays in your home!
Whether you want to cover a whole wall with memories or just add an accent to a shelf or mantle, we’ve got your options covered …
Looking for a frame DIY for your photos? Check out:
- Wooden Circle Photo Frame DIY
- Pom-Pom Photo Frame DIY
- Lucite Block Photo Frame DIY
- Floating Acrylic Frame DIY
- Quick + Easy Wooden Hanger Frames
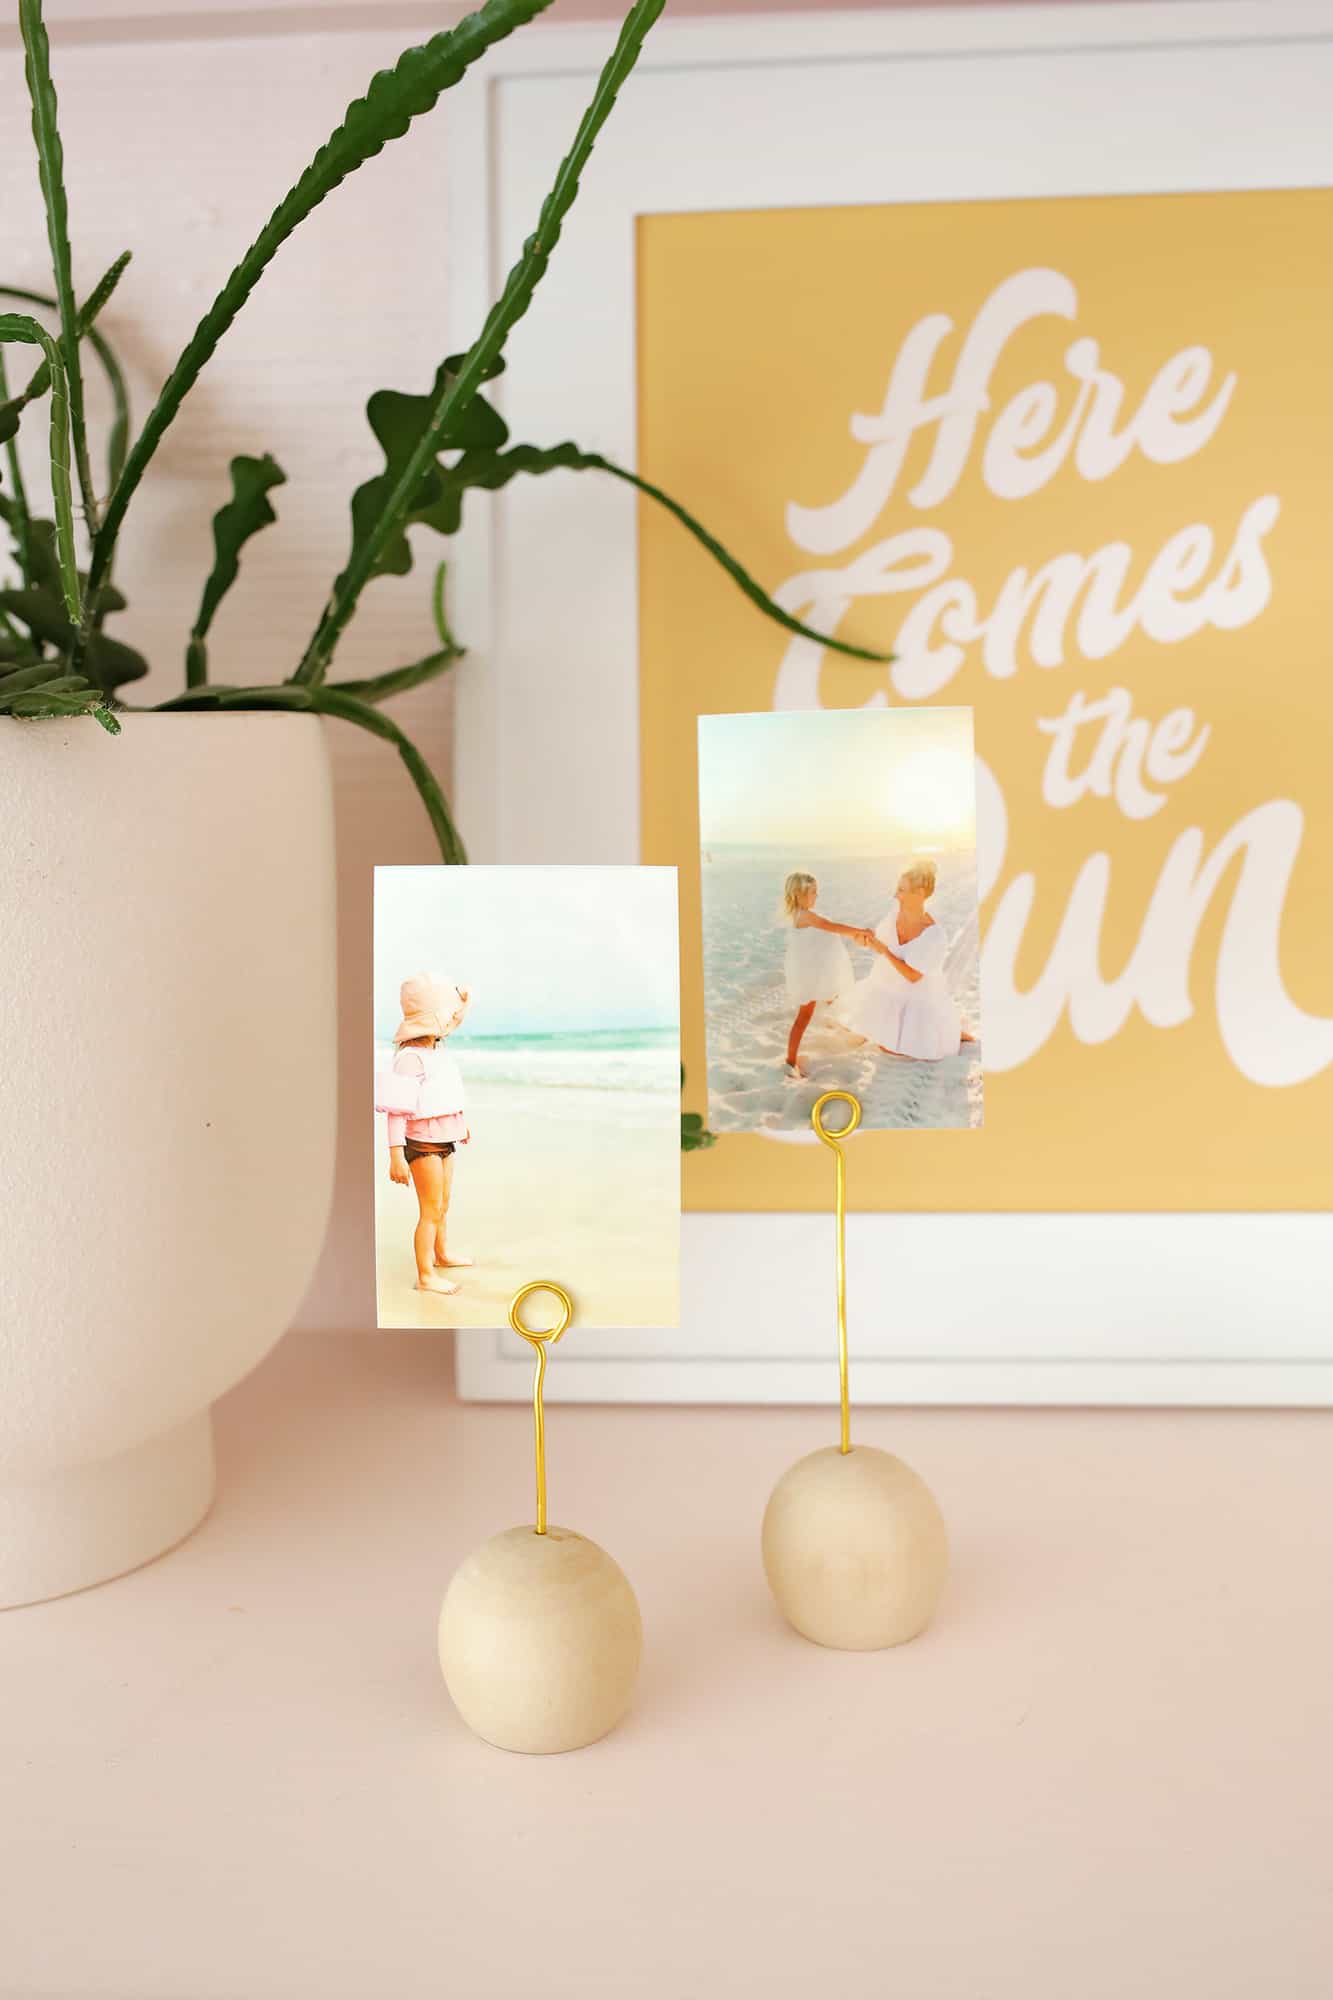
For this post, we are partnering with Canon USA, and one of our favorite things about using their printers to print at home is the flexibility it gives you to choose from. You can print large scale photos, mantle-sized options, as well as smaller pocket-sized 2″ x 3″ photos (and everything in between) depending on the printer option that’s right for you.
Printing from home also means that you can switch out your photos whenever you like from the comfort of your own home!
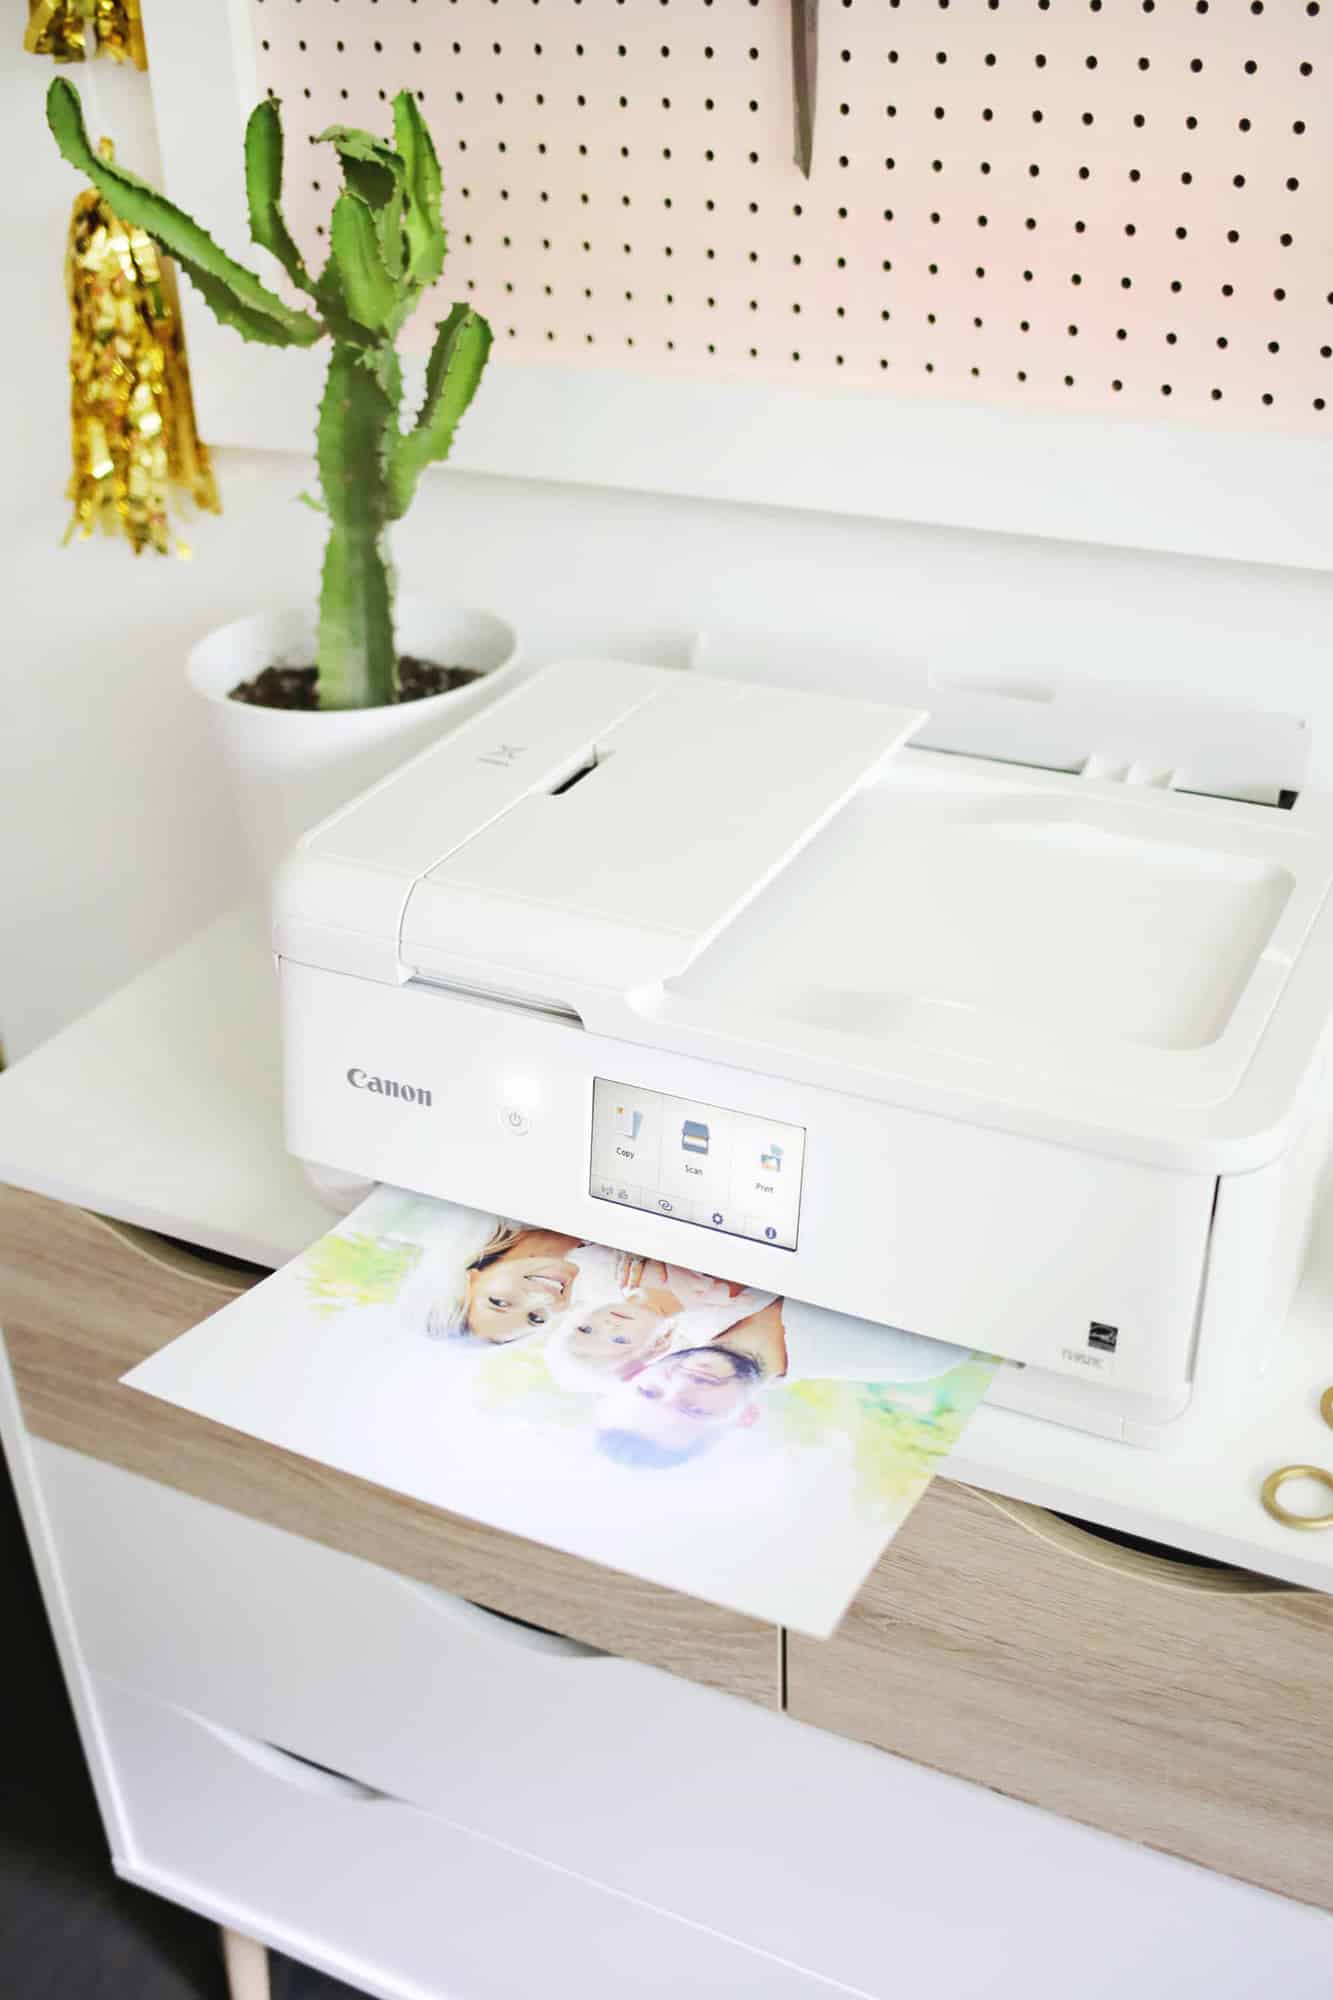
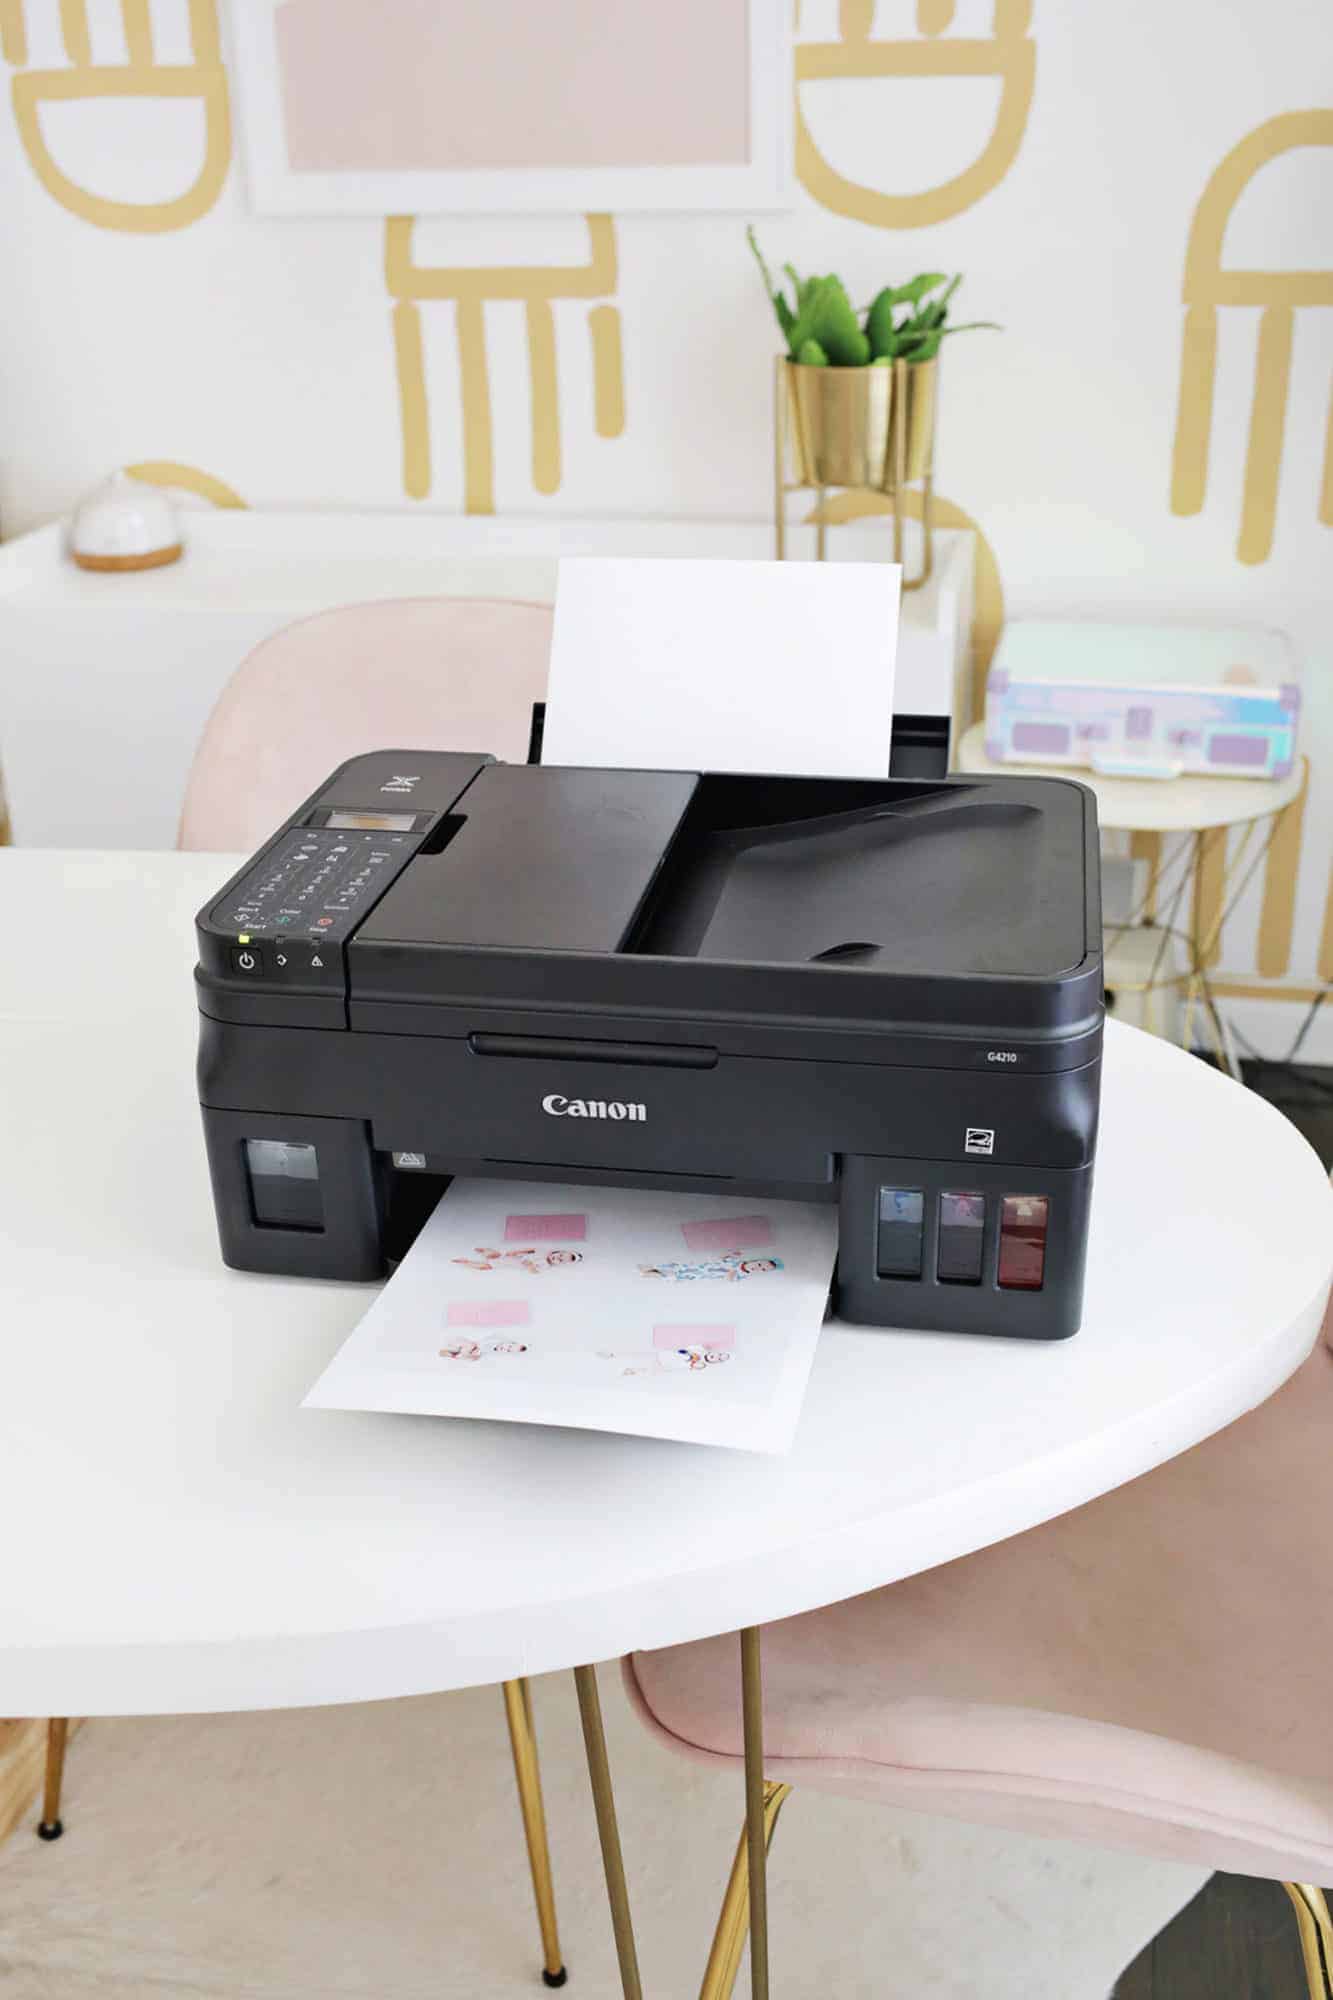
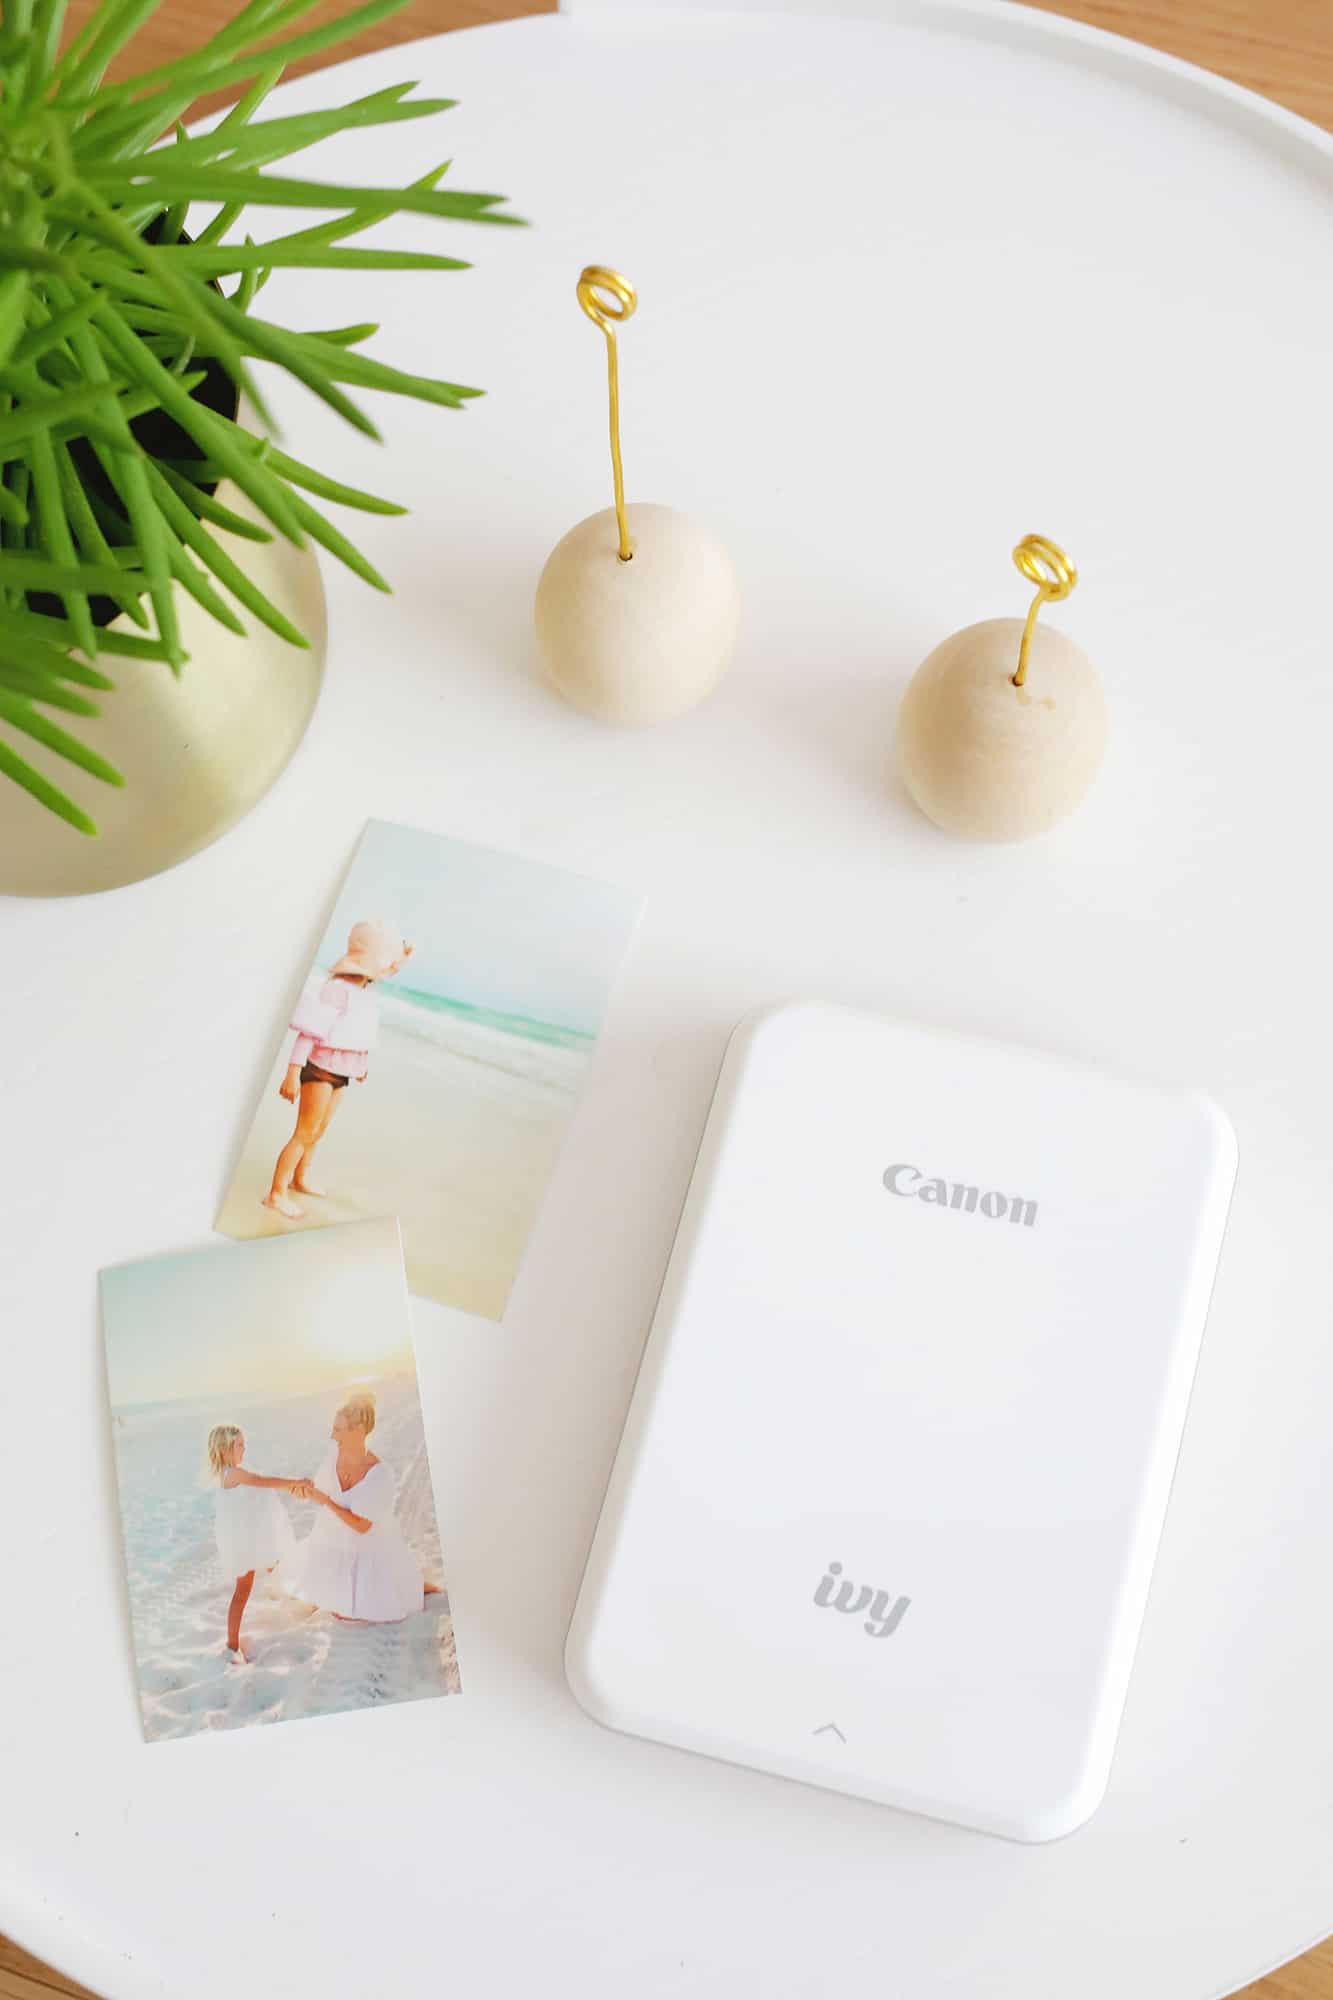
One question we get asked quite a bit is which printer we recommend, and we do have a few printers across the team. Our three favorite printers are the:
- First, the PIXMA TS9521C, which is an all-in-one crafting printer. It can handle up to 12×12 borderless prints and is an amazing multi-function printer.
- The PIXMA MegaTank G3260 printer is super versatile and has a massive ink supply, so you don’t have to refill your printer ink very often. There’s nothing worse than being ready to go on a project and having to go find ink!
- The Canon IVY is the cutest pocket printer that lets you print directly from your phone. It uses ZINK technology so you don’t need ink and you can turn your photos into stickers by peeling the back!
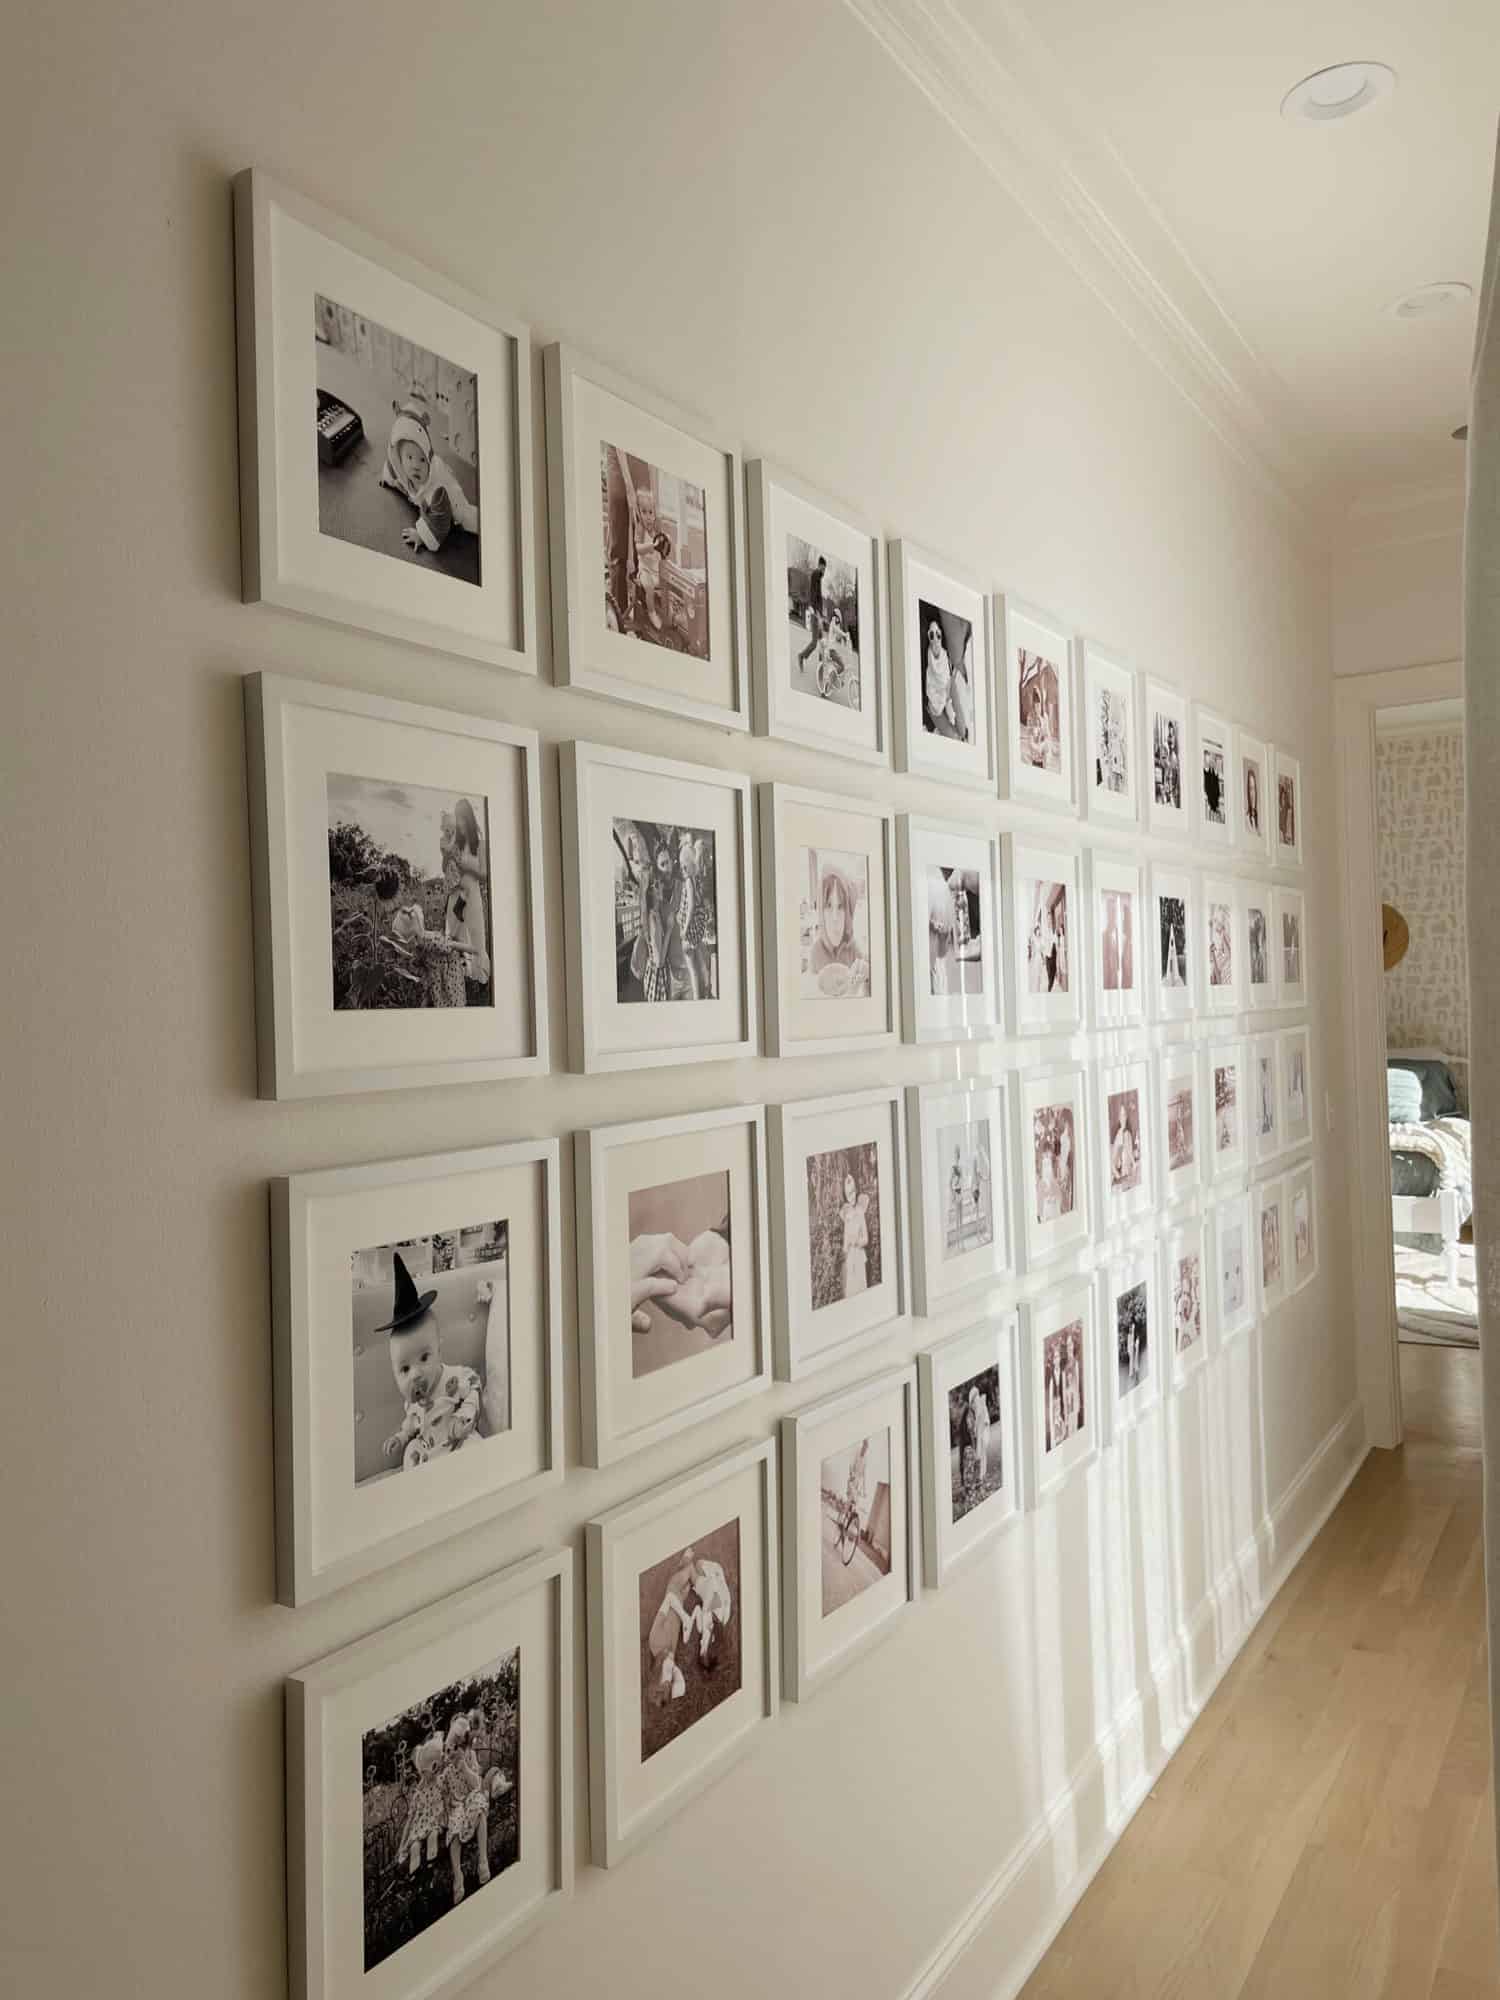
Stick with the same frame and size for easy matching:
Elsie’s large family gallery wall is full of photo memories, but by keeping the same size and frame for each one, it really helps it all look like part of a collection. You can choose frame colors that are similar to your wall color if you want them to blend into the wall a bit more.
Sometimes this is helpful for large galleries so it doesn’t look too overwhelming and heavy. Or, you can choose a frame color/material that stands out if you want to make it more of a visual statement.
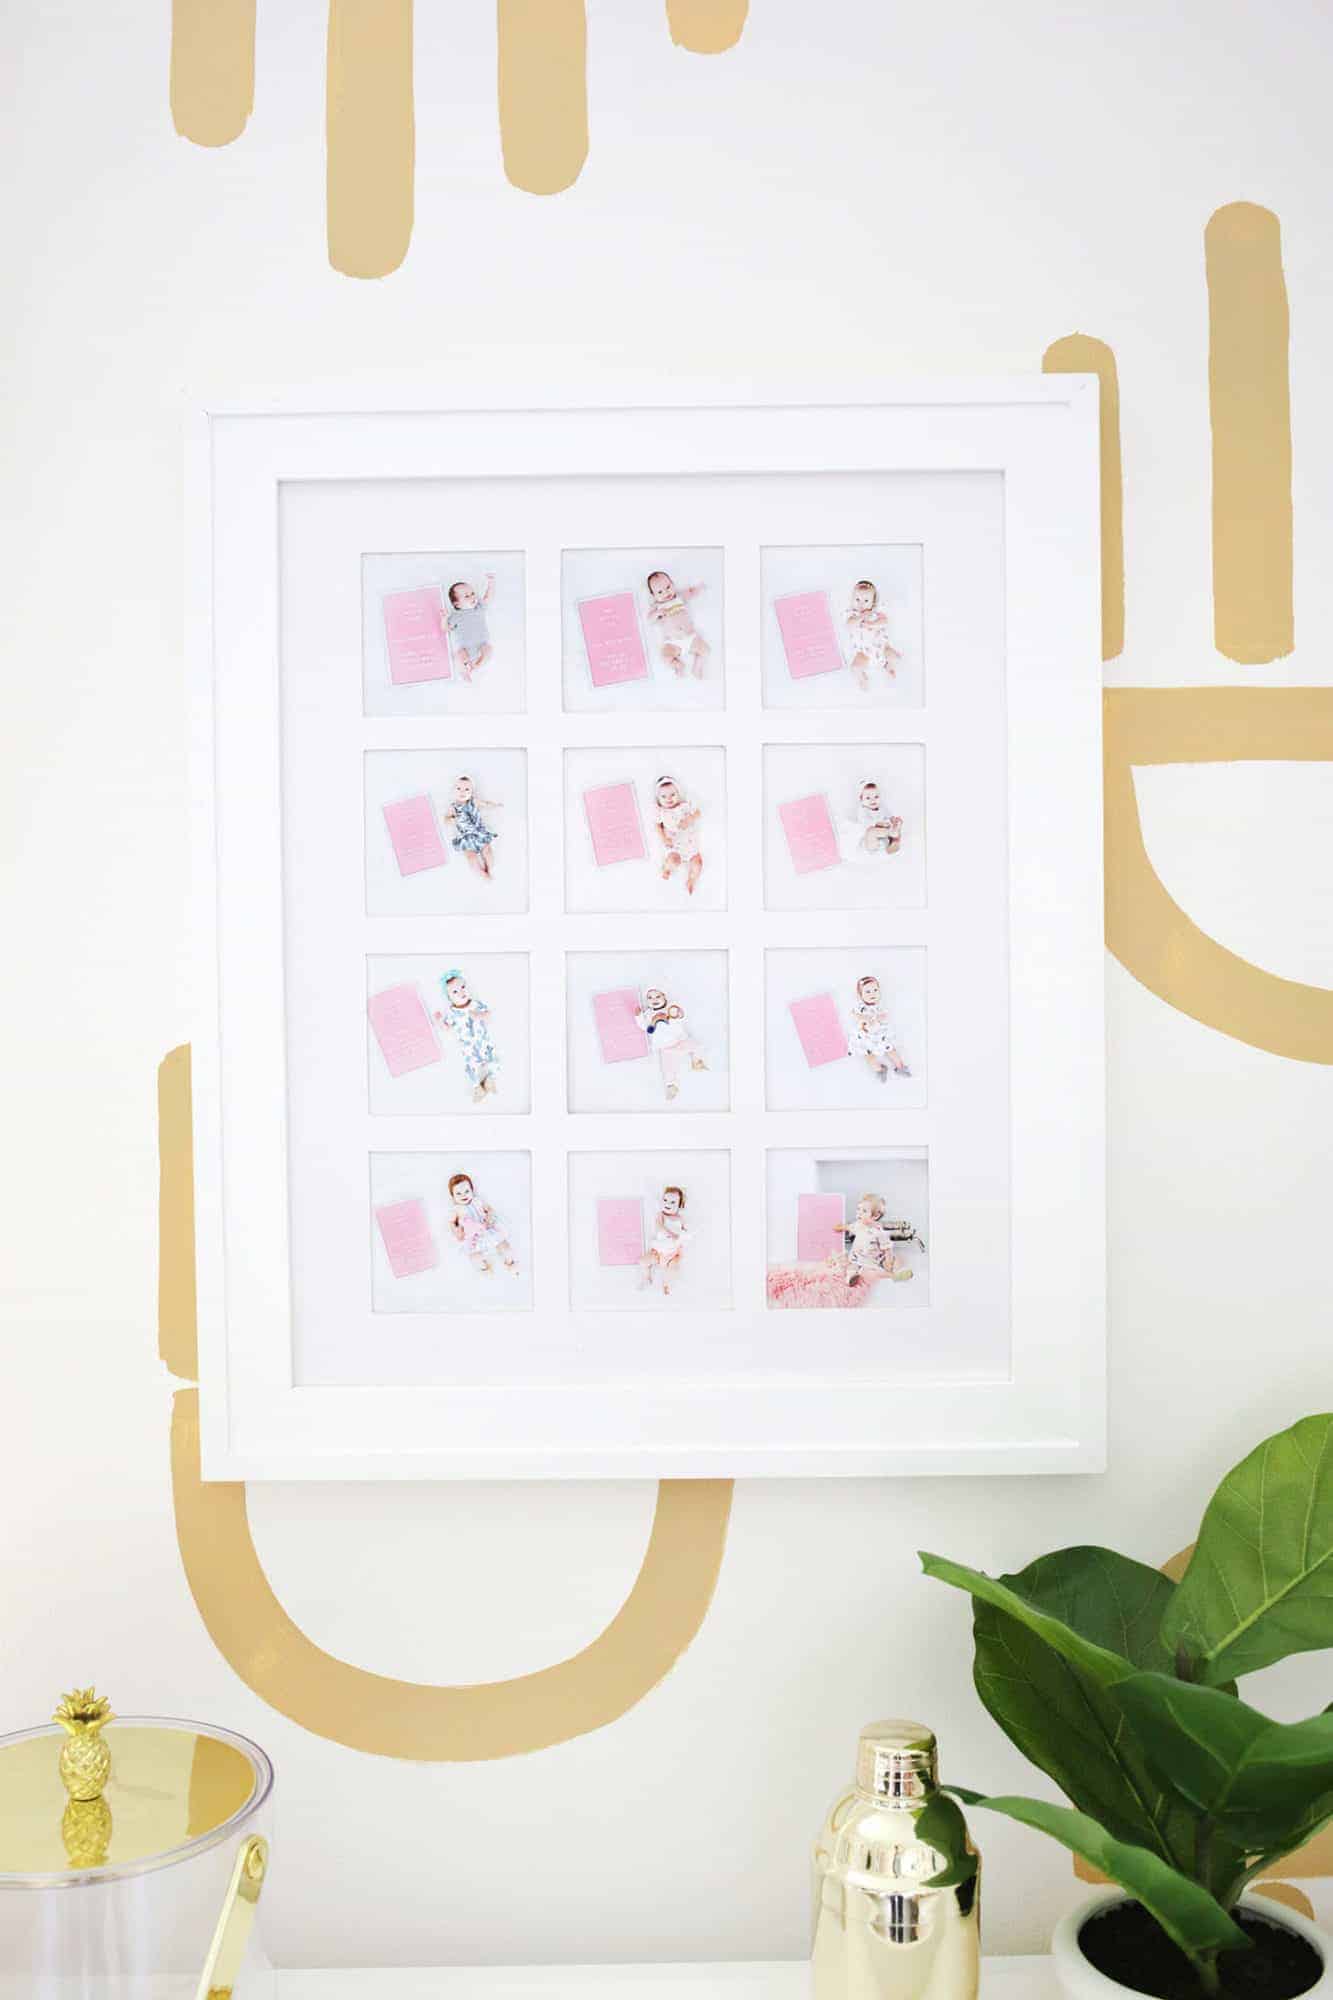
Use one frame to contain multiple related photos:
When you have a series of photos that are related to each other (first day of school every year, yearly family vacation photo, etc.), using one frame like I did for my daughter’s first year photos is a great way to have a photo collection in one spot.
Simply cut a mat to your frame size and then cut as many windows as you need so your family photo collection can live in harmony in one frame.
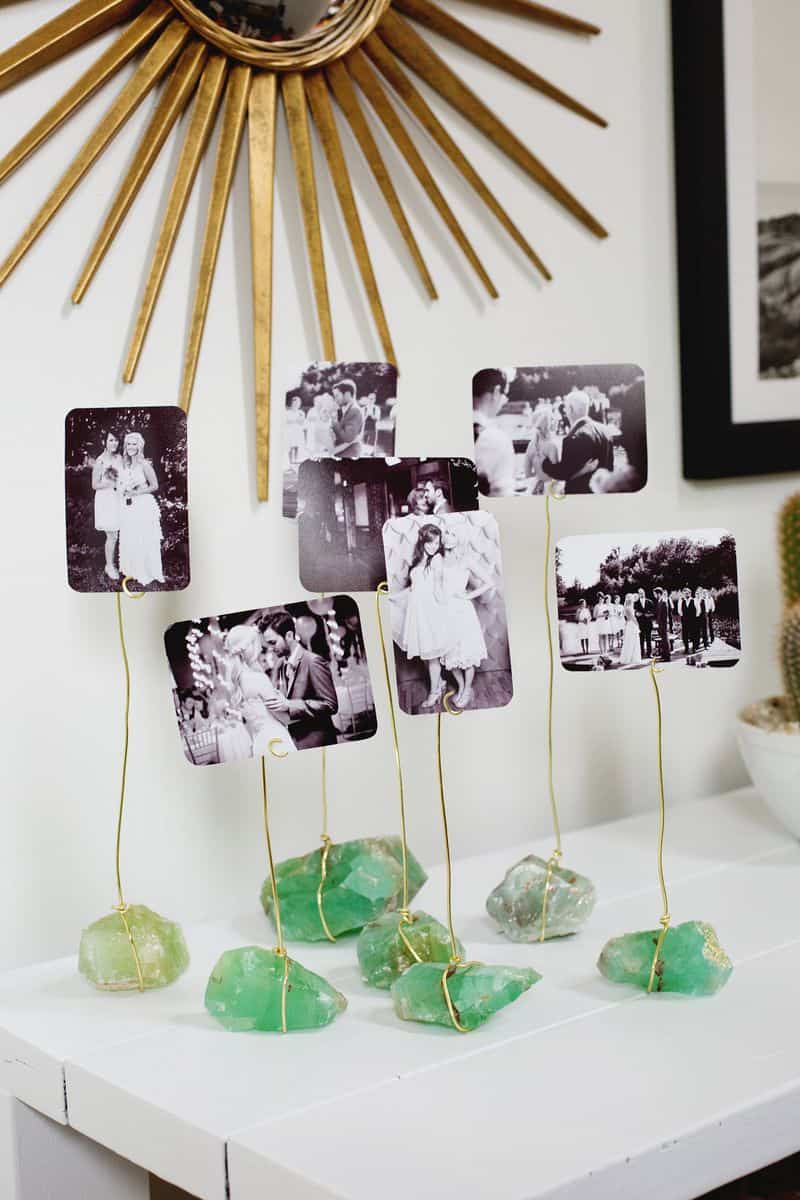
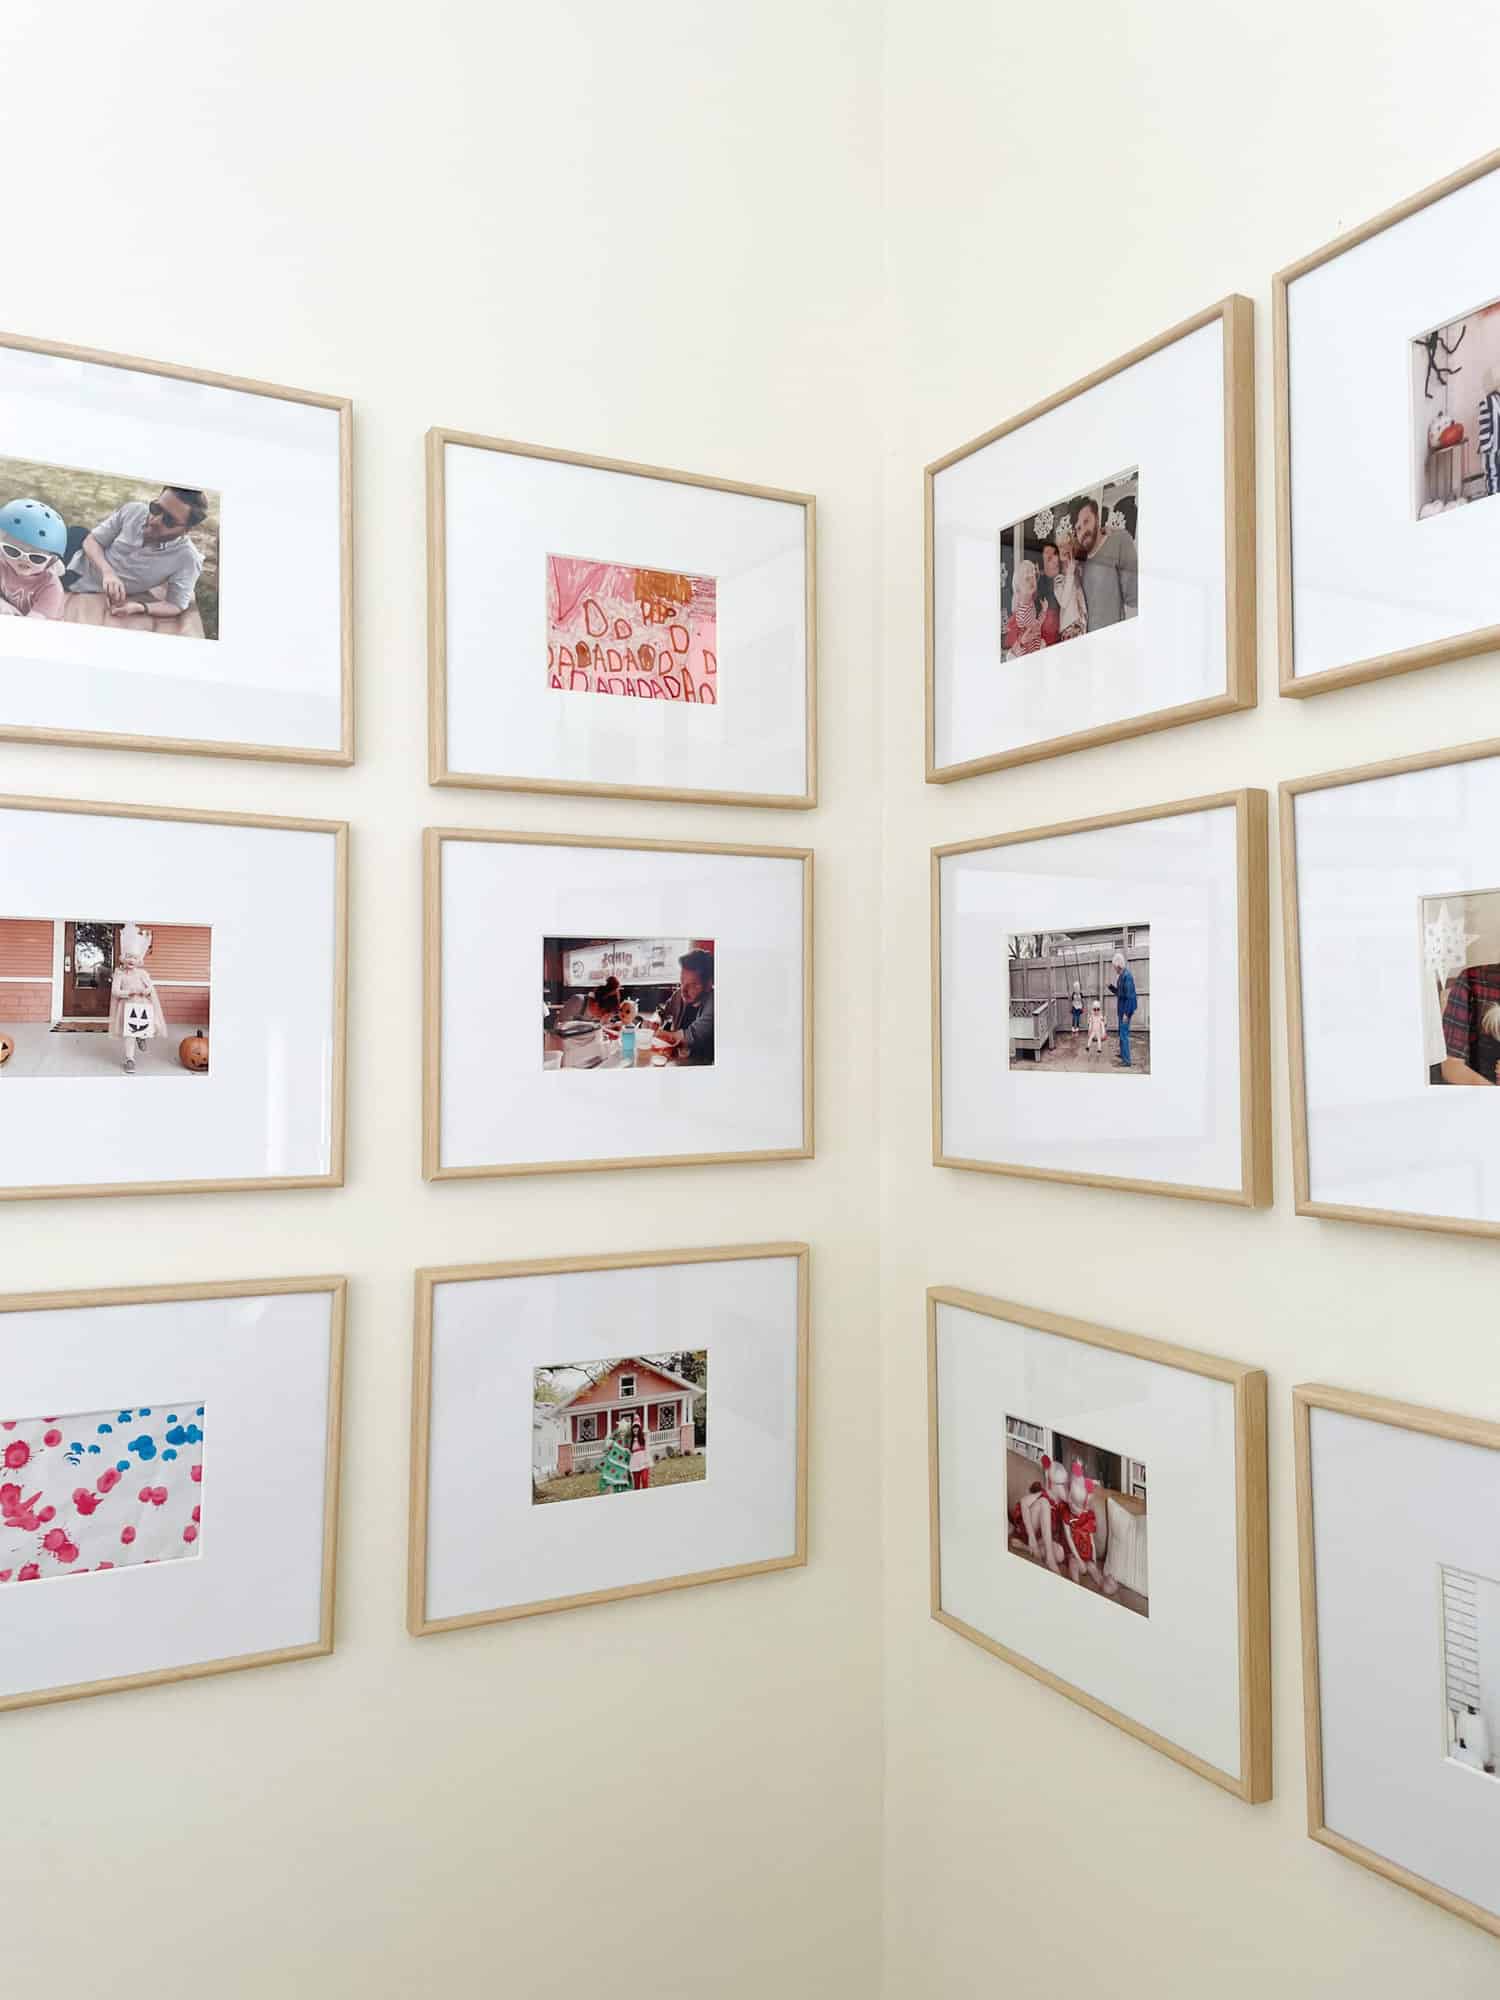
Choose a similar color palette for your photos:
Keeping your photos within a limited color palette is a great way to give a balanced and cohesive look to a photo display. Whether you choose an all black-and-white option (probably the easiest way to go) or choose photos that have similar colors in them, matching the tones will go a long way in making it feel like a curated collection.
If your photos have a range of colors that are a bit all over the place without much of a theme, then turning them black and white or sepia toned like Emma’s Mineral Photo Display is a good way to get them all to match and override the color clashing.
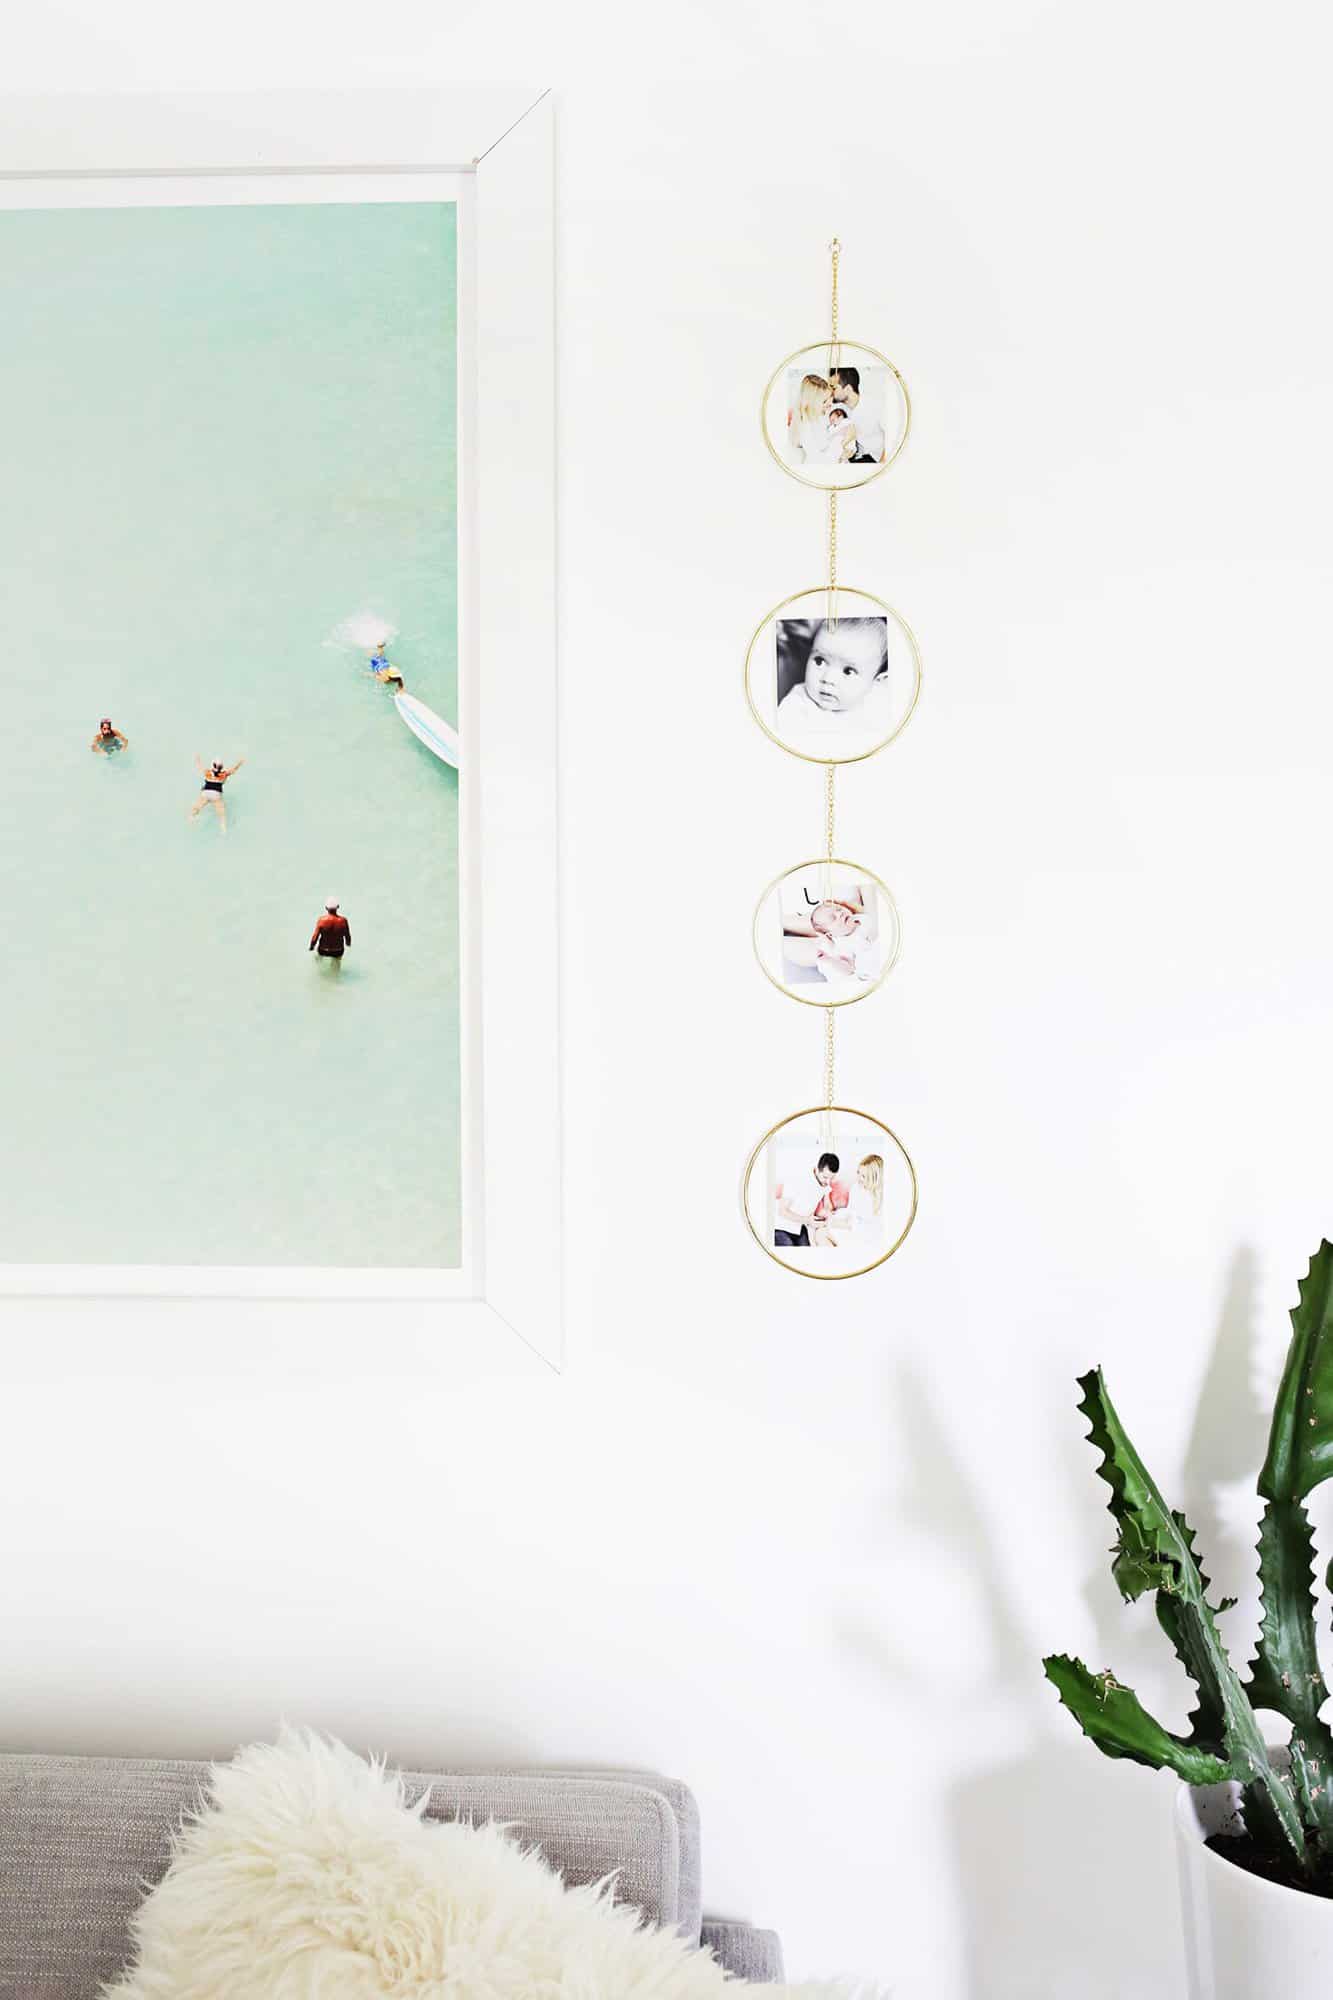
Choose a mix of close up and further away shots for your photos:
Having different photo crops is another way to add visual interest. Sometimes you may want to show more of the setting (like your beach photo or when you went to the Grand Canyon), but mix that in with closer shots or selfies so all the people and faces aren’t far away.
You can also hang a small display like I did with this Vertical Gold Hoop Photo Display!
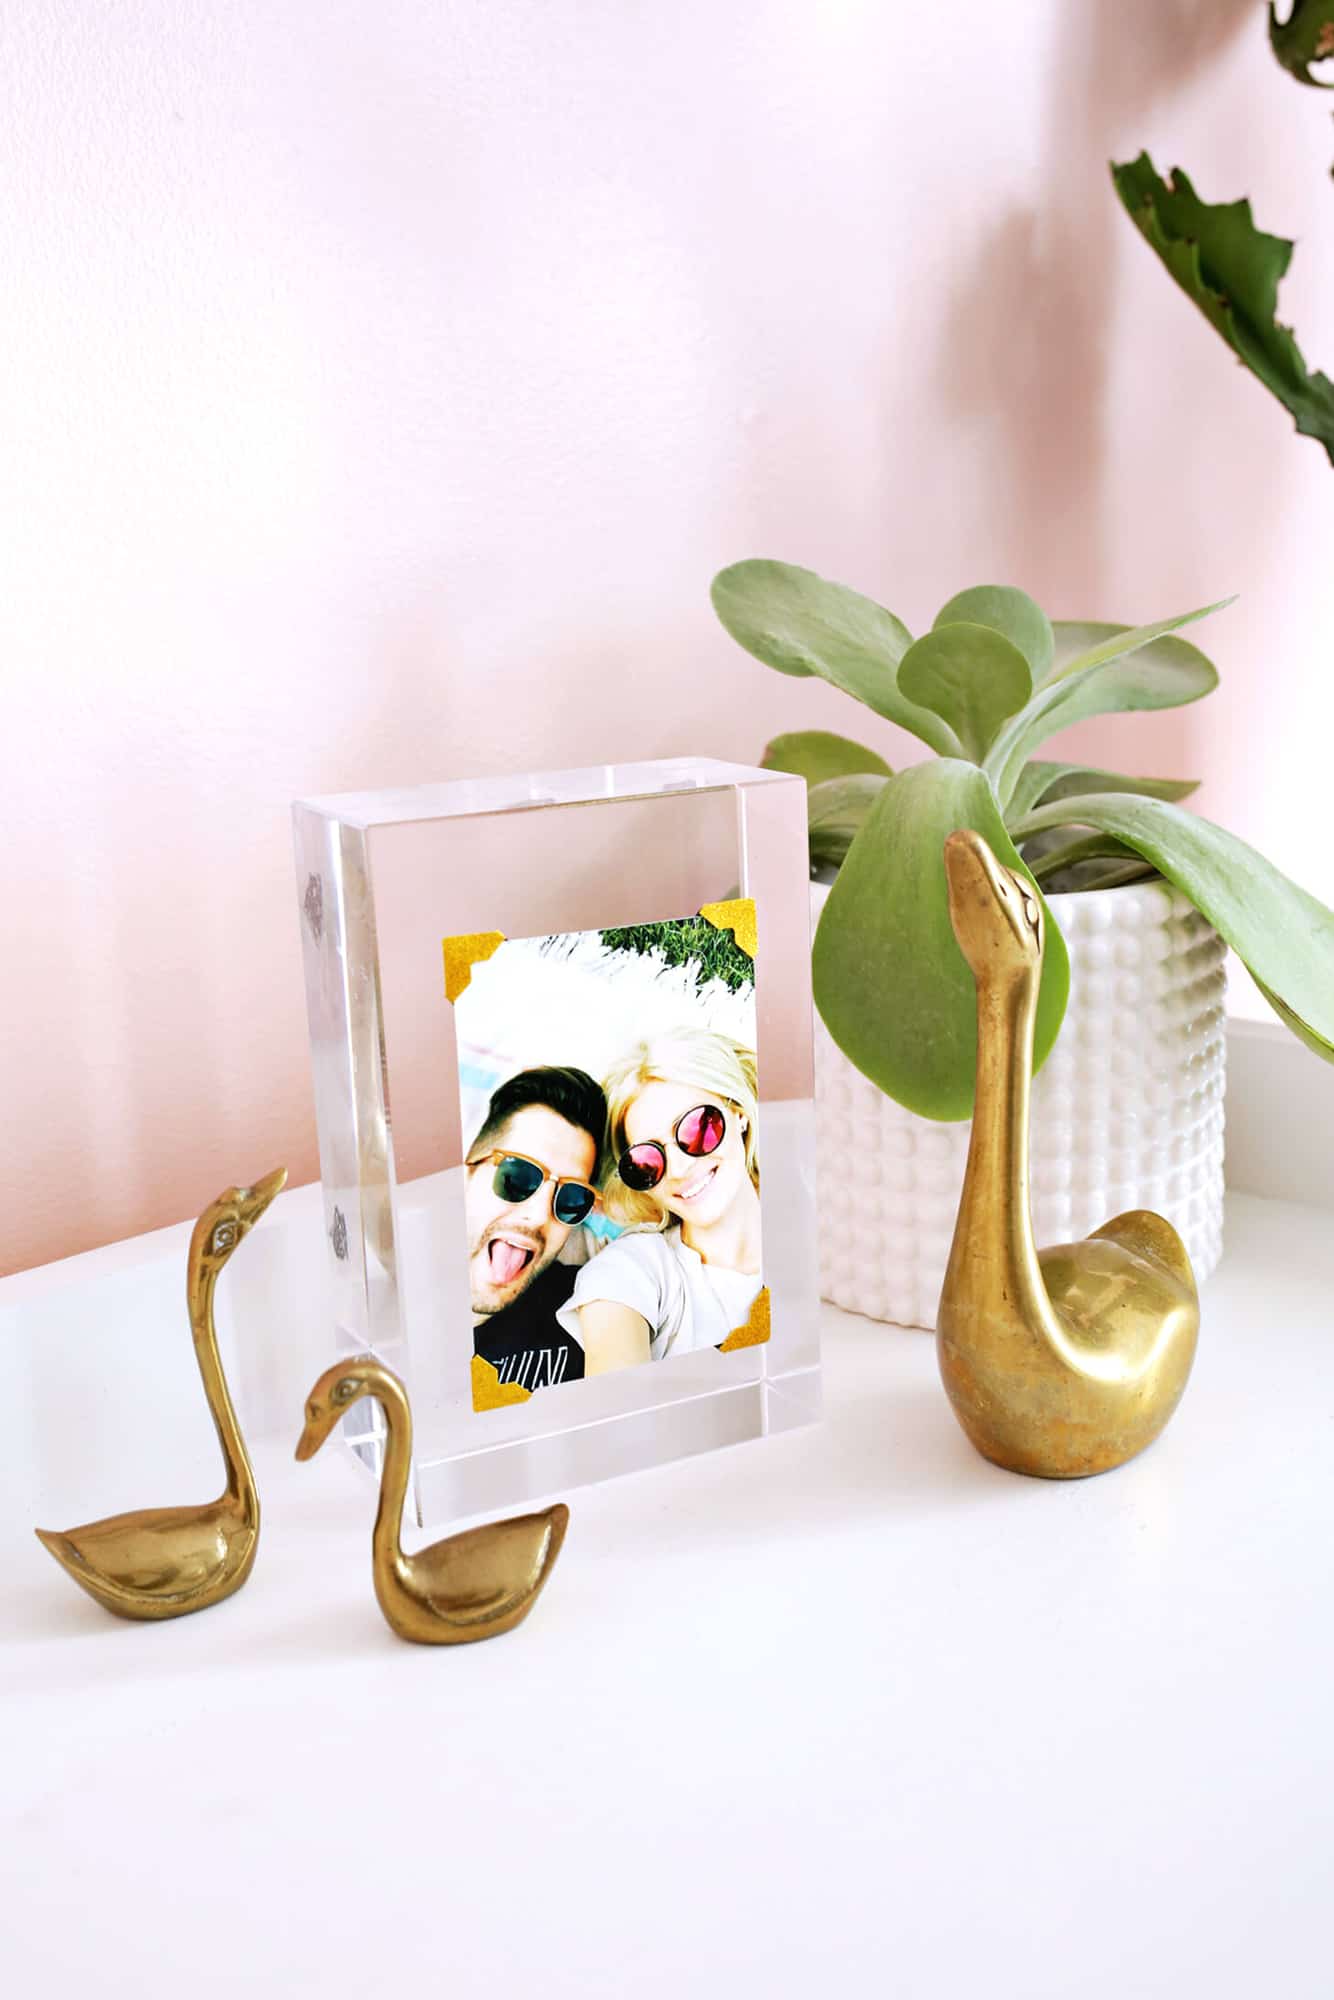
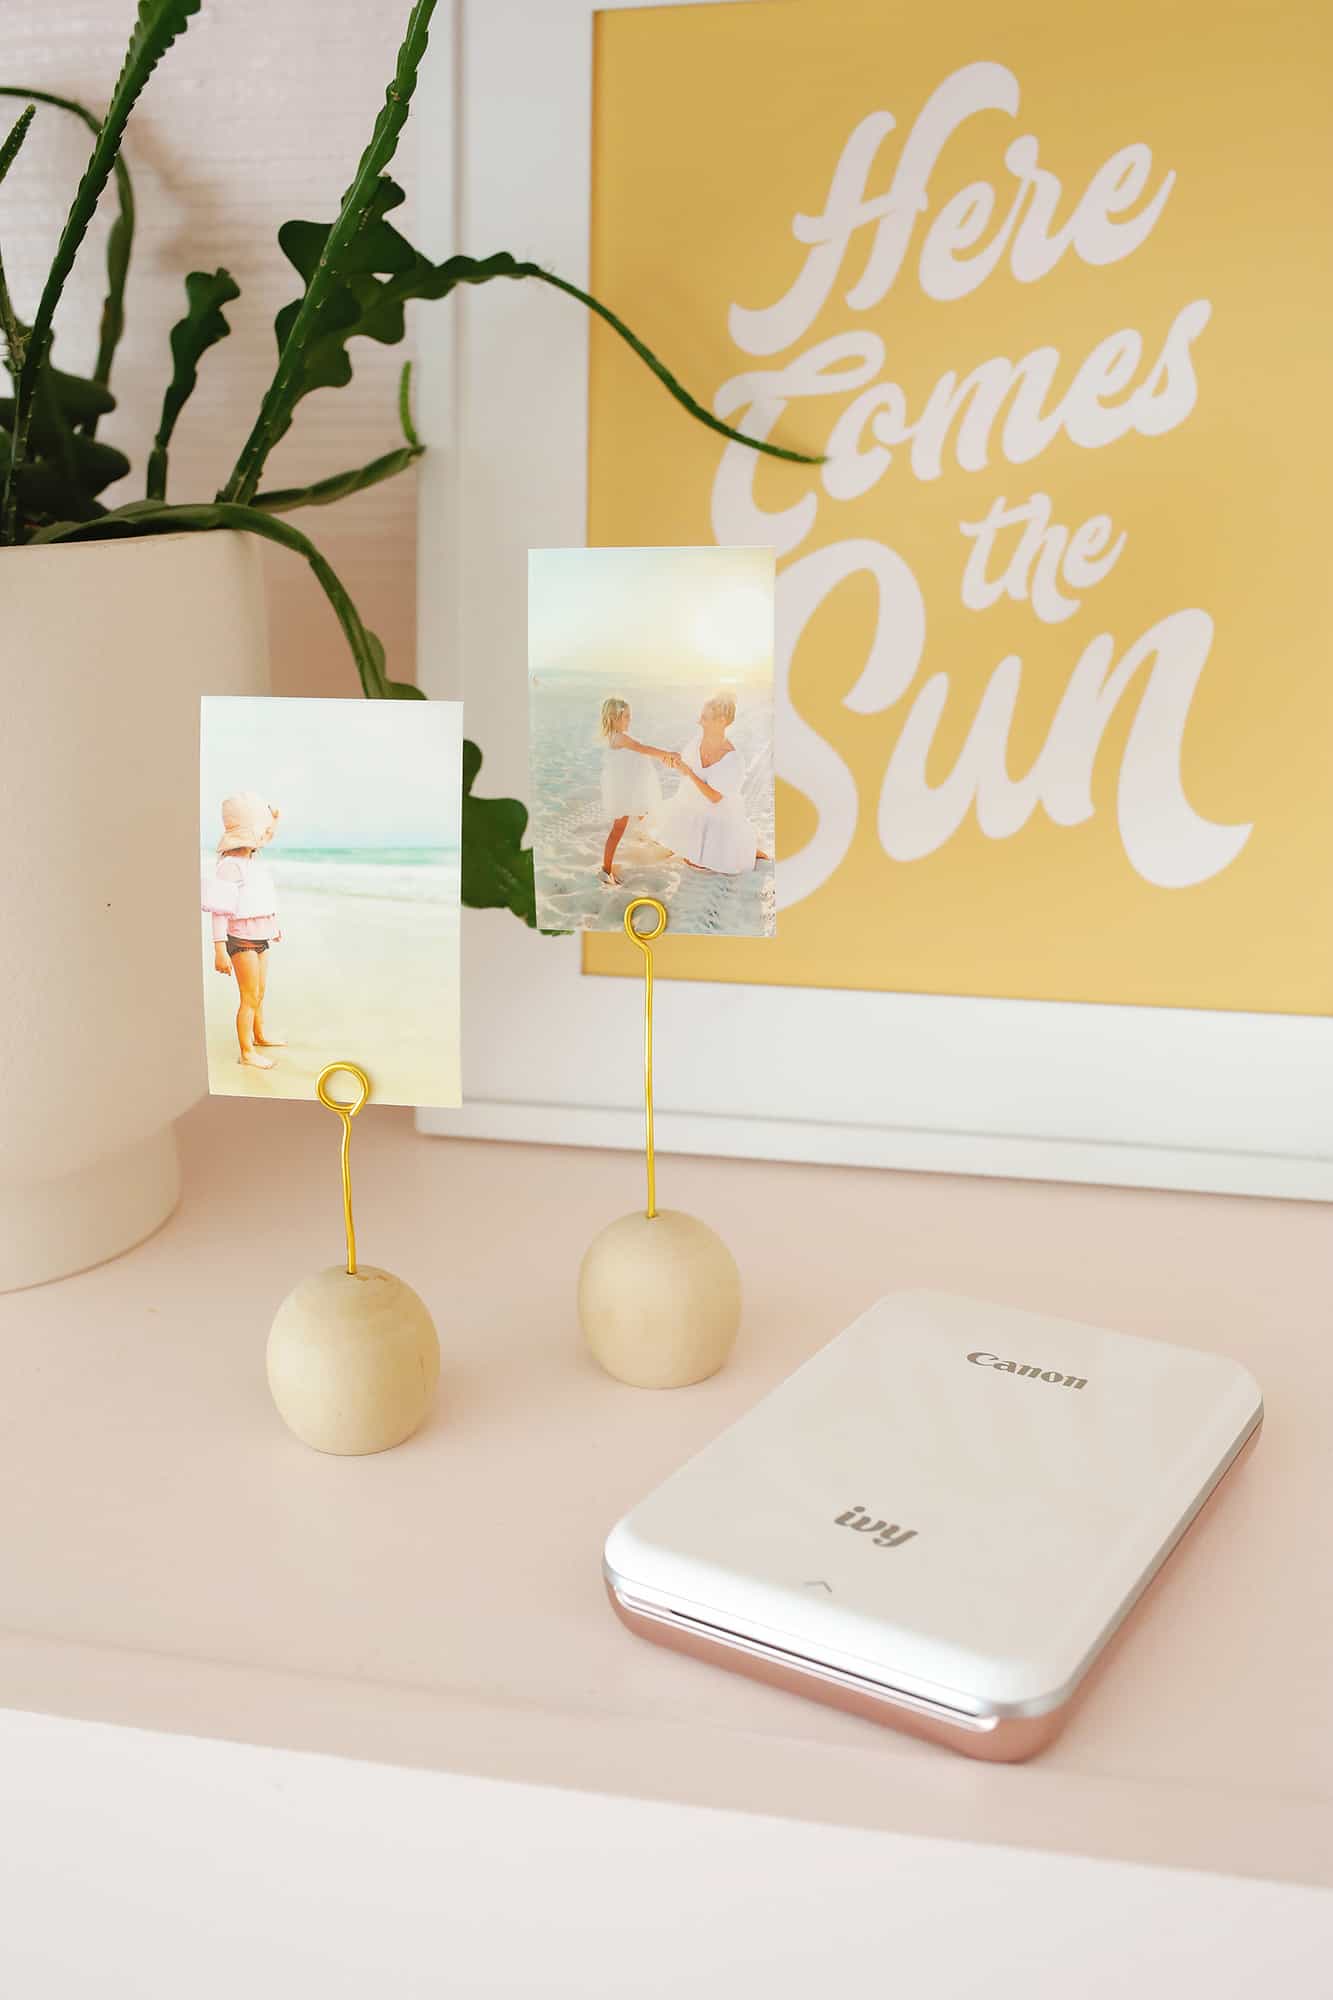
Go big (and small):
Using a large scale photo display on a wall is a great way to add a personal touch to a space, but not every family photo display needs to be huge.
Mix it up with larger displays in some areas and use other smaller displays (like this easy five-minute wooden ball photo holder DIY or Lucite Block Photo Frame DIY) on mantles, desks, dressers, and shelves.
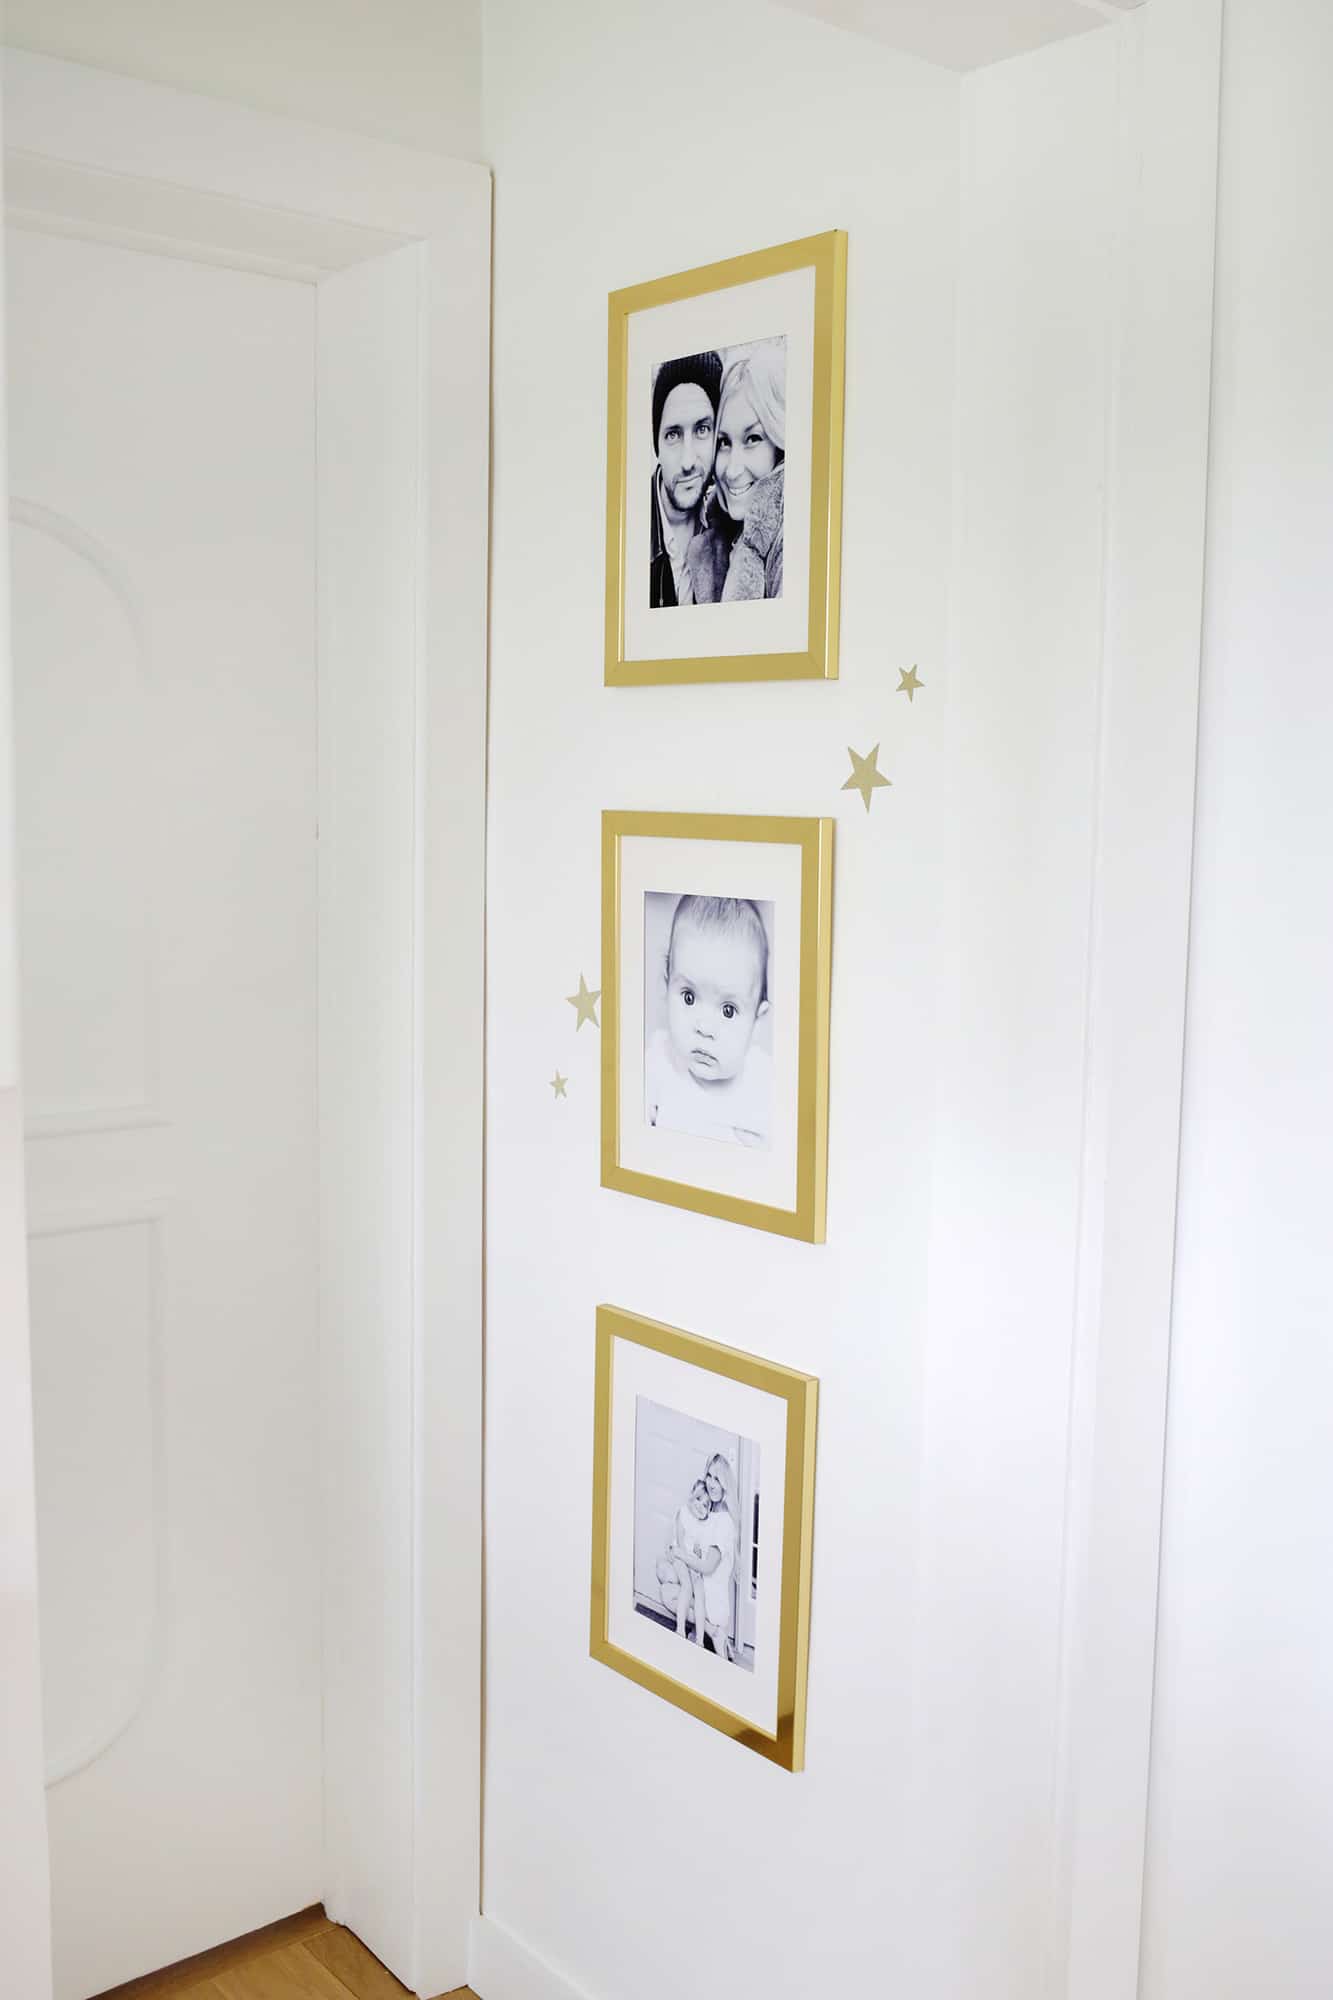
Don’t forget to update!
I’m definitely guilty as a parent of keeping around photos of my daughter when she was teeny-tiny, but I try to make sure that I also have a mix of photos throughout the years so I don’t eventually have a teenager with only her baby pictures up.
Make an effort to take new photos and actually print out and display recent memories so that your walk down memory lane can come right up to where you are now.
There you go! Following these simple tips can help you get a cohesive family photo display that fits into your home and your personality.
Hope this inspires you to print out some of your favorite memories! Do you have any other creative ways you like to display your family pictures? xo. Laura

Oh my goodness once again y’all nailed it. Such a great mash up of all the photo displays you have made. Loved the multiple photos in one frame idea!!
Great! Glad you got some ideas!
Laura 🙂