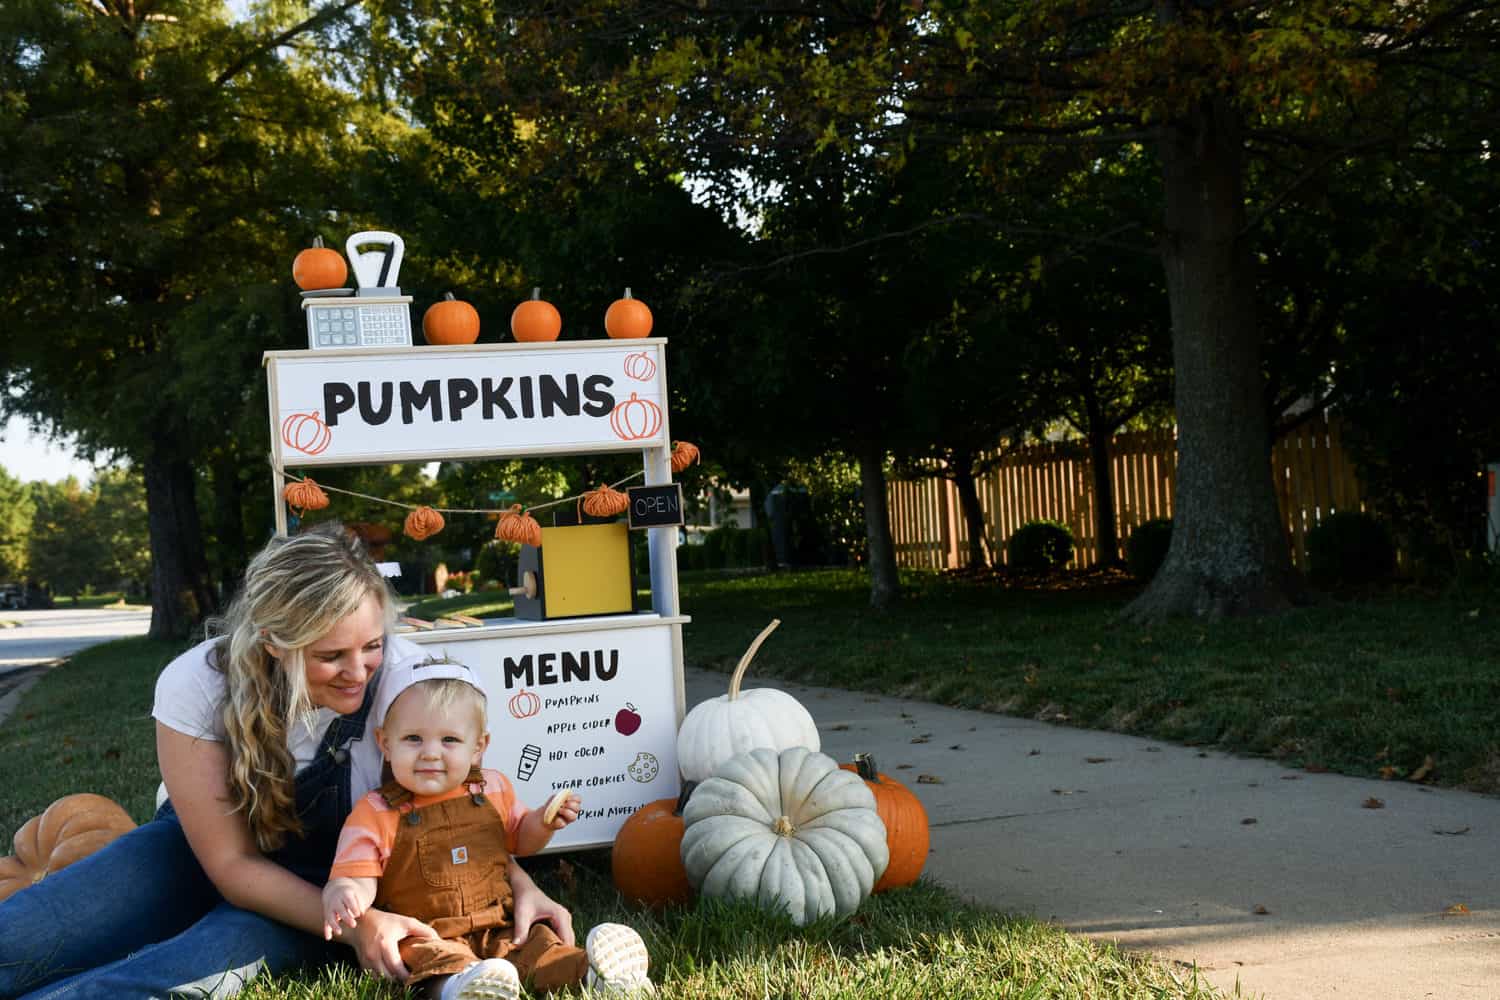
Cooler weather (at least in the Midwest) means more and more time playing outside. We love being outside and I decided to create a pretend play DIY pumpkin stand for my son to enjoy.
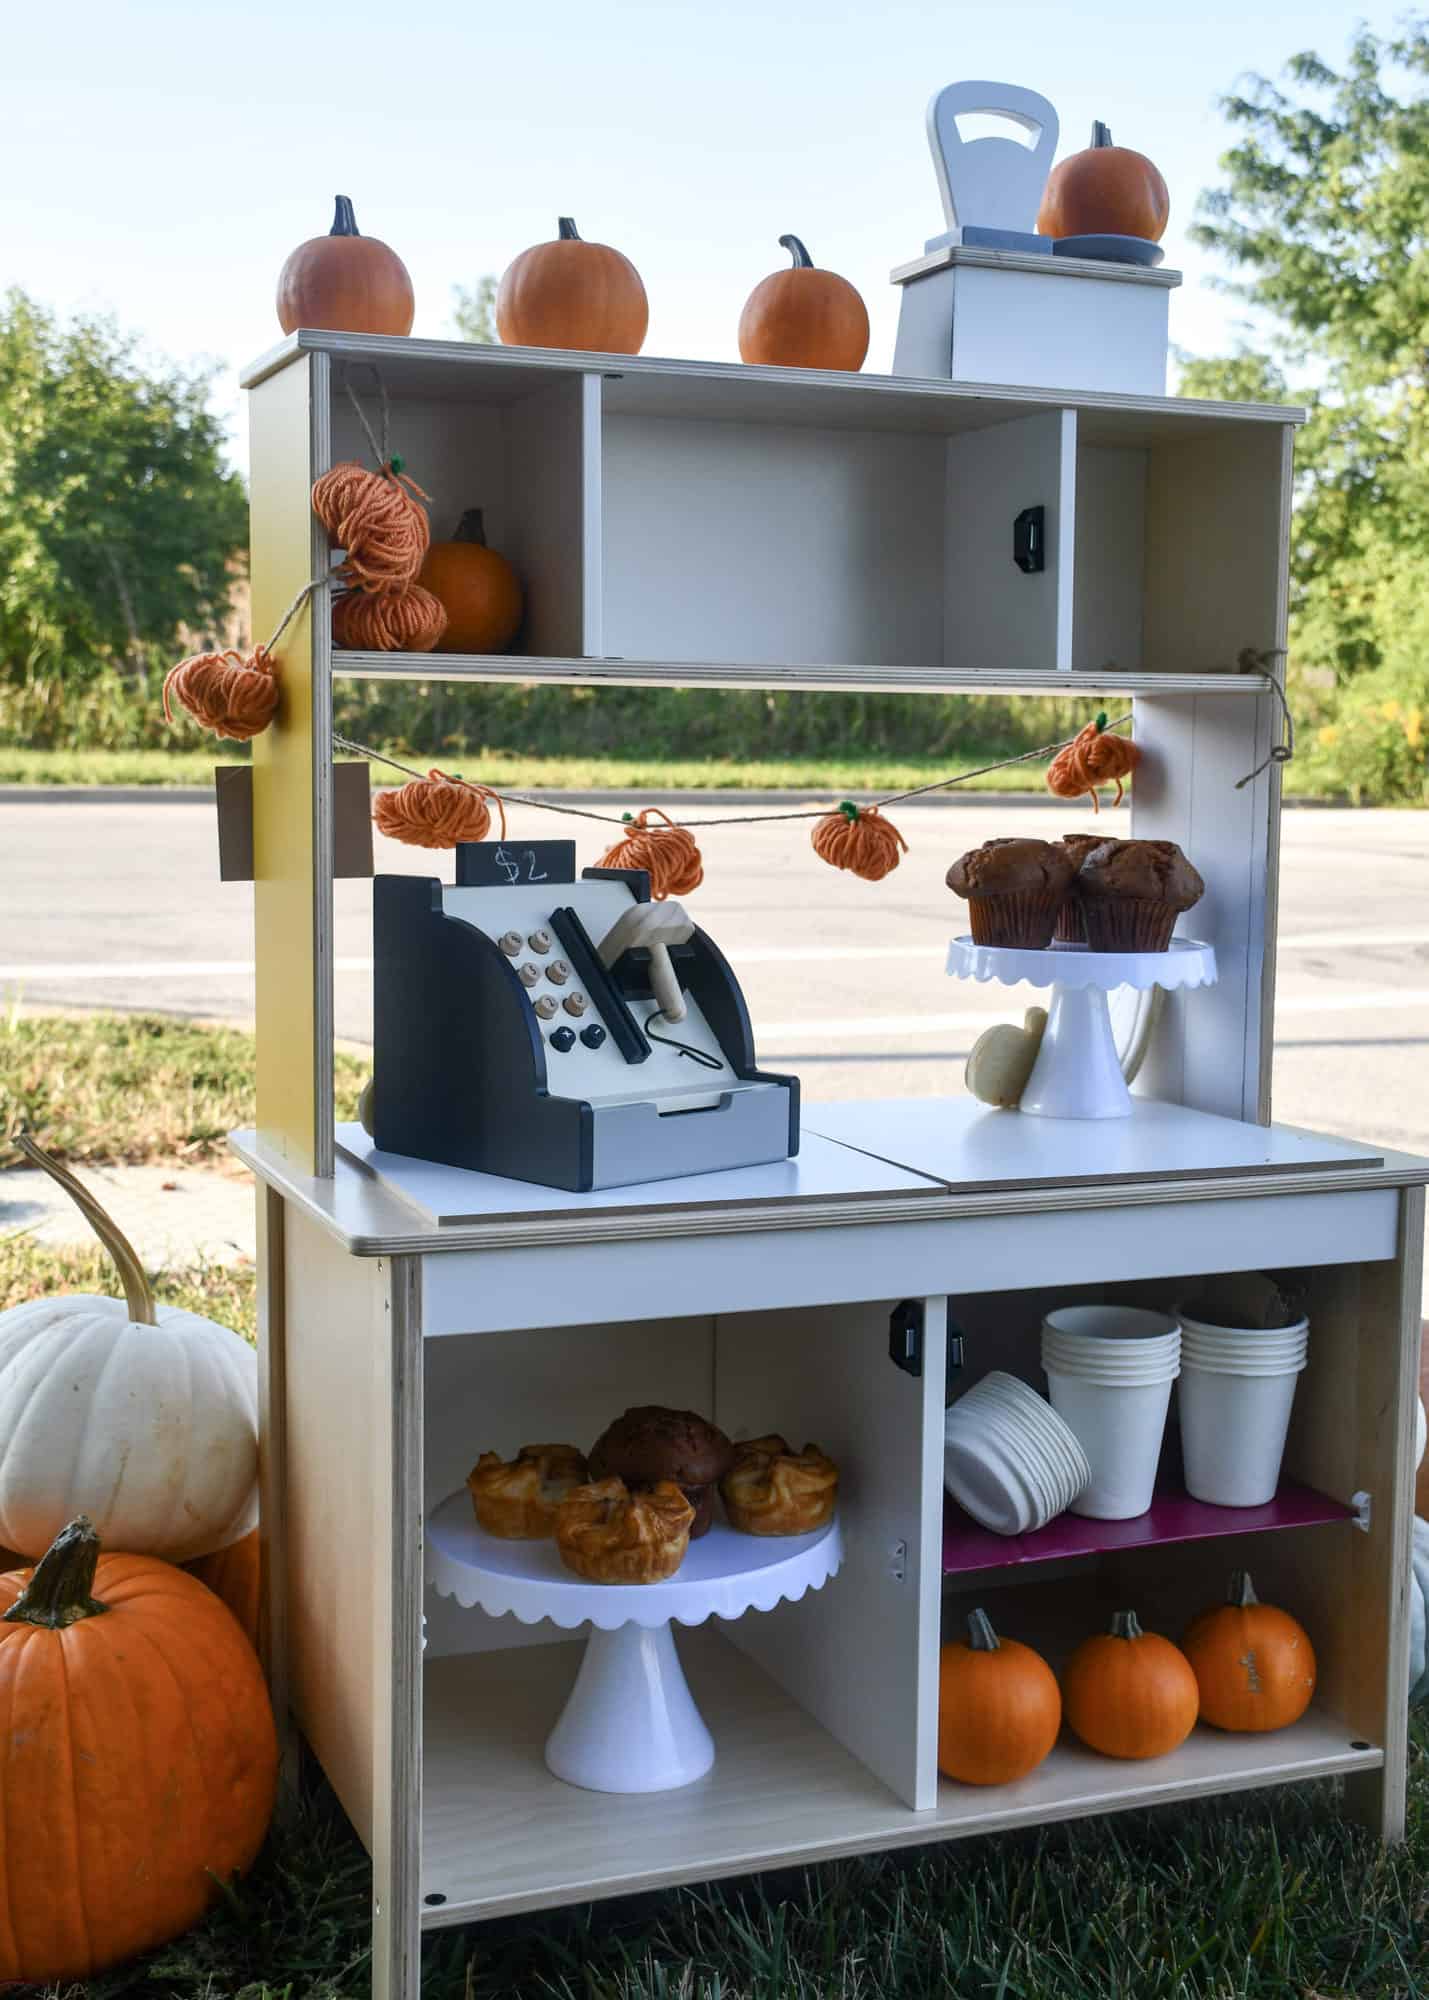
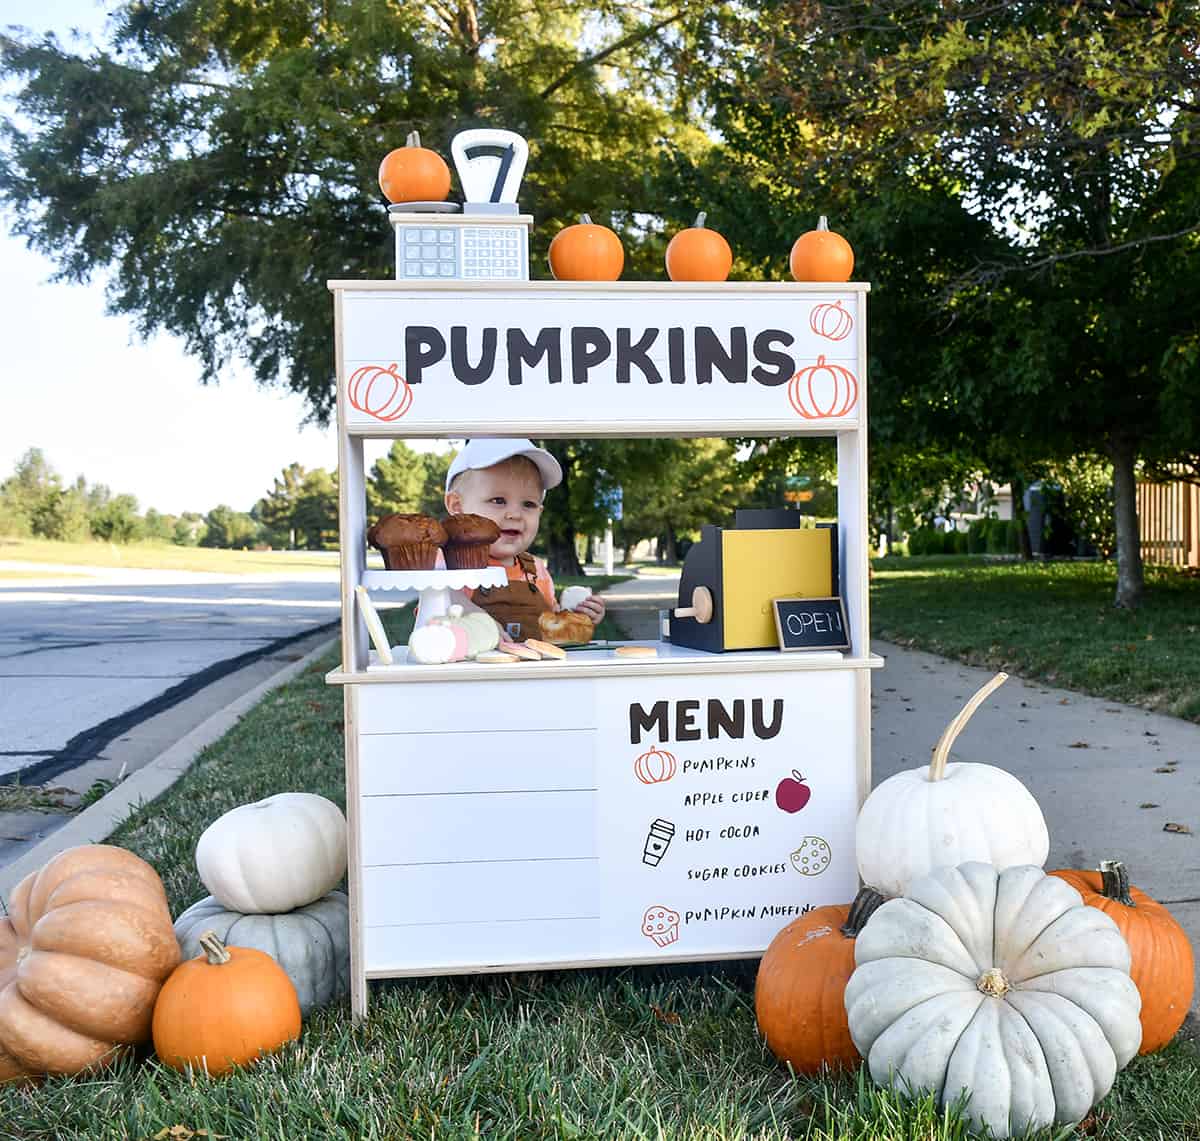
We love a good IKEA hack here at ABM, so when I realized the IKEA DUKTIG kitchen would be a perfect starting point for the stand, I just had to bring it to life! Probably my favorite thing about the project is that I made it 100% removable, so it’s very customizable.
Someday, this could live on as a lemonade stand, a hot cocoa stand, a pizza or cookie stand, or converted back into a kitchen! It could be a fun addition to mini family photoshoots too.
We didn’t sell any real pumpkins, but I think someday he’ll have a little business running out of this play kitchen hack!
I’m looking forward to lots of hours and weekends playing pretend and enjoying this toy. If you don’t have an IKEA near you, check Marketplace! Or you could modify another play kitchen.
Now that he’s a toddler, I feel like he’s learning new skills everyday, and it’s so much fun to watch him grow and explore. Other fun IKEA Duktig hacks to check out are this boho kitchen and one with a mid-century twist!
Looking for no-carve pumpkin ideas? Check out 30 No-Carve Pumpkin Decorating Ideas!
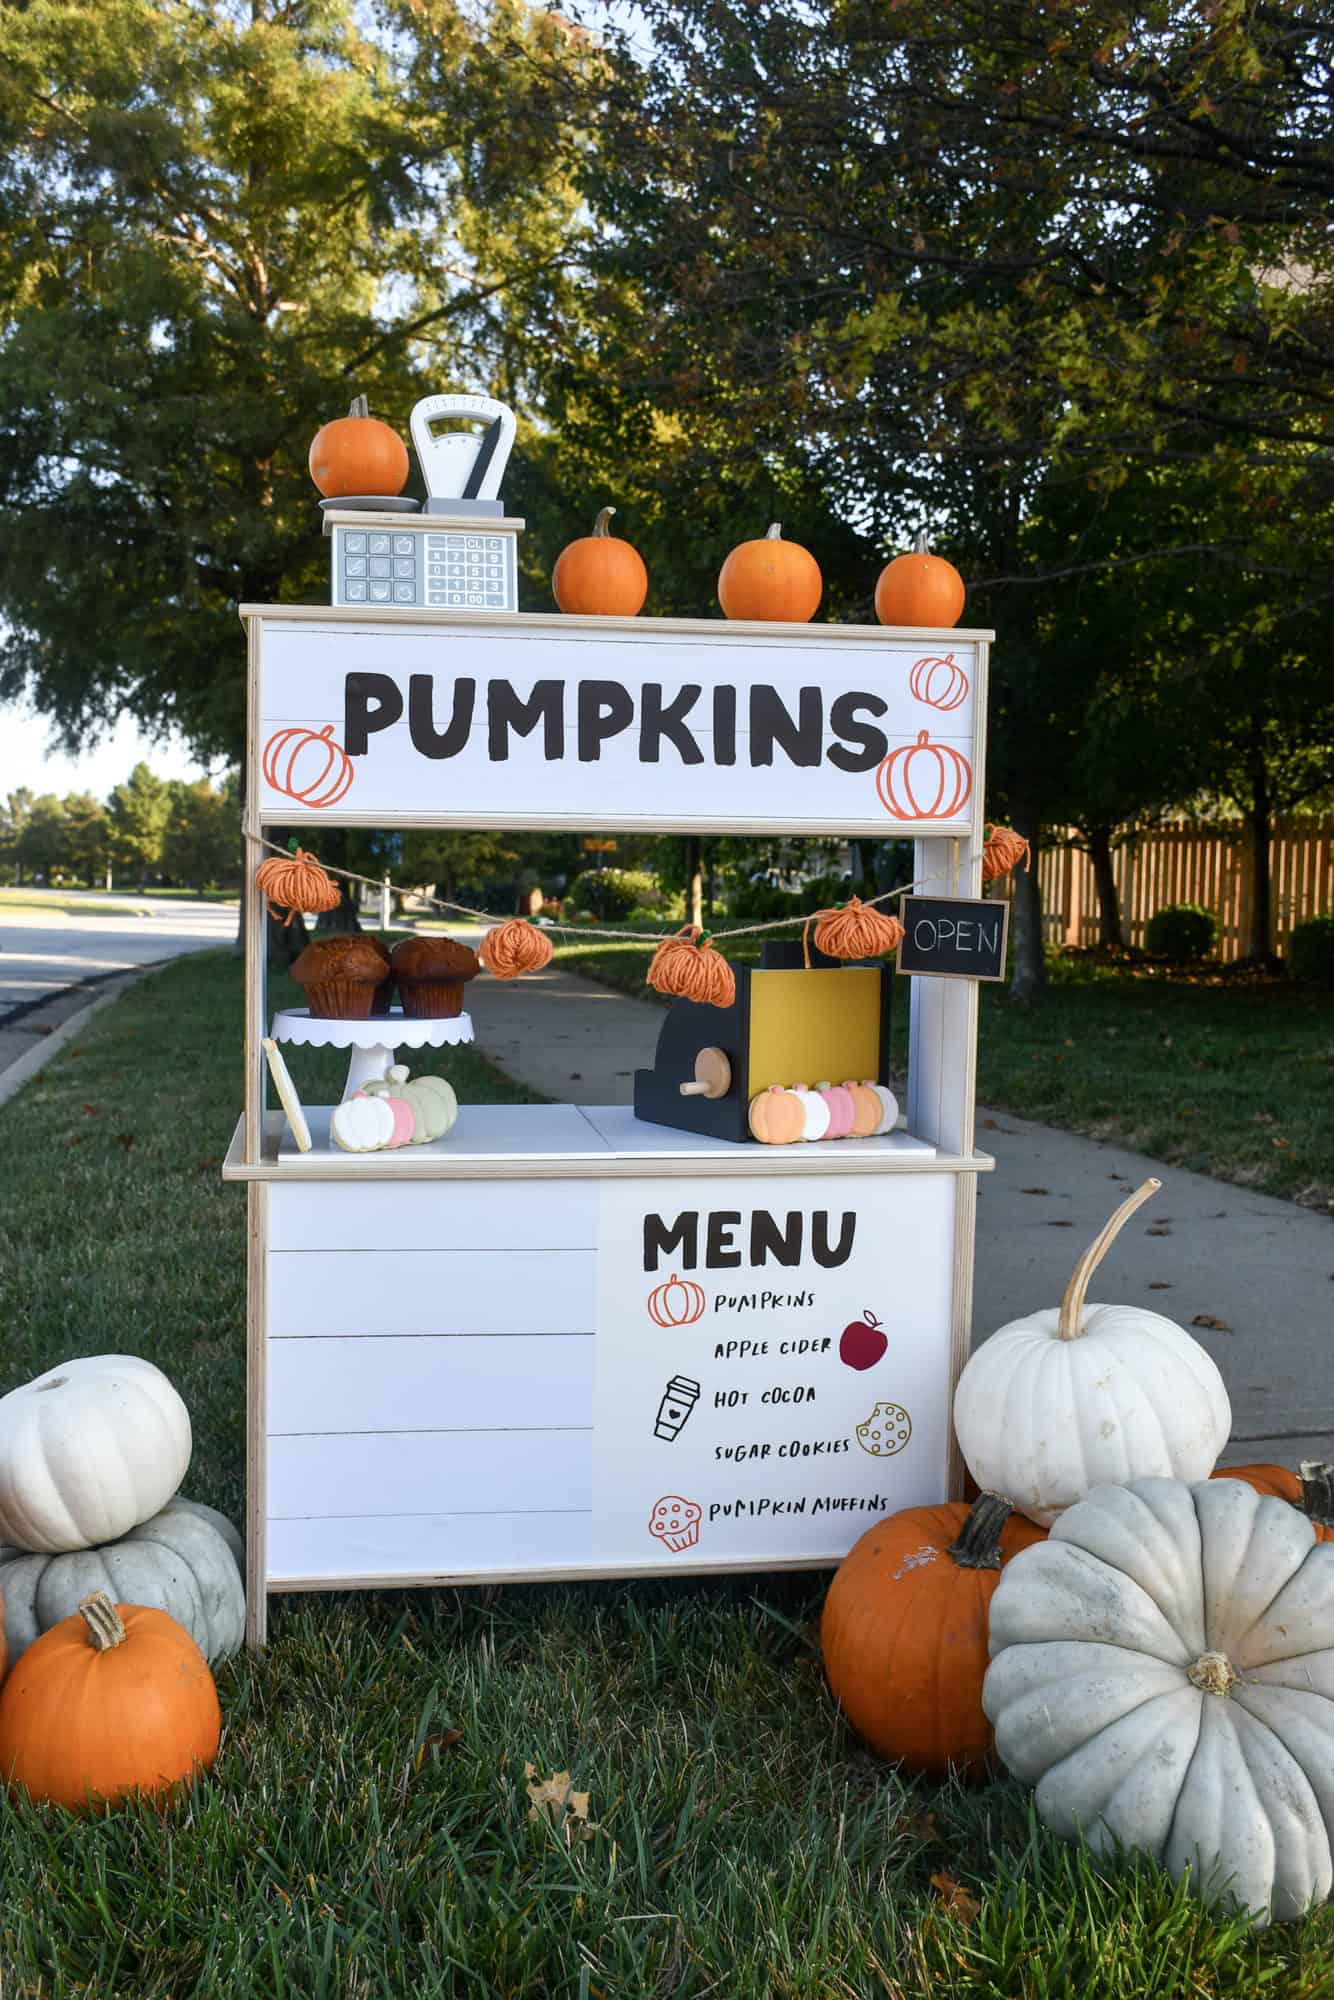
While I used my Cricut for this project, there are lots of ways to adapt it. We’re including a DIY Pumpkin Stand download for the ‘Pumpkin Stand‘ and ‘Menu‘ lettering so that you can make your own version! I used removable vinyl, but you could also print the letters and cut and tape them.
If you are using a Cricut, I’ll walk you through the steps below! I also used a shiplap removable wallpaper and I felt like it made the stand just a smidge more rustic looking.
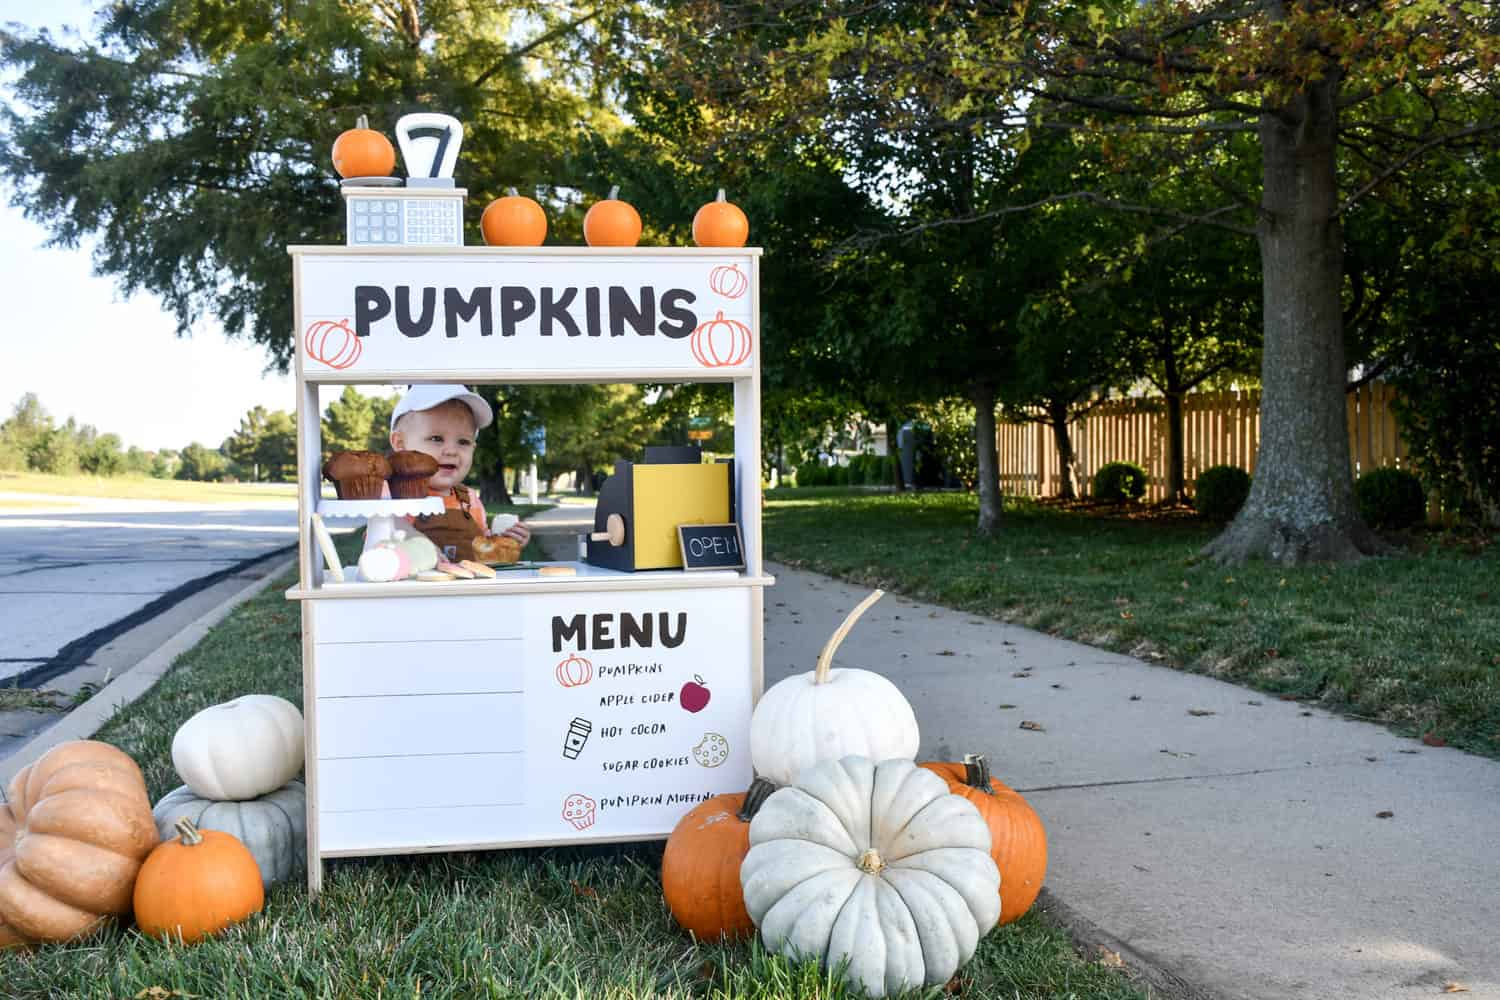
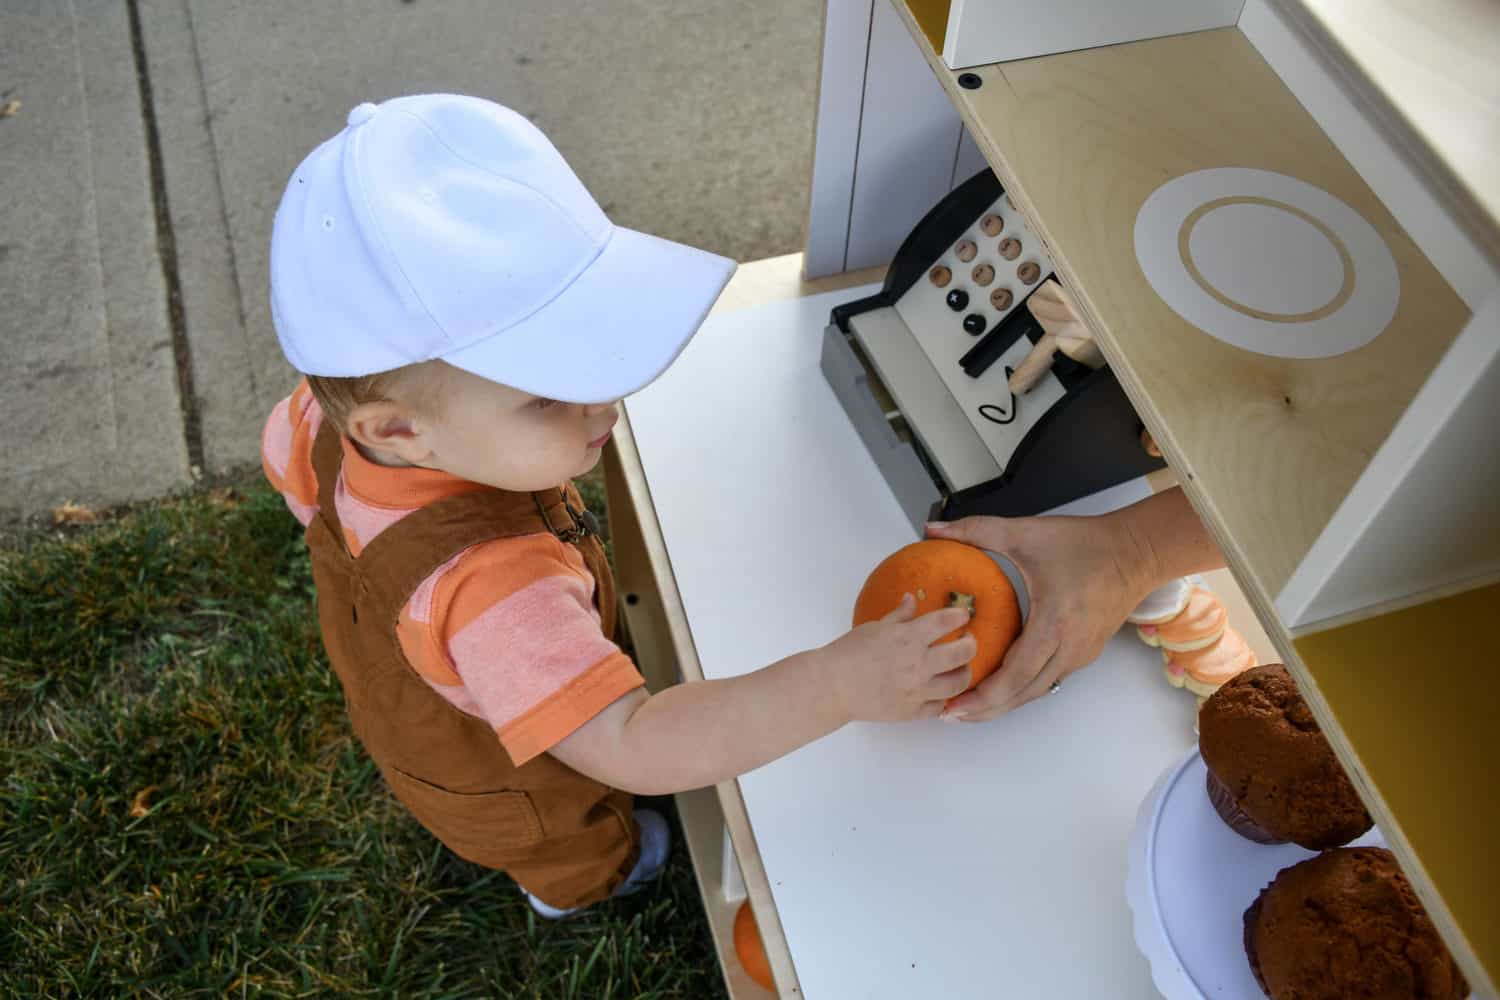
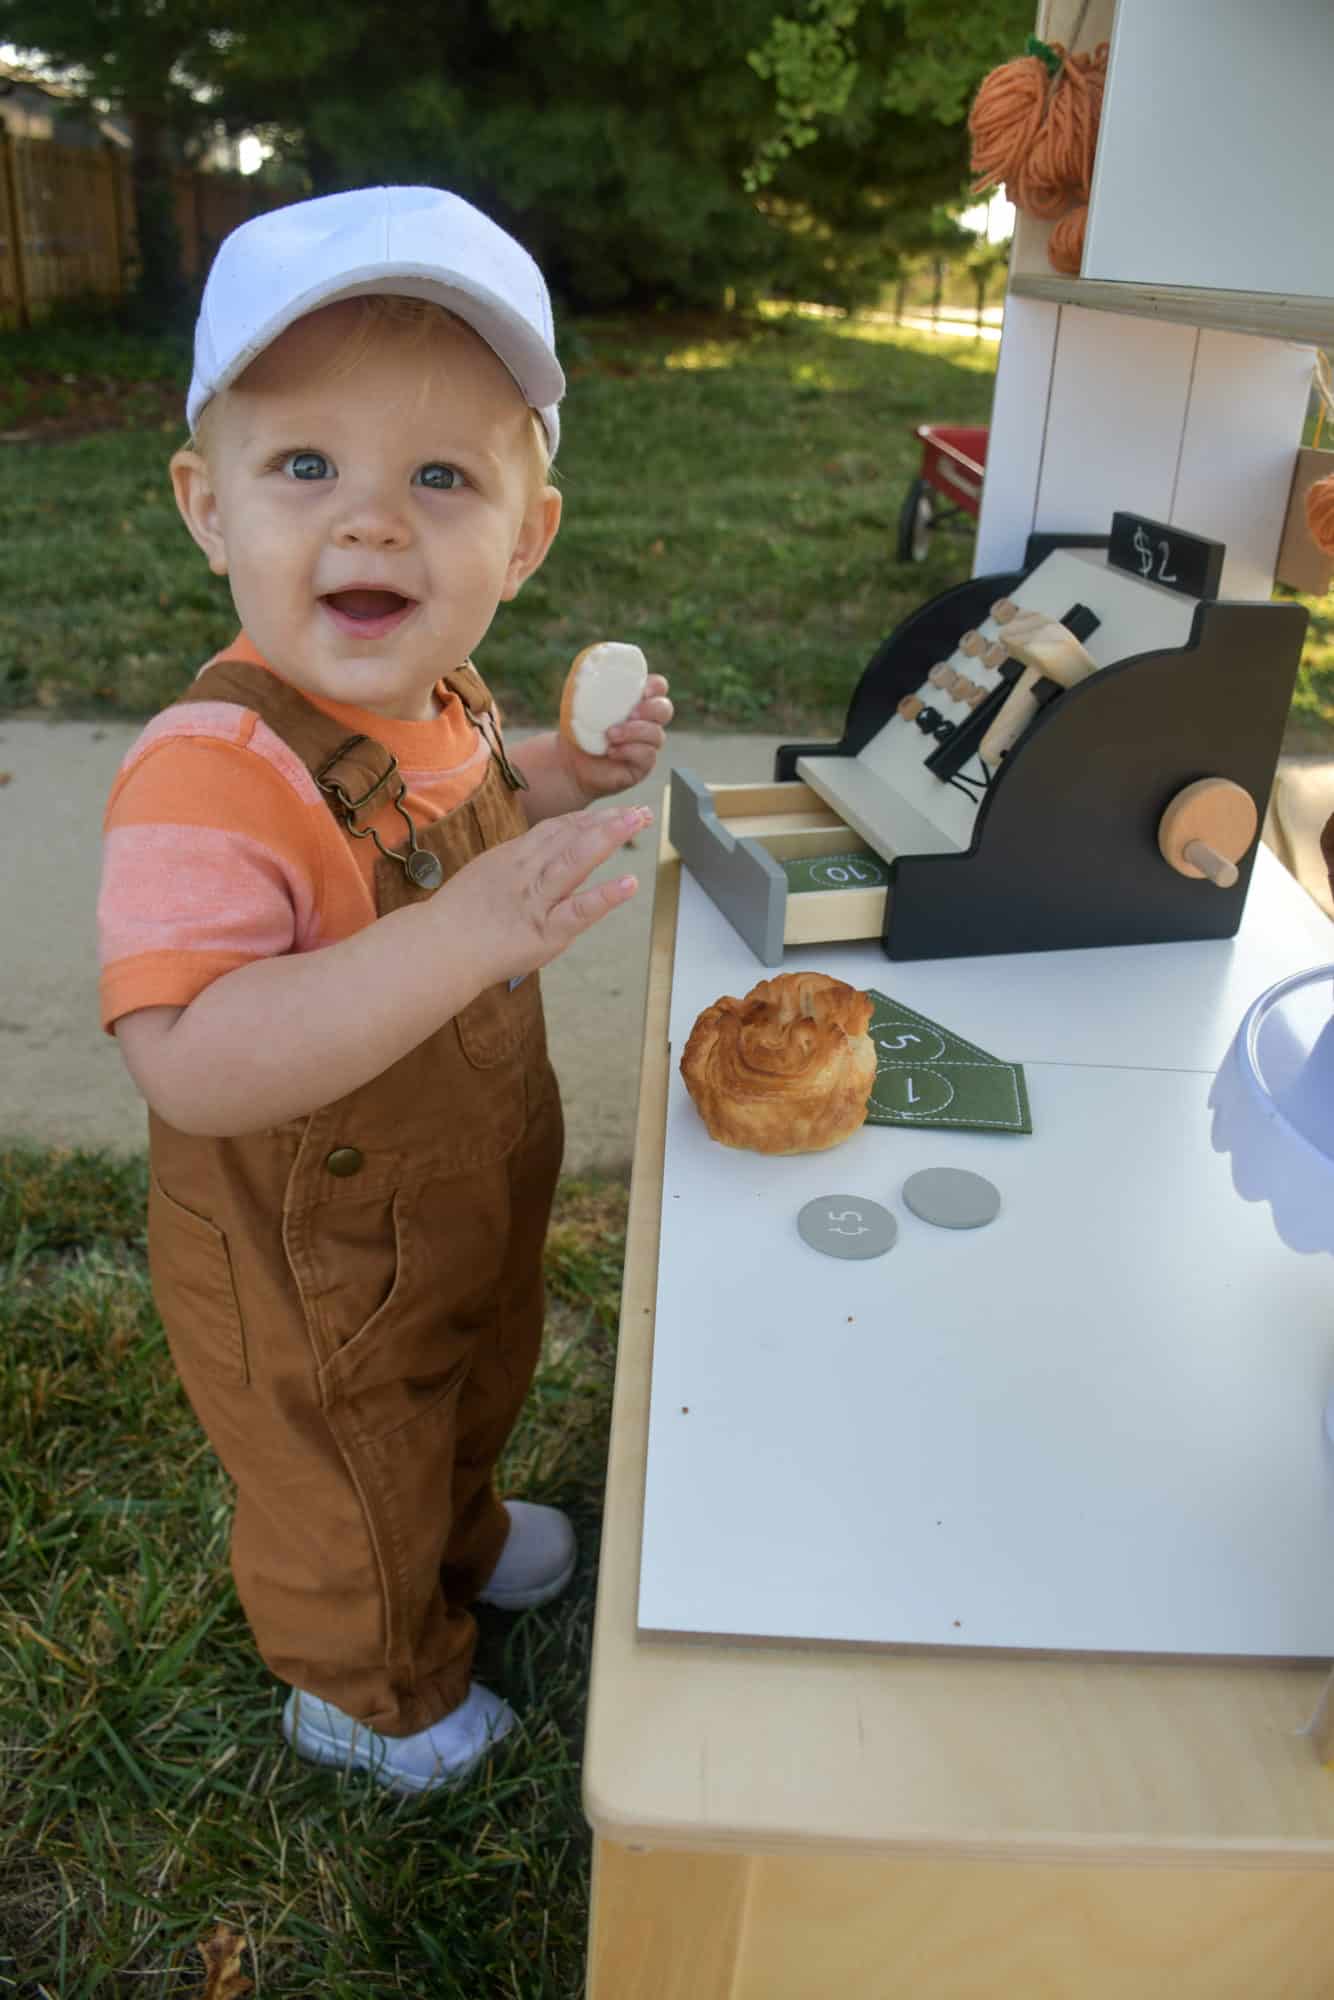
This pumpkin stand was so much fun to put together! My son was super curious and interested in everything—he even sold me a pumpkin. I quickly realized though that he was going to work through the inventory of cookies rather quickly.
Next time, we need to have them individually wrapped or on a higher shelf. 🙂 Are you ready to get started and learn how to make your own pumpkin stand?!
Tools to Use:
- Cricut (I have the Cricut Explore)
- detail knife
- scissors
- screwdriver (if your kitchen isn’t already assembled or if you’re going to take off the doors)
Supplies
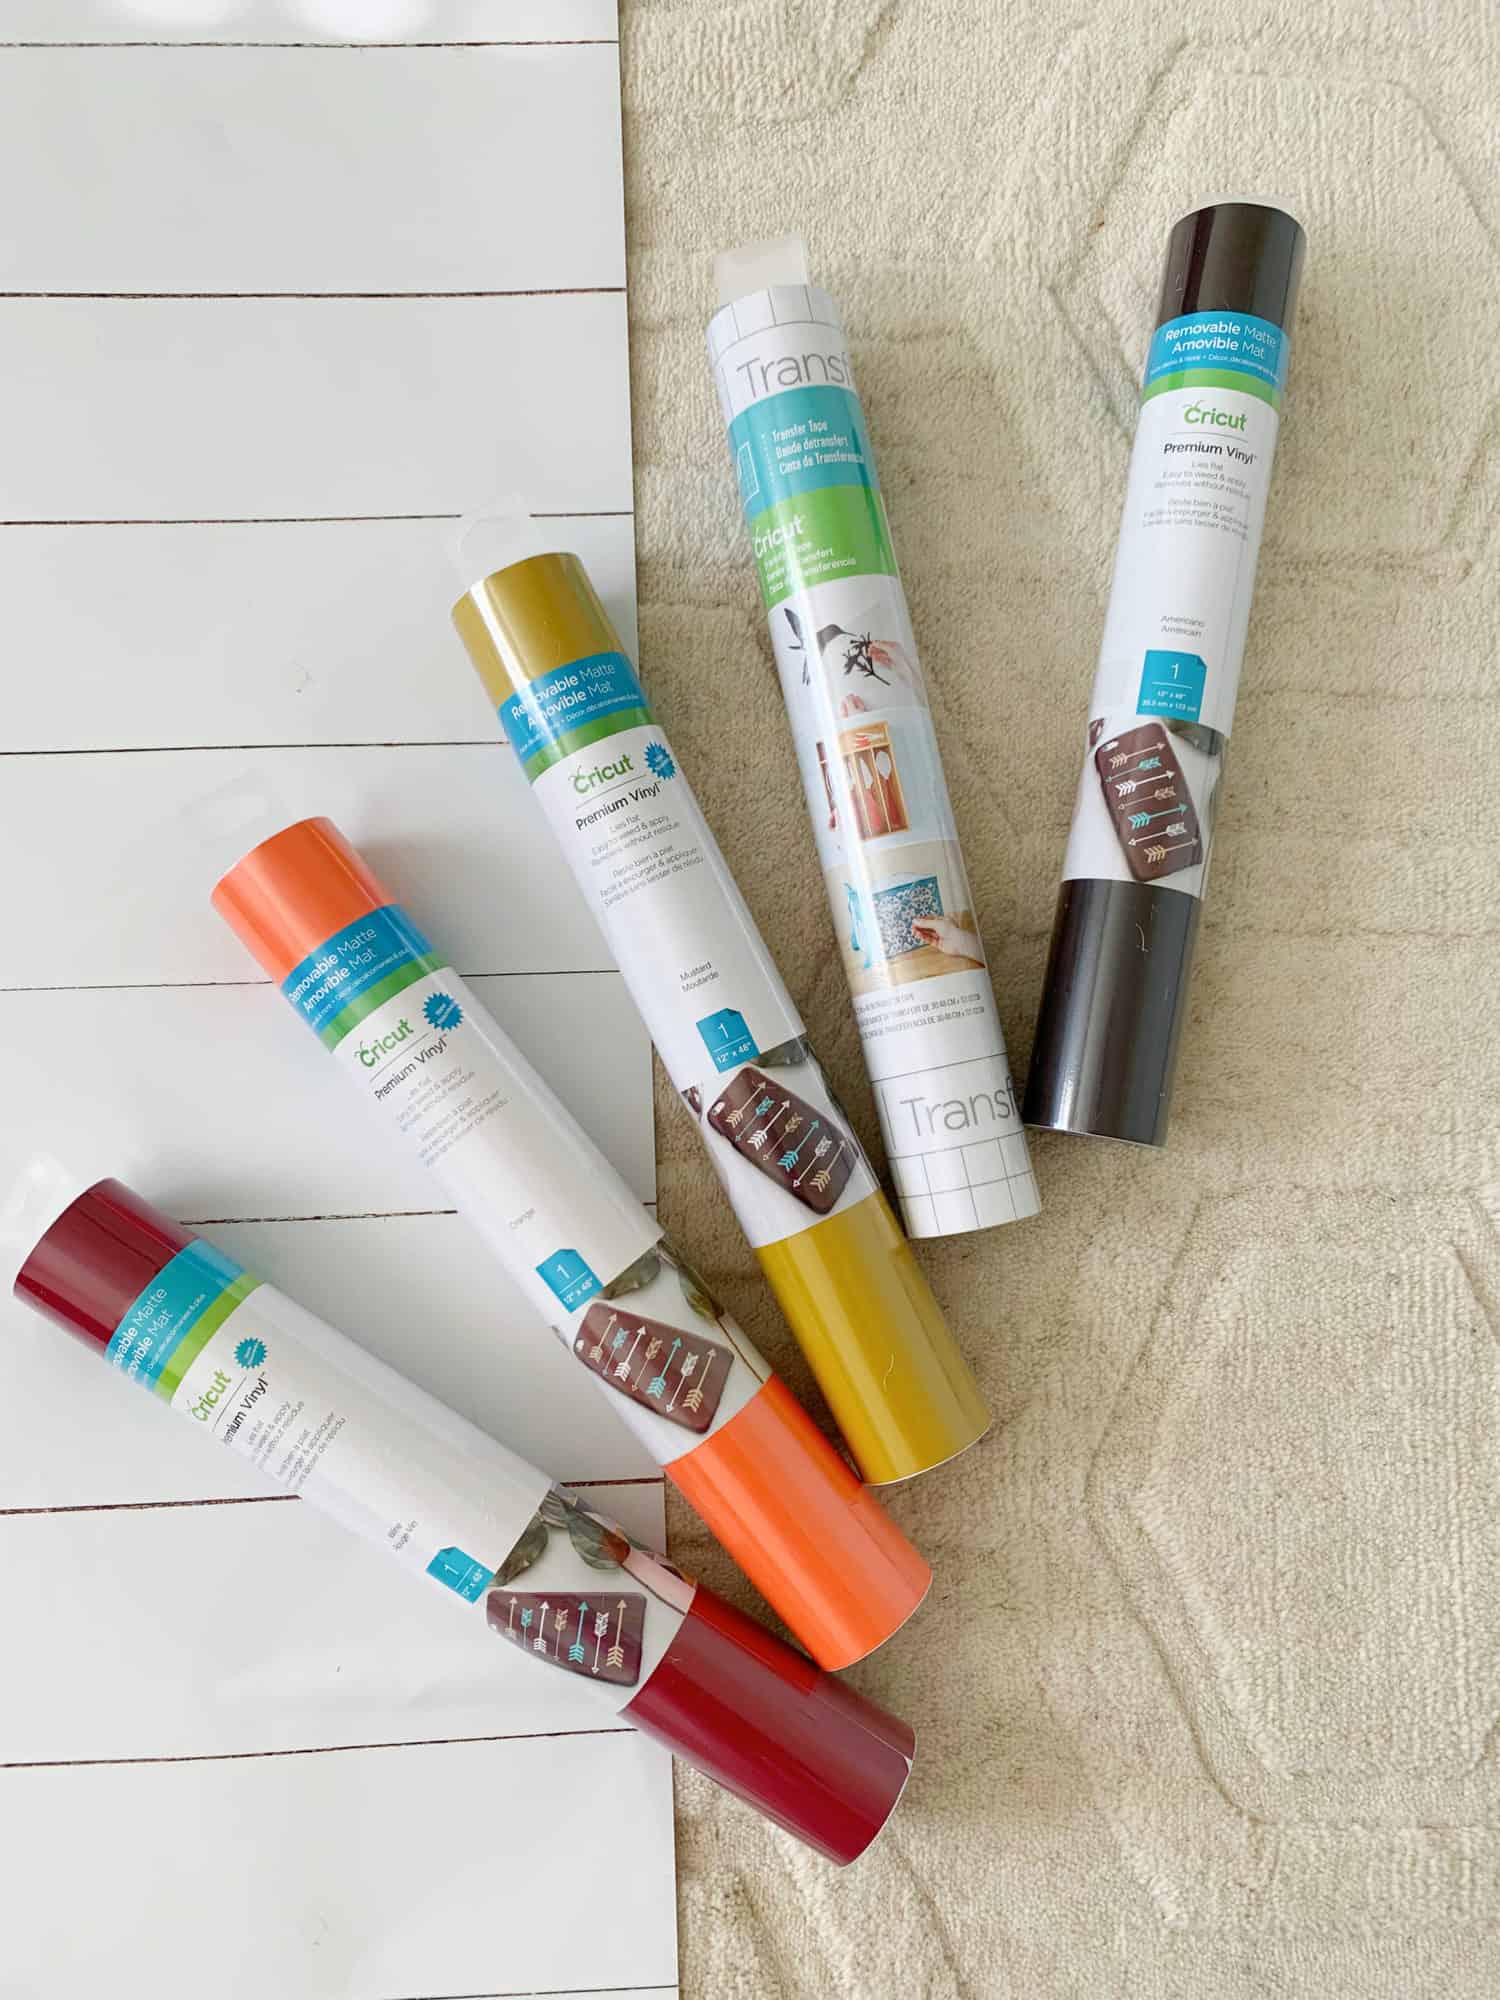
- removable vinyl or cardstock
- transfer tape (if using vinyl)
- removable wallpaper (I used this fun design from Spoonflower!)
- design file – Pumpkin Stand
- design file – Menu
How to Make a DIY Pumpkin Stand – IKEA Duktig Kitchen Hack
- If your DUKTIG kitchen is new, you’ll need to assemble it. If not, you can take off the doors to the microwave, storage area, and oven. This makes the back of it a bit more like a stall where you can stash supplies and inventory. 🙂
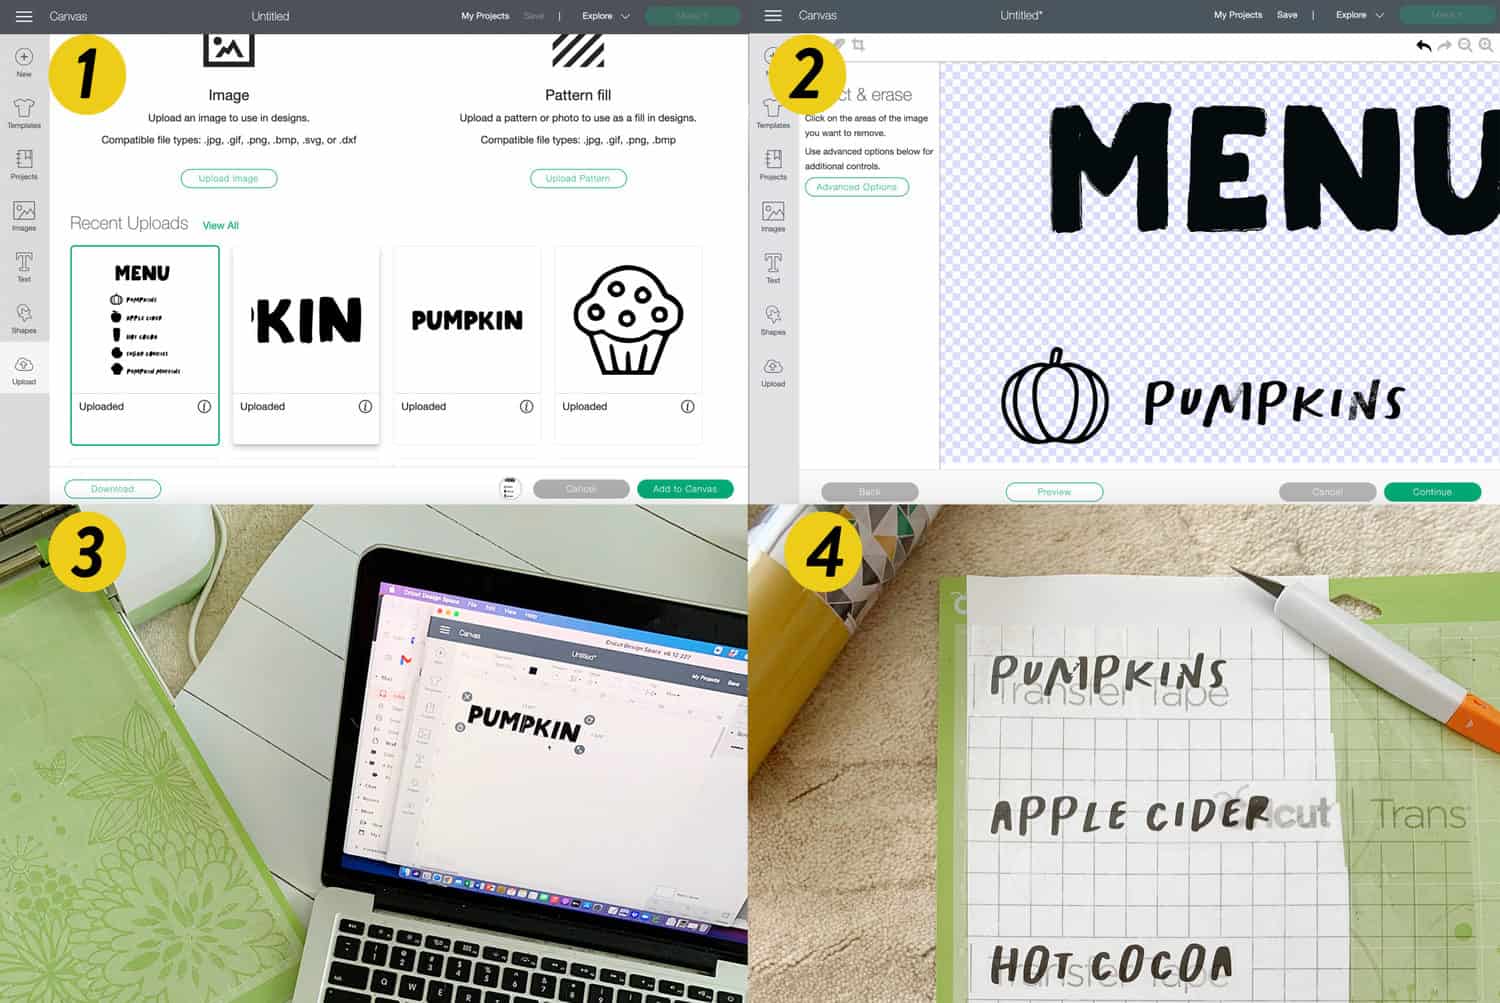
- Open Cricut Design Studio and start a new project. Upload the Menu or Pumpkin Stand design file and select “New Project.” After clicking “New Project,” go to “Upload” and add your design.
You can use a jpeg, png, or a svg. Then, select that you’re using a “simple” image. The next screen will have you select and erase the areas you want to cut around. I start by clicking the open white area and then double check in between letters to make sure I got all the blank space.
Next, select “cut image” (unless you need to print it) and insert the image into your design space. This is where you’ll double check the size. Then you’re ready to cut!
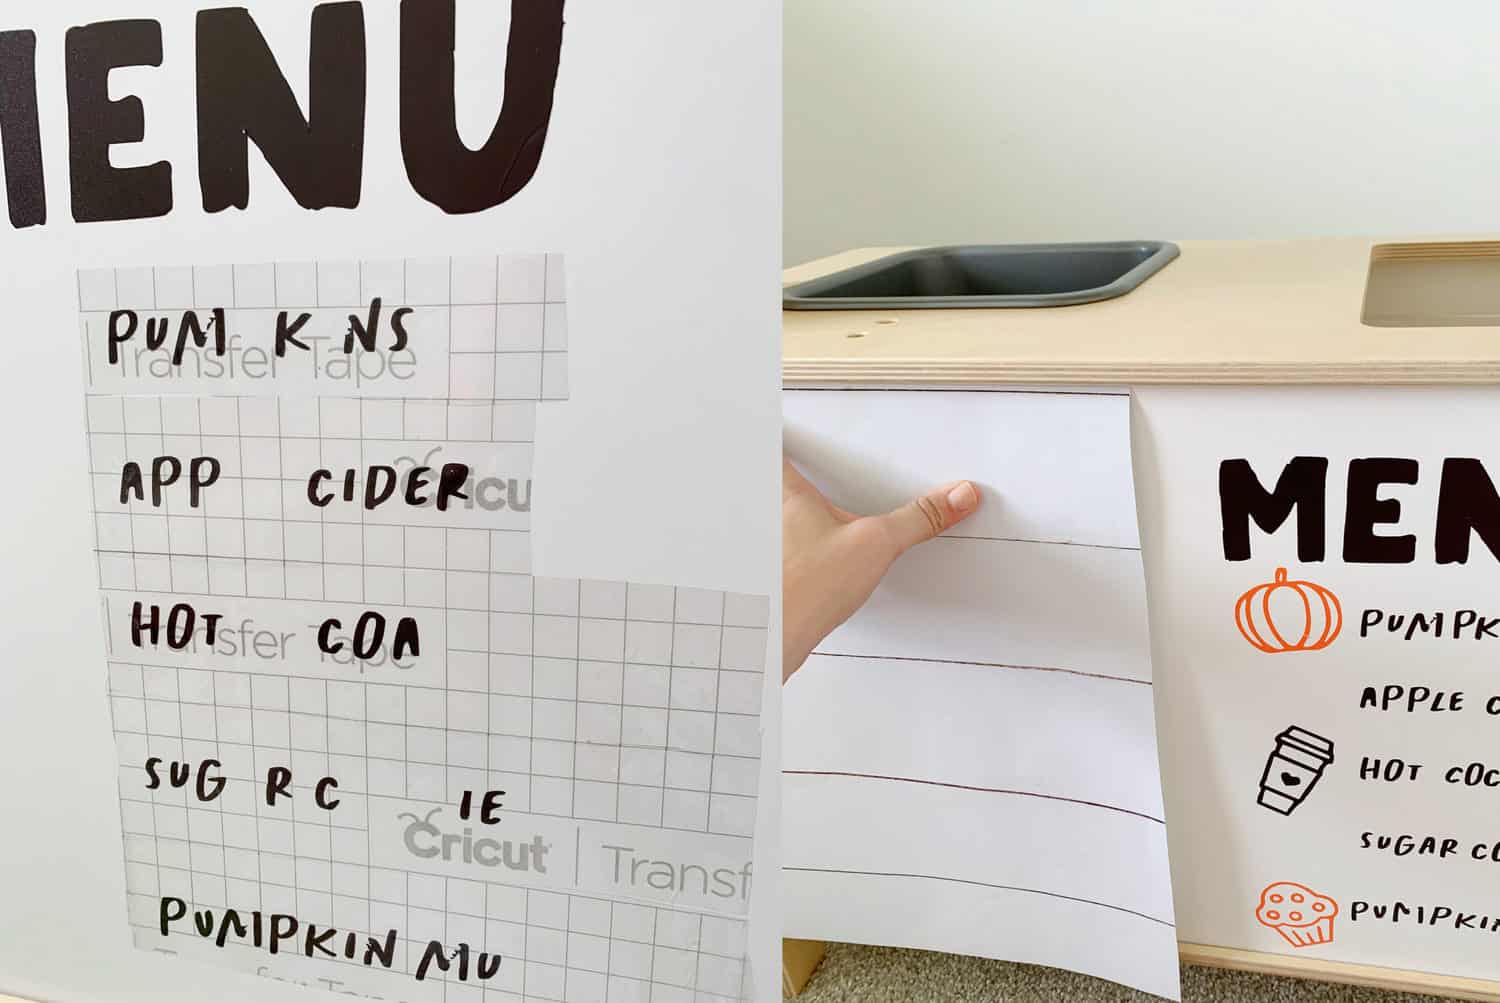
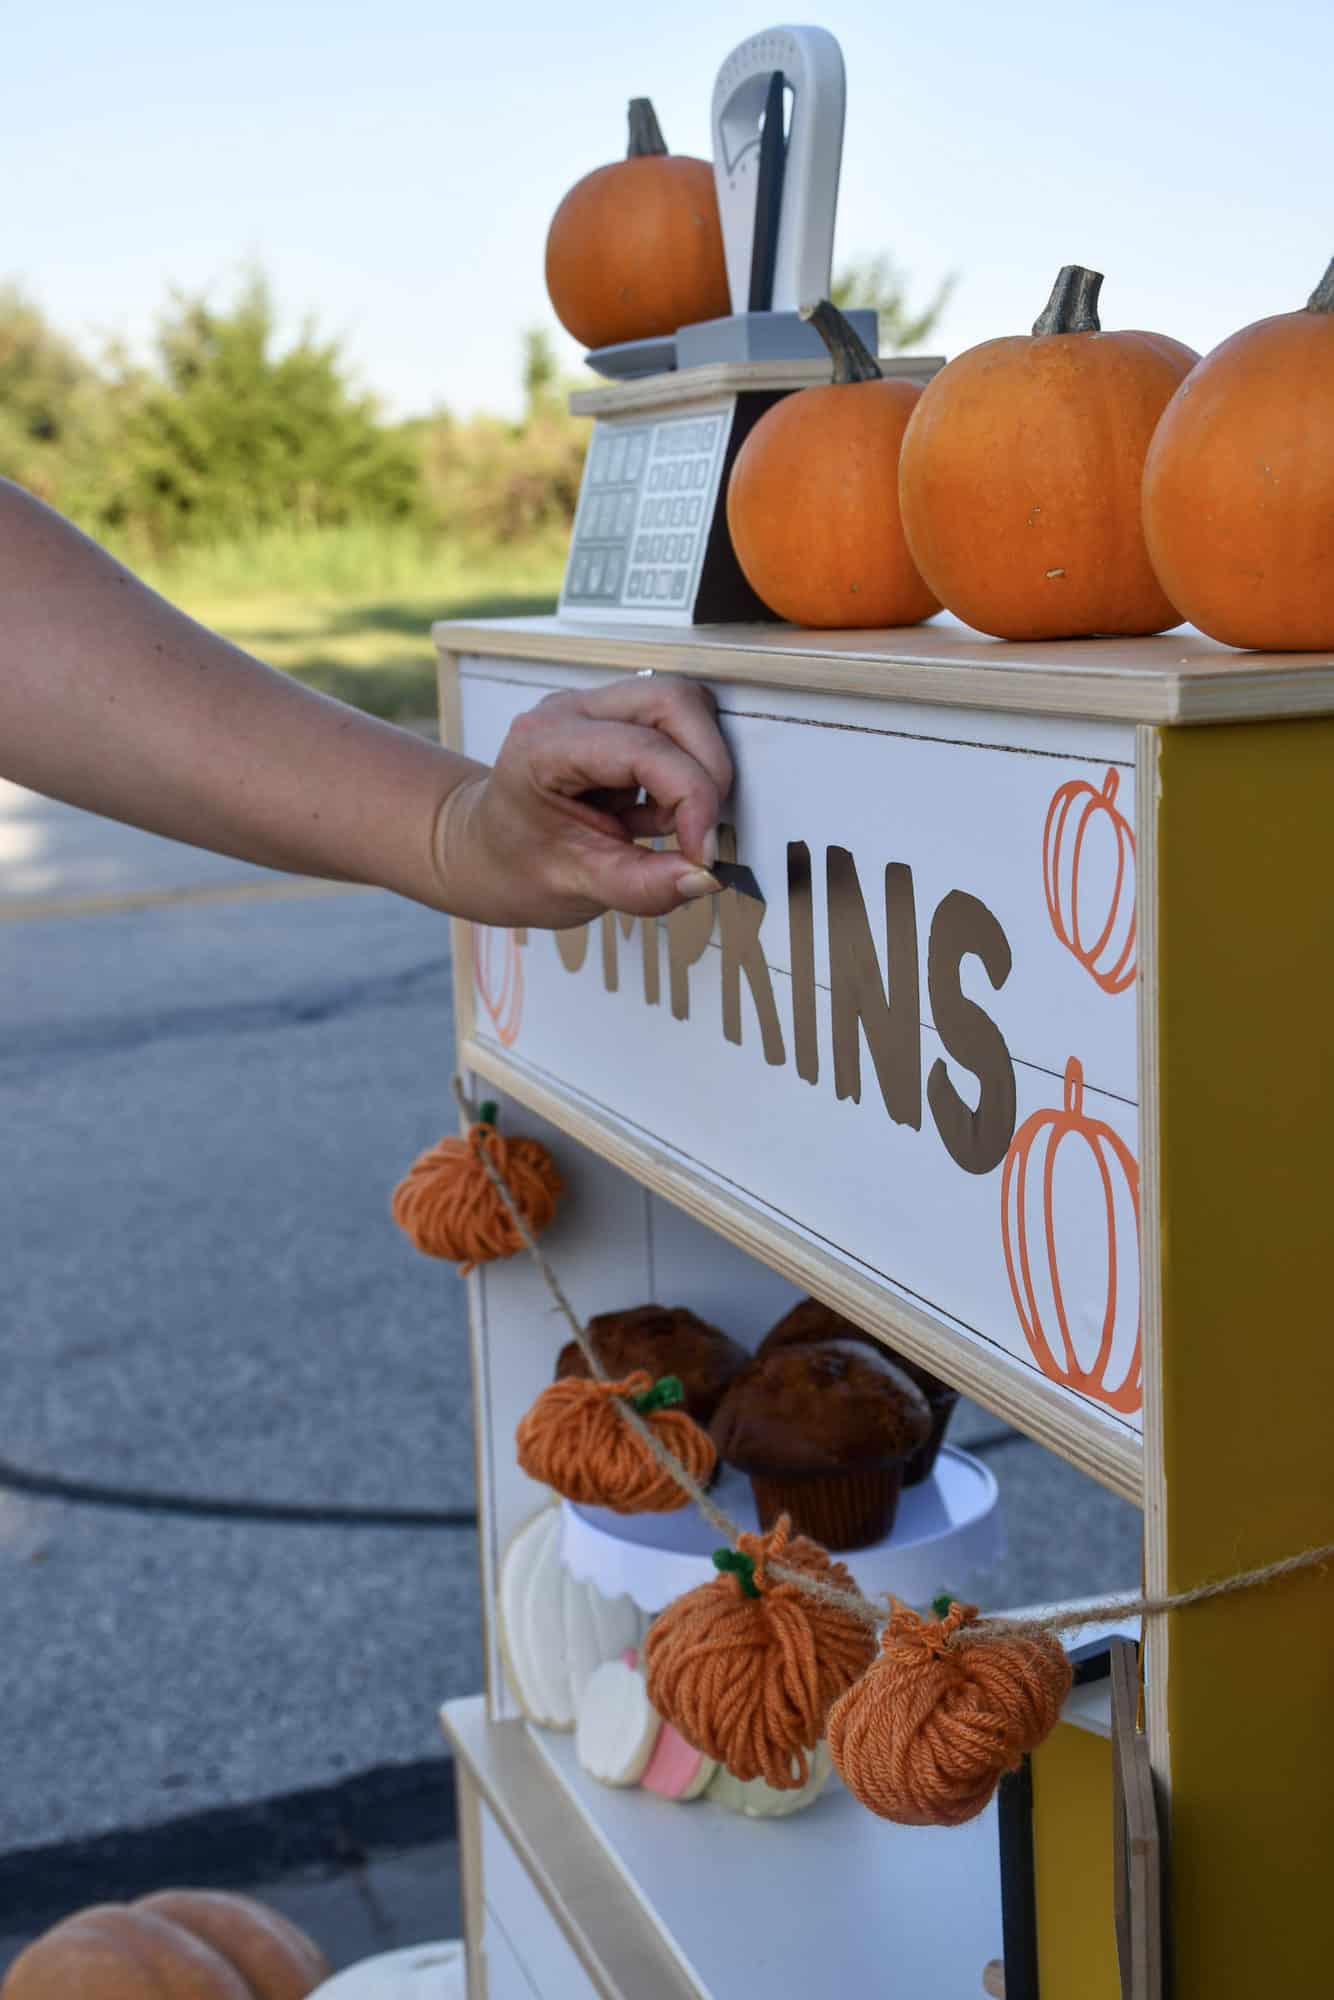
3. After you’ve cut your shapes and letters, cover them with transfer tape. Peel up the transfer tape (and the letters will come with it), helping you keep them in a straight line when applying to the stand.
4. Add your removable wallpaper. It helps to do this step after you have your “Menu” letters on so that you can line things up and make sure you have the right size of wallpaper to fit alongside and not overlap with it.
I ordered a 2×3 sample in the design I picked and cut it down for the front of the stand and the top area. I also used it on the inside sides and had about a 12×12 panel leftover once complete.
5. The next part is the best part, in my opinion! Collect a bunch of pumpkins from a pumpkin patch or local store (I go to Sprouts, and think they have some of the best pumpkins around!).
Tips for Making a DIY Pumpkin Stand
- If you’re going to use vinyl for this project, I recommend using the removable kind and getting the transfer tape. This will help you be able to move letters around and change the theme of the stand easily.
- Your standard Cricut cutting mat is 12×12, so for the DUKTIG kitchen, you’ll want to make sure you’re cutting the letters fairly small. Mine ended up around 2″ for the MENU letters, and 3″ x 3″ for the larger PUMPKIN letters.
- You can use the Cricut tool to take off the vinyl once it’s transferred or you can use scissors. You can see in the above photo I took most of the letters off and then filled in the gaps by peeling off individual letters.
- To make the “counter,” I used the shelves that come with the DUKTIG kitchen. They’re precut and exactly the right size. I used command strips to adhere them to the place where the sink and stovetop typically sit.
- The panel of wallpaper I ordered was a 2×3 panel. There was enough to use on the front and top of the stand. I cut the areas out I knew I needed, and then ended up having enough leftover to add to the inside of the stand.
Frequently Asked Questions
Frequently Asked Questions
Do you have to use a Cricut?
No! You could also cut out the design on cardstock and tape it to the pumpkin stand.
How big is the IKEA DUKTIG play kitchen?
The play kitchen is 28 3/8 x15 3/4 x 42 7/8.
How much removable wallpaper did you use?
I ordered a 2×3 sample and used all of it except a 12×12 square.
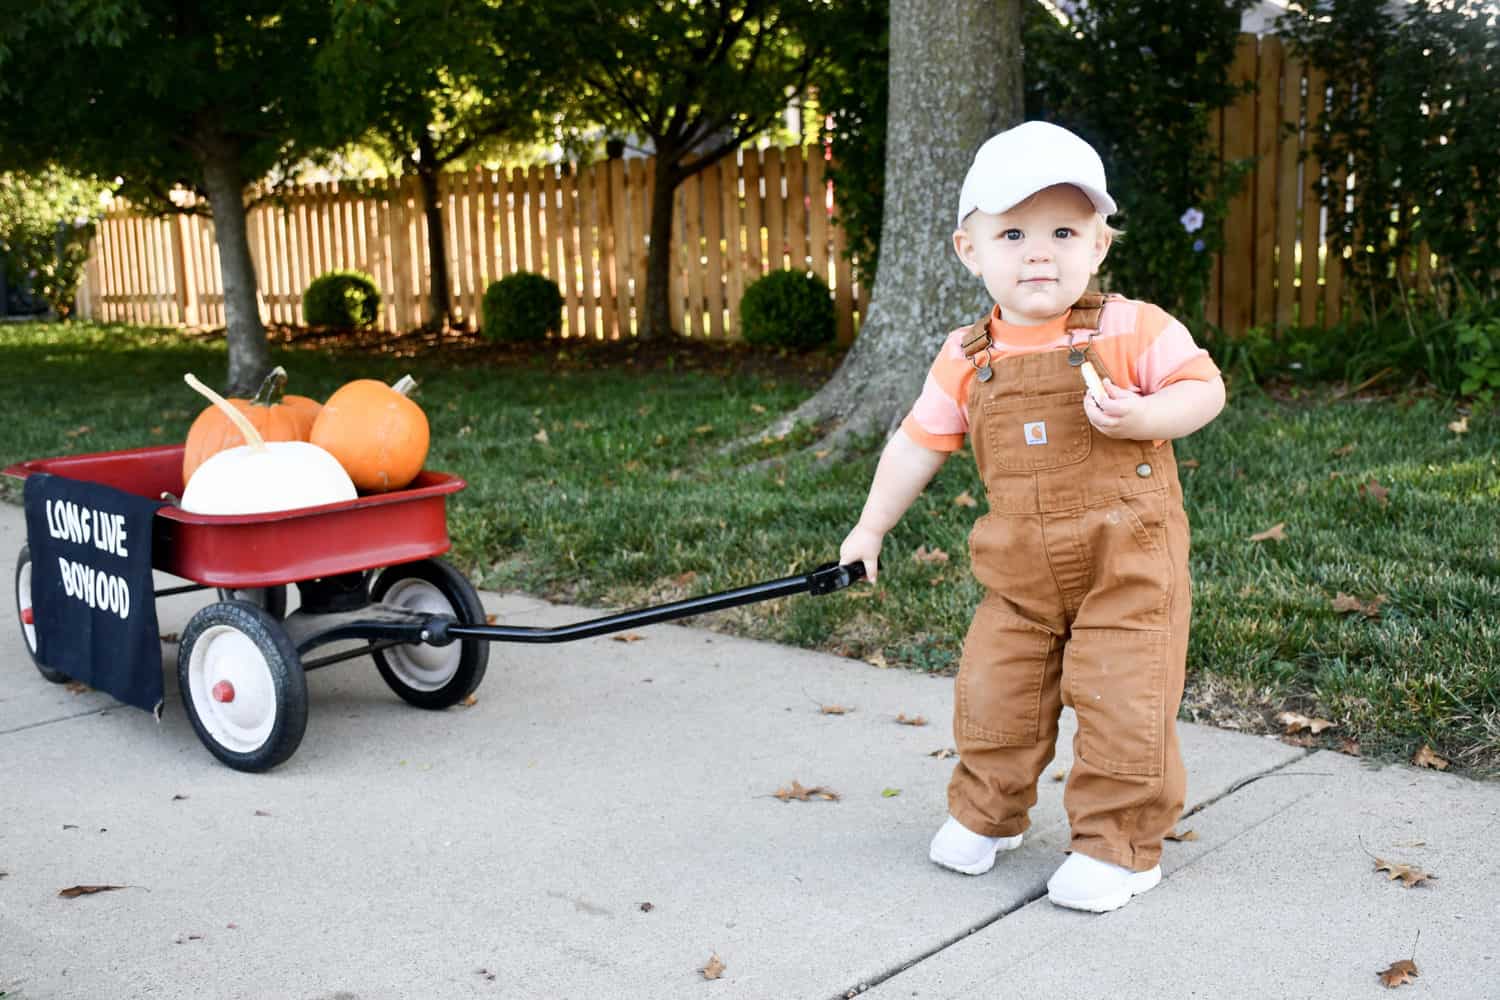
Did I mention (for the small fee of one cookie) we’ll deliver? 🙂 Thanks for letting me share how we turned our IKEA play kitchen into a DIY pumpkin stand!
If you have any questions, please let me know in the comments! And you can see more of this project and others following along on the ABM Instagram.
More Easy DIY Projects and IKEA Hacks:
- Built-In Billy Bookcase (seriously, this is so amazing!!)
- Campaign Hardware Dresser (an easy and budget-friendly way to update a dresser)
- Toddler Learning Tower
Sources:
Play Kitchen / Wallpaper / Pumpkin Garland / Wooden Scale / Cash Register Set / Chalkboard Sign / Carhartt Overalls / Baseball Cap
Love this post? Sign up for our newsletter for more ideas!

Get creative ideas for recipes, crafts, decor, and more in your inbox!
 Get the How-To
Supplies
- 1 piece removable wallpaper (I used a sample sheet in a 2×3 size, cut to fit as desired. )
- roll mustard premium removable vinyl (The sheet comes in 12×48 rolls—I used mustard on the sides of the stand and for details and used about a full roll. )
- 1 roll wine premium removable vinyl (I used very little, could use scraps from another color)
- 1 roll espresso premium removable vinyl (I used about one roll, measuring 12×48. Will have leftover. )
- 1 roll orange premium removable vinyl (I not use full roll—a full roll measures 12×48. You will have leftover vinyl. )
Equipment
- Pair of scissors
- Screwdriver
- Detail Knife
Instructions
- If your kitchen is new, you'll need to assemble it. If not, you can take off the doors to the microwave, storage area, and oven.
- Open Cricut Design Studio and start a new project. Upload the Menu or Pumpkin Stand design file and select "New Project." After clicking "New Project," go to "Upload" and add your design. You can use a jpeg, png, or a svg.
- Then, select that you're using a "simple" image. The next screen will have you select and erase the areas you want to cut around. I start by clicking the open white area and then double check in between letters to make sure I got all the blank space.
- Next, select "cut image" (unless you need to print it) and insert the image into your design space. This is where you'll double check the size. Then you're ready to cut!
- After you've cut your shapes and letters, cover them with transfer tape. Peel up the transfer tape and the letters will come with it, helping you keep them in a straight line when applying to the stand.
- Add your removable wallpaper; it helps to do this step after you have your "Menu" letters on so that you can line things up/make sure you have the right size of wallpaper to fit alongside the Menu and not overlap with it.
Credits// Author: Claire Shaffer Photography: Anne Rinearson


Awesome! I love, love it. So Cute!
I love that you included the cut files. Also, that is an adorable child. 🙂