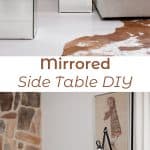
 I love the glamorous touch that mirrored tables can add to an interior! For a while, Leanne Ford had me convinced that I needed one for a coffee table. Grubby kiddo hands quickly changed my mind about that, but side tables? Mirrored side tables I can do.
Making this custom pair of mirrored side tables was a pretty quick and easy job! The hardest part was waiting on the mirrors I ordered from a local glass company.
The cost of high-quality custom mirrors for two pairs of tables ended up being pleasantly affordable without a beveled edge (about $70 per table), but when I decided to do a beveled edge, it raised the price by almost double.
So keep that in mind when choosing the mirrors for your table! If you have any old mirrors around your house from renovation projects or whatnot, you can bring those into a local glass company to have them cut into the sizes you need for your tables.
Related: Check out our home decor archives for more ideas!

-One sheet of 1/2″ plywood* (I used about 2/3 of the sheet)
-Mirror pieces (two 14″ x 14″ pieces and eight 14″ x 18″ pieces)
–Wood glue
-Four clamps (long enough to span 14″)
-Power drill with countersink bit
-Four dozen 1″ #6 screws
-Construction adhesive
-Hammer
–Furniture glides
*Plywood Finish Sizes:
I had my plywood cut into 14″ strips at the lumberyard, and then cut them down to smaller sizes at home. You could actually have each of your cuts made for you at the lumberyard if you prefer!
Precise cuts won’t be as much of an issue since you’re covering the plywood with mirrors. The pieces you need are as followed, though I had to add an X and Y in place of actual measurements, since the thickness of plywood varies. See notes below.
-two 14″ x 14″ pieces
-four 14″ x 17.X”
-four 13.Y” x 17.X”
X= 1″ minus the actual thickness of your plywood.
Y= 1″ minus the actual thickness of your plywood, then multiplied by two.
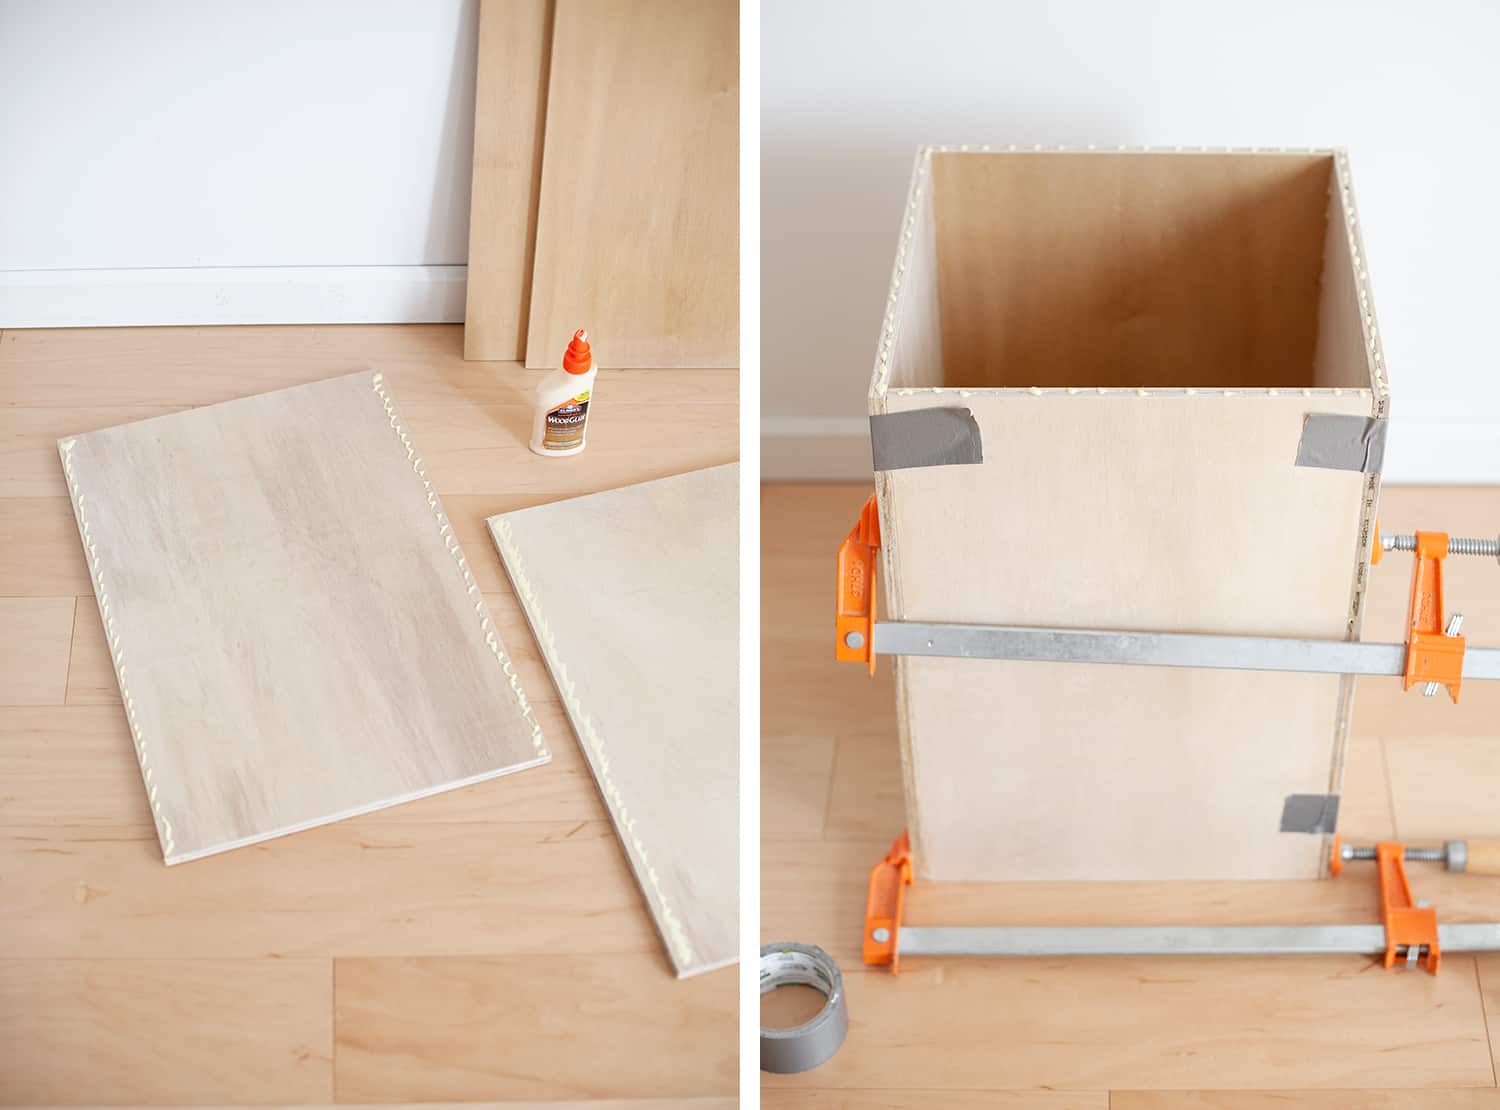
Step Two: Clamp the 14″ wide pieces of plywood to the slightly narrower plywood pieces as shown above. I use duct tape to help hold the pieces together as I’m arranging the clamps. Make sure the pieces are square and even as you tighten the clamps.
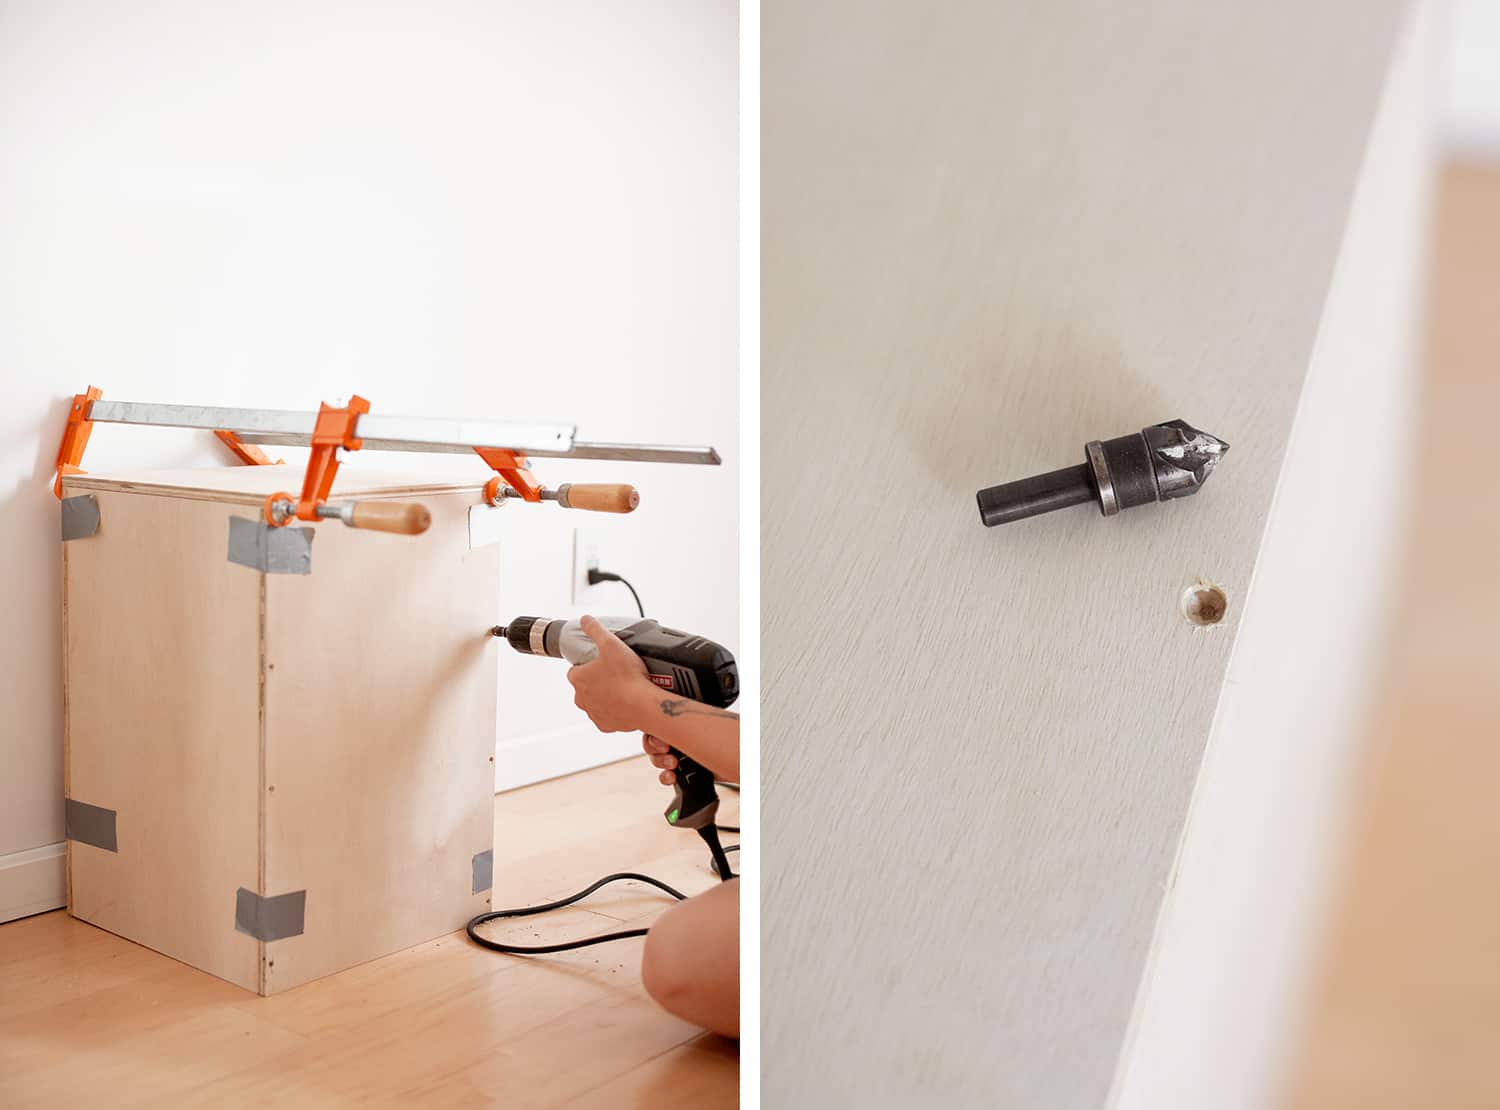
If your screws are too far from the edge, they’ll miss connecting with the plywood and that would just be a waste.
Be sure you’re using a bit slightly smaller than the #6 screws you plan to use. And before driving in the screws, make sure to use a countersink bit which will allow your screws to sit flush into the wood without sticking up.
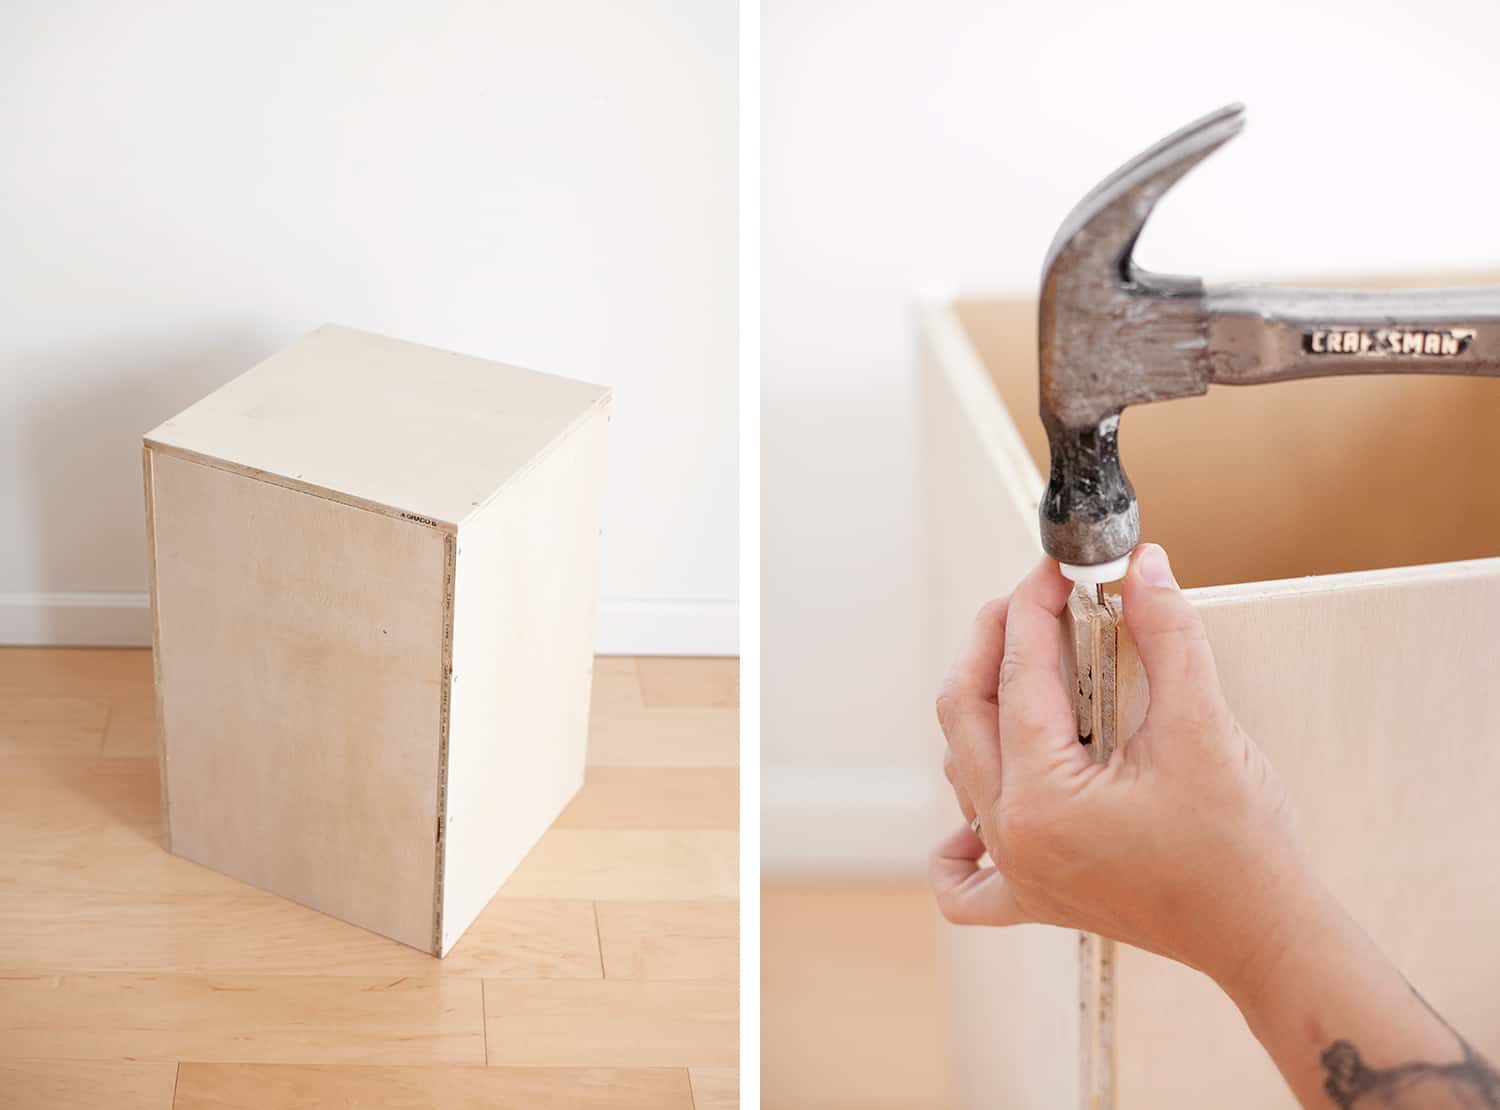

Step Six: Press the mirror down onto the plywood with firm, even pressure. Allow the glue to dry a bit before turning the table on its side and gluing each additional mirror.
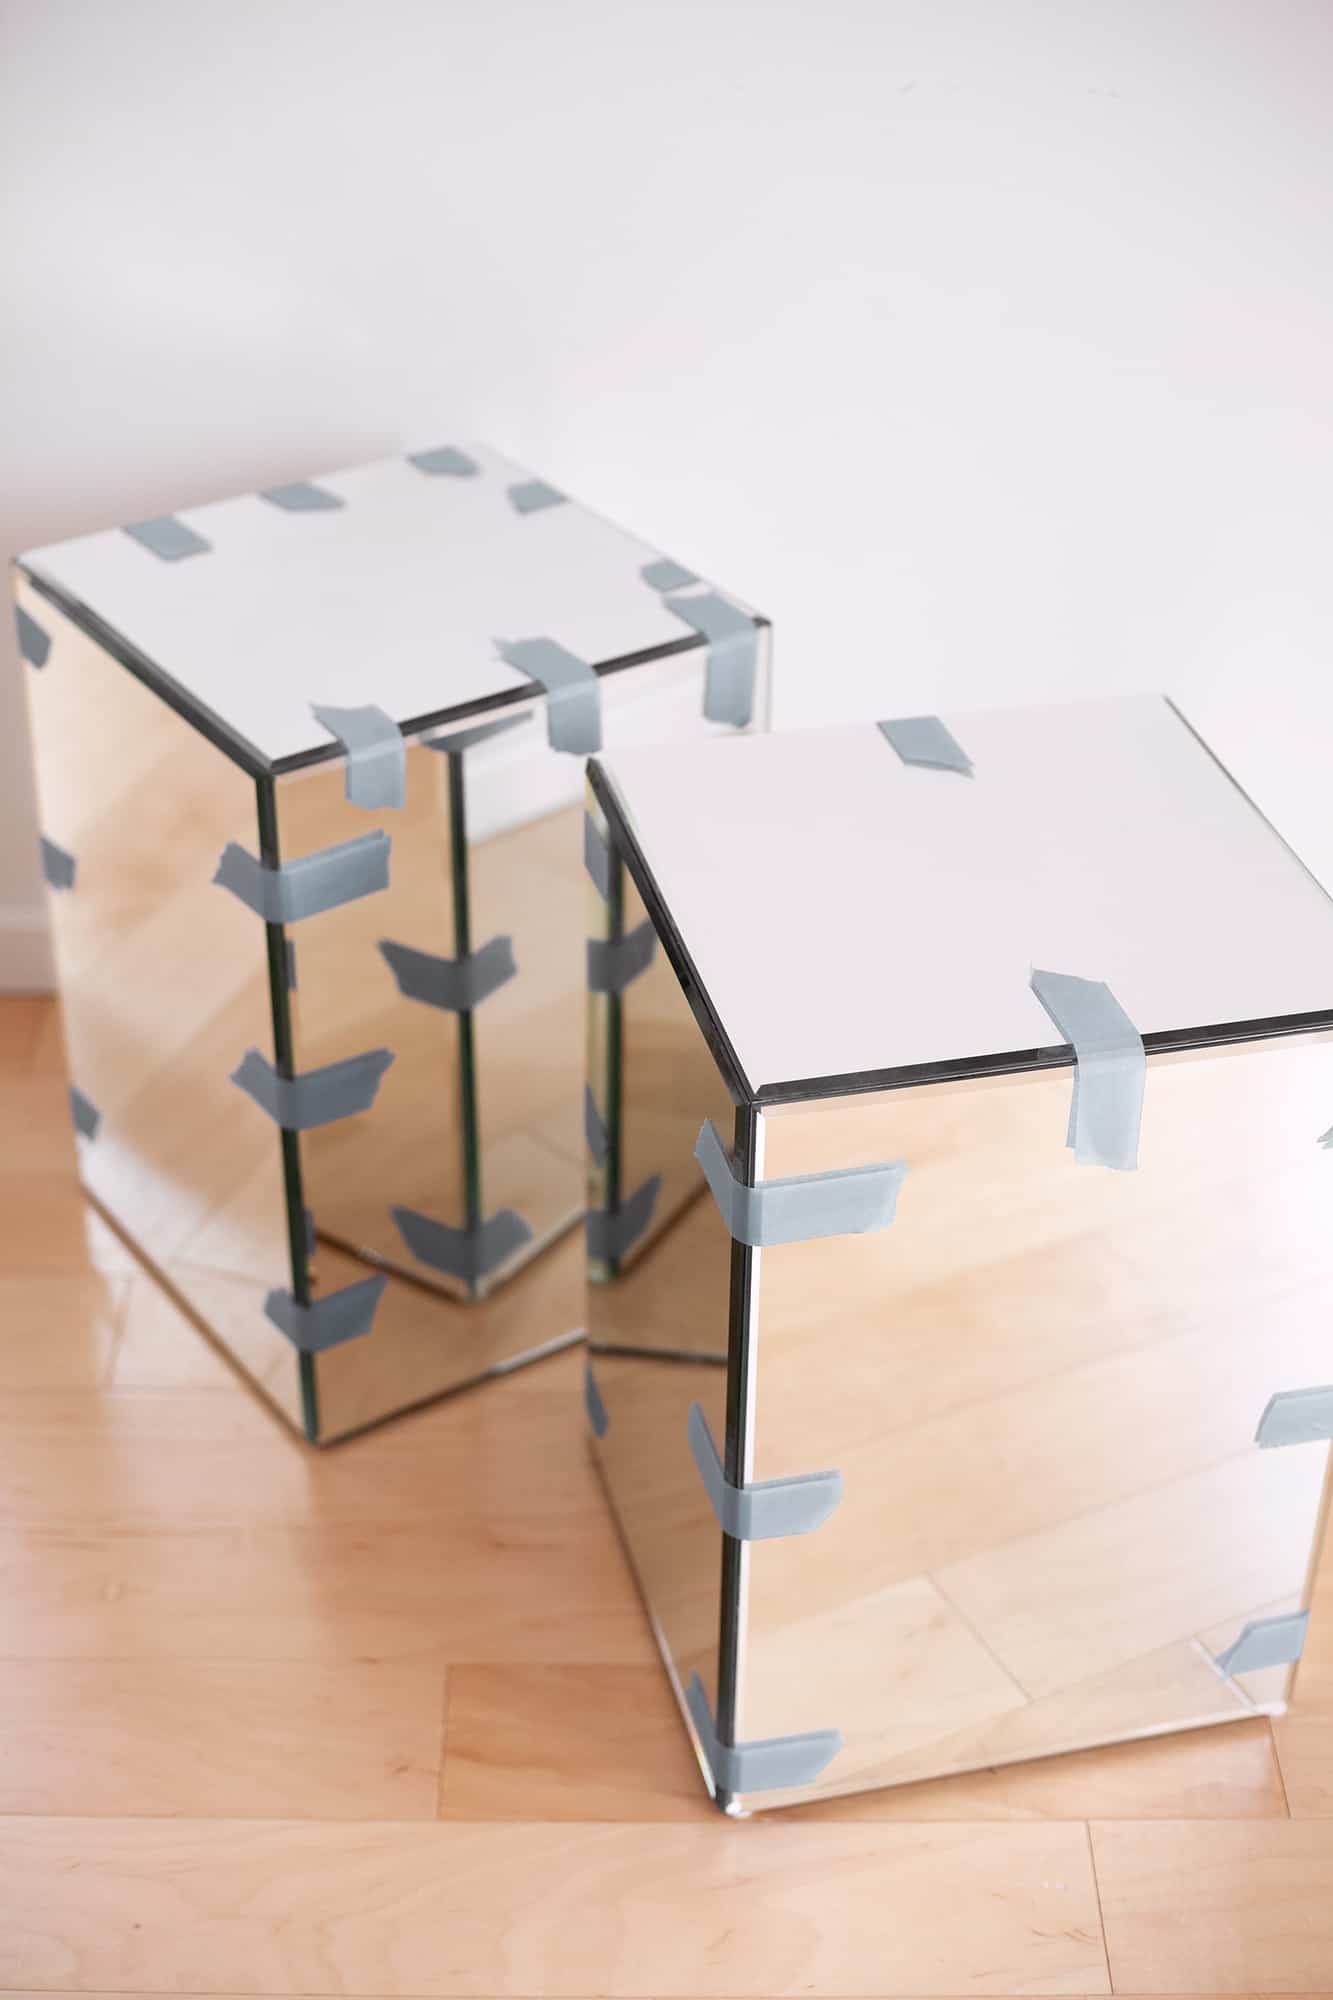
If you do all sides at once, you risk the mirror slipping a bit as the glue dries. You can tape them into place, but it’s still a bit risky! I advise taking your time and waiting 10 minutes between gluing each mirror piece. Even then, I added masking tape to the mirrors because I was concerned about slippage.


It’s such an amazing idea!!
These look so good! Mandi’s living room is so amazing!
Laura
www.laurelandfern.com
I work for my family’s small glass business, so it made me oddly giddy to know that you got your mirrors from a local company (and not Home Depot)!
Great idea for a DIY and a beautiful glam project. I’m wondering if you would please share where the black wall mounted light fixture is from? Thanks, Emie
Gosh, I didn’t even plan on clicking to read the diy, because mirrors are usually just too glam for me, but holy smokes, you’re so right! They look lovely in your “rather rustic” living room 😉 And a job well done, too!
This is so awesome! I love how these turned out!
Paige
http://thehappyflammily.com
You nailed it, it’s beautiful and indeed adds a lot of sophistication (the room is stunning thou)!
I am wondering if it would be useful to close the underneath and keep the back open for a hidden shelf?
Beautiful! One thing I have learned from experience: If you screw too close to the outside edge of the plywood, you will push the plywood out, forming a lump. You are obviously more precise than I am. I have learned to use 3/4″ plywood. It’s heavier and more expensive, but also more forgiving.
This looks stunning! Such a great idea, I never thought of getting (or making) mirrored side tables. They’ll help make a small room look bigger too! 🙂
Charmaine Ng | Architecture & Lifestyle Blog
http://charmainenyw.com