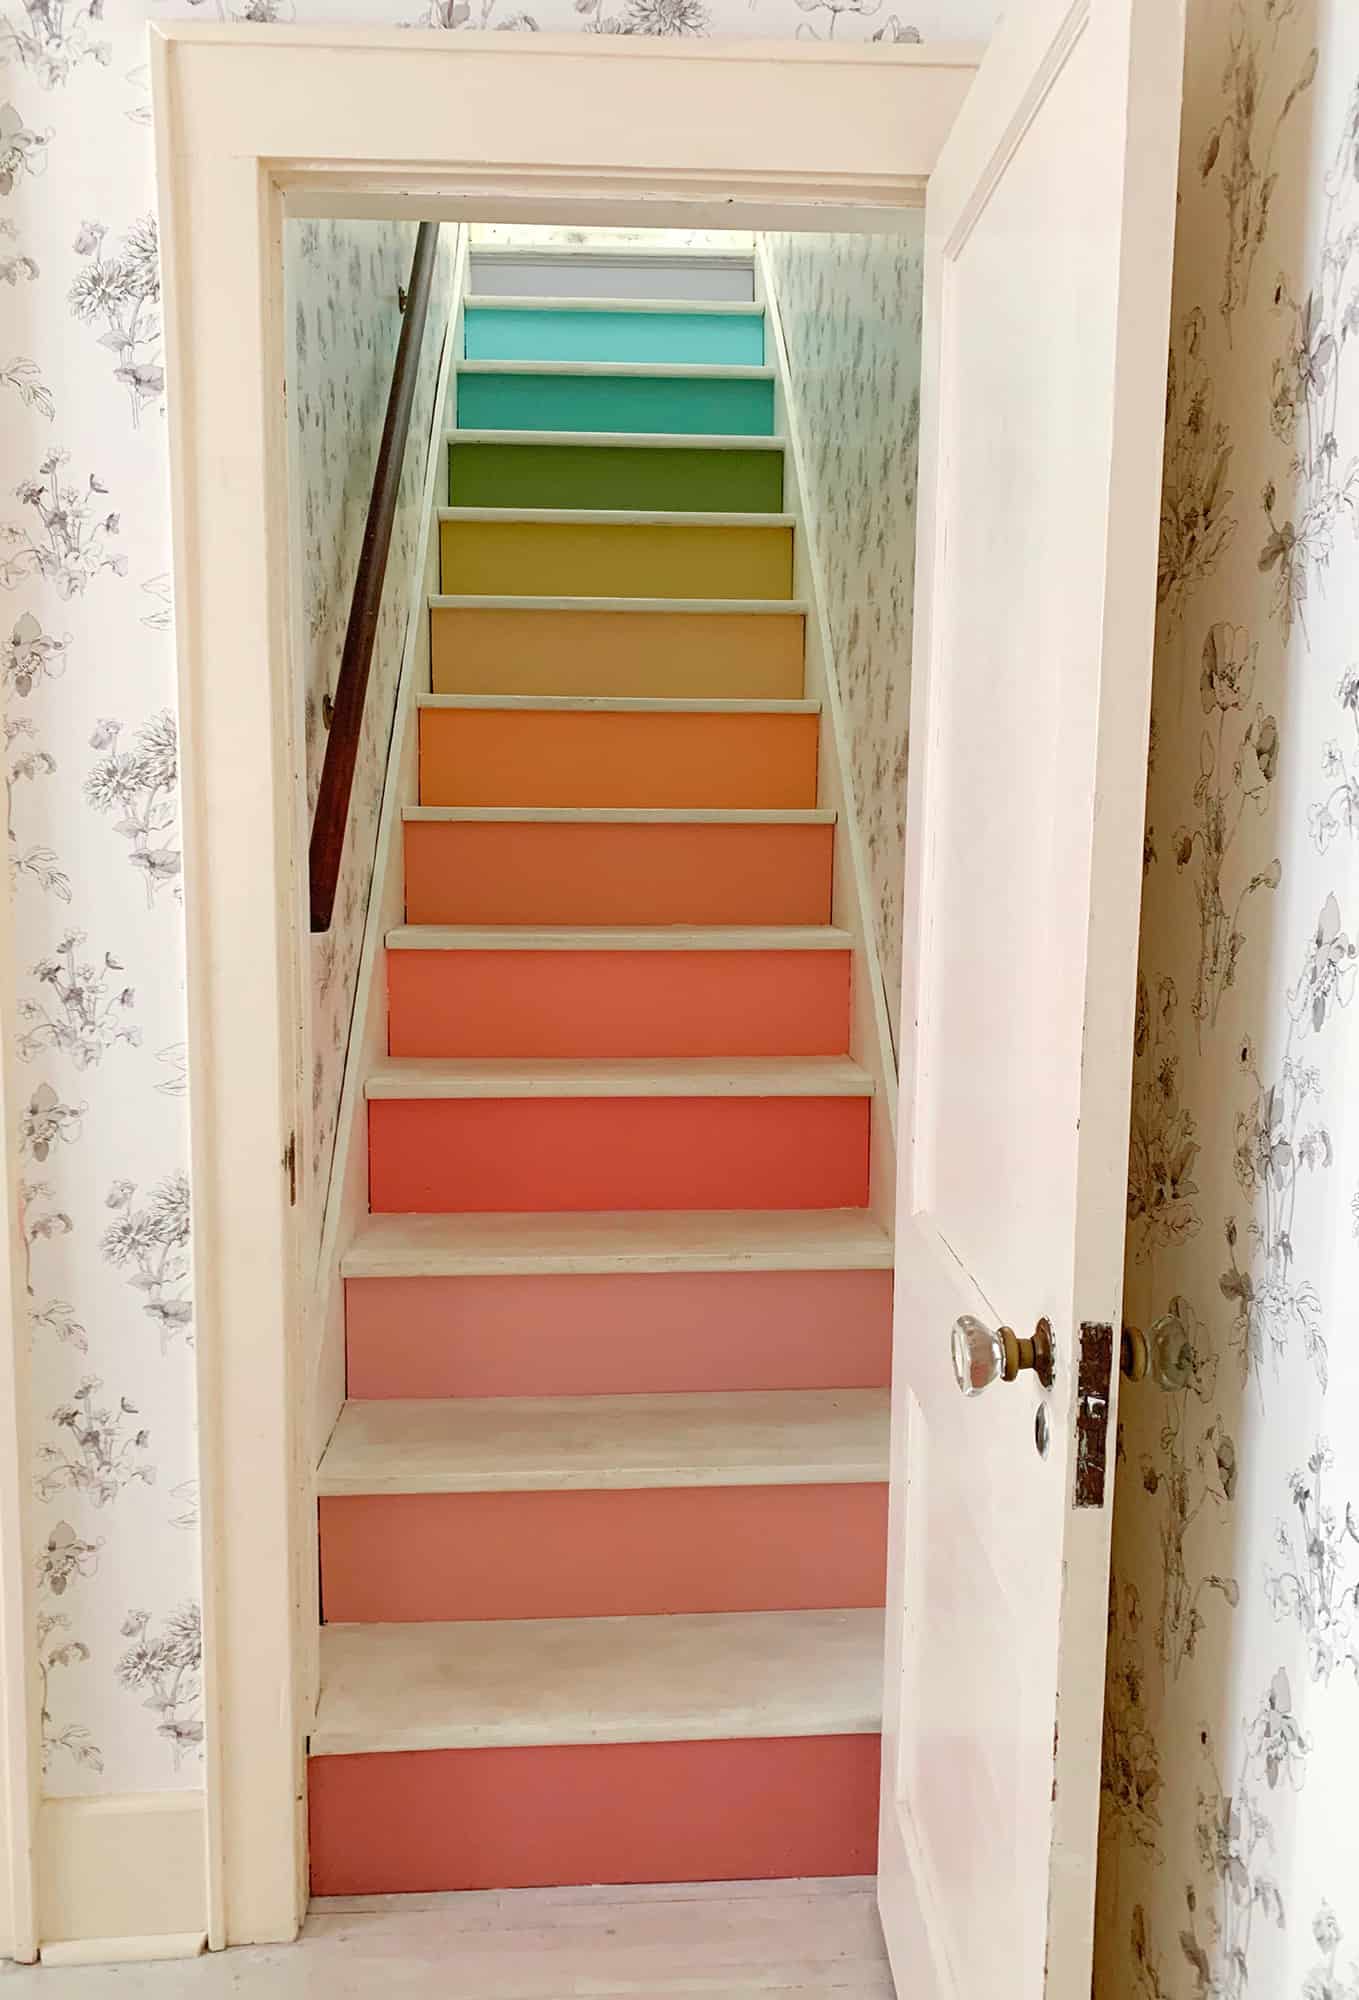
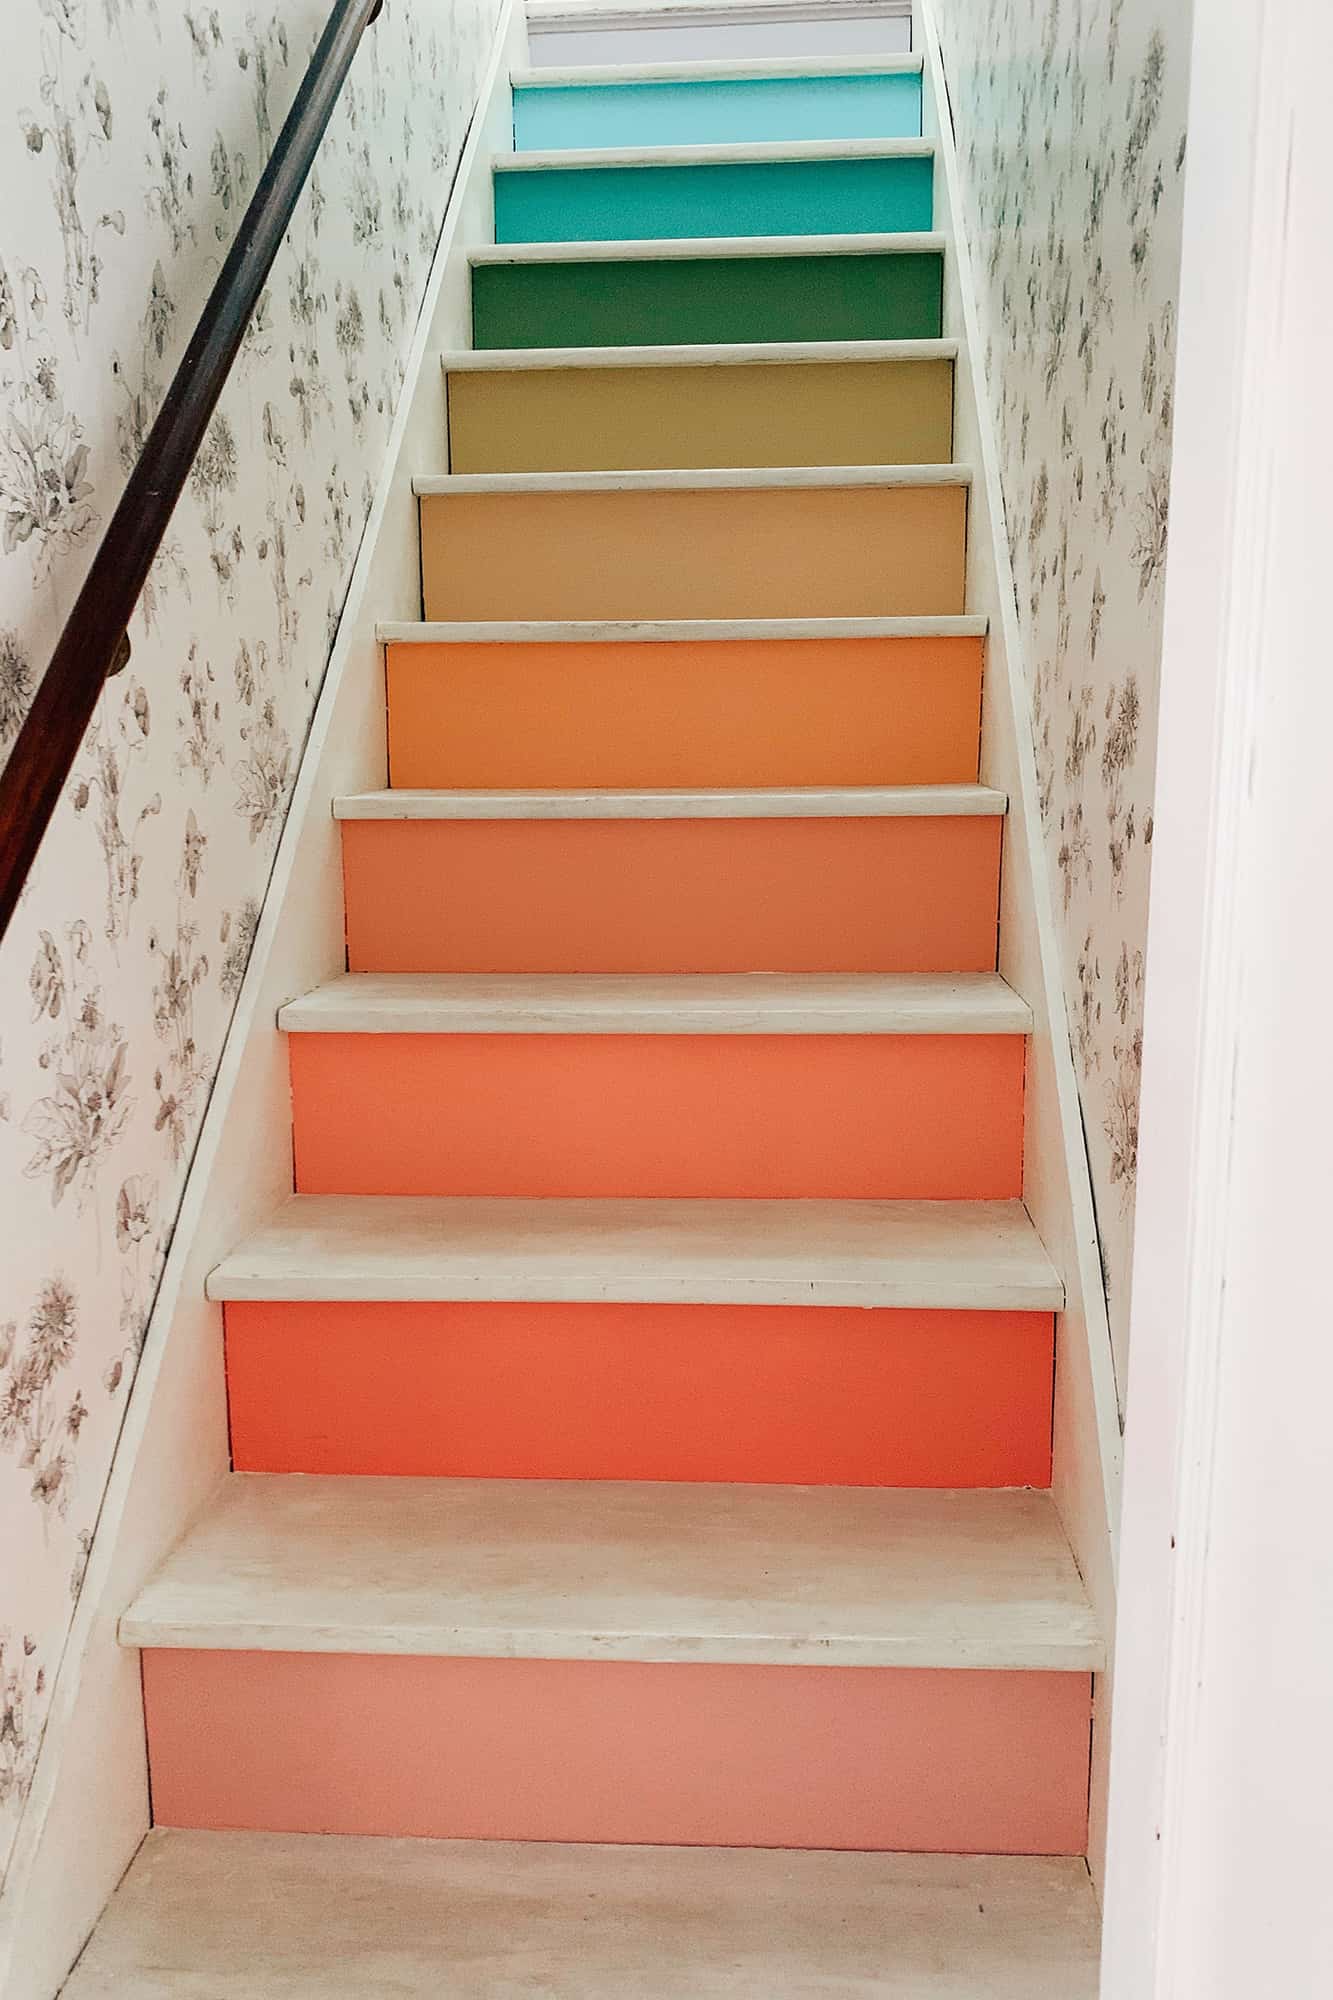
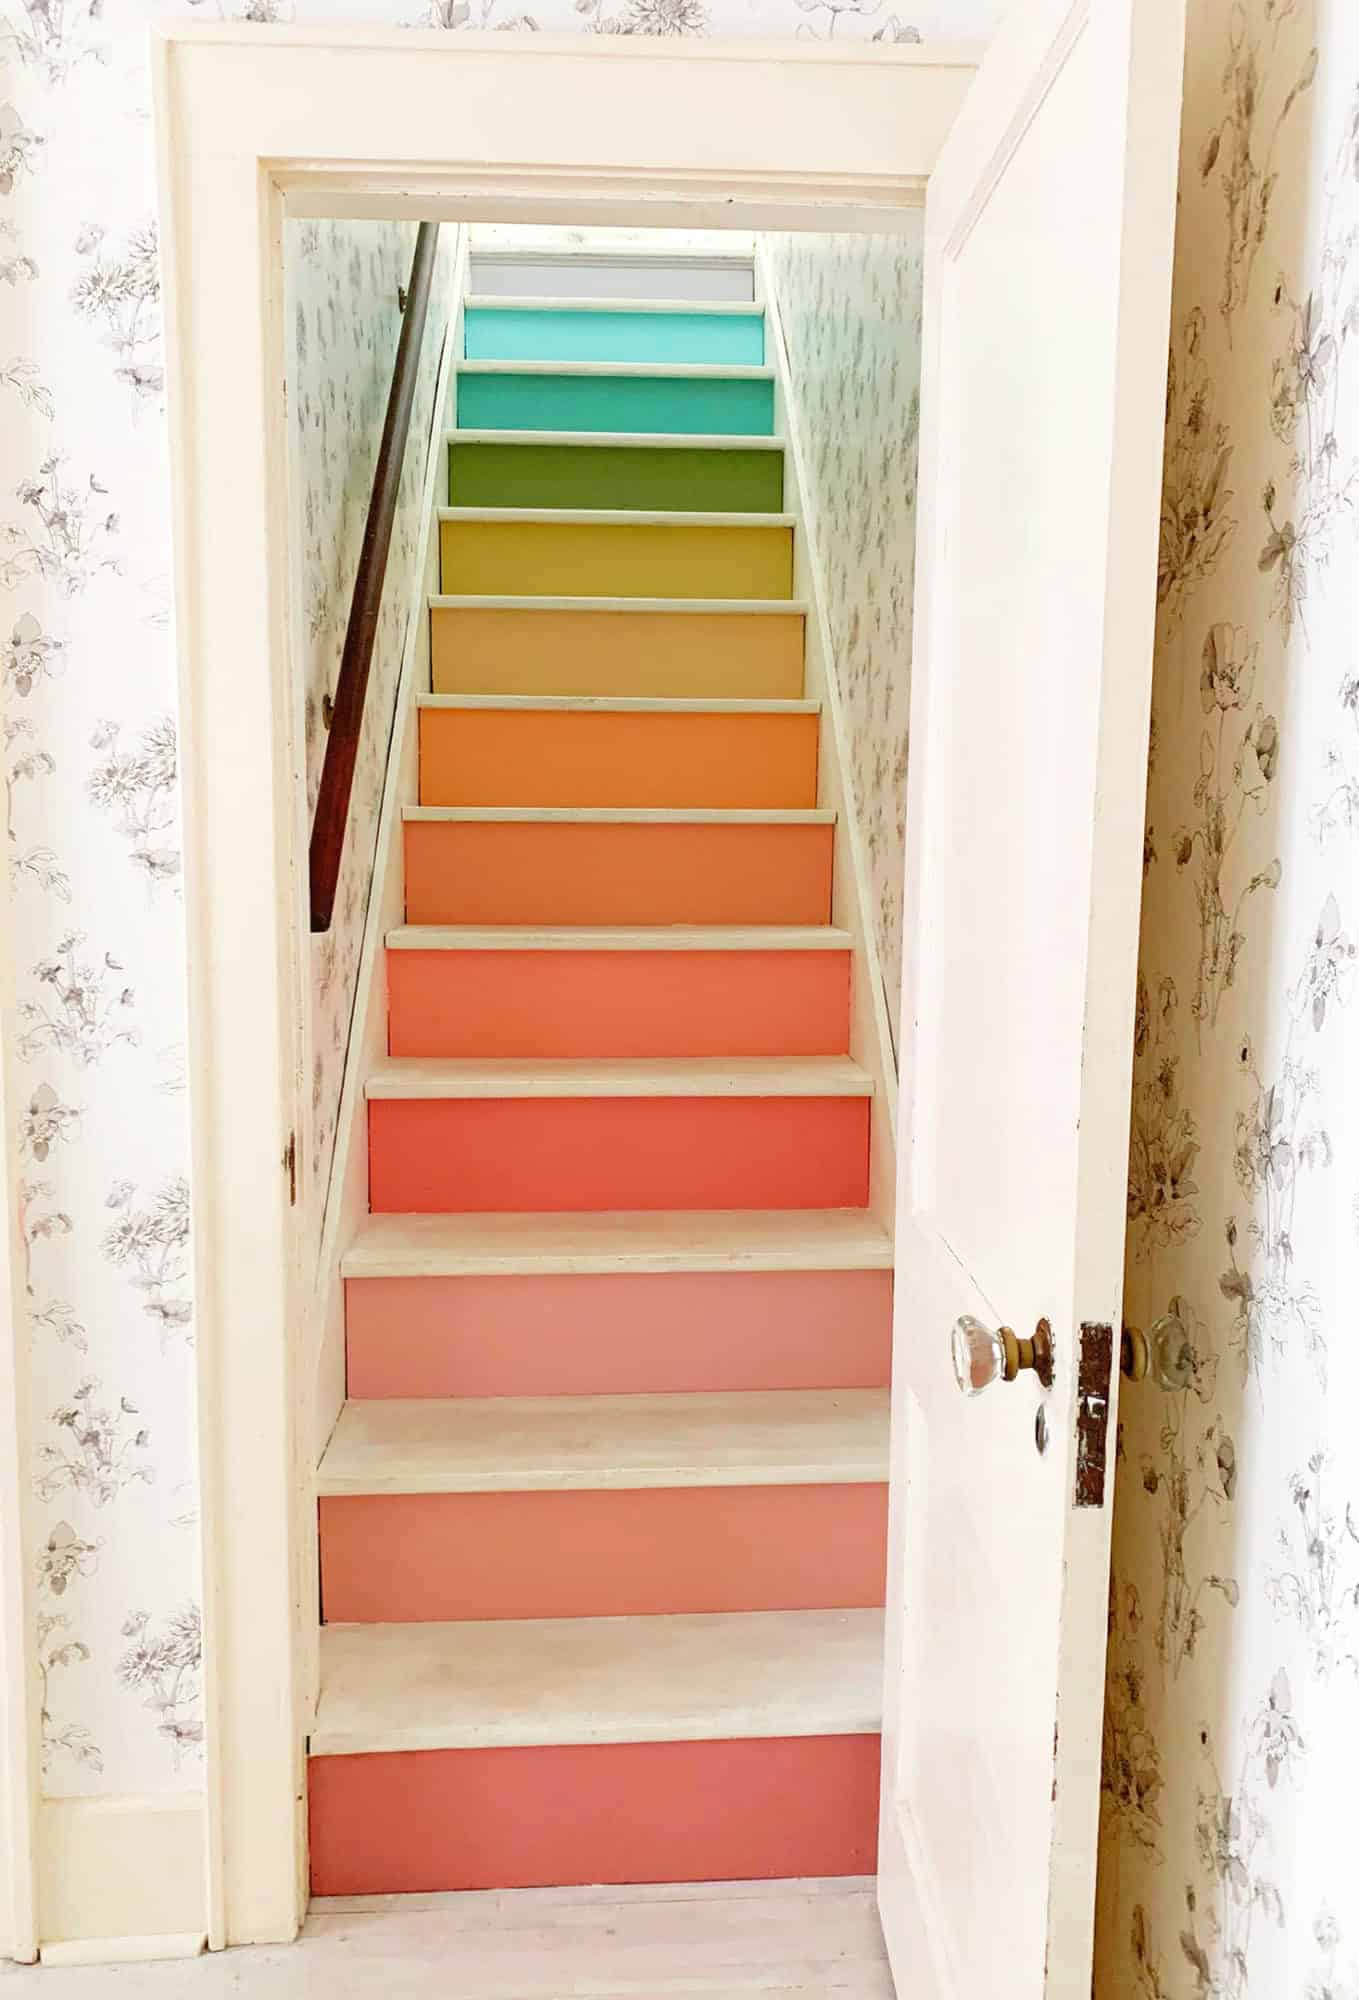
 Recently, I painted the stair risers rainbow, which turned out to be a very satisfying weekend project—and I loved how it turned out!
Elsie helped me pick out the colors. We were aiming for something a little more muted, and of the 13 stairs, we wanted to lean a little more into warm colors than cool. It feels like a fun little surprise when you open the door that leads upstairs—it’s whimsical! 🙂
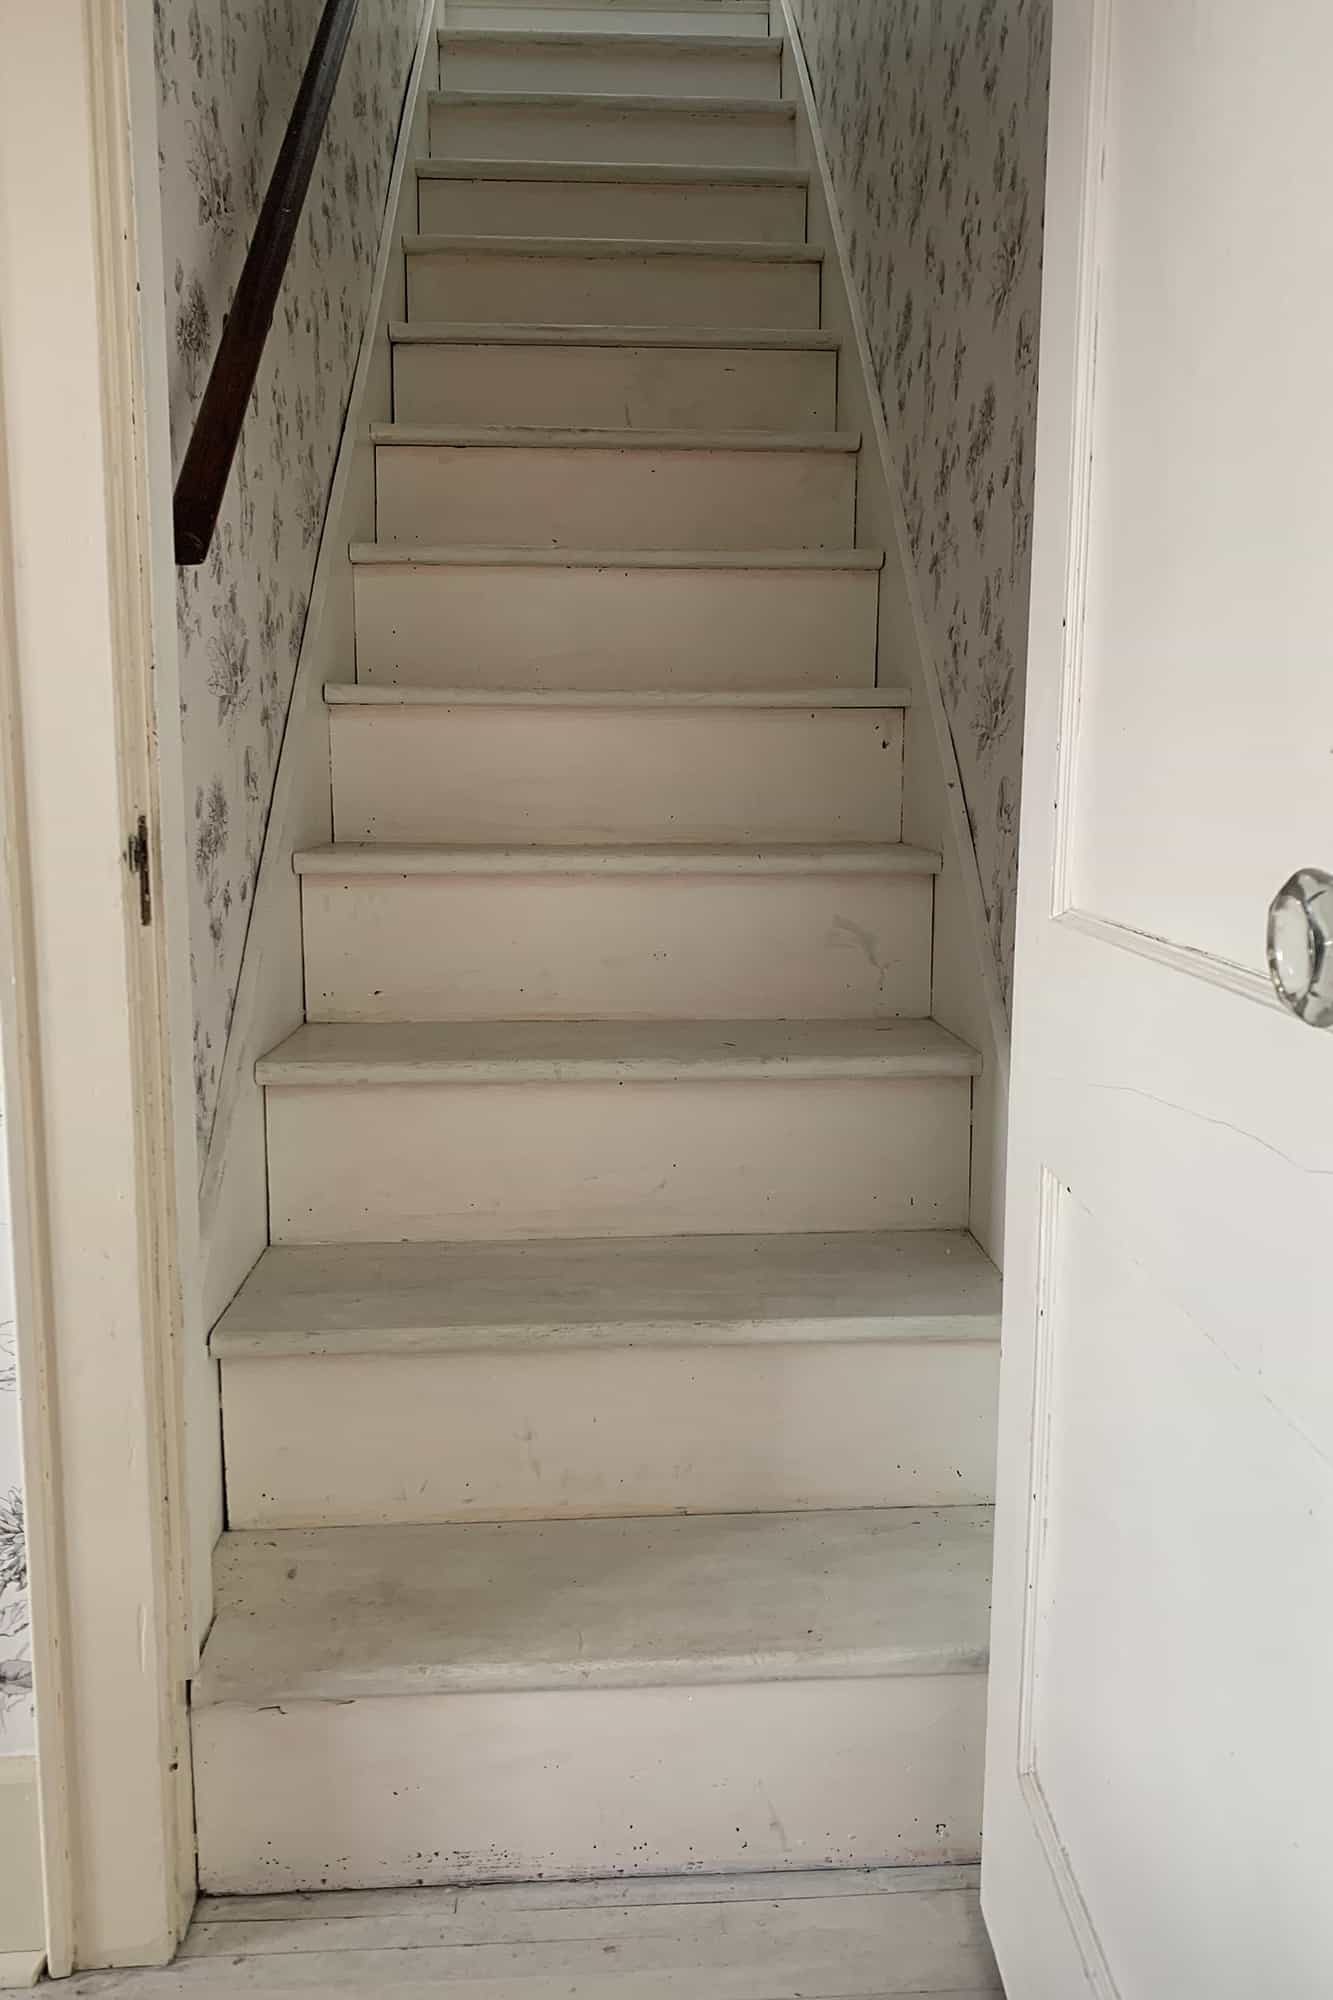
-paint samples (I used interior latex paint in an eggshell finish)
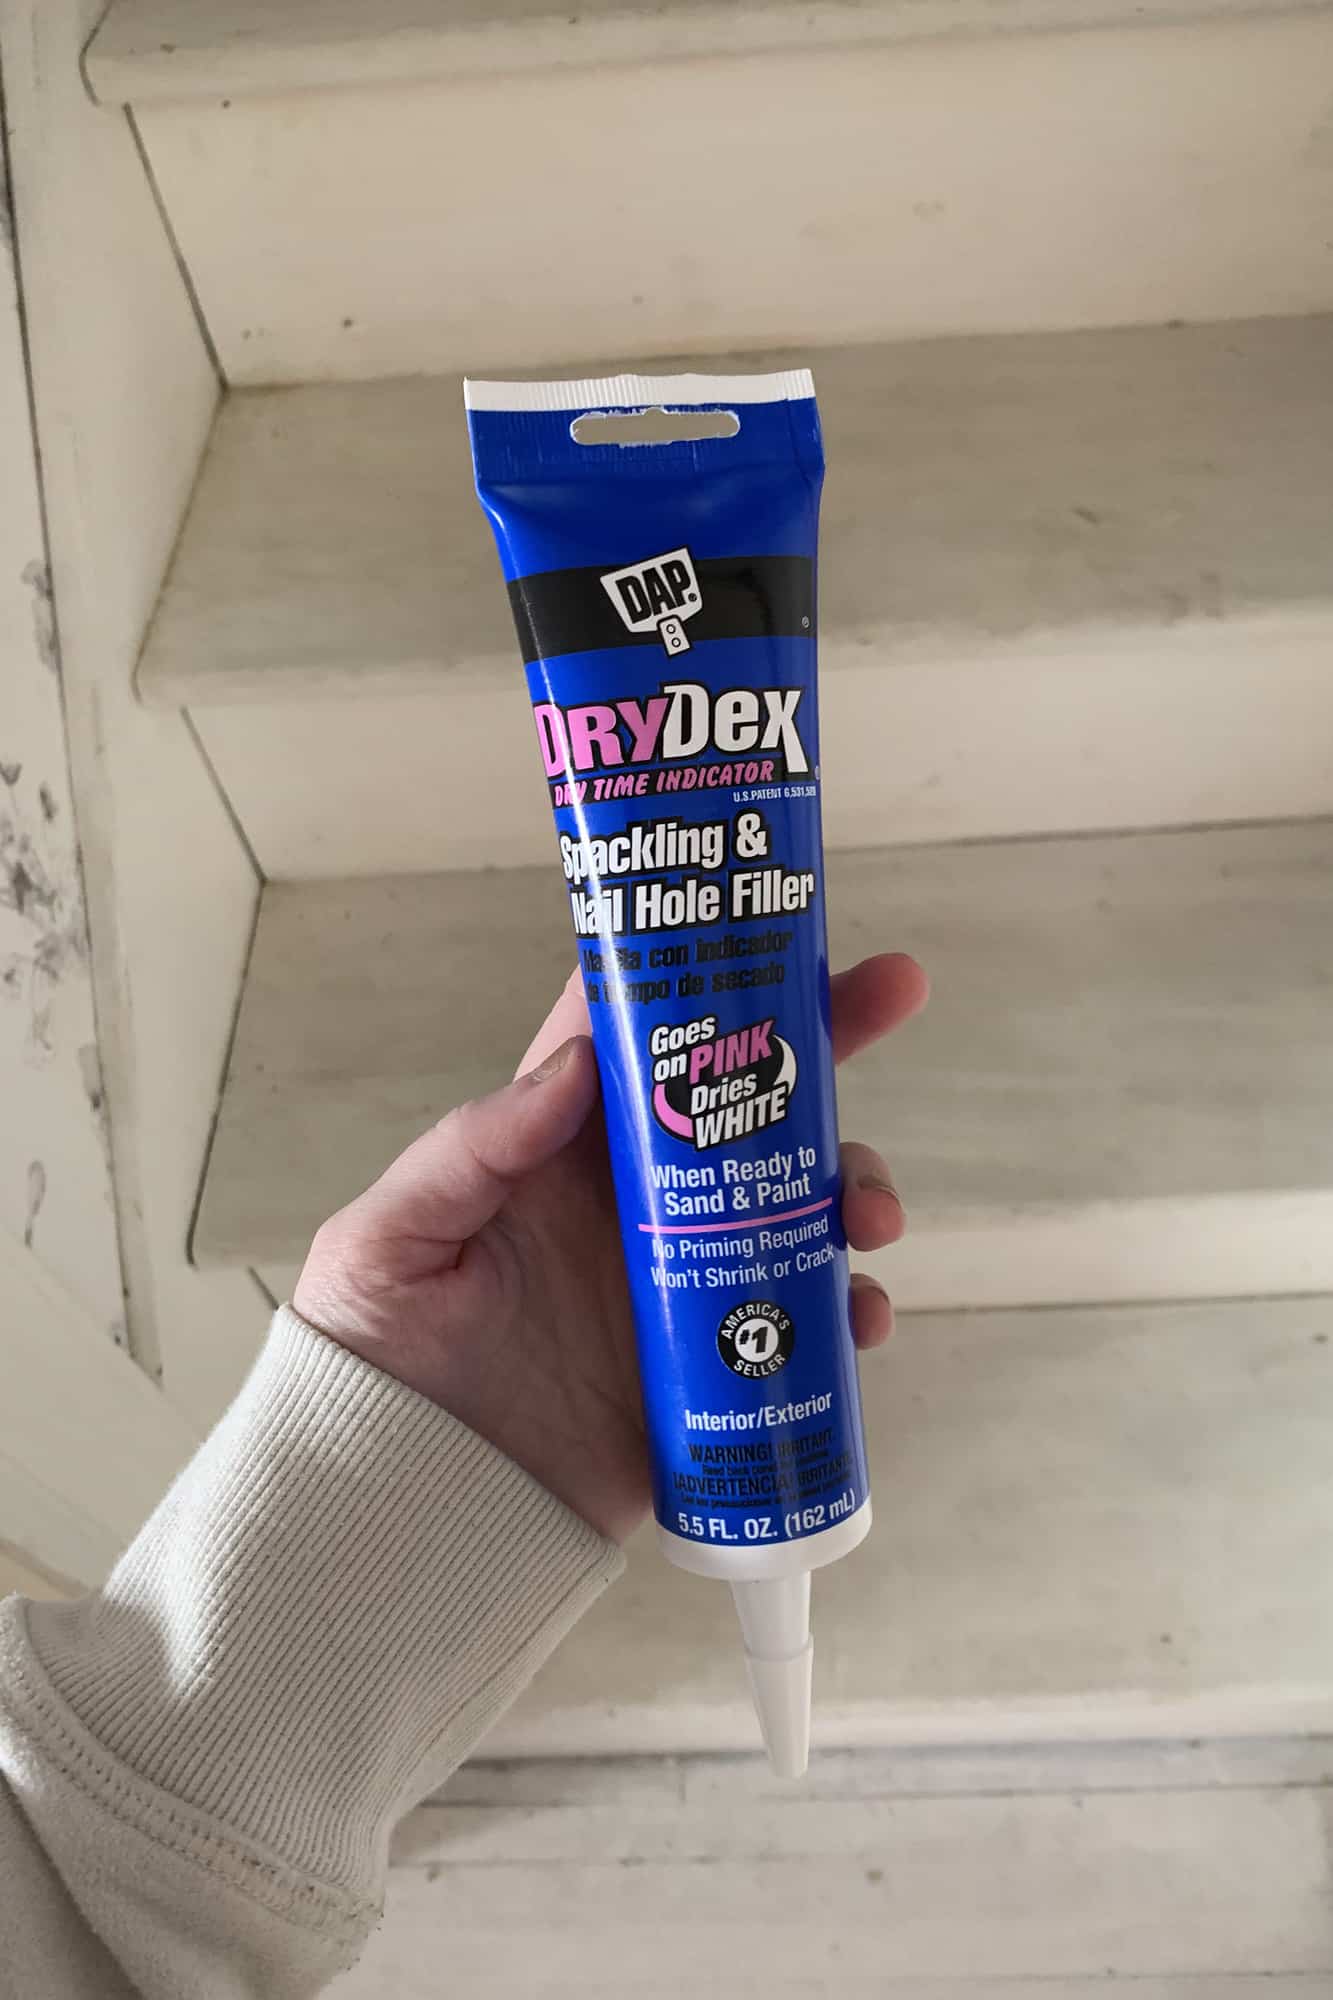
–nail hole filler
–sandpaper or sanding block (fine grit)
–paint brushes
–painter’s tape
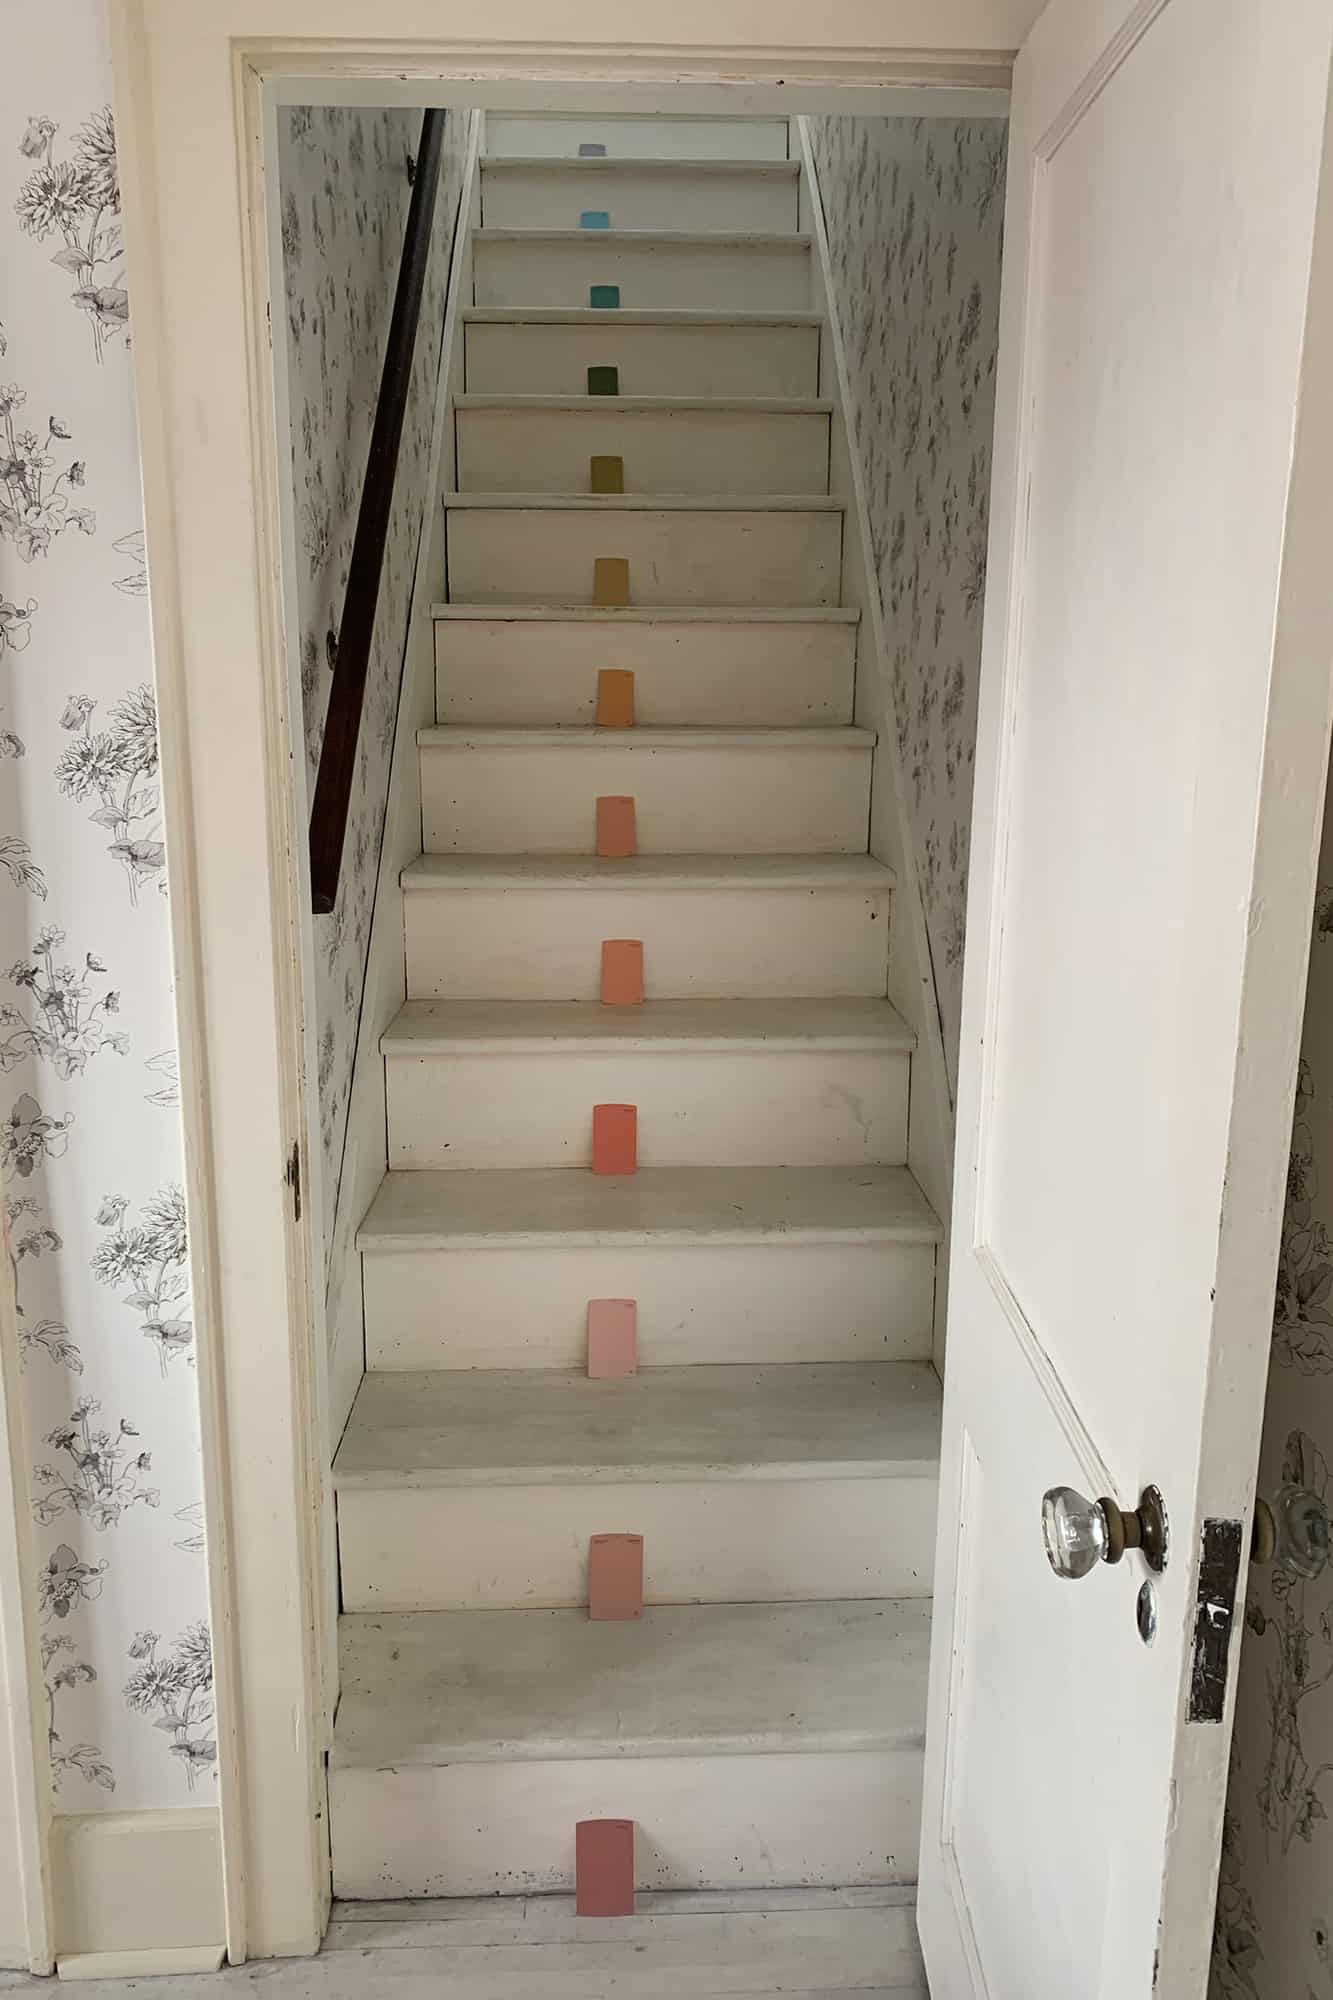
Step One: Before I even bought the paint samples, I laid out the paint chips to make sure I was happy with the progression of colors. I’m a visual person and it always helps me to take little steps like this to see if I’ll be happy with the final result before spending too much time on a DIY project.
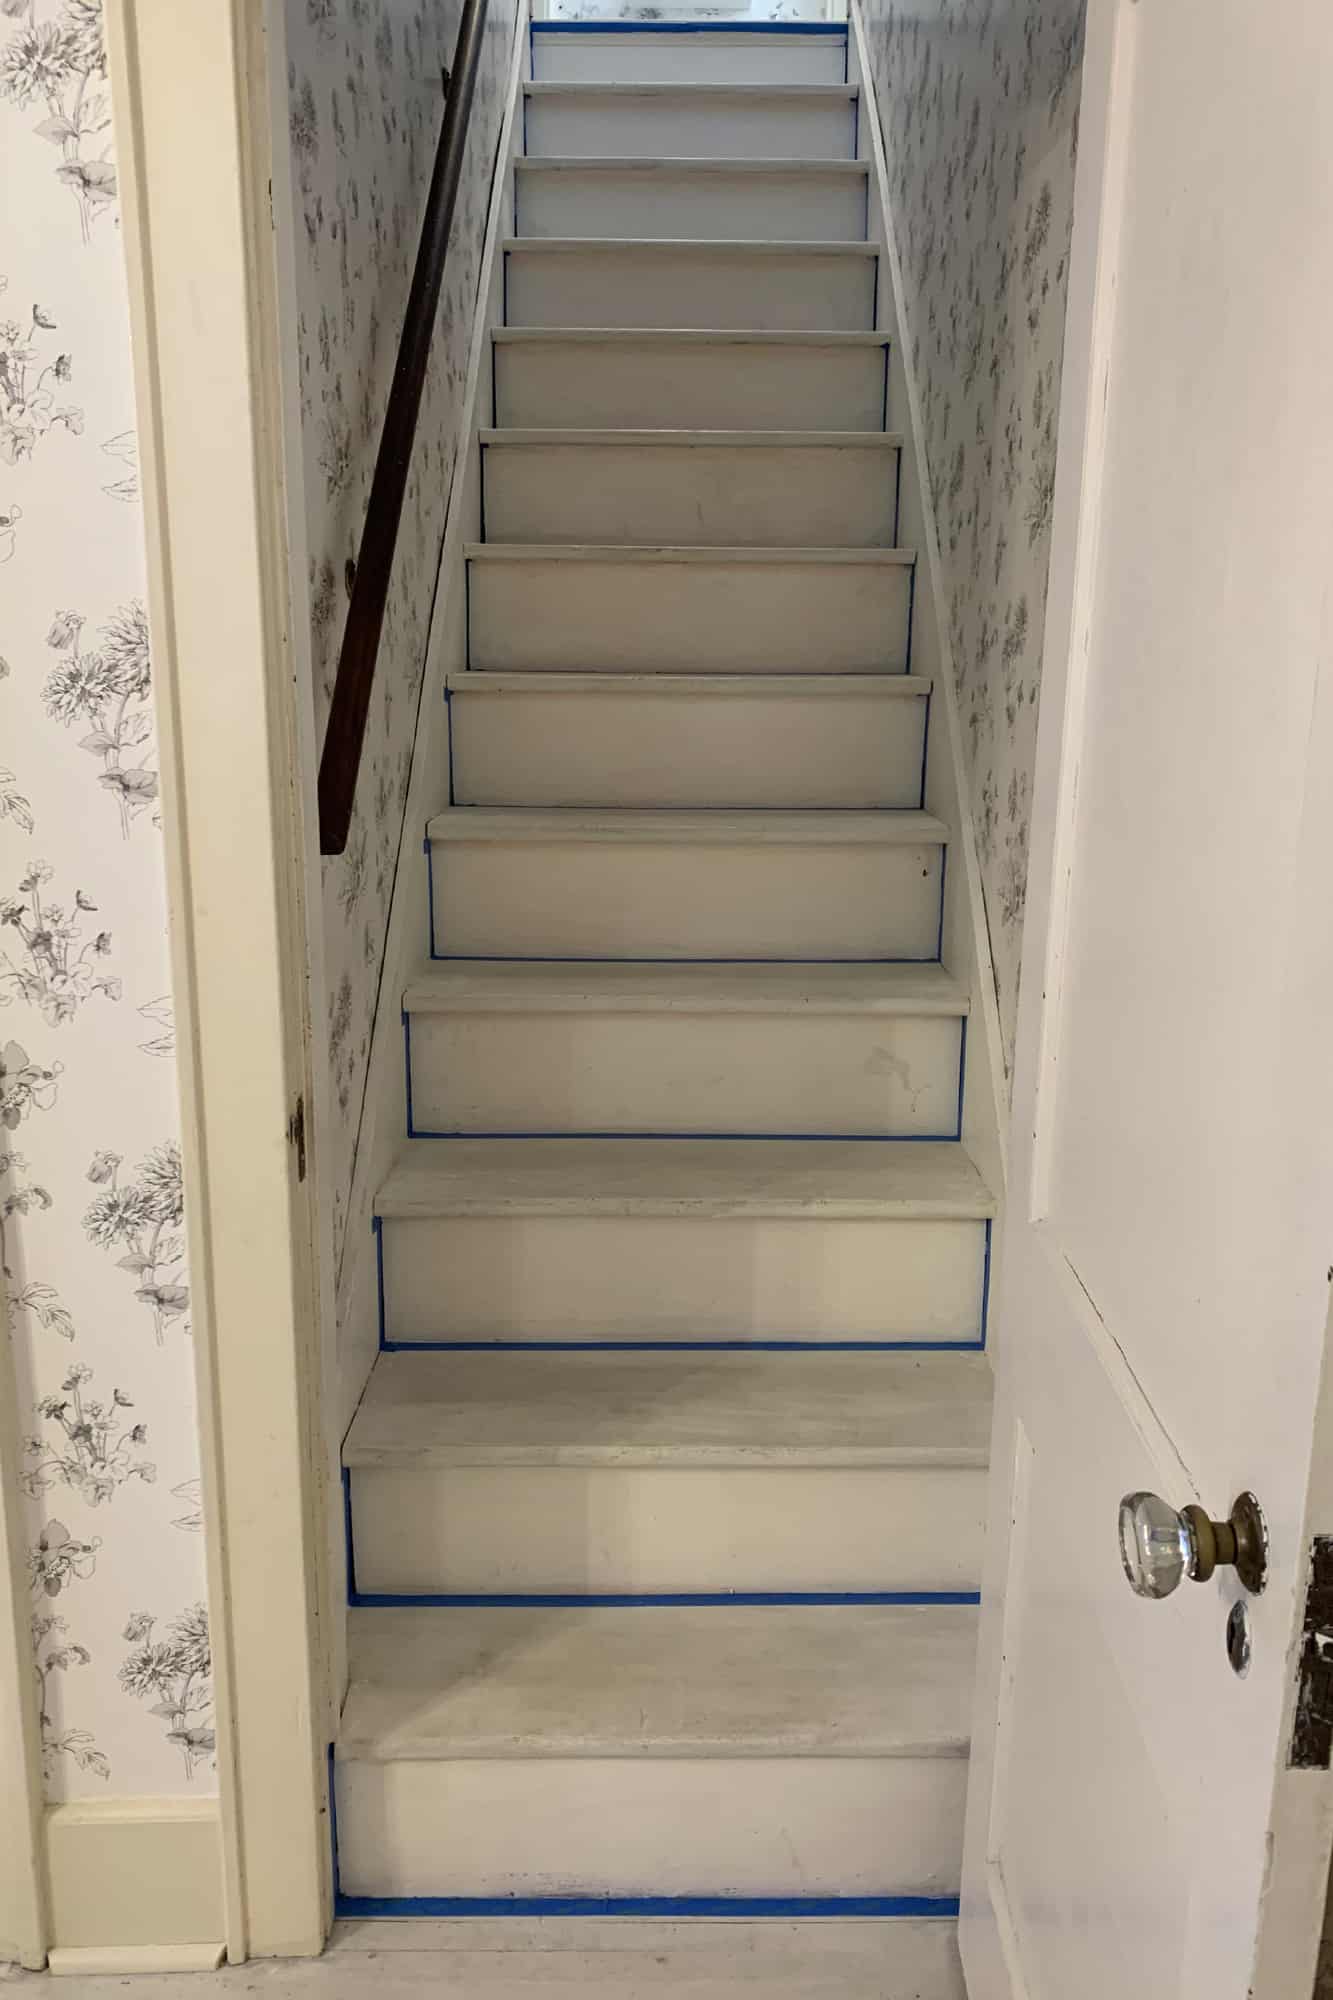
Step Three: Tape off the areas you will paint. You may also want to use a small drop cloth as you work from top to bottom.
*I should also mention, if your stair risers aren’t already white (like mine) you may need to prime them first after taping off. I didn’t need to since they were already white.
After the paint is dry, remove the tape. If needed, use a very small paint brush to fill in any small areas if the tape wasn’t sufficient.
Thanks for letting me share my rainbow stairs DIY with you! xo. Emma
Love this post? Sign up for our newsletter for more ideas!

Get creative ideas for recipes, crafts, decor, and more in your inbox!
 Get the How-To
Supplies
- paint samples
- nail hole filler
- sandpaper or sanding block, fine
- paint brushes
- painter's tape
Instructions
- Before I even bought the paint samples, I laid out the paint chips to make sure I was happy with the progression of colors. I’m a visual person, and it always helps me to take little steps like this to see if I’ll be happy with the final result before spending too much time on a DIY project.
- After wiping down the stairs, I used the above nail hole filler. After it was completely dry, I sanded the surfaces smooth and then cleaned off the stairs again.
- Tape off the areas you will paint. You may also want to use a small drop cloth as you work from top to bottom.
- Starting from top to bottom, paint the risers. I only had four brushes so I had to clean them in between at times. I also needed two coats of paint, so I had to wait for the first coat to fully dry. I worked on this project over two days. After the paint is dry, remove the tape. If needed, use a very small paint brush to fill in any small areas if the tape wasn’t sufficient.

We have a staircase leading up to our grandchildren’s bedroom suite simply crying out for cheer and whimsy. I’ve been thinking I would just refinish the stairs and add a runner. I’m delighted to have seen this before I did something boring. Thank you for sharing your spark!
What timing! I am planning on painting our dark brown attic stairs something lively. Does the white get dirty with all the foot traffic? How do you keep it clean? Thank you so much!
I LOVE this!! It`s so colorful and fun. It sparks happines!I want to do this in my home too 🙂 You are so creative 🙂
Emma! I saw this on ig last week and am currently doing this on our playroom steps (different colors obviously ?) but thank you so much for the inspiration. Our pup passed away late last week and I just wanted something fun and happy to work on and this was just what I needed ❤️
So cheery!! Love all the colors! 🙂
FILLS me with joy!!
Me too!
Ah! I wish I had stairs so I could do this project. The colors are perfection!
I love these and have been waiting for this post! Thank you!
Question for anyone reading this! I want to do something similar to jazz up my basement stairs. Right now, the stairs are covered with what I think is like vinyl flooring. Should I try to remove that and see what’s underneath? I’m also wondering if I could sand it or if peel and stick wallpaper would just be easier.
Thanks again for sharing!! So fun.
Depending on the age of your home, there may be nothing exciting under the vinyl. When I had the carpet ripped up on the basement stairs in my 70’s home, it was just your basic construction lumber/MDF under there. Peel and stick wallpaper on the risers could look pretty awesome!
Thank you, Nikki!!
This would make me smile every time I went up the stairs! Love! Hope to do something like this one day
It really makes the stairs look so cheery! What a fun idea!
Love, love, love!! The color progression is perfect, and looks fabulous.
Thank you!!!!
It’s beautiful Em!