 If you’ve seen our DIY countertops, you know all about our phase 1 makeover for our main bathroom. We plan to fully renovate this space in 2-3 years, and I’m SO GLAD we took on this project! One, because it’s so nice to have a space you absolutely love in the meantime, and two, you can experiment with things that you consider to be a bit of a risk because it’s temporary.
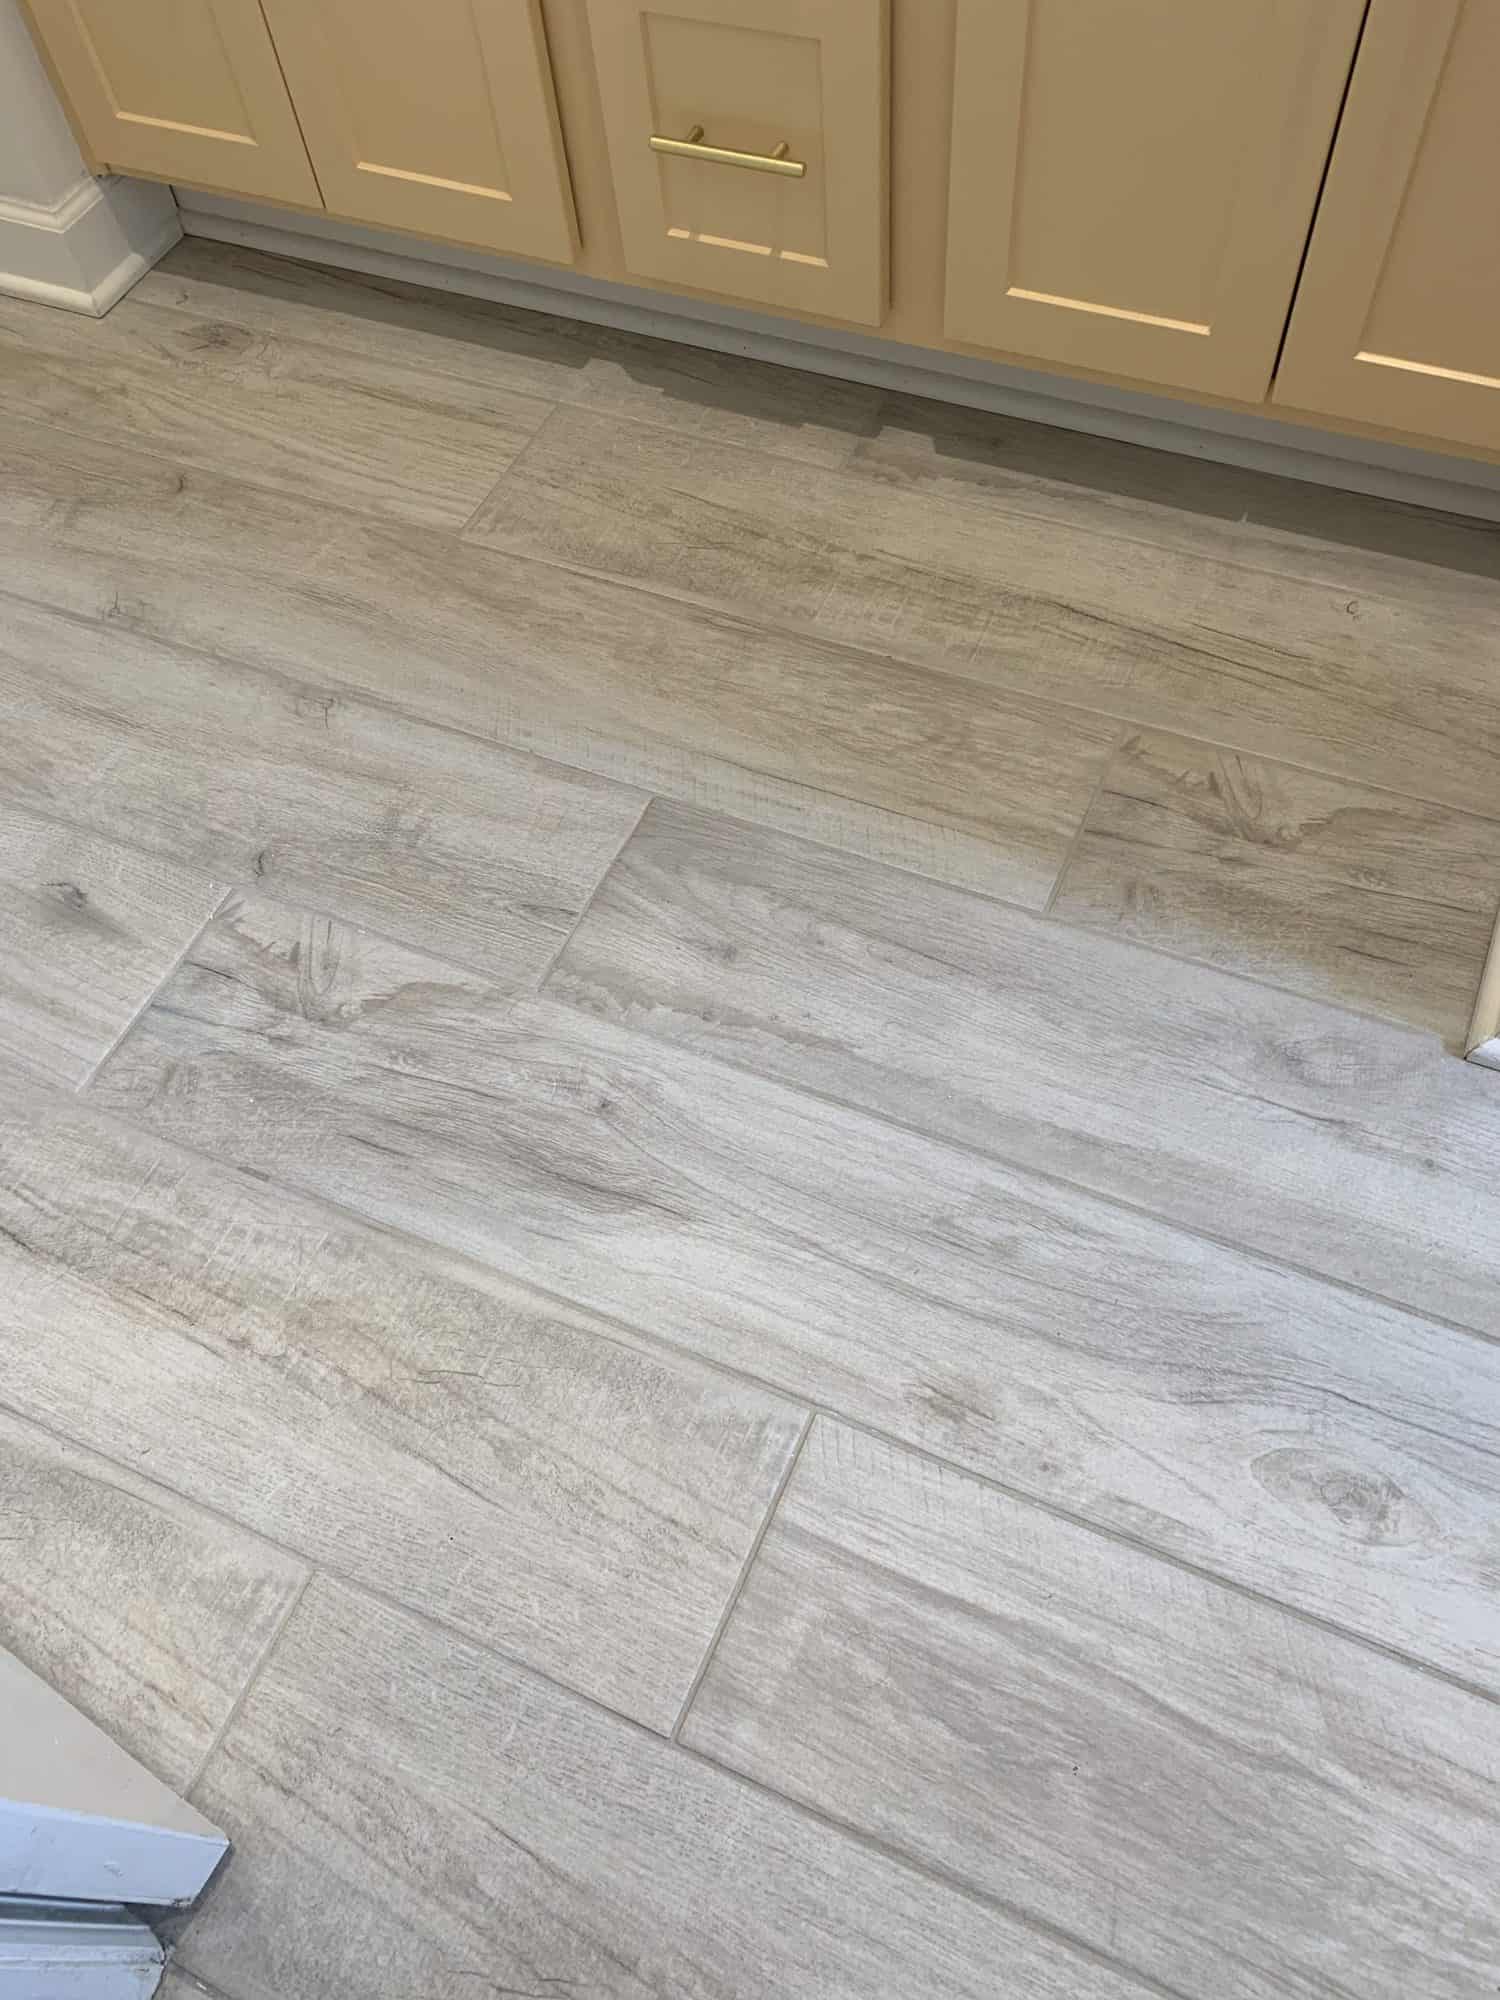 One of the things that we really wanted to update was our wood-look planked tile floor—the above photo shows the floors in their original state. I understand that a lot of people love this type of tile, but I am not one of them (and neither is my husband), so we decided to paint over it and choose a really fun stencil. After doing a lot of research on painted tile, I personally don’t think I would have done this for any kind of long-term solution, just because a lot of accounts I’ve read say that after a year or two, things start to show wear.
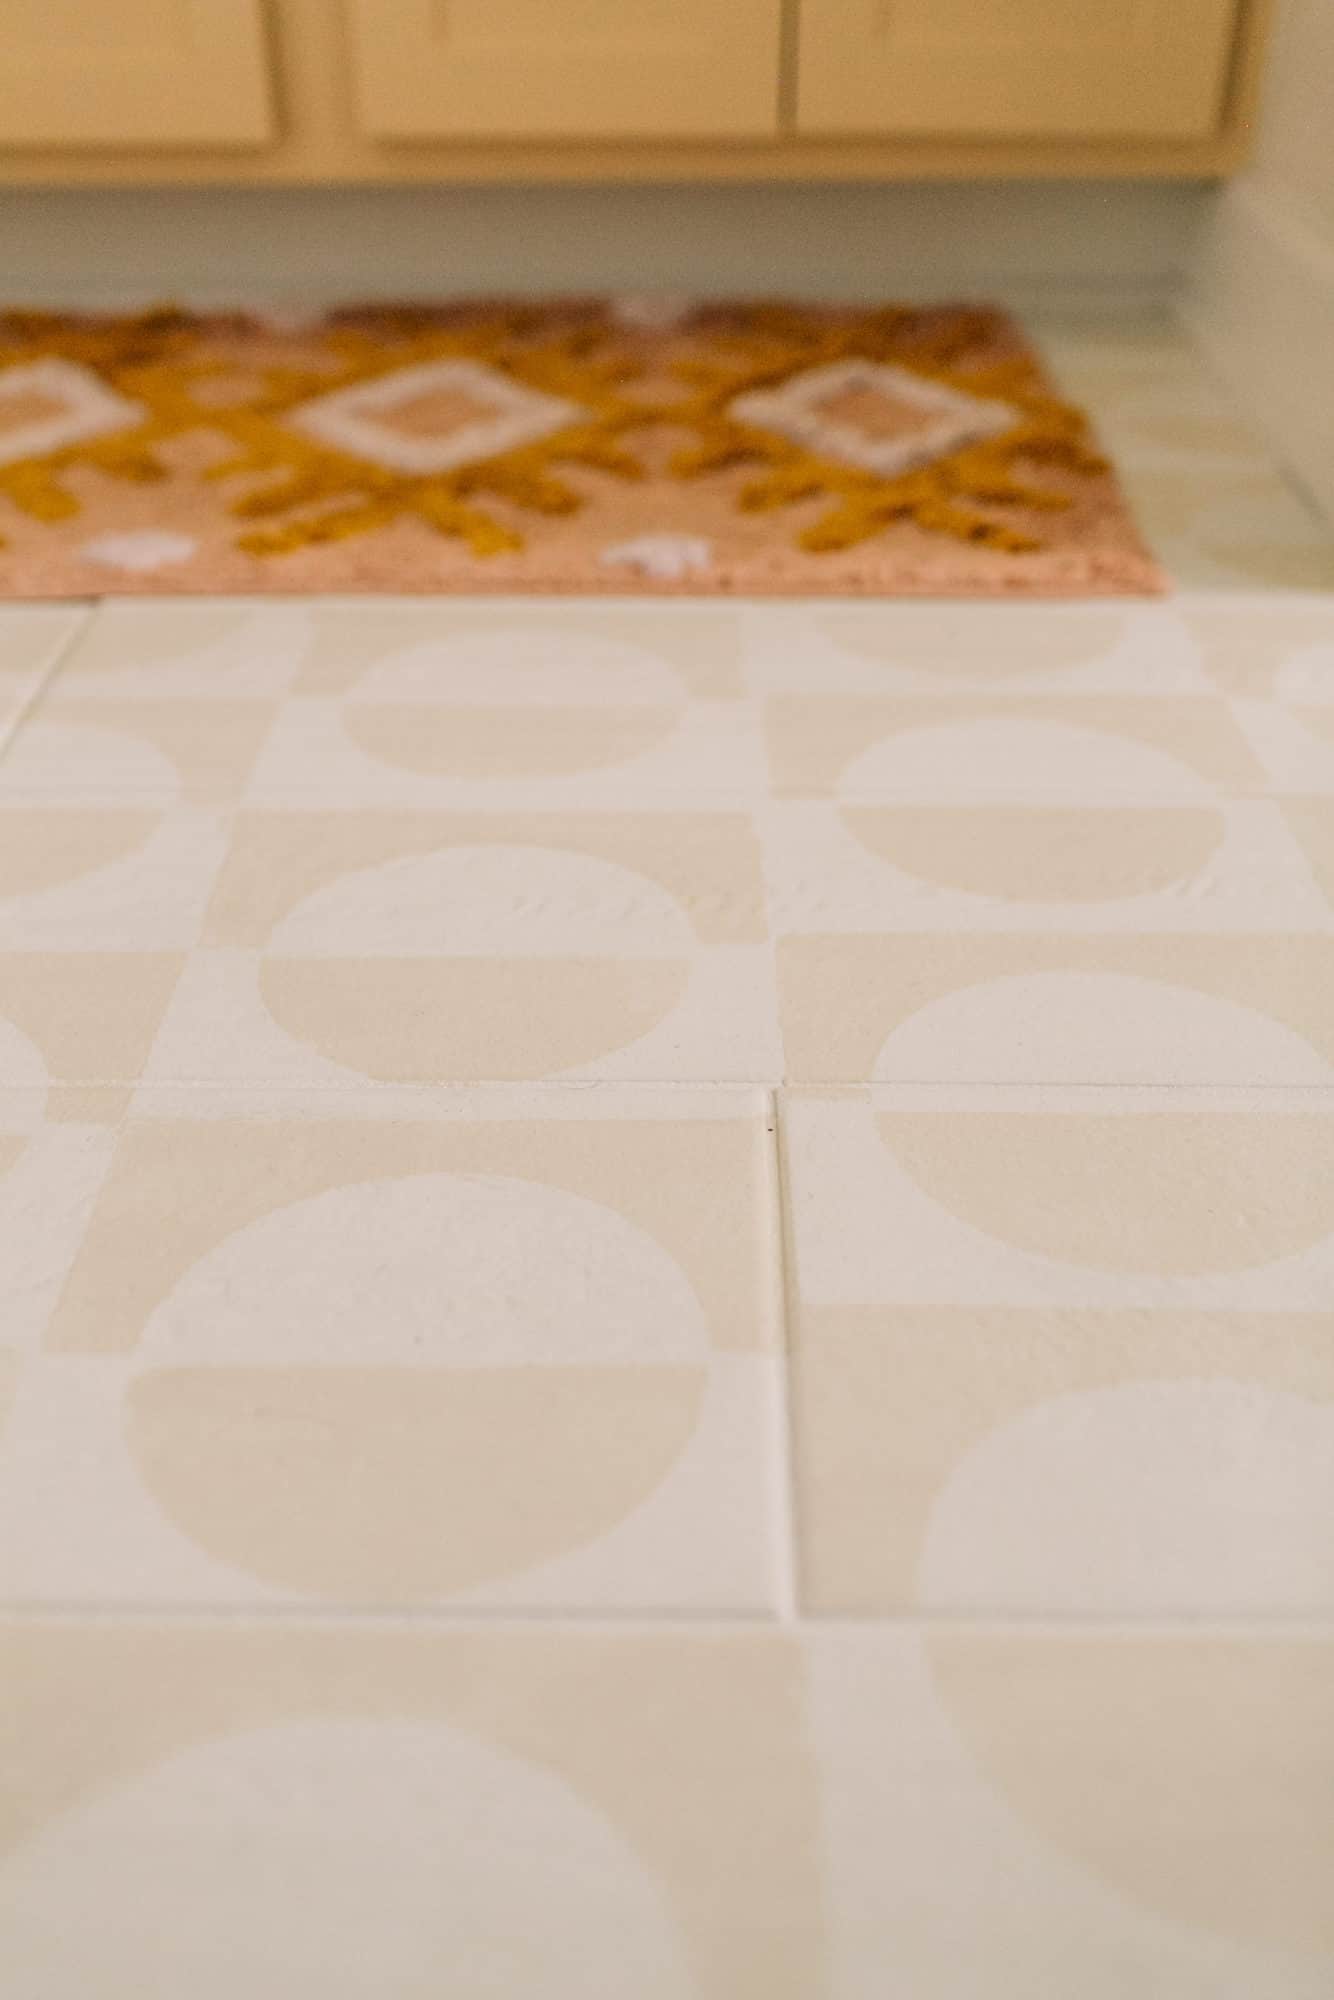
Another part of our decision to do the paint is that that since we don’t wear shoes in the house, we could count on there not being shoes on this surface—pretty much bare/sock feet only. My biggest fear was that it wouldn’t look right having to stencil over the grout lines since it’s not square tile/perfectly suited for the stencil, but you really don’t notice them at all now that everything is done.
 If you’re curious about how long this project took, I would budget three days. One for prep, one for stenciling/touching up, and one for sealing. The first thing we did was clean the whole floor really thoroughly with Krud Kutter (a degreaser) and tape everything off. Then, we primed with a high adhesion bonding primer. We did three coats of primer, which might be overkill, but we really wanted everything to be thoroughly covered. Just be aware that due to the nature of these kinds of primers, it may not look fully opaque even after a few coats—the purpose is not to cover up what’s underneath, but to make sure the surface is prepped to take and hold onto the paint.
Next up, after the primer dried, we painted three coats of a white latex paint. Our tile was kind of textured, so we really needed all of those coats to make sure everything looked nice and even. The photo above is in between coats 2 and 3, so you can kind of still see the tile peeking through.
 Next up came the stenciling! Here’s the stencil we used. I love this company because you can choose the size of the stencil you need for your size of tile (we went with the width of the tile, which I believe was 8″ and decided we would paint over the grout lines if necessary when it comes to length). The other pro of this brand is that they give you two stencils—one to cut up if you need to maneuver around corners and hard-to-reach places, and another to keep intact.
Here are some of my stenciling tips:
-Practice on a piece of cardboard or scrap wood first, as there’s definitely a rhythm to stenciling.
-Don’t be afraid to stencil over grout lines.
-Keep a cloth or towel close by to wipe excess paint off bottom of the stencil so it doesn’t transfer (this will probably still happen but don’t worry, you can touch everything up later).
-Be sure you seal your work! We did three coats of poly and it feels really strong and protected.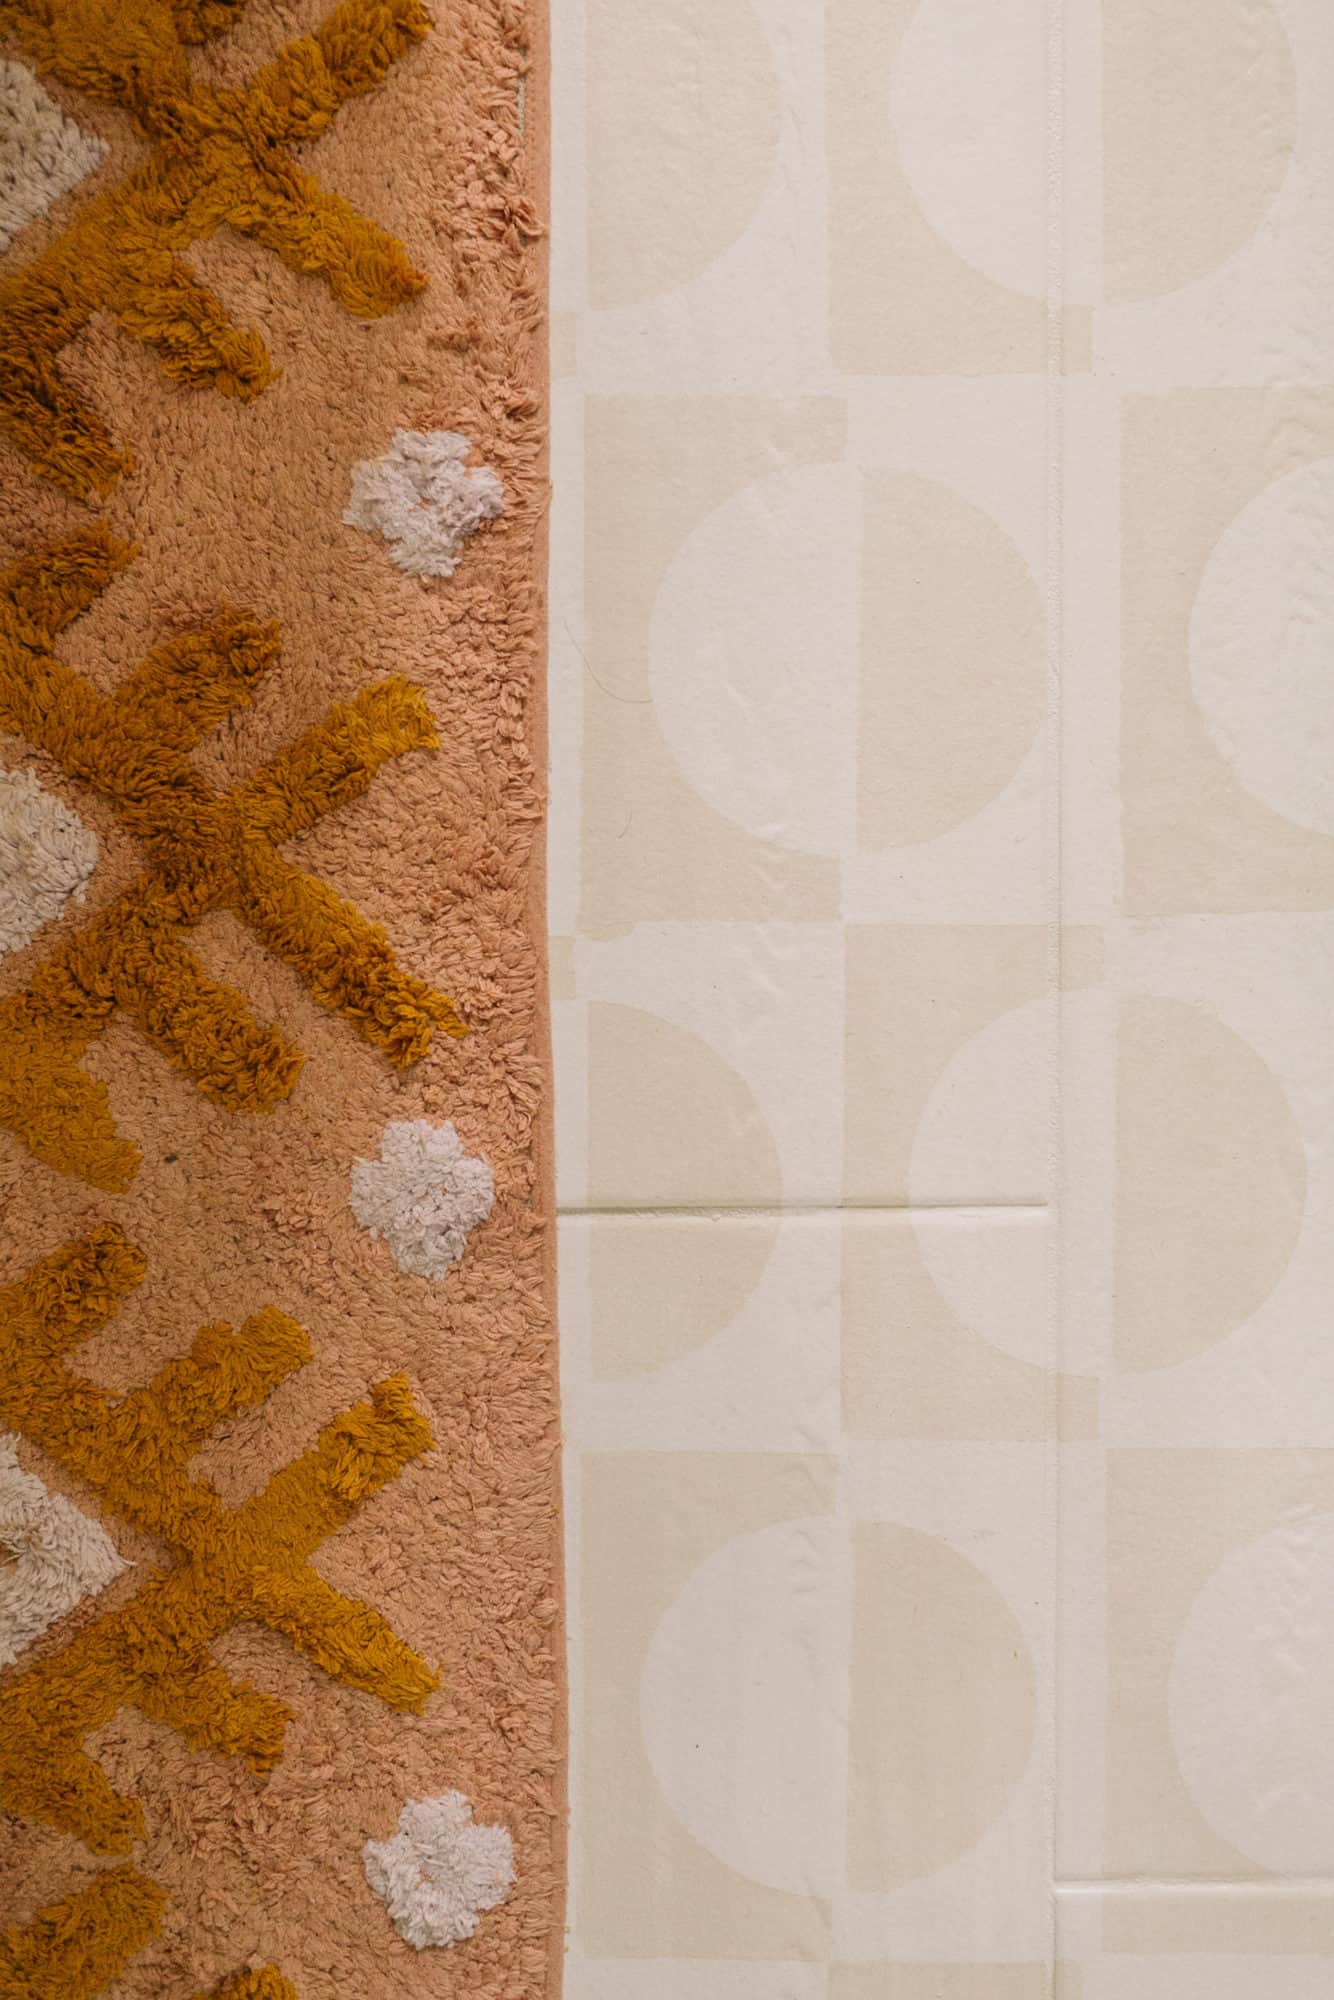 Hope this is helpful if you decide to tackle a stencil project!
P.S. Here’s a link to a similar bath rug.
You did so good Keely!
Laura
Wow Keely you are SO creative and it looks SO GOOD!!! I love love love it and am very inspired, thanks for all the links and helpful tips, too! Just curious, which poly did you seal it with? 🙂 Not sure if we’ll have it in Canada but maybe I can find something similar. Thanks!
Aw thanks so much Nicole! We used Minwax. 🙂
I LOVE this Keely! Looks fabulous!