We moved into our Nashville home seven years ago (man, time flies!) and the very first thing we did was sand down and paint the dark wood kitchen cabinets white to bring some more light into the small kitchen.
Let’s just say that years (and one toddler) later, the paint job had gotten a little dingy and worn in places, and I kept wondering when I’d ever have the time to refresh my kitchen cabinets, since the original act of painting them was such a big process.

That sounded way more doable than devoting a weekend to the job and once it was done it made a huge difference in how fresh the space feels—I’ll show you what I did!
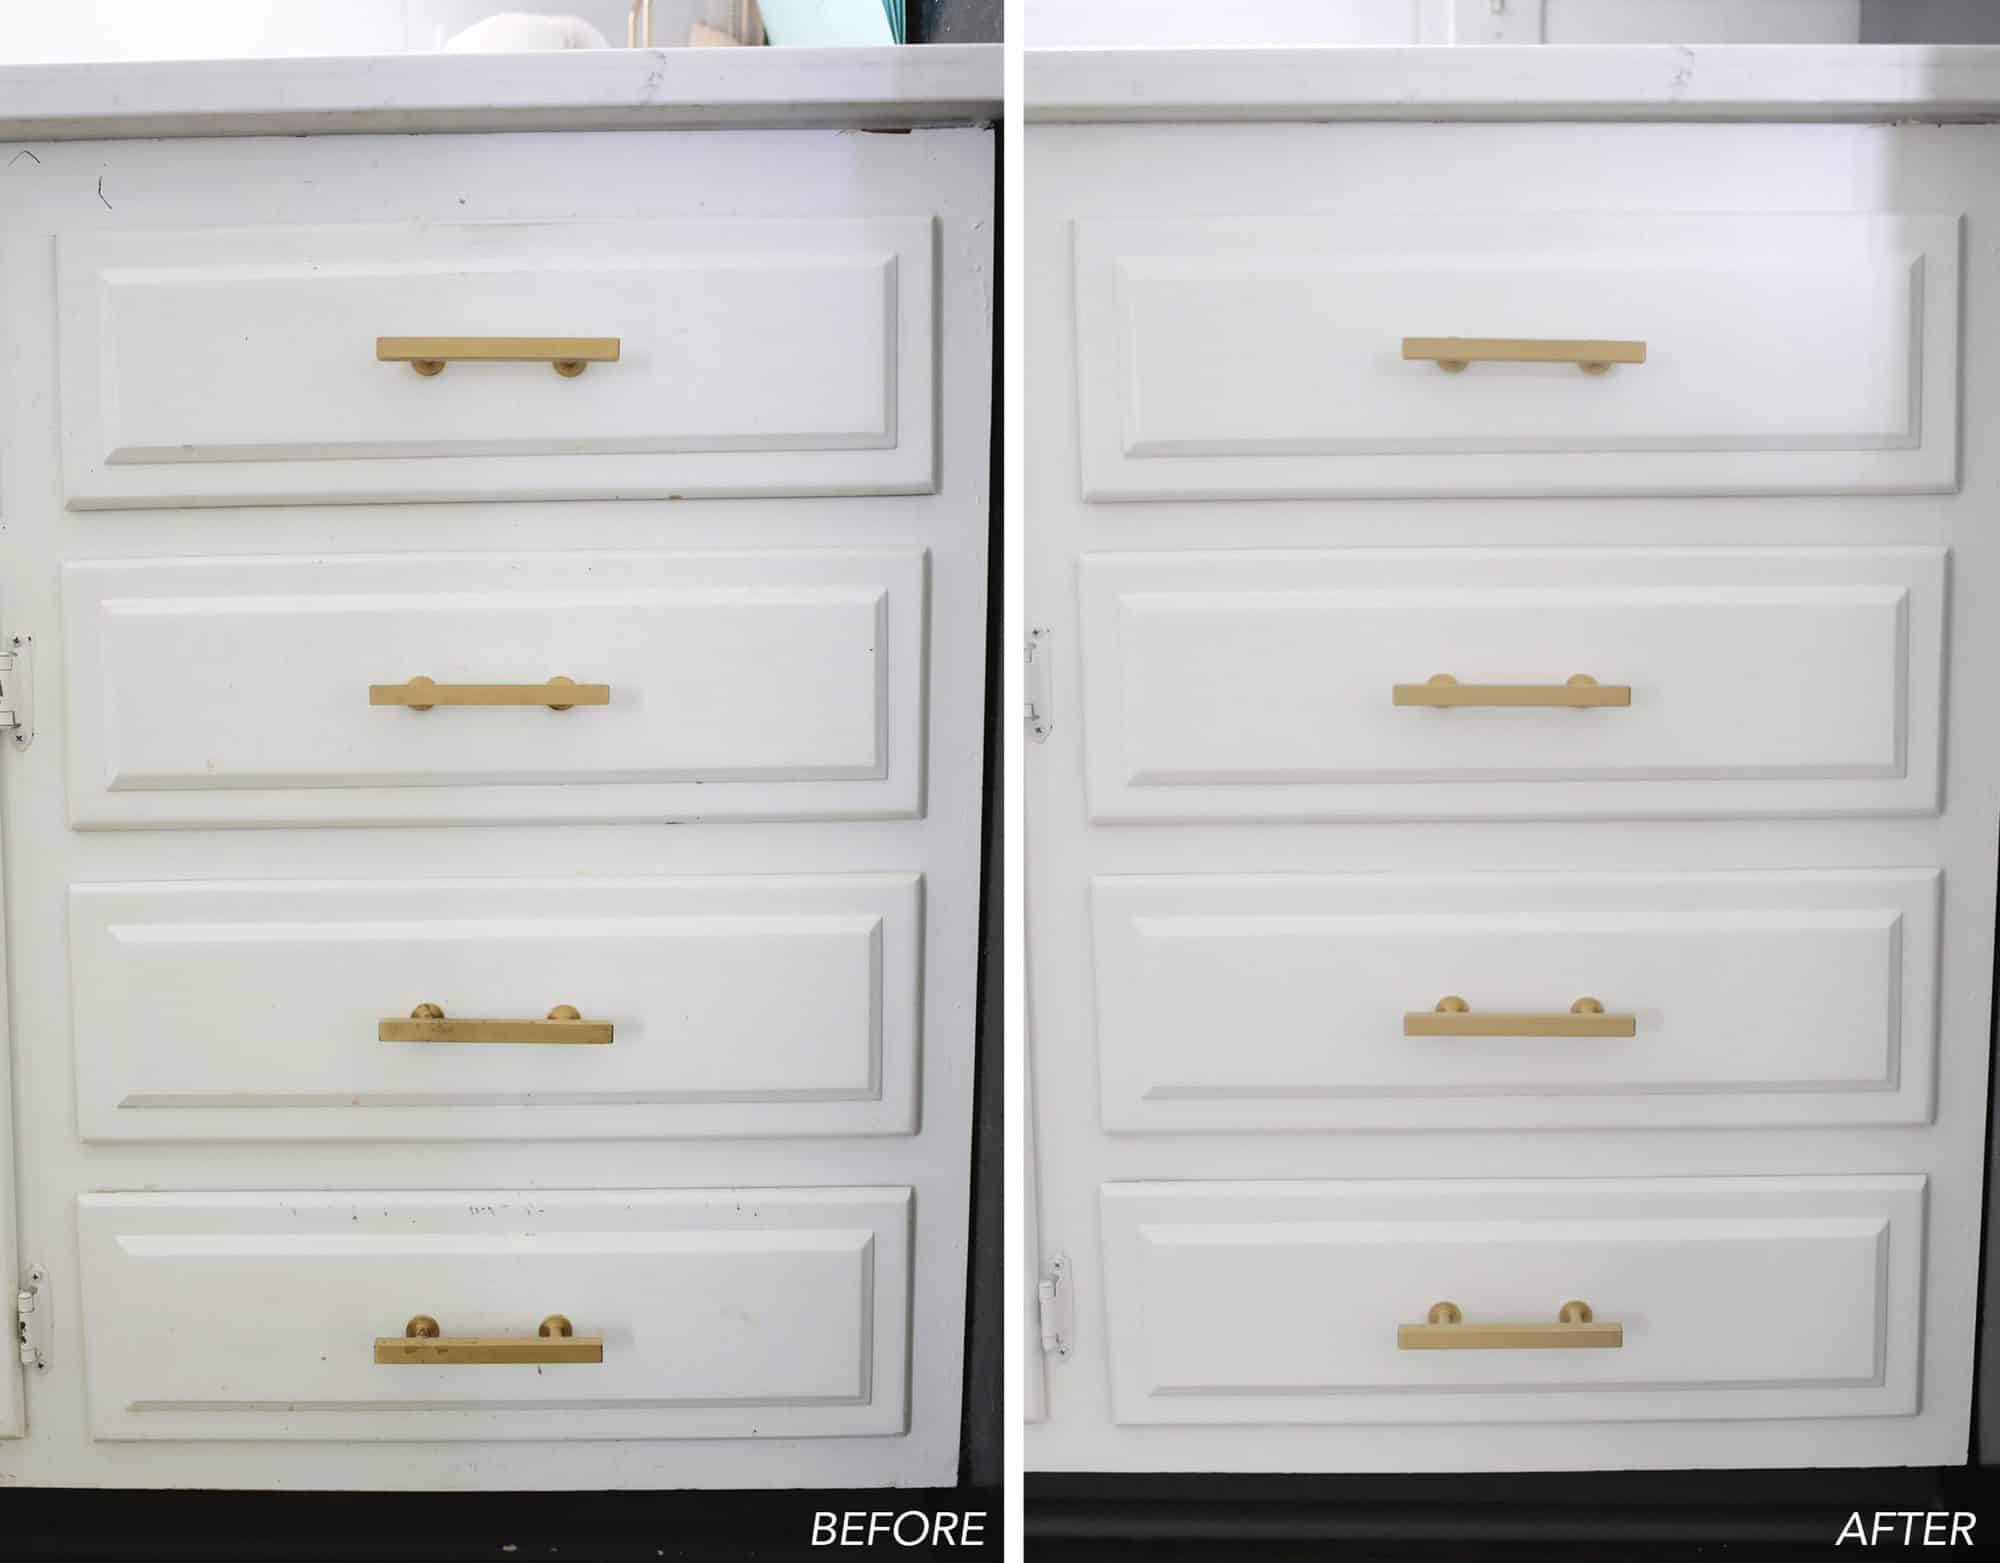
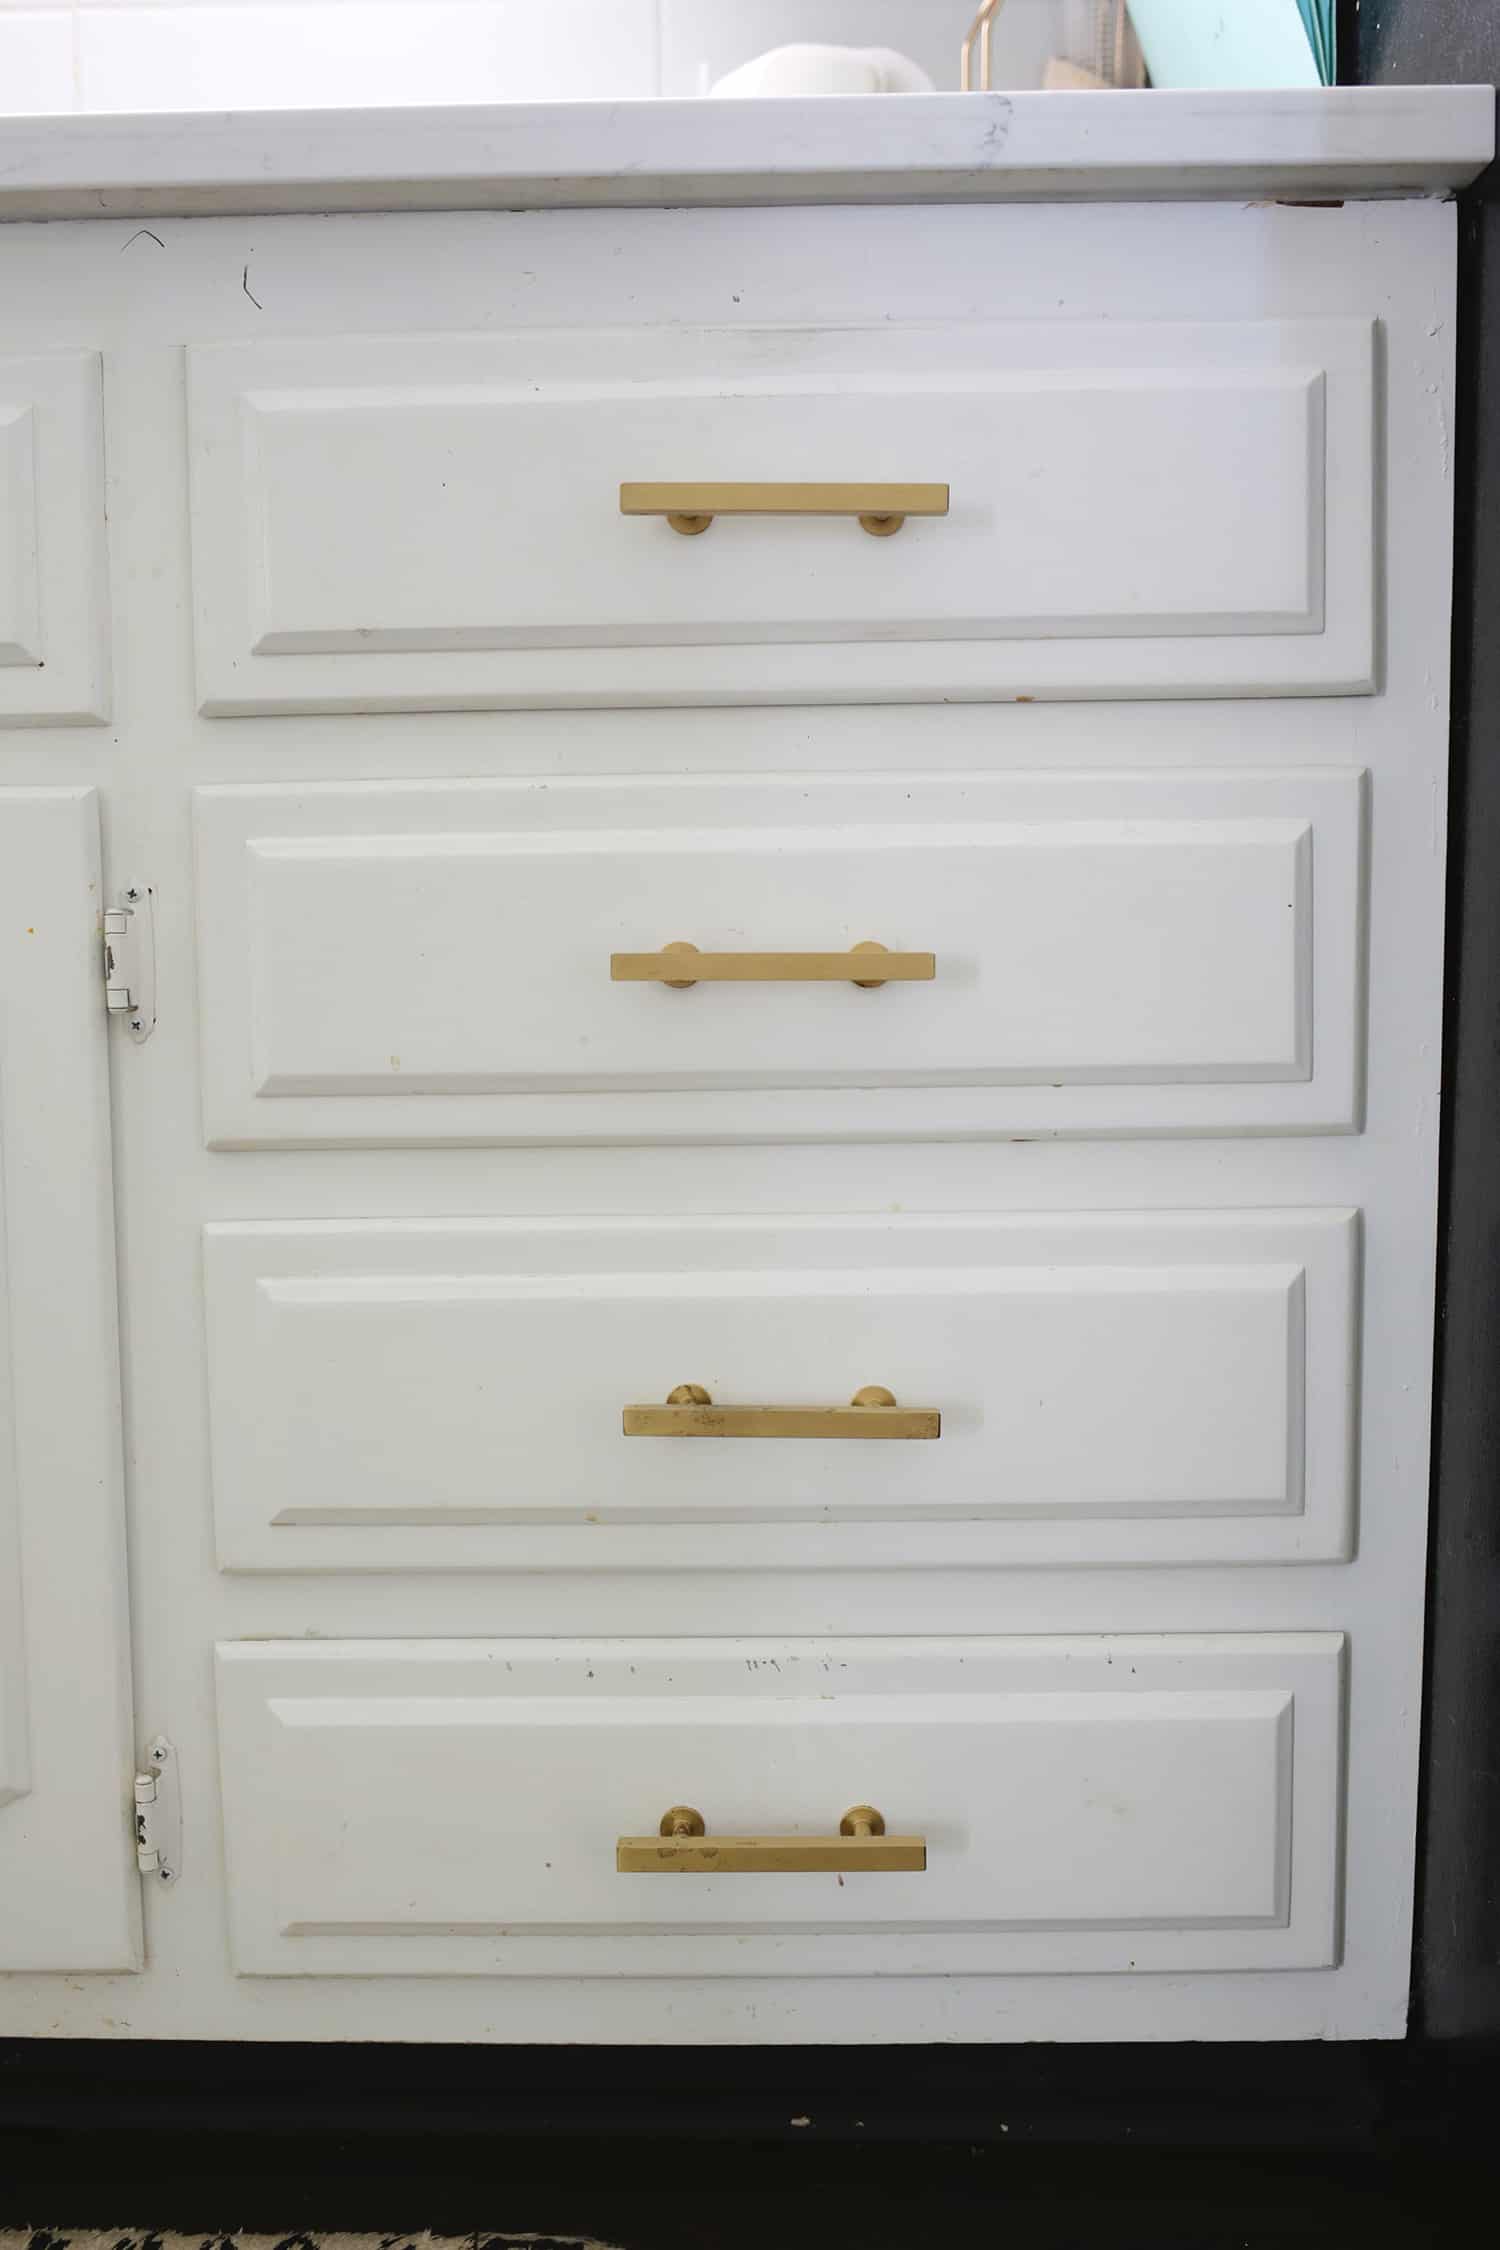
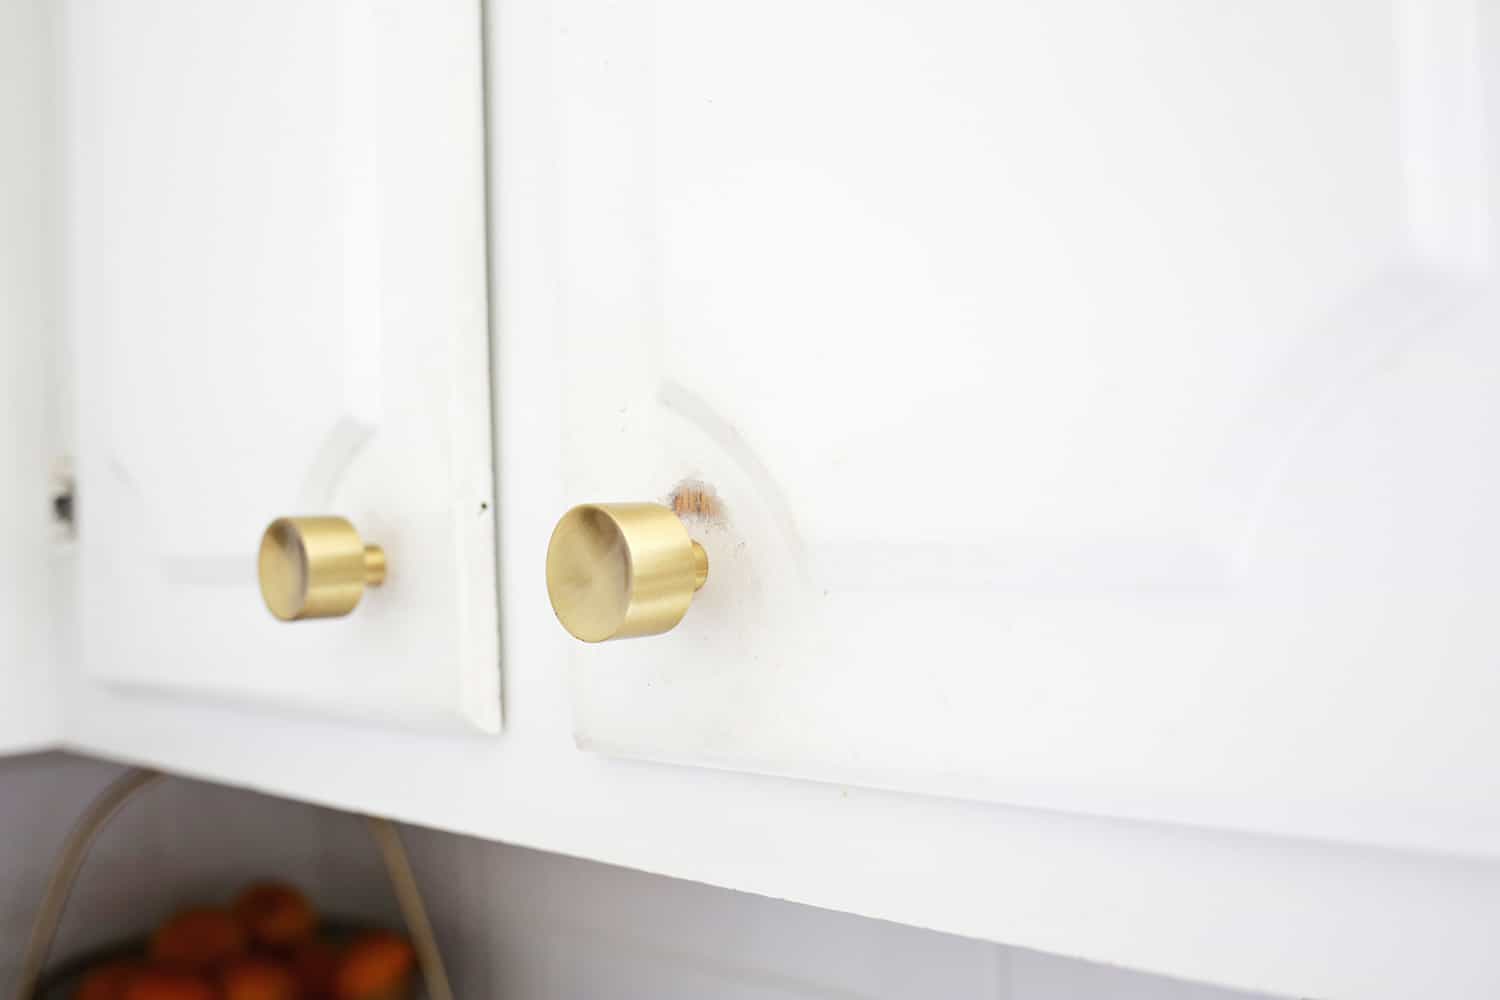
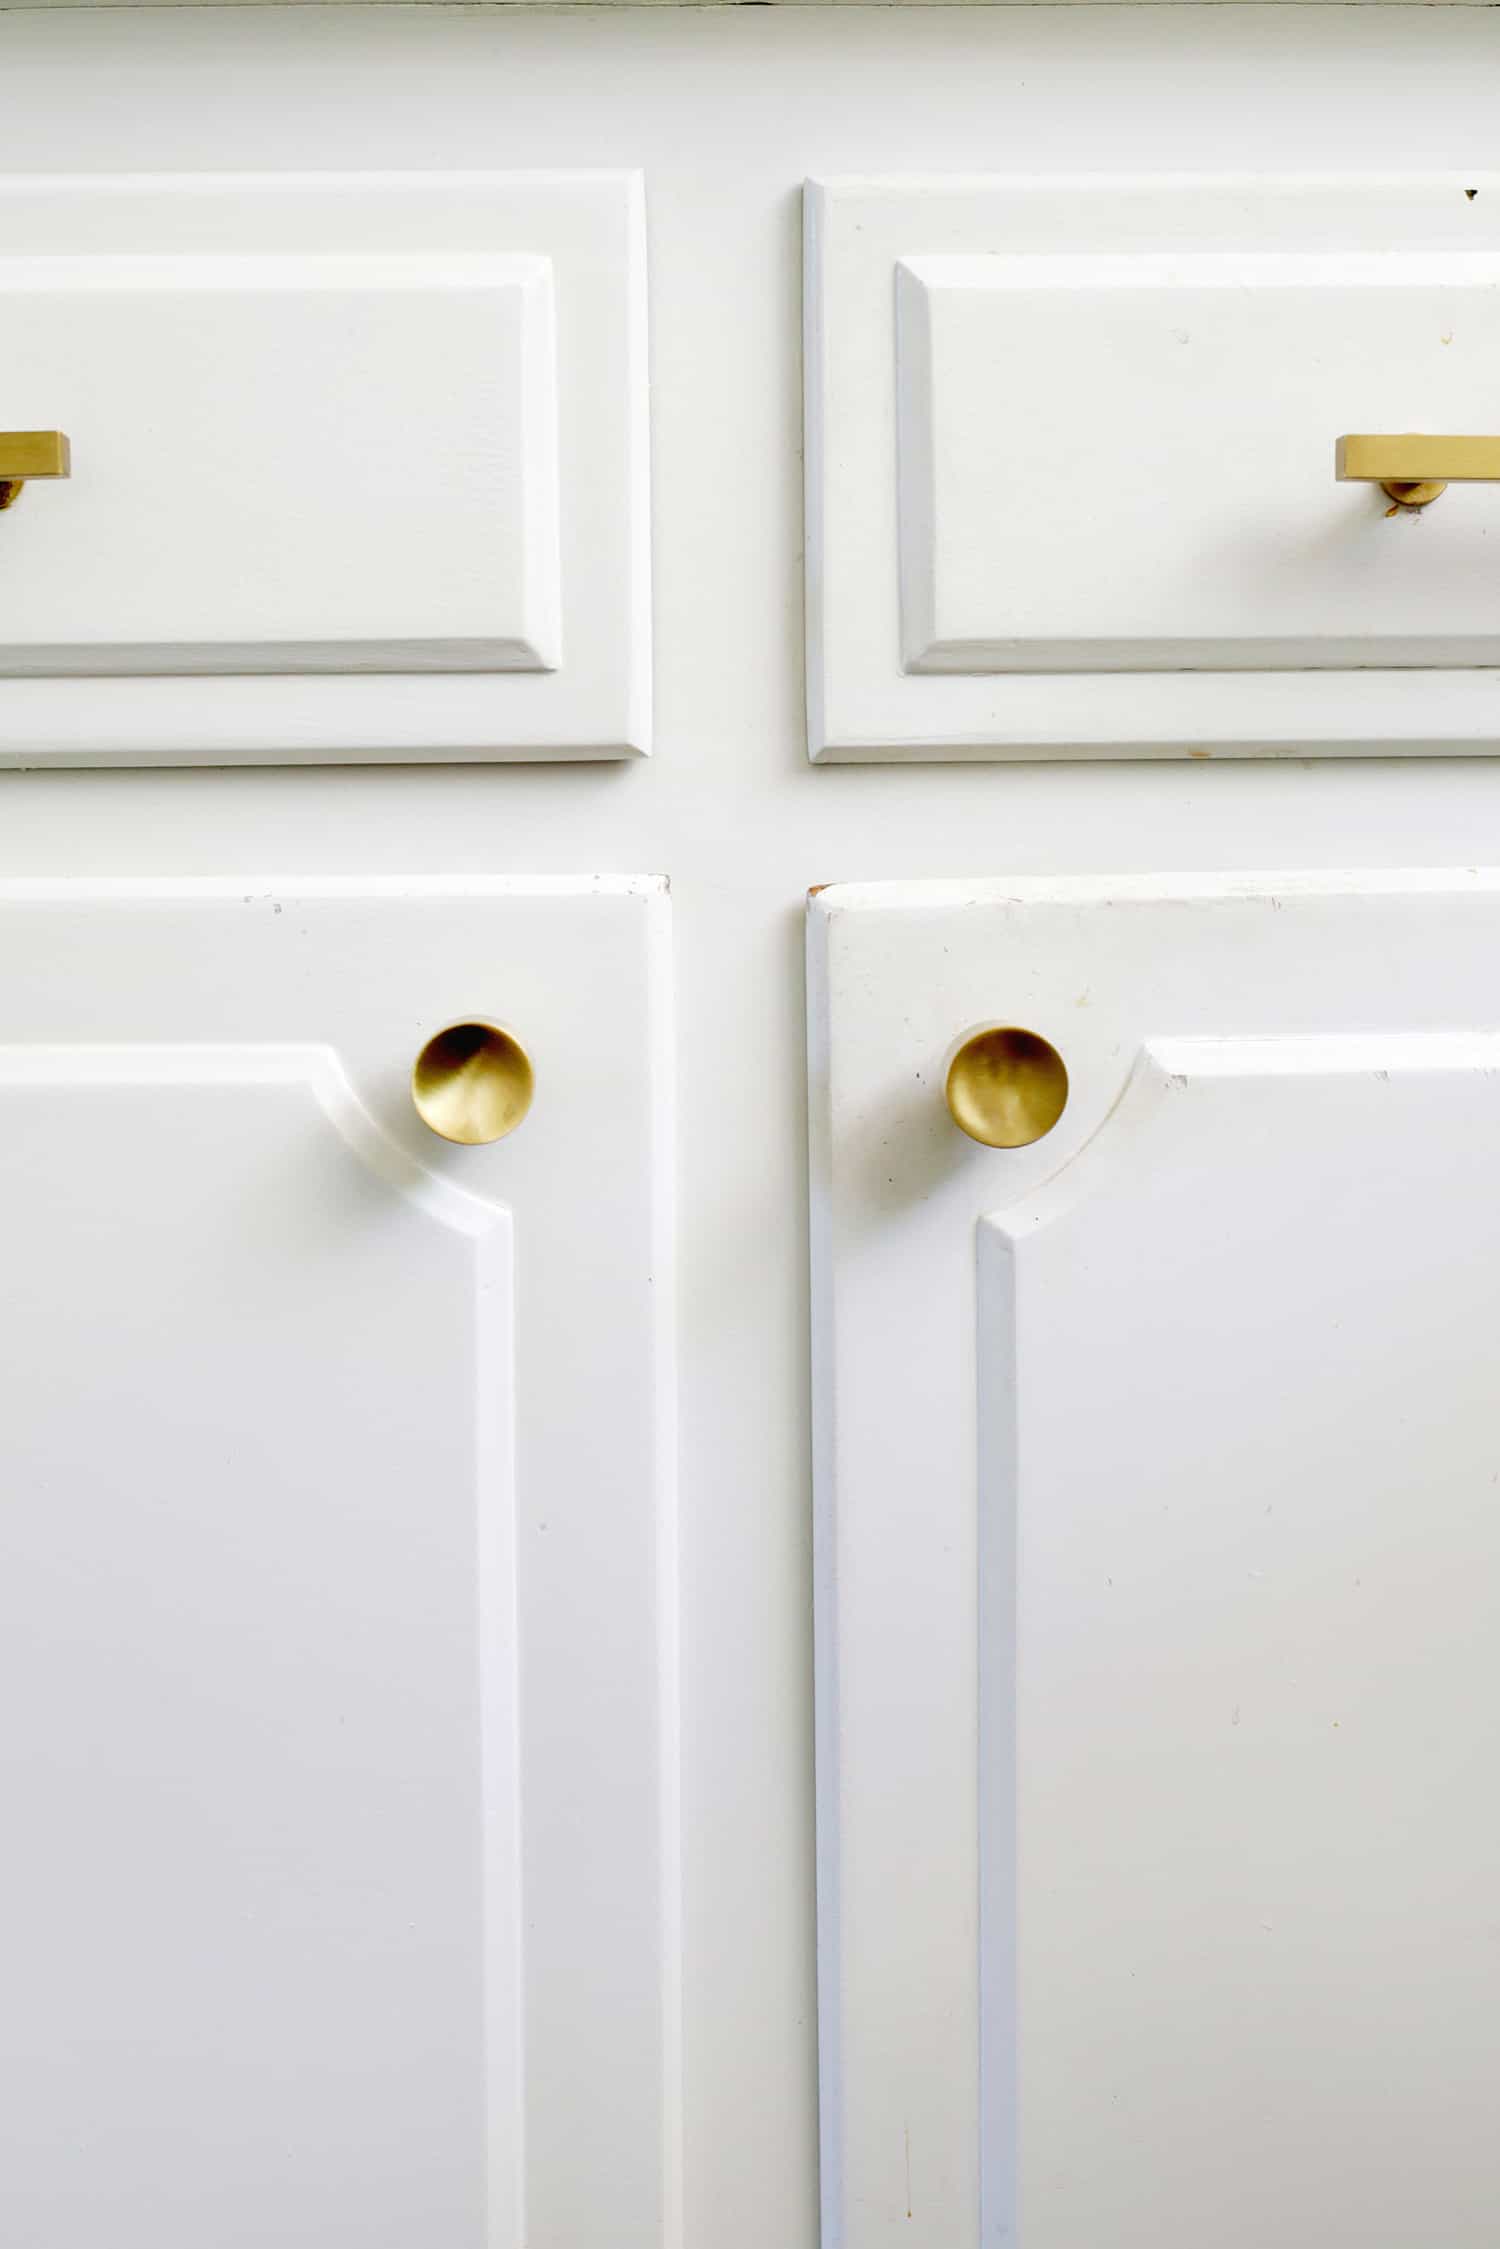
You can see above in the before pictures that we were definitely in need of a refresh. Years of daily use really does leave a mark!
Clean and De-Grime the Cabinets
This step may sound like just a preparation for the real change later, but I was amazed at how much better the cabinets looked just by doing a thorough cleaning with a magic eraser.
I could still see the spots where the paint was worn through, but it felt so much cleaner overall, and showed me where the paint was still in good shape.
I knew if I ran out of time, I could skip repainting those areas. It’s also a good idea in a kitchen to use some dish soap and water to wipe down areas before repainting.
Any grease from cooking that’s still on the paint may keep your touch-up paint from adhering properly, so you want to use some soapy water or degreaser product to get it off first. They also make these magic erasers that have soap in them so you can do both jobs in one!
You can see above that the left side has been cleaned and the right hasn’t … even though there is still some chipped paint, they look so much newer already!
Give the Cabinets a Light Sanding
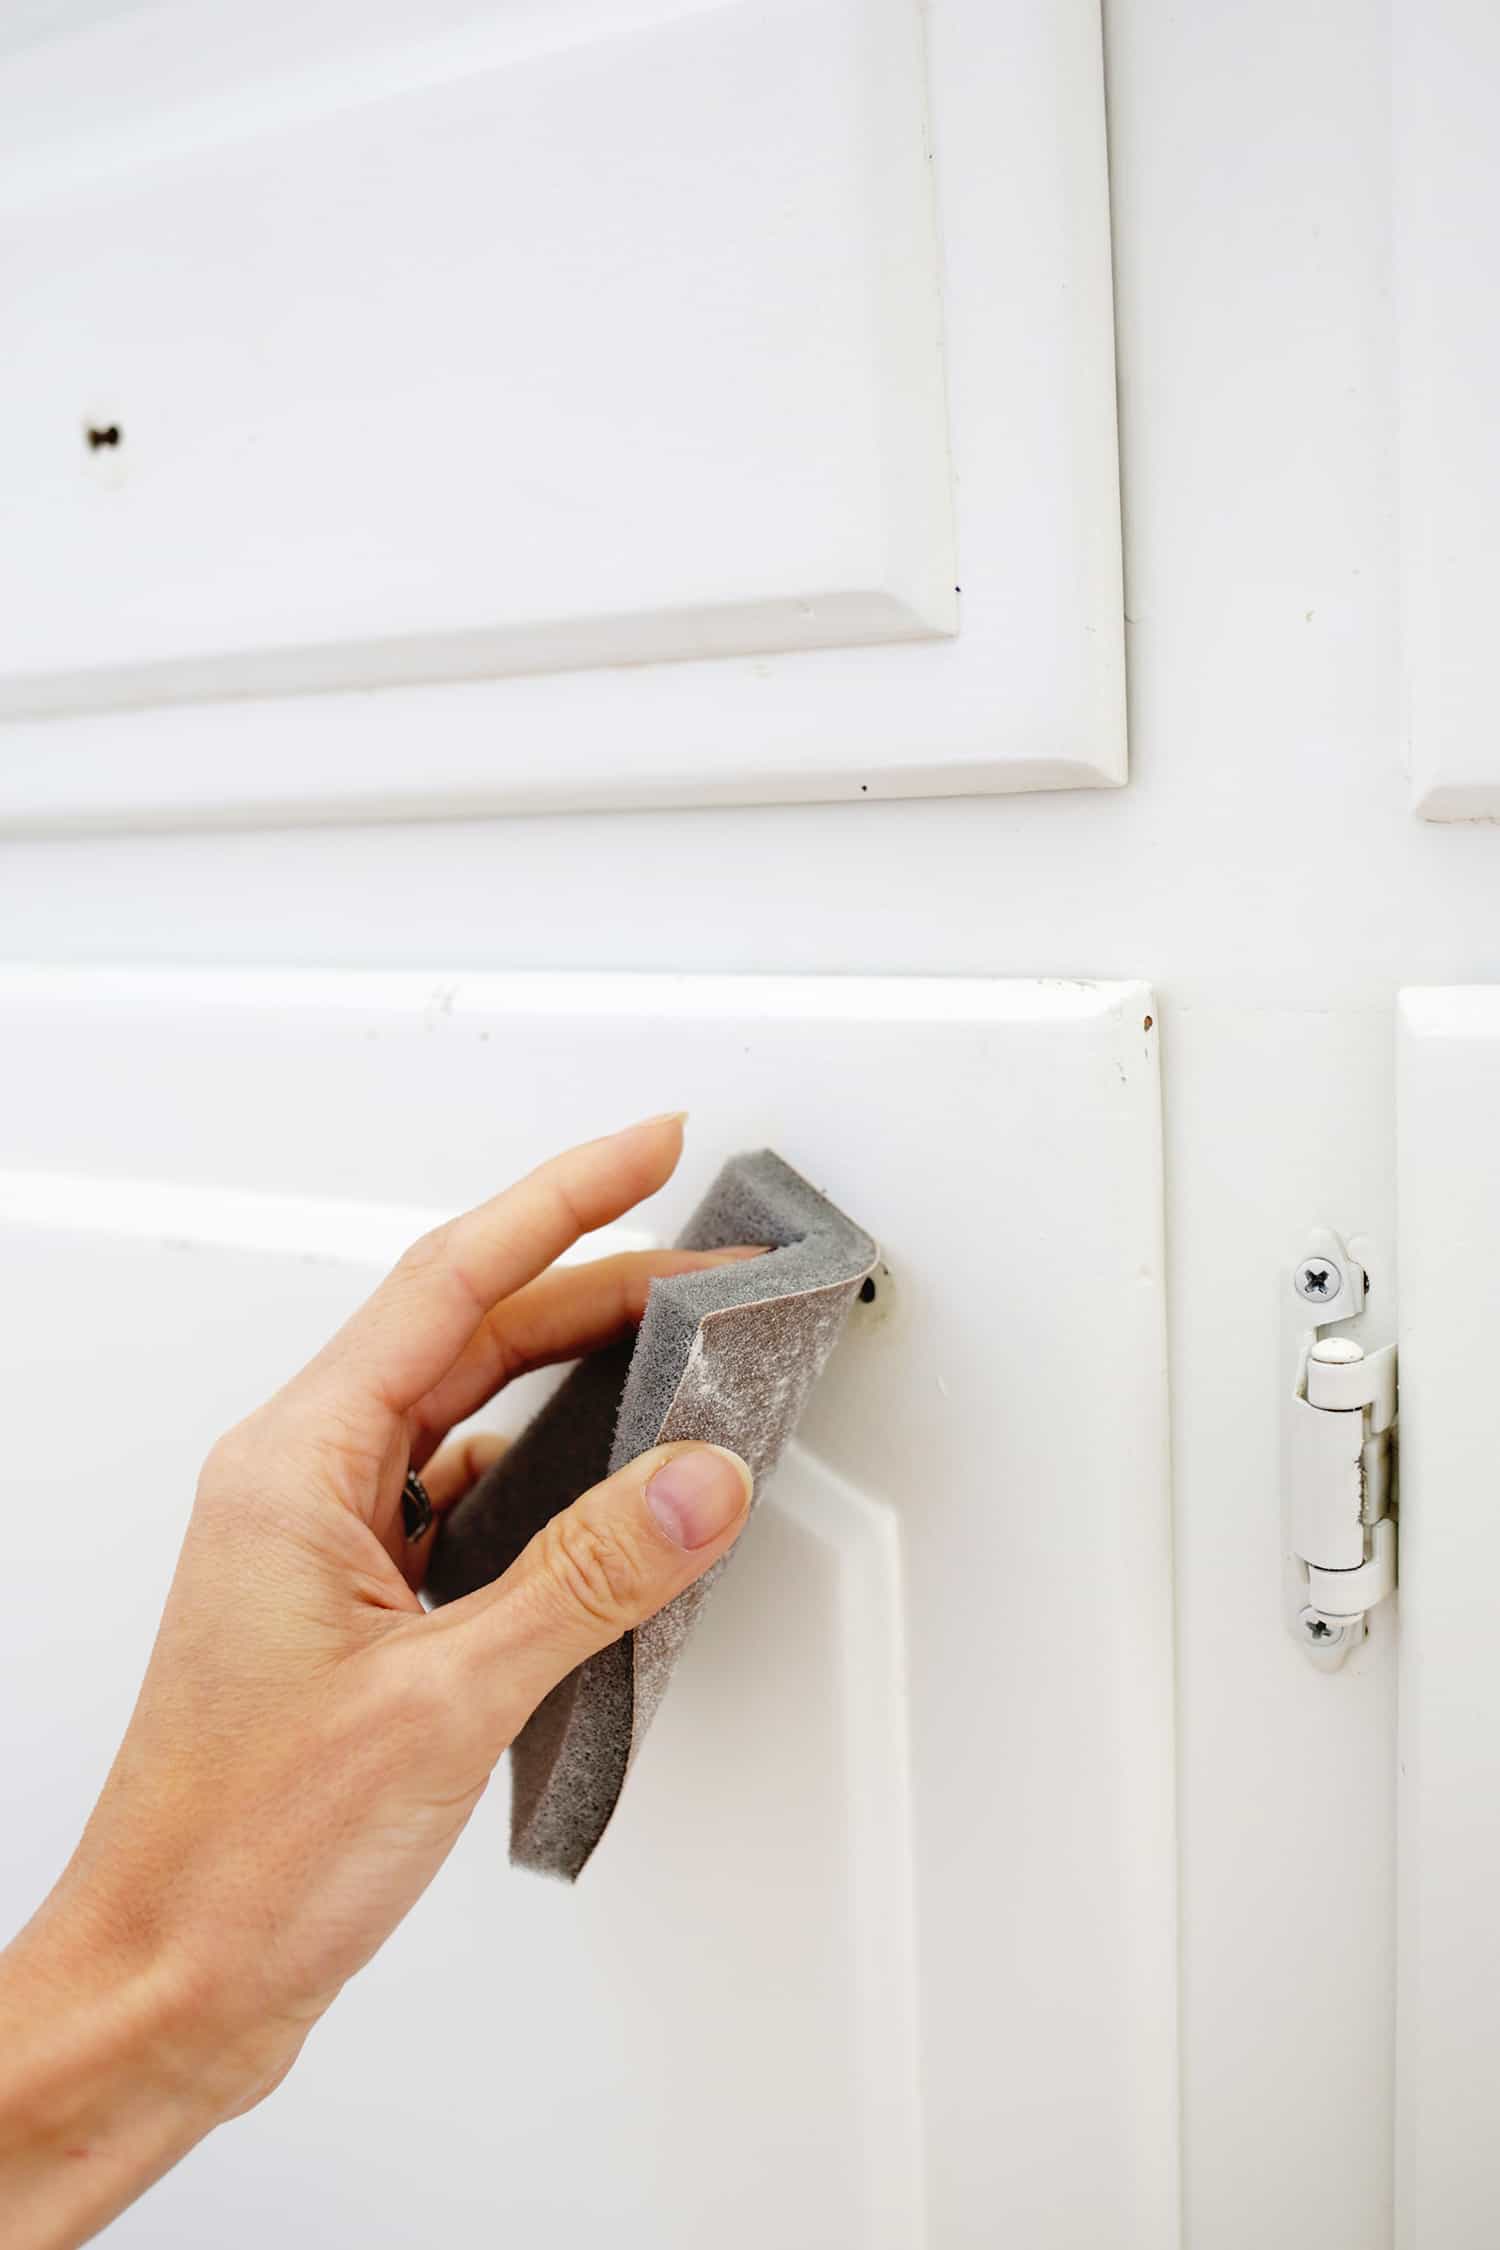
Once your wood is clean, use some fine sandpaper (I like this brand) to gently rough up the paint in the areas where you want to do a paint touch-up. You don’t want to sand through down to the wood, so don’t feel like you need to sand very hard.
A light scuffing of the surface will help the new paint stick a little better. I also like using a sanding sponge with a foam back so I can sand an area and then wipe off the dust with the soft foam part.
Add some Touch-Up Paint to the Bare Spots
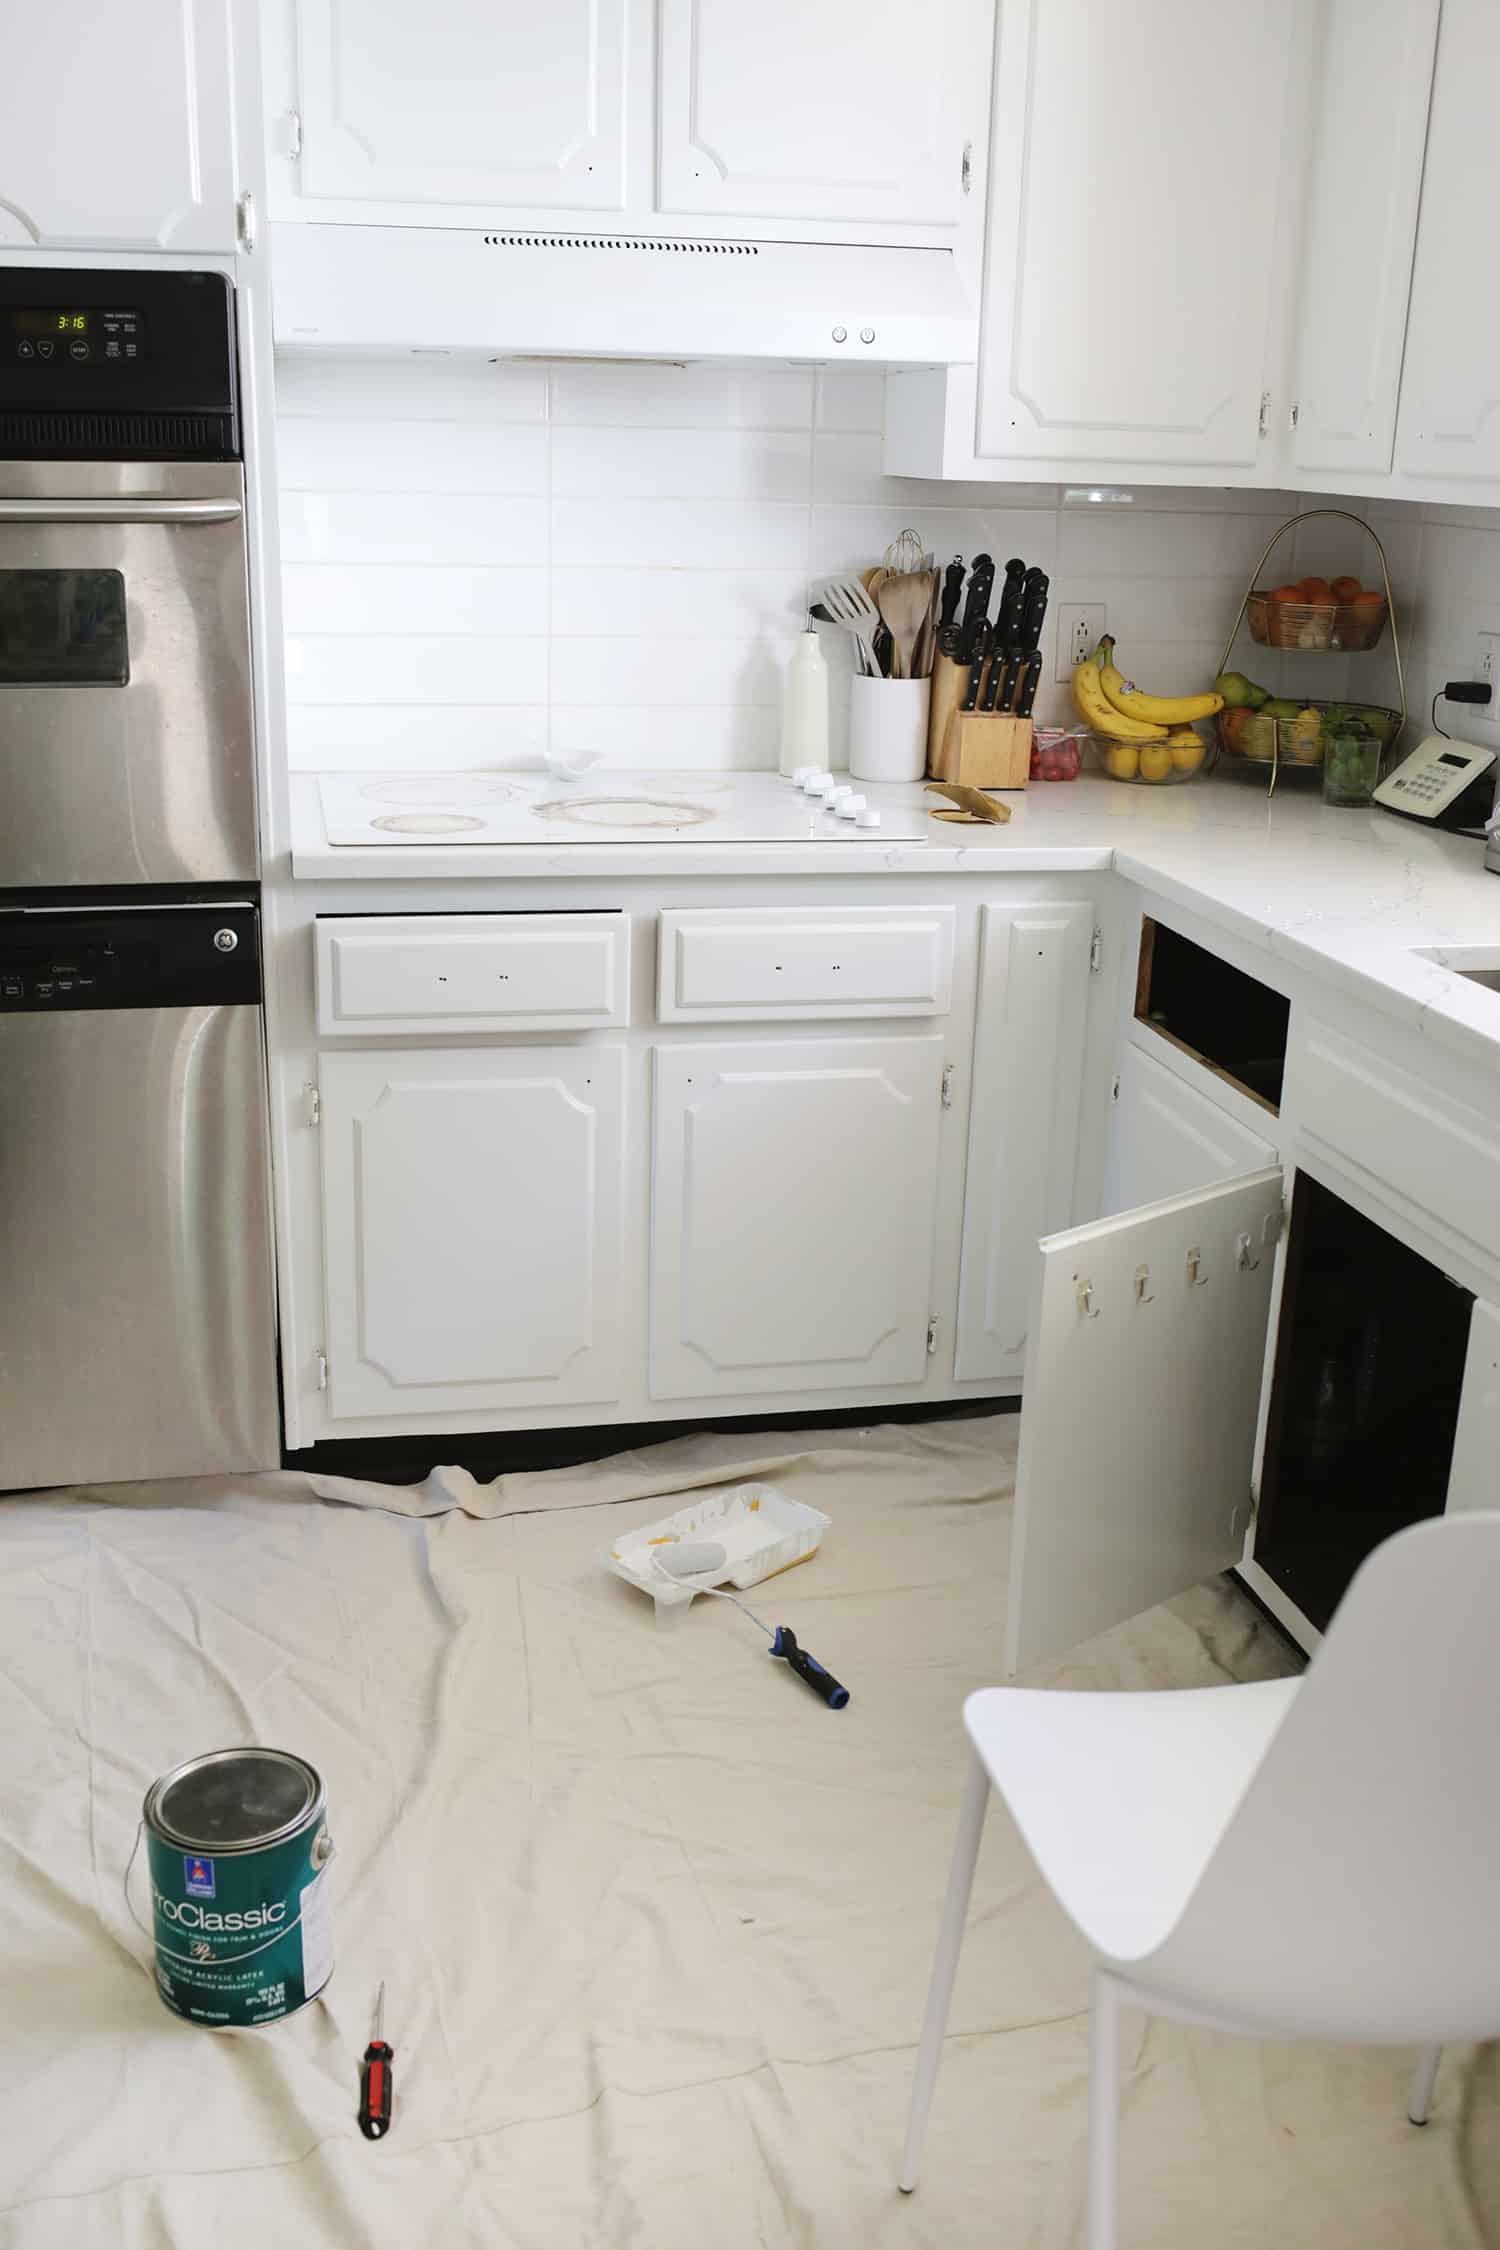
I like to use a brush (this is my favorite one) for hard-to-reach areas of the cabinets, but painting wherever I can reach with a foam roller really gives you the best look overall. Use that where you can on any flat areas (make sure to take off your cabinet knobs and pulls first).
I was just going to paint the most worn areas of my doors, but once I got going, I realized that it’s actually pretty quick to do the full door or drawer when you’re just doing a touch-up coat of the same color.
So, I just painted all the fronts and it really didn’t take much longer. And if you can take out your drawers first, that can make them a lot easier to paint as well.
As you can probably guess by now, I’m assuming you know what paint was used on the cabinets last time they were painted so you can get more for a touch up.
So, if you don’t already have a way to keep track of what paint colors you use in your home, I highly recommend writing it down somewhere so you can reference the list as needed!
If you don’t know the exact color, you can bring home a million paint swatches until you find one that looks super close, but you’ll probably need to paint the full cabinet door rather than just one corner in case the color isn’t a 1,000% match.
Also, if you have a “kick plate” area like I do at the bottom of your cabinets (it’s where your baseboard/quarter round is near the floor), touching that up while you’re painting is a great idea. It gets kicked and scuffed a lot with your feet (hence the name)!
It’s a relatively small area and it only took 4-5 minutes to repaint mine, but it definitely helped the whole thing feel new again.
Replace Old/Worn Hardware (Or Clean It)
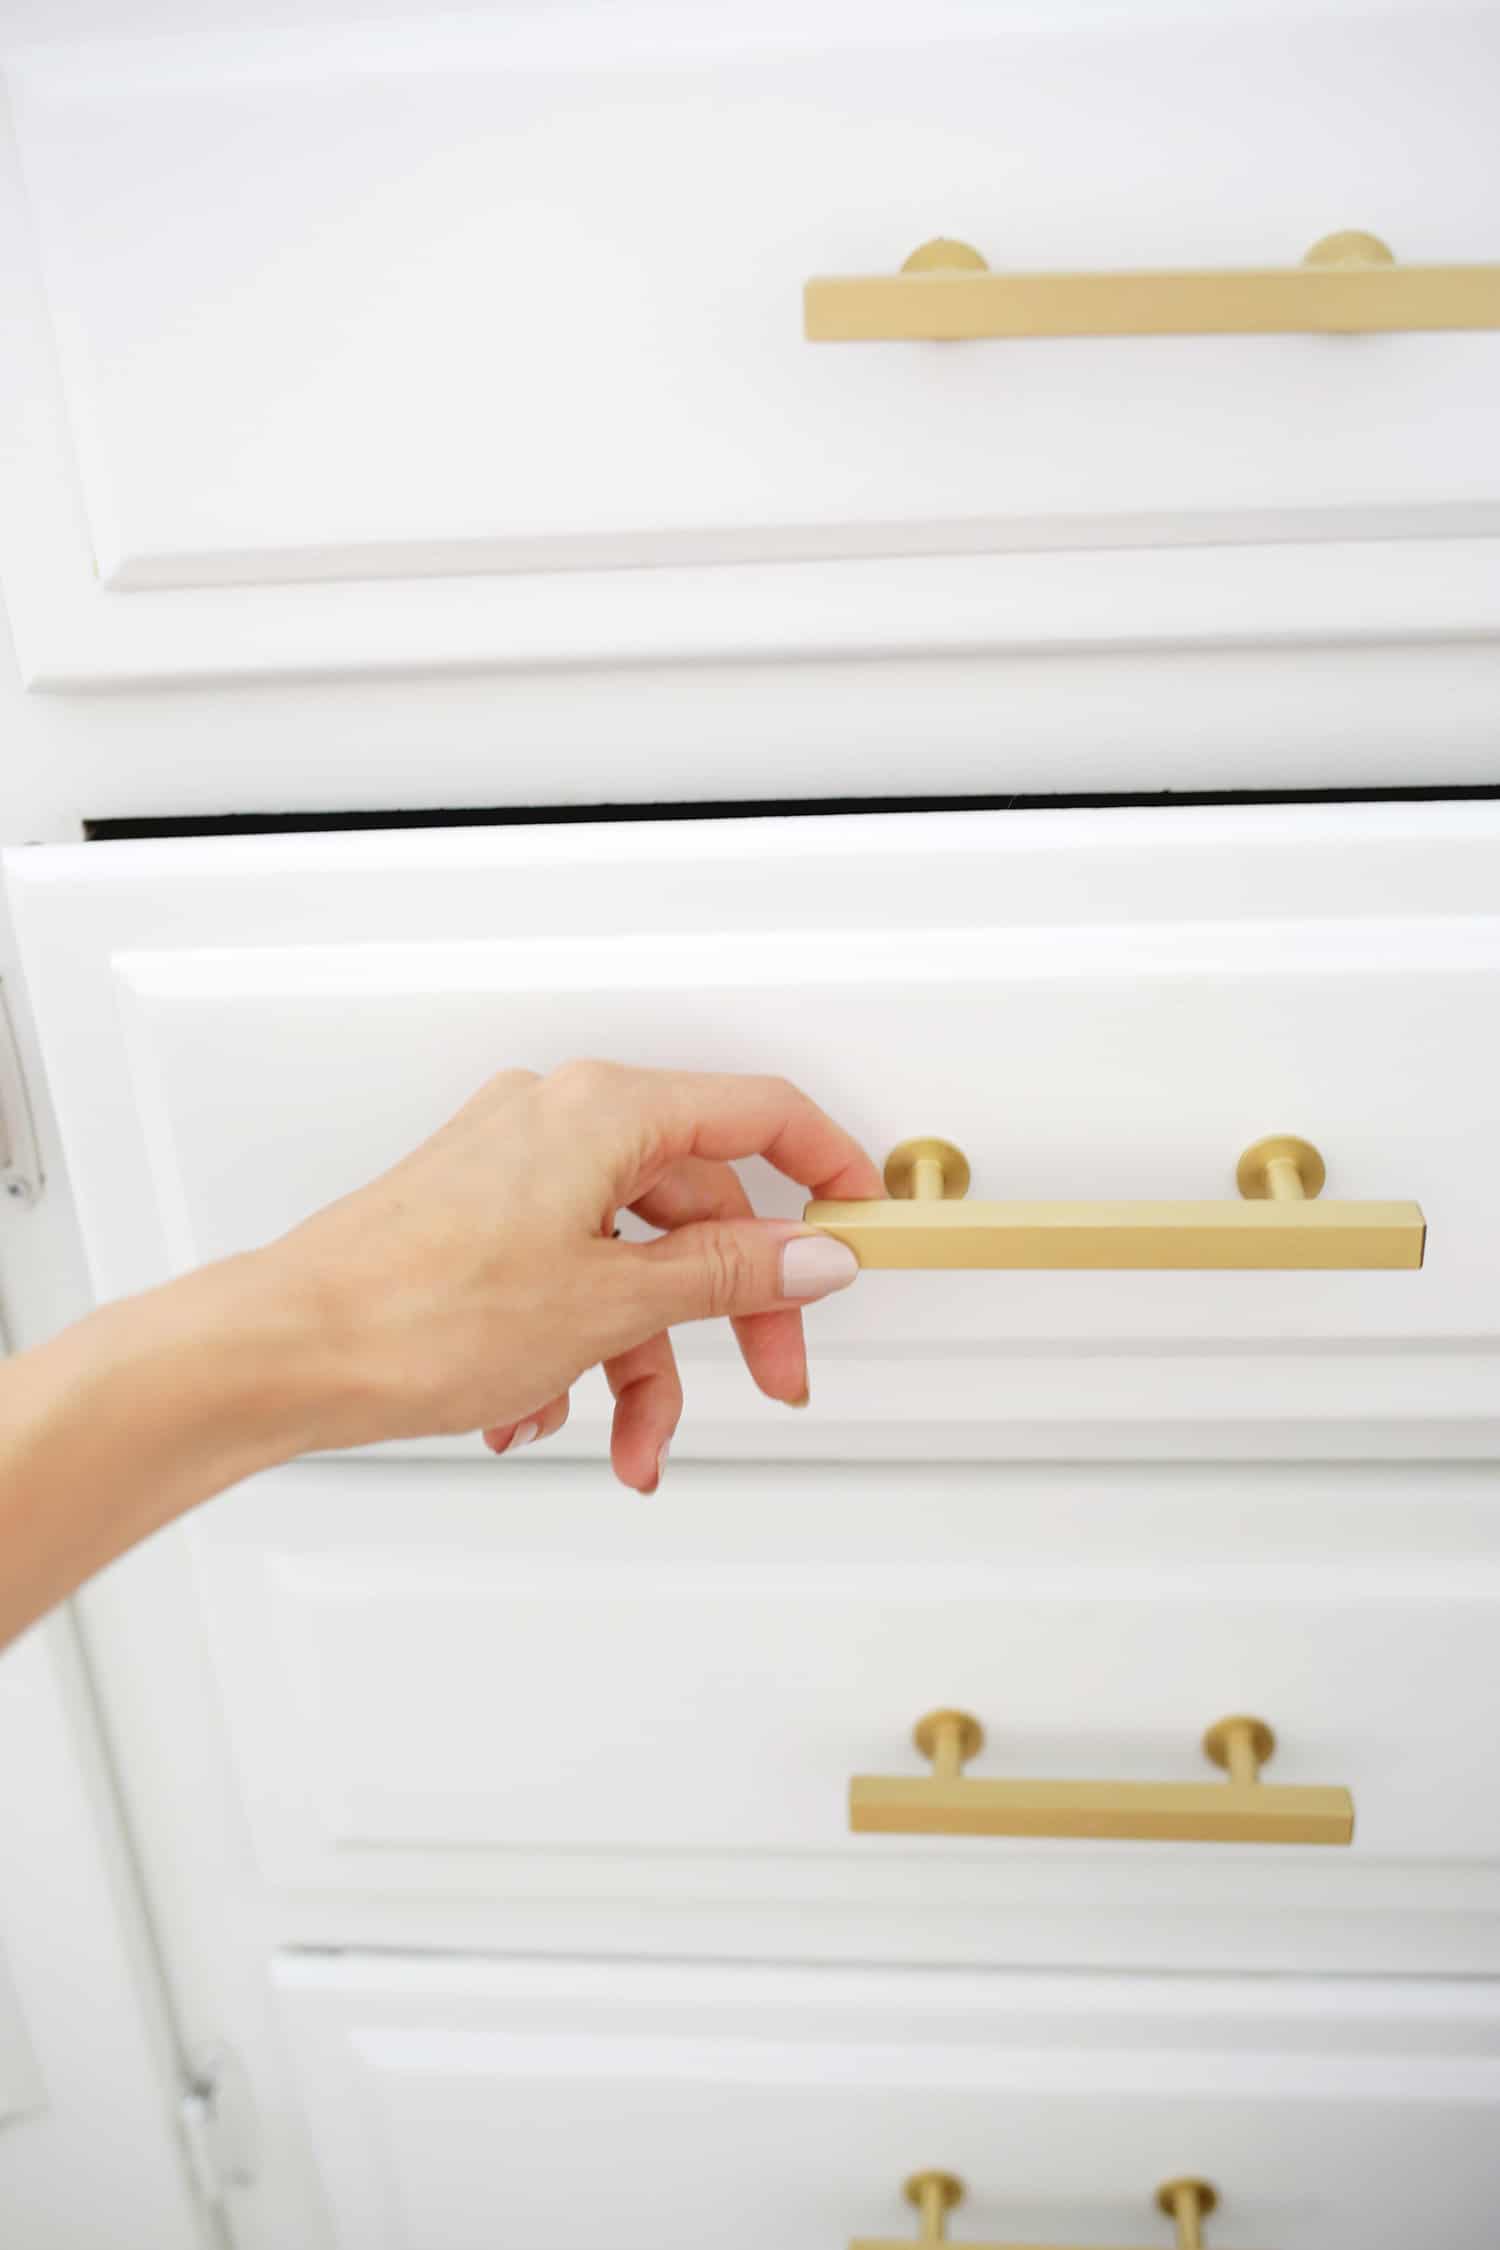
It was pretty obvious to me that tarnished hardware was another reason that our kitchen was looking a little grimy. So if that’s the case for you as well, giving your hardware a cleaning or a polish can also really help make them look as good as new.
And, you can work on this while your paint is drying, so it won’t take any longer either! It may also be a good time to do a hardware upgrade if you chose a more budget-friendly option the first time around.
I personally love Schoolhouse hardware and find it wears really well over time.
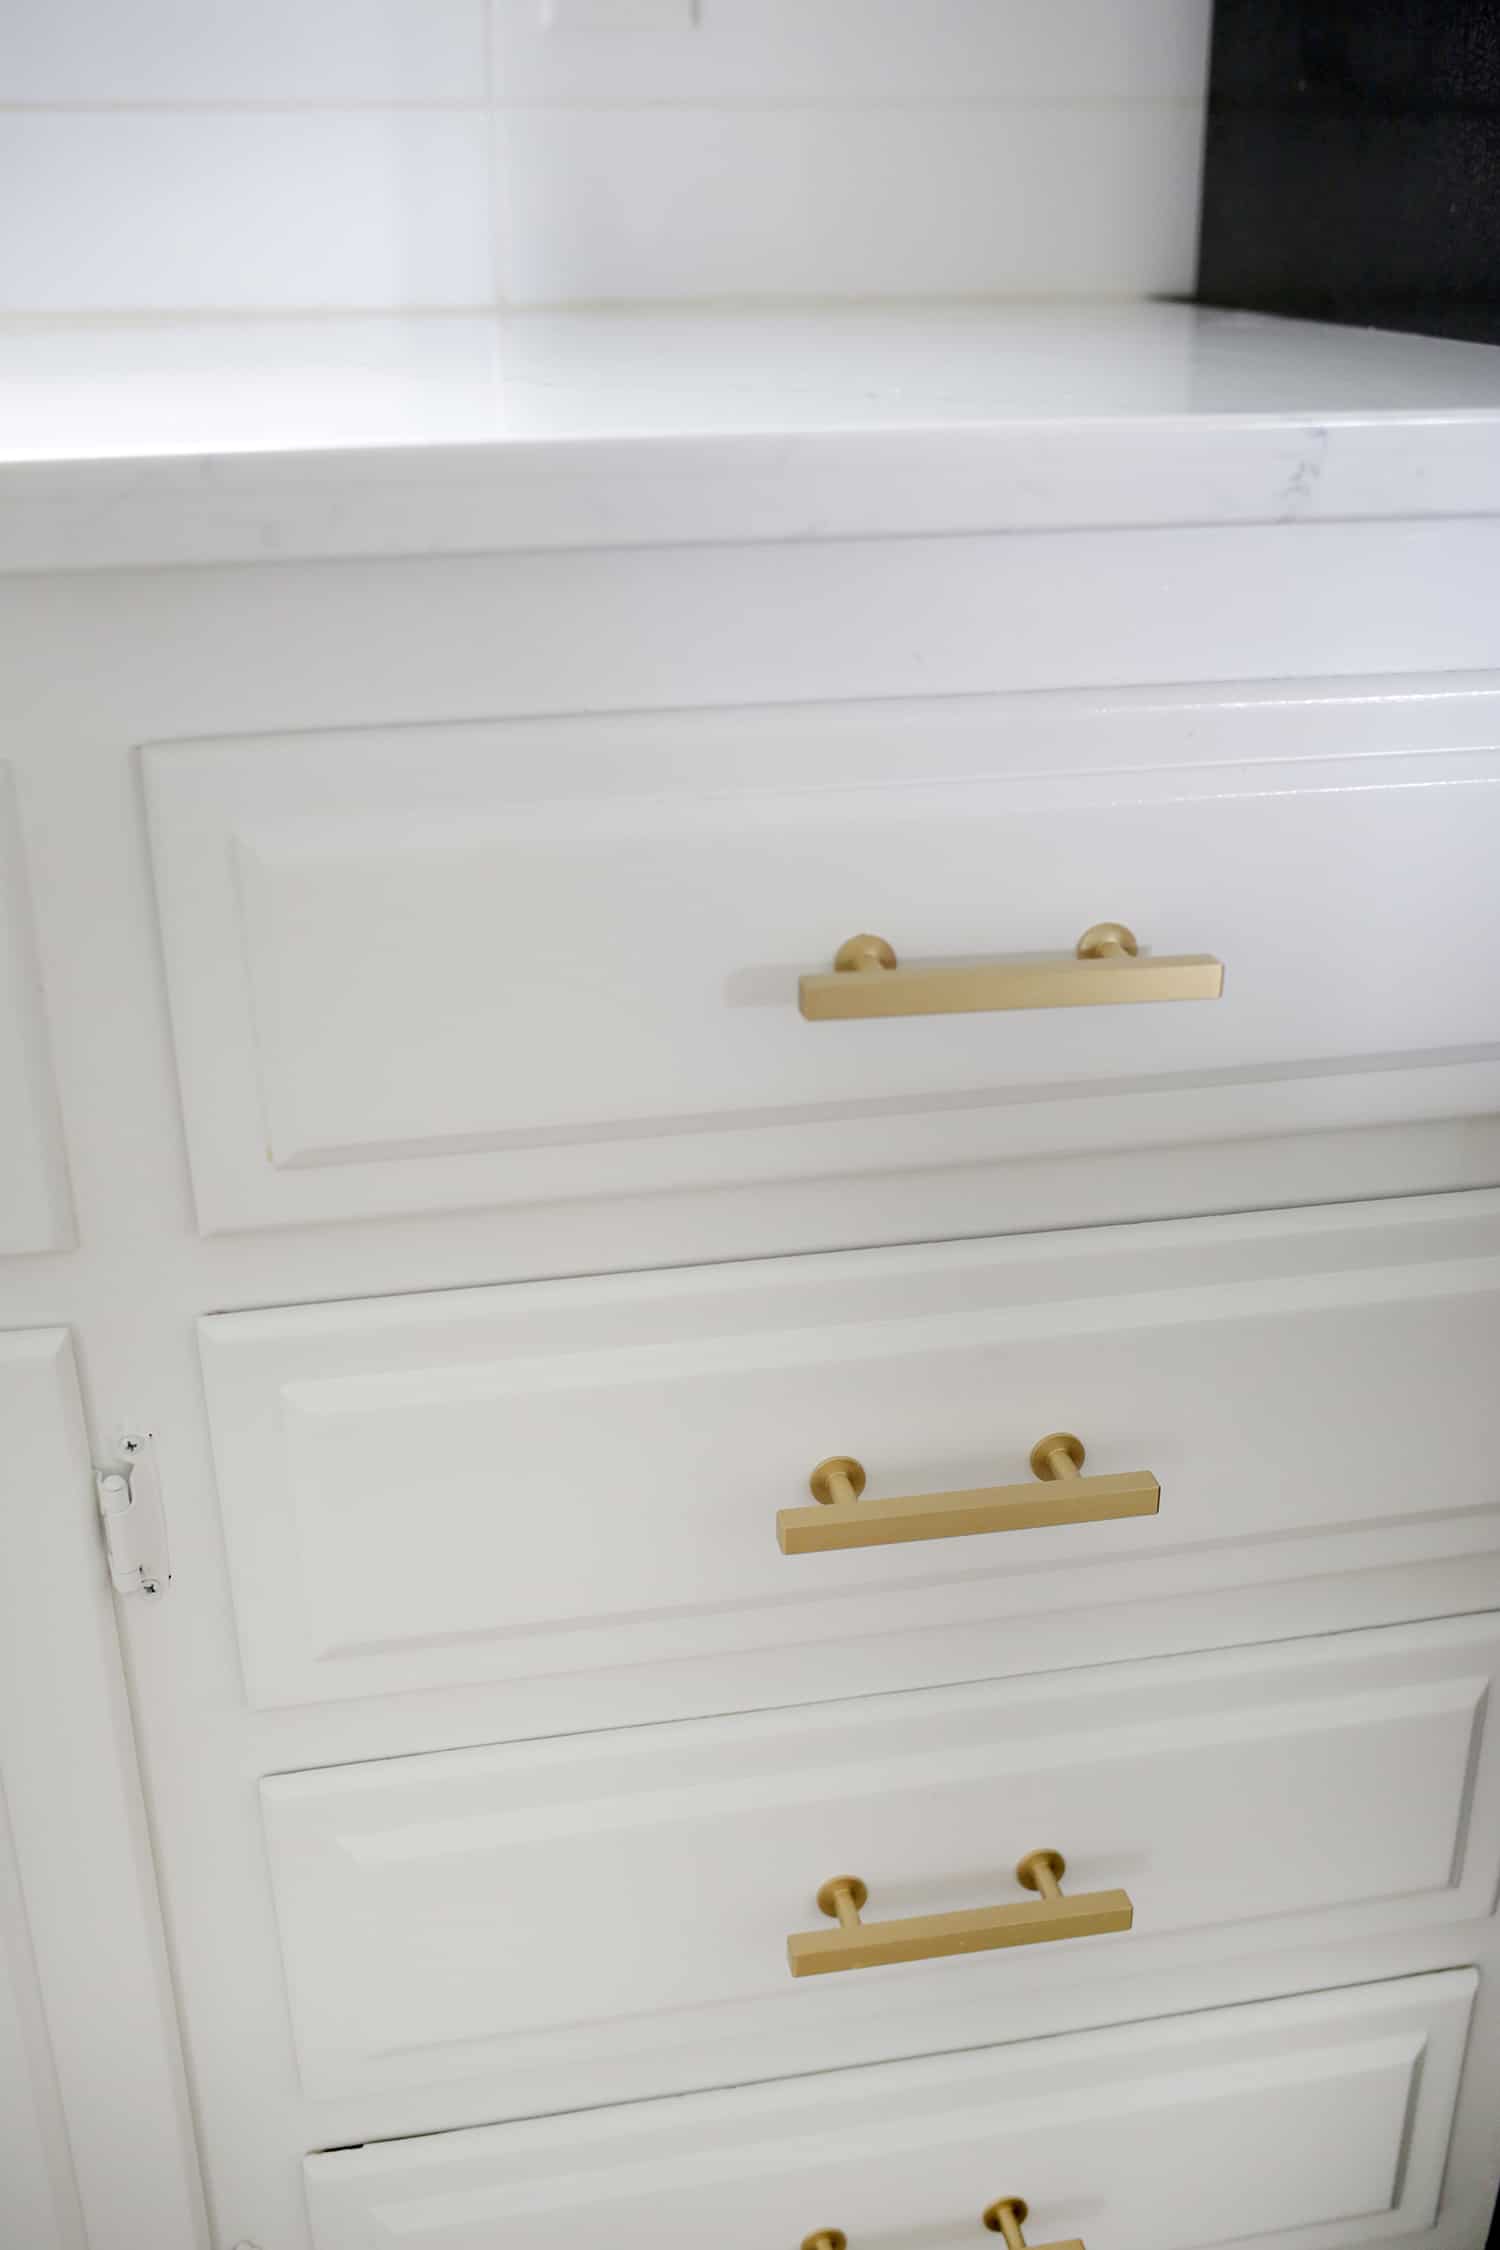
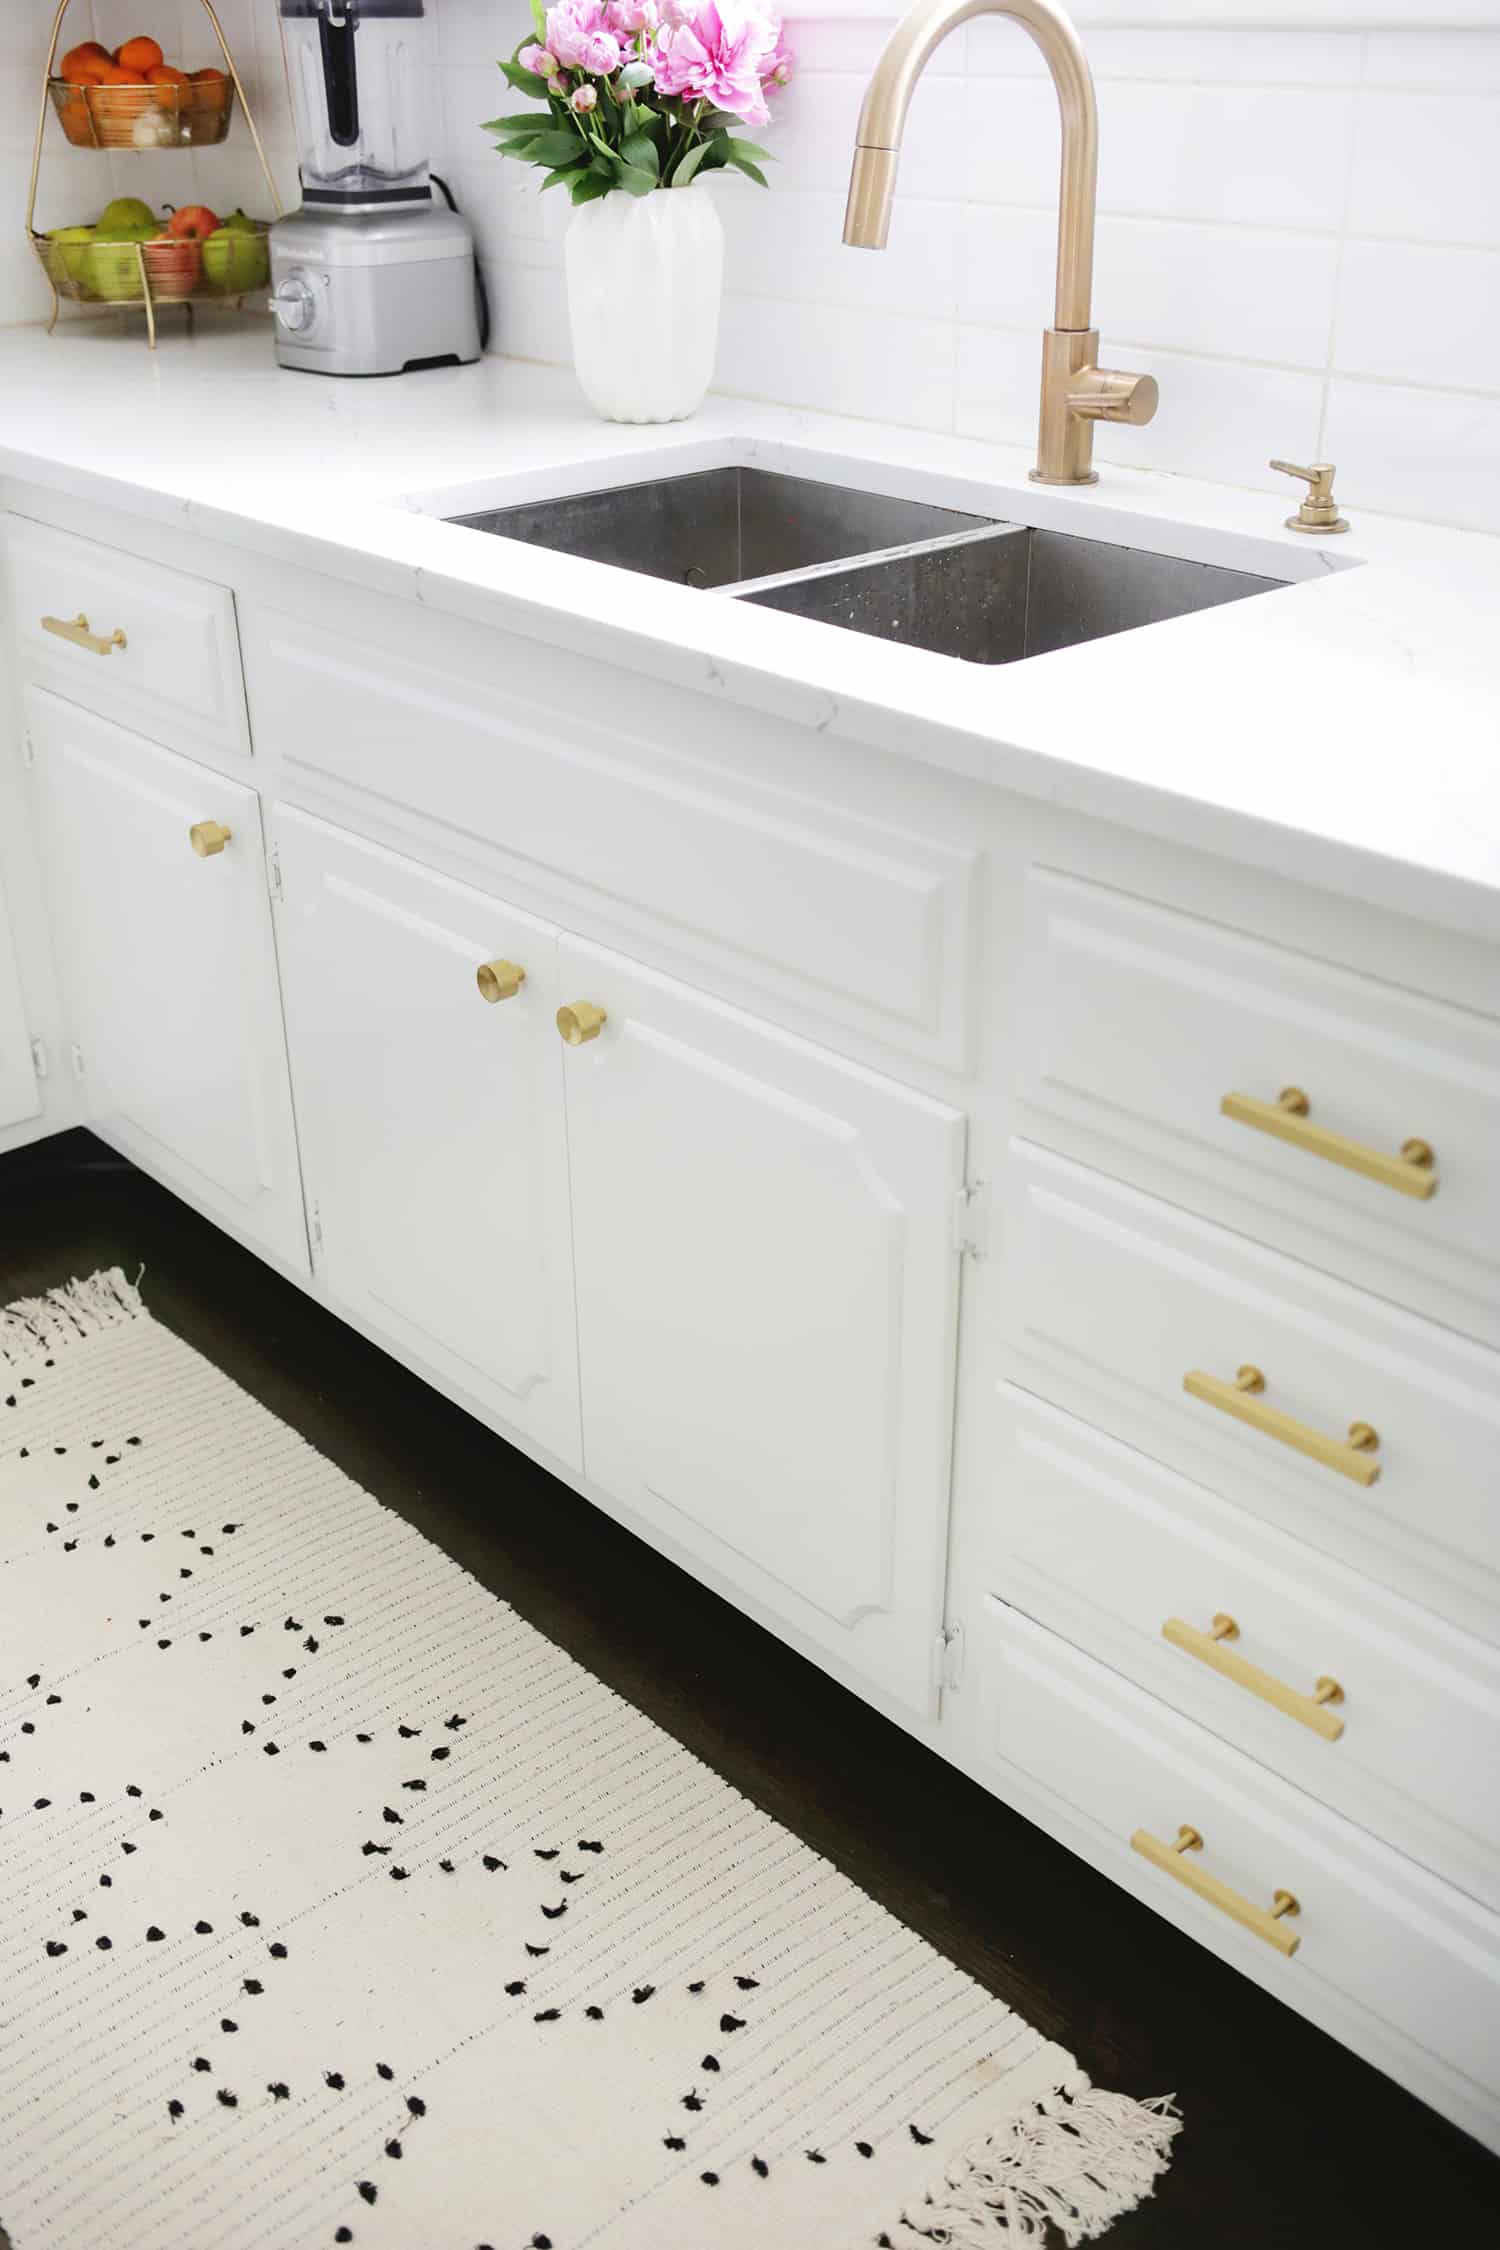
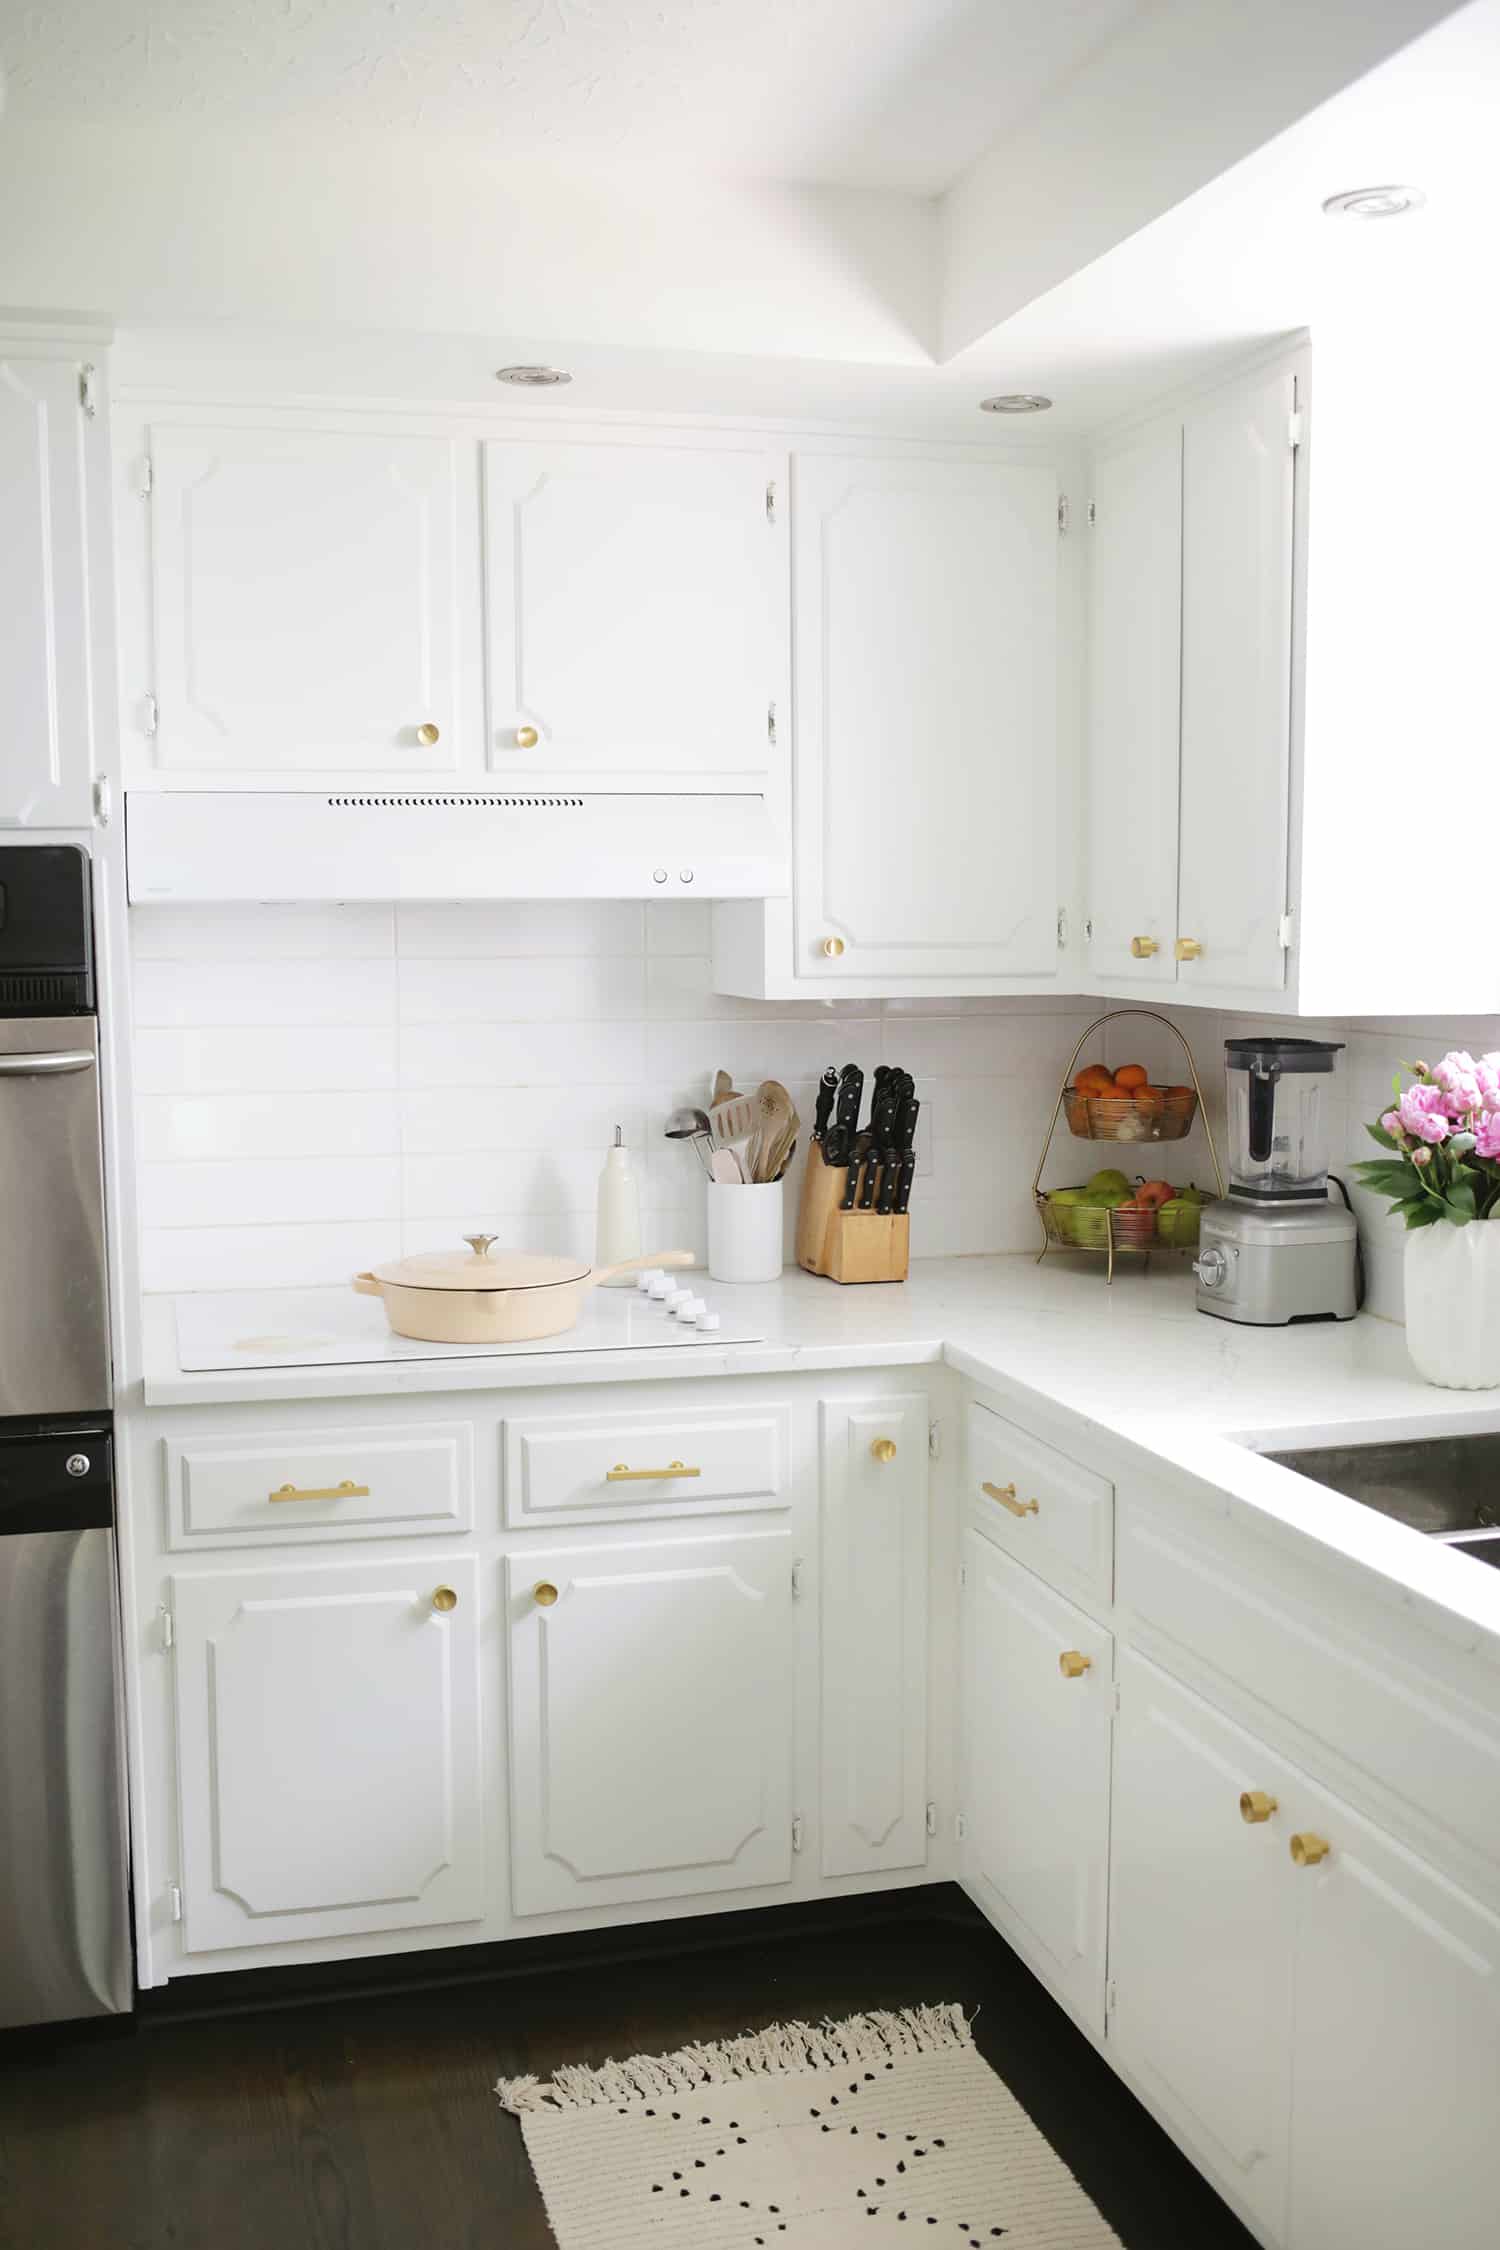
That is definitely more of a time consuming task if you have to do a lot of them, but if yours are in bad shape, just make it a goal to switch out one or two doors a day with your power drill and that will make it feel more doable.
It’s way more work to switch them out with different hinges that have different hole locations (you’d have to repair, fill, sand, and paint all the old hole locations), but if you’re using hardware with the same hole locations, it shouldn’t be that big of a deal.
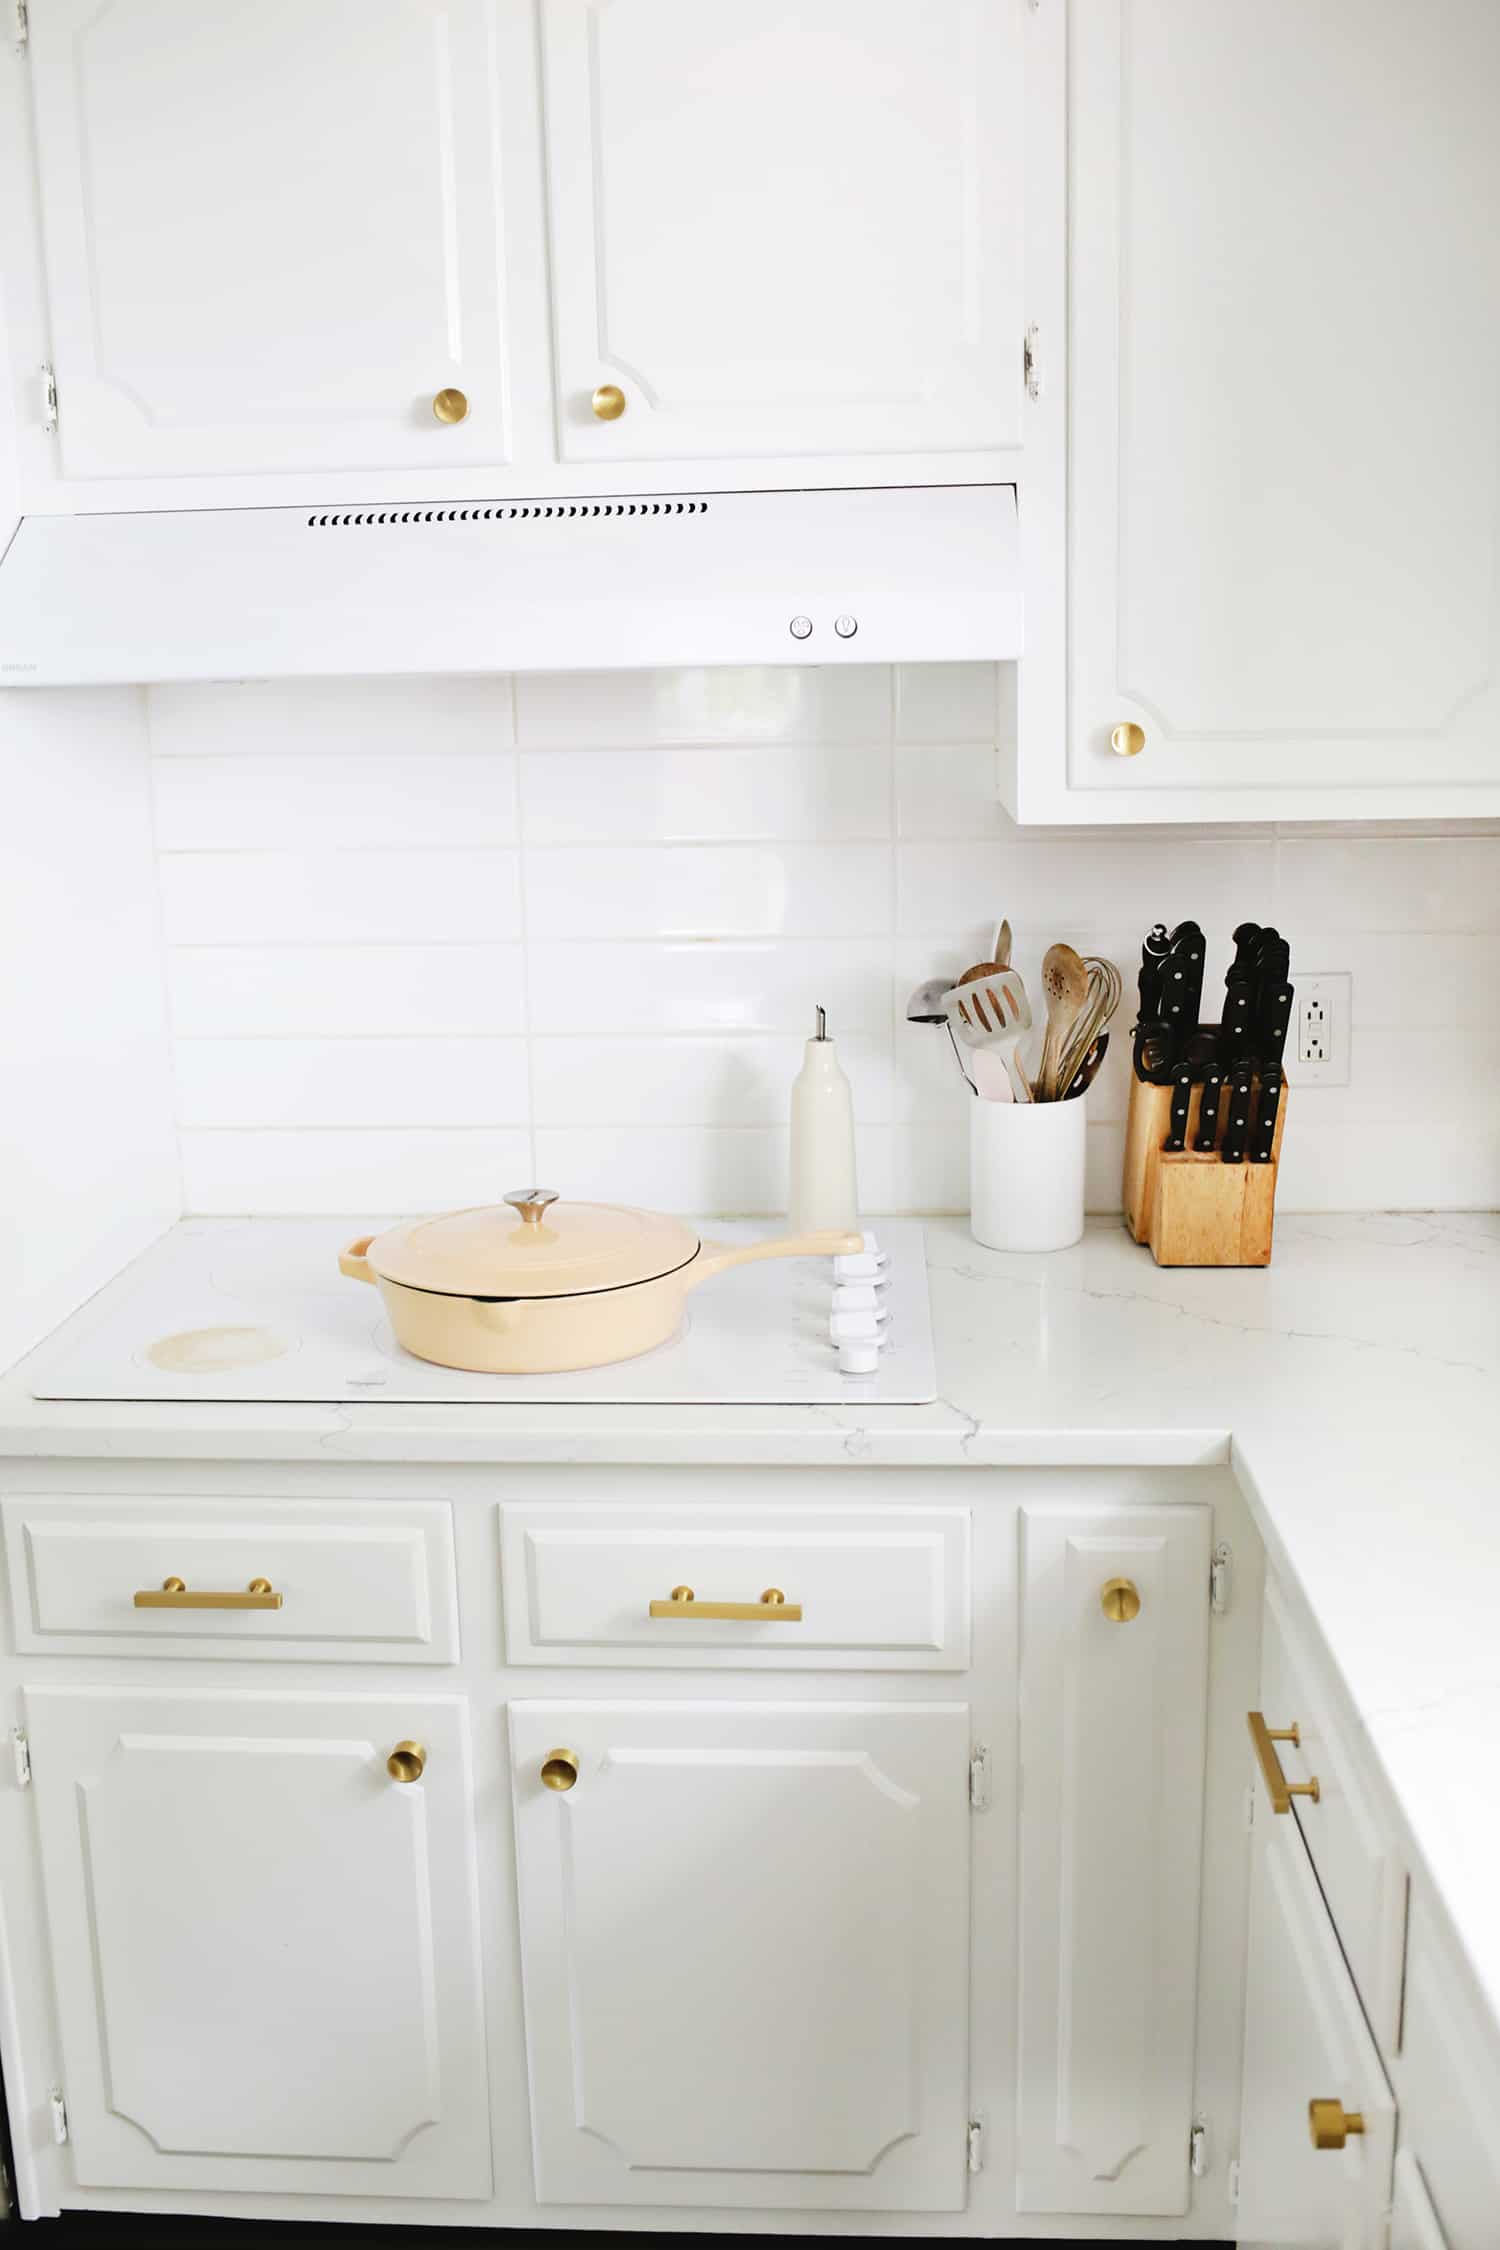
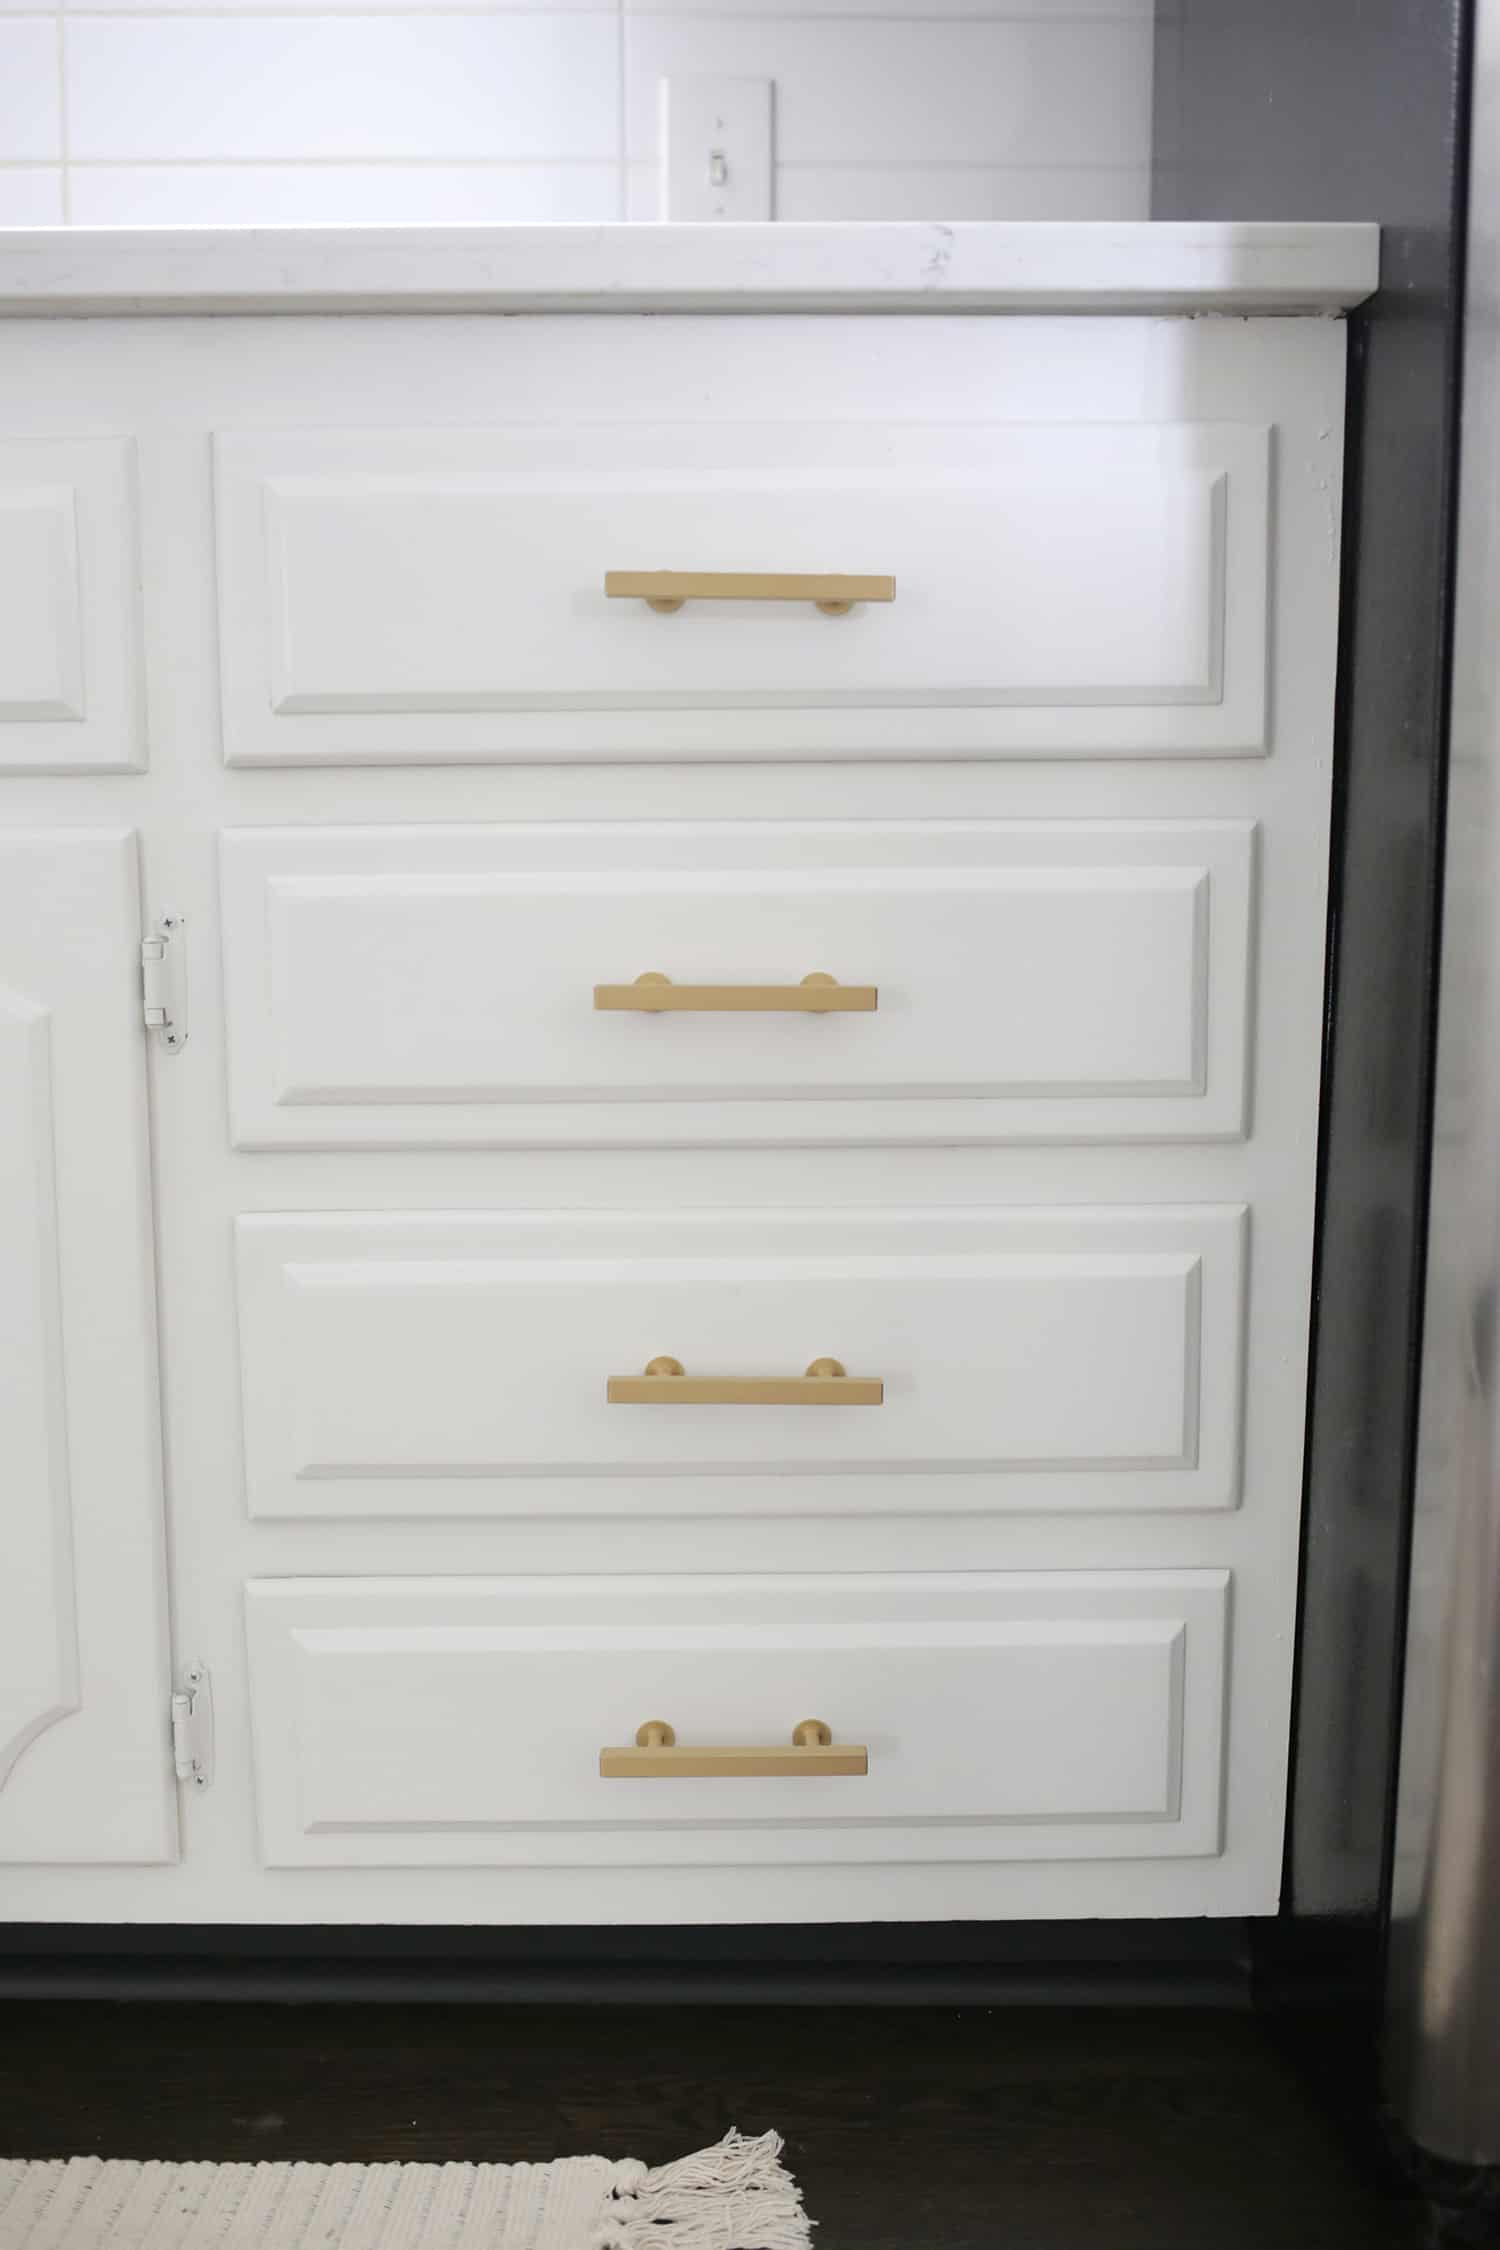
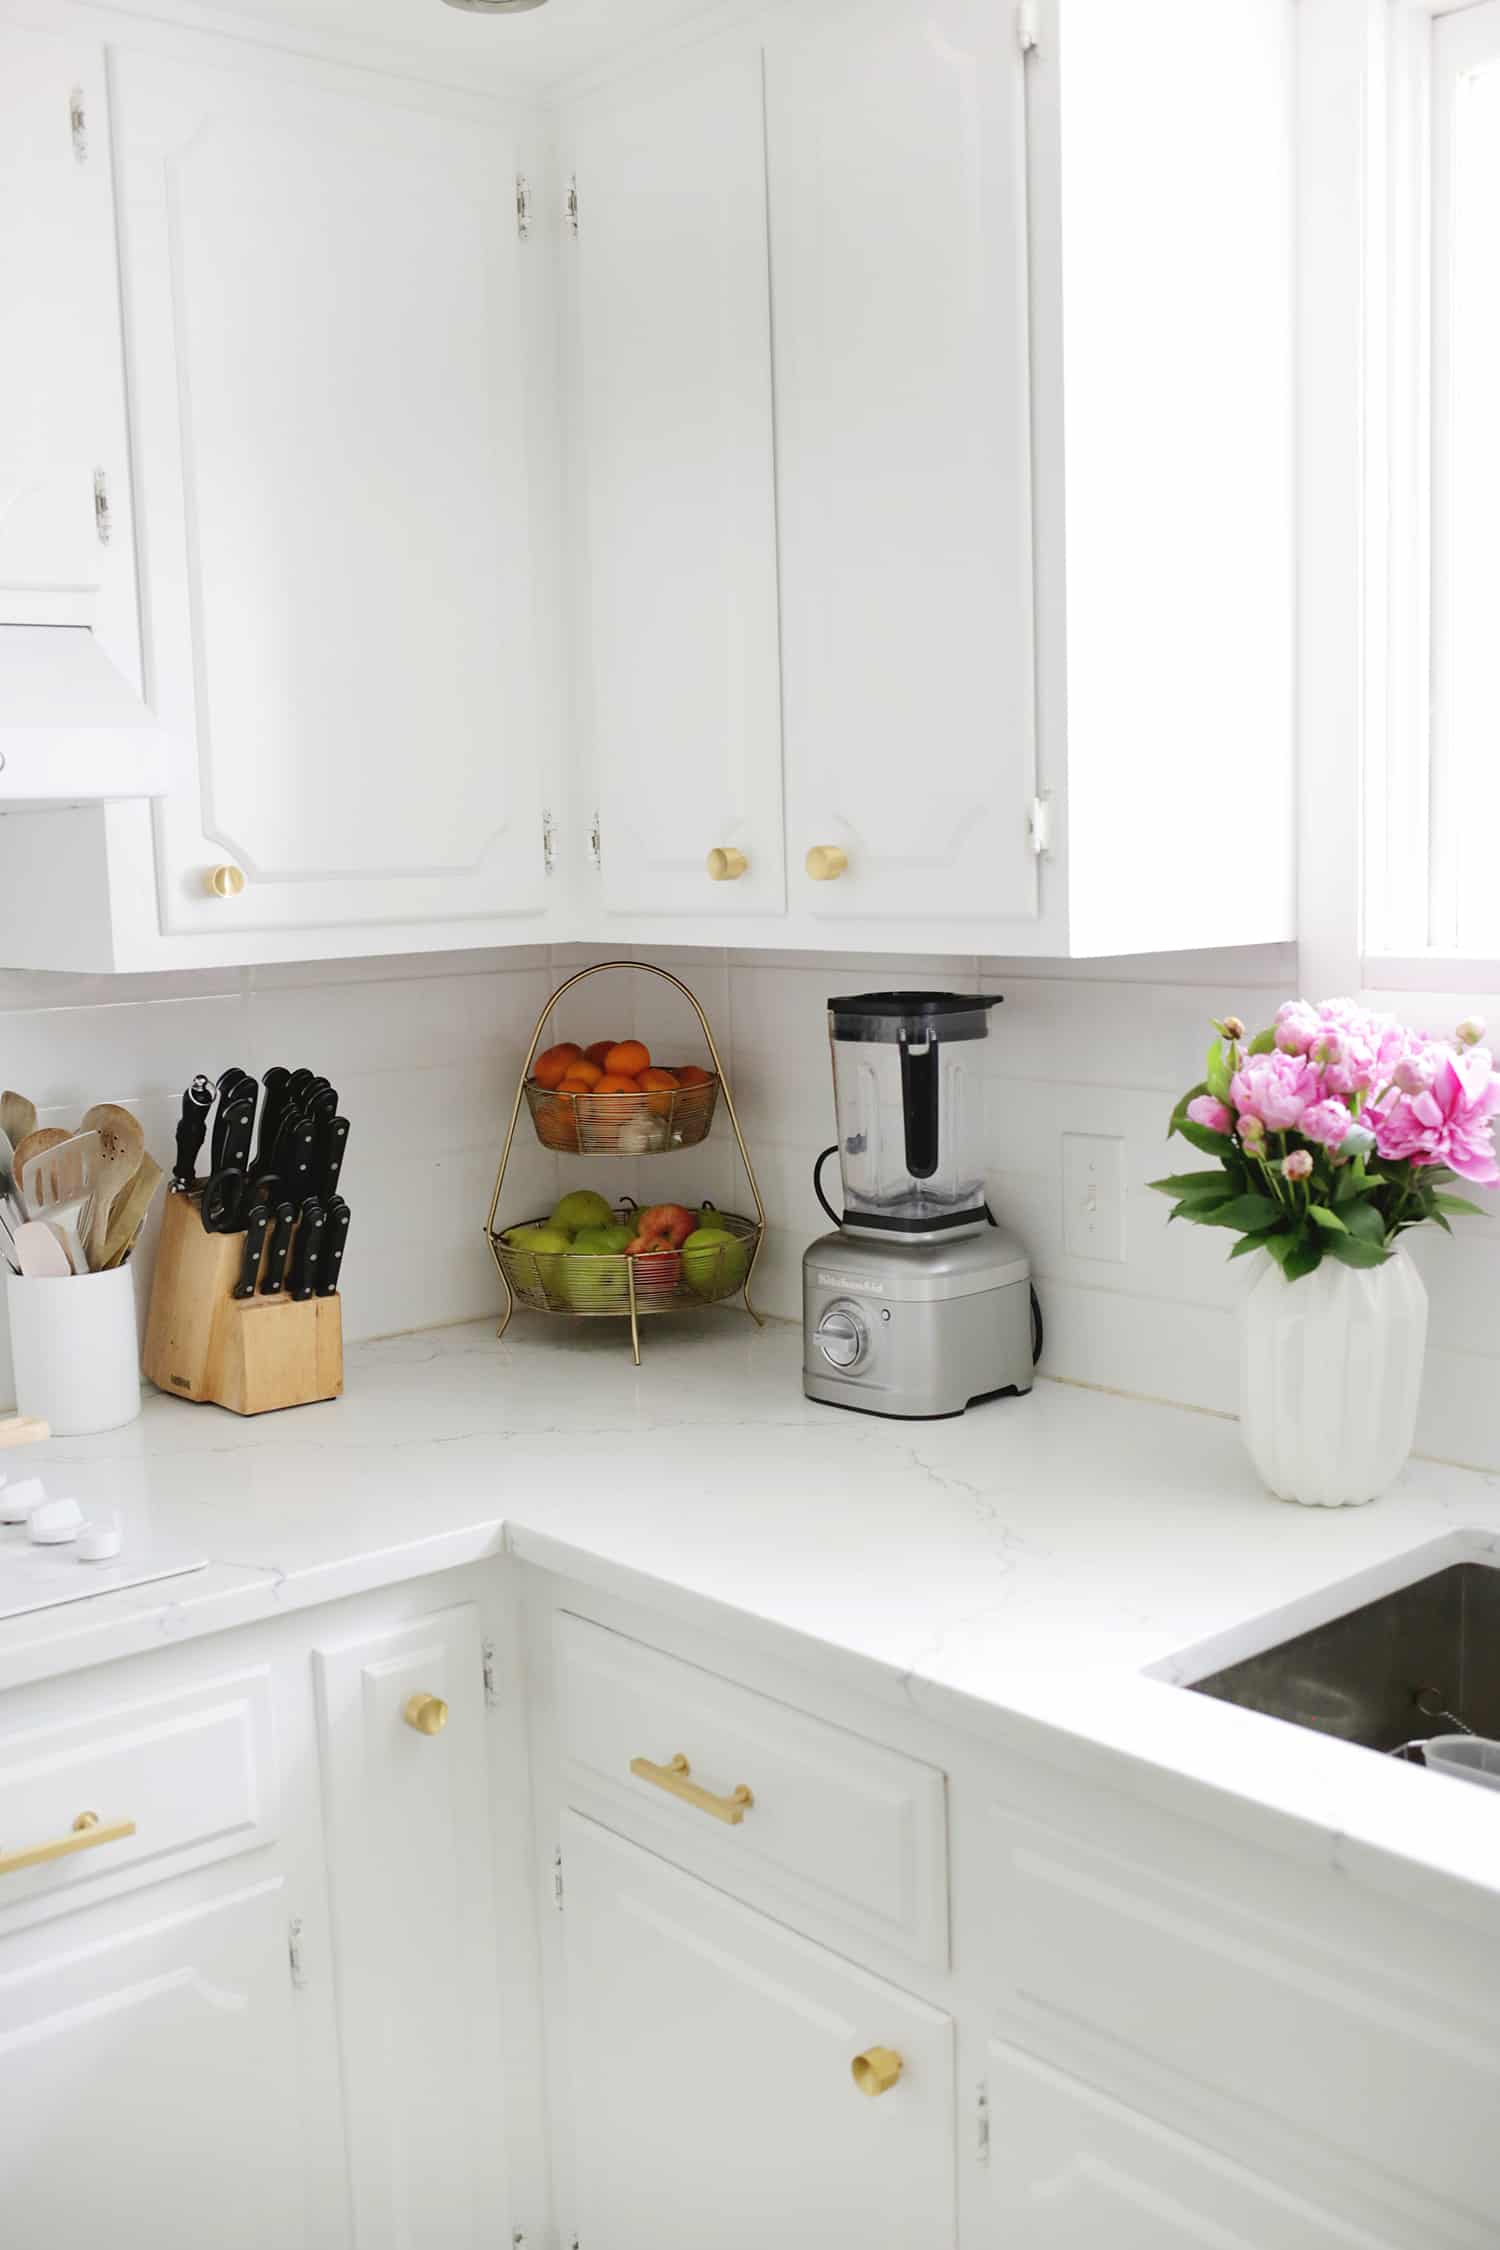
There you go!! It really is amazing to me how much newer the cabinets look after just one afternoon of work—totally worth it! You can also pop a cute pan on the counter or new kitchen rug into the space to freshen it up.
It feels like I spend most of my day in the kitchen, so it’s definitely worth the effort to make it look its best. I’ve also organized my fridge and closet in one afternoon so take a few days and really get your place together! Hope this project idea helps to brighten up your kitchen too! xo. Laura
P.S. Looking for more kitchen content? Check out …



Thanks for the inspiration and encouragement that this can be done in just a day!
Even when I use the exact same paint batch, I paint the full cabinet door rather than just one spot. It guarantees a consistent color, texture, and sheen. It’s amazing how paint changes depending on how it’s shaken before use, the air temperature, applicator used, etc.
If someone doesn’t know the exact color of a paint, take in a door or a drawer to Sherwin Williams. They have a contraption to measure the RBG and determine the matching paint (of ANY manufacturer). It’s pretty accurate!
Love your white cabinets and handles. I admire your ambition with small children. And yes, the Magic Eraser is wonderful. I enjoyed your step by step process. It makes me feel like I could do the same. Thank you. Carolyn
I have to say, I love your white hinges. Everyone says NO No No but I say YES!! My cabinets are 30 years old and could NOT be retrofitted with invisible hinges when we recently professionally painted them. I got new antique brass handles and HATE the look of the old hinges. I have been searching for images of painted hinges and Ive made up my mind to PAINT my old ones. It gives such a more “calm” look without all the brown hardware detracting. Thanks!
Hi! Could you please share the color paint you used for the cabinets? I’m about to paint our cabinets and trying to find the perfect shade of white is a little overwhelming. Thanks so much!!
Hi! I usually use untinted white actually, I like a really bright white!
Laura
I am so inspired – because my kitchen is basically the same but reversed! I’m guessing you also live in a split level raised ranch? Haha! We rent and have been in this house for 5 years, I’m always trying to fix up the kitchen. Luckily the cabinets are already white, but I’ve been thinking about switching out the hardware. Yours is gorgeous! Thanks for the brand recommendation!
I just followed this process and it went really well! It’s crazy how much better the cabinets looked just after cleaning!
Can ask a logistics/timing question? How did you keep your toddler away from the wet paint? I’m trying to conceptualize a similar refresh and that’s where I get stuck- how to time it in the day to avoid toddler fingerprints. Please advise…
With kids around it would be ideal to do the painting when someone else can watch them for a bit, but if that’s not possible you may have to get creative there and plan to paint at the start of a movie and take them outside afterwards to let the paint dry…they can’t reach the top cabinets so you can kind of paint those anytime!
Laura
would you be willing to share the source of the rug?
What did the cabinets look like before? You should have shown a before and after shot.
There are two before photos toward the beginning of the post.
Looks great! Curios where your fruit basket stand is from? Love the shape of it!
Here’s a link!
https://rstyle.me/+bwBEUAaZvYY8KPn-aeSxDA
Laura! This looks incredible ? I can’t believe you did this in an afternoon. I’m so inspired!
Did you buy white hinges or did you paint the existing hinges when you painted your cabinets?
I bought new hinges that were the same, the way these work if I repainted them with basic paint the new paint would kind of peel off immediately when the doors are opened and closed but not all hinges may be set up like that and you may be able to paint them with a metal paint…
Laura
My kitchen units are cherry in colour, nid to make my kitchen brighter but don’t know which paint will be suitable
Well, you can sand them and use kitchen cabinet primers and paint from local paint stores like I did, or you can follow Elsie’s advice here for cabinets:
https://abeautifulmess.com/2020/05/whats-the-best-paint-for-kitchen-cabinets.html
Laura
This refresh looks amazing! I’m curious about the details of your counter. Could you share what type of material is?
Sure! It’s a quartz countertop (it’s Viscostone Venatino) and I love it!
Laura 🙂
I’m an interior painter by trade, and guess whose white painted cabinets look dingy after several years of use? Your post is the kick in the pants I need to just get after it!
I just did a kitchen remodel and had white quartz countertops installed. They are beautiful znd easy to care for. They do not need to be sealed.