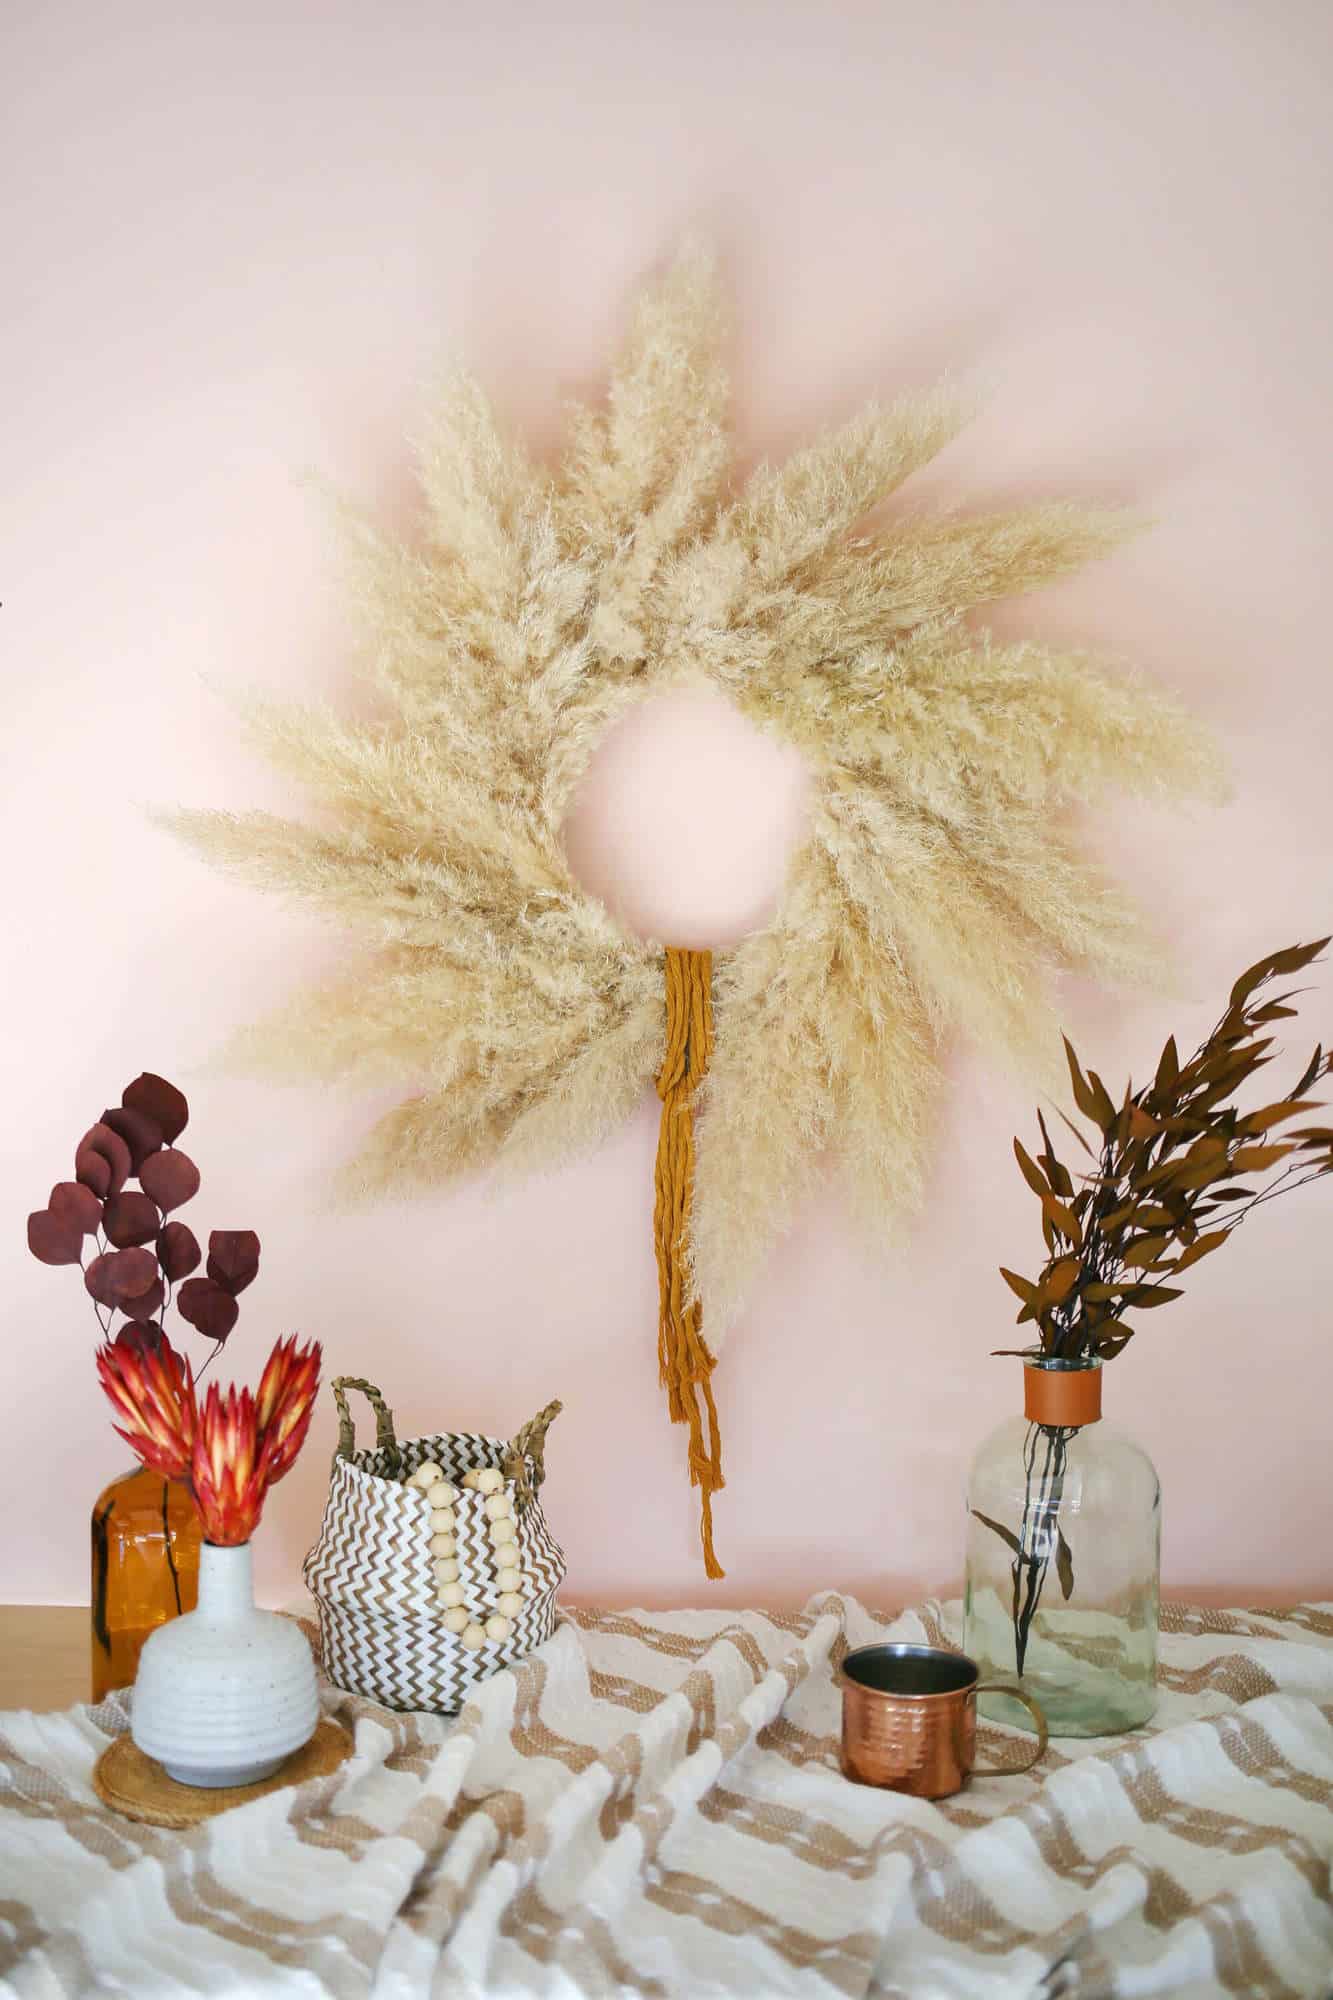
It’s as easy as you’d imagine to put one together and there are just as many ways to customize your own according to your minimalist, maximalist, bohemian, or farmhouse needs.
I first got to work on a 12″ hoop before realizing my finished piece would fan out to a size no longer conducive to opening and closing a standard-sized front door. Ha!
So, use a 10″ hoop for a large wreath that will still work on a single door and a larger hoop if you’re wanting to use it on a wall and have a bit more space to fill.
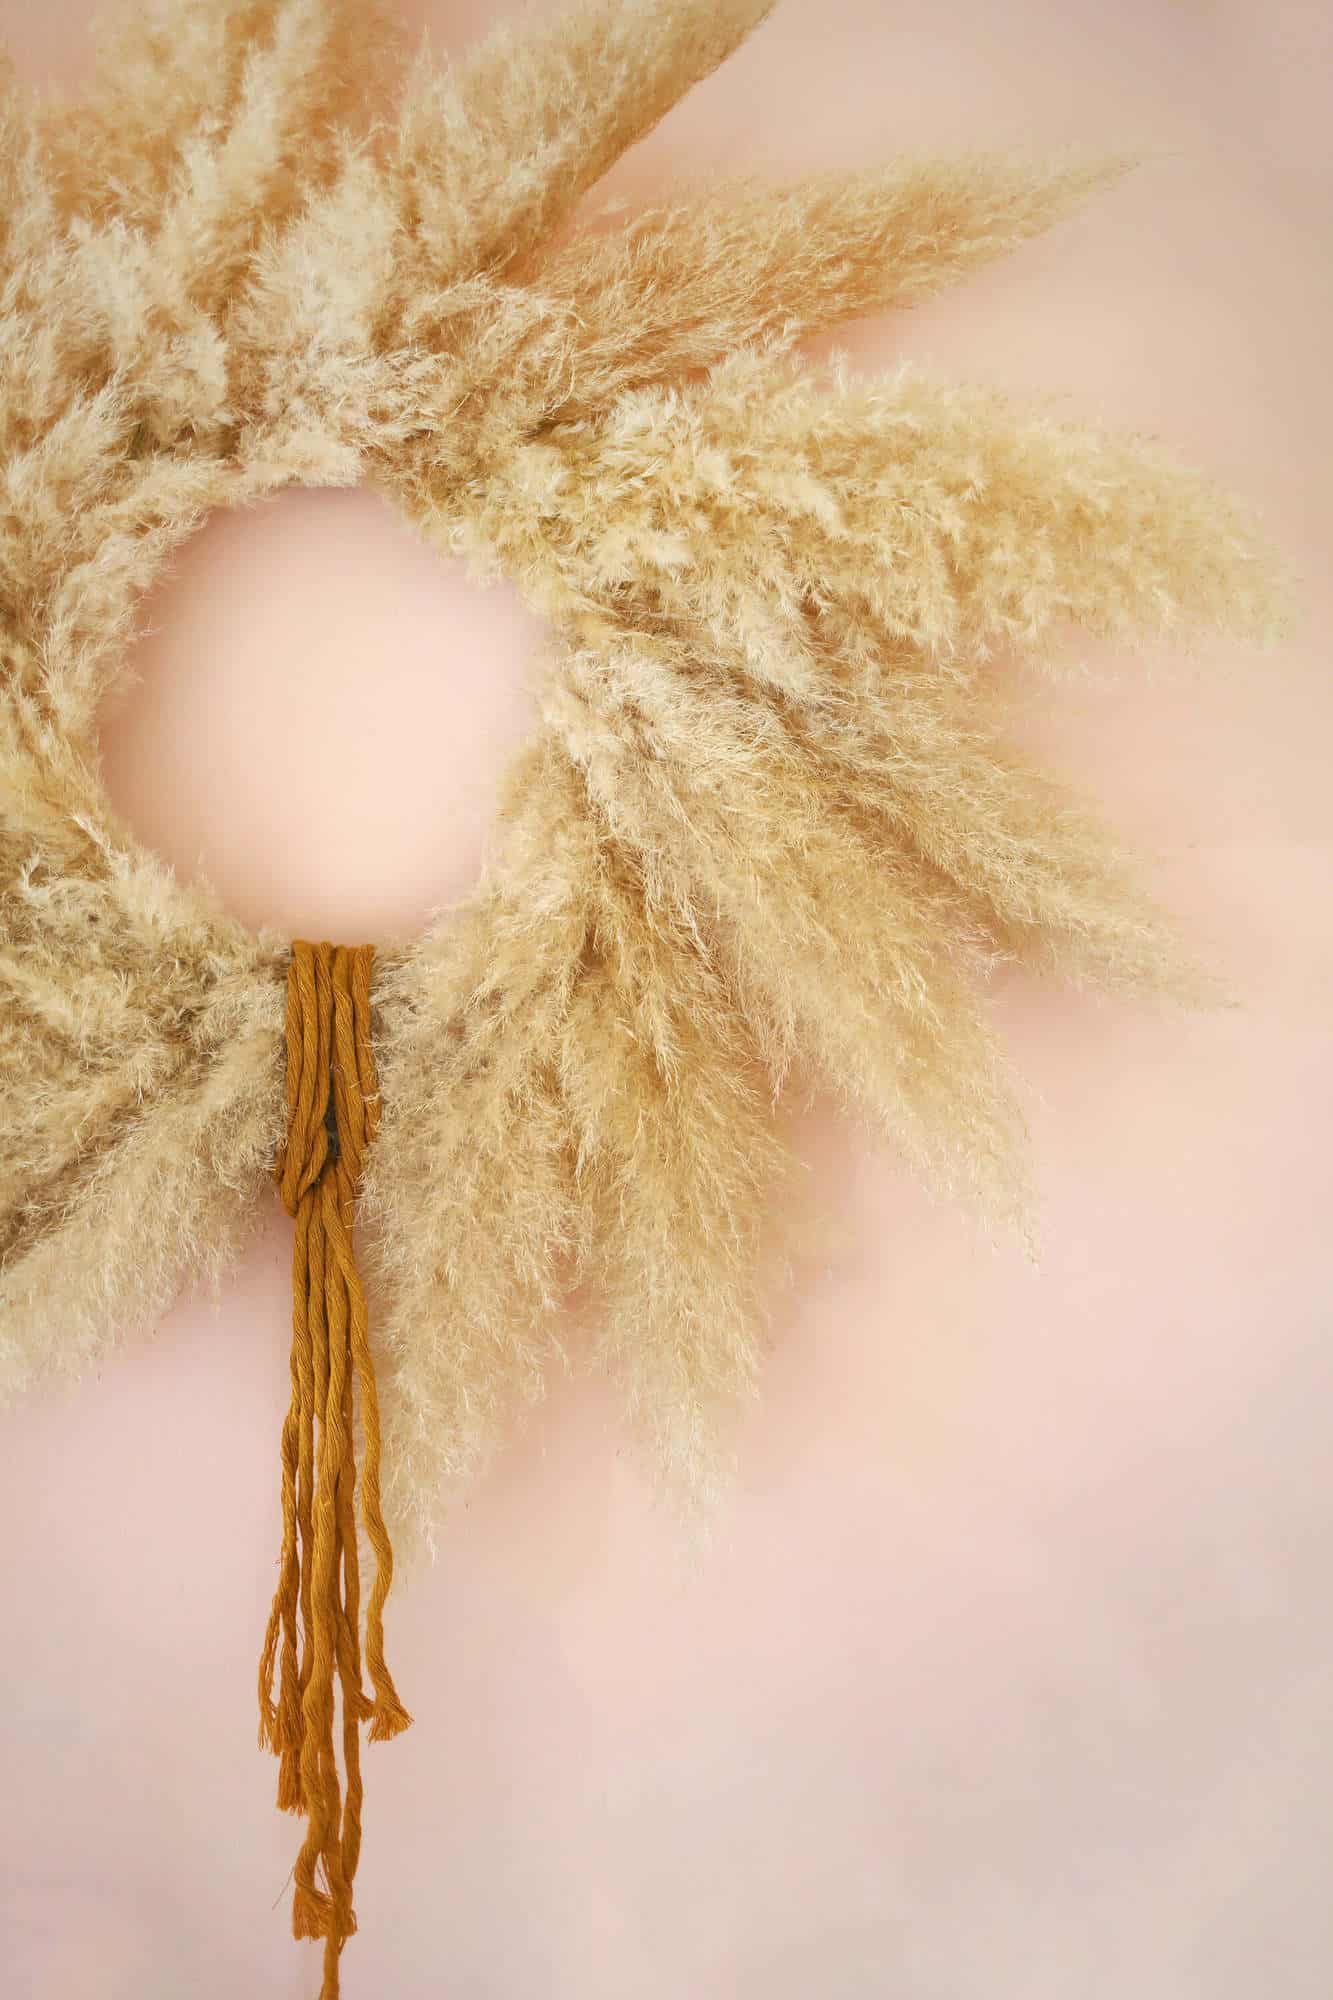
I love the texture and simplicity of pampas grass and it’s perfect for the fall and harvest season home decor.
Looking for more wreath DIYs? Check out How to Make a Wreath (For Any Season)!

-15 or more pampas grass stalk heads of similar size (similar to these)
–10″ metal hoop
-floral wire or 24″ gauge wire
-wire cutters
-scissors
-aerosol hair spray (to keep it from shedding)
-silk or cotton ribbon
Note: There are many varieties of pampas grass available for purchase online. Some are fluffier than others so keep that in mind when ordering. The pampas grass I used was about 3″-4″ wide at the widest point and about 14″ of plume each.
If you’re lucky enough to know someone that has a pampas grass bush growing on their property, see if they’ll let you prune it. Win-win!

Next, trim your pampas grass stem so that you have a 3″-4″ stalk. Cut 2′ or so of wire and wrap it around the first stalk several times close to the bottom of the plume. Then wrap it around both the stalk and the hoop several times to secure it.


Then, gently fluff the sprayed plumes on the areas around the inner part of the hoop to ensure they cover the stalks and wire. Attach a 4″ length of wire around the hoop and twist the ends together to make a loop. This will be your hanger.
You can announce it finished or you can add another layer of dried grasses, flowers, ribbons, etc., to add a little more flair or you can enjoy it in its simplicity.
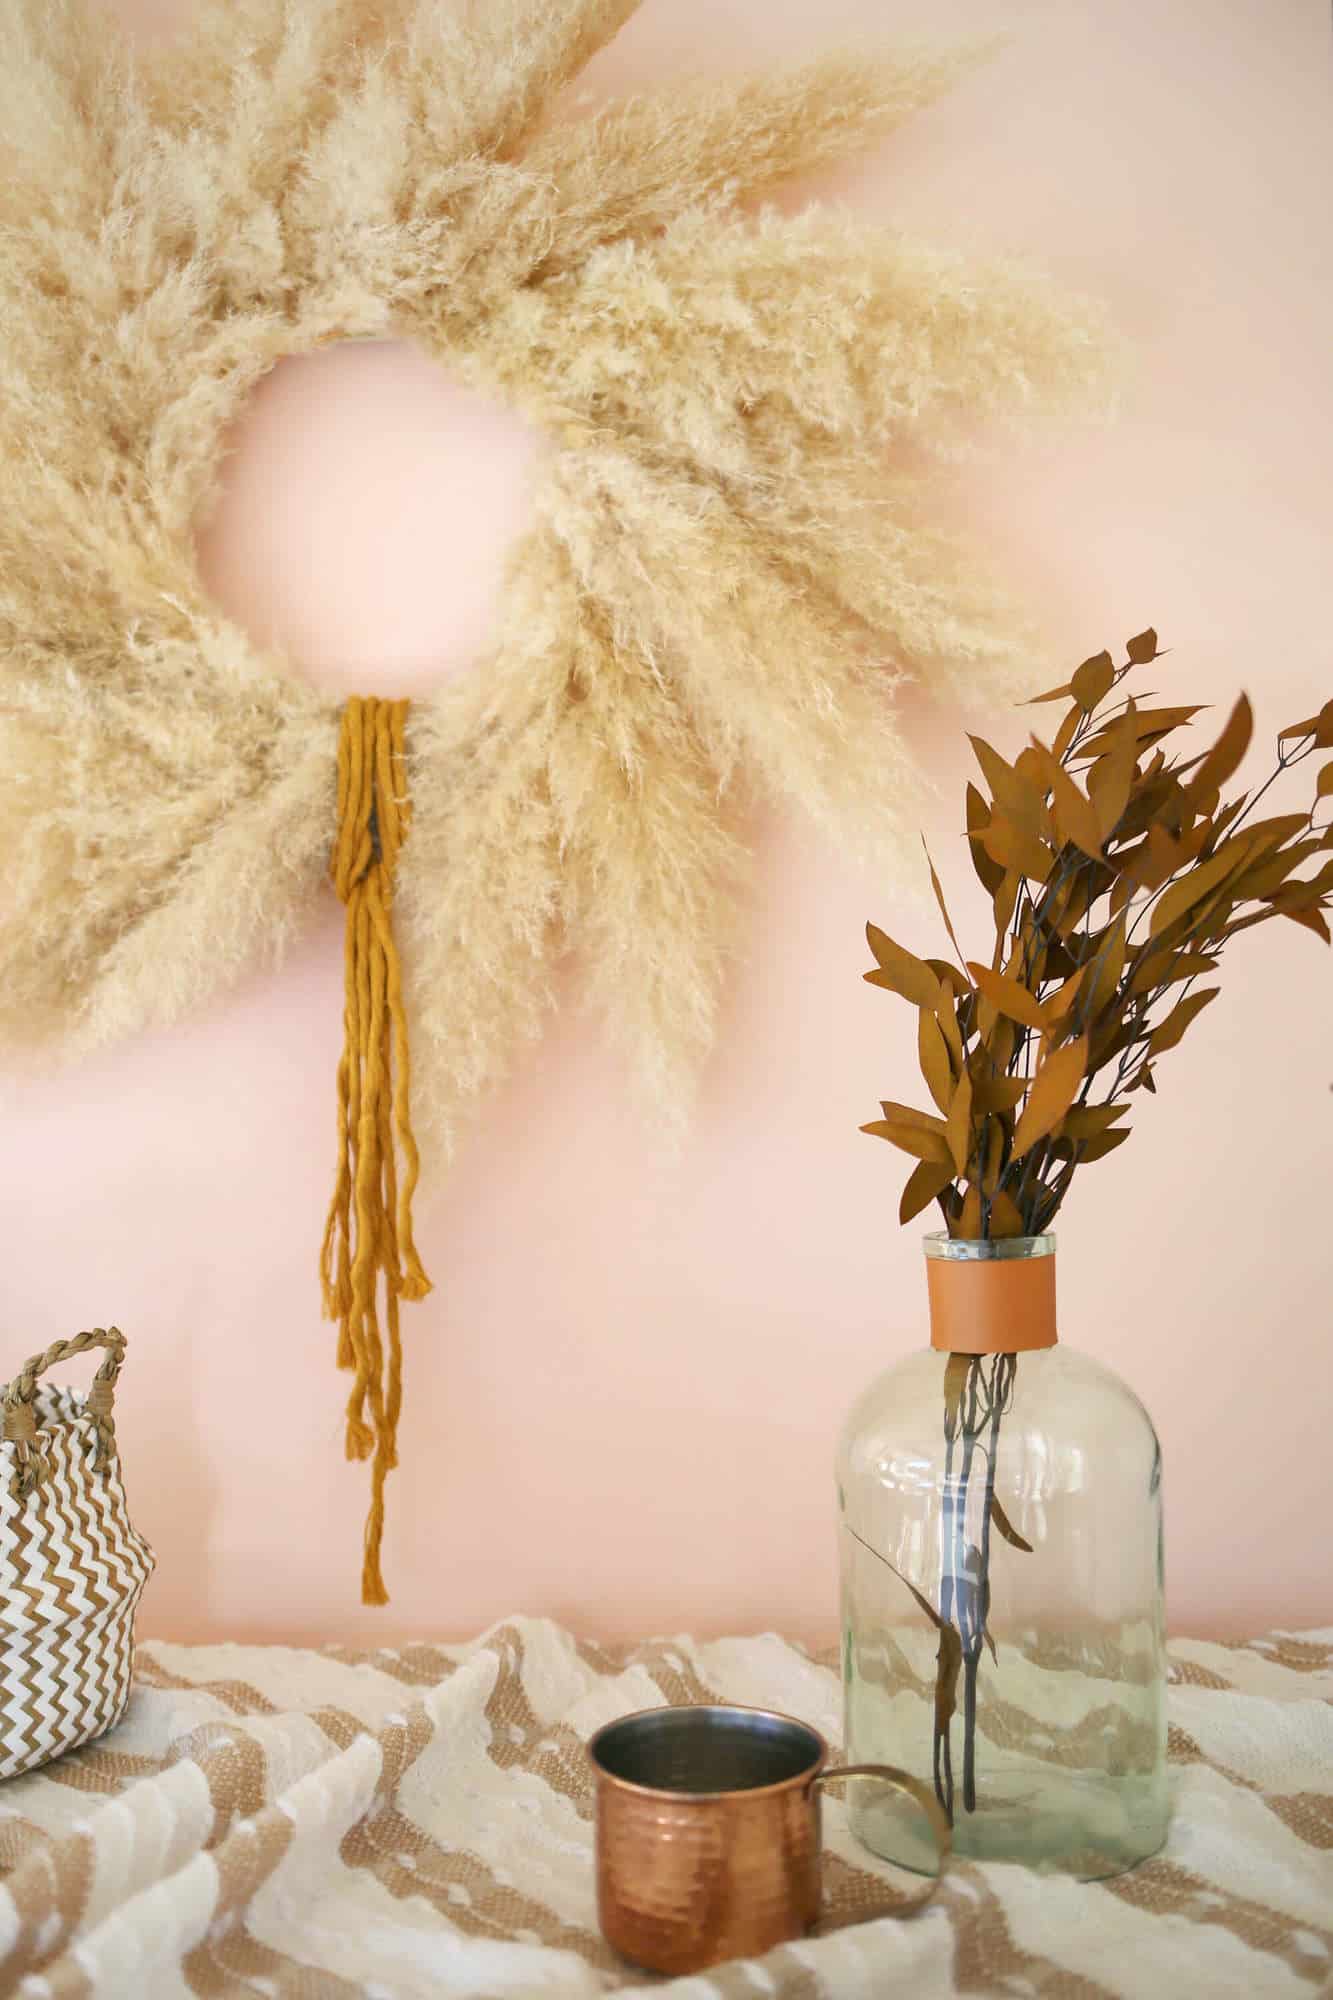
I added a folded length of ochre colored cotton cord to mine. The perfect shade of golden yellow, I think!
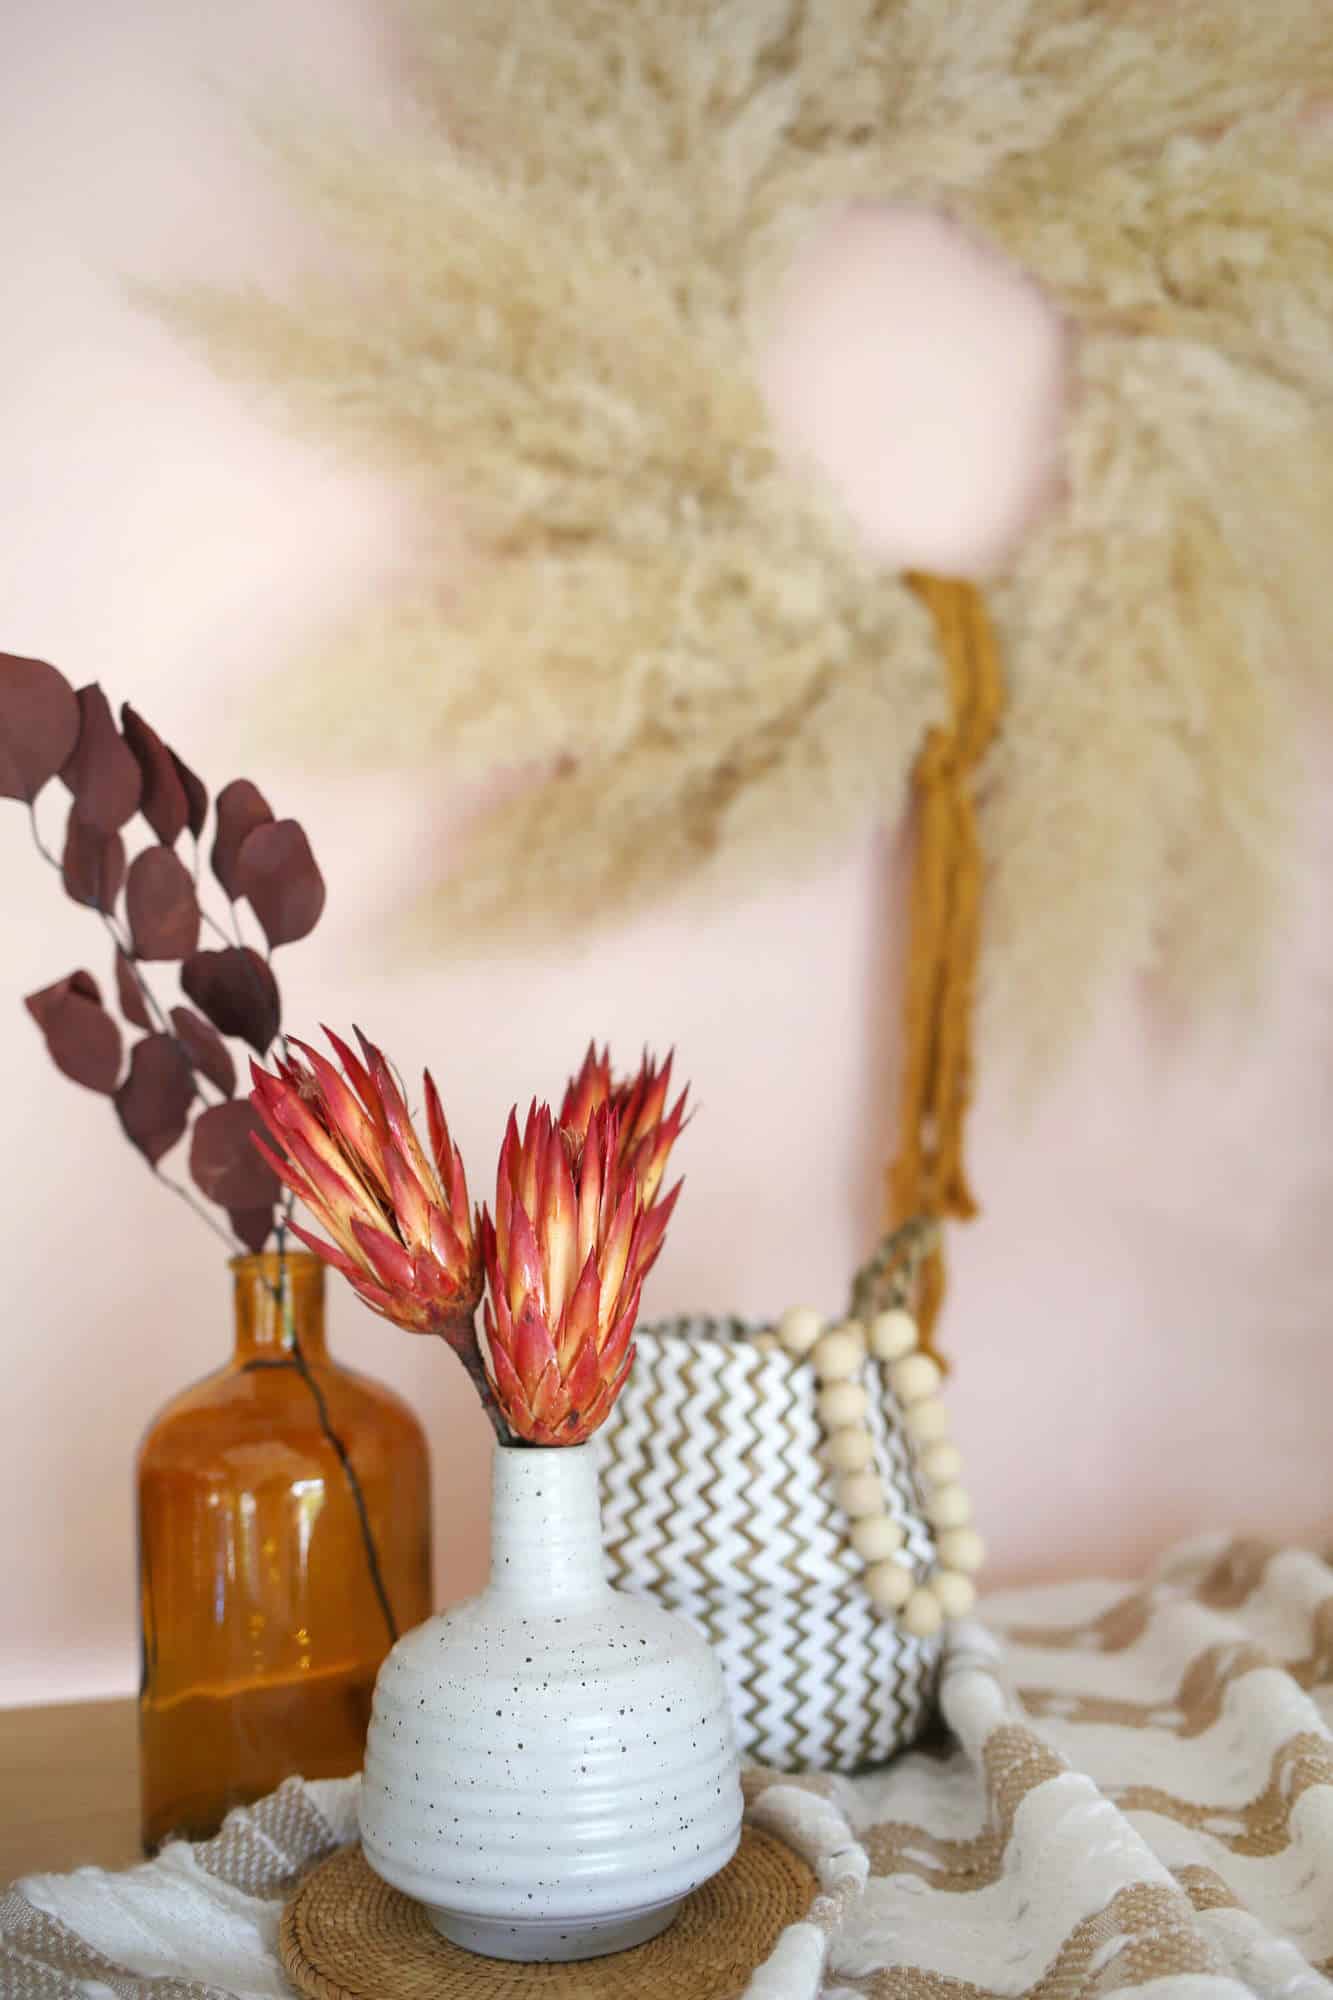
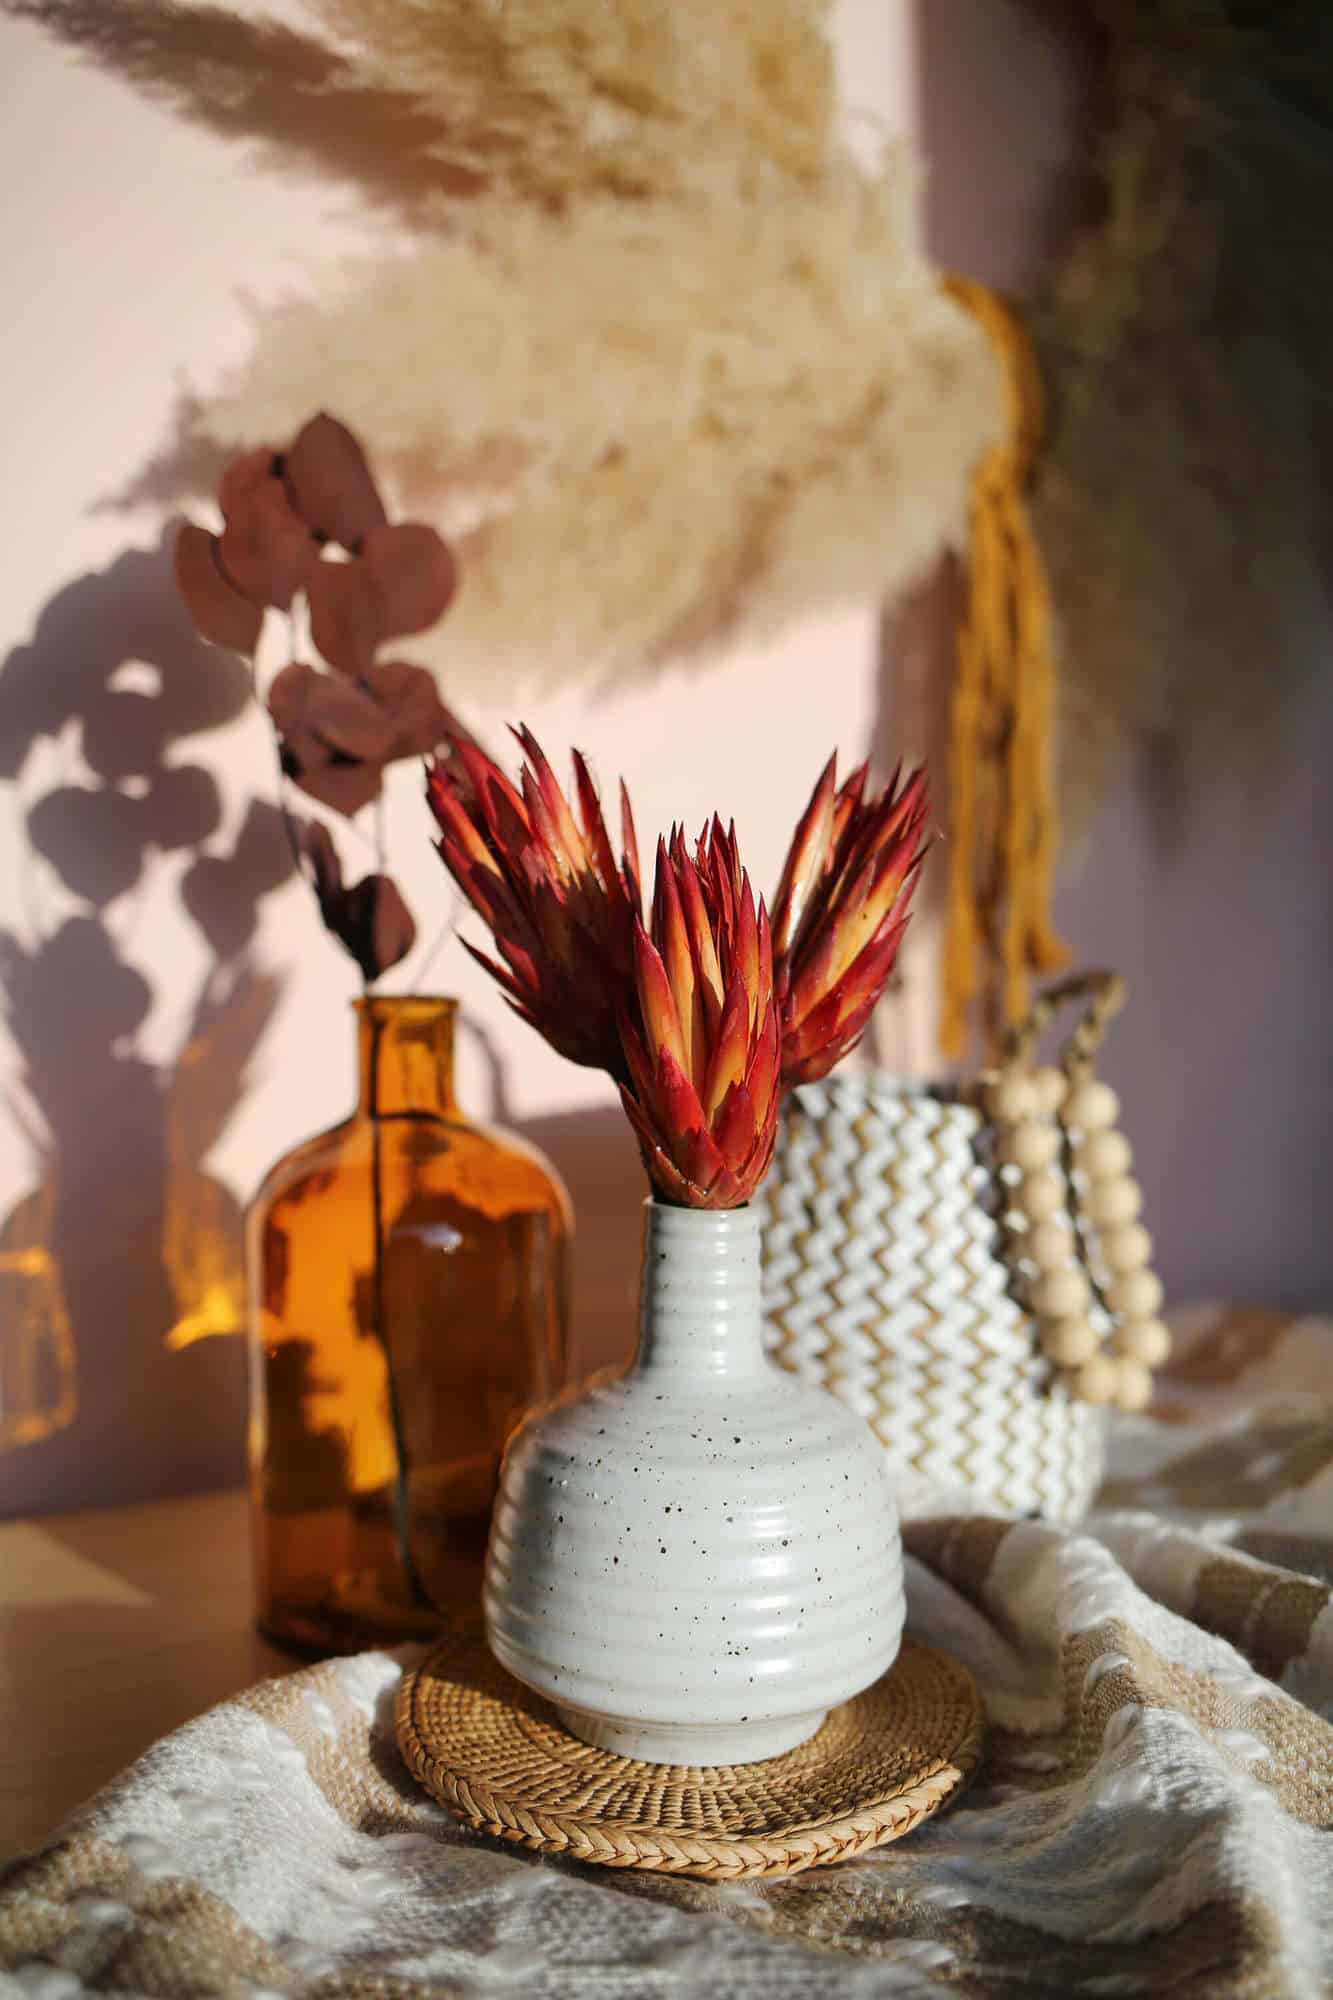
P.S. Check out 15 Easy Fall Decor DIYs (Budget-Friendly) for more ideas!

How many of the pampas grasses did you use and what is the length of the pampas in this wreath? Beautiful!
Fall has to be my favorite season. The colors and the decorating are so much fun!
M friend and I wanted some of these really bad when we were in Virginia. We pulled over and started cutting on the side of the road. (We were young & dumb). Got a whole bunch of them! So excited!. Then, well you know who came a blazing with sirens. Oppps, they were illegal to cut. (I said dumb). He gave us a 30 minute speach on why you can’t take them and if everyone did. You get the picture. He made us get rid of them and we left with out any. To this day, many moons later- I still have yet to own any. Nor- will I try ever again. Omg, we thought we were going to prison. He was swinging those hand cuffs. Lolol, learned my lesson! So when I saw this I was very jealous, but I will admire them from here. We have cattails, wonder if you can pick them? Just kidding!! It’s just beautiful, wonder if this would look good with a orange jumpsuit? Lolol! TTFN
Kathryn,
You can buy them online!!! That’s a funny story, though. Yikes!
gorgeous, and I love the addition of the cord 🙂
This is beautiful, Rachel! I love the softness of it. I am going to make one!
Yes! You should!!! And I’m actually going to buy a wreath box for this one because I love it so much. Ha!
Thank you! It’s been making me so happy in my studio lately!
This is beautiful! I love how it’s s natural looking! ❤️✨
Charmaine Ng | Architecture & Lifestyle Blog
http://charmainenyw.com