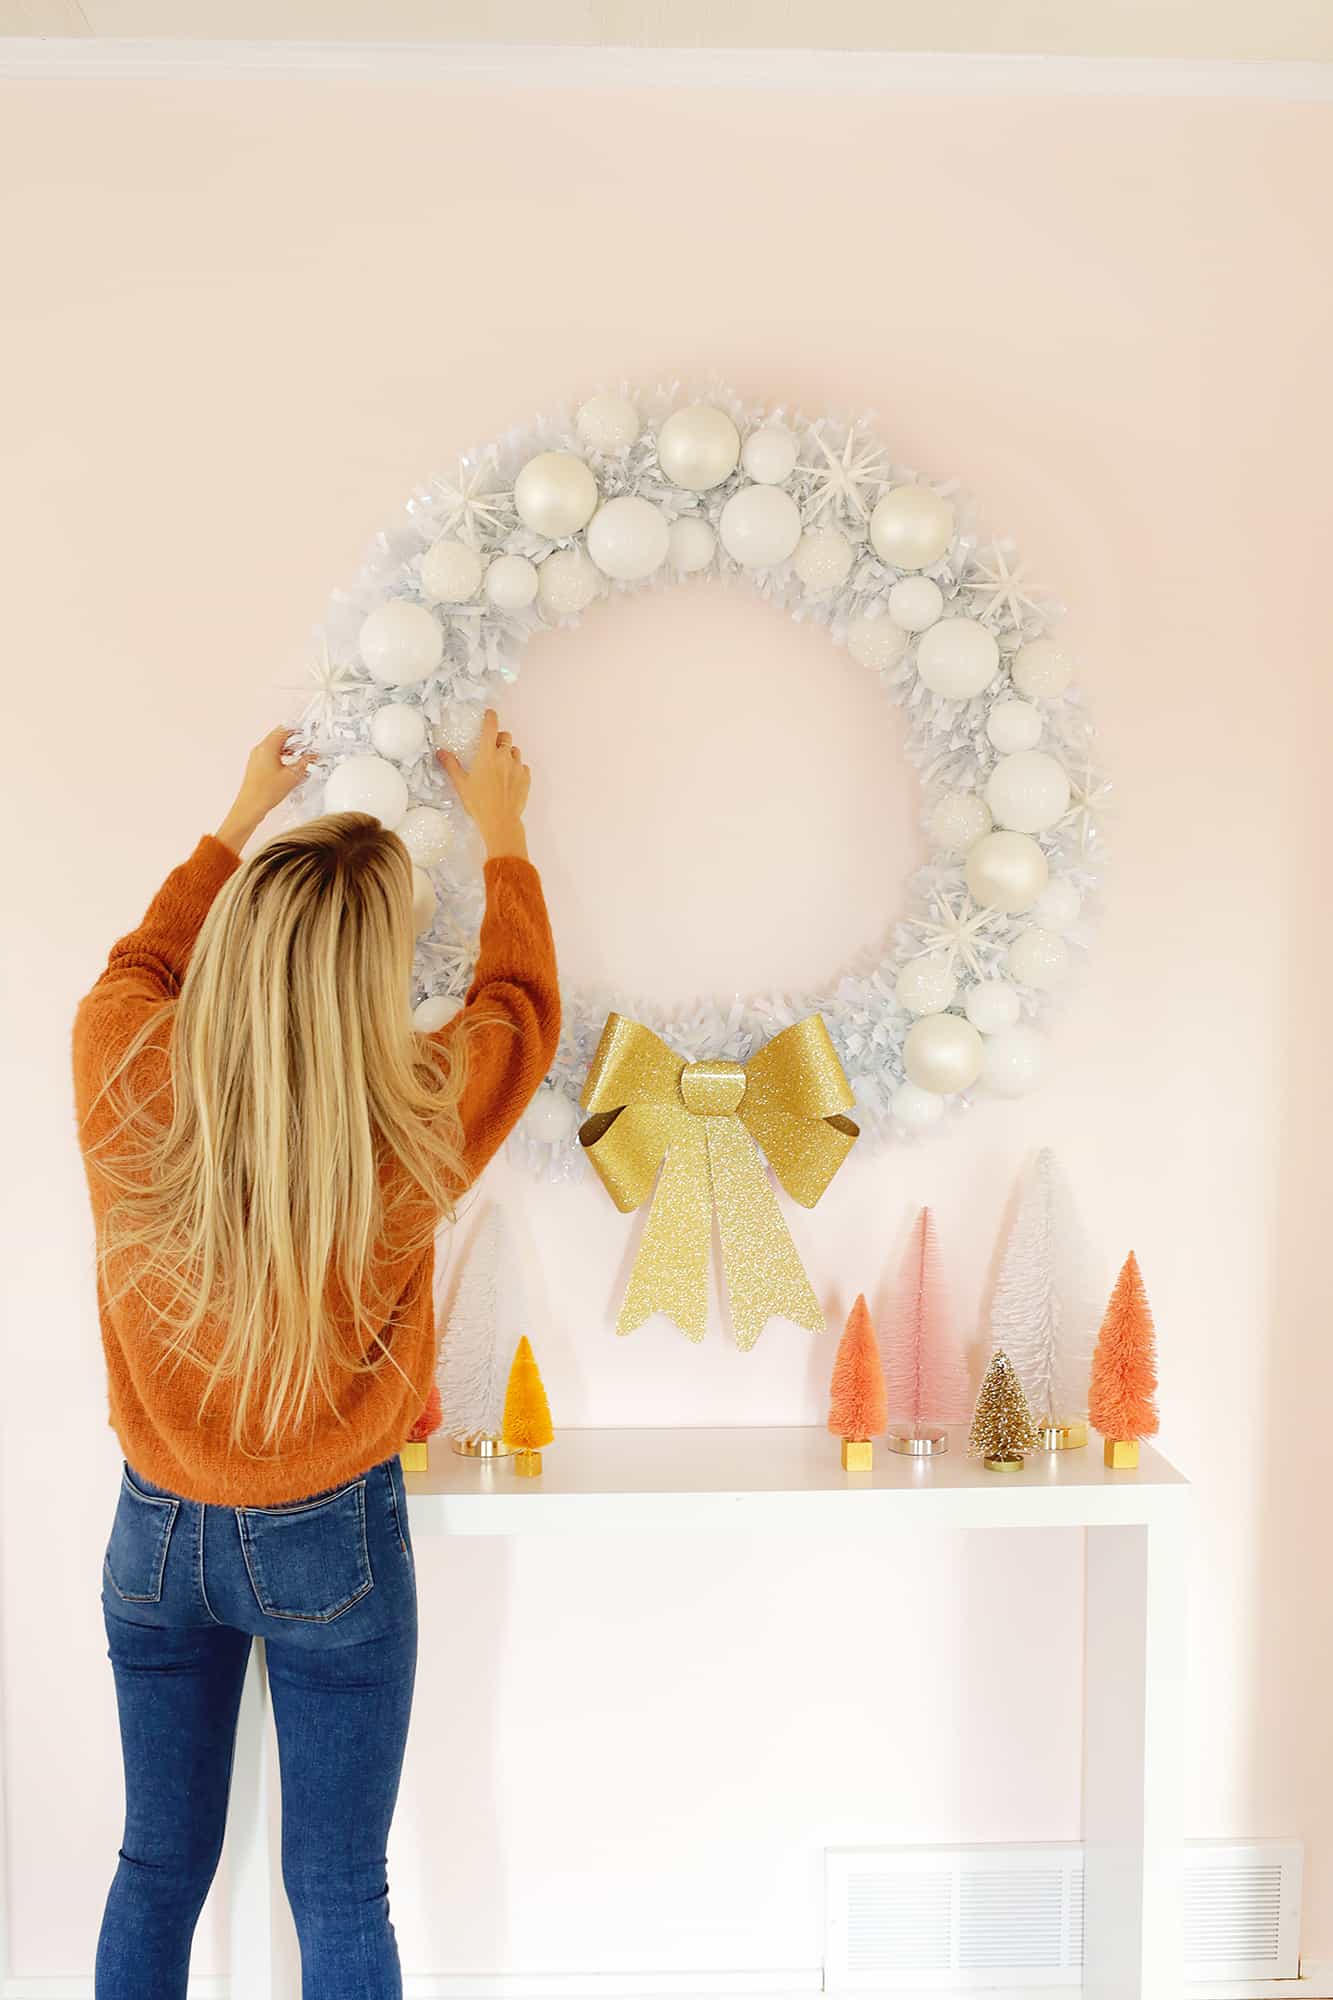
 Yup. You heard right. We are going to make an oversized Christmas wreath with pool noodles. I really wanted a huge wreath for our new home this year, but I didn’t want to have to store a giant circle for the other 11 months of the year, so I thought that pool noodles would be the perfect frame.
You can take it all apart and easily store the wreath components during the rest of the year. I’ll show you how I made mine—I love it!
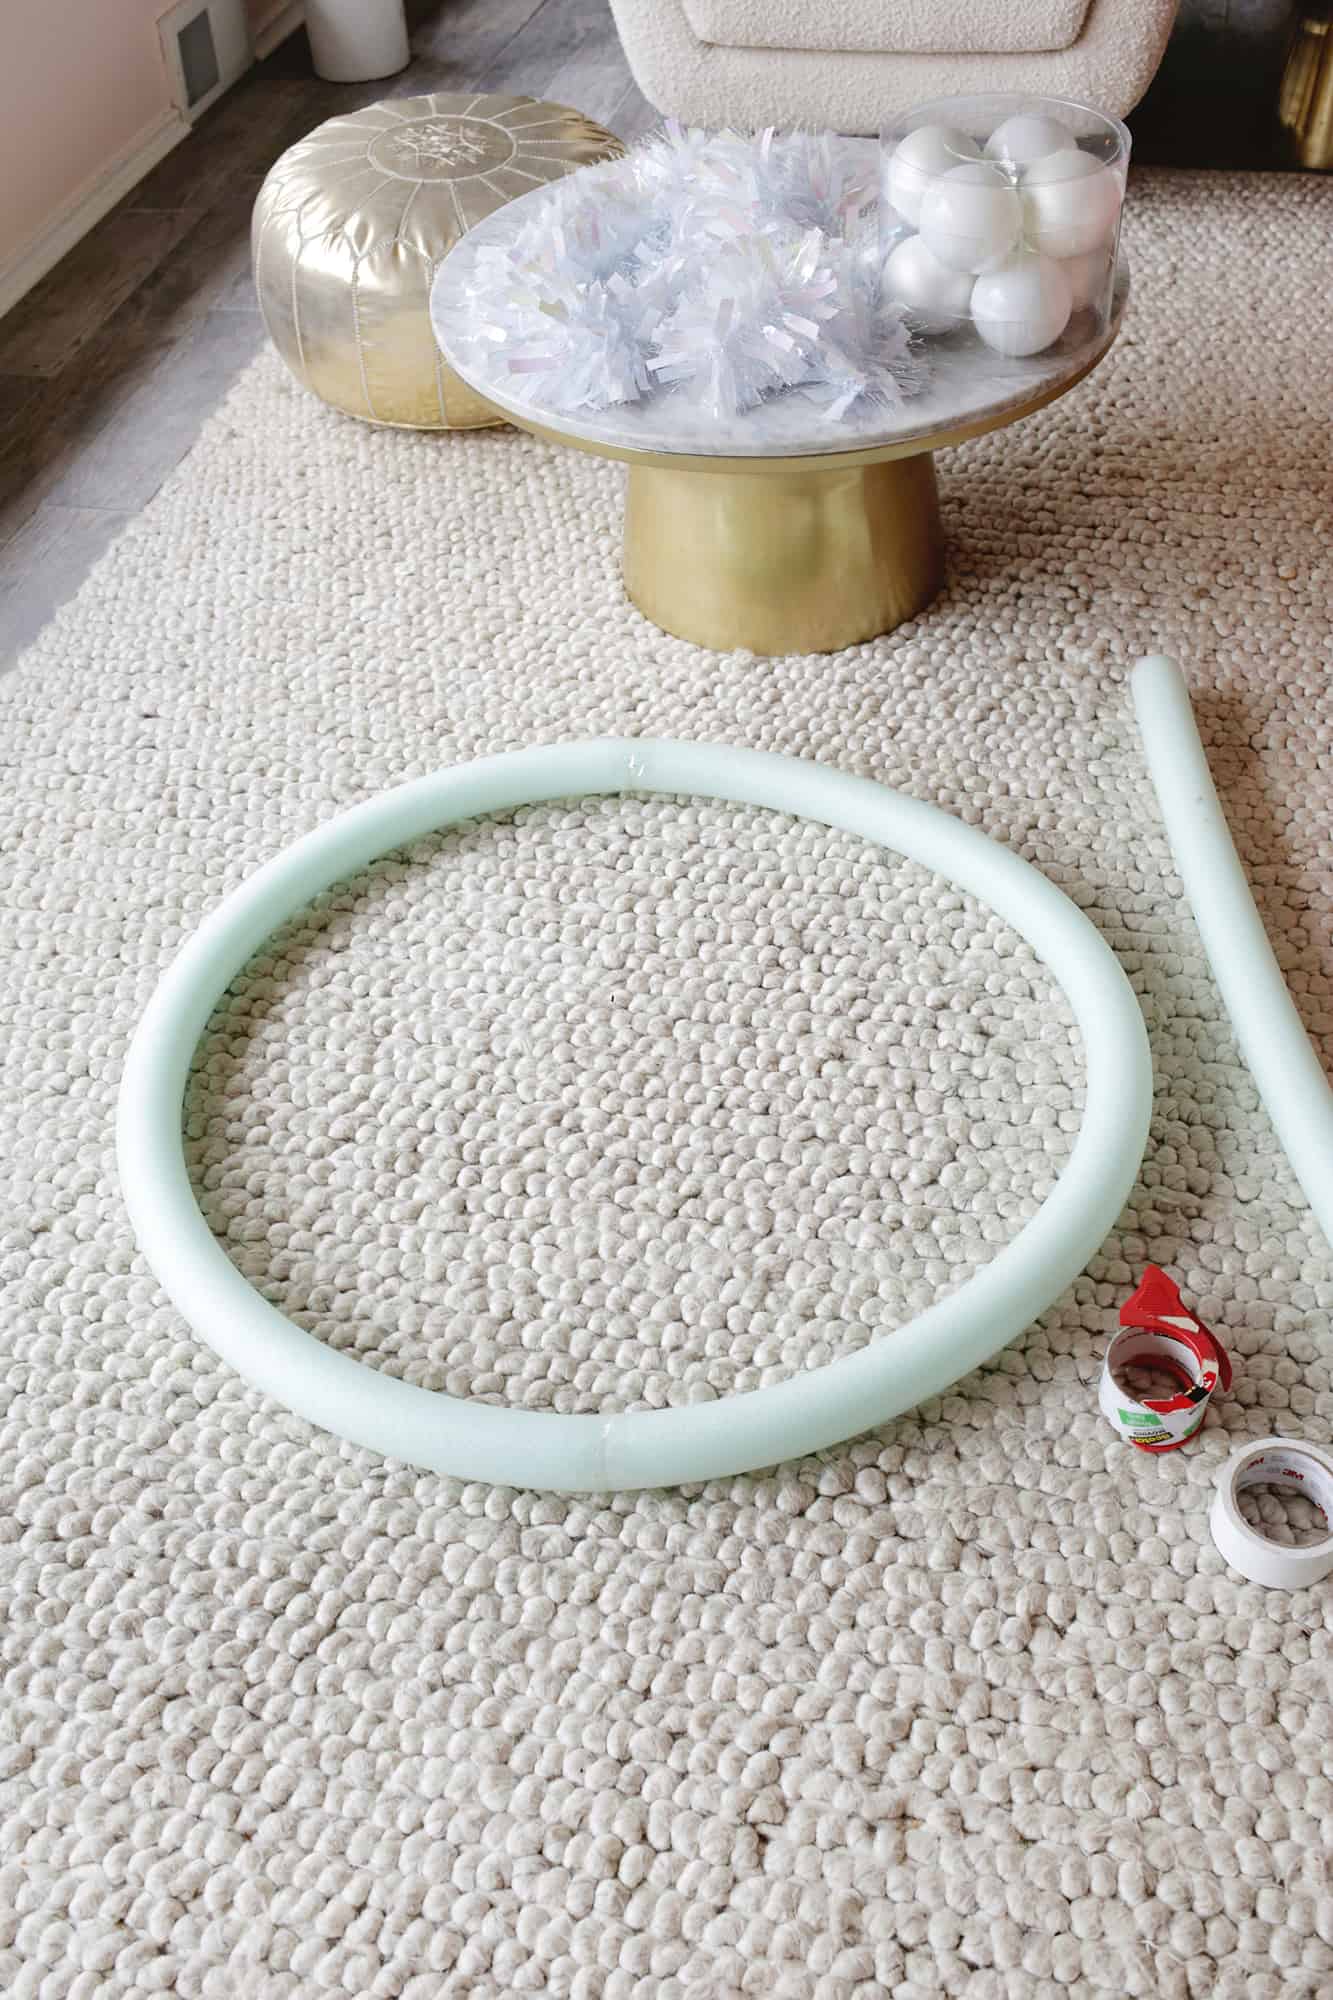
–pool noodles (at least 4)
–duct or packing tape
-garland of your choice (something like this or this, I used 7 9′ long garlands)
-ornaments of your choice (it’s good to have a variety of sizes and shapes, so some larger, smaller, some textured, and some like this star shape worked well together for me)
–large bow
–floral wire and wire cutters
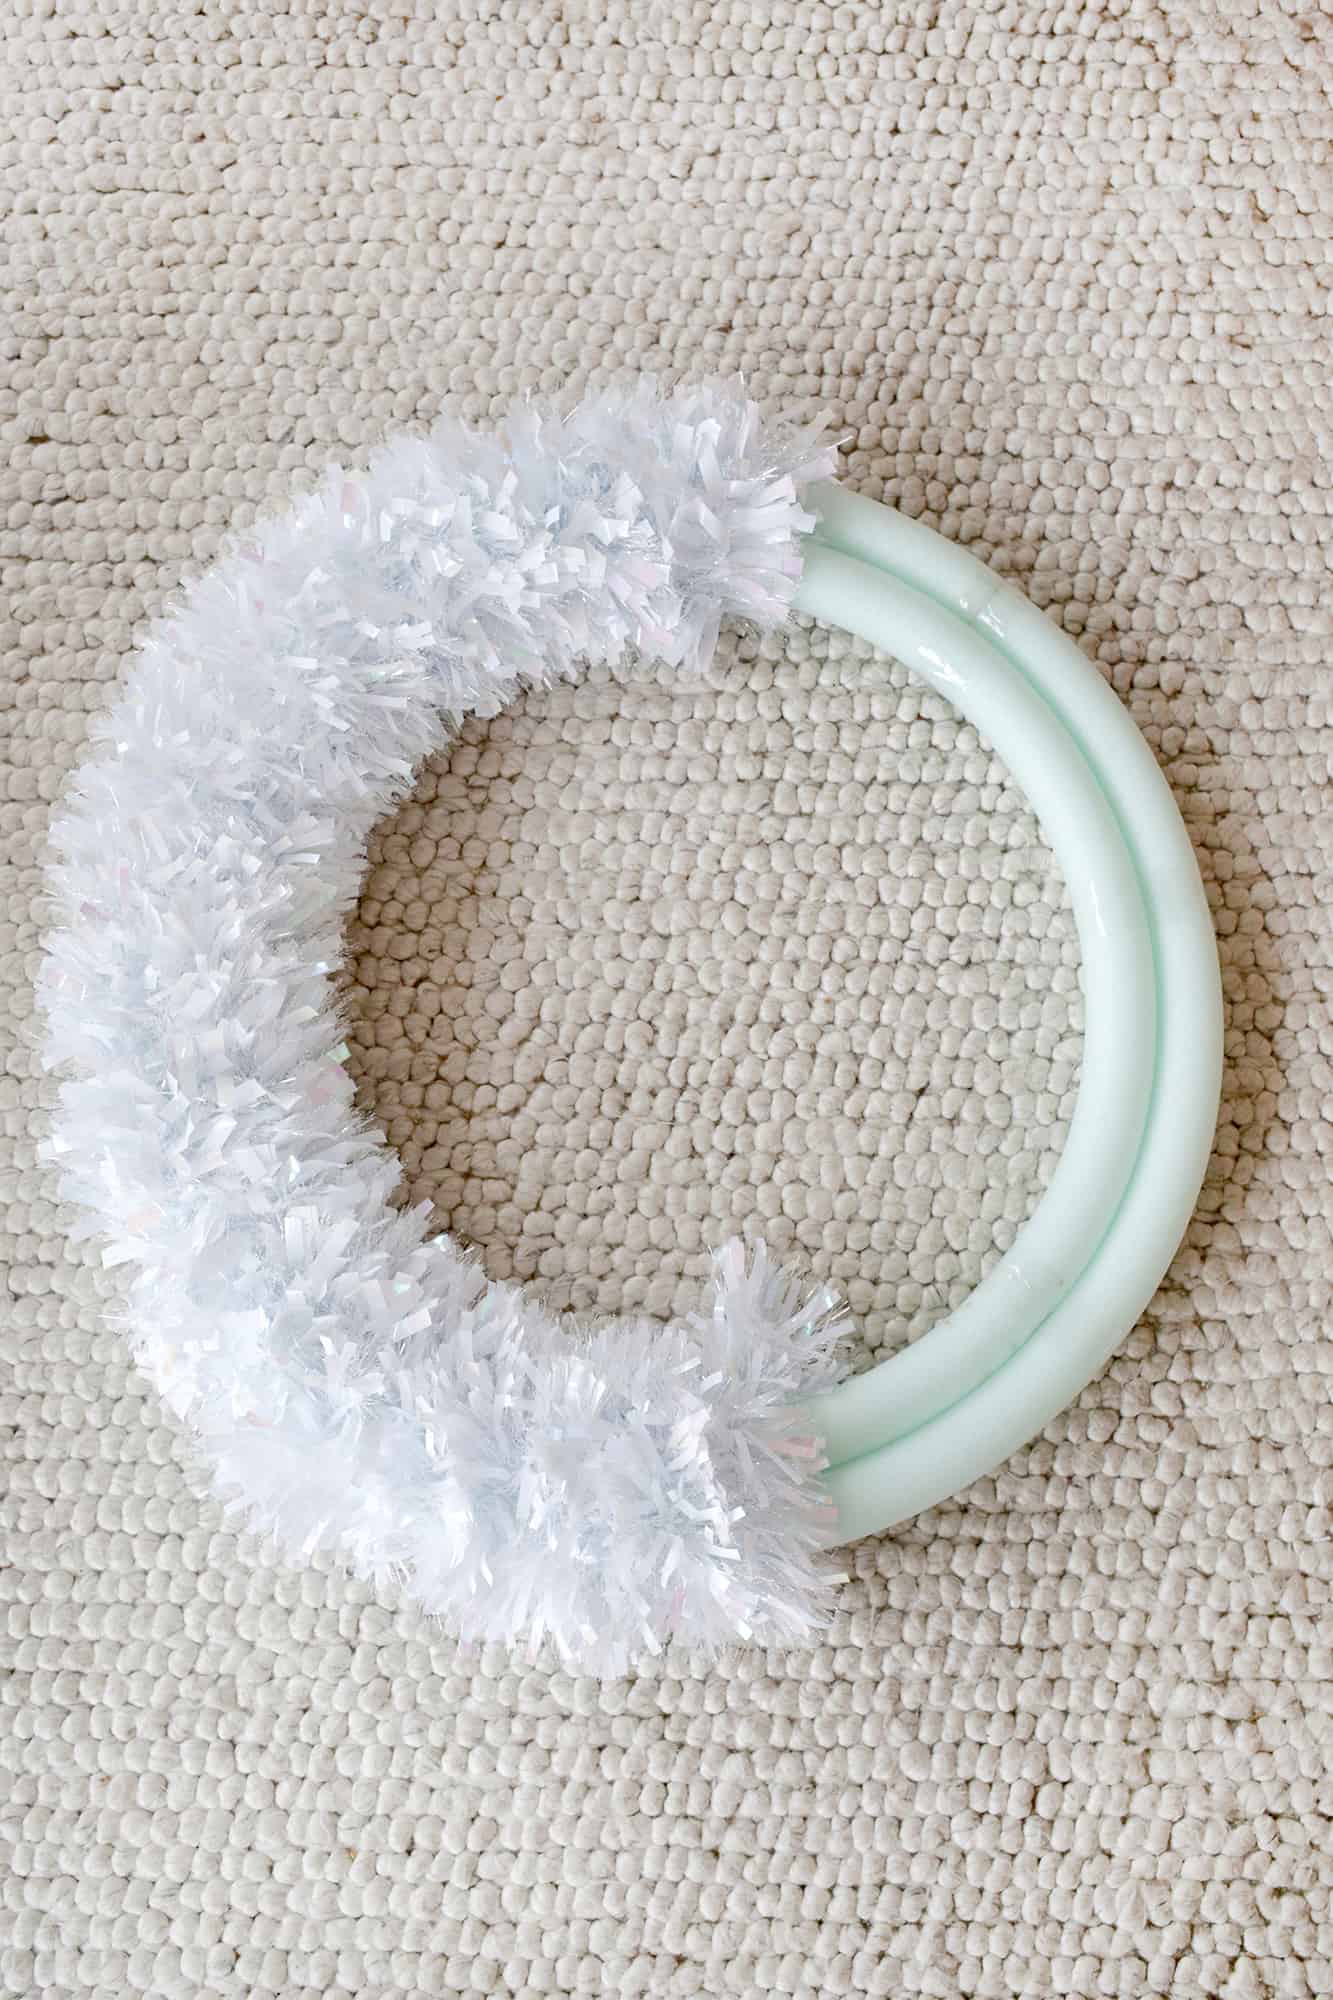
First, I took two noodles and simply taped the ends together to make a circle. Then, I taped the larger and smaller circles together so they formed one frame.

You want to position the ends this way so your circle is more round and you have even pressure pushing out from the middle.
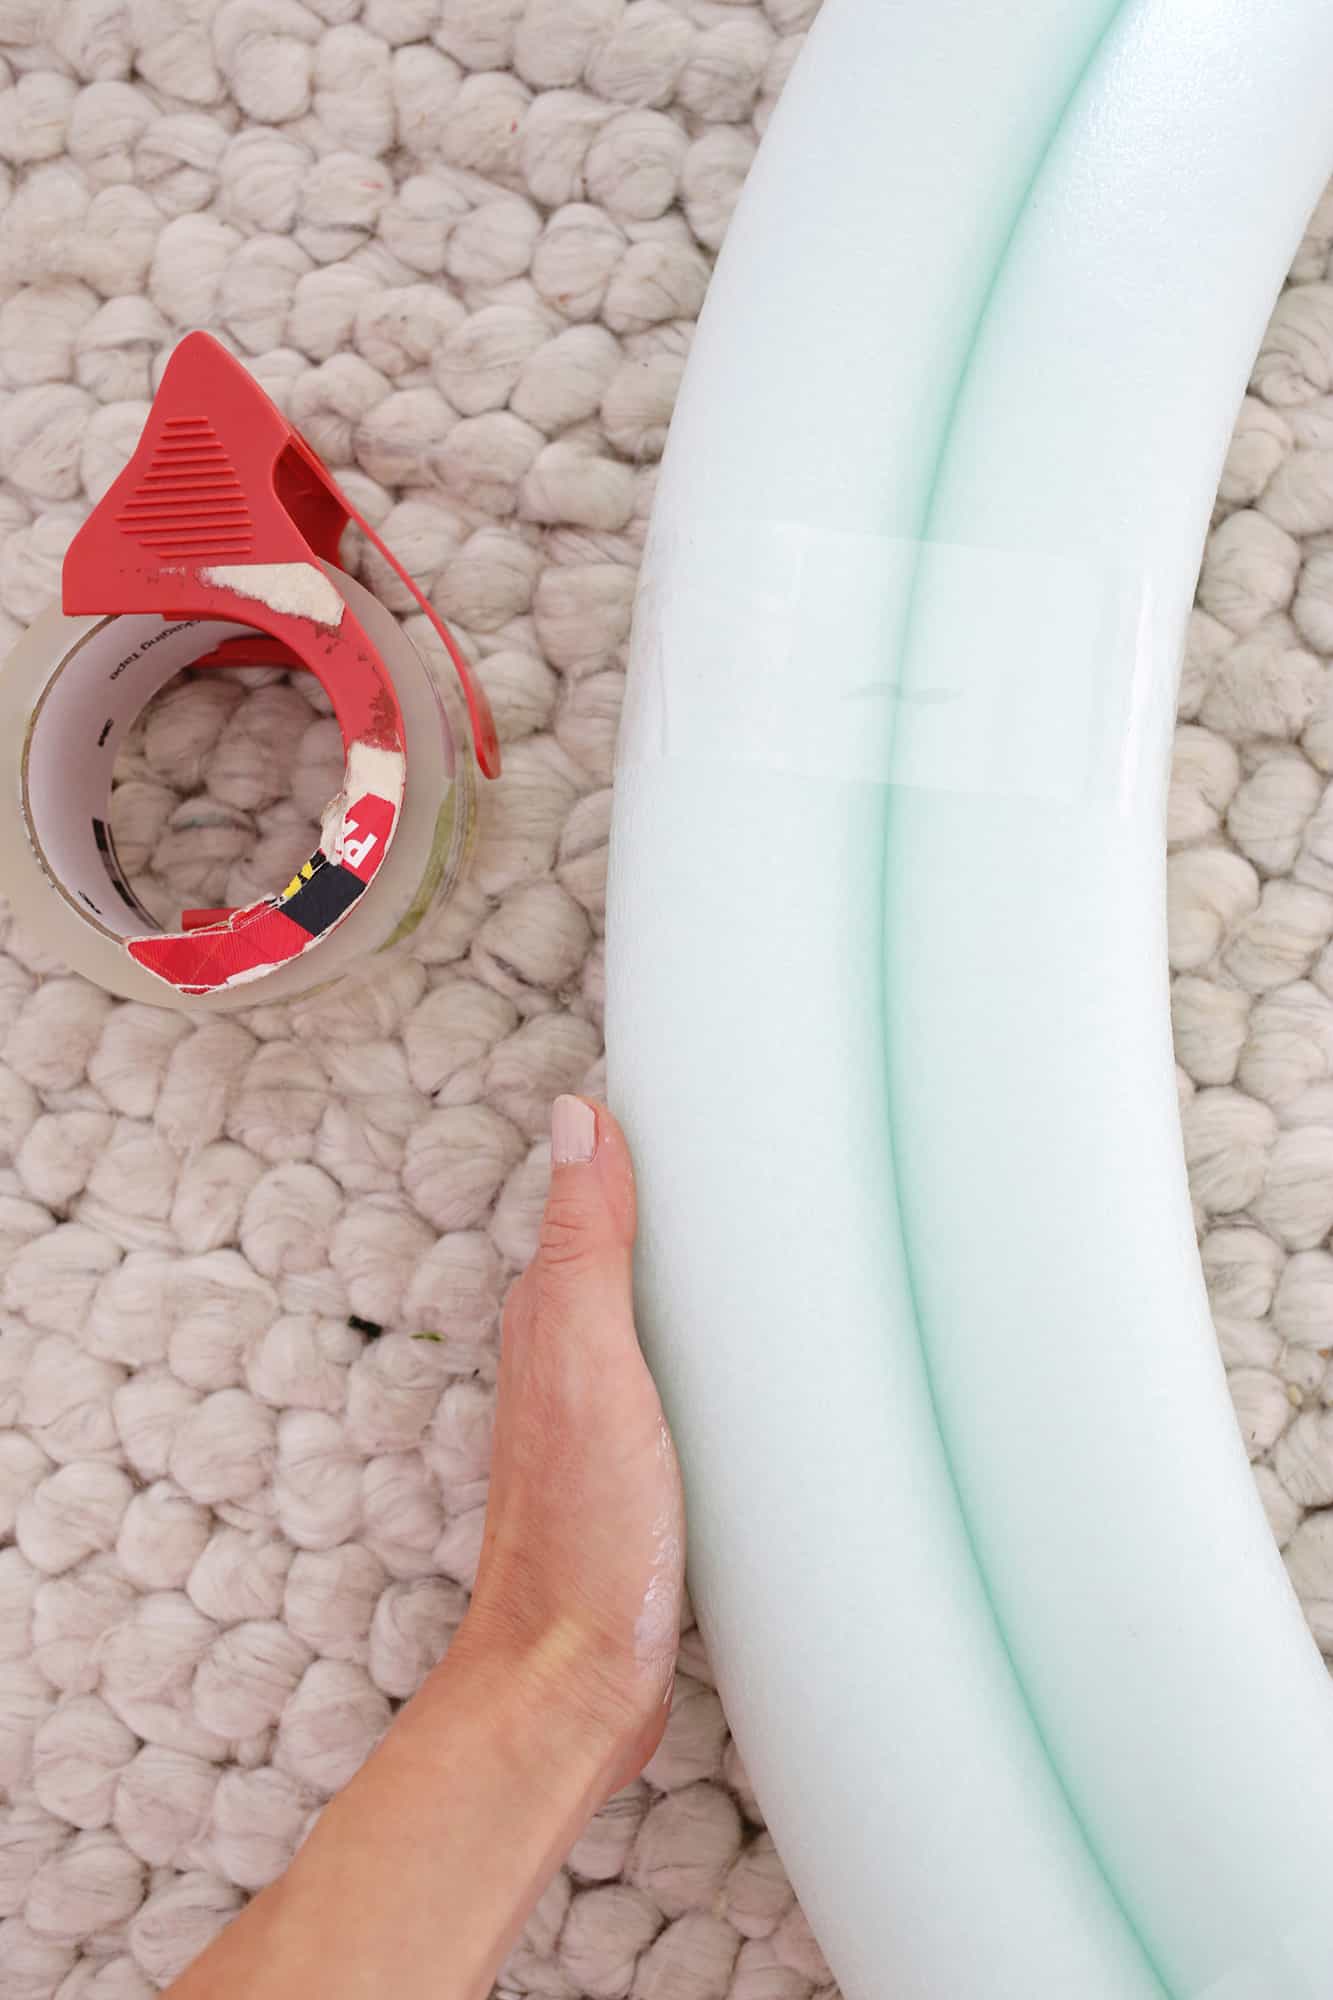
I used packing tape for this and it worked well enough, but I think next year I’ll use duct tape for a little stronger bond (but packing tape will come off easier if you are planning to use the noodles in the pool during the summer).
P.S. See the paint on my hands? Can you tell I was working on two different projects at once? Haha!
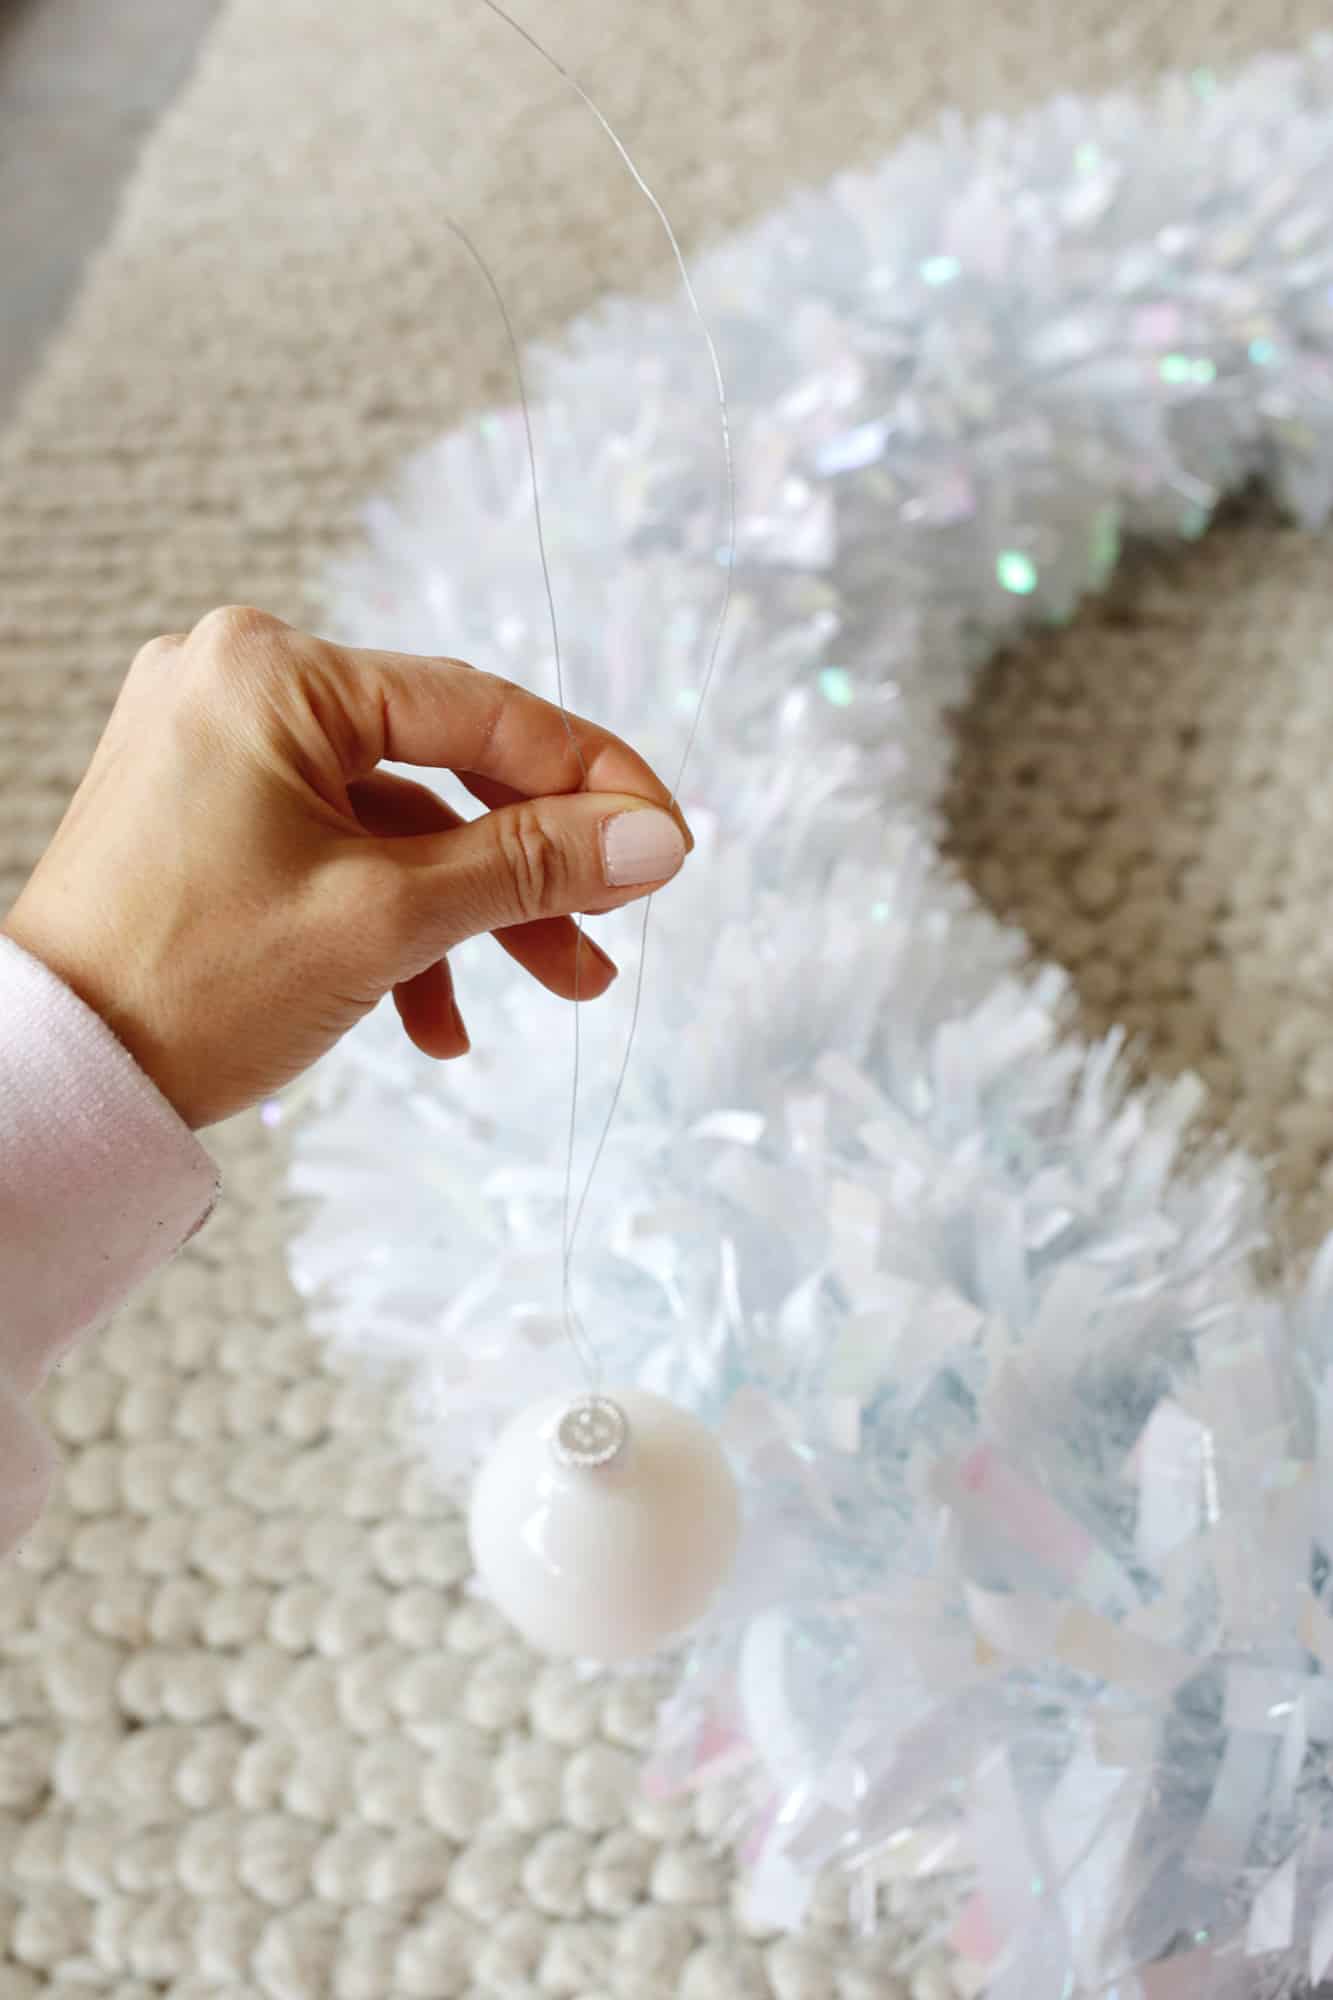
Then I just wrapped the wire around the back of the wreath so I could twist it tight on the back side and the ornament remains on the front side of the wreath. Keep attaching as many ornaments as you want until you like the look of it!
Tie the wire around your wreath so that the loop is on the back of your wreath for hanging on a nail.
Depending on how many ornaments you used and the size of your wreath, you may need just one of these hangers at the top, or you may want one at the bottom as well to support the bottom of the wreath (remember, it’s just a pool noodle frame rather than a stiff wire frame so it may need a little help!).
I hung mine with a top and bottom one and then added two more wires in the 2:00 and 10:00 positions since I added a ton of ornaments. I found it helpful to hang the top nail and have another pair of hands help you hold it in place so you can gauge where the other nails need to go for hanging the other spots.
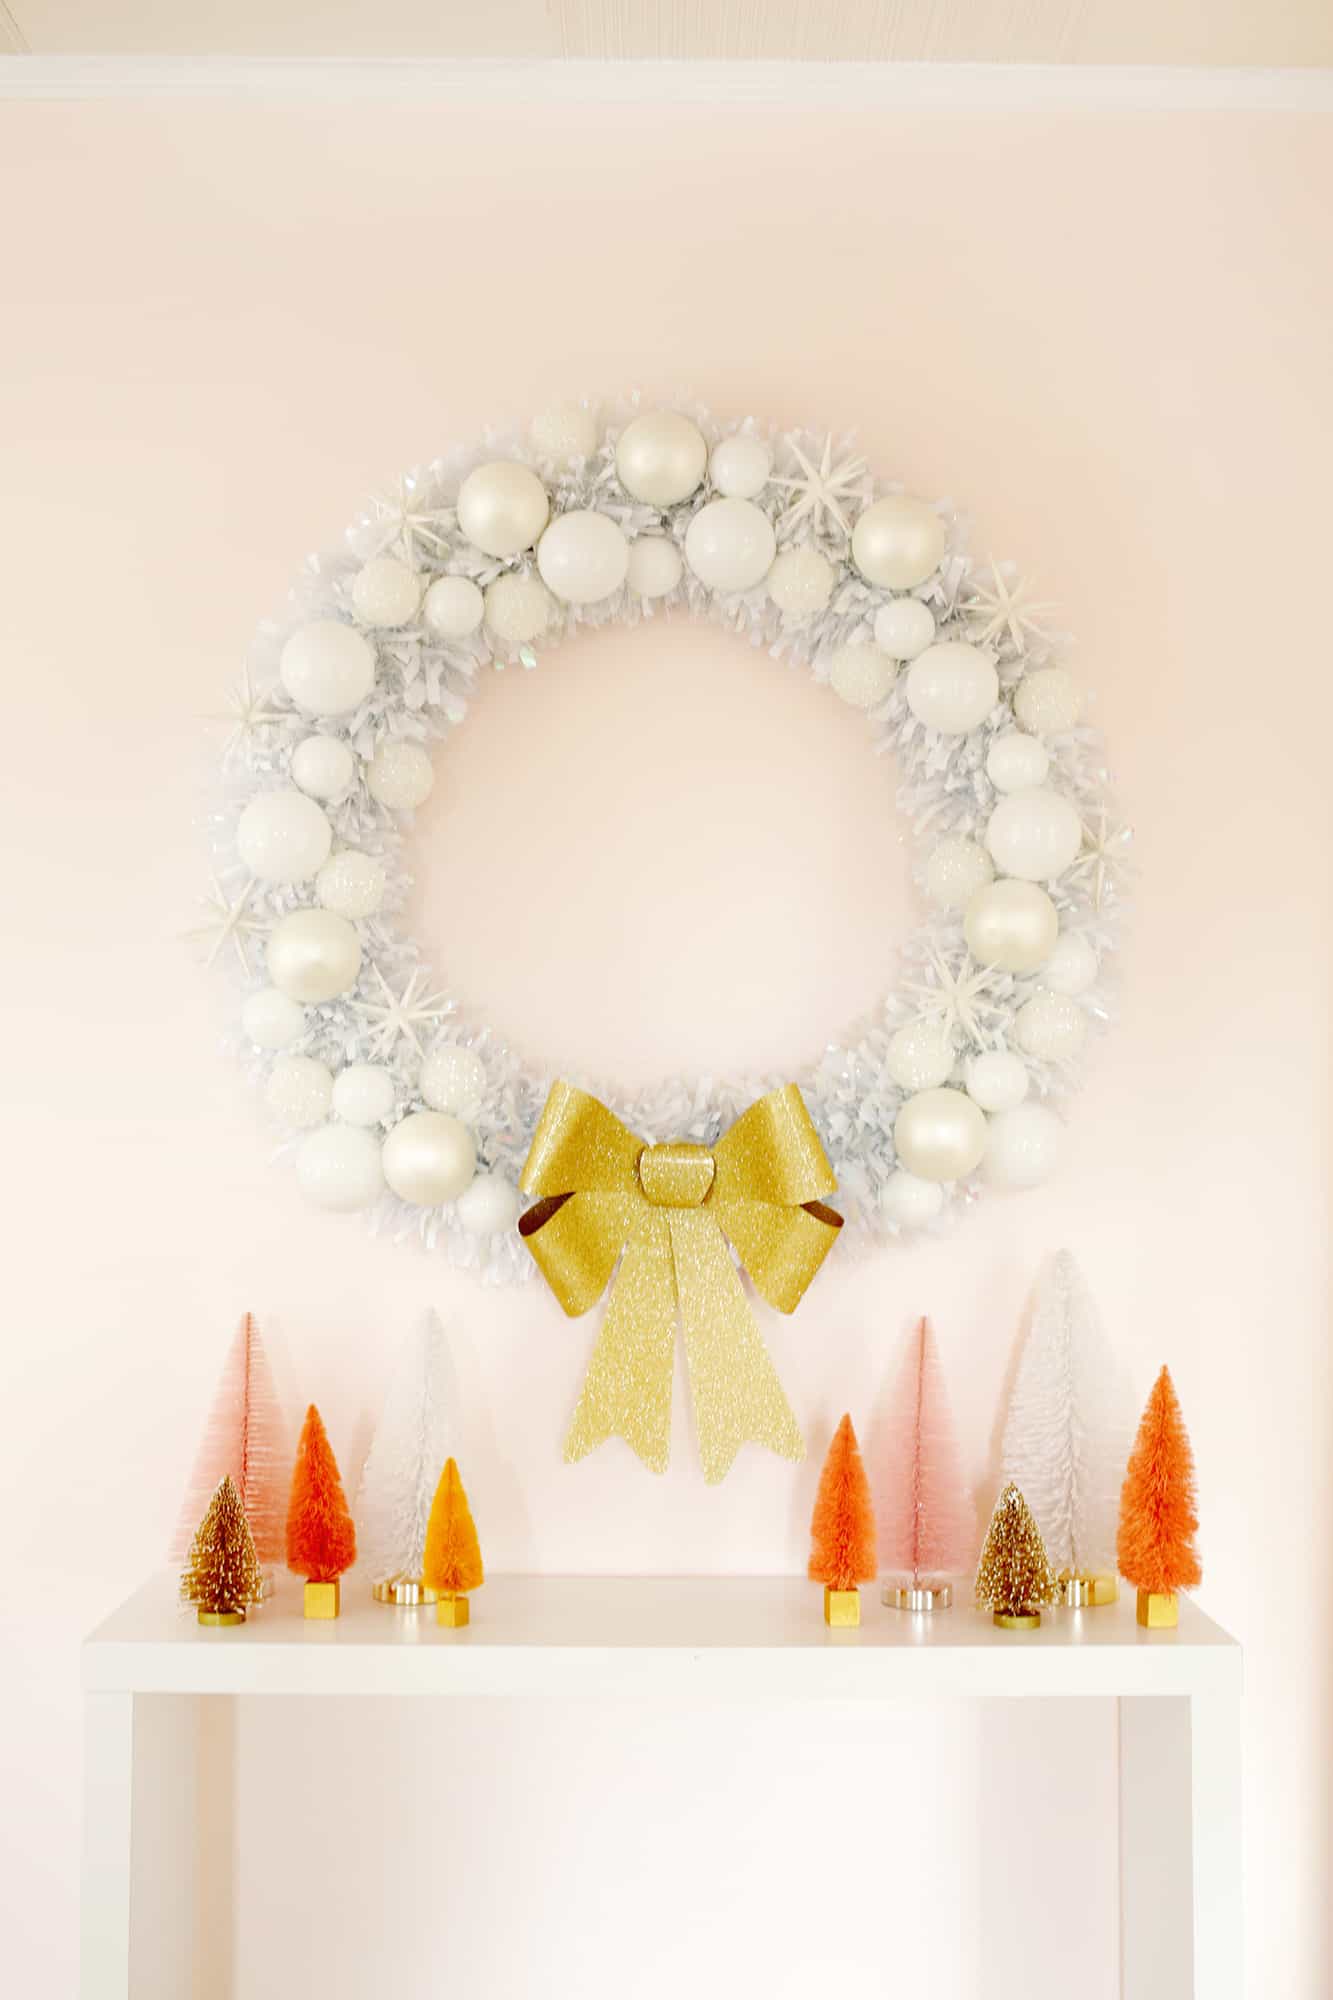
Once your wreath is hung, stand back and admire your creation!!
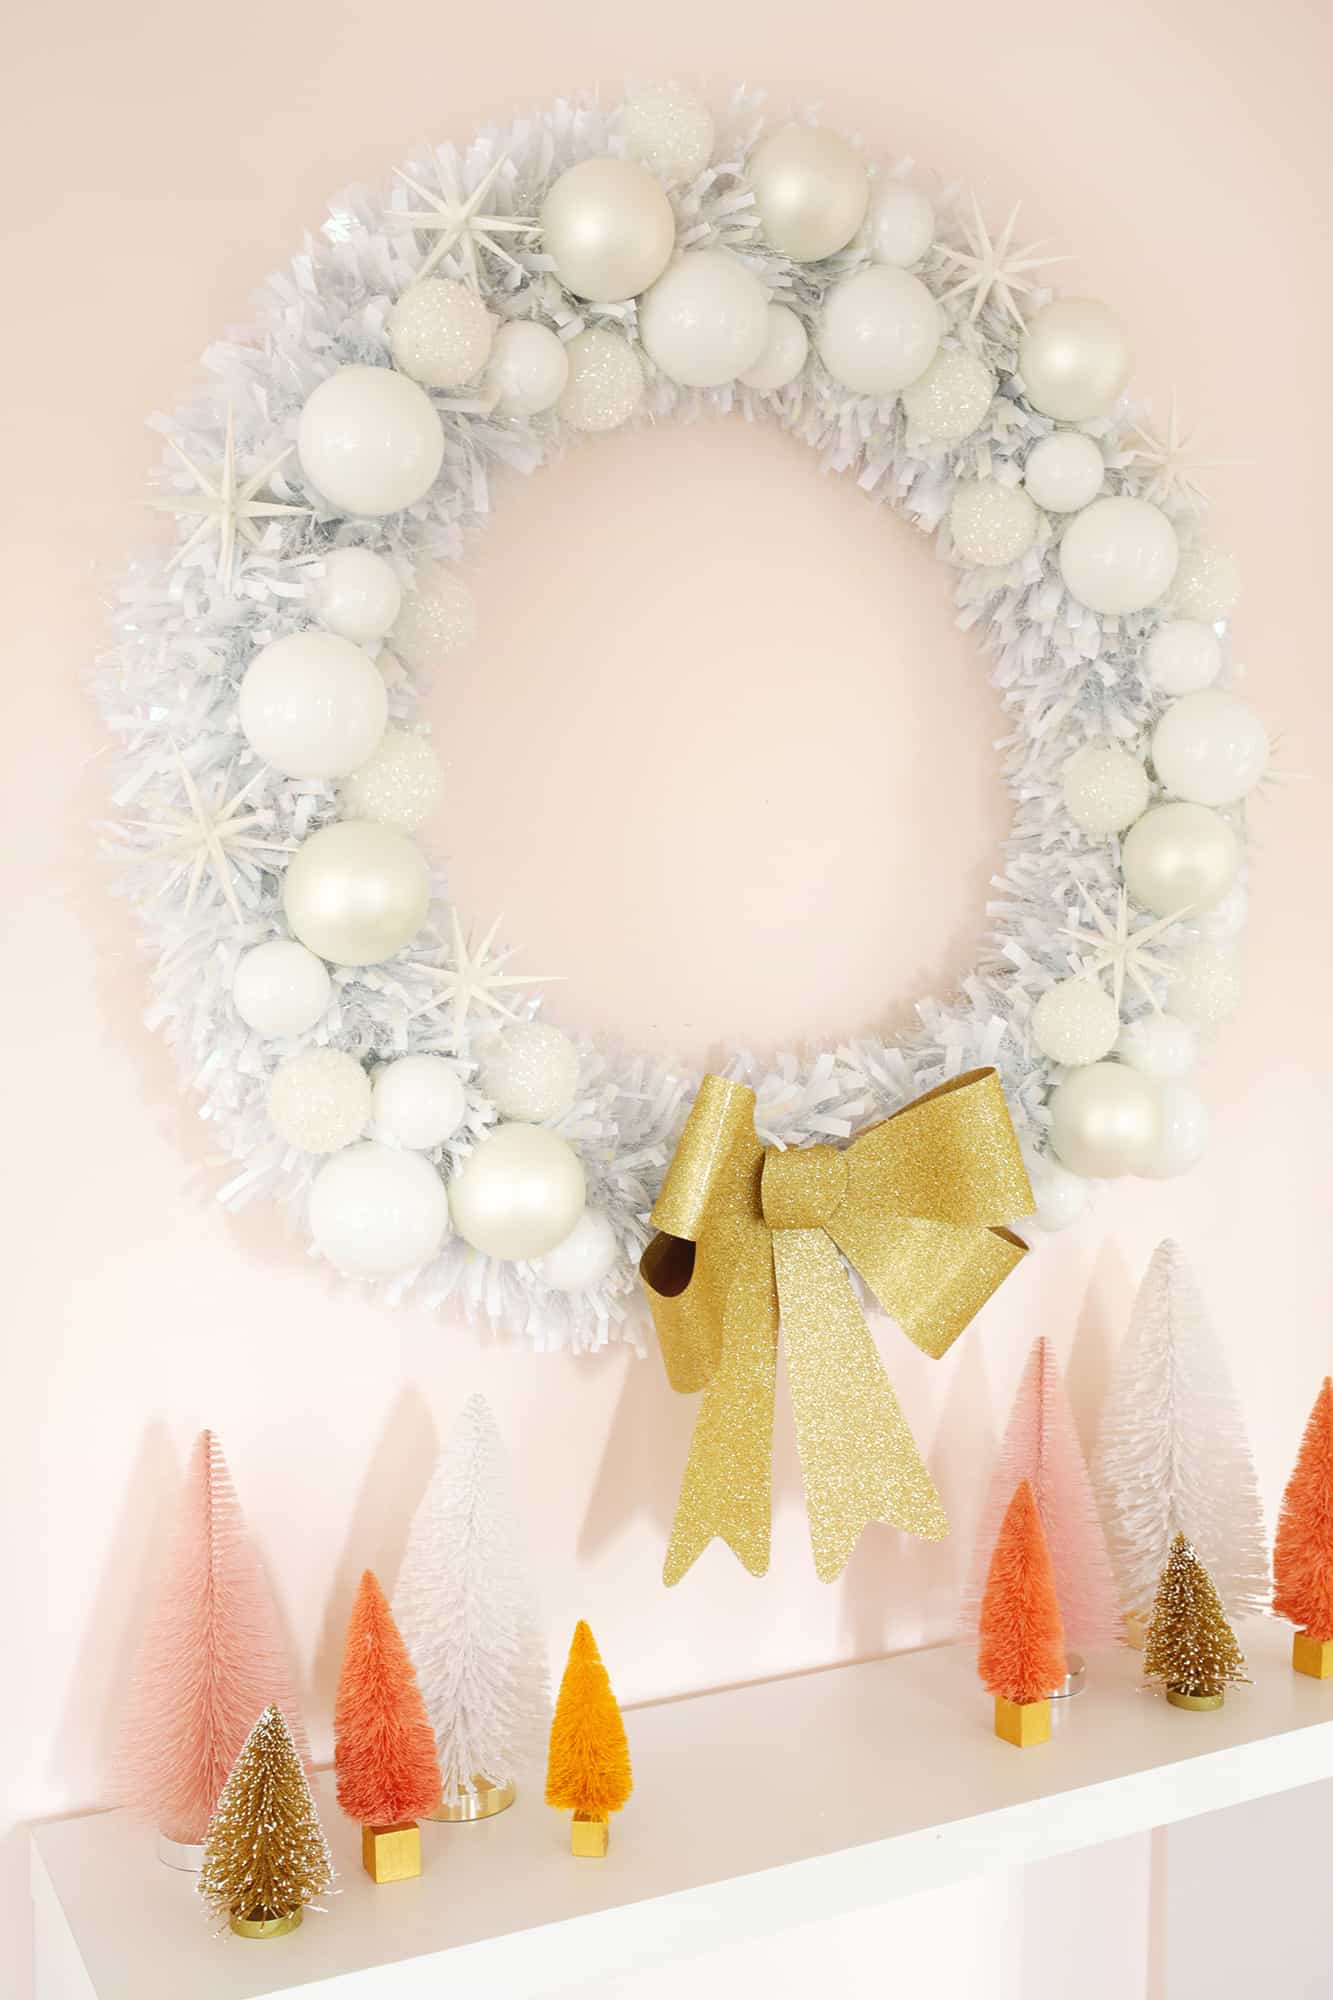
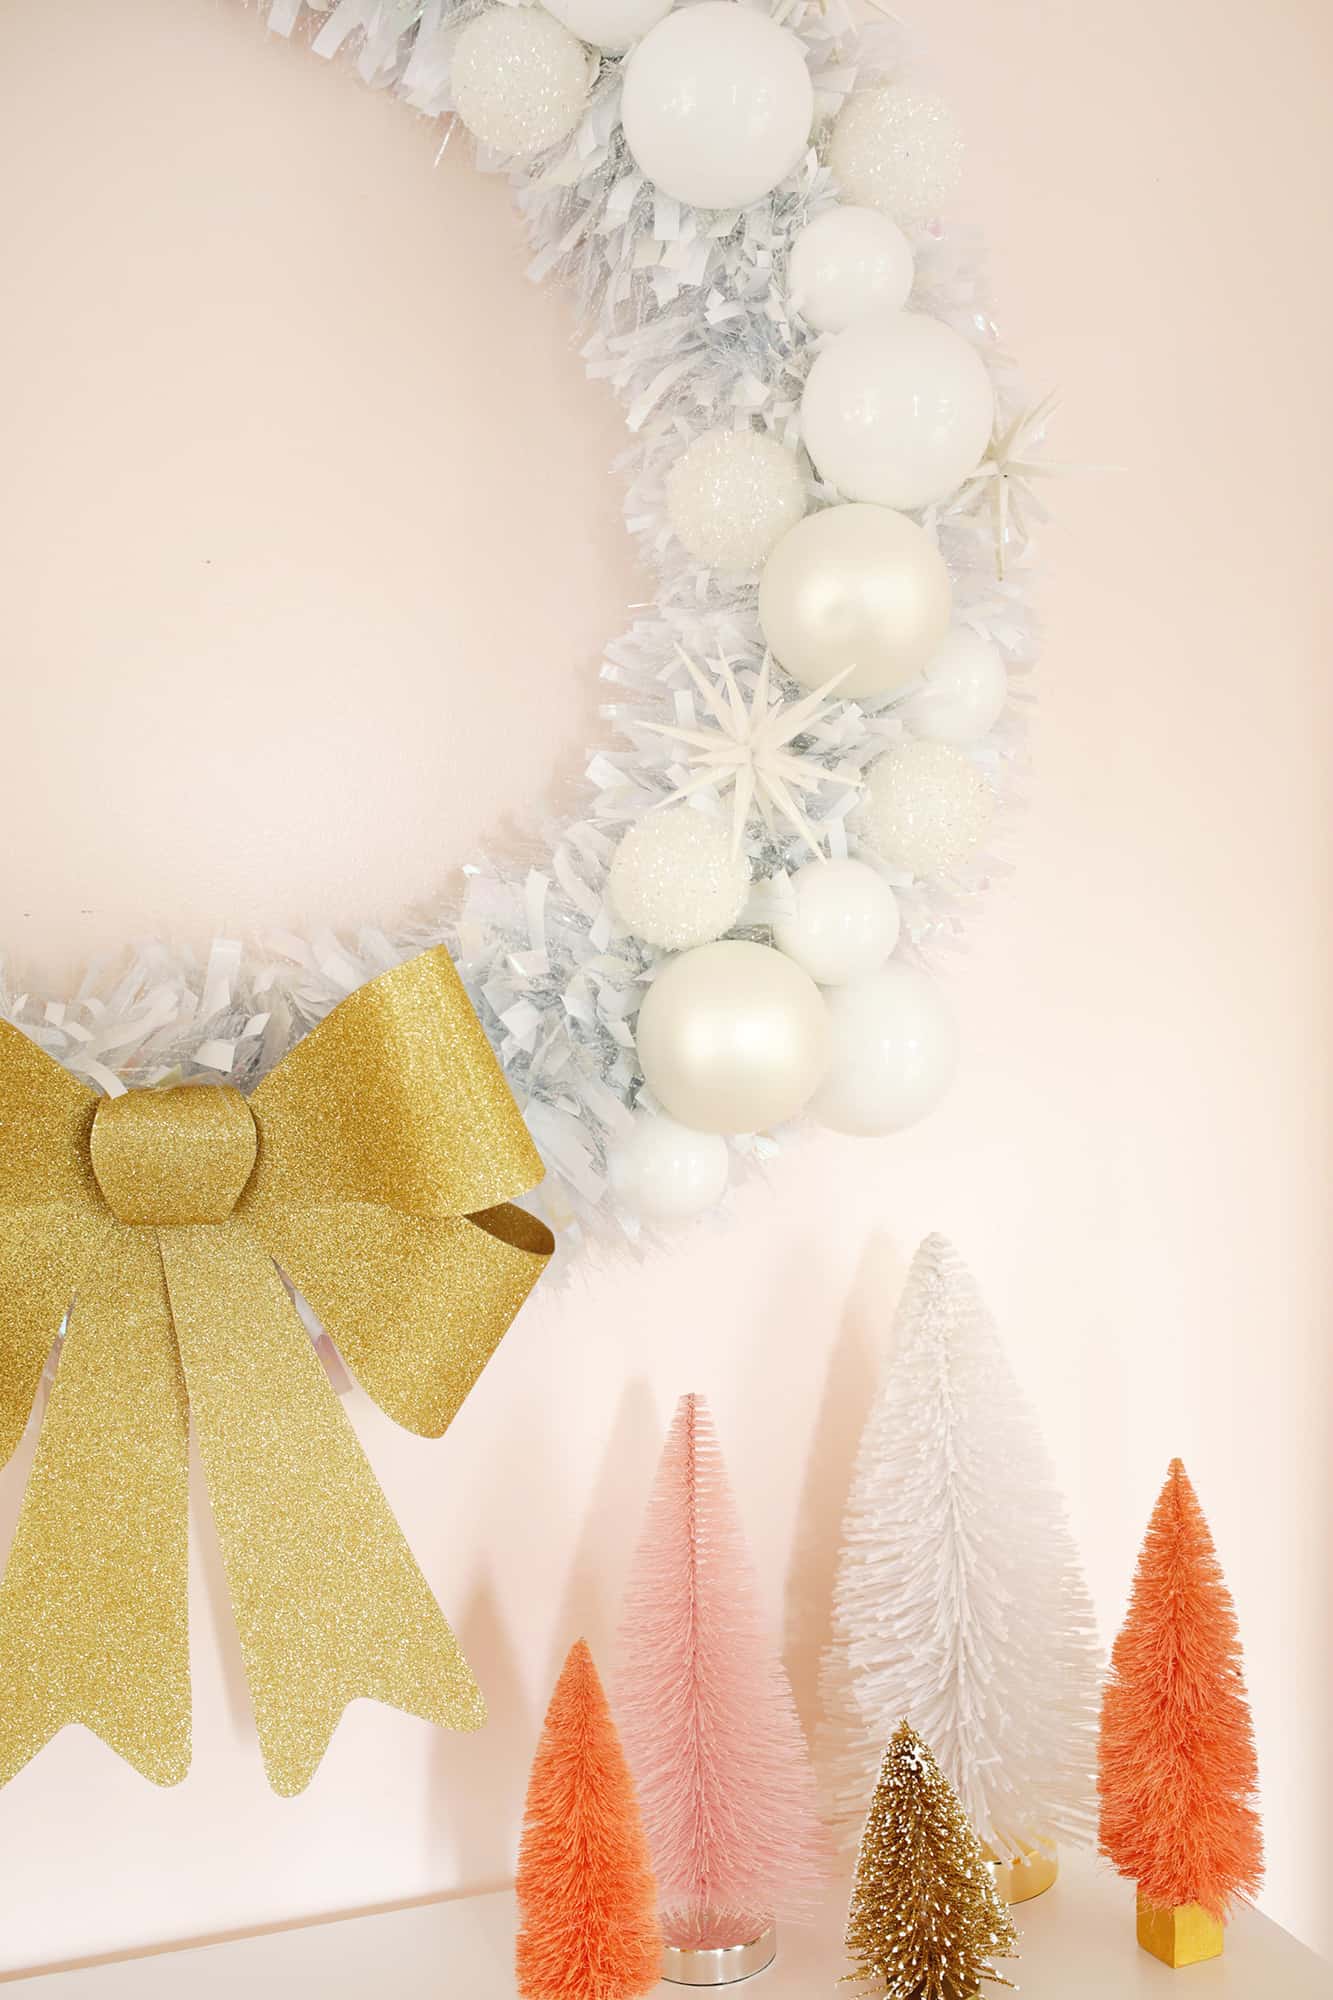
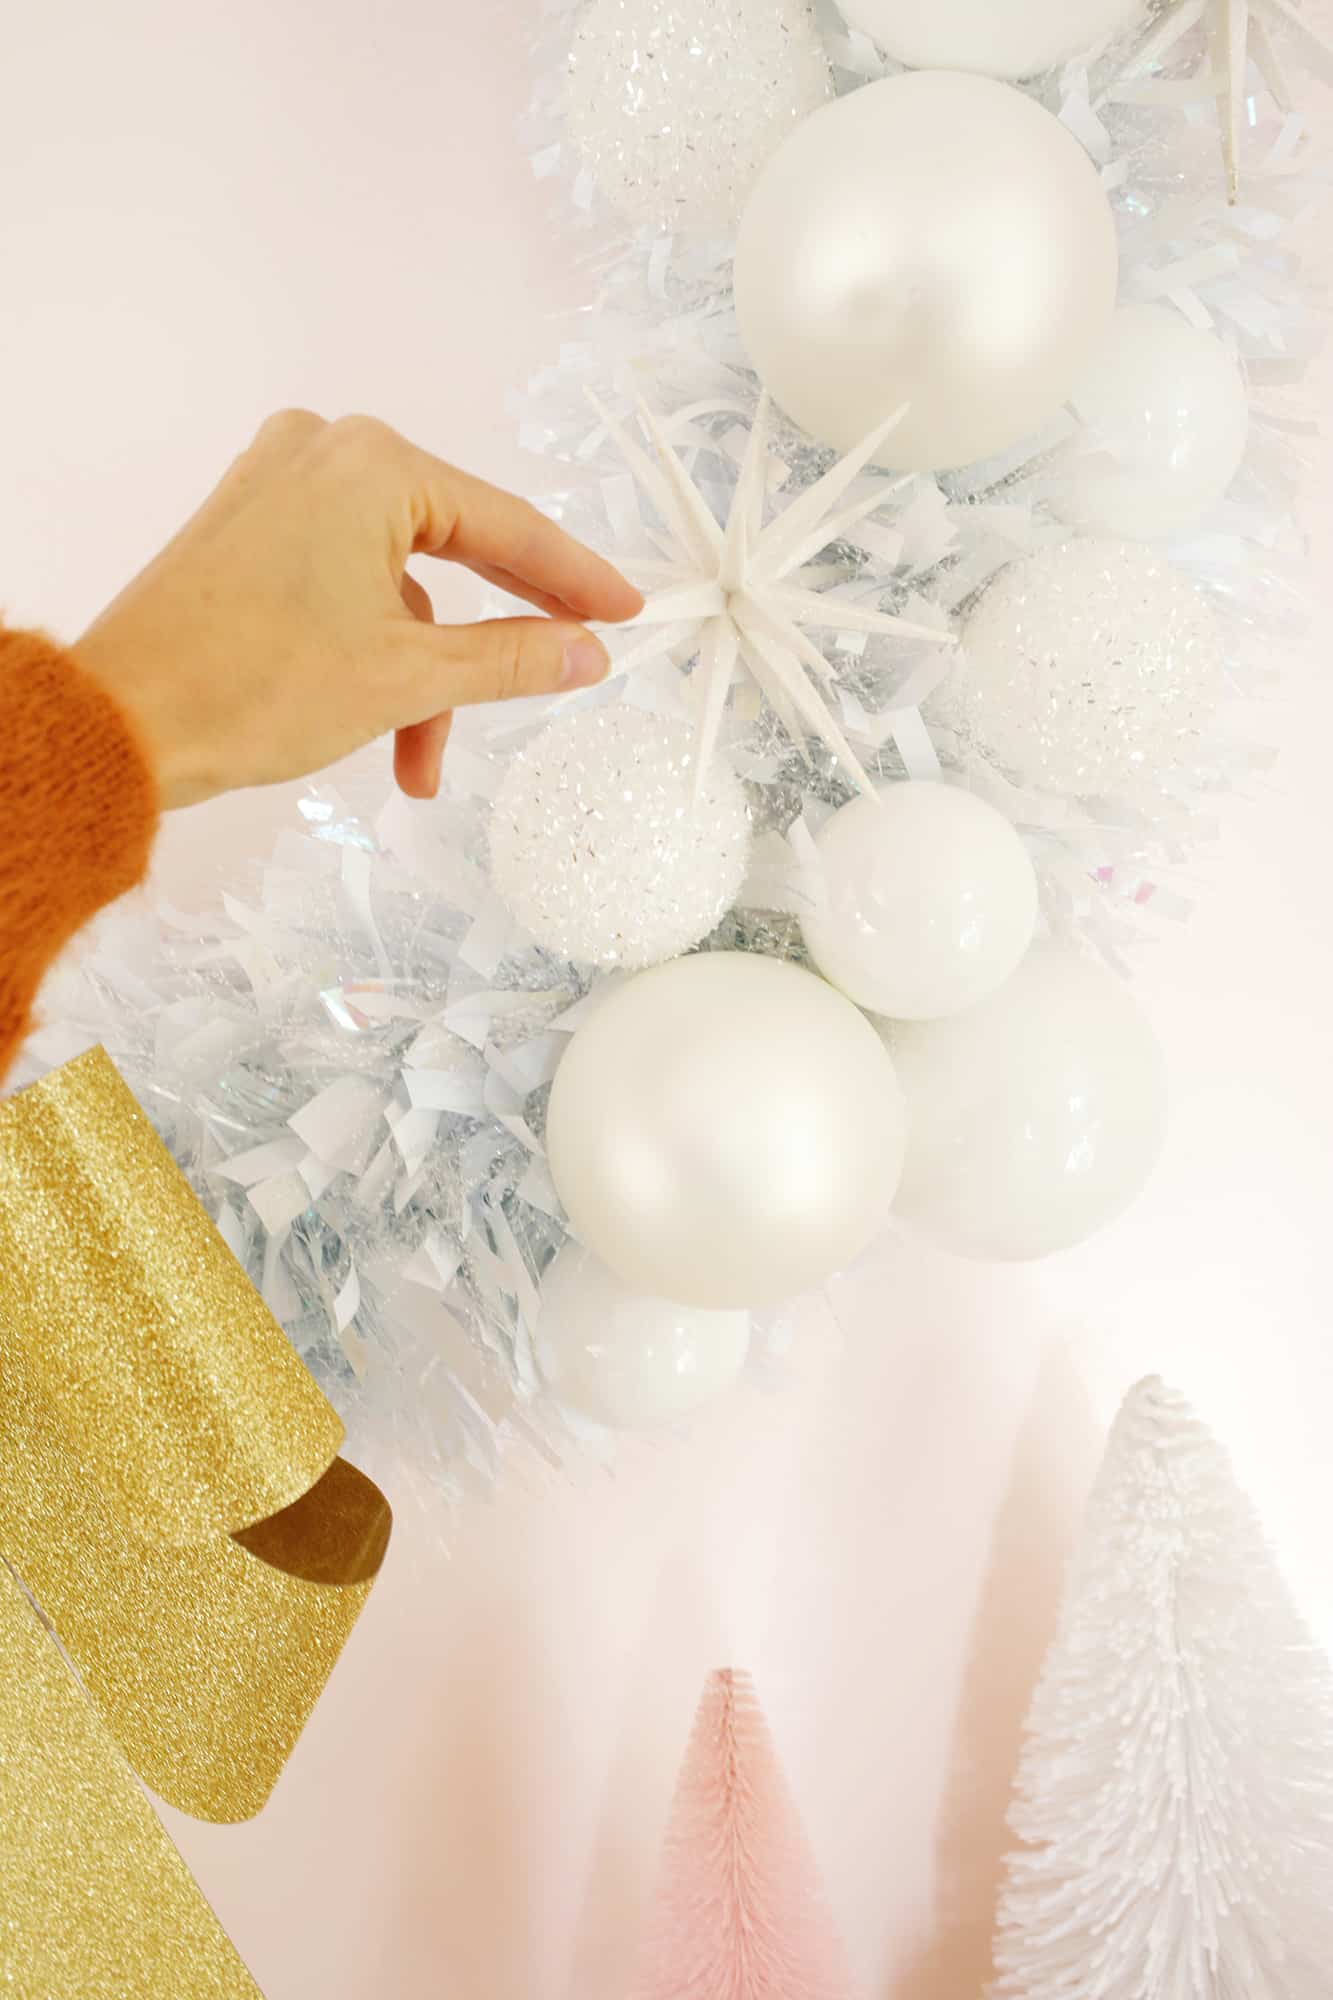

I also love that I can take all the components apart when it comes time to store it so I don’t have to have a giant wreath in our garage all year—yay!
Speaking of organizing, you can also see all our tips to organize and store your Christmas decor like a pro here! What do you think, have pool noodles ever made it into your holiday decor before? xo. Laura
Love holiday decorating? Check out how to transform your Christmas garland into something really special!
Get our FREE recipe guide with our most popular recipes of all time!

Free Popular Recipe Guide
Our top 25 recipes of all time!
 Get the Recipe
Ingredients
- pool noodles (at least 4)
- duct or packing tape
- garlands of your choice (I used 7)
- ornaments
- large bow
- floral wire
- wire cutters
Instructions
- First, I took two noodles and simply taped the ends together to make a circle.
- Then, I cut two more noodles a little smaller to fit within that larger circle and had their ends situated in between the taped ends on the larger circle (so if the larger circles ends are at 12:00 and 6:00 on a clock face, the smaller circle ends should be at the 9:00 and 3:00 positions). You want to position the ends this way so your circle is more round and you have even pressure pushing out from the middle.
- Then, I taped the larger and smaller circles together so they formed one frame. For a thicker wreath, you could keep going and add a third inner layer if you like! I used packing tape for this and it worked well enough, but I think next year I’ll use duct tape for a little stronger bond (but packing tape will come off easier if you are planning to use the noodles in the pool during the summer).
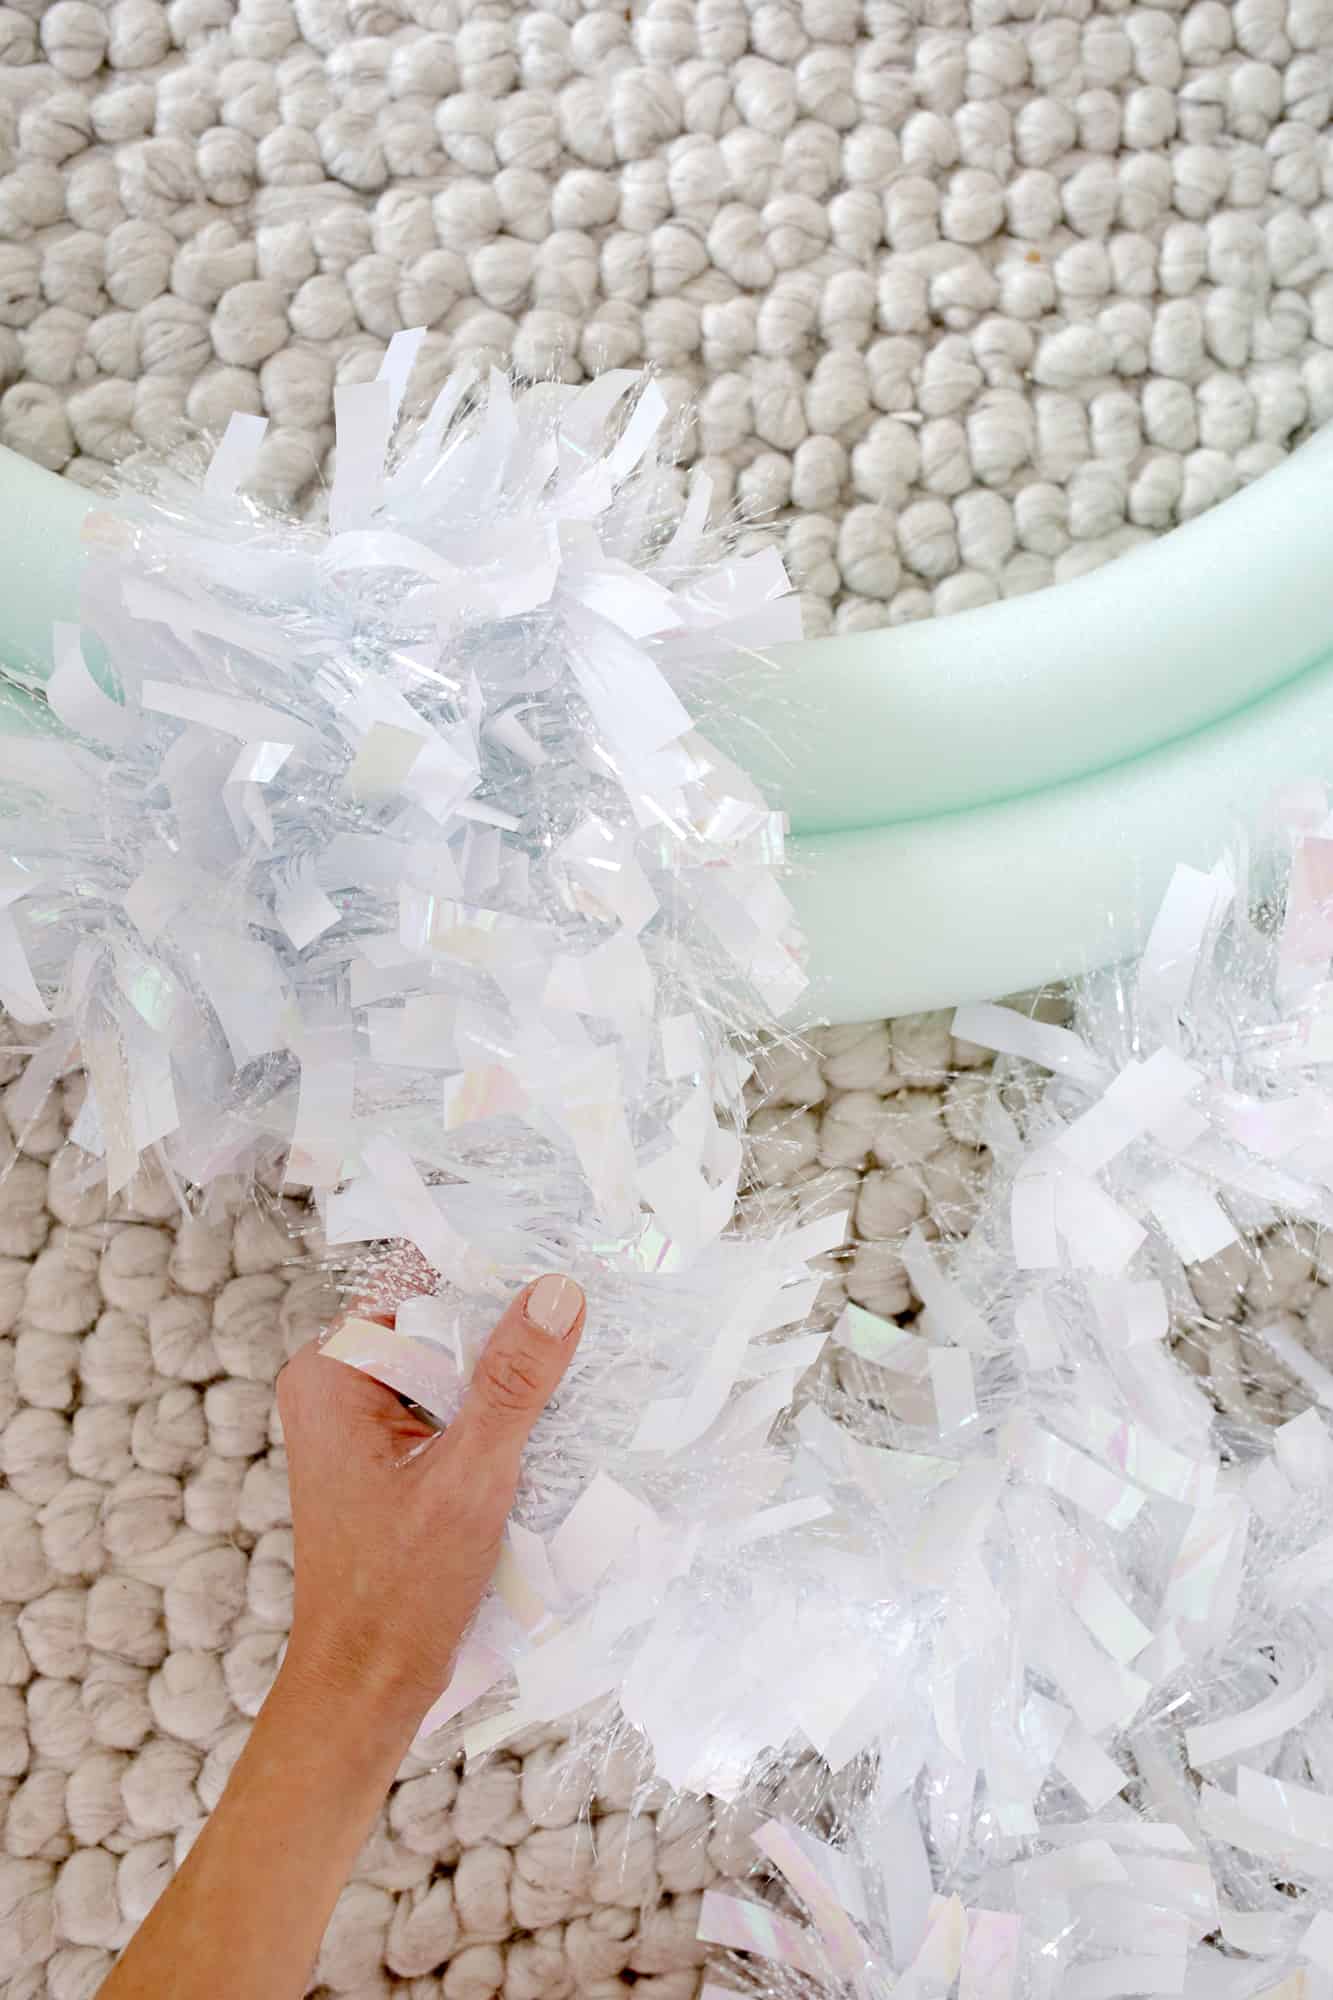
- Once I had my frame I simply tucked the start of my garland into the crack between the two noodles and started wrapping! I would connect one garland to the next with a small piece of wire that I tied through both ends, but you could also staple them together.
- Wrap all the way around your frame with as many garlands as needed (this will vary depending on the size of your frame and the thickness of your garland) and you can either tuck the final end in between the noodles or tie it with some wire to another garland at the beginning.
- Now that your wreath is covered, you can either just tie on a bow with some wire or you can add some ornaments like I did! I would cut some wire that was long enough to go all the way around the wreath (with a little extra) and then I twisted an ornament in the middle of the wire. Then I just wrapped the wire around the back of the wreath so I could twist it tight on the back side and the ornament remains on the front side of the wreath. Keep attaching as many ornaments as you want until you like the look of it!
- When it’s time to hang your wreath, cut another few pieces of wire that are long enough to go around the wreath and twist a small loop into the middle of your wire (this loop is what you’ll hang on your nail on the wall). Use a decently thick wire for this part so the weight of the wreath doesn’t pull the tie apart once hung. Tie the wire around your wreath so that the loop is on the back of your wreath for hanging on a nail. Depending on how many ornaments you used and the size of your wreath, you may need just one of these hangers at the top, or you may want one at the bottom as well to support the bottom of the wreath (remember, it’s just a pool noodle frame rather than a stiff wire frame so it may need a little help!). I hung mine with a top and bottom one and then added two more wires in the 2:00 and 10:00 positions since I added a ton of ornaments. I found it helpful to hang the top nail and have another pair of hands help you hold it in place so you can gauge where the other nails need to go for hanging the other spots.Once your wreath is hung, stand back and admire your creation!!
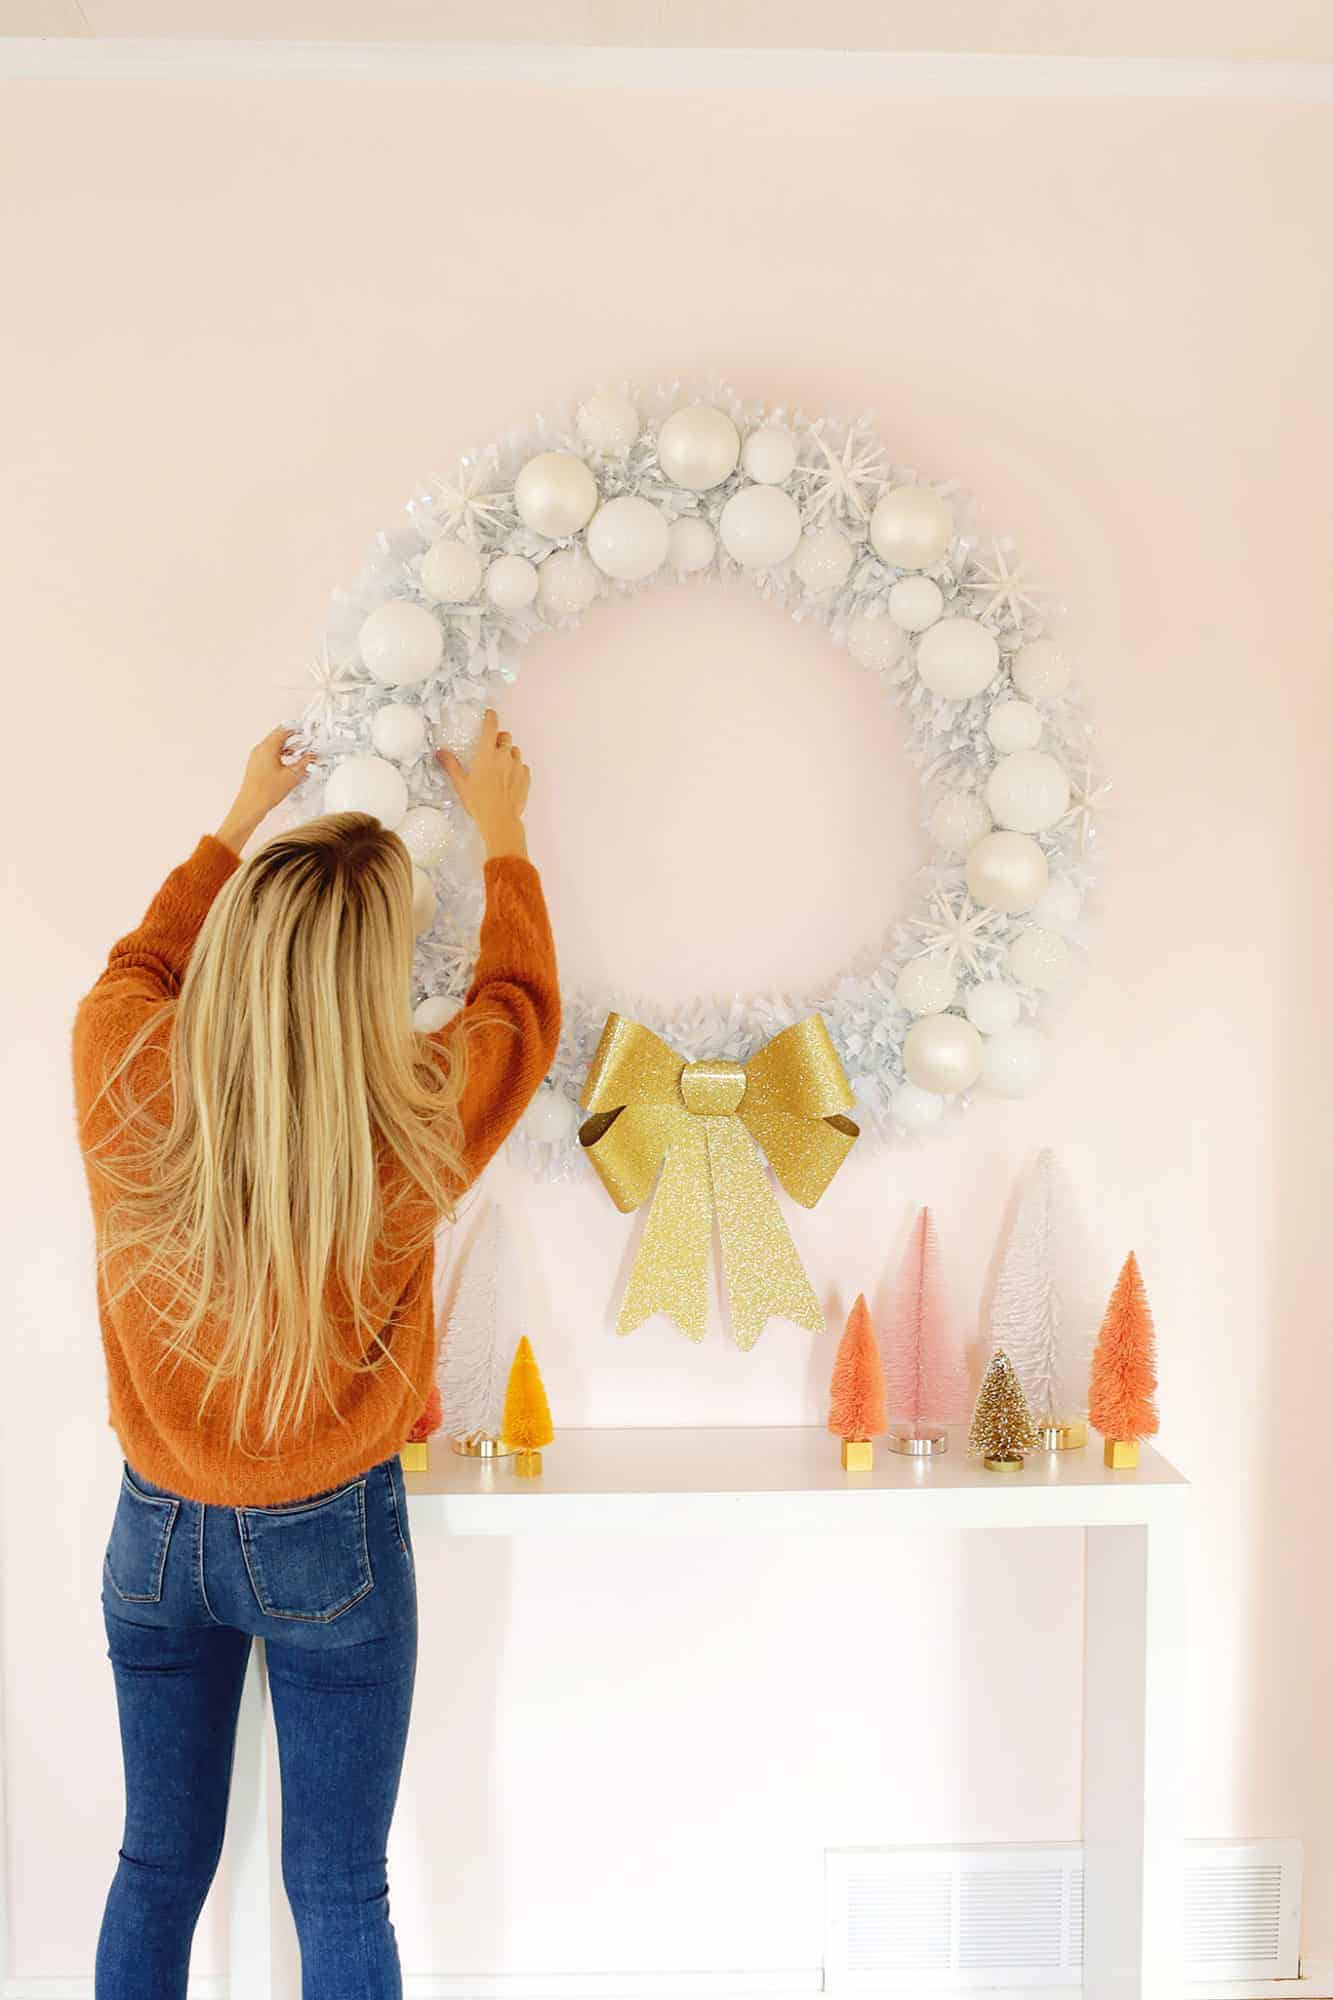


I have been looking for ideas just like this- I have a gaping open space above my fireplace and this would be perfect- What a fantastic idea- Simple- and all things I can use and reuse as well!
I love this – thank you – grabbing some supplies to make one!
Super old Asos jeans 🙂
Laura
Where are those jeans from?? They are so cute!
I agree! Do tell.
Beautiful project! What is the name of the paint color on the wall?
It’s soft stone by valspar!
Laura
Gorgeous, Laura!?
Gorgeous Laura!
Love this idea, I’m decorating my husbands massive building and this will come in handy. I can recycle many of the components Thanks !
Love this idea!!! Quick question…What does AMB mean? Thank you in advance .
ABM is short for “A Beautiful Mess” (name of our website) xx!
Well Done Laura! It is beautiful. I think you could swap out the gold bow for something more “snow=y” and use that wreath all winter!
This is such a fun DIY! I’ll definitely try to create this soon.
Hello! I would really enjoy seeing projects that creatively recycle or reuse common household/thrifted items. These projects that create massive amounts of plastic seem really wasteful. I think ABM can do better!
Hi Shannon!
I hear you. I currently have pool noodles around my house and with this DIY you can reuse them again in the summer as well as pool noodles since the project doesn’t ruin them so personally I like that aspect to the project ?
Laura
Come on Laura presented a great idea! You can easily use unloved products for this project. I plan on doing this with my broken ornaments This year, while I was decorating the tree, I realized I had bunch of balls where the string attachment piece fell off and got lost, I was contemplating what to do with those ornaments and now I know! Thanks ABM!