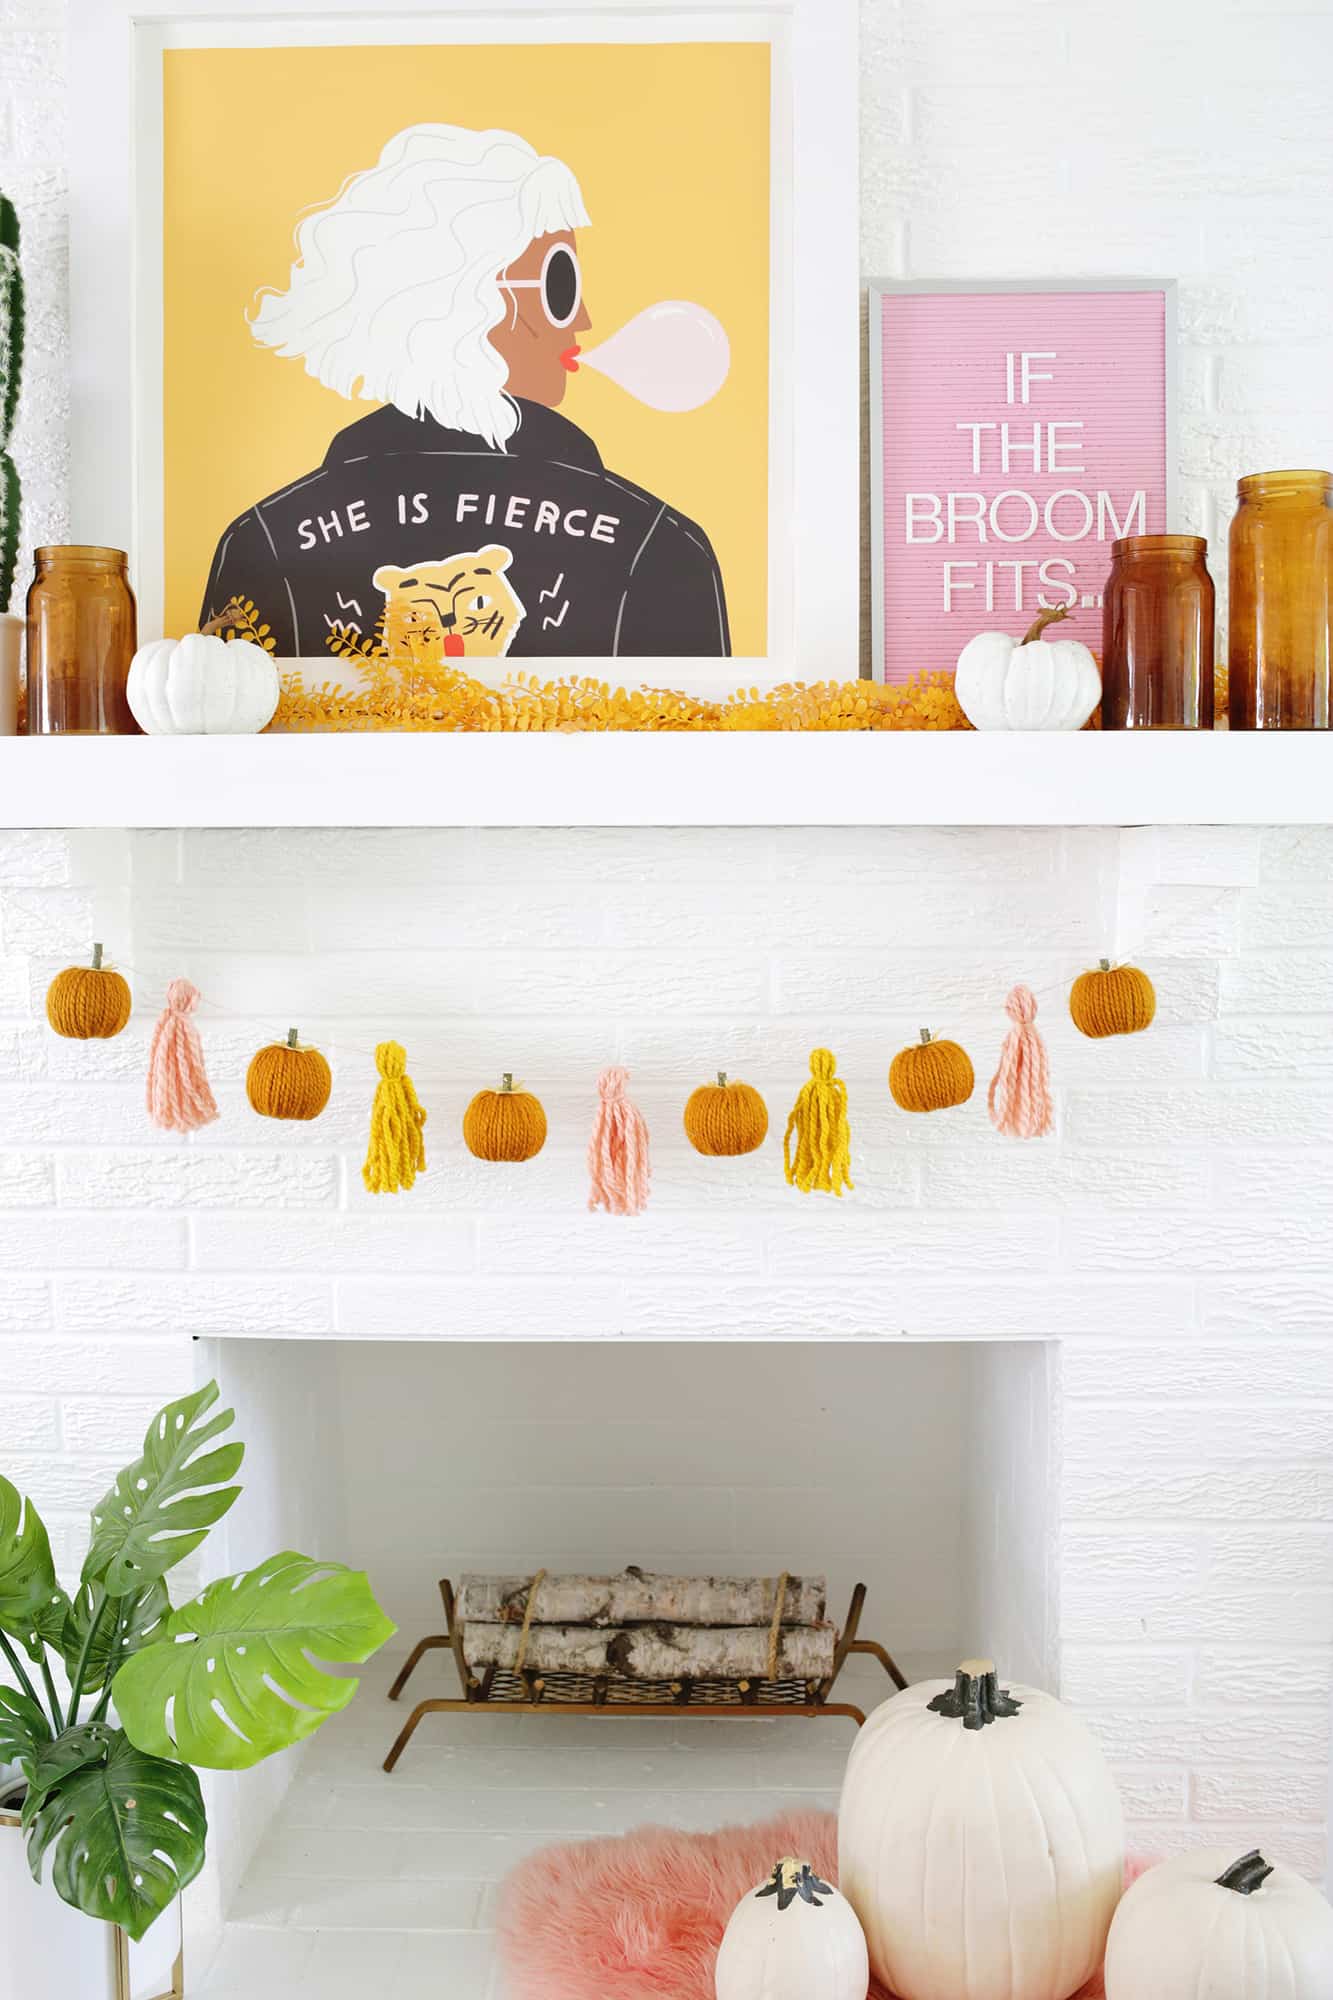
 I’m such a garland person … I love collecting seasonal or festive garlands to hang around the house because the install time is so fast each season. You basically just hang it up and it’s ready to go!
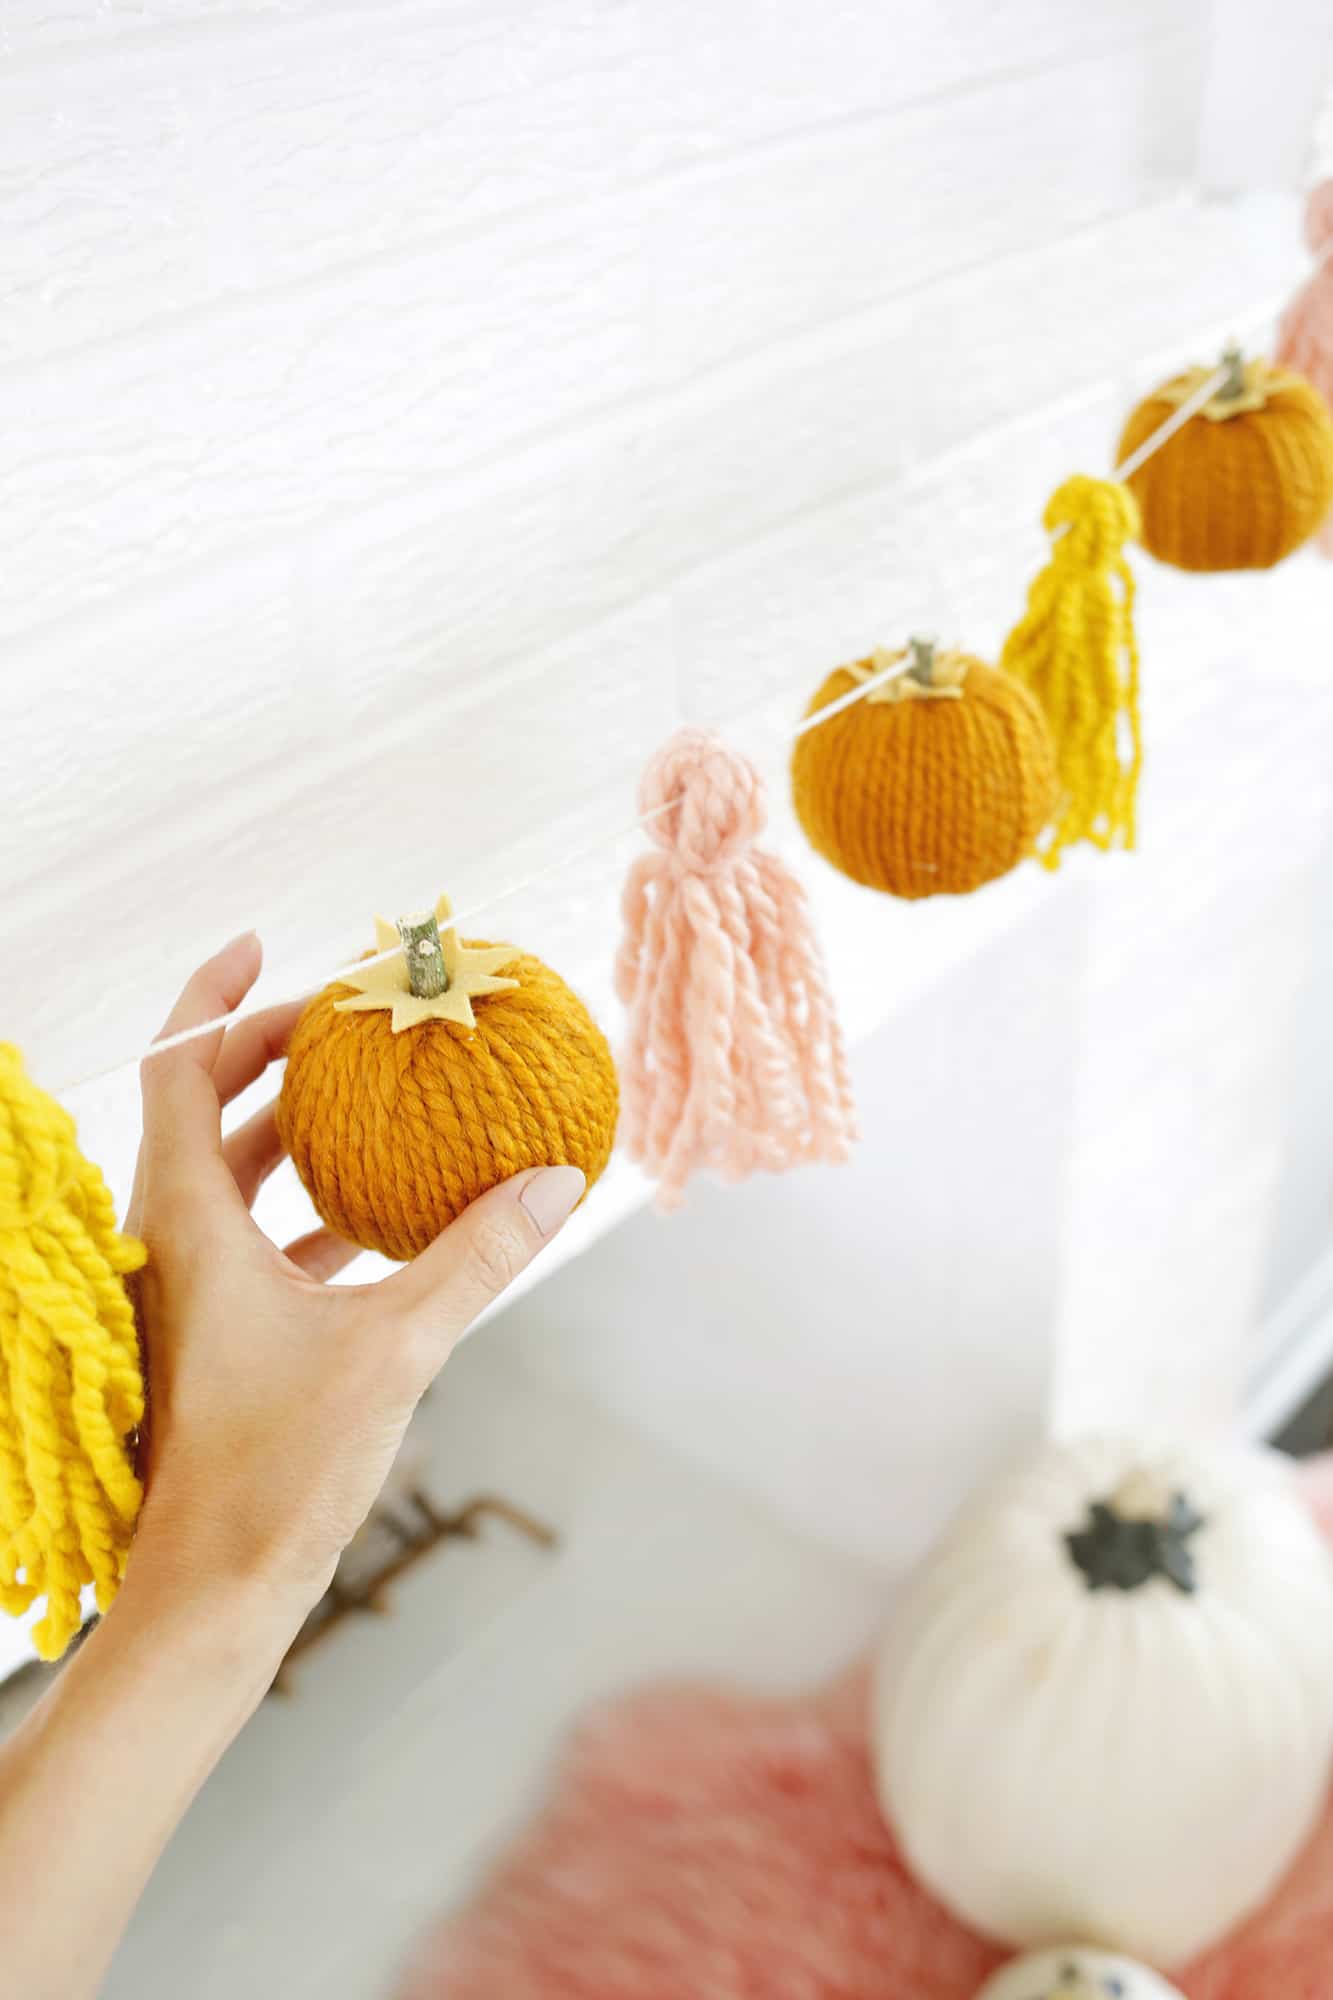
This year, I thought I’d make a fun 3D yarn pumpkin garland for the fall season and I like that you could also just put the pumpkins in a bowl or dish if you eventually got tired of the hanging garland look. Here’s how you make these yarn cuties!
Looking for no-carve pumpkin ideas? Check out 30 No-Carve Pumpkin Decorating Ideas!

–yarn in orange of your choice (and other colors for tassels if you want tassels)
–3″ styrofoam balls (I used 6)
-tan felt and fabric scissors
-drill
-1/2″ thick stick
-hot glue
-twine
-serrated knife
-wooden skewer
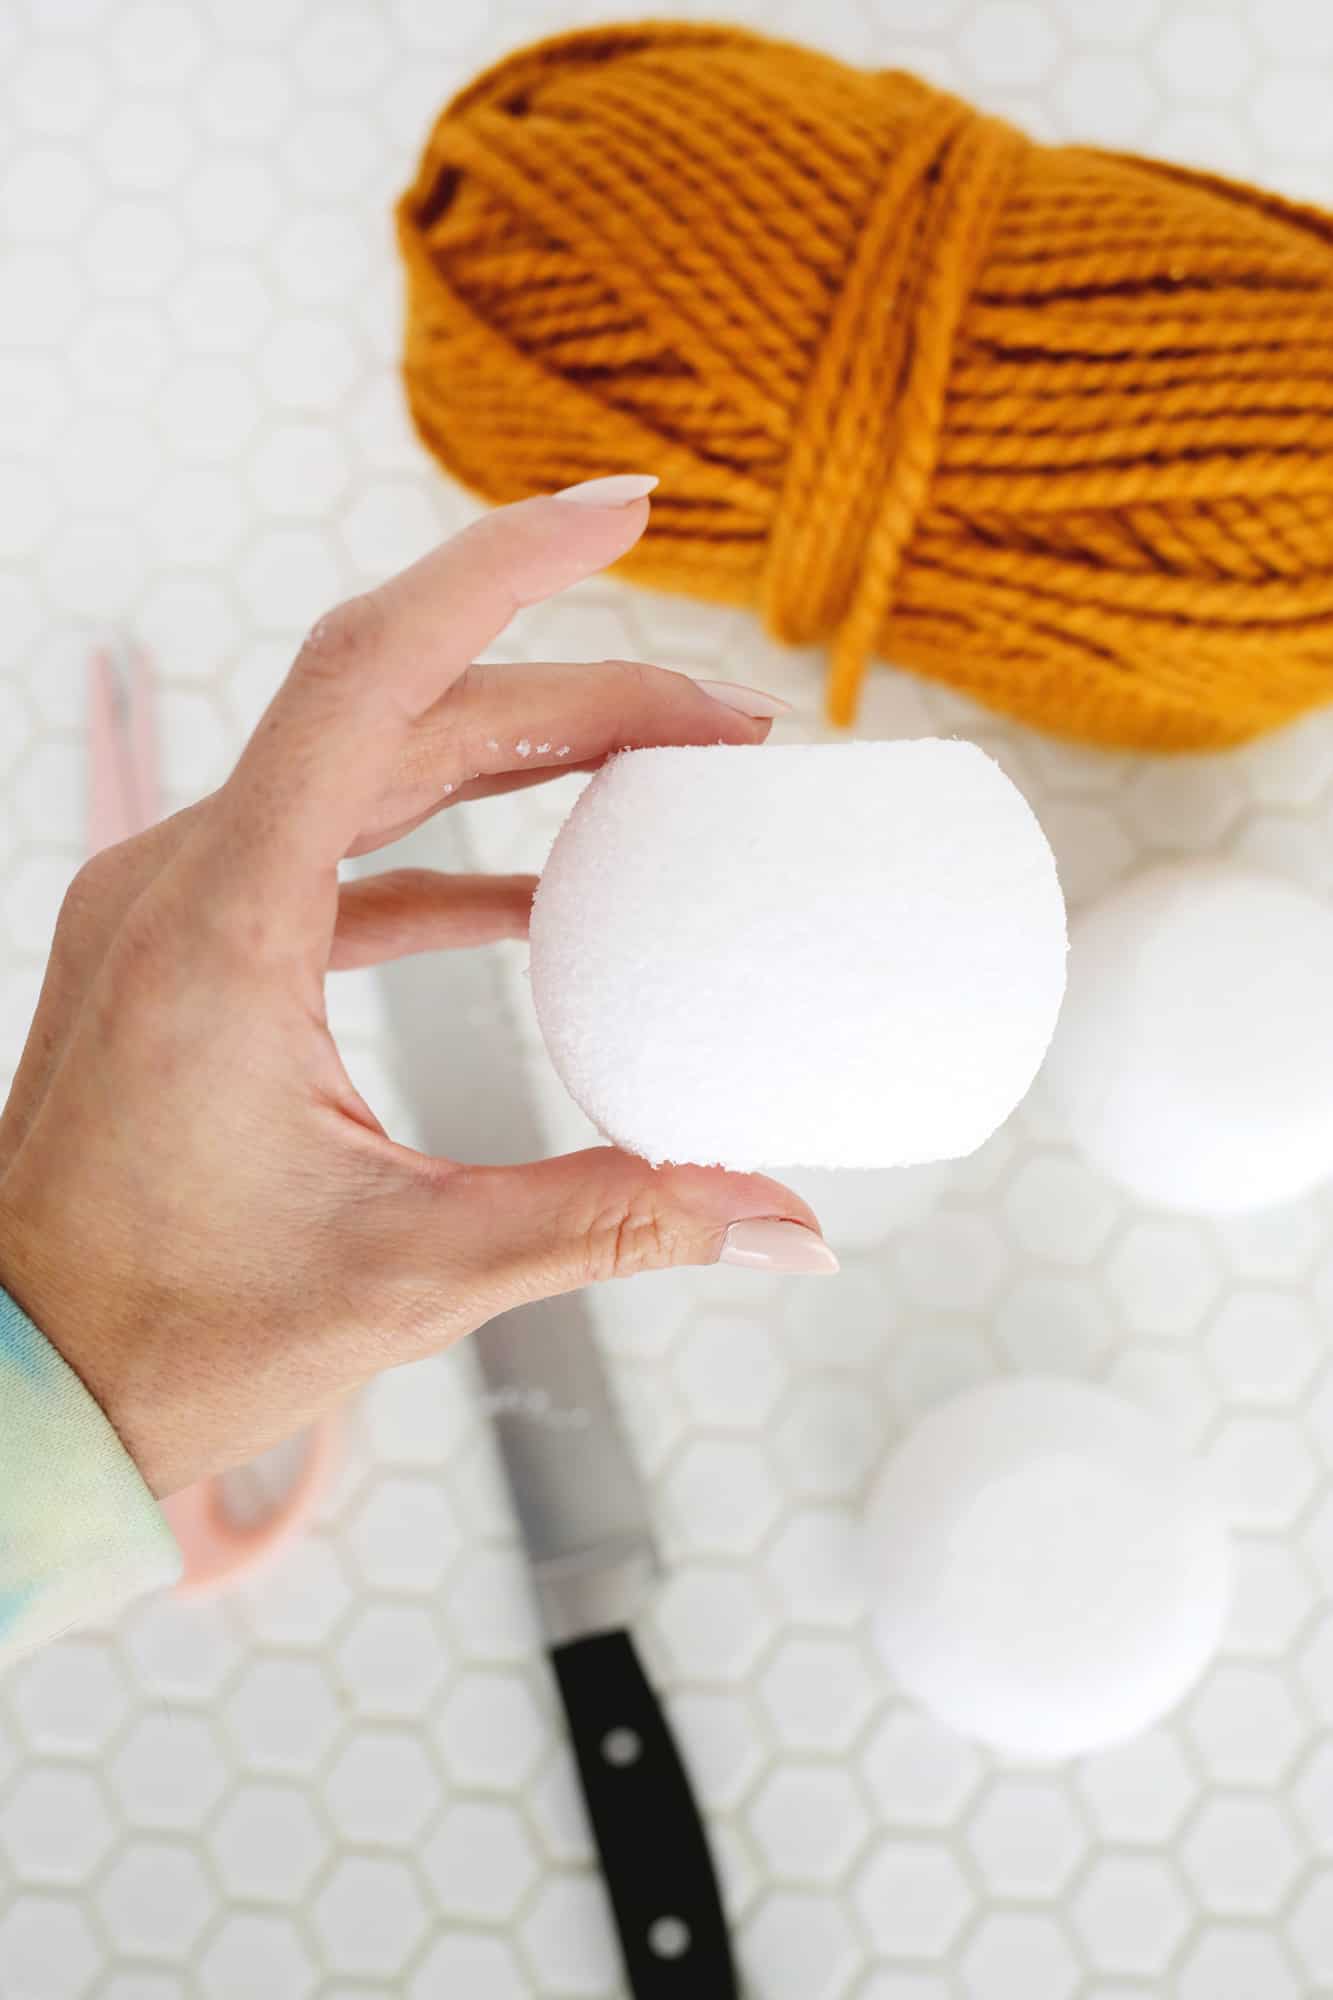
Use a serrated knife to cut a little bit off the top and bottom of your styrofoam balls so it looks like the above.
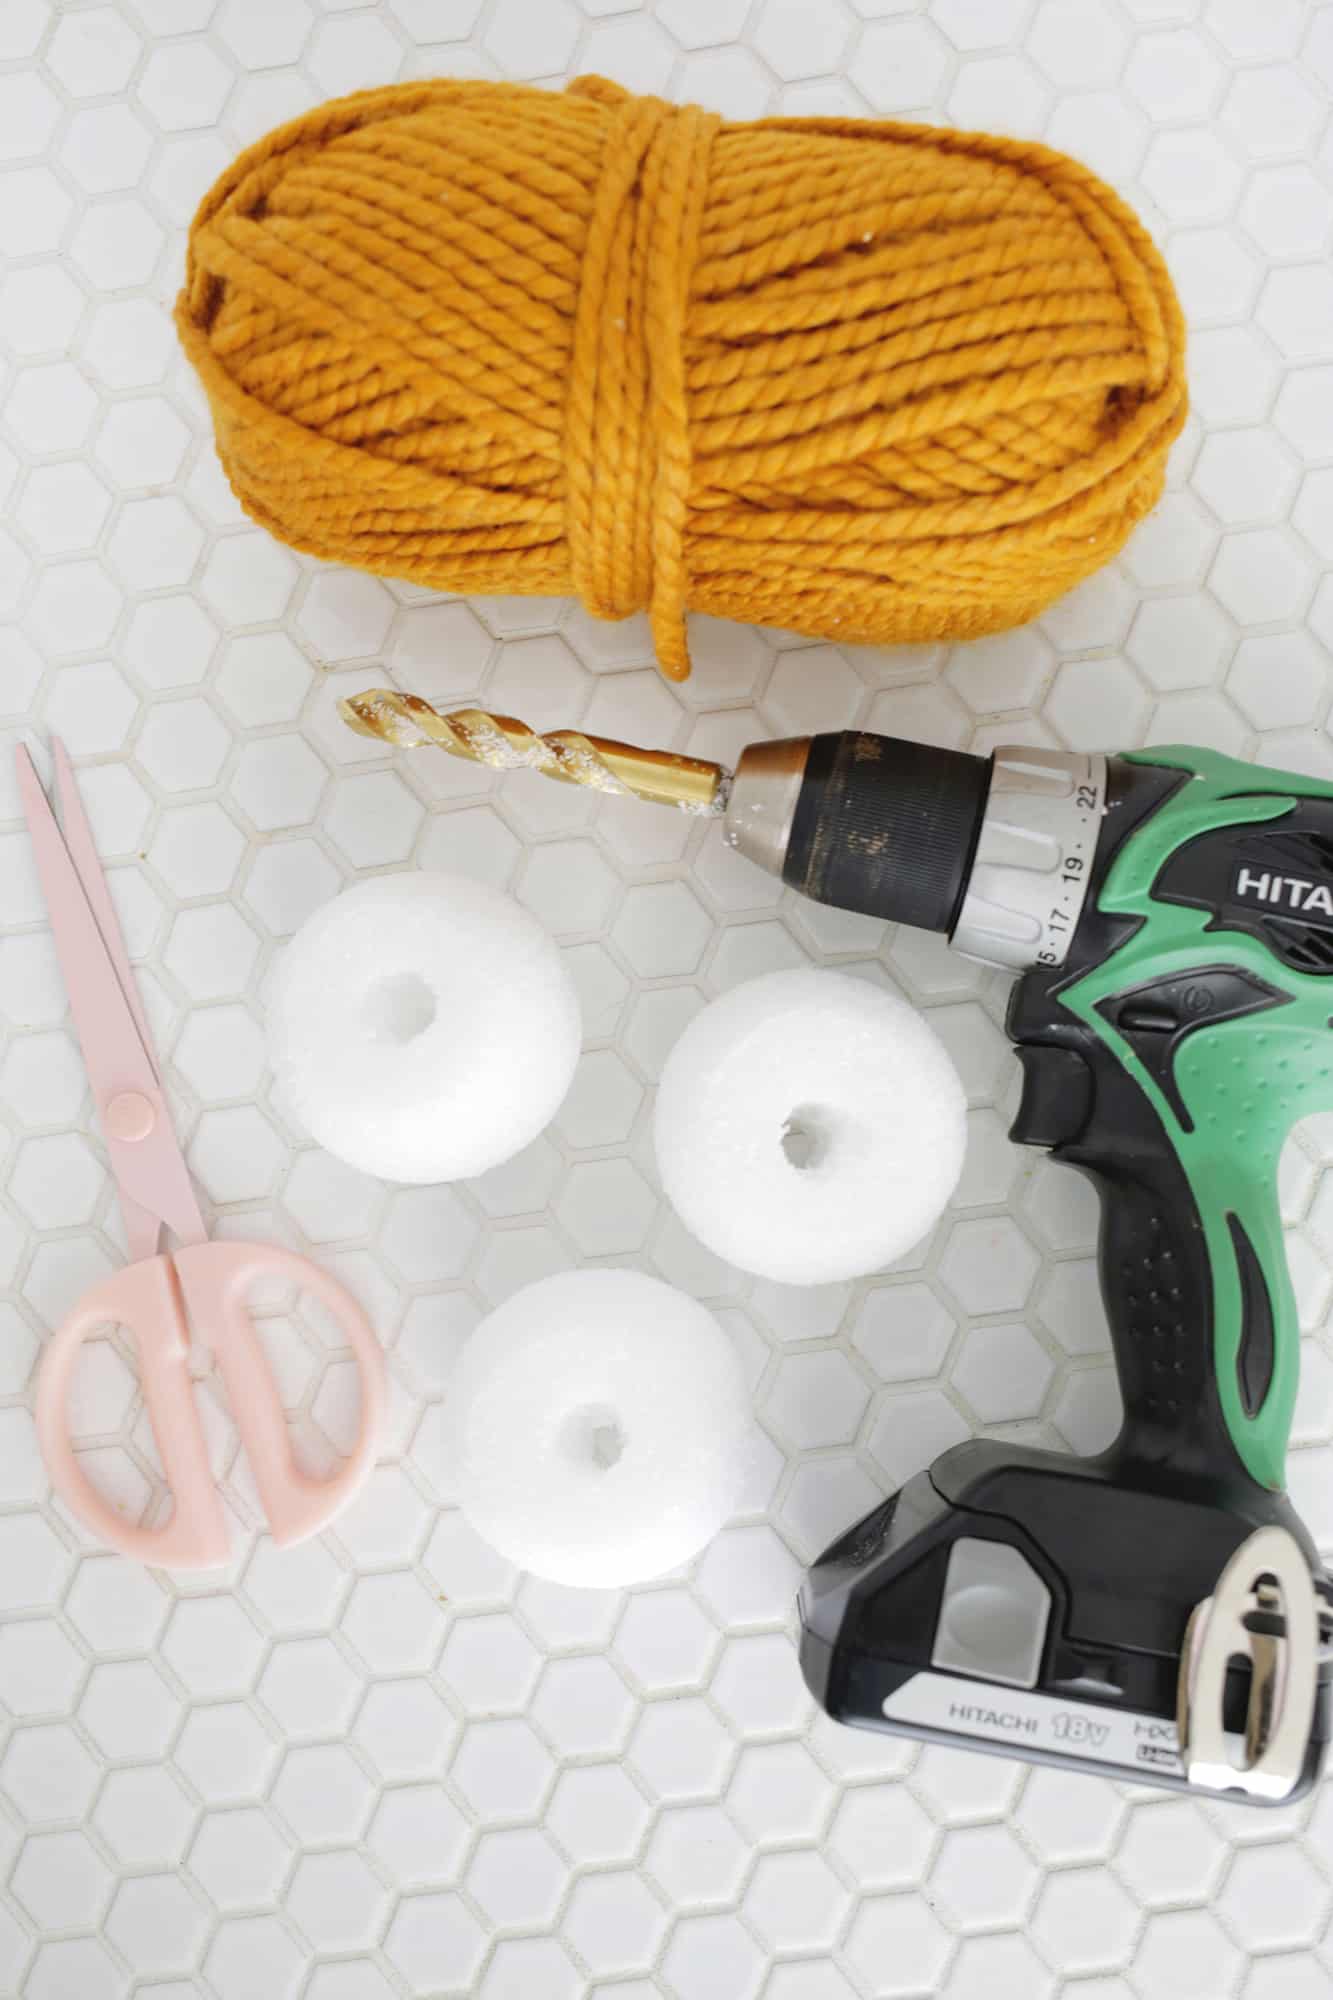
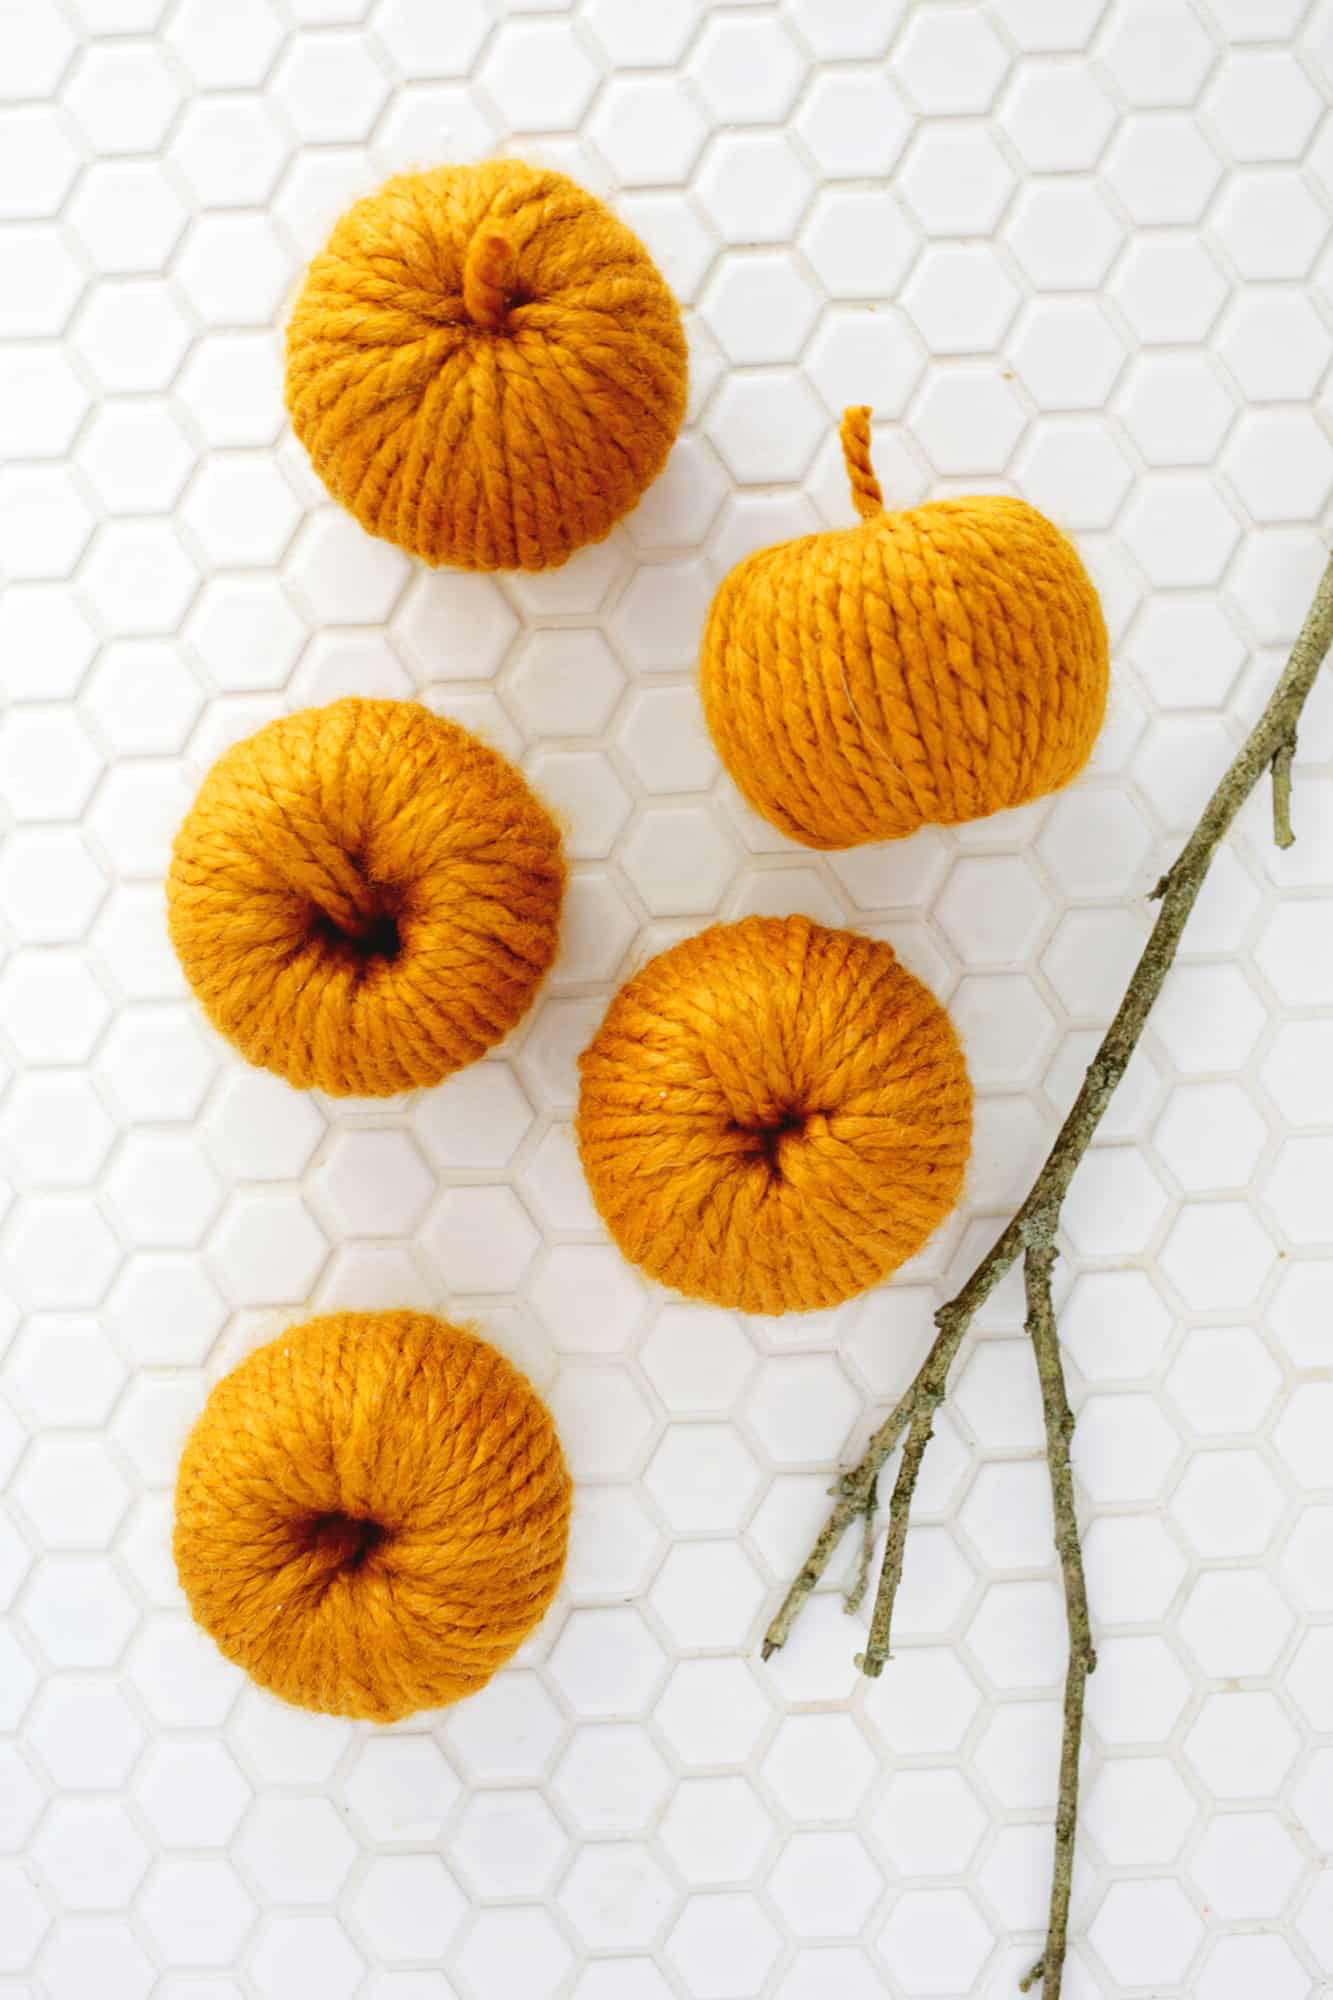
Use a 1/2″ drill bit to drill a hole in the middle of each of your flattened out balls. If you’re using a thinner yarn you may not need a bigger hole than what the bit makes, but if you have chunky yarn like I do, I would wiggle the bit around as you drill so your hole is wider to accommodate the thicker yarn.
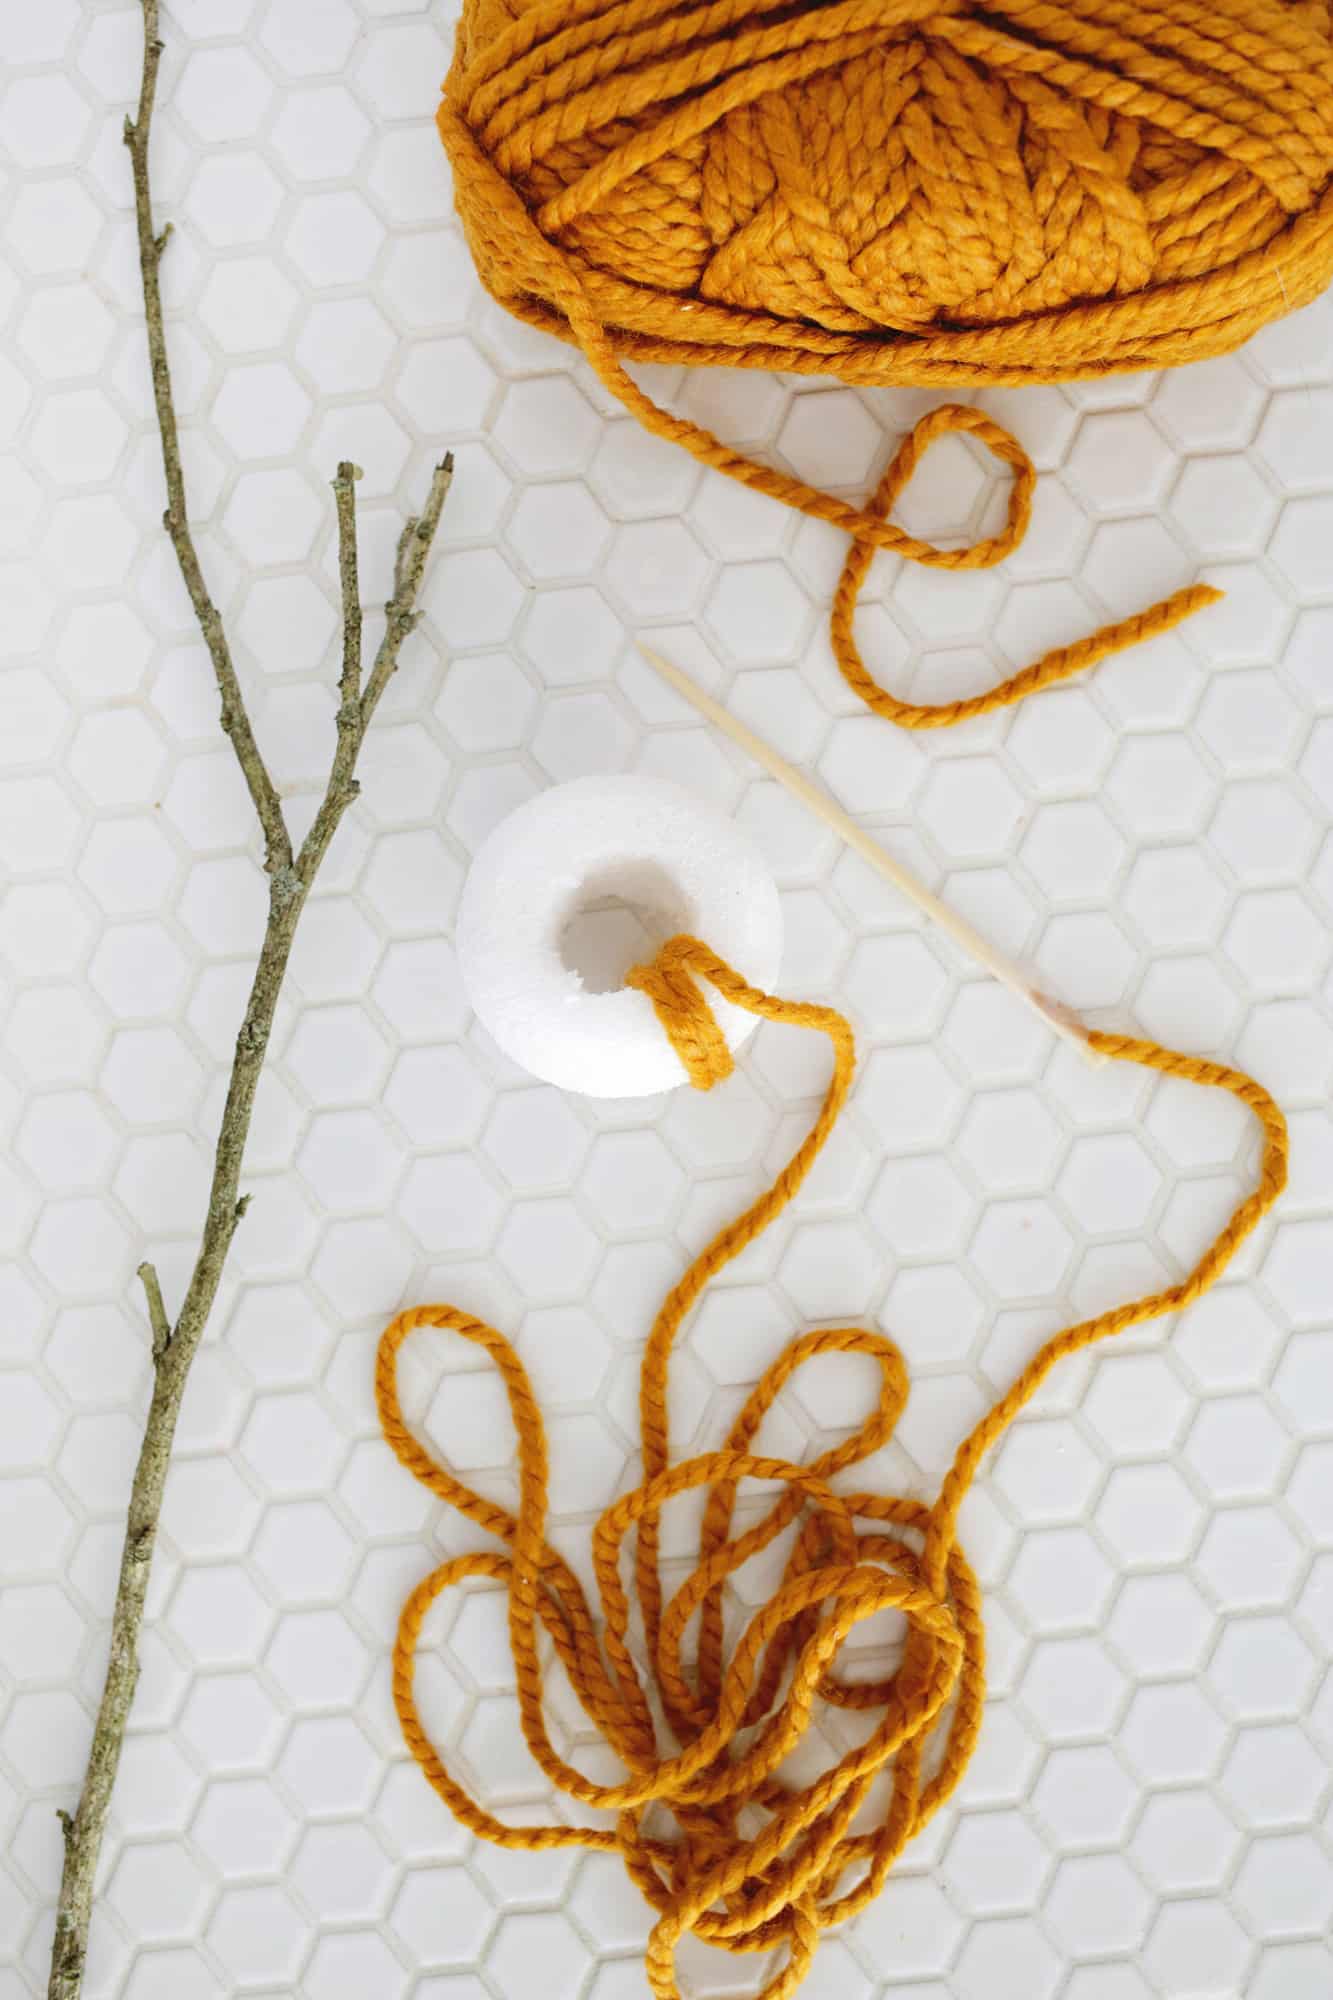
Cut a long piece of yarn and tape one side to a half of a skewer (that will be your “needle” for the project) and start to thread the yarn through the hole and around and around, covering the styrofoam ball.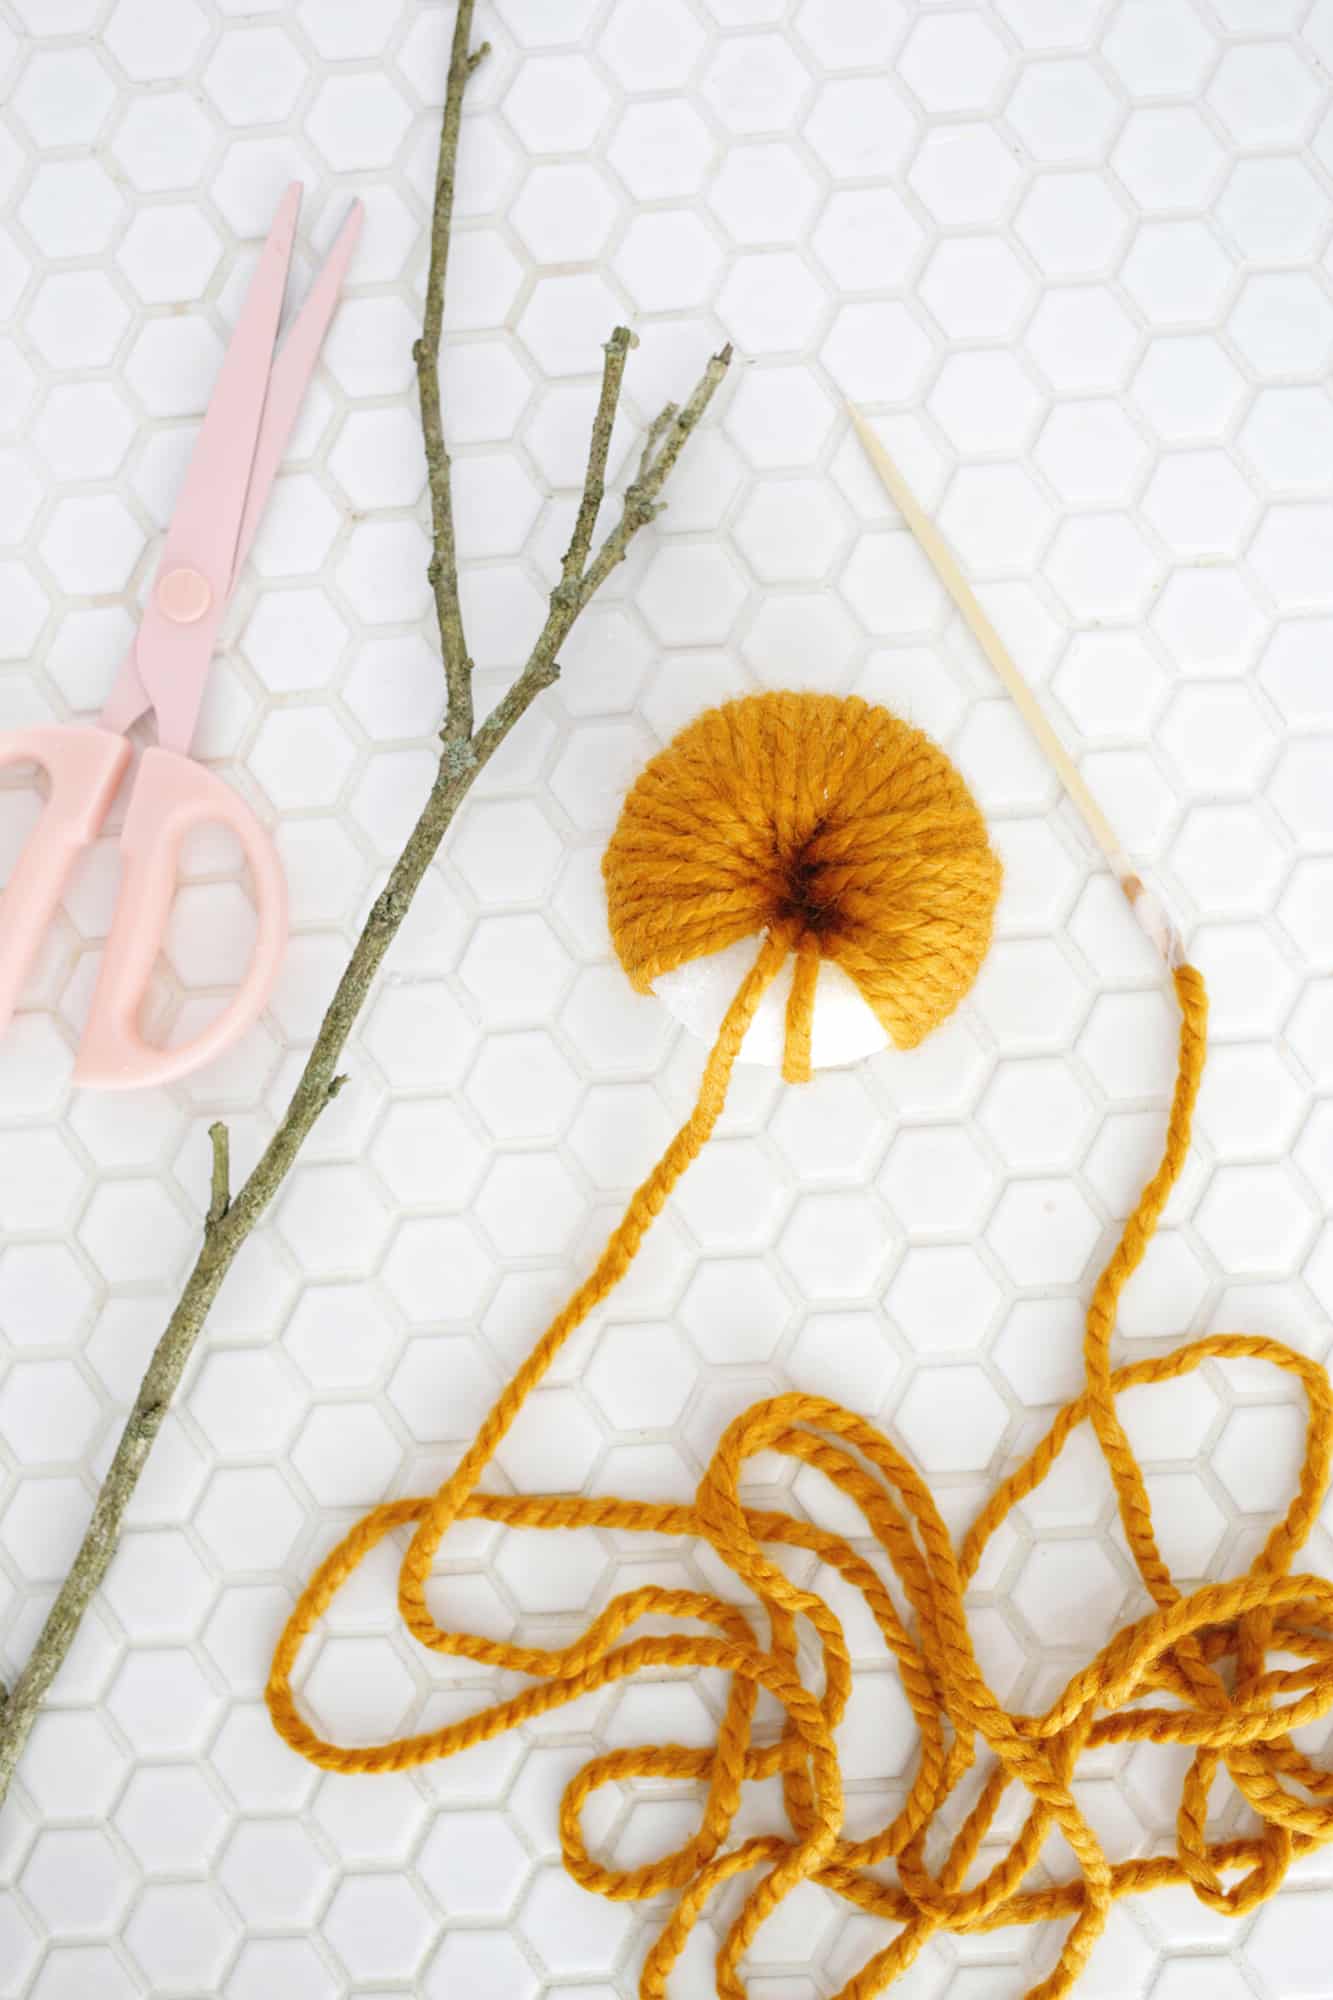
Once you’ve gone all the way around, cut your yarn off so you have a small enough tail to tuck into your pumpkin when you add the stem.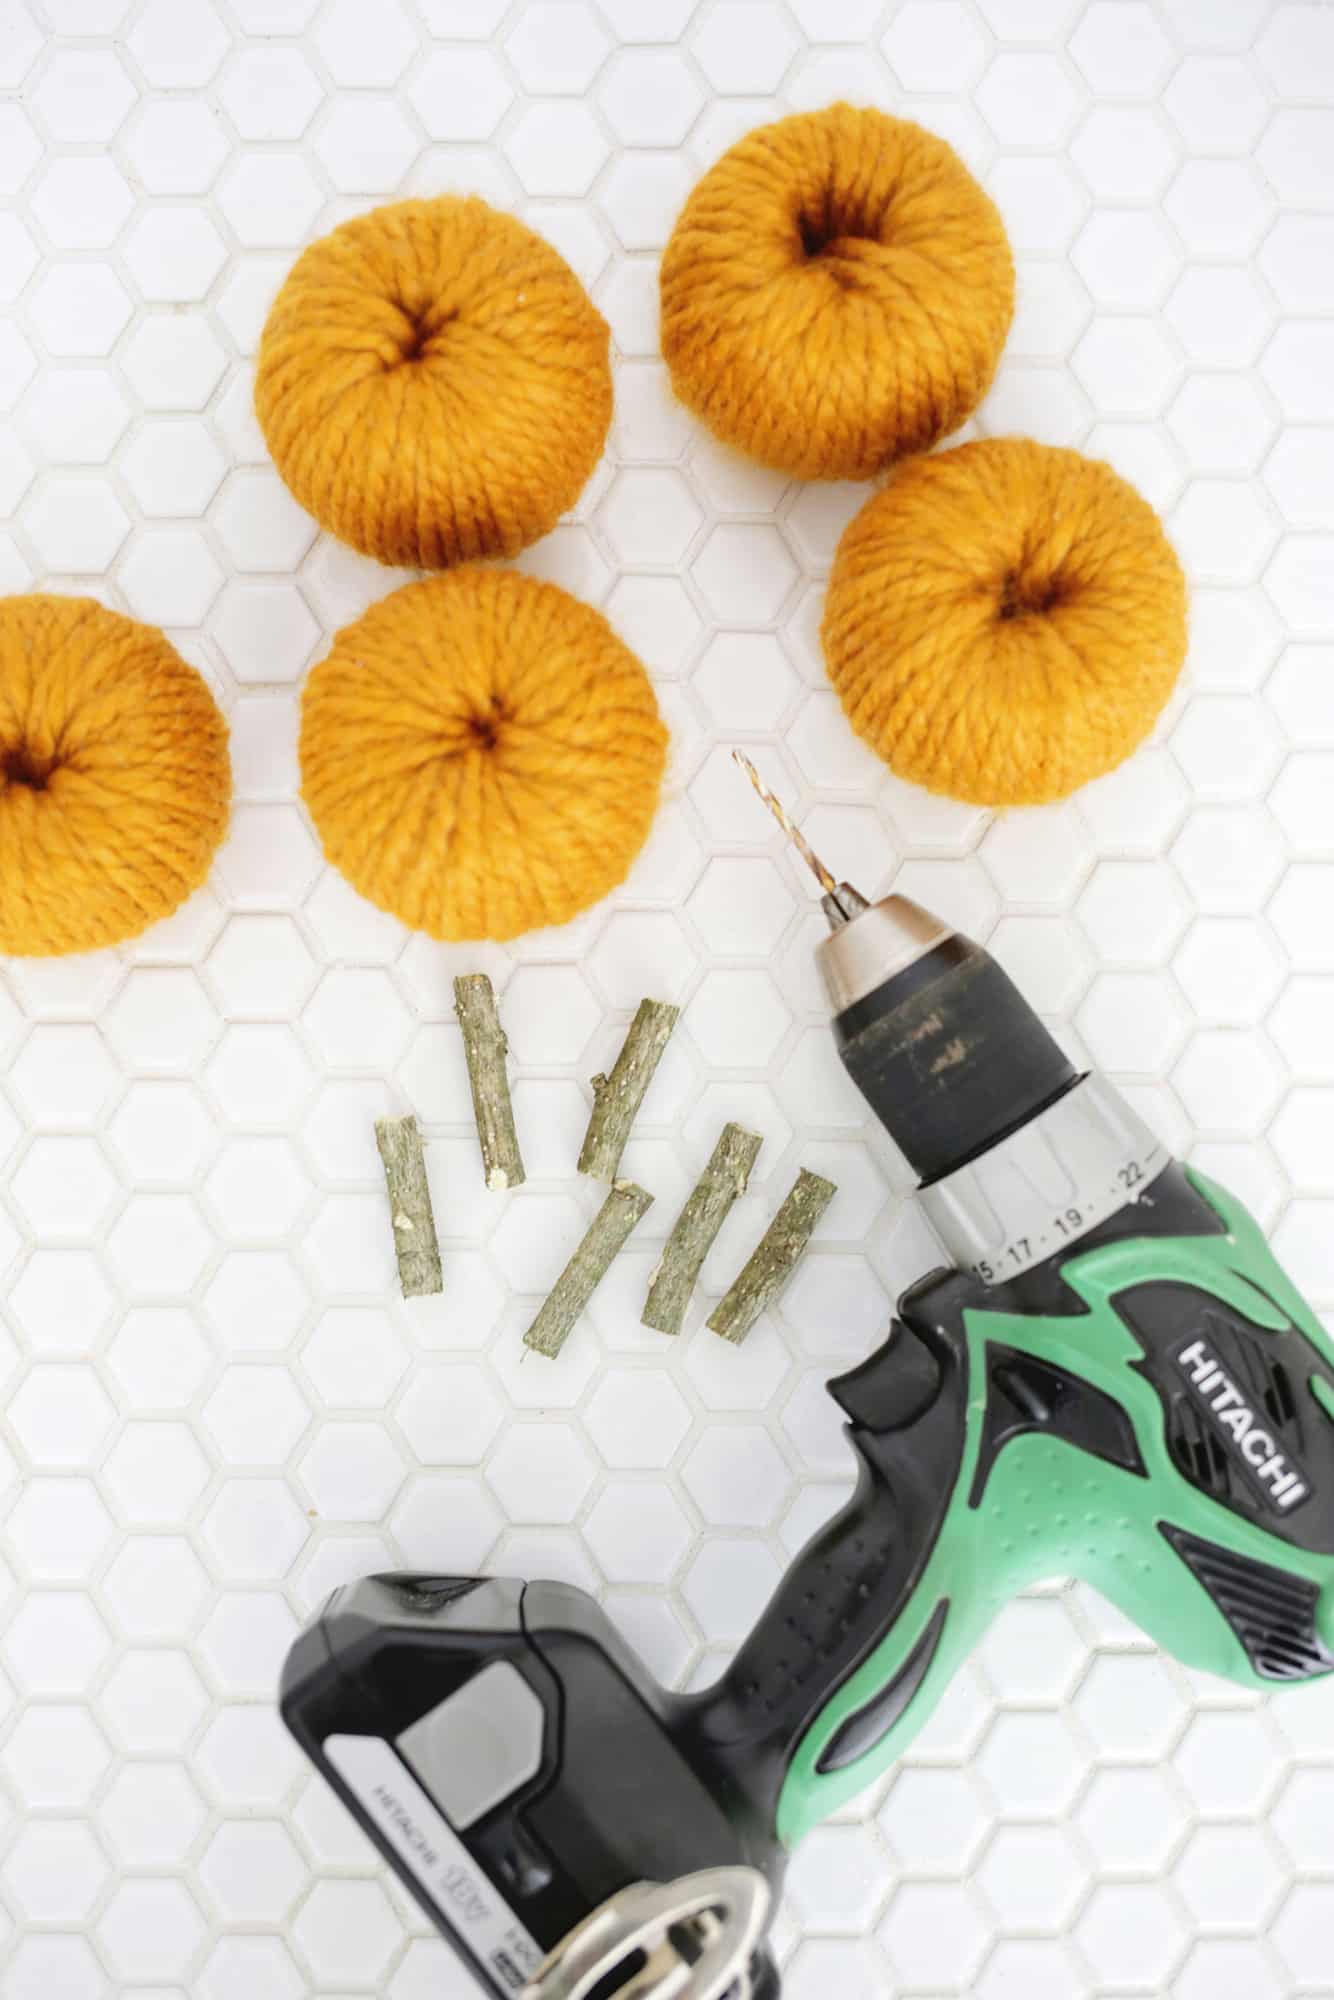
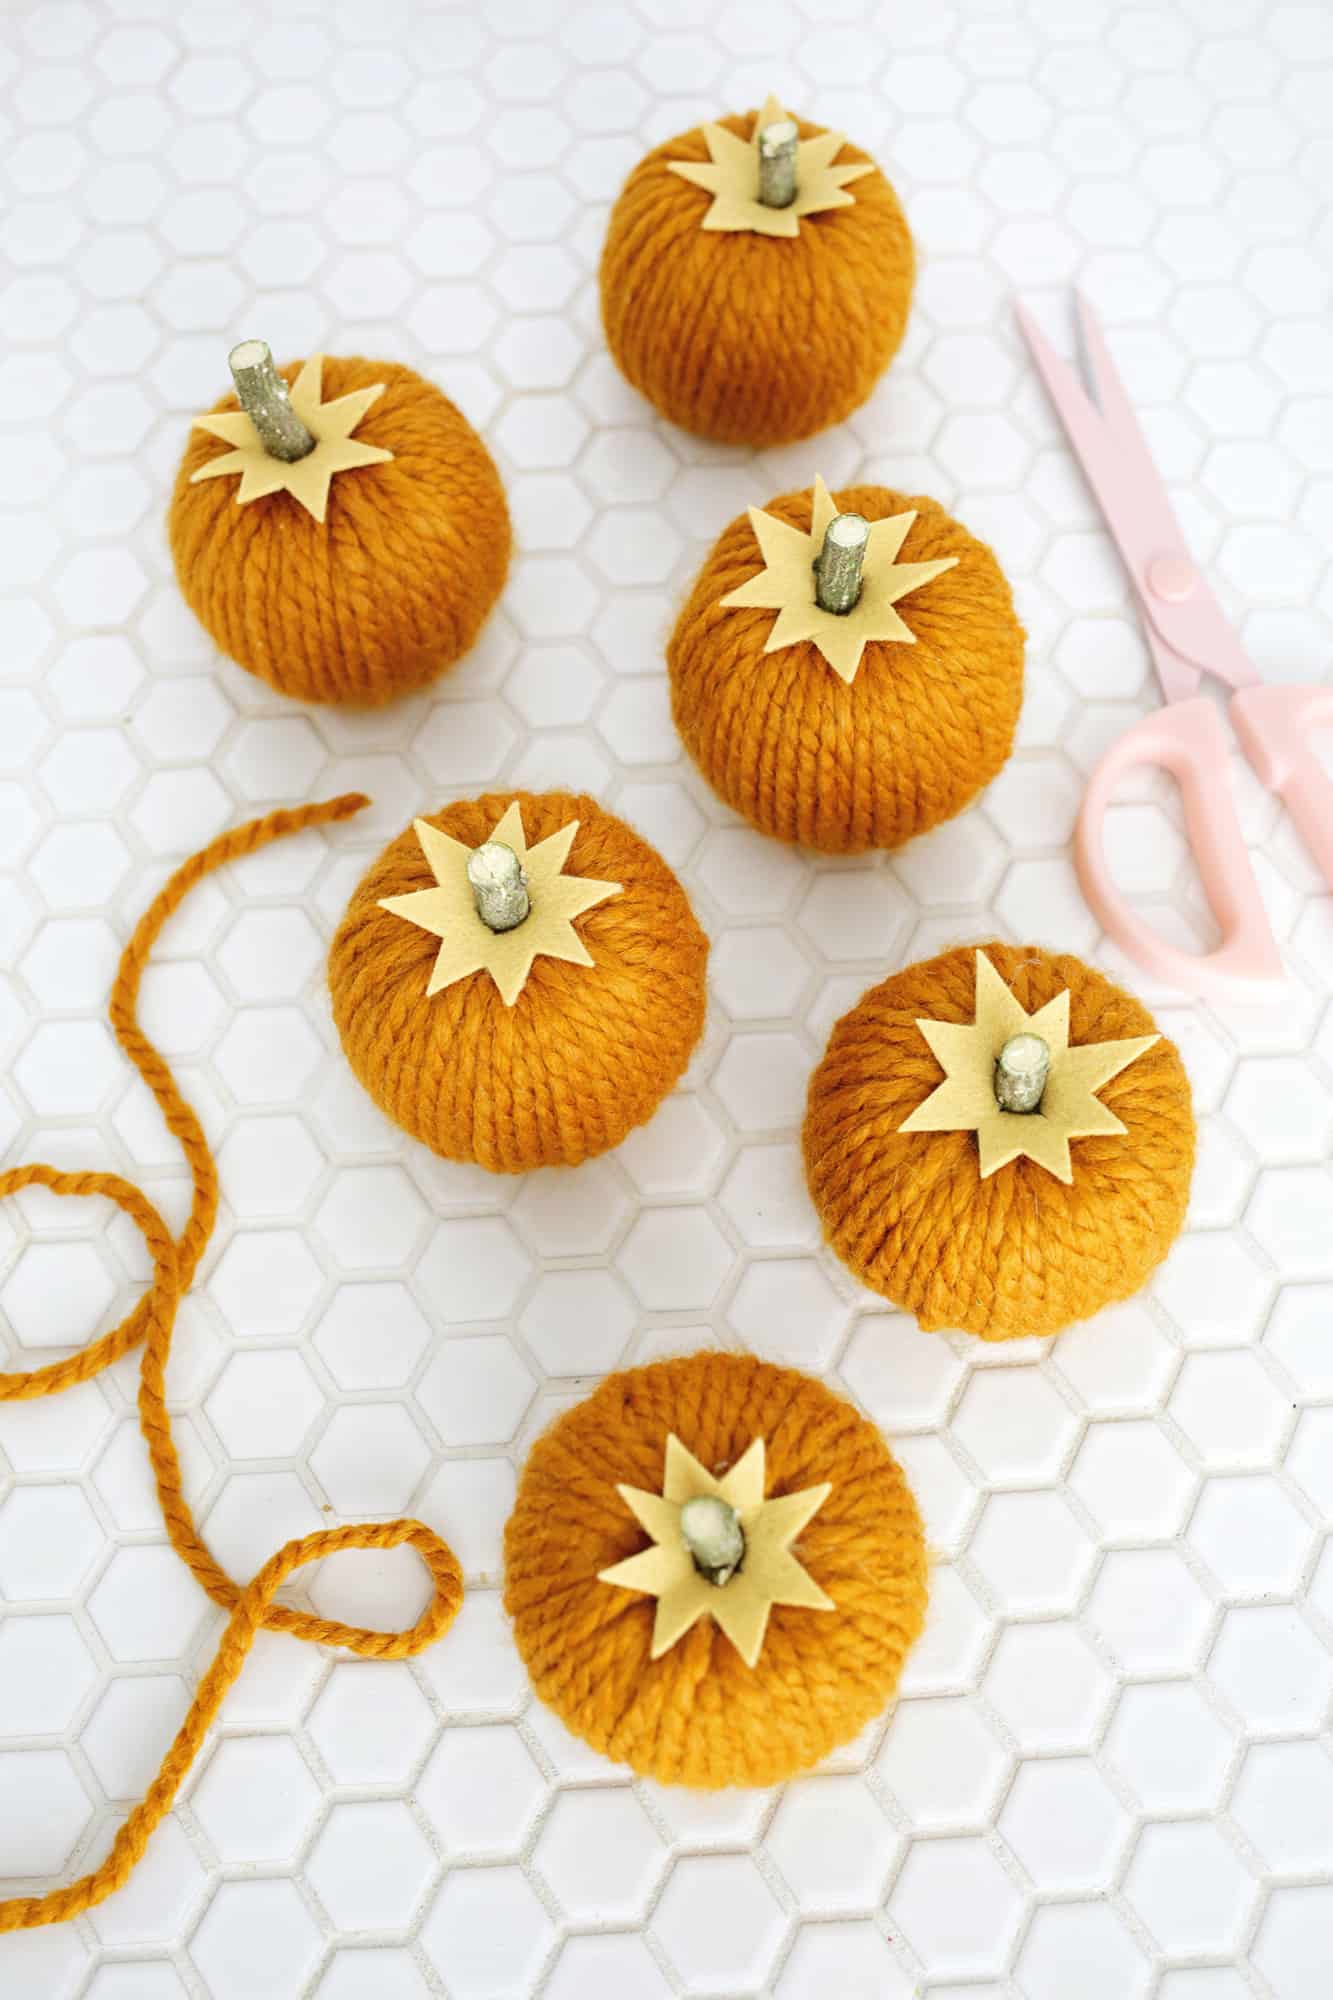
Once your sticks are ready, hot glue the bottom of your stick into your pumpkin and allow the glue to set.
You can either leave the pumpkins as is, or you can add a little collar to them with some felt. I just cut out an 8-pointed star shape and snipped a small “X” into the middle so I could push it over the stem. You can glue that down a little to keep in place.
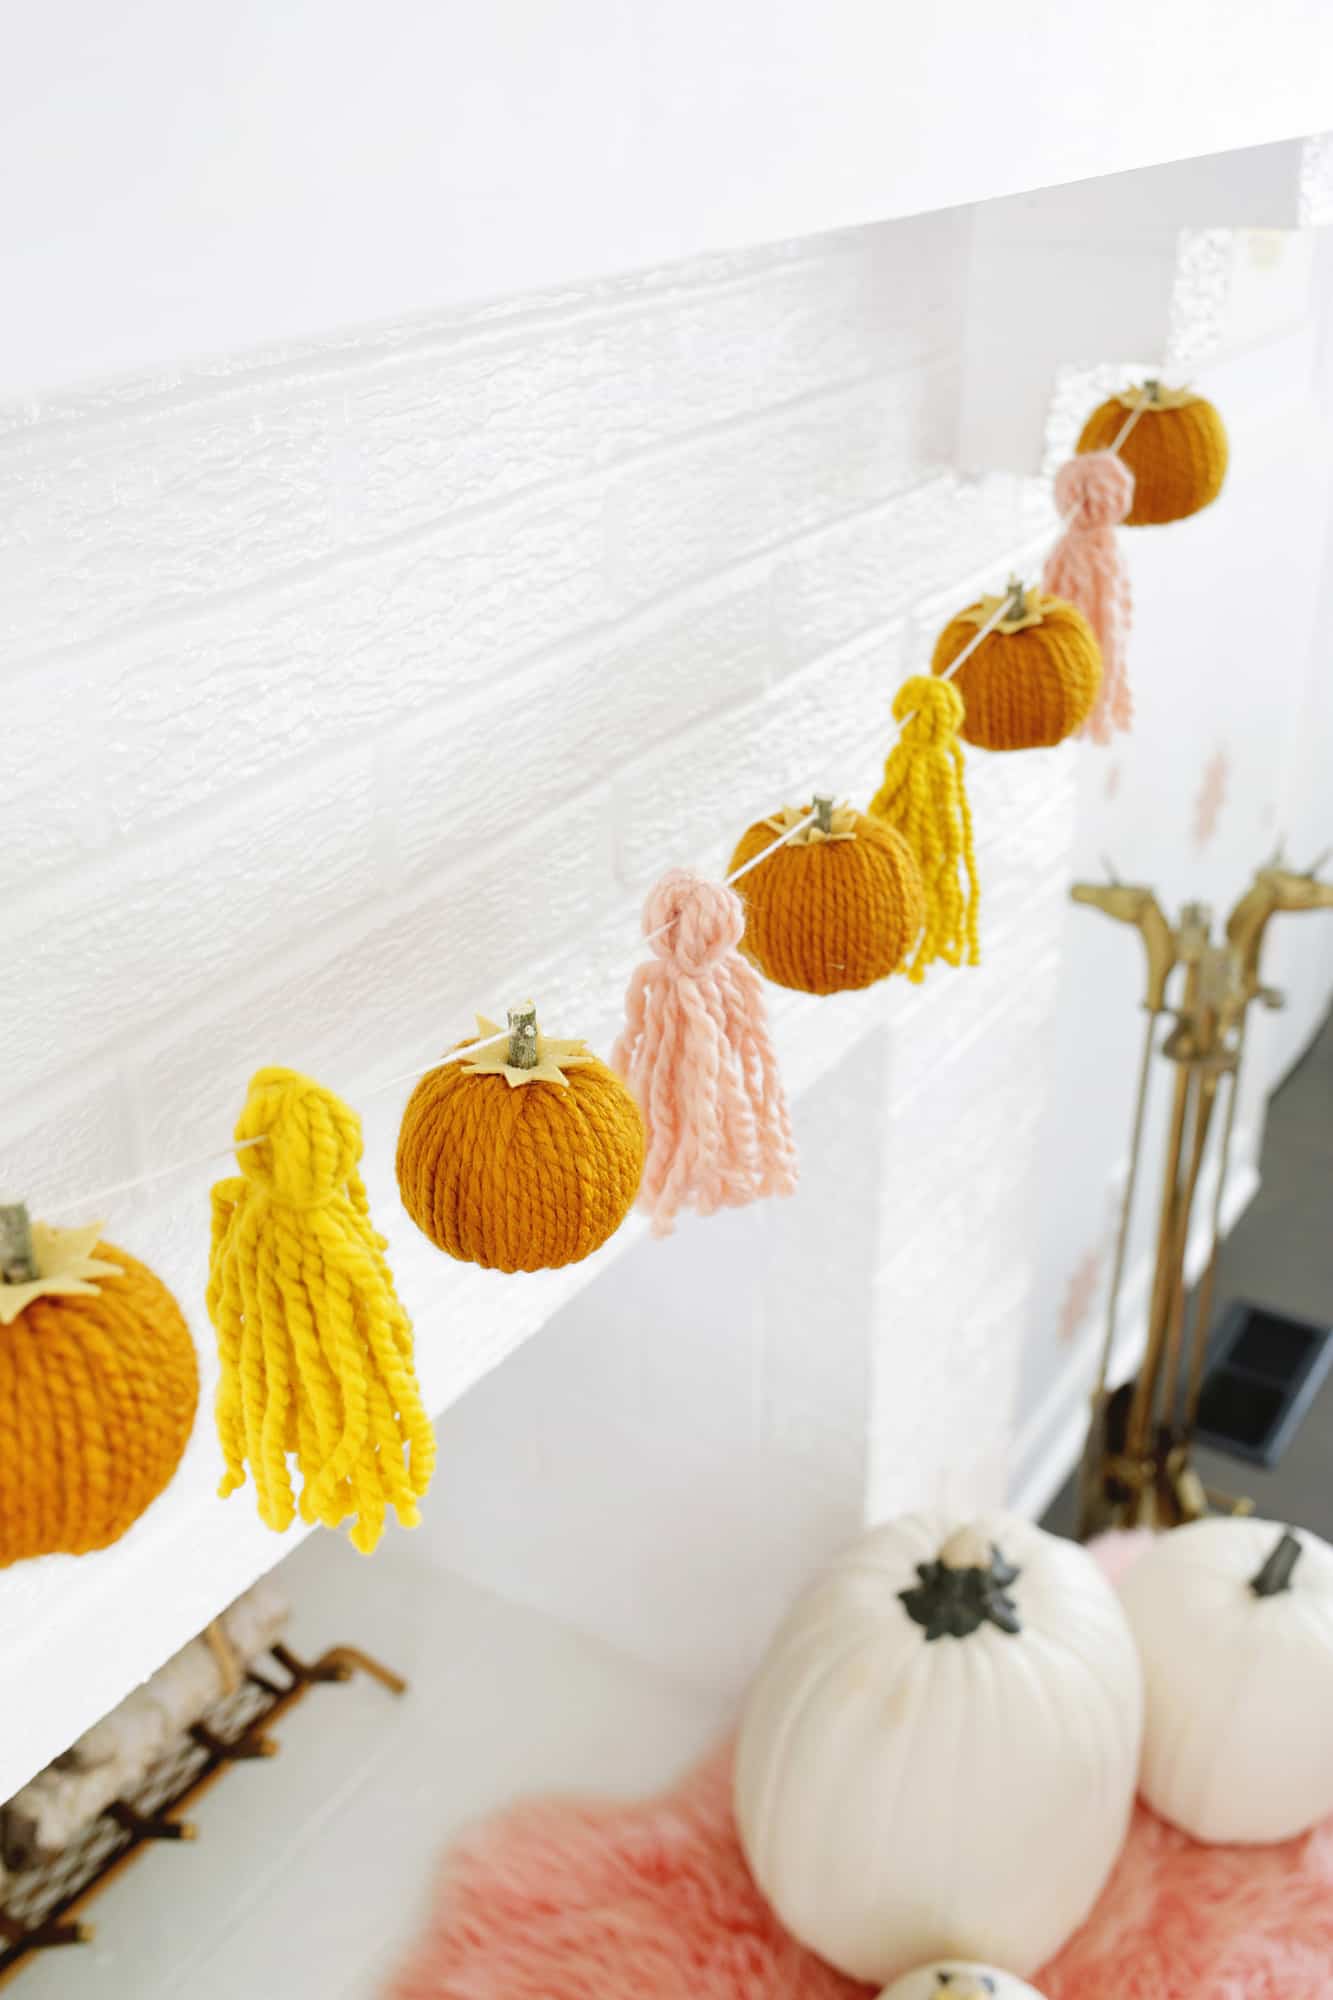
Once your pumpkins are ready, you can string them onto a piece of twine or yarn and feel free to add some yarn tassels onto the garland as well between each pumpkin for a little variety (you can see how to make a yarn tassel here).
String up your garland and you’re ready for fall!
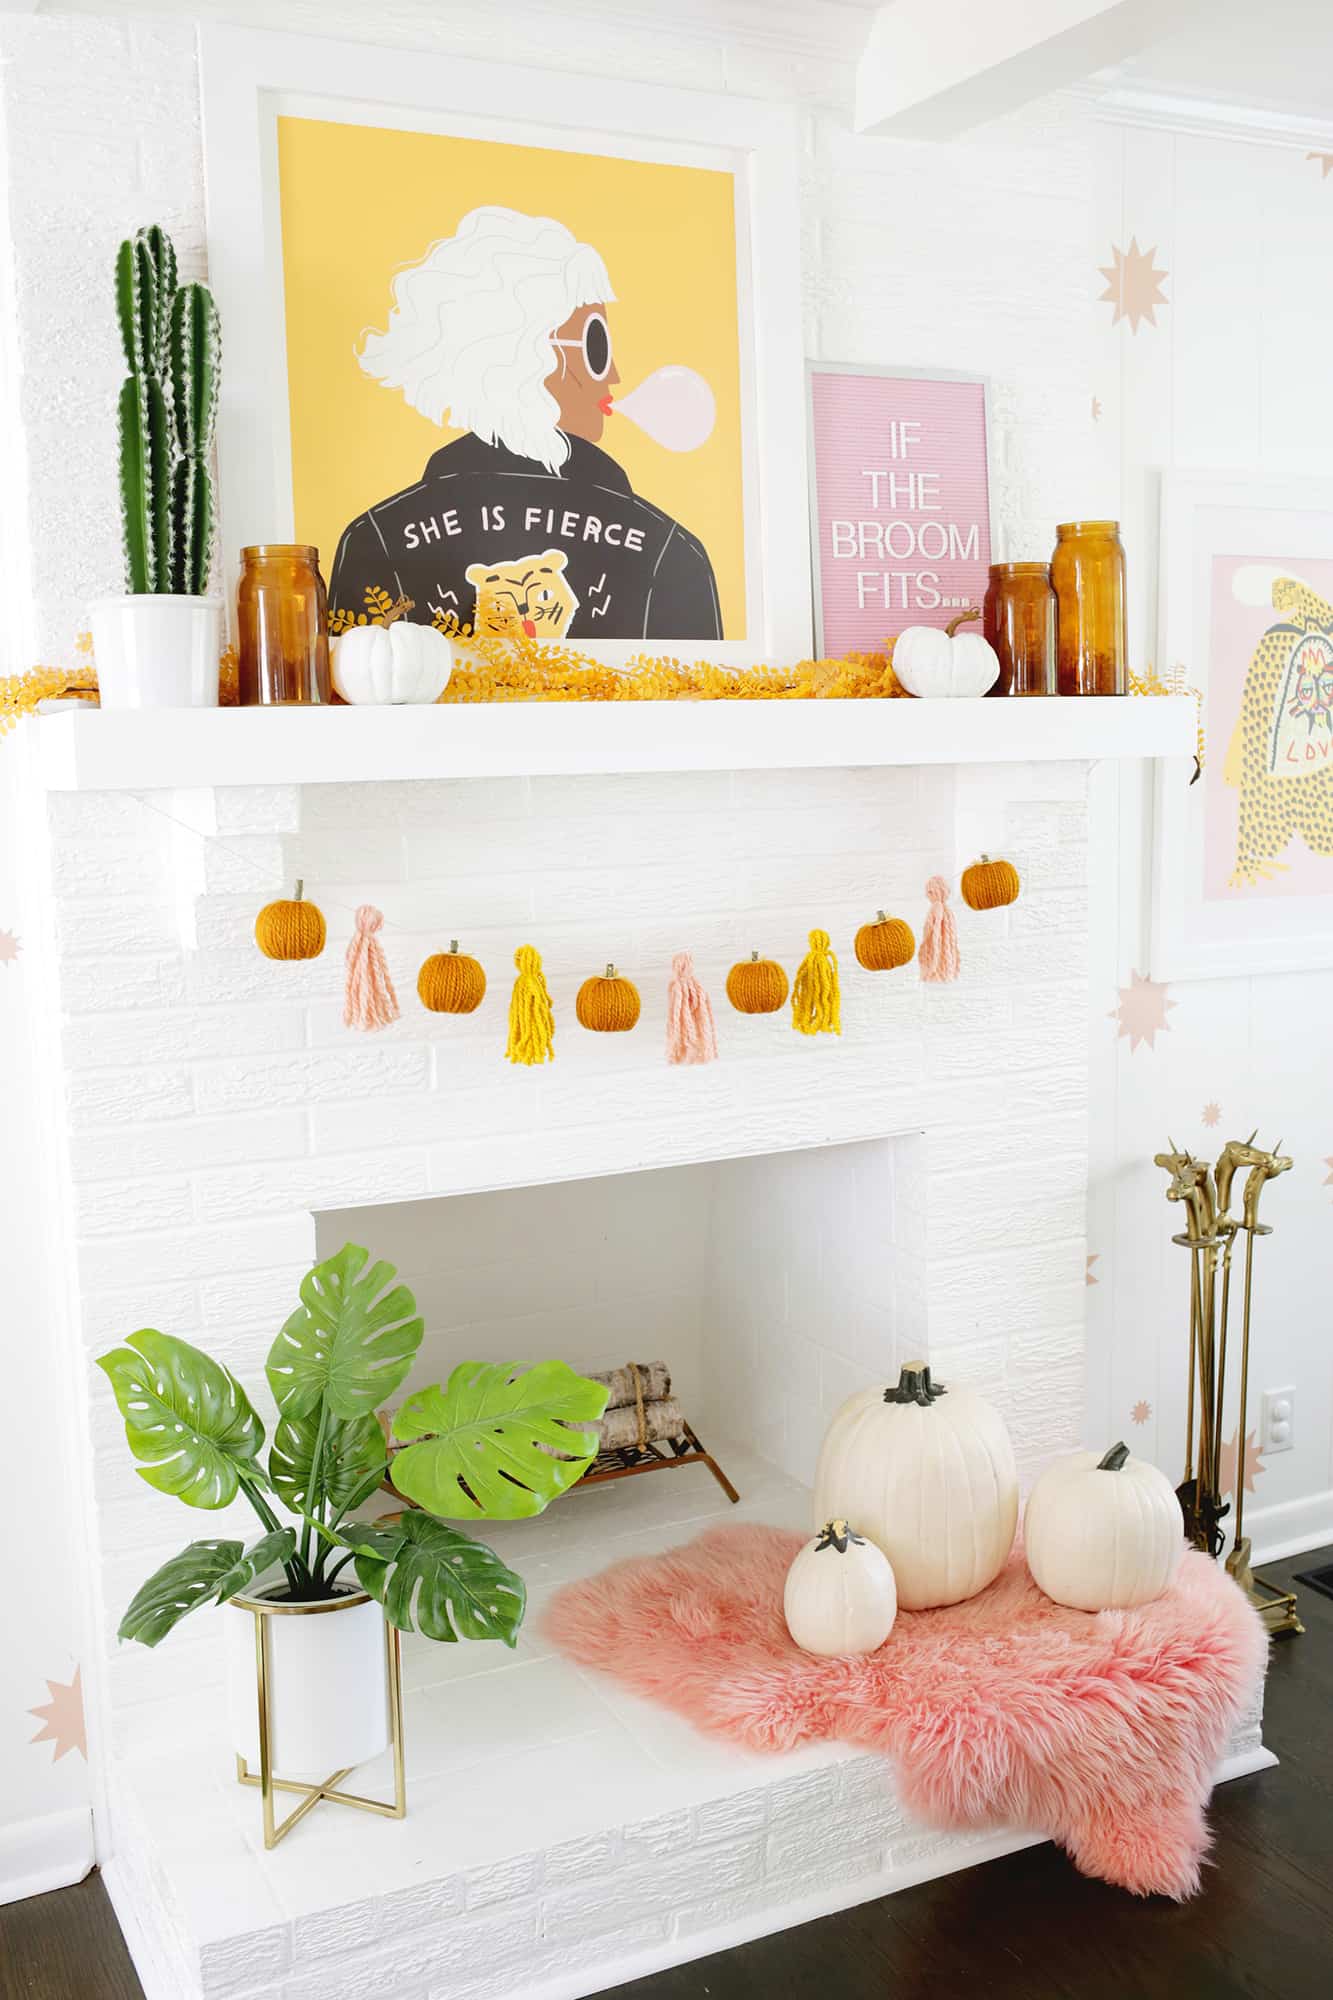
You could also add some black felt cut out pieces to make jack-o’-lantern pumpkin faces on each one as well for a Halloween look. Happy decorating! xo. Laura
P.S. Check out 15 Easy DIY Halloween Decorations for more ideas!
Love this post? Sign up for our newsletter for more ideas!

Get creative ideas for recipes, crafts, decor, and more in your inbox!
 Get the How-To
Supplies
- yarn in orange of your choice (and other colors for tassels if you want tassels)
- 3″ styrofoam balls
- tan felt and fabric scissors
- drill
- 1/2″ thick stick
- hot glue
- twine
- serrated knife
- wooden skewer
Instructions
- Use a serrated knife to cut a little bit off the top and bottom of your styrofoam balls so it looks like the above.
- Use a 1/2″ drill bit to drill a hole in the middle of each of your flattened out balls. If you’re using a thinner yarn, you may not need a bigger hole than what the bit makes, but if you have chunky yarn like I do, I would wiggle the bit around as you drill so your hole is wider to accommodate the thicker yarn.
- Cut a long piece of yarn and tape one side to a half of a skewer (that will be your “needle” for the project) and start to thread the yarn through the hole and around and around covering the styrofoam ball.
- Keep going until you cover over all the styrofoam and if you need more yarn tie more on so that the knot will be inside of your pumpkin hole and hidden from sight.
- Once you’ve gone all the way around, cut your yarn off so you have a small enough tail to tuck into your pumpkin when you add the stem.
- Cut your stick (we just foraged one from the yard) into 2″ chunks. You can use a small handsaw or handheld yard clippers to trim the pieces. Use your drill and a small bit (just a little bigger than your twine you’ll hang the pumpkins through) to drill a hole through each stick near the top for threading onto your garland.
- Once your sticks are ready, hot glue the bottom of your stick into your pumpkin and allow the glue to set.
- You can either leave the pumpkins as is, or you can add a little collar to them with some felt. I just cut out an 8-pointed star shape and snipped a small “X” into the middle so I could push it over the stem. You can glue that down a little to keep in place.
- Once your pumpkins are ready, you can string them onto a piece of twine or yarn and feel free to add some yarn tassels onto the garland as well between each pumpkin for a little variety (you can see how to make a yarn tassel here).
- String up your garland and you’re ready for fall!



This is so so cute!!
-Kate
https://daysofkate.com/
This is really cute! With that said, I would like to lovingly challenge y’all at ABM to look for more sustainable crafting materials. Things like styrofoam and glitter are really terrible for the environment. I know y’all work really hard to be thoughtful and ethical with your content. I would love to see more conscientious crafting materials included in your posts.
How much yarn did you use for your six pumpkins?
Not even half of the yarn so it doesn’t take a lot!
Laura
Oh so cute! I’ve lived all three of your decor ideas this week!
Thanks for the ideas:)