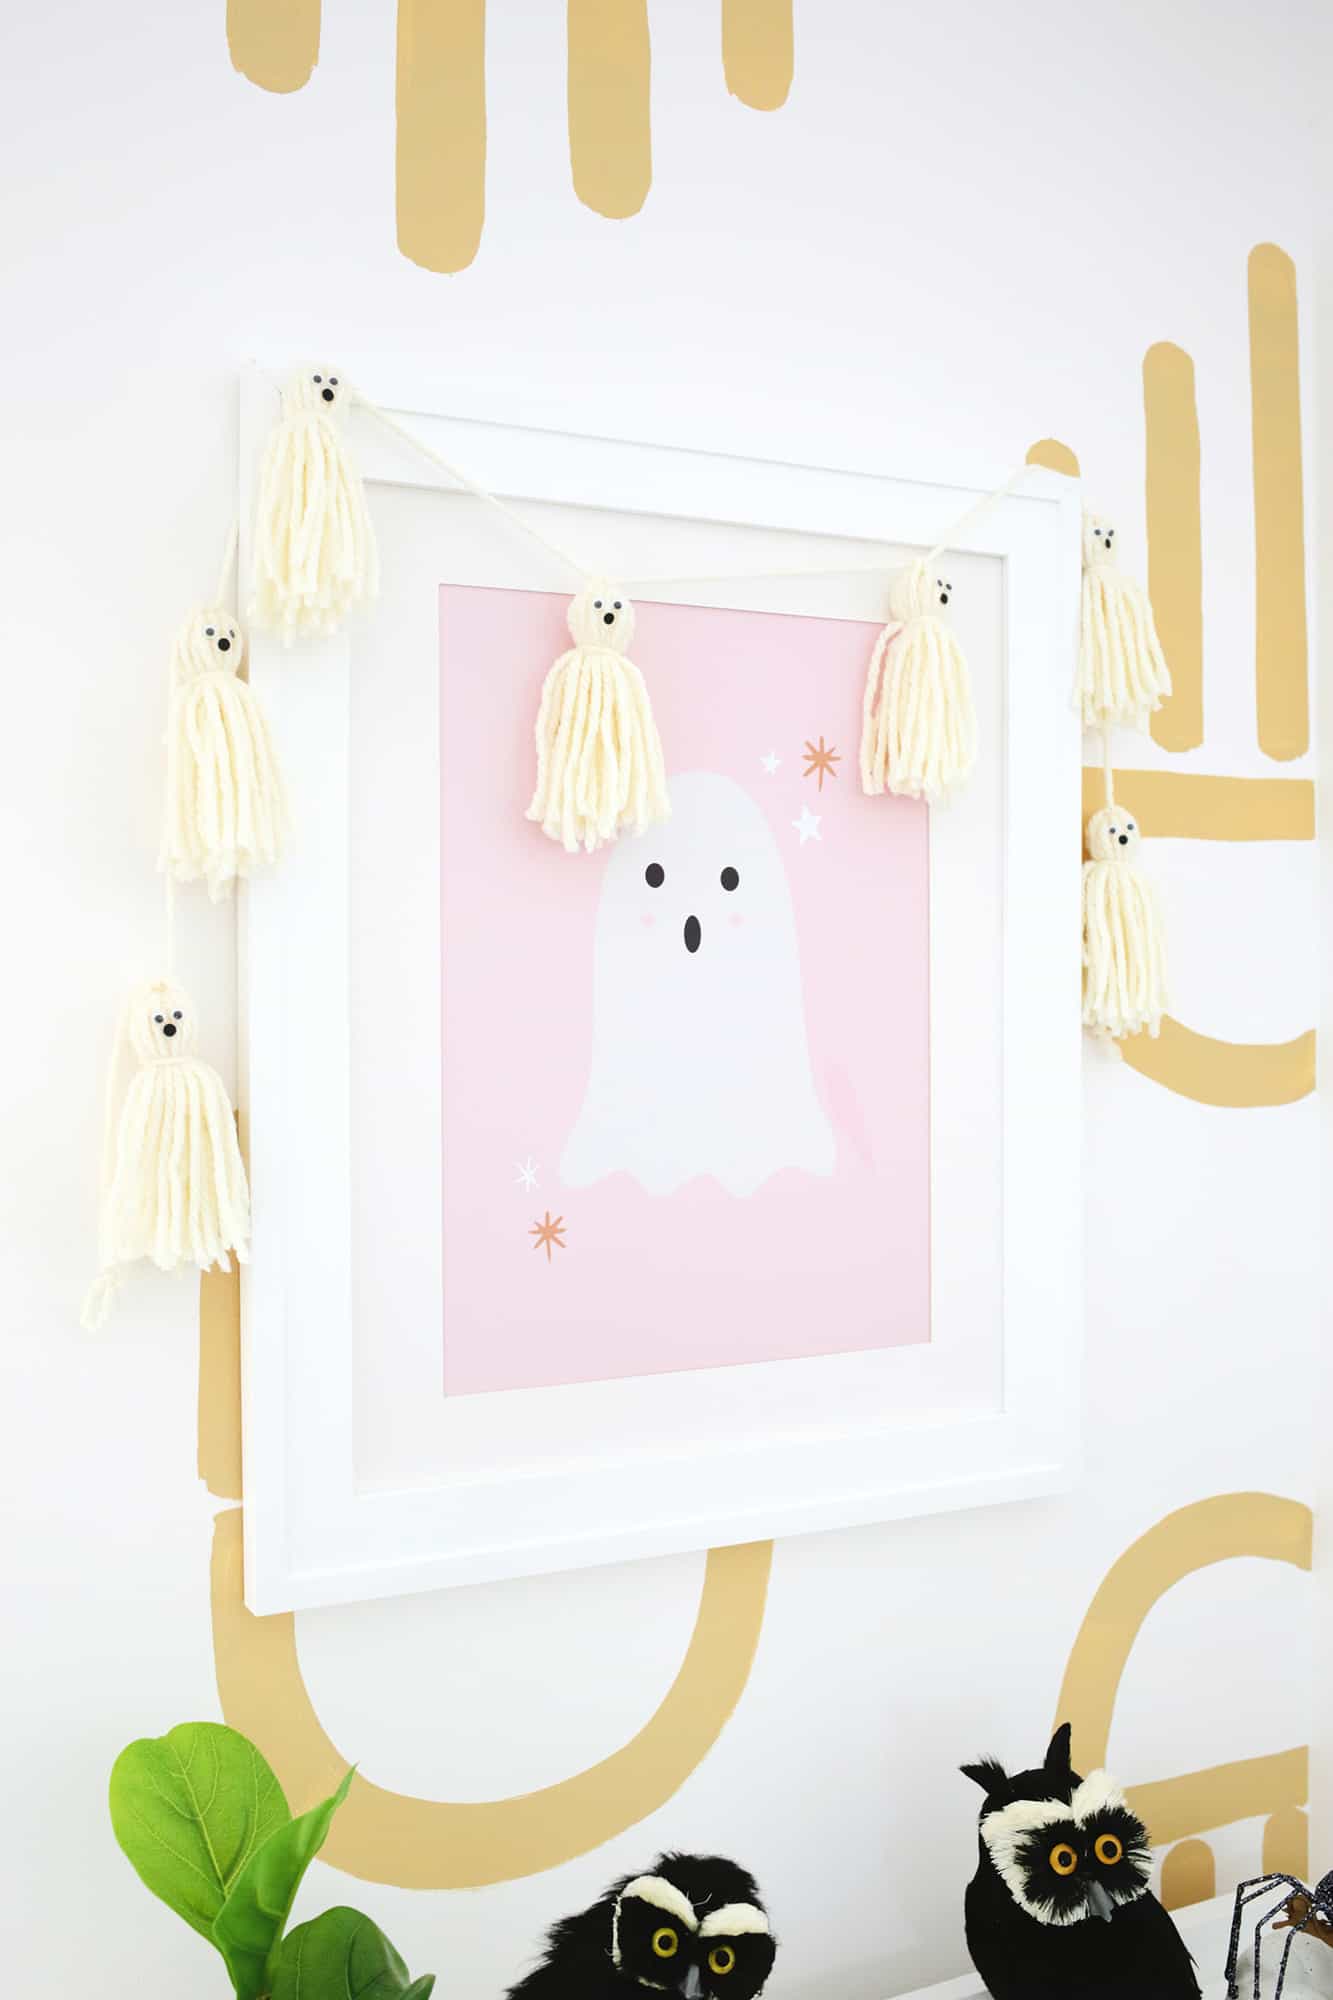
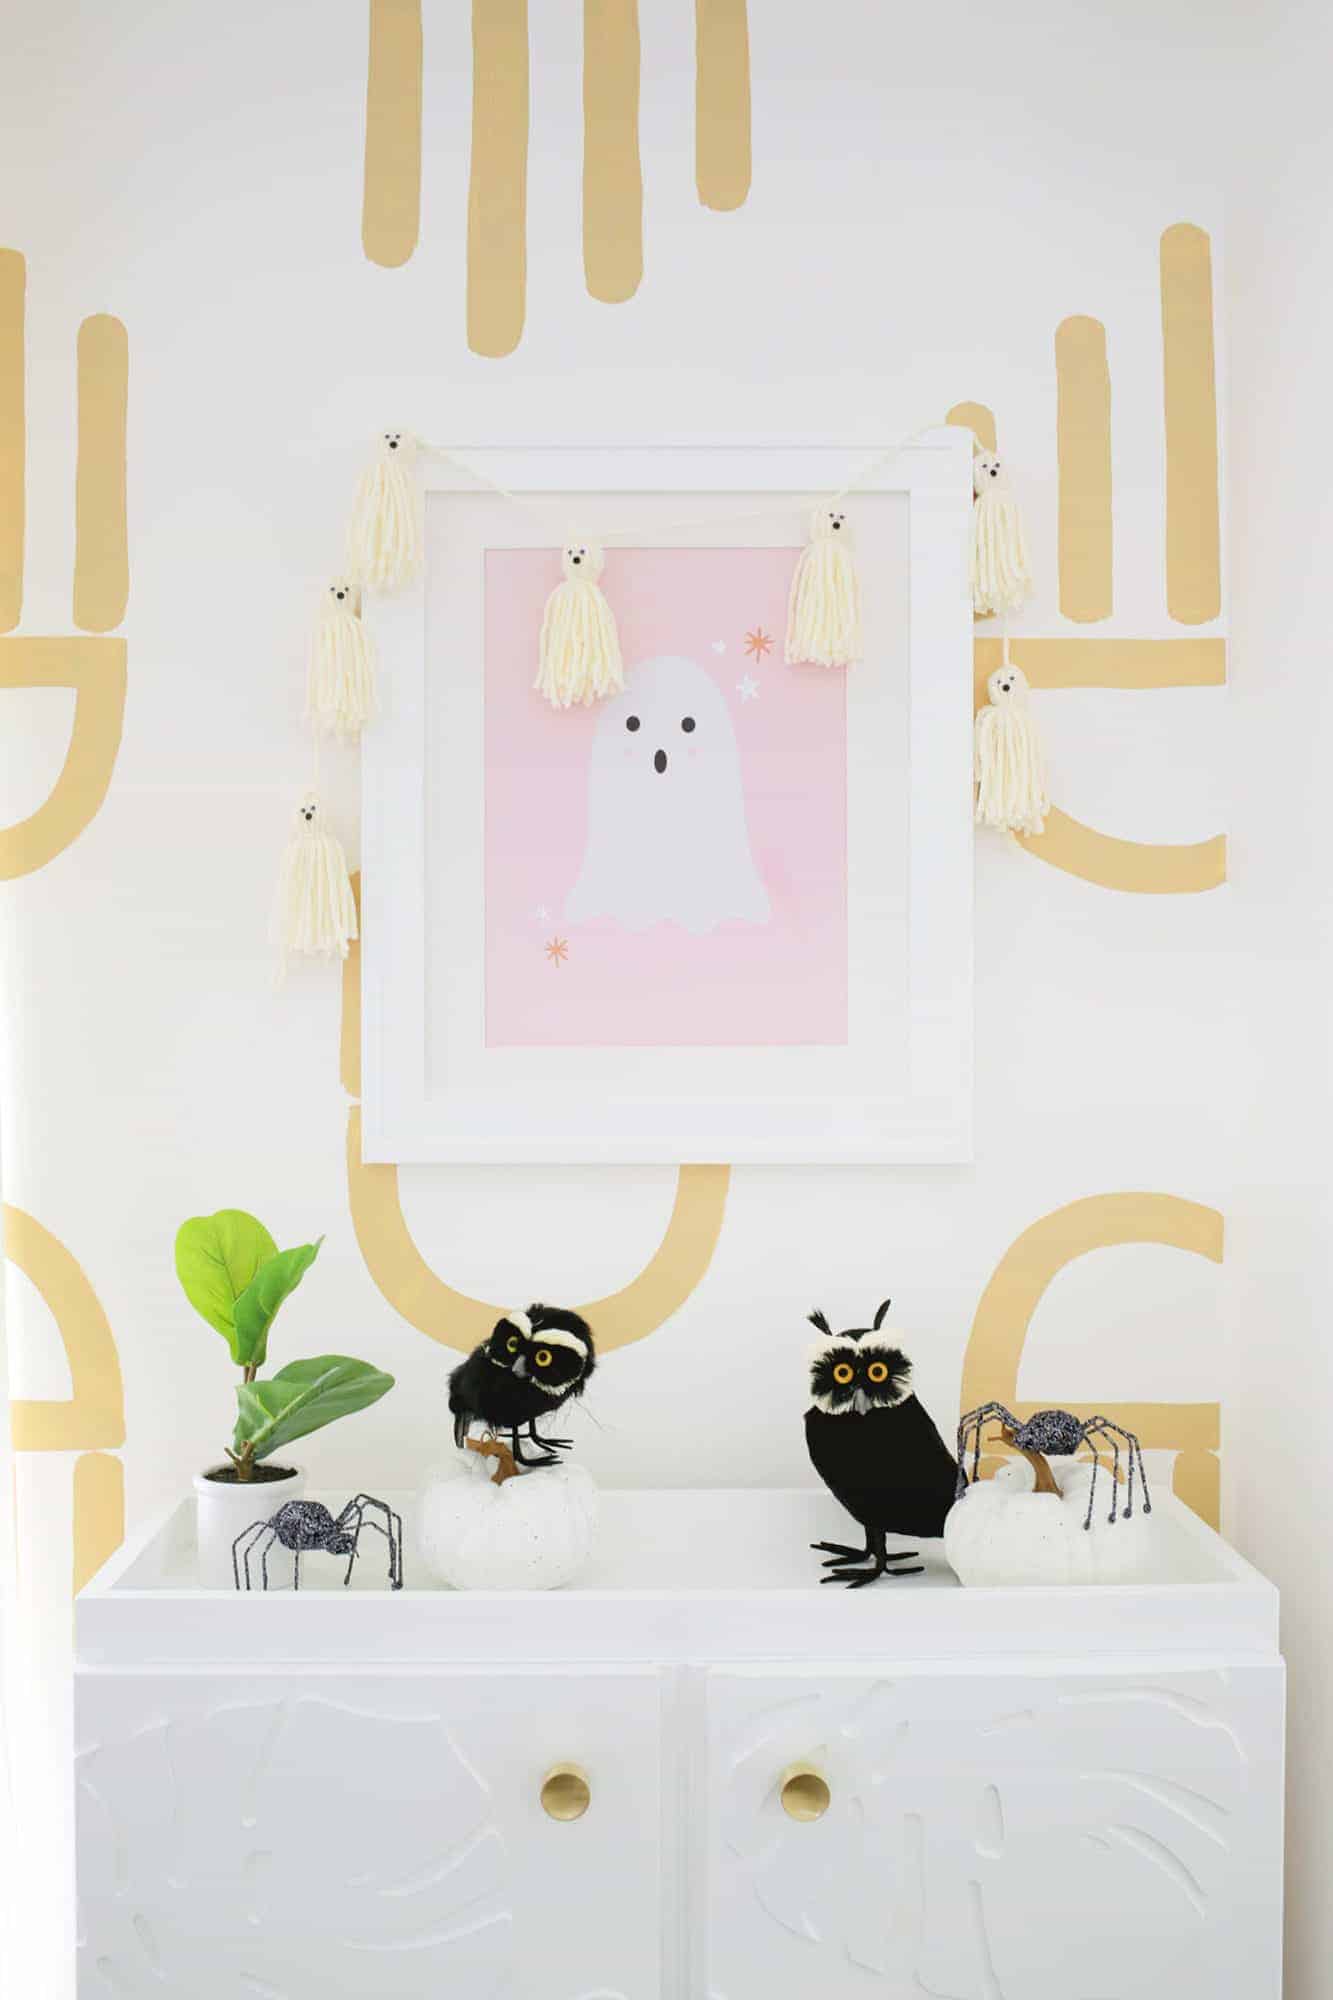
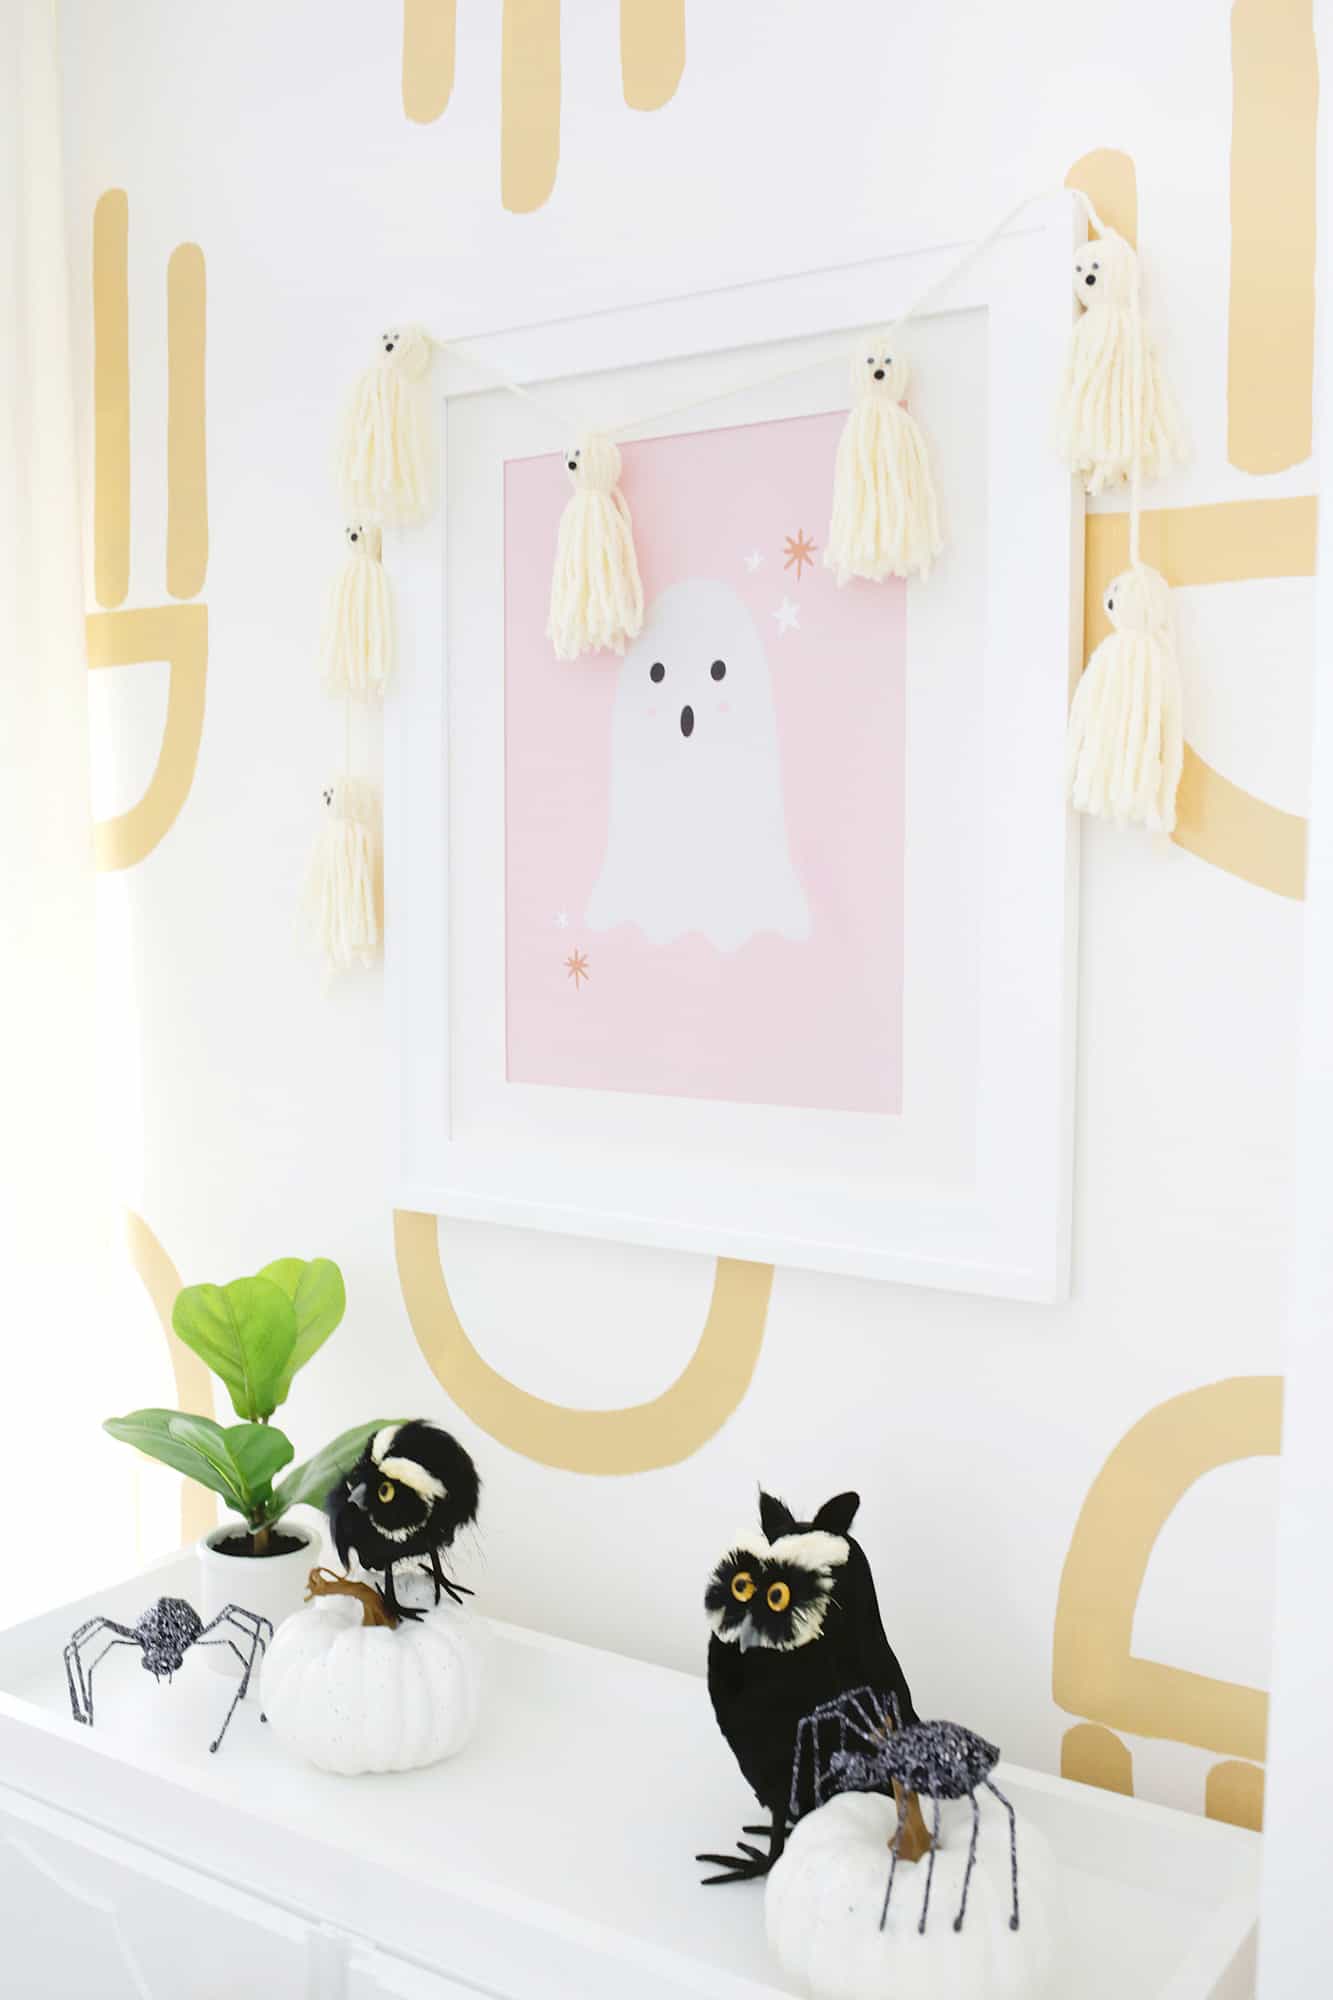
 I’m a busy mom, so I love all things easy in every category. When it comes to Halloween decorating, I’m usually always on the cute side of spooky rather than scary. So I wanted to make a fun garland to hang up that my toddler would love as well, and an easy yarn tassel ghost garland was the first thing that came to mind! This is easy to make while you watch TV or listen to a podcast and it’s so easy that little ones can help you make it too.
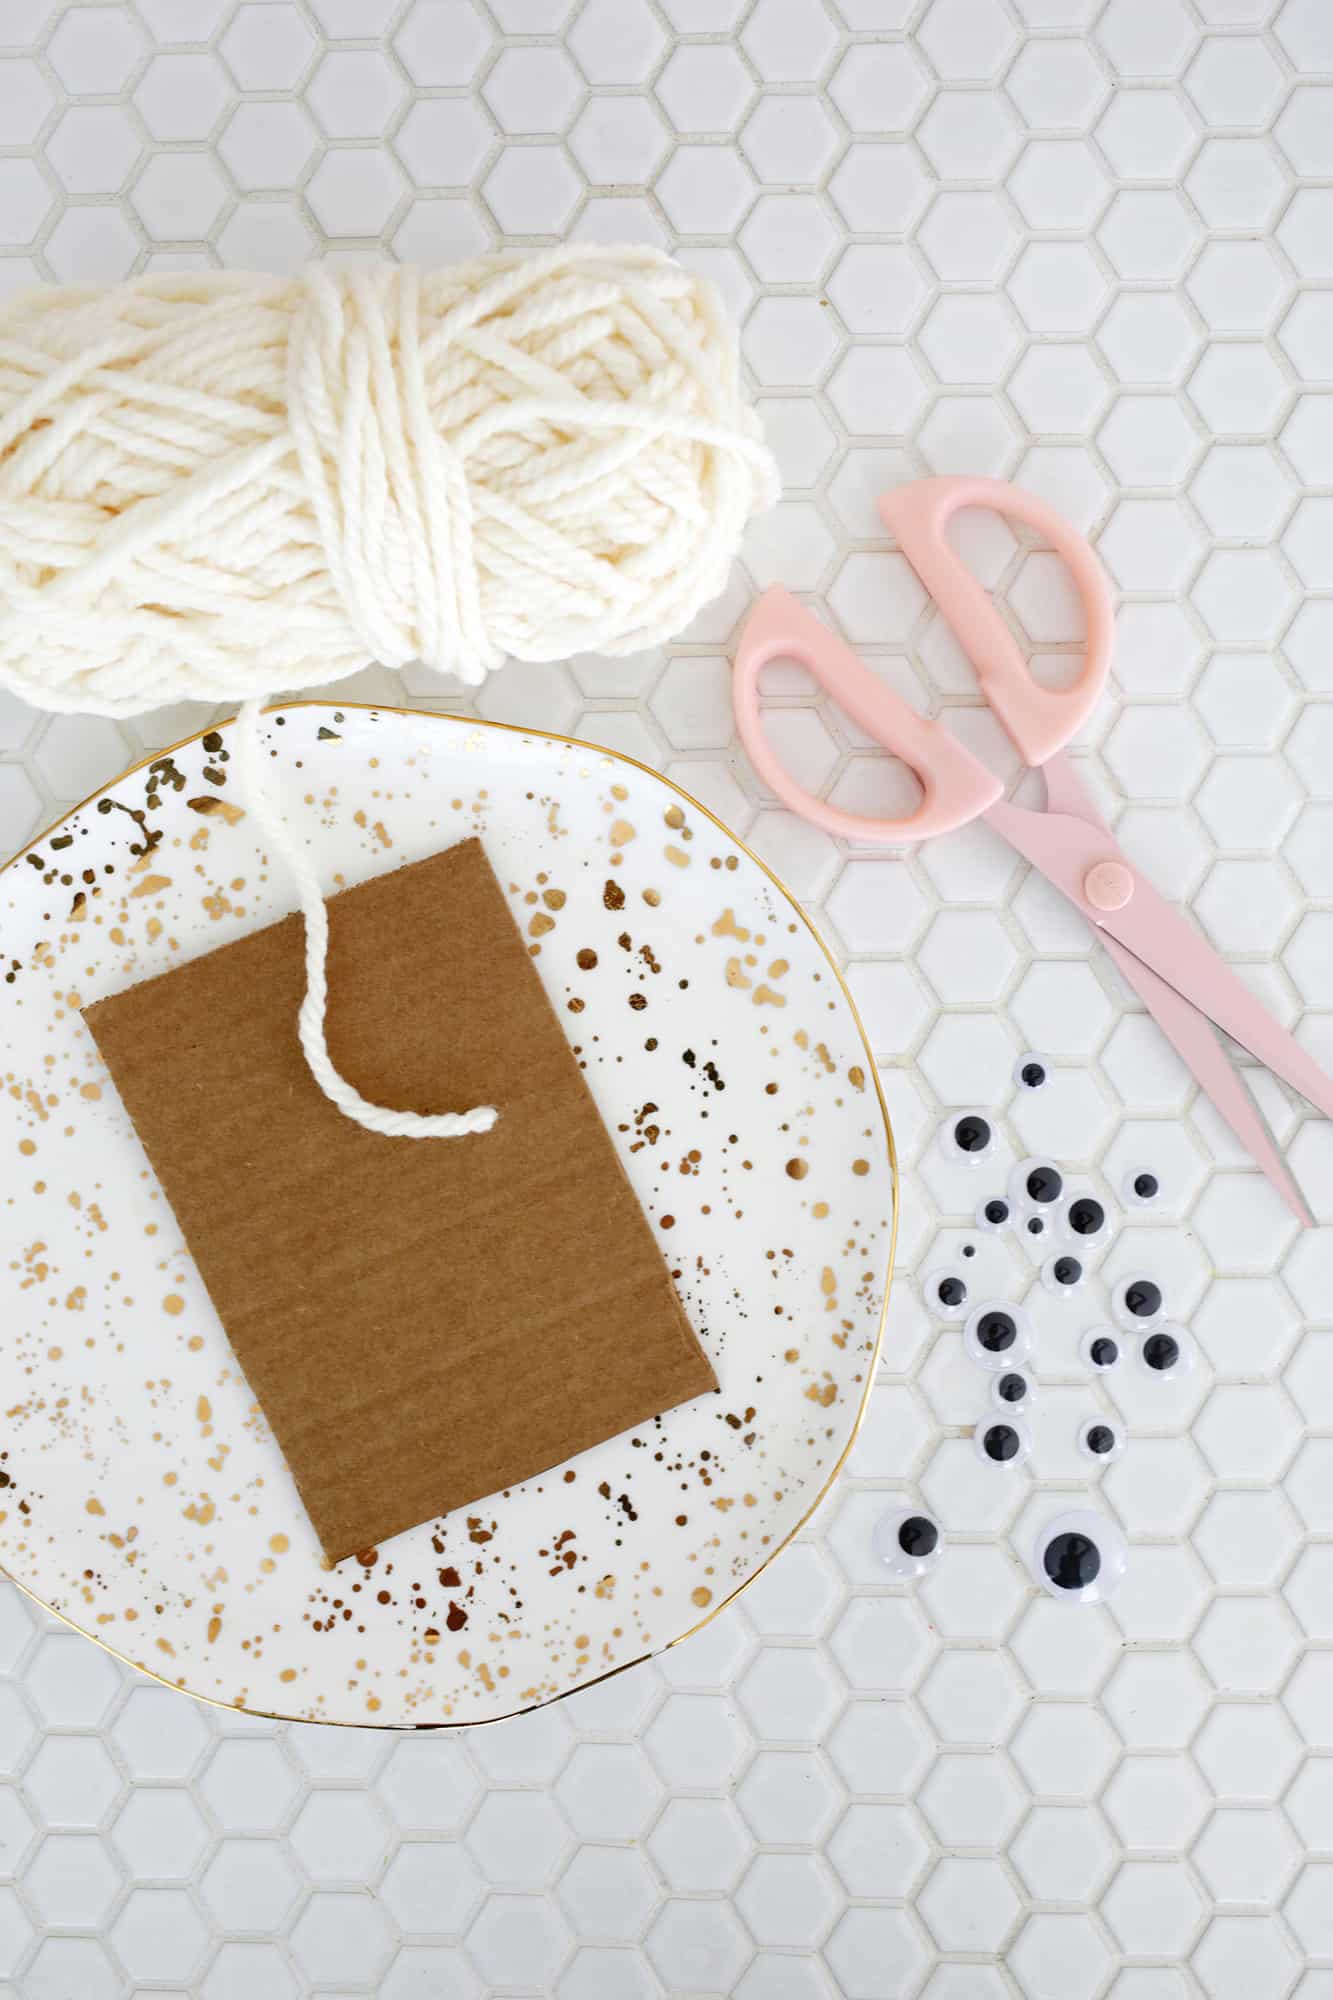
–white yarn
-small piece of cardboard
-hole punch
-black paper
-glue
–small google eyes
-fabric scissors
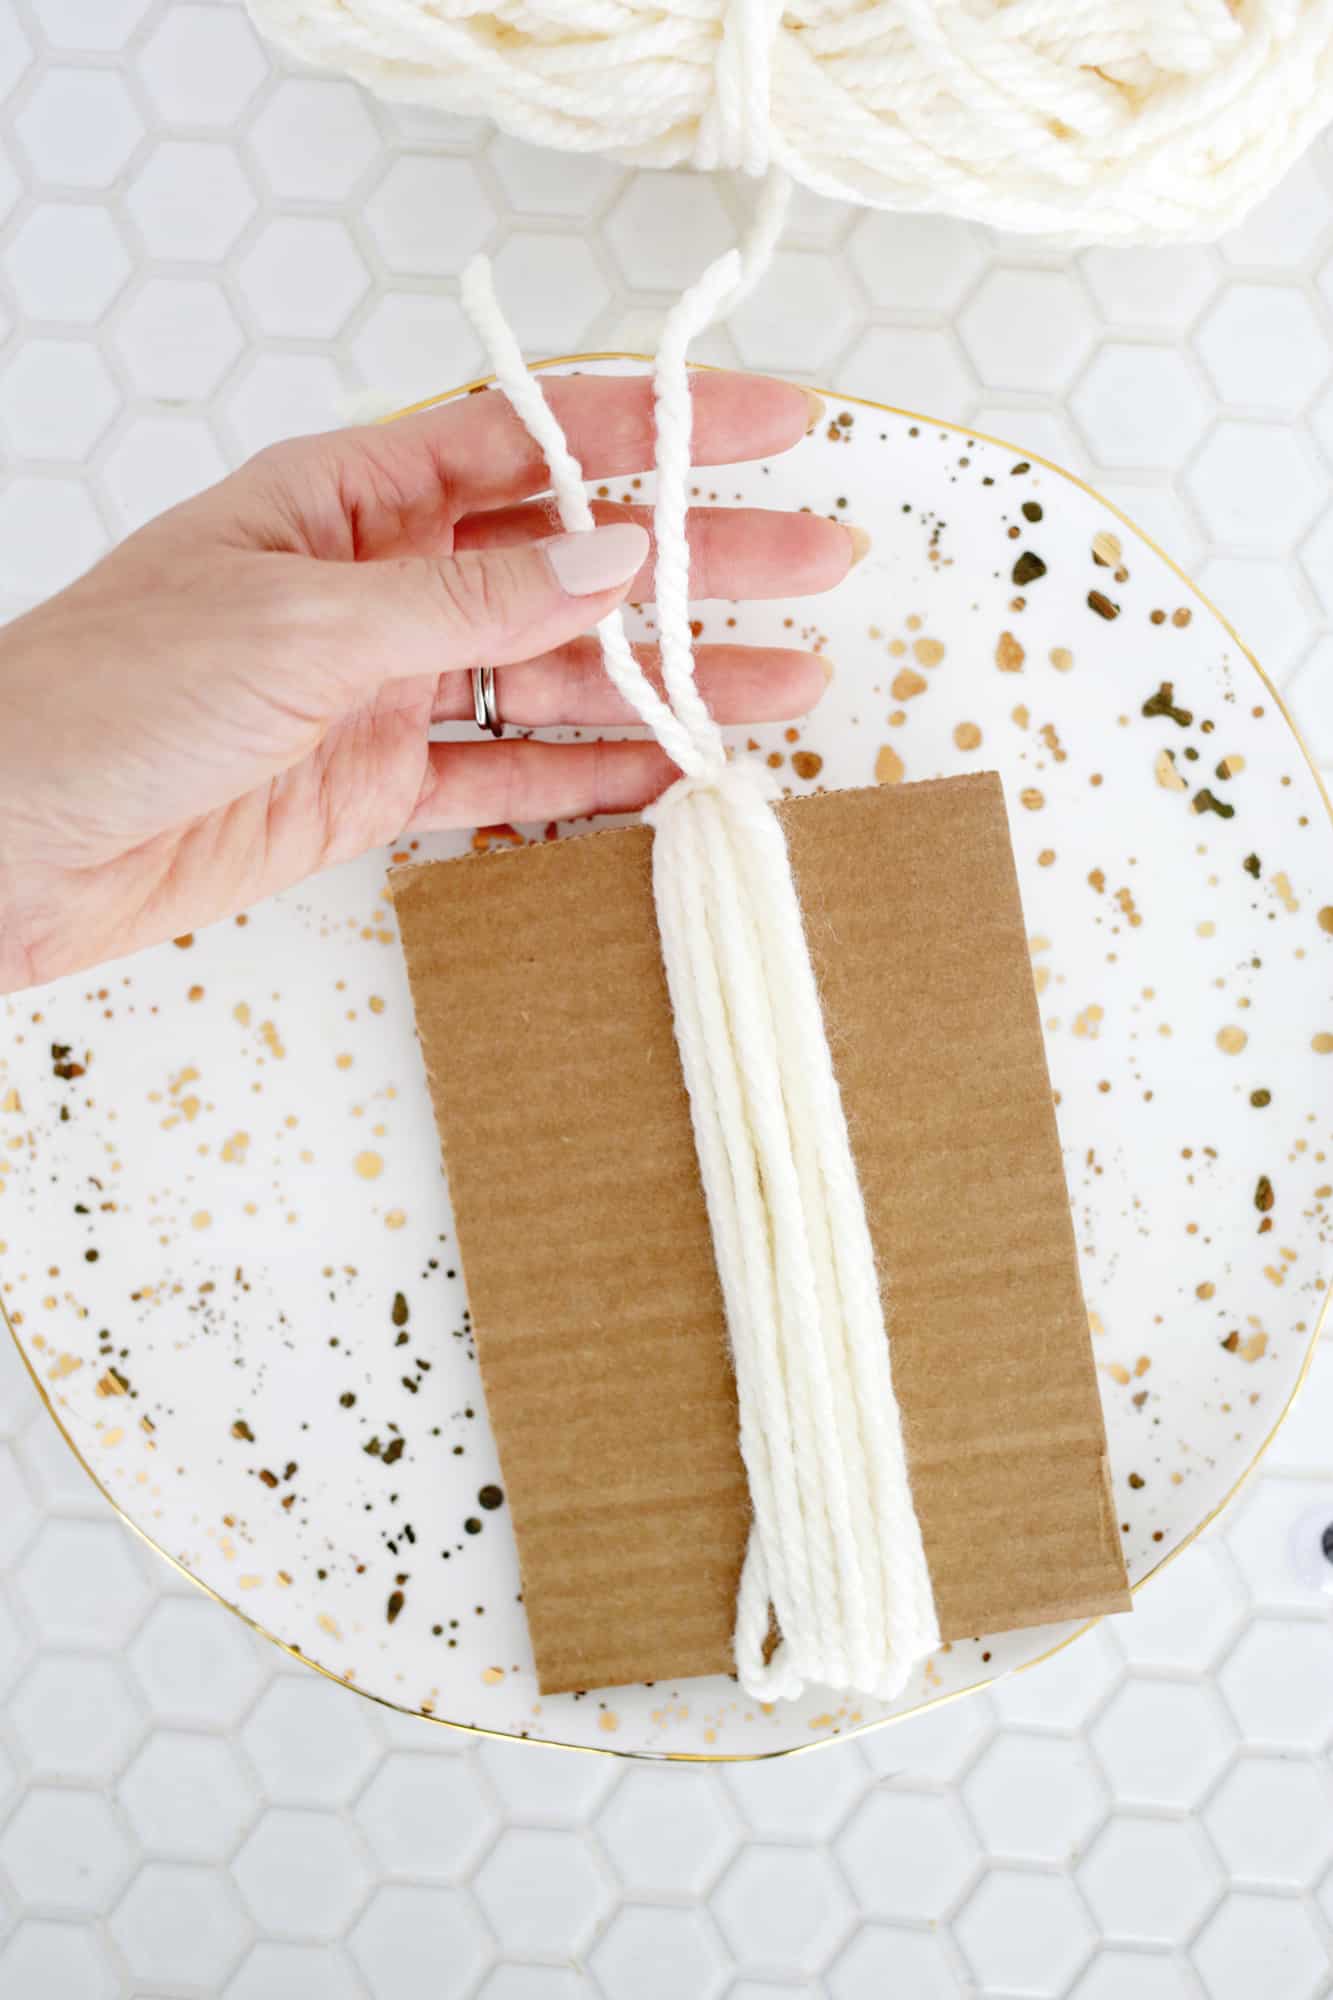

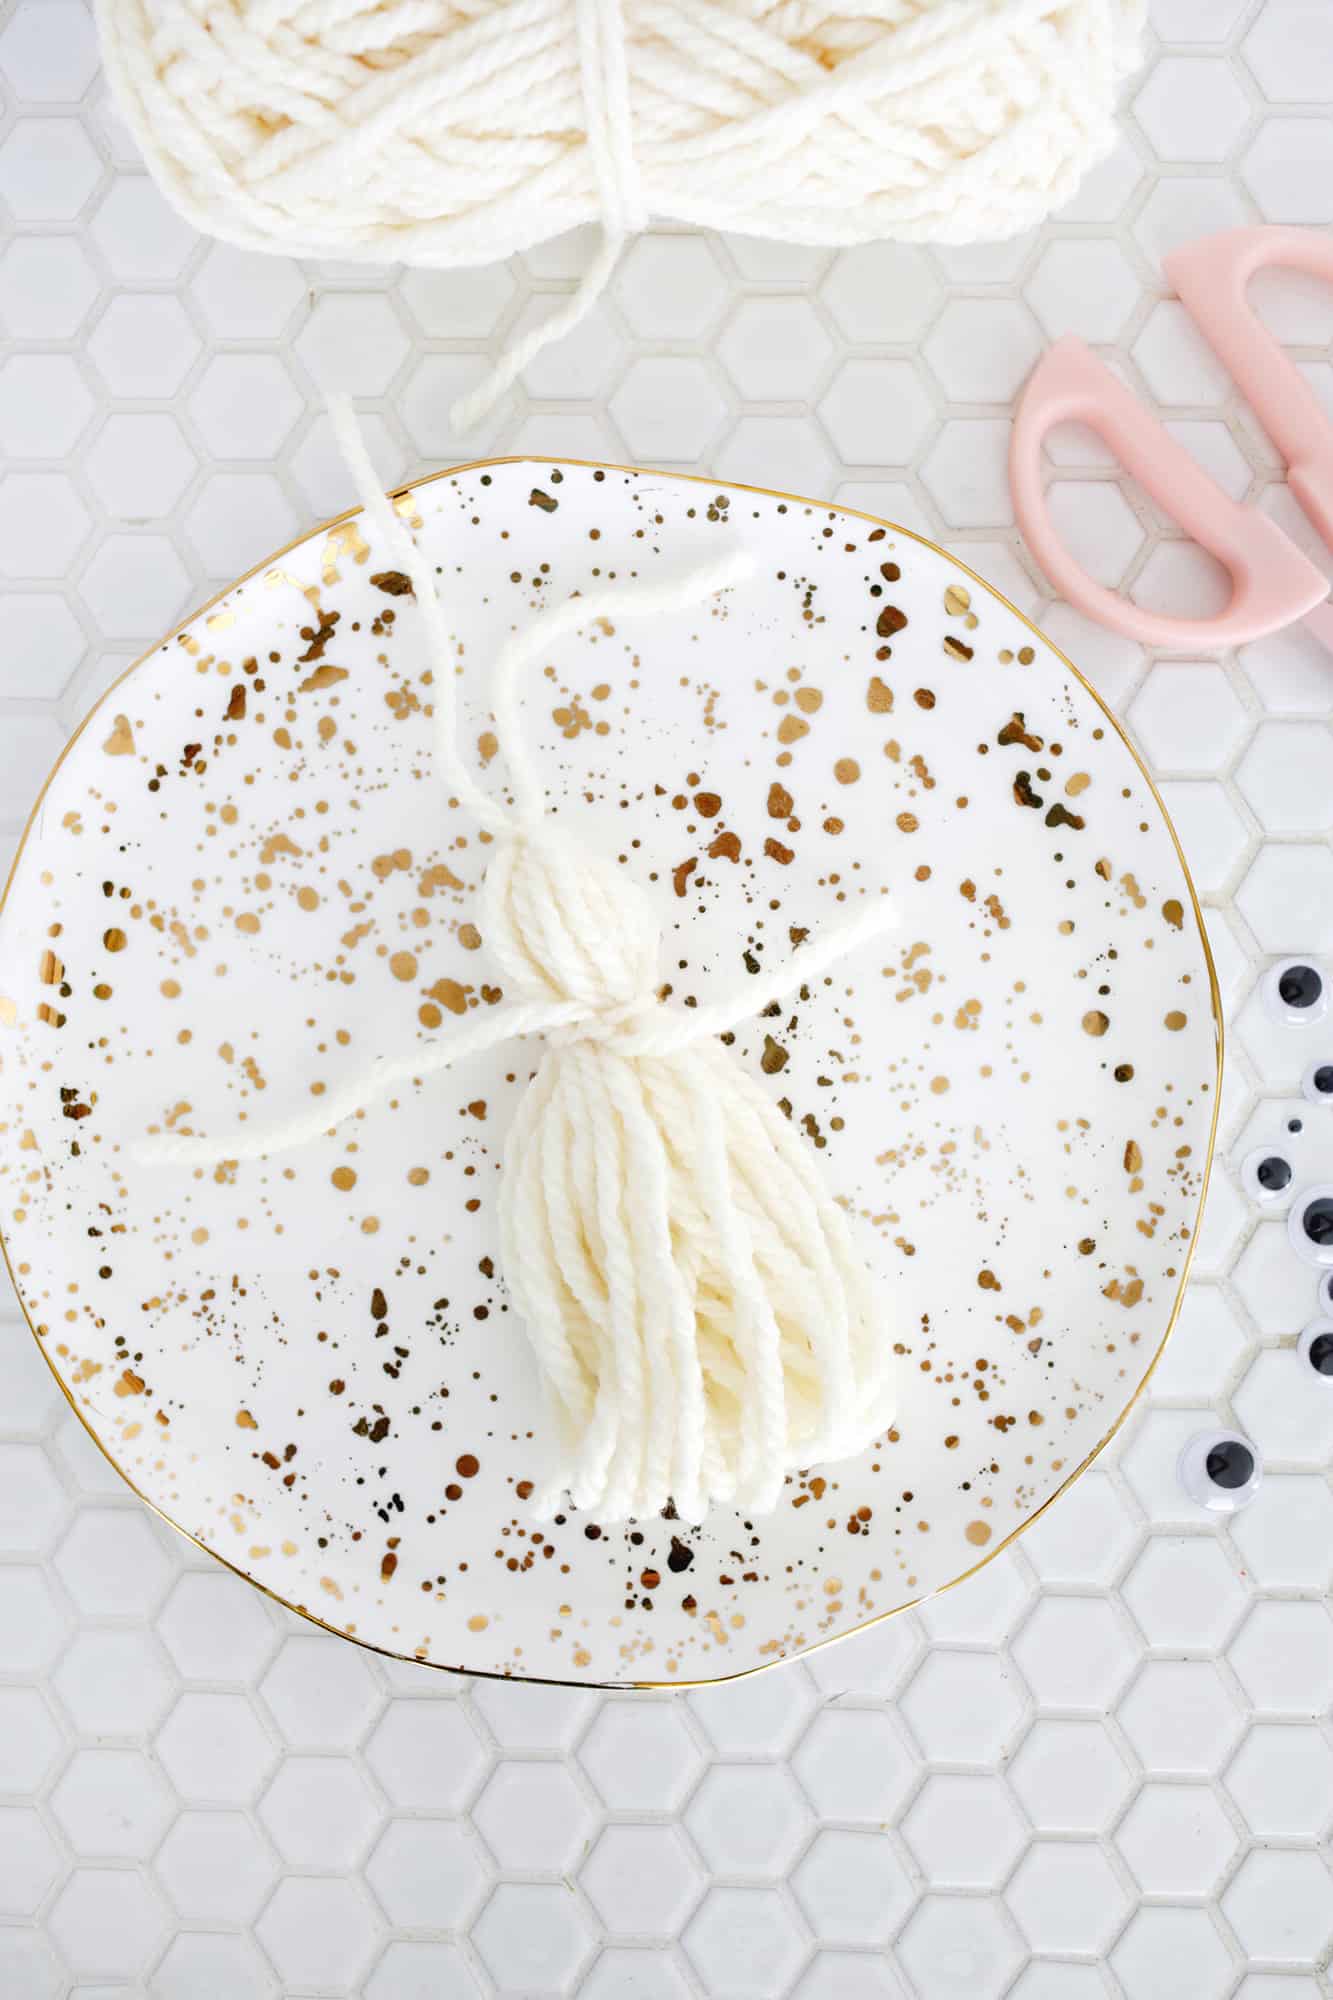
Smooth the ends of the strand down into the rest of the ghost body. Use your scissors to cut the loops open at the bottom end of your ghost and trim any strands that are too long so they are all even.
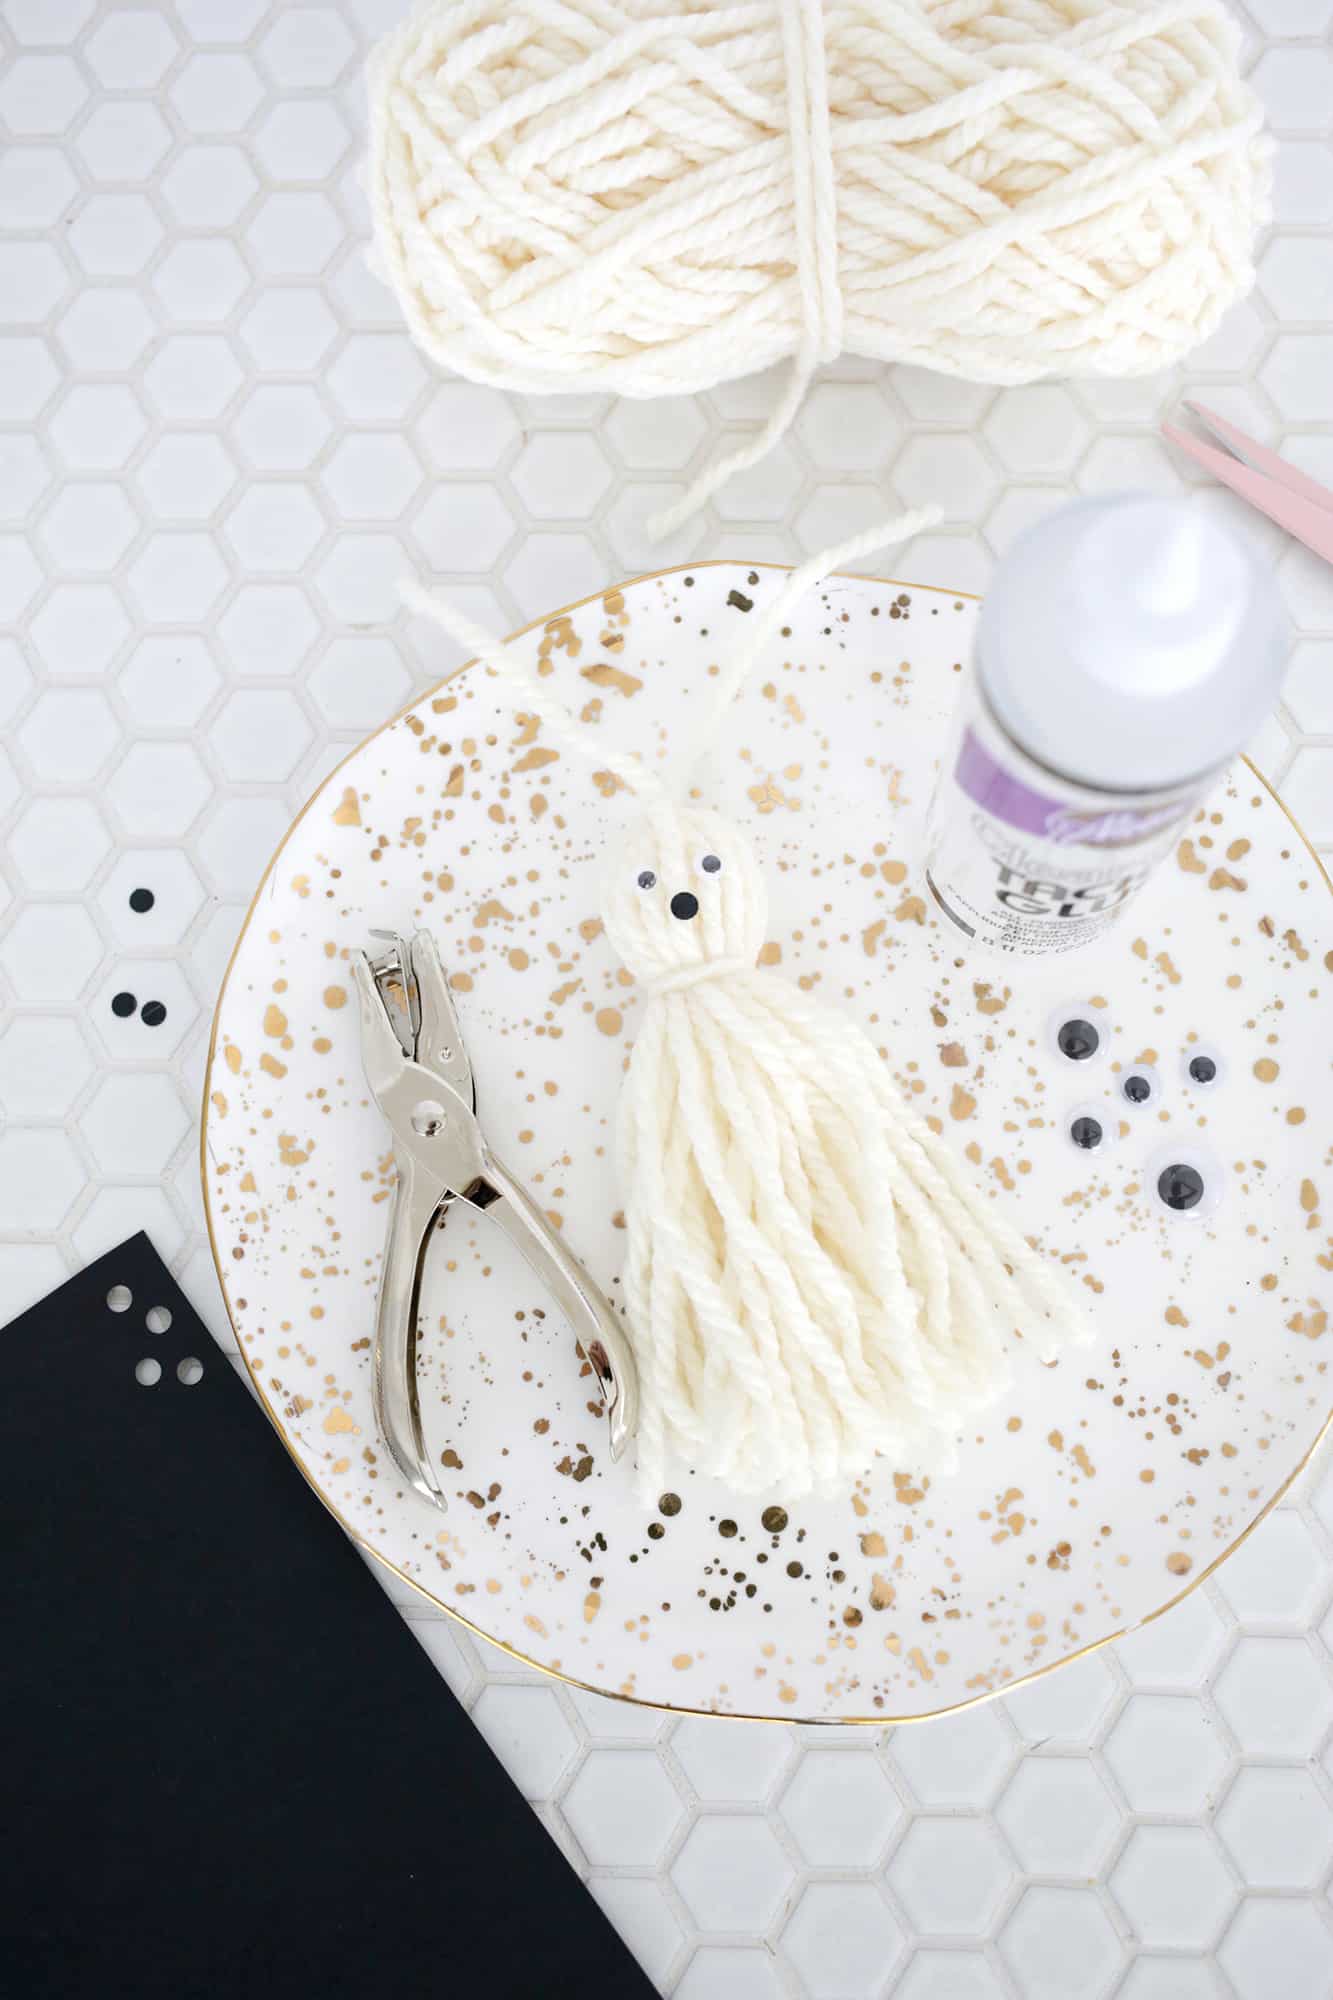
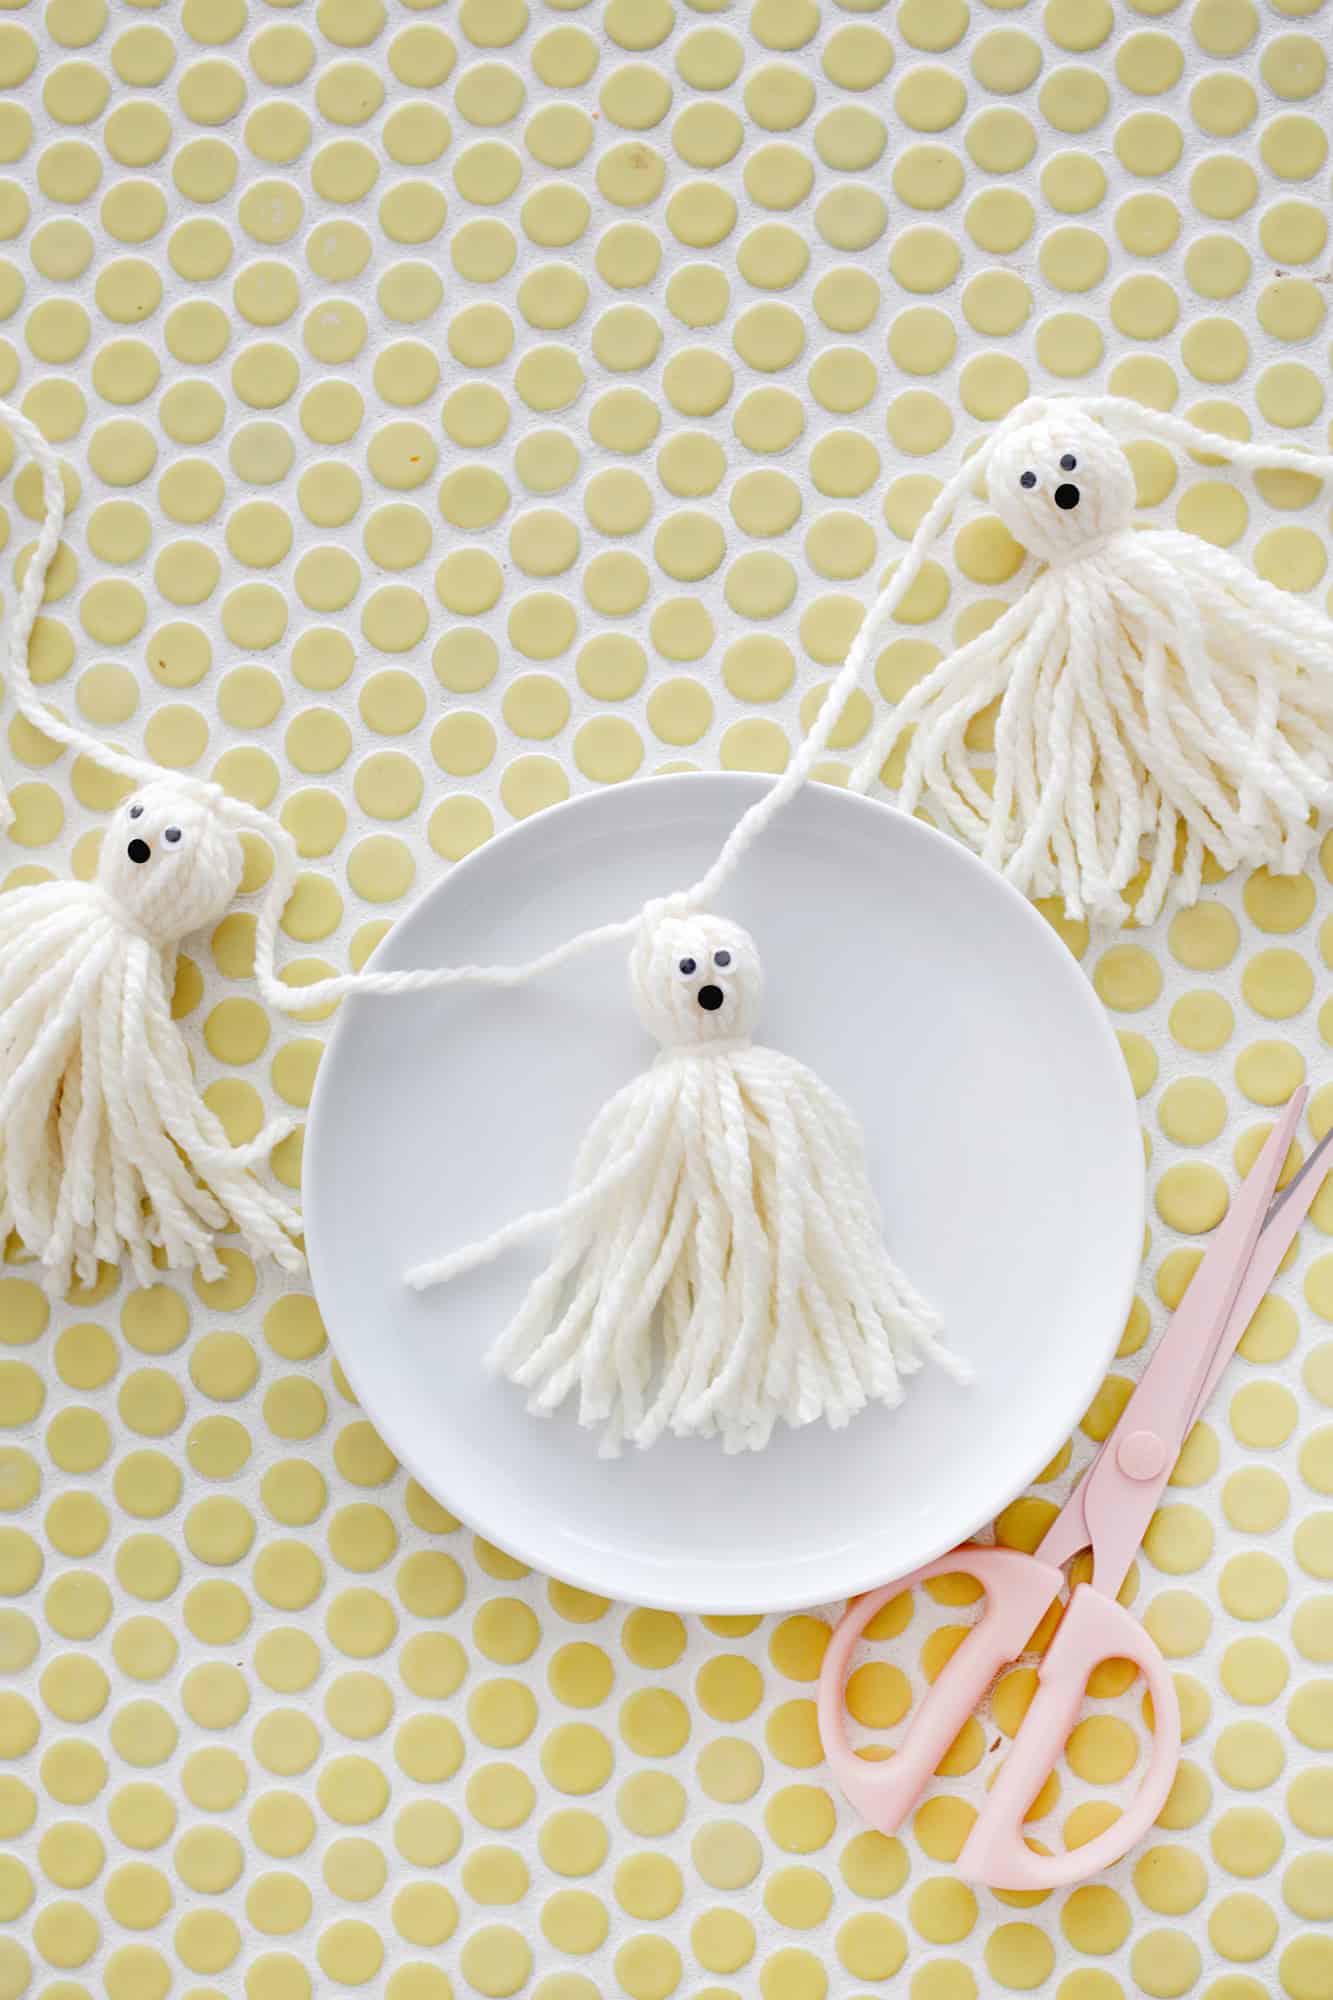
Use the tie on top of the ghost’s heads to tie your ghosts onto a longer piece of yarn to create your garland and tuck the ends from the tie down through the neck tie so it becomes part of the ghost’s body.

P.S. Check out 15 Easy DIY Halloween Decorations for more ideas!
Love this post? Sign up for our newsletter for more ideas!

Get creative ideas for recipes, crafts, decor, and more in your inbox!
 Get the How-To
Supplies
- white yarn
- small piece of cardboard
- hole punch
- black paper
- glue
- small google eyes
- fabric scissors
Instructions
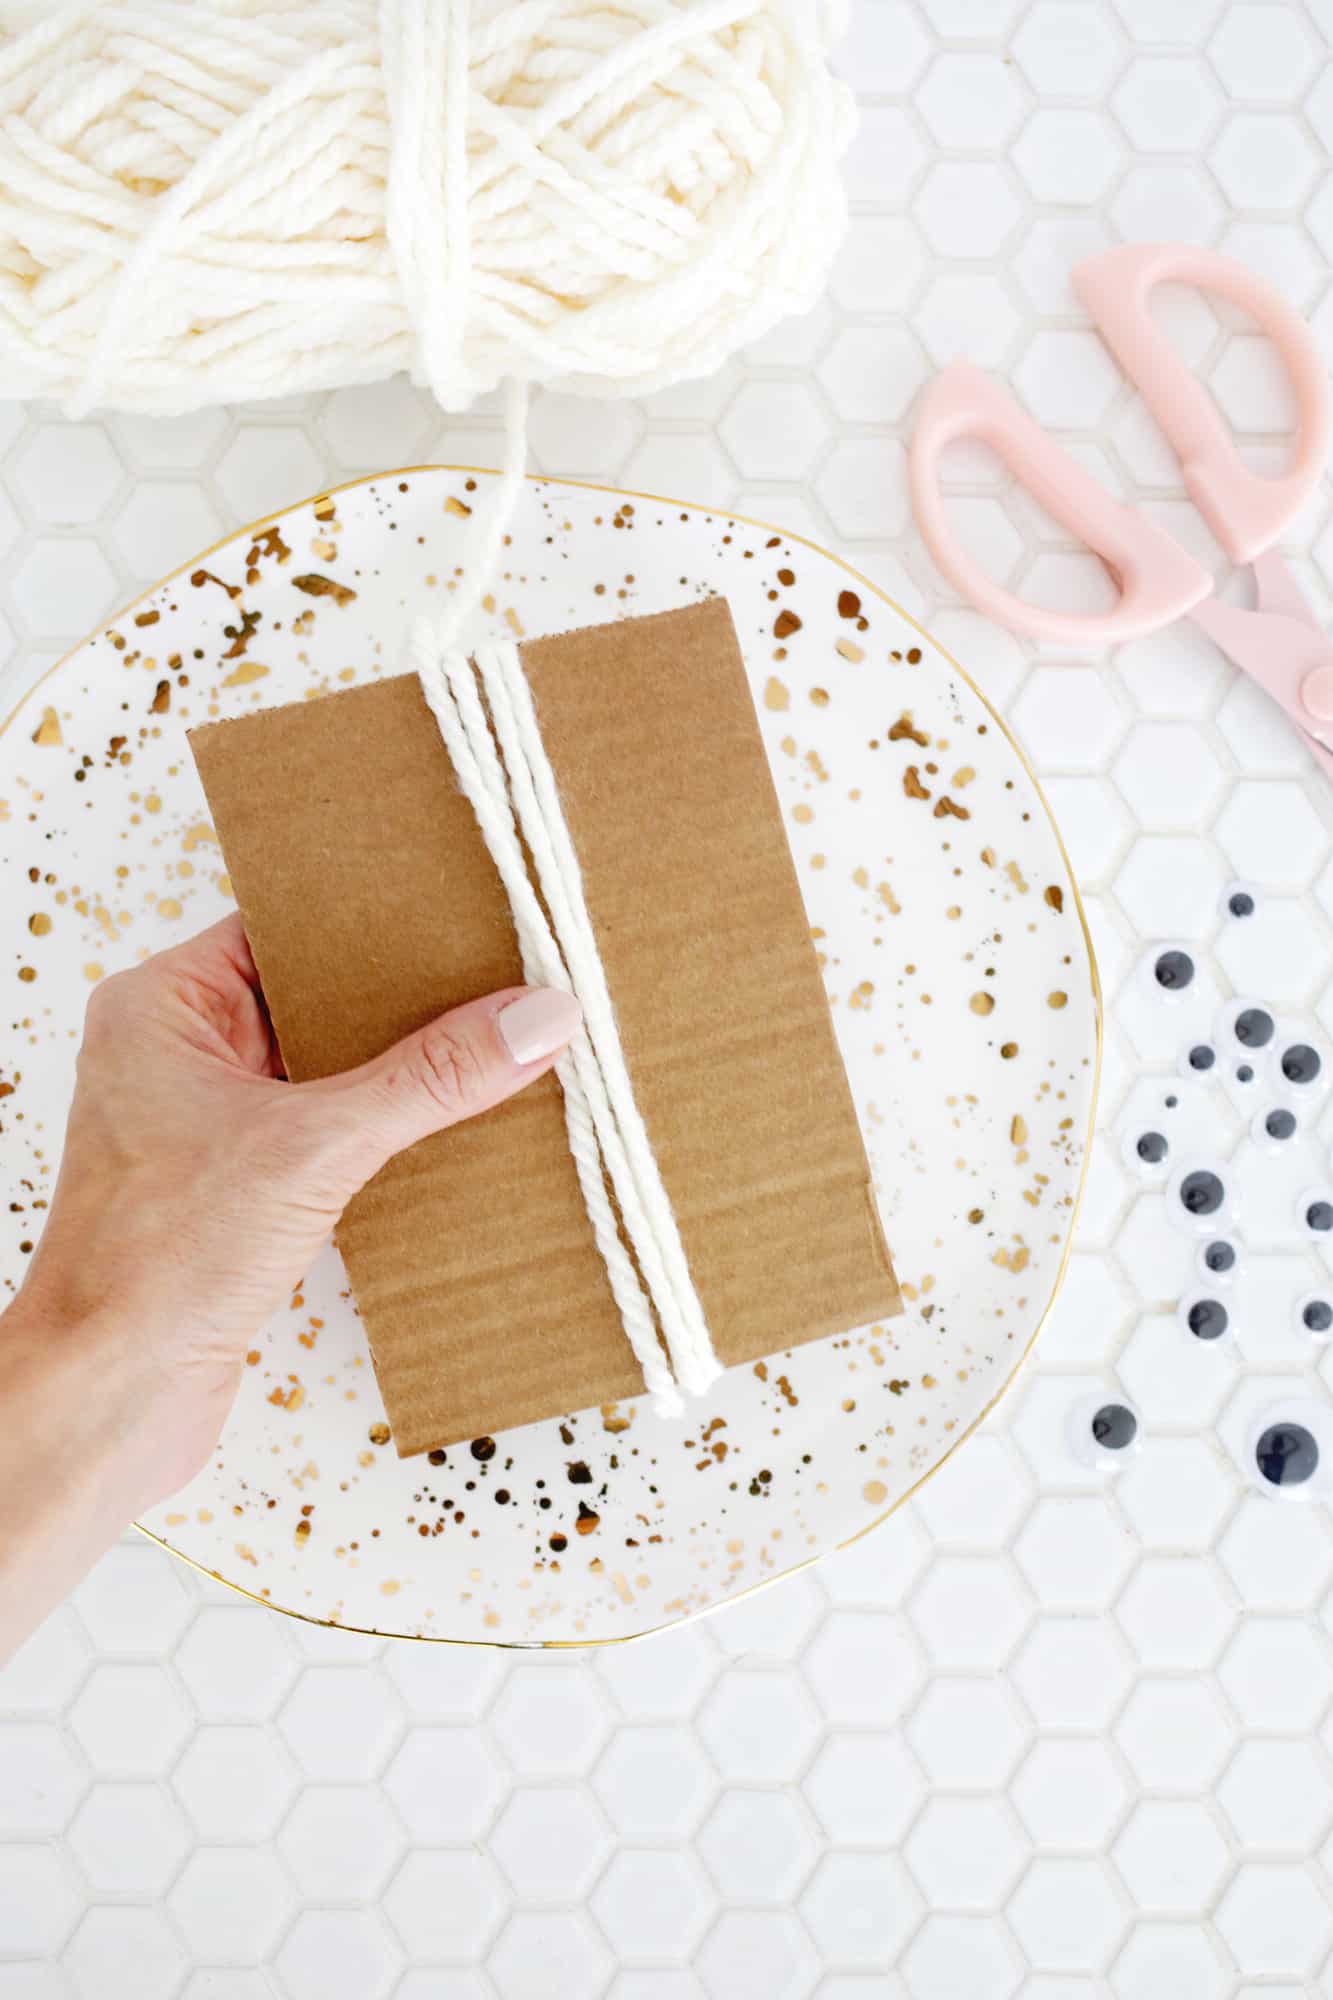
- First, you’ll want to cut a piece of scrap cardboard to be 4″ x 6″. Wrap your yarn around your cardboard piece 15-20 times and cut your yarn so it hangs down past the bottom of your cardboard.
- Cut a piece of yarn that’s about 8″ long and thread it under the strands at the top of your cardboard. Tie it in a knot so that the top side of the stands are tied together.
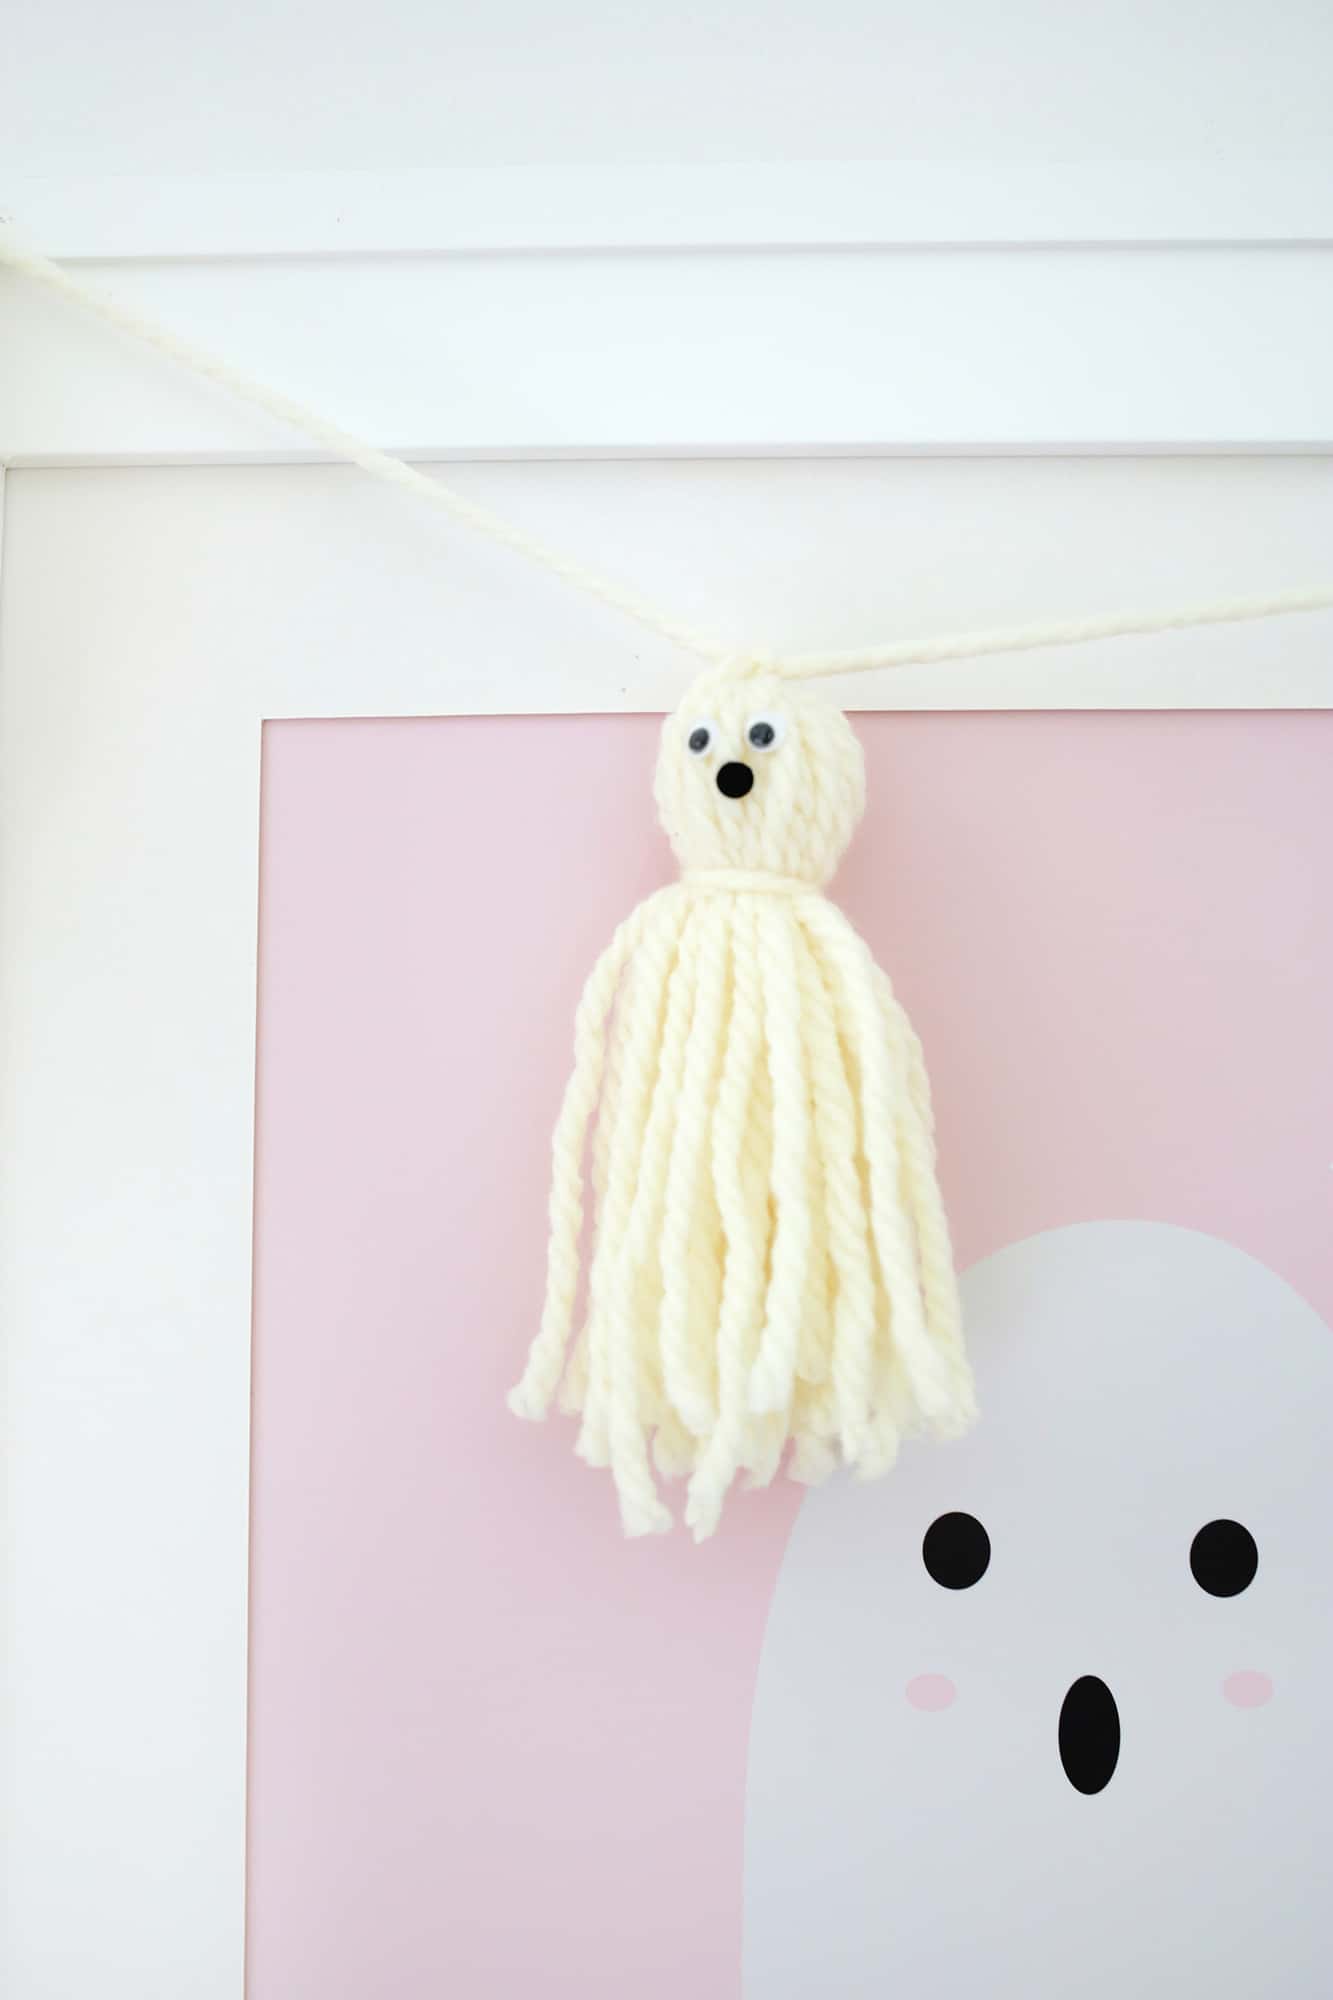
- Slide out the piece of cardboard and cut another strand of yarn that’s about 10″ long. Tie that strand around your yarn bundle about 2″ down from the top to create your ghost head. Smooth the ends of the strand down into the rest of the ghost body. Use your scissors to cut the loops open at the bottom end of your ghost and trim any strands that are too long so they are all even.
- Once your ends are cut, you can punch some holes into black paper for the mouths and then glue that on with the eyes to complete the face. Use the tie on top of the ghost’s heads to tie your ghosts onto a longer piece of yarn to create your garland and tuck the ends from the tie down through the neck tie so it becomes part of the ghost's body.
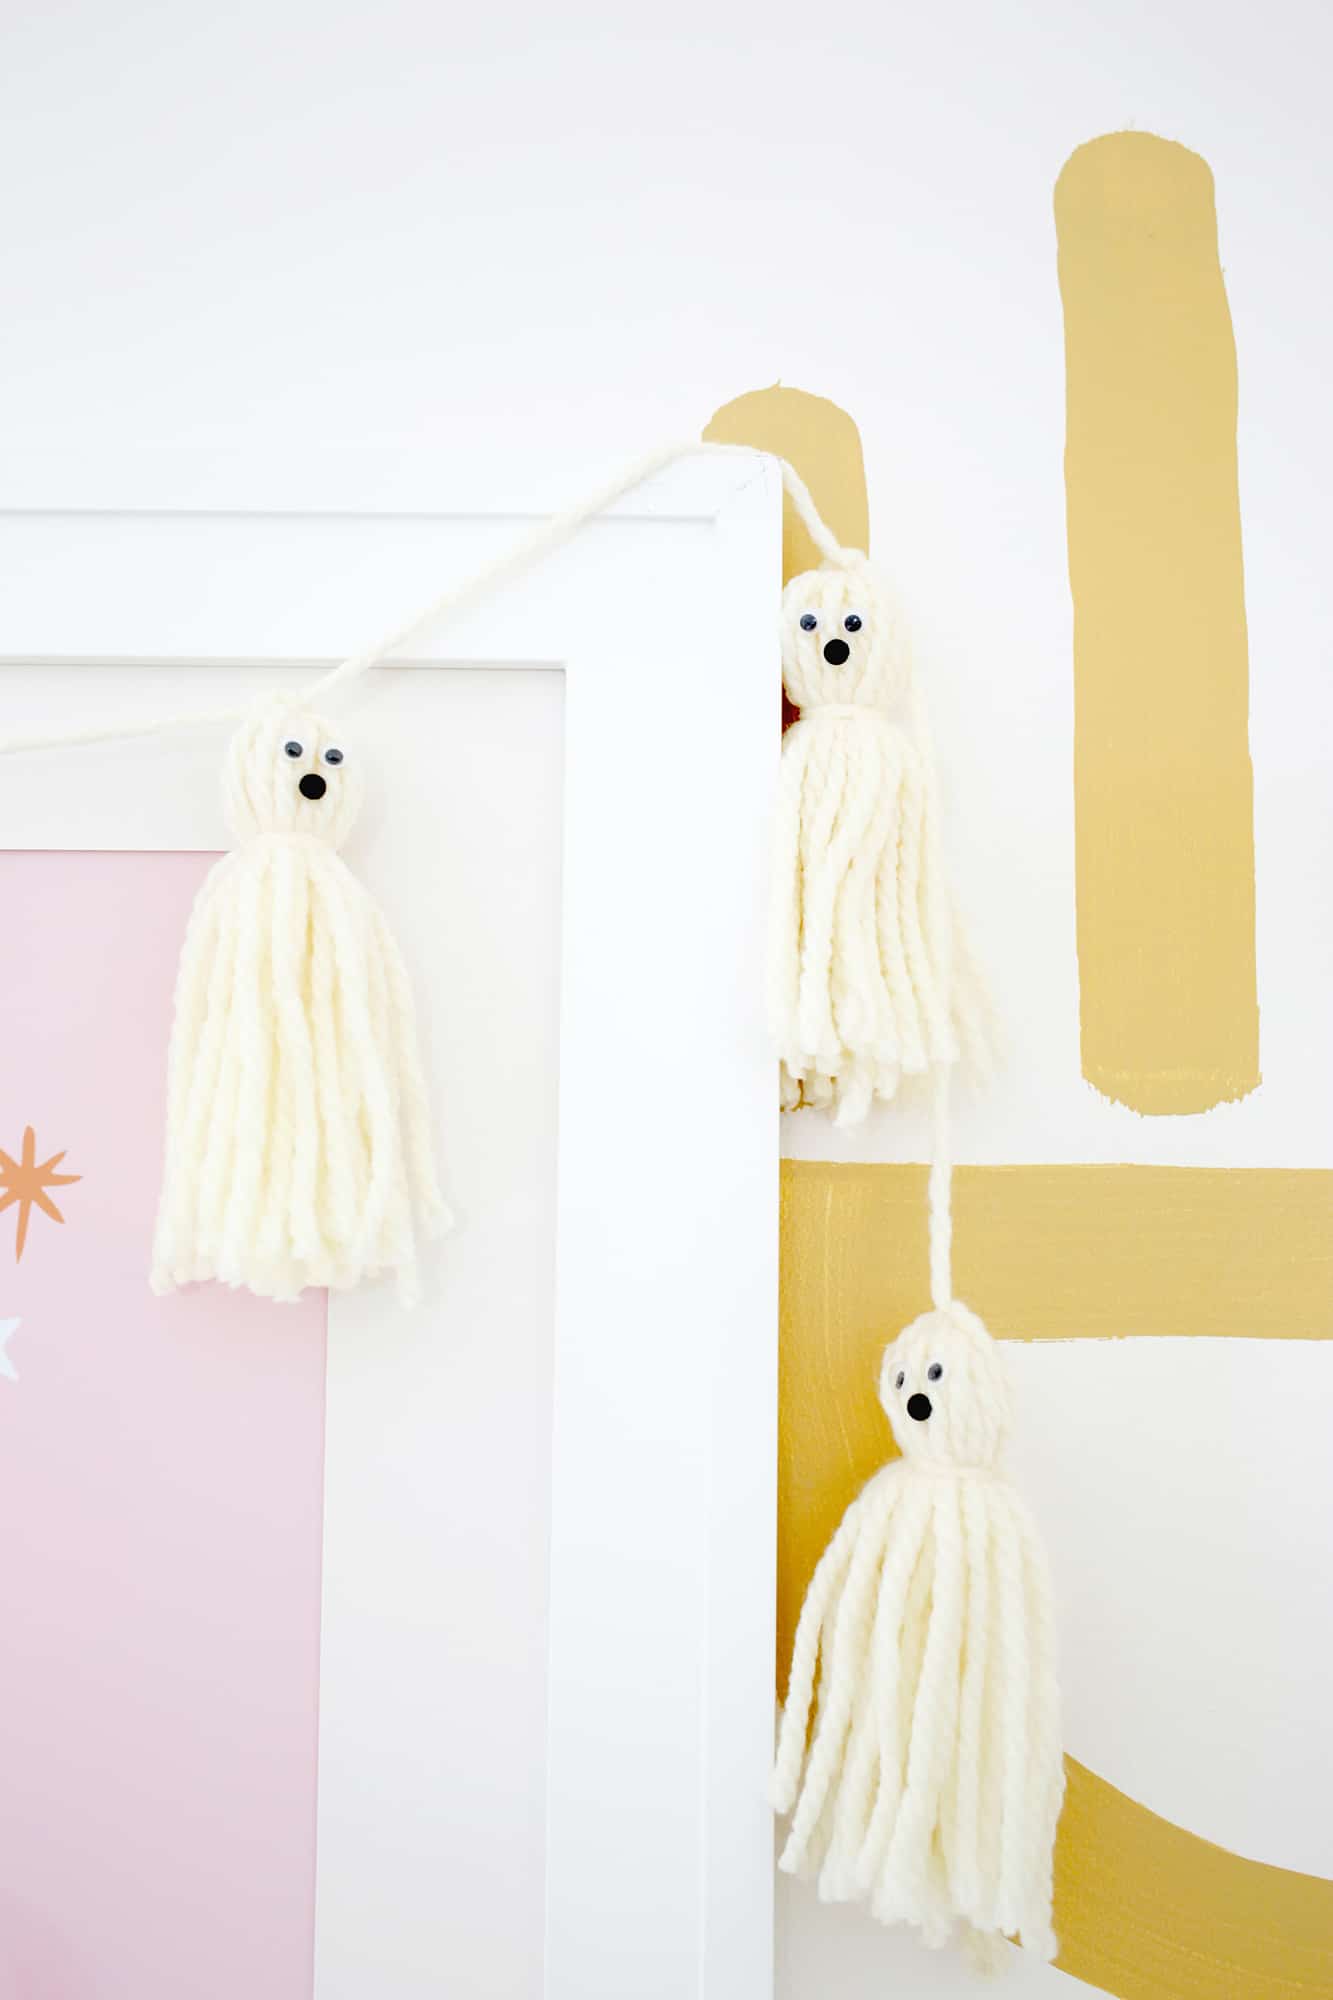
- Hang your garland and get ready for Halloween!


Fun easy craft for all ages! I used felt for the face and made some silly and friendly ghosts with my niece
That’s so cuuuuuuuuuuute! seems so easy and I’m really not a crafts’ person ! :)) thank you!
Where are those owls from?! I love them!
They were from JoAnns from two years ago I think, they are cute though!
Laura
Oh my goodness Laura you nailed it with all of your decor ideas this year! I am loving them all and I also go on the cuter side for Halloween, so this is perfect. My kids will love helping to make it!