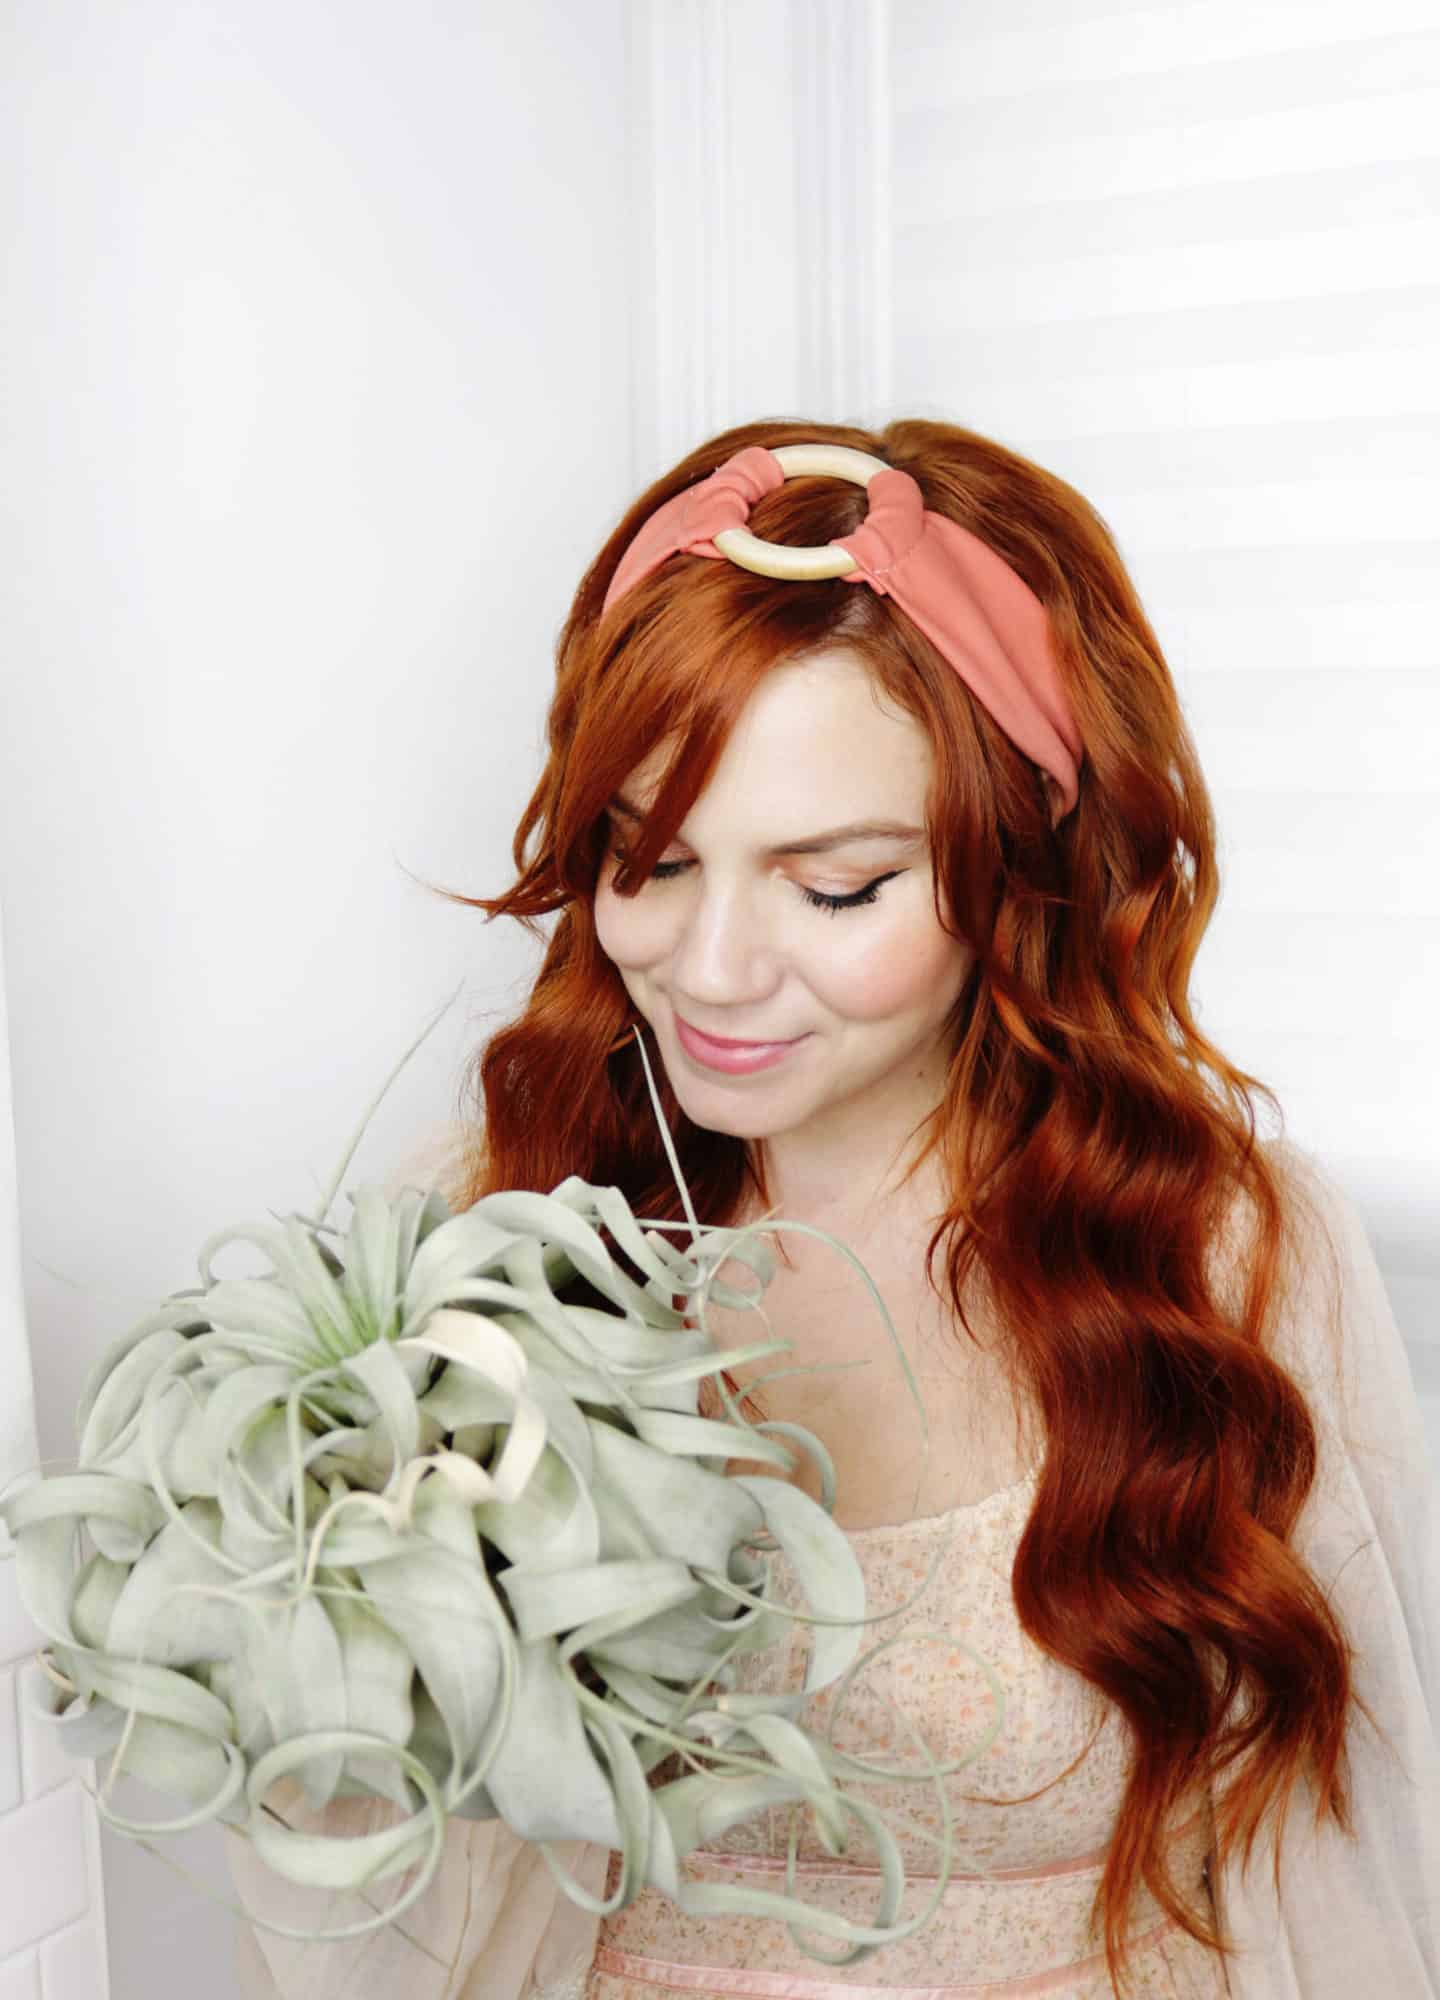
 I’m a gal who LOVES headbands and hair scarves. They can take an outfit from good to great by adding a little bit of extra pizazz. They also cover those roots when you’re on day one-too-many of dry shampoo, but you don’t have the time (or let’s be honest, energy) to wash your hair.
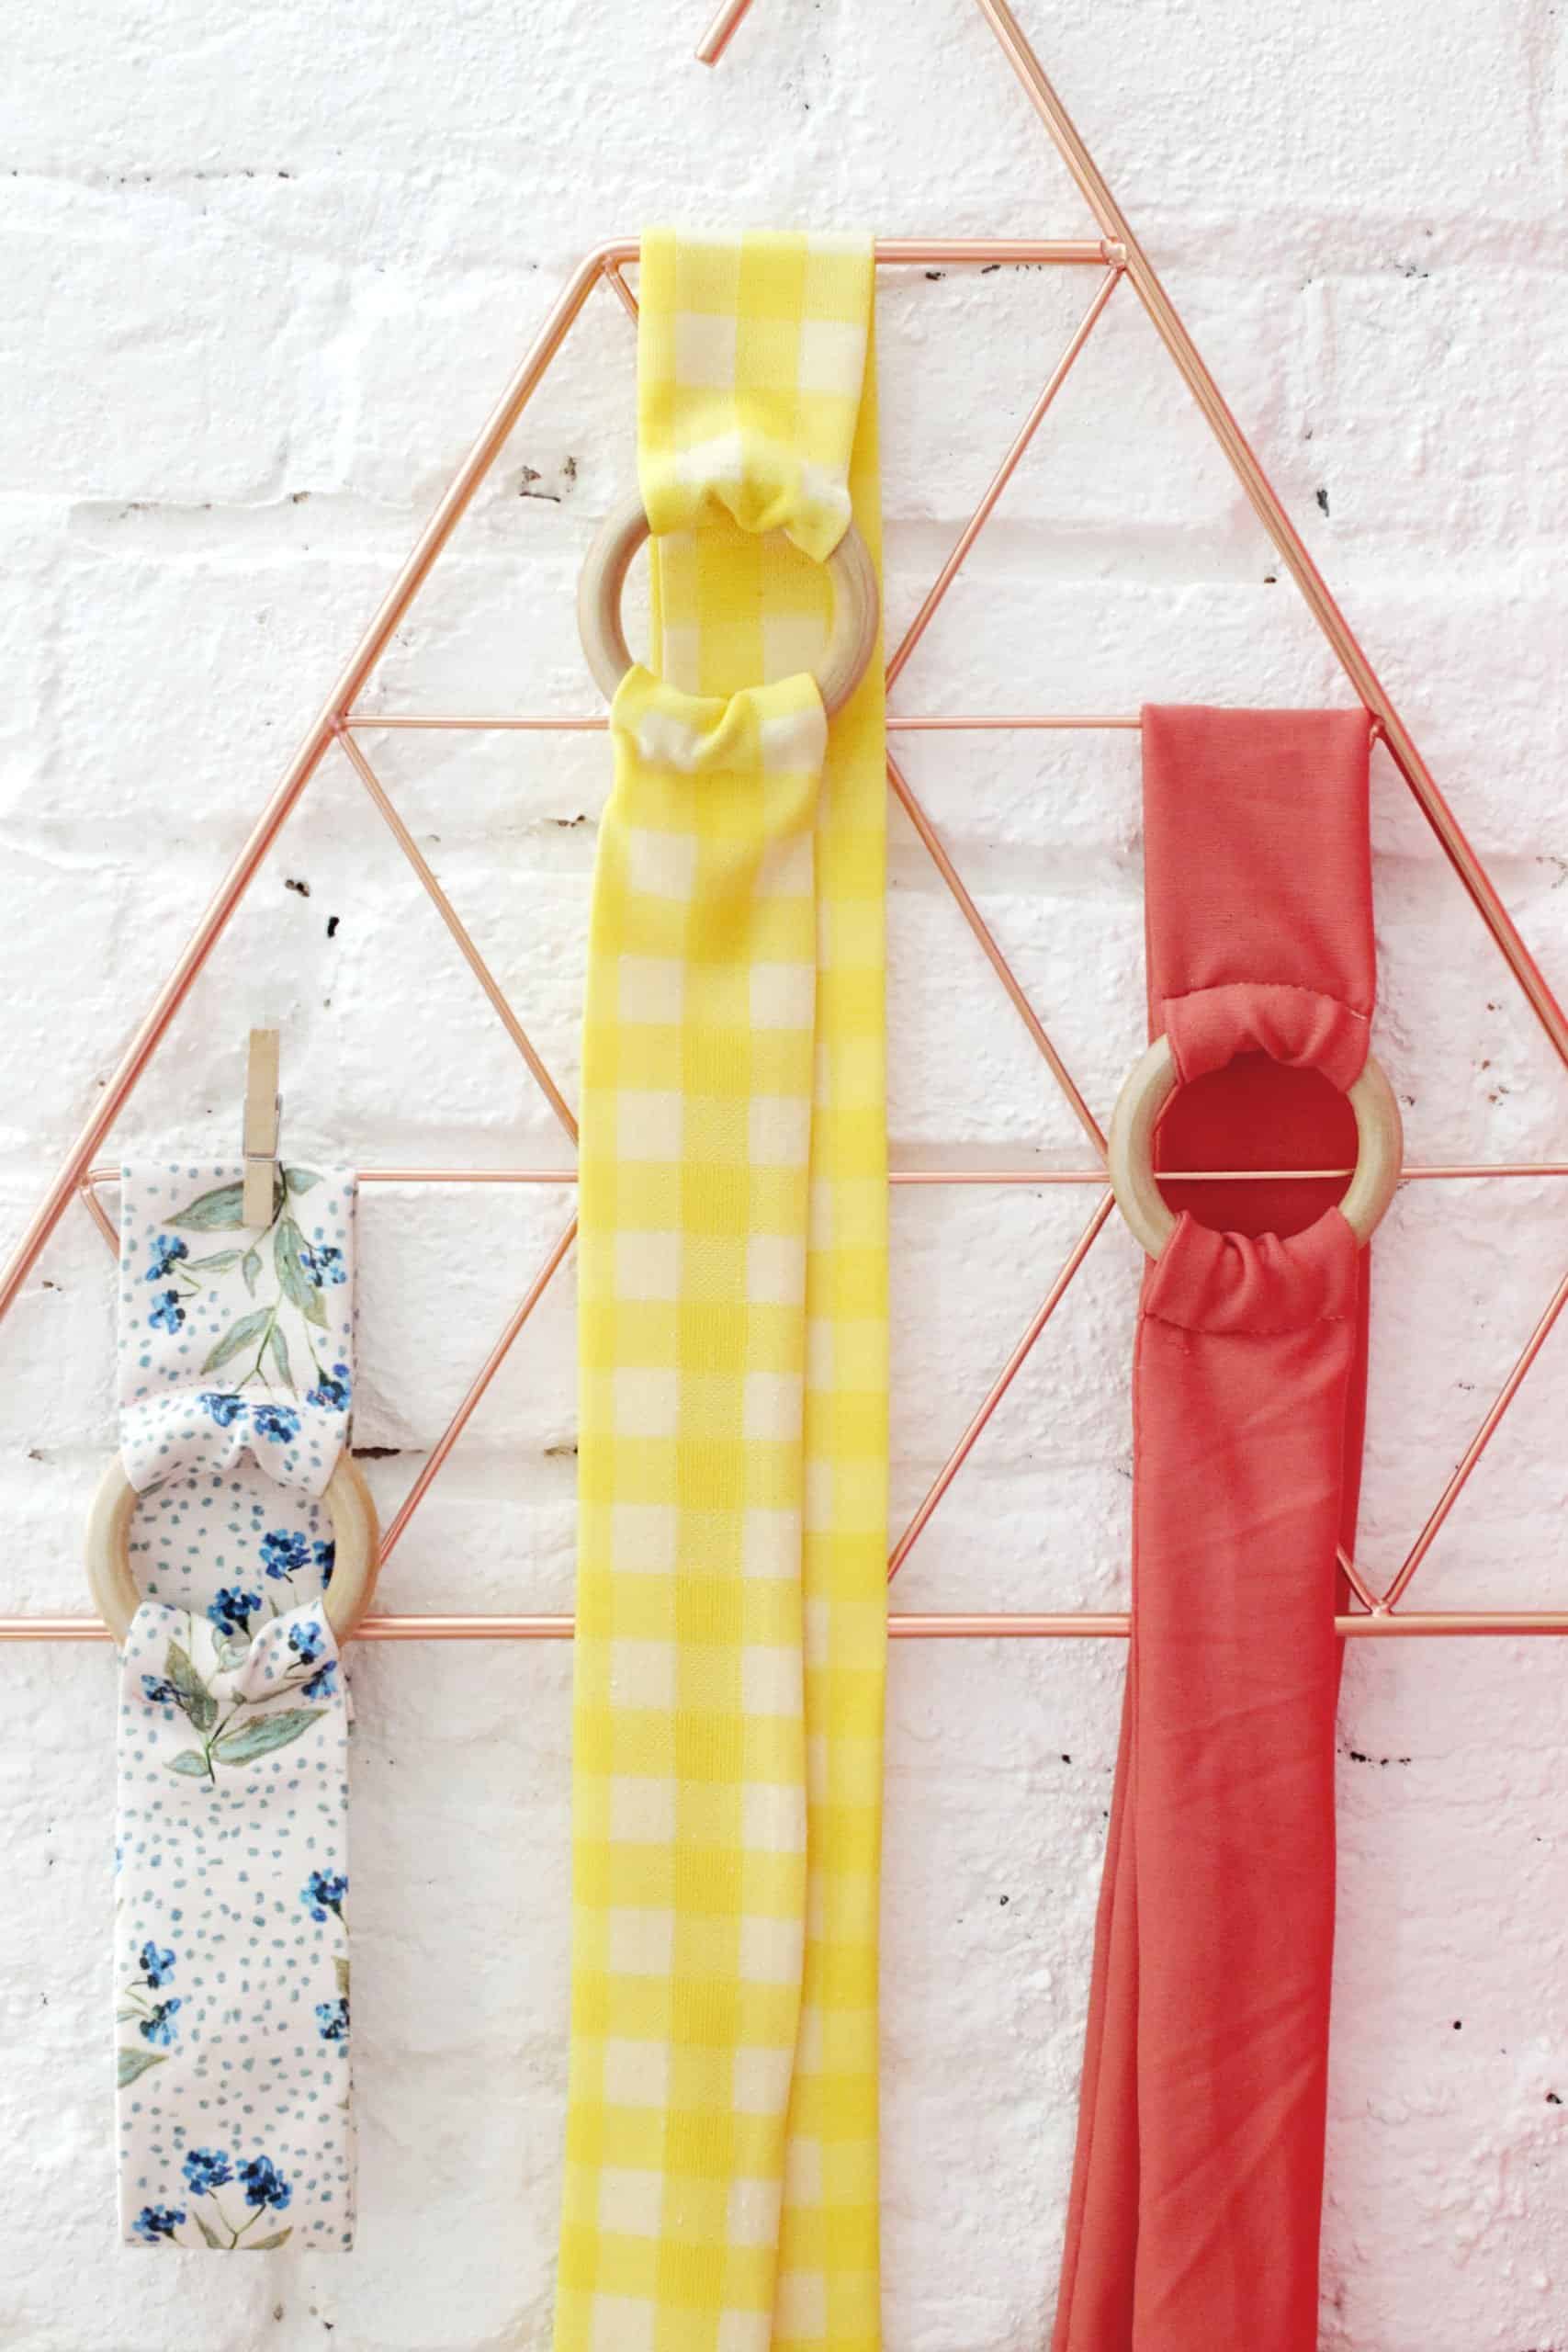
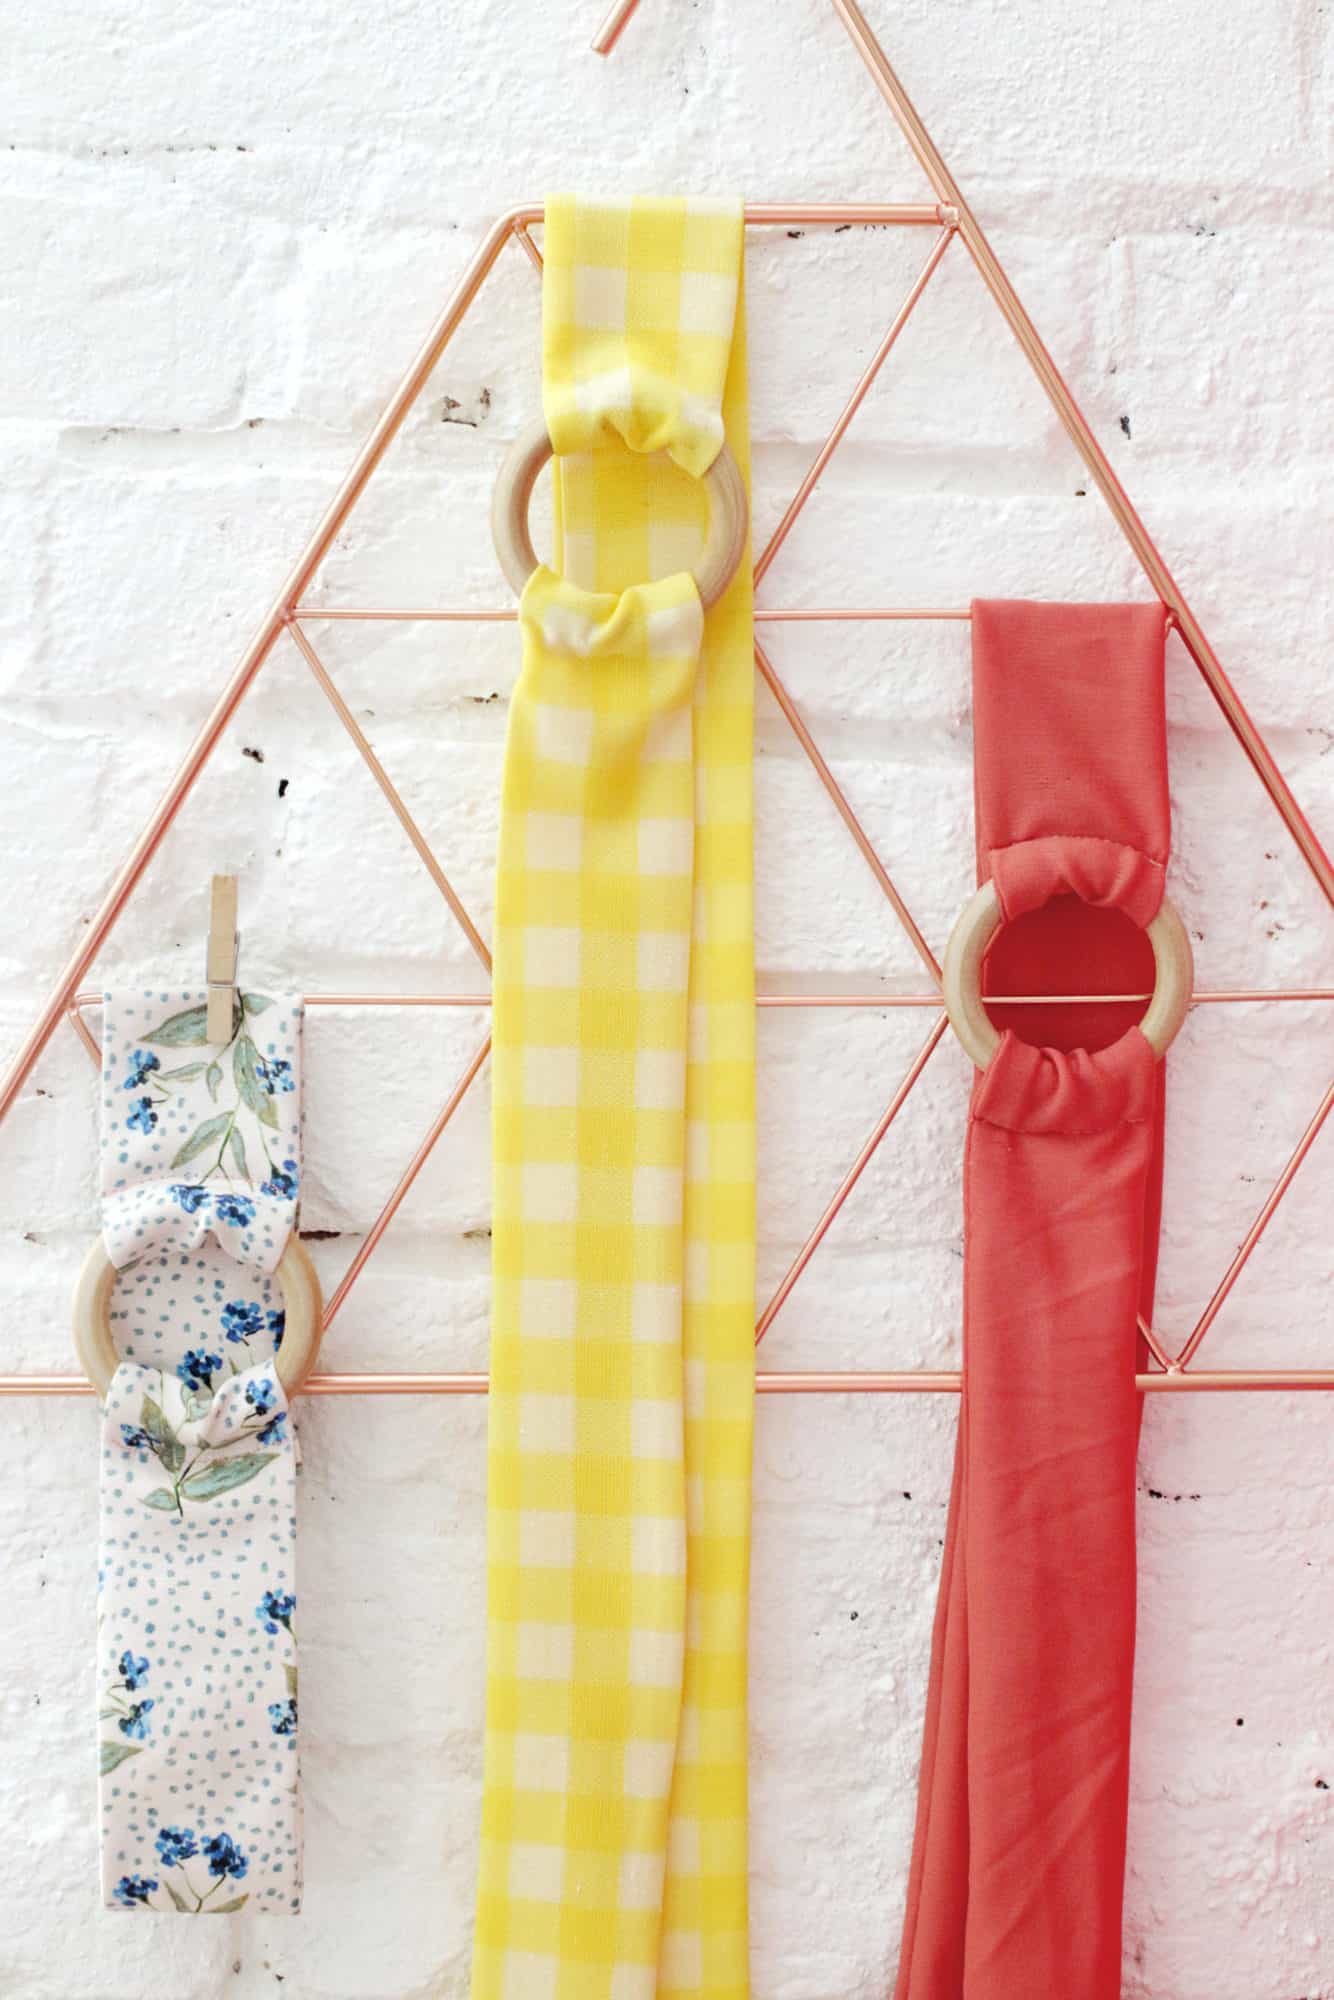
When you pair my big appreciation for headbands with my love of projects that use up fabric scraps (I loathe scrap waste, but that’s a conversation for a different day), well, you’re speaking straight to my heart. I found these wooden circles while I was browsing craft supplies online recently and this little fabric scrap headband was born.
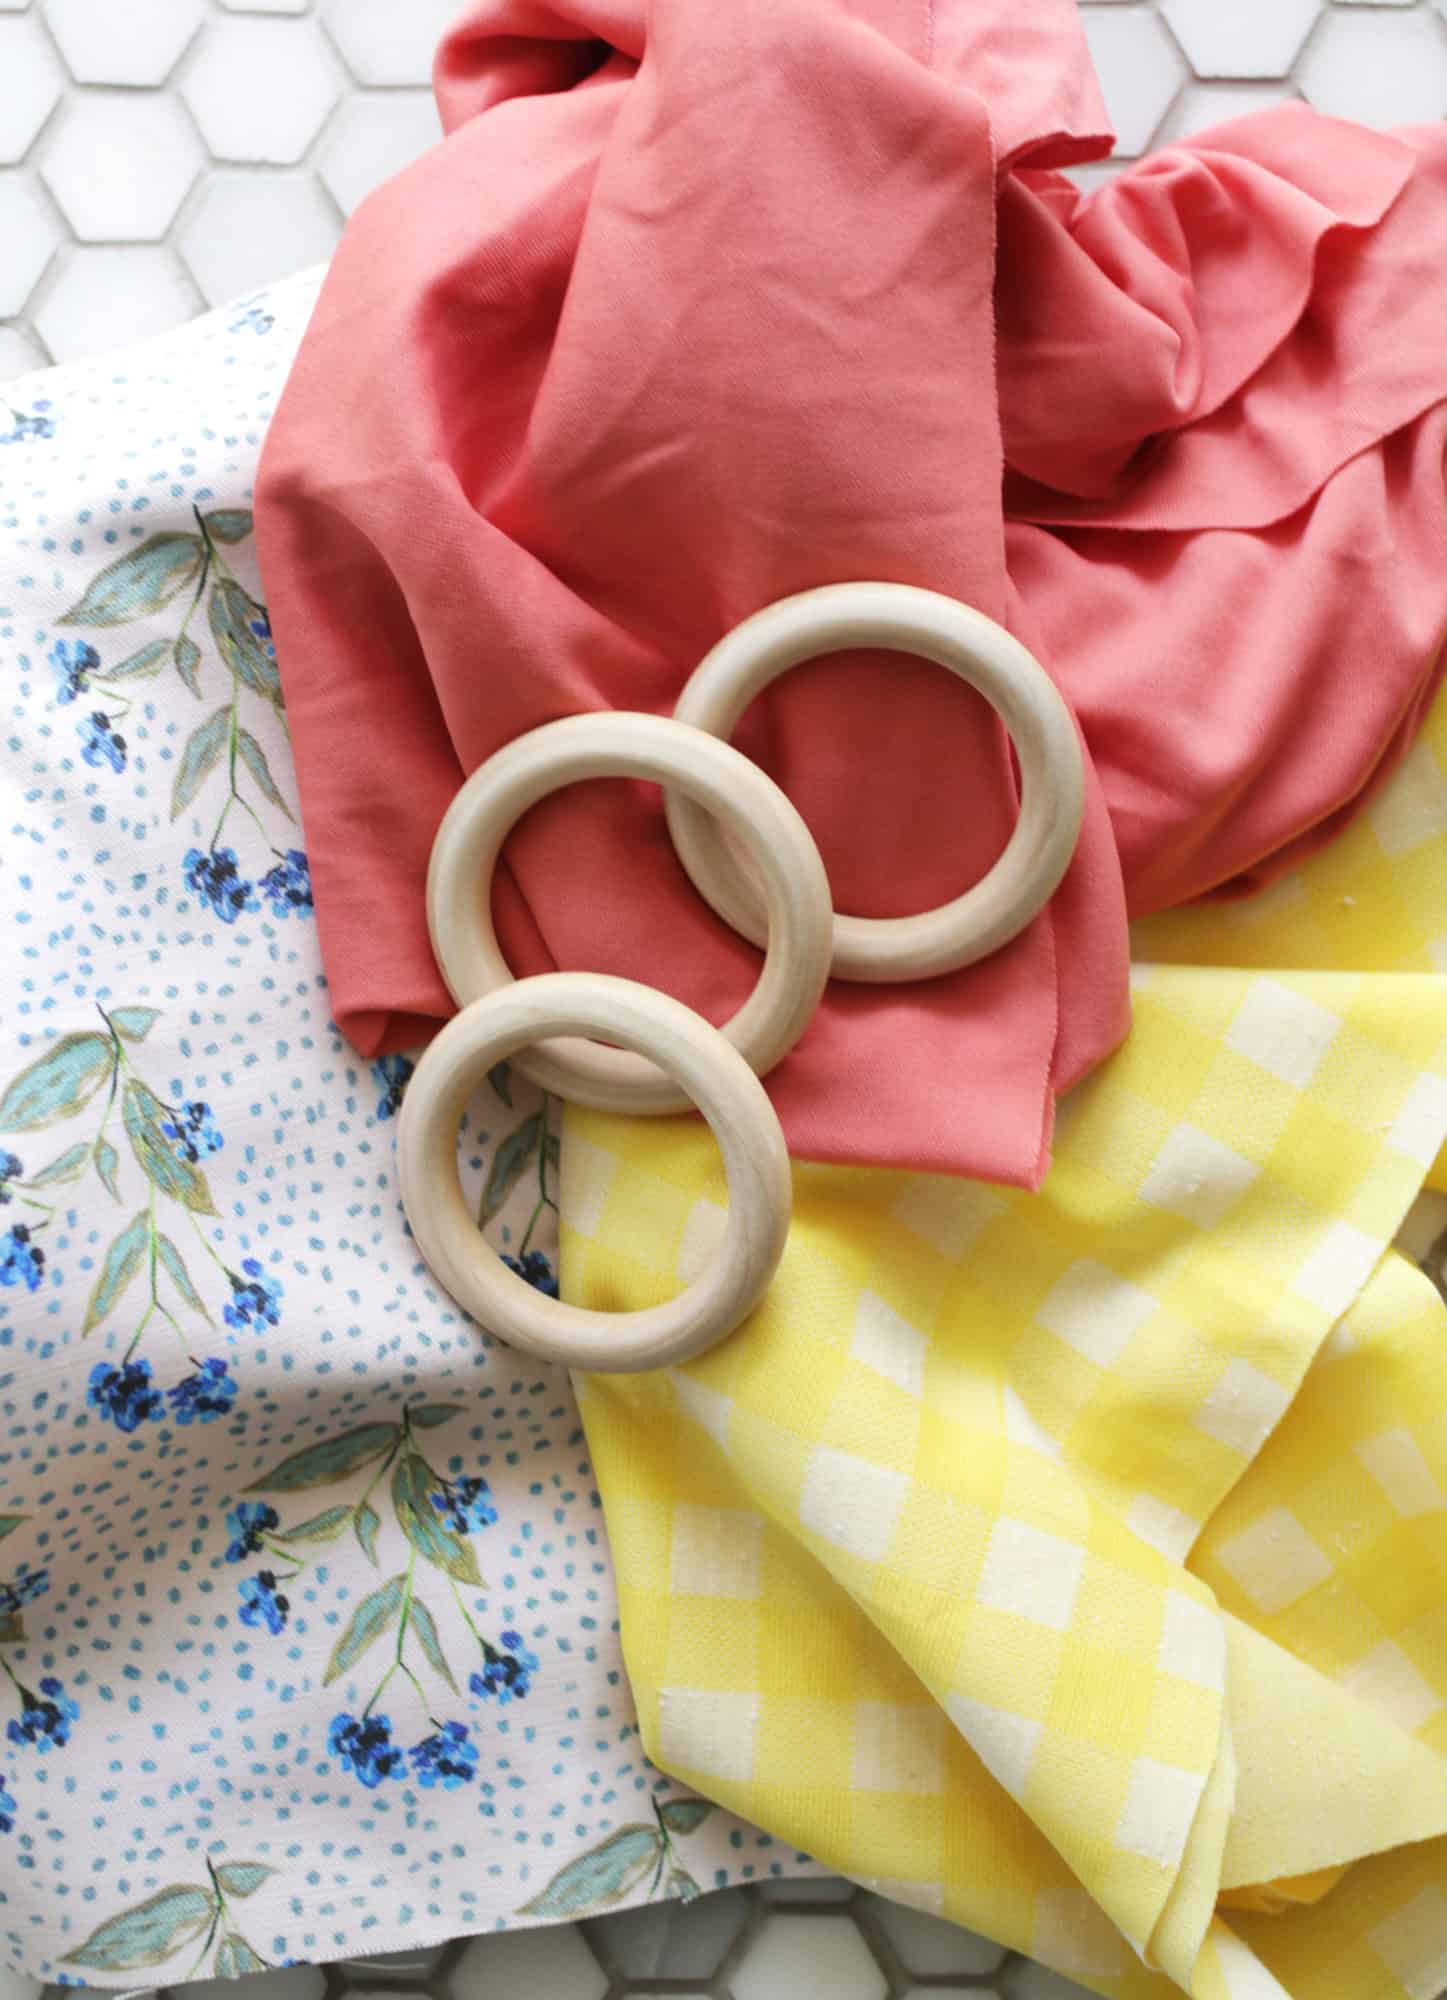
–wooden rings
-scrap fabric
-needle and thread
-sewing machine (optional)
-elastic (for method 2 only)

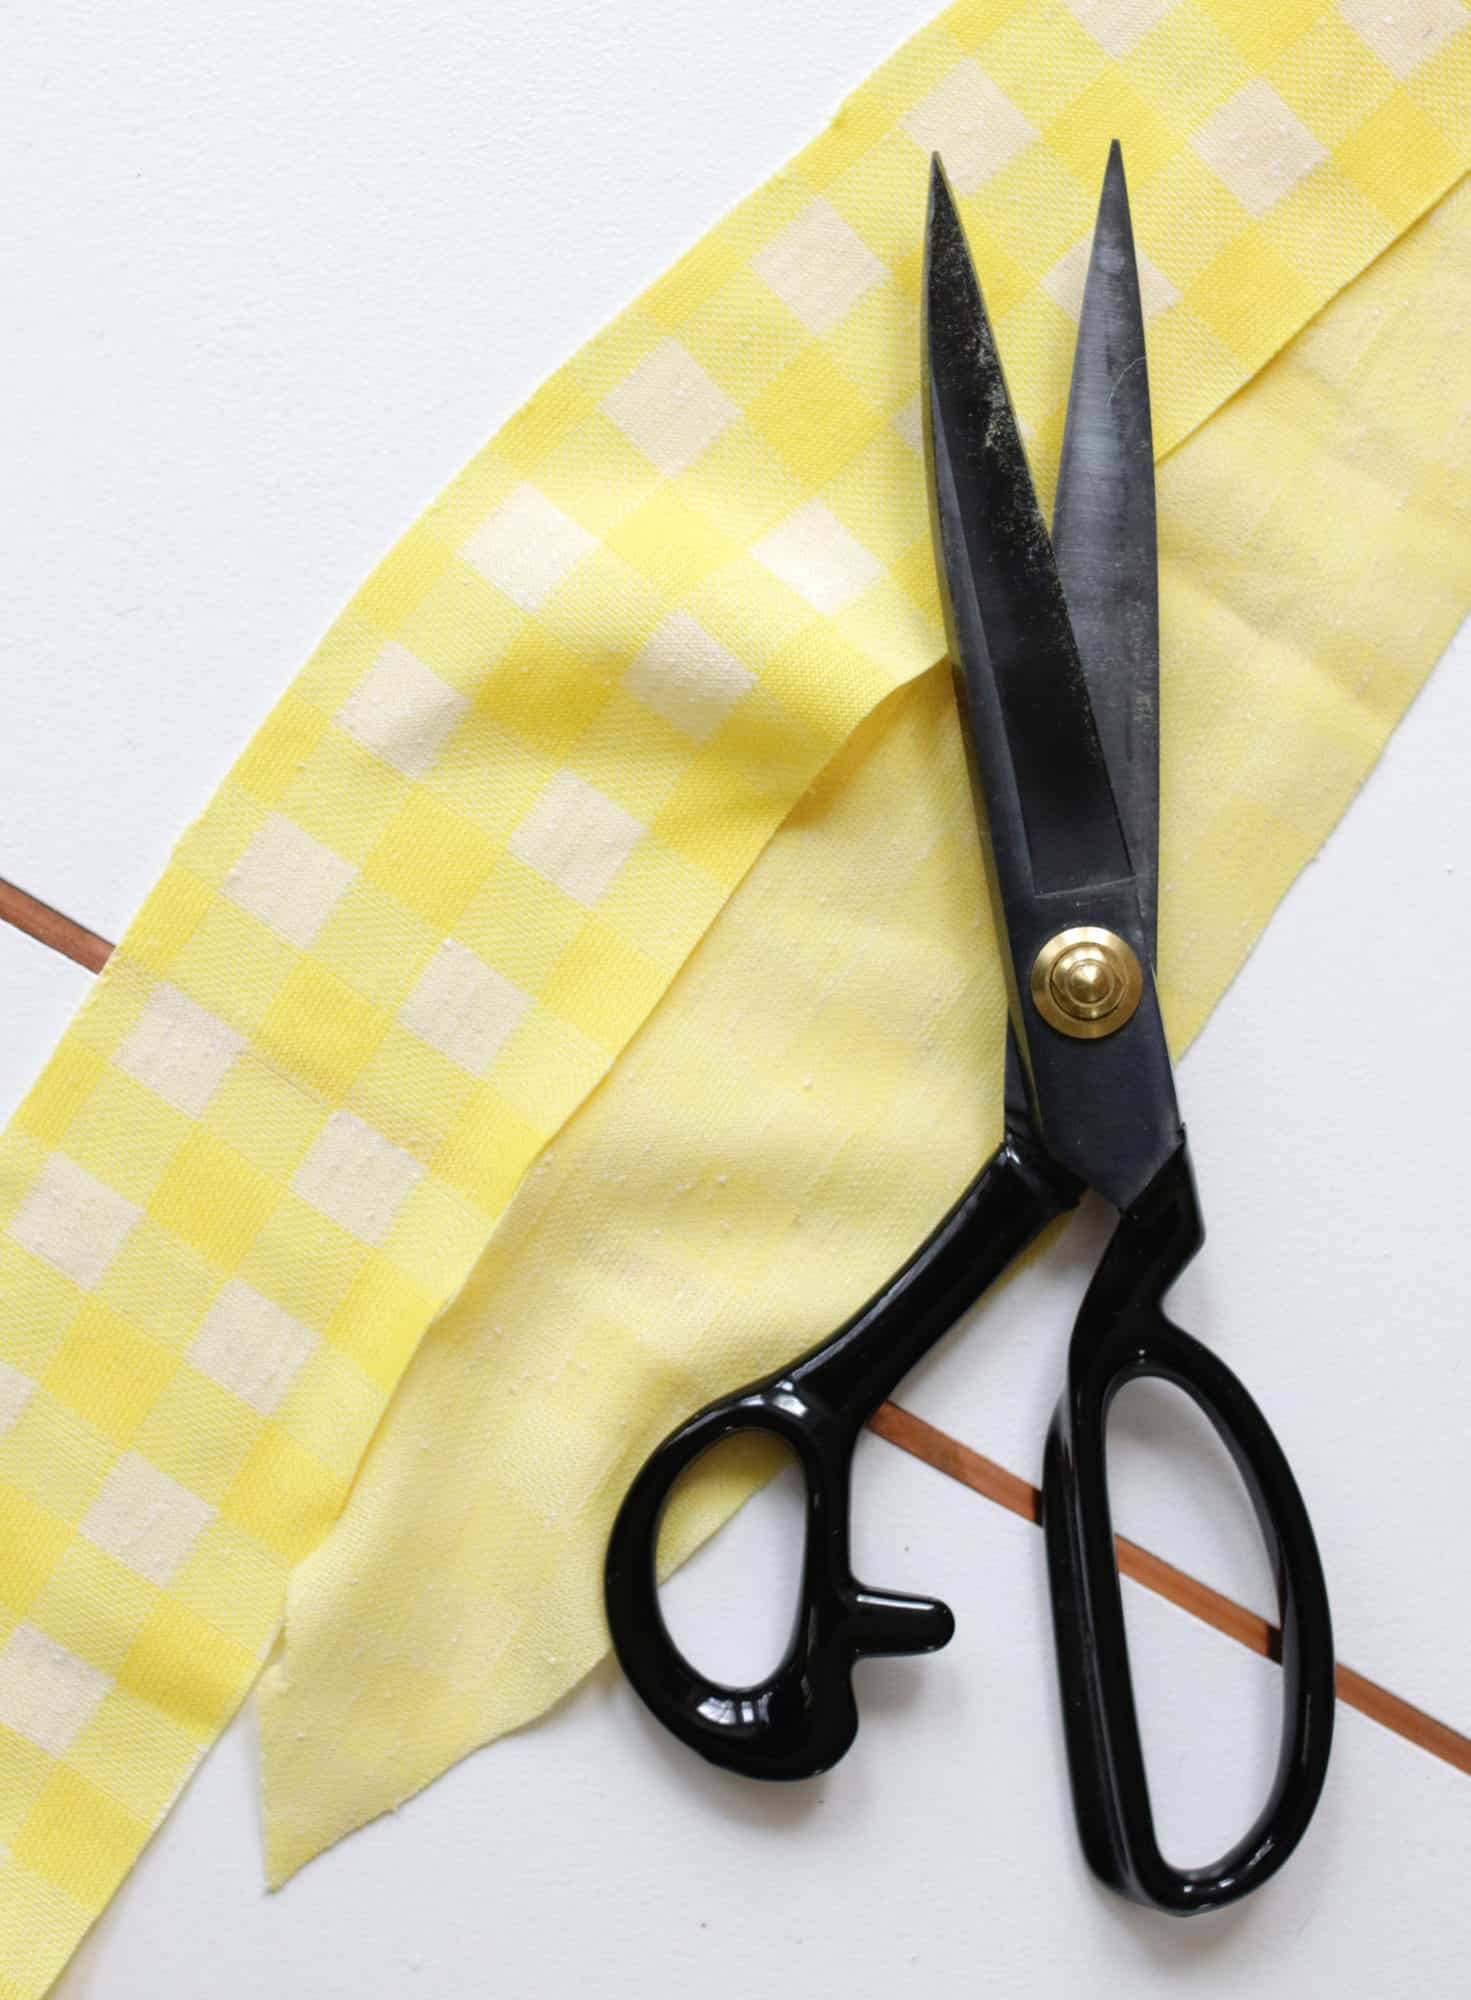
To begin, cut two strips of fabric 4″x 23″-26″, depending on how long you like your ties. Taper the ends as shown above.

If you are using a stretch fabric, make sure to use a zigzag stitch so the tube remains stretchy. Use a chopstick to push the tube right-side out.

Depending on your type of fabric, you will next either fold the ends of the fabric inside the tube and press flat to create an edge that won’t fray, or if you are using polyester or jersey, you can get away with skipping that step.
As you can see, I totally skipped. You can’t tell once the headband is finished, but I understand if you like a more professional looking edge … especially if you’re giving these as gifts. This also gives me a little insight into your Enneagram number. Wink.
Flip the non-tapered end around the wooden ring and hand stitch it into to place. Repeat with the other side and you’re all done!
*Note: I didn’t sew all the way through to the outer-most layer with my sturdier fabrics, but I did go through all the layers with my stretchy fabric.

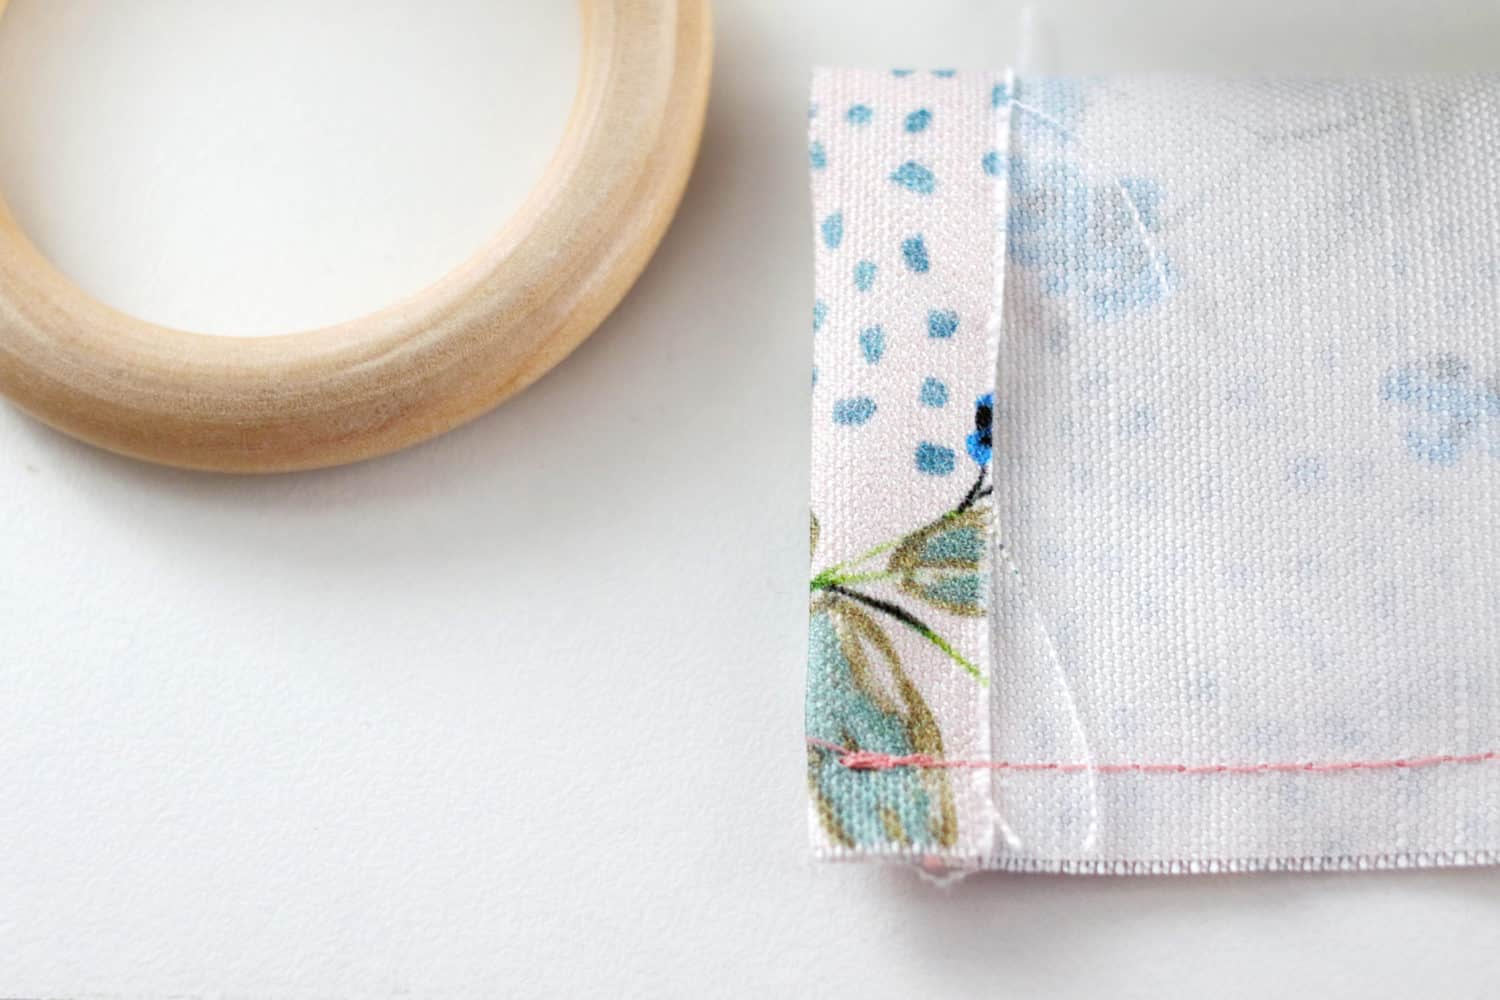
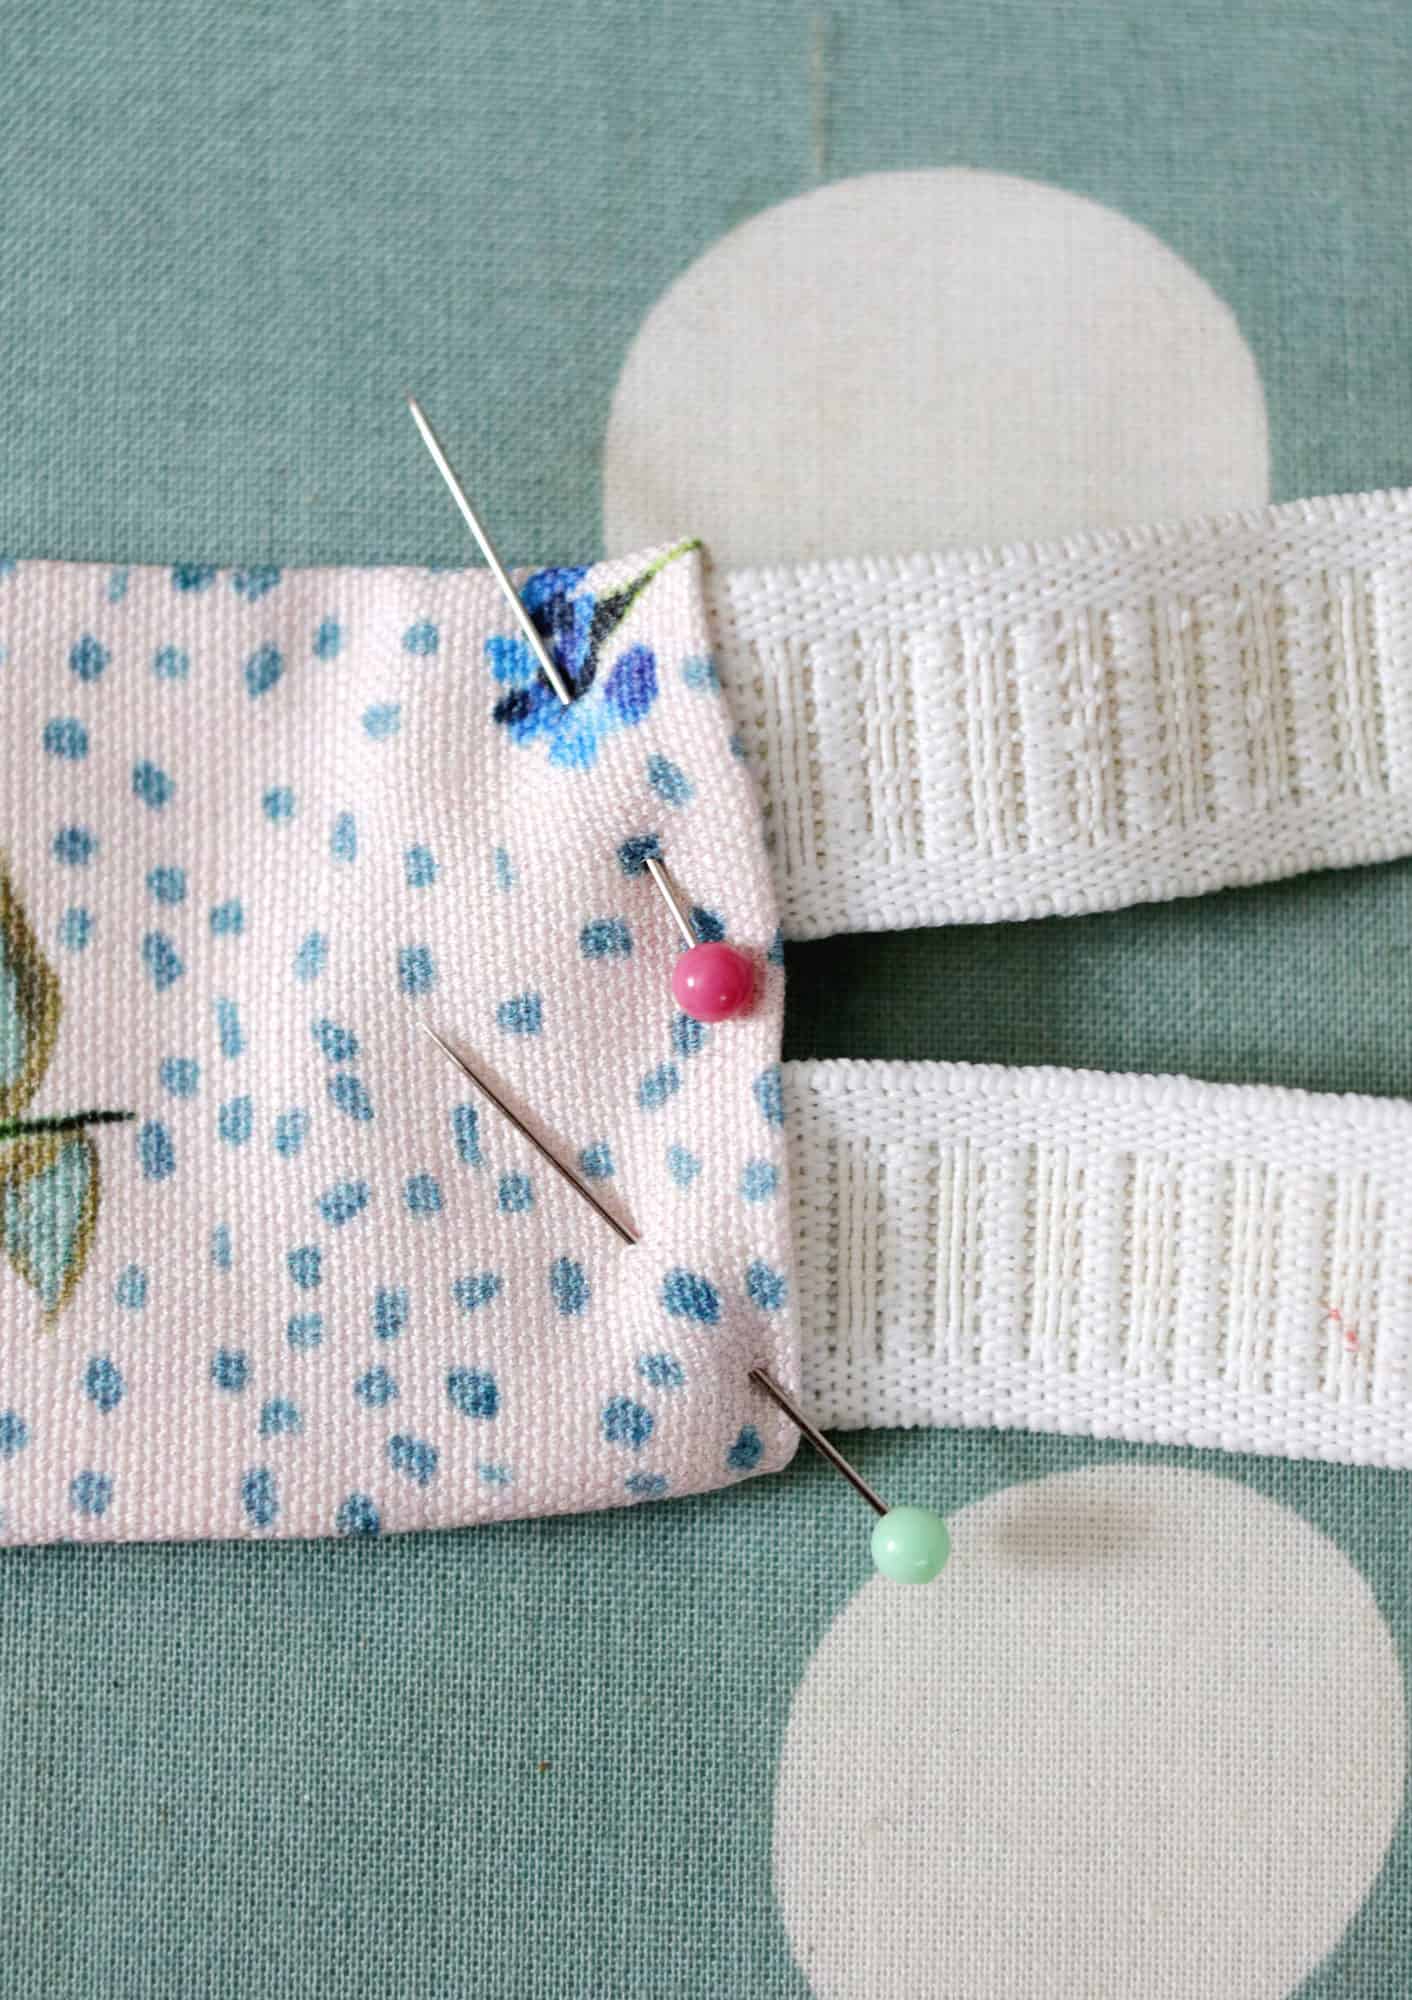
We’ll begin almost the same way as the first headband, but our fabric cut will be somewhere around 4 1/2″x 12″, depending on the size of your head. I used a very sturdy fabric for this headband, so I folded my edges and pressed before I ever took my pieces to the sewing machine.
Once that’s done, straight stitch along the outer edge, leaving the ends both open. Flip right-side out and press with an iron. Repeat.
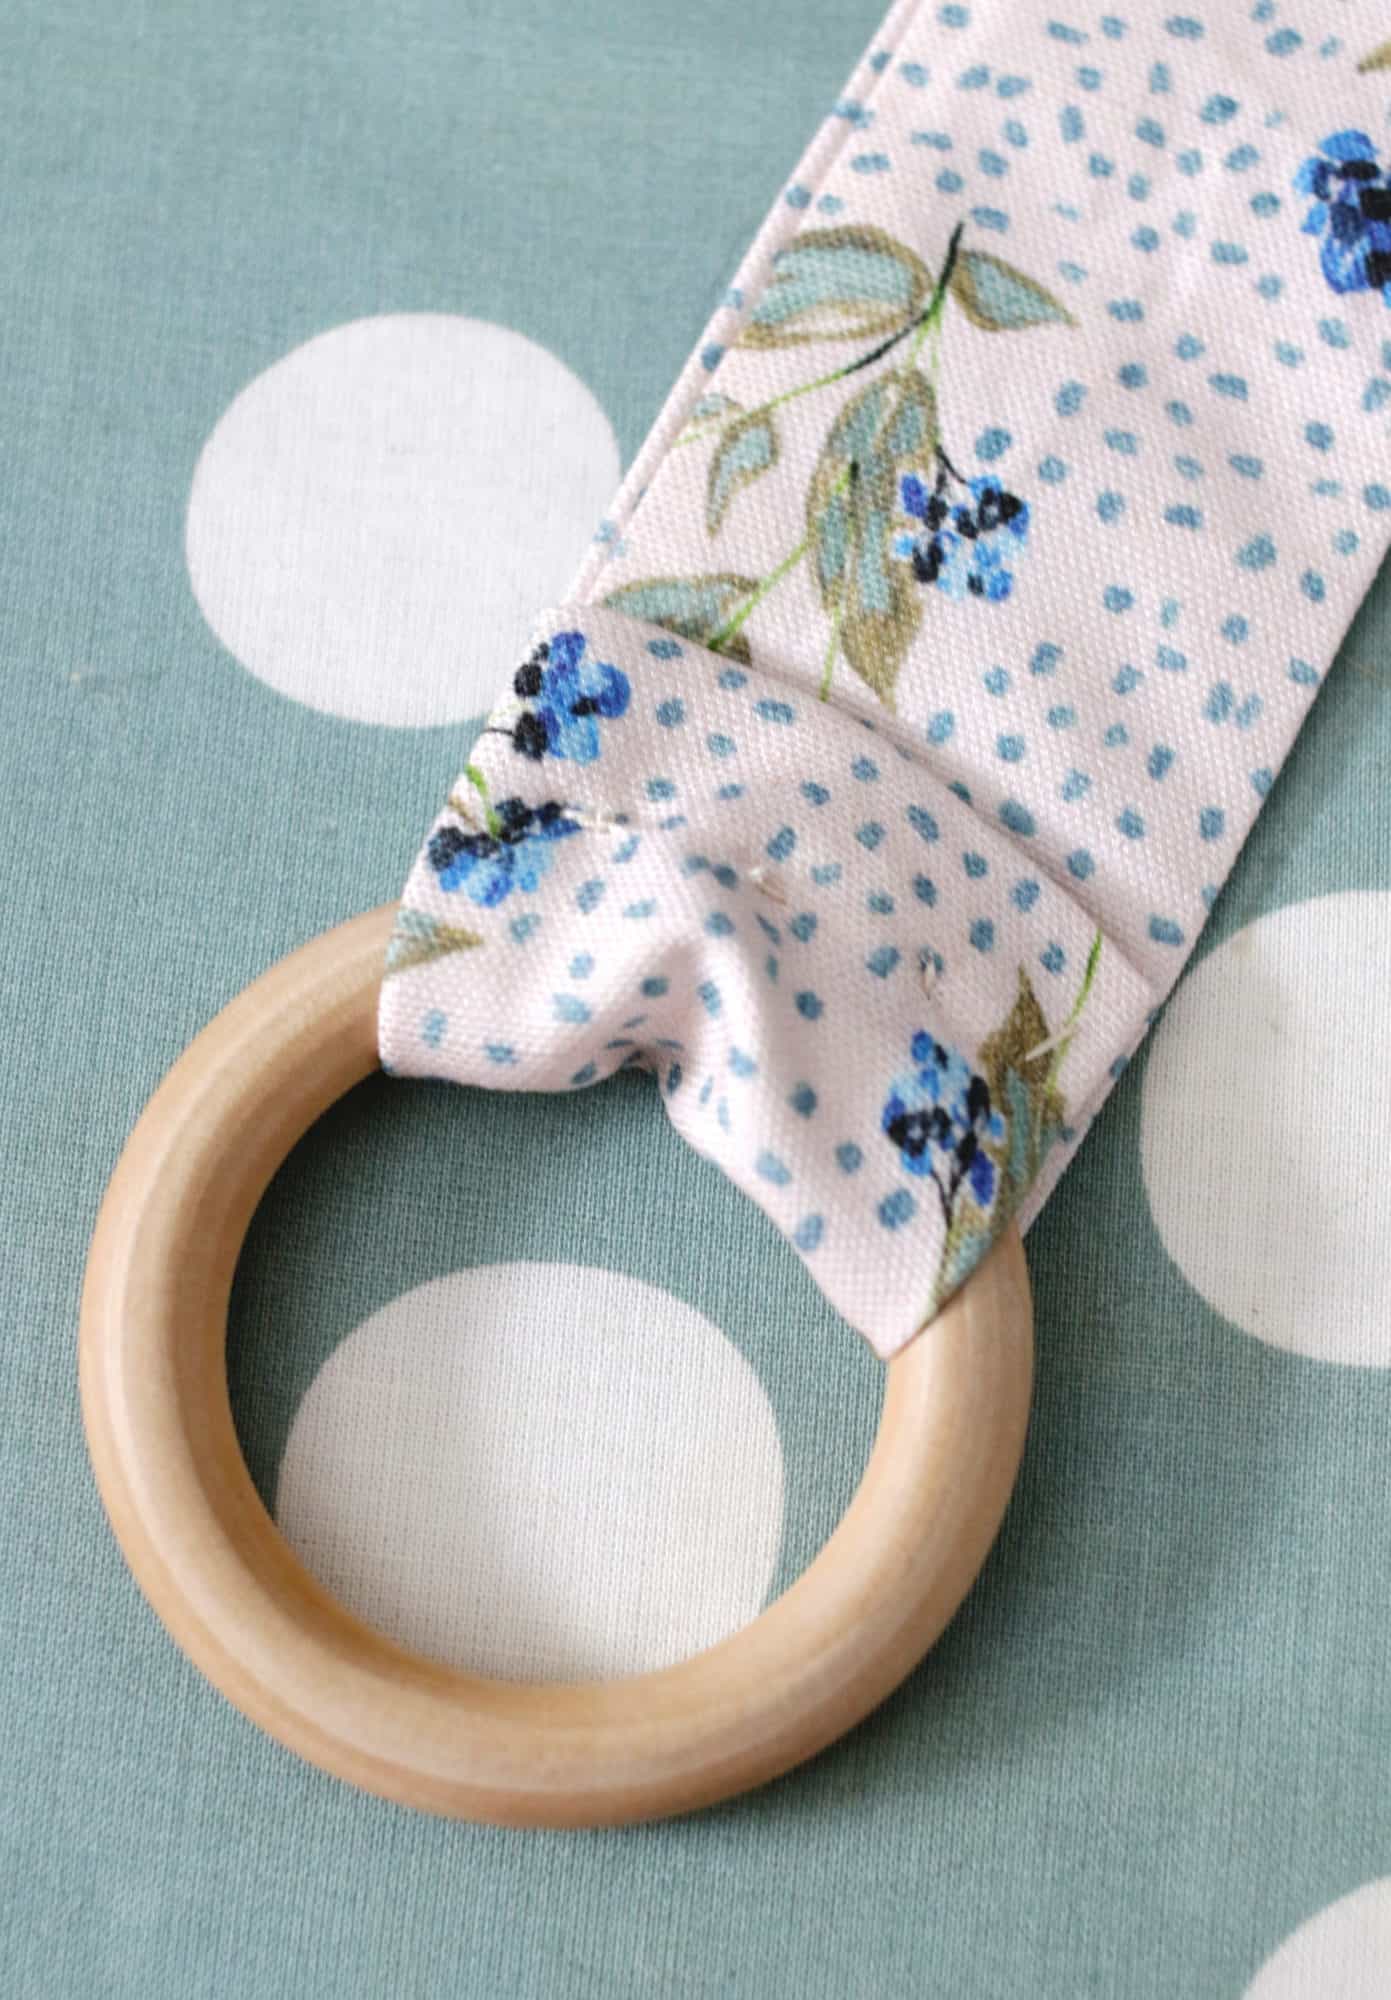
Hand sew the remaining two ends around the wooden ring and you’re all finished!



How long are the elastic strips supposed to be? Thanks!
lovely fabric – where is the blue and white from?
Wow, tell us your hair secrets! It’s so incredibly shiny! Gorgeous!
That’s such an easy and cute diy!! Love it 🙂
xxx
Eli
www.curly-style.com