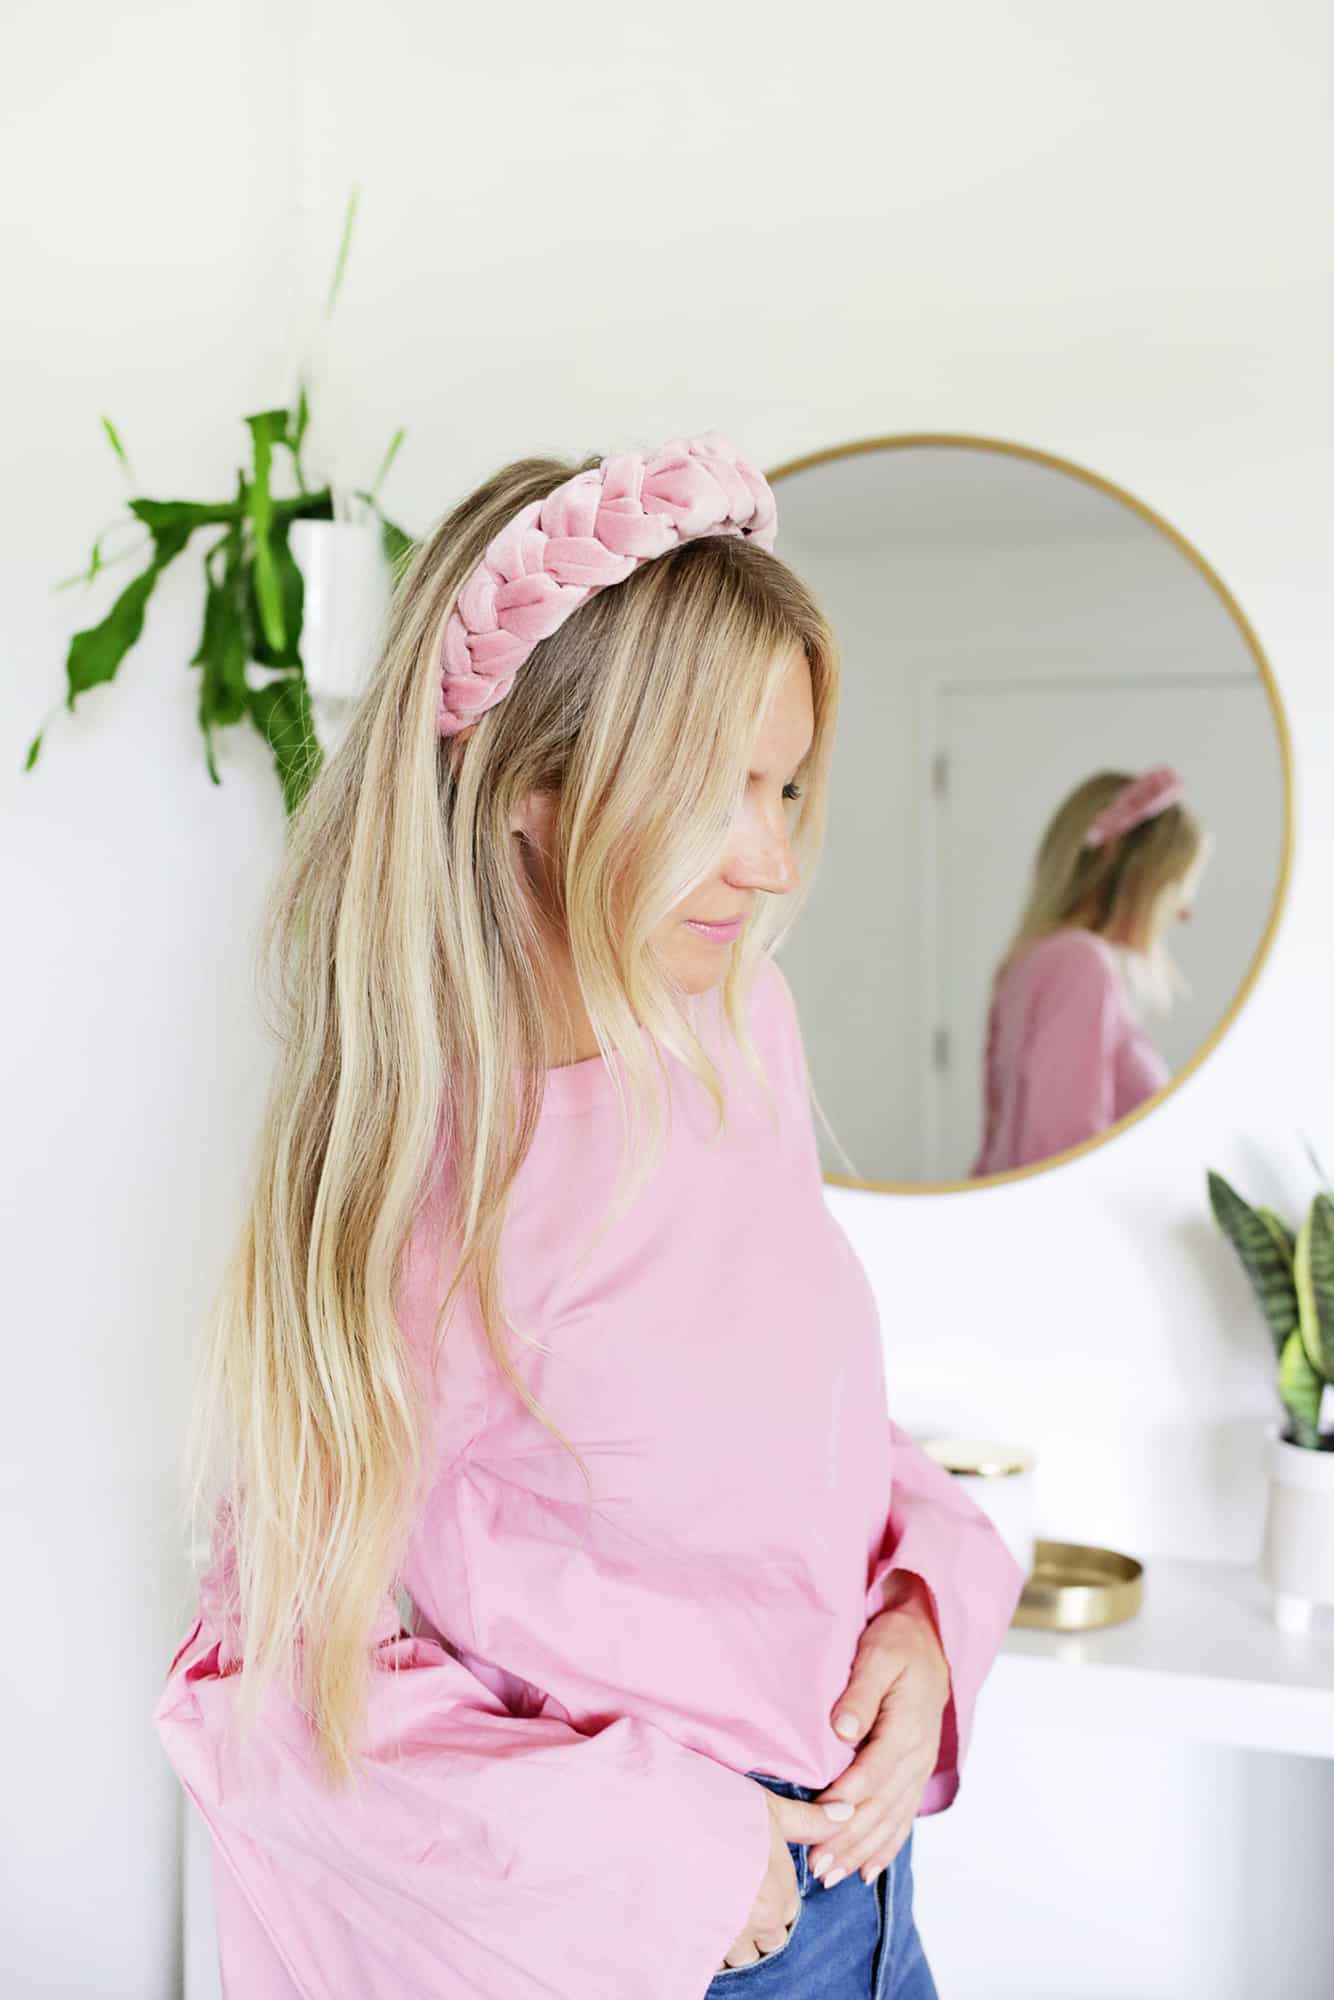
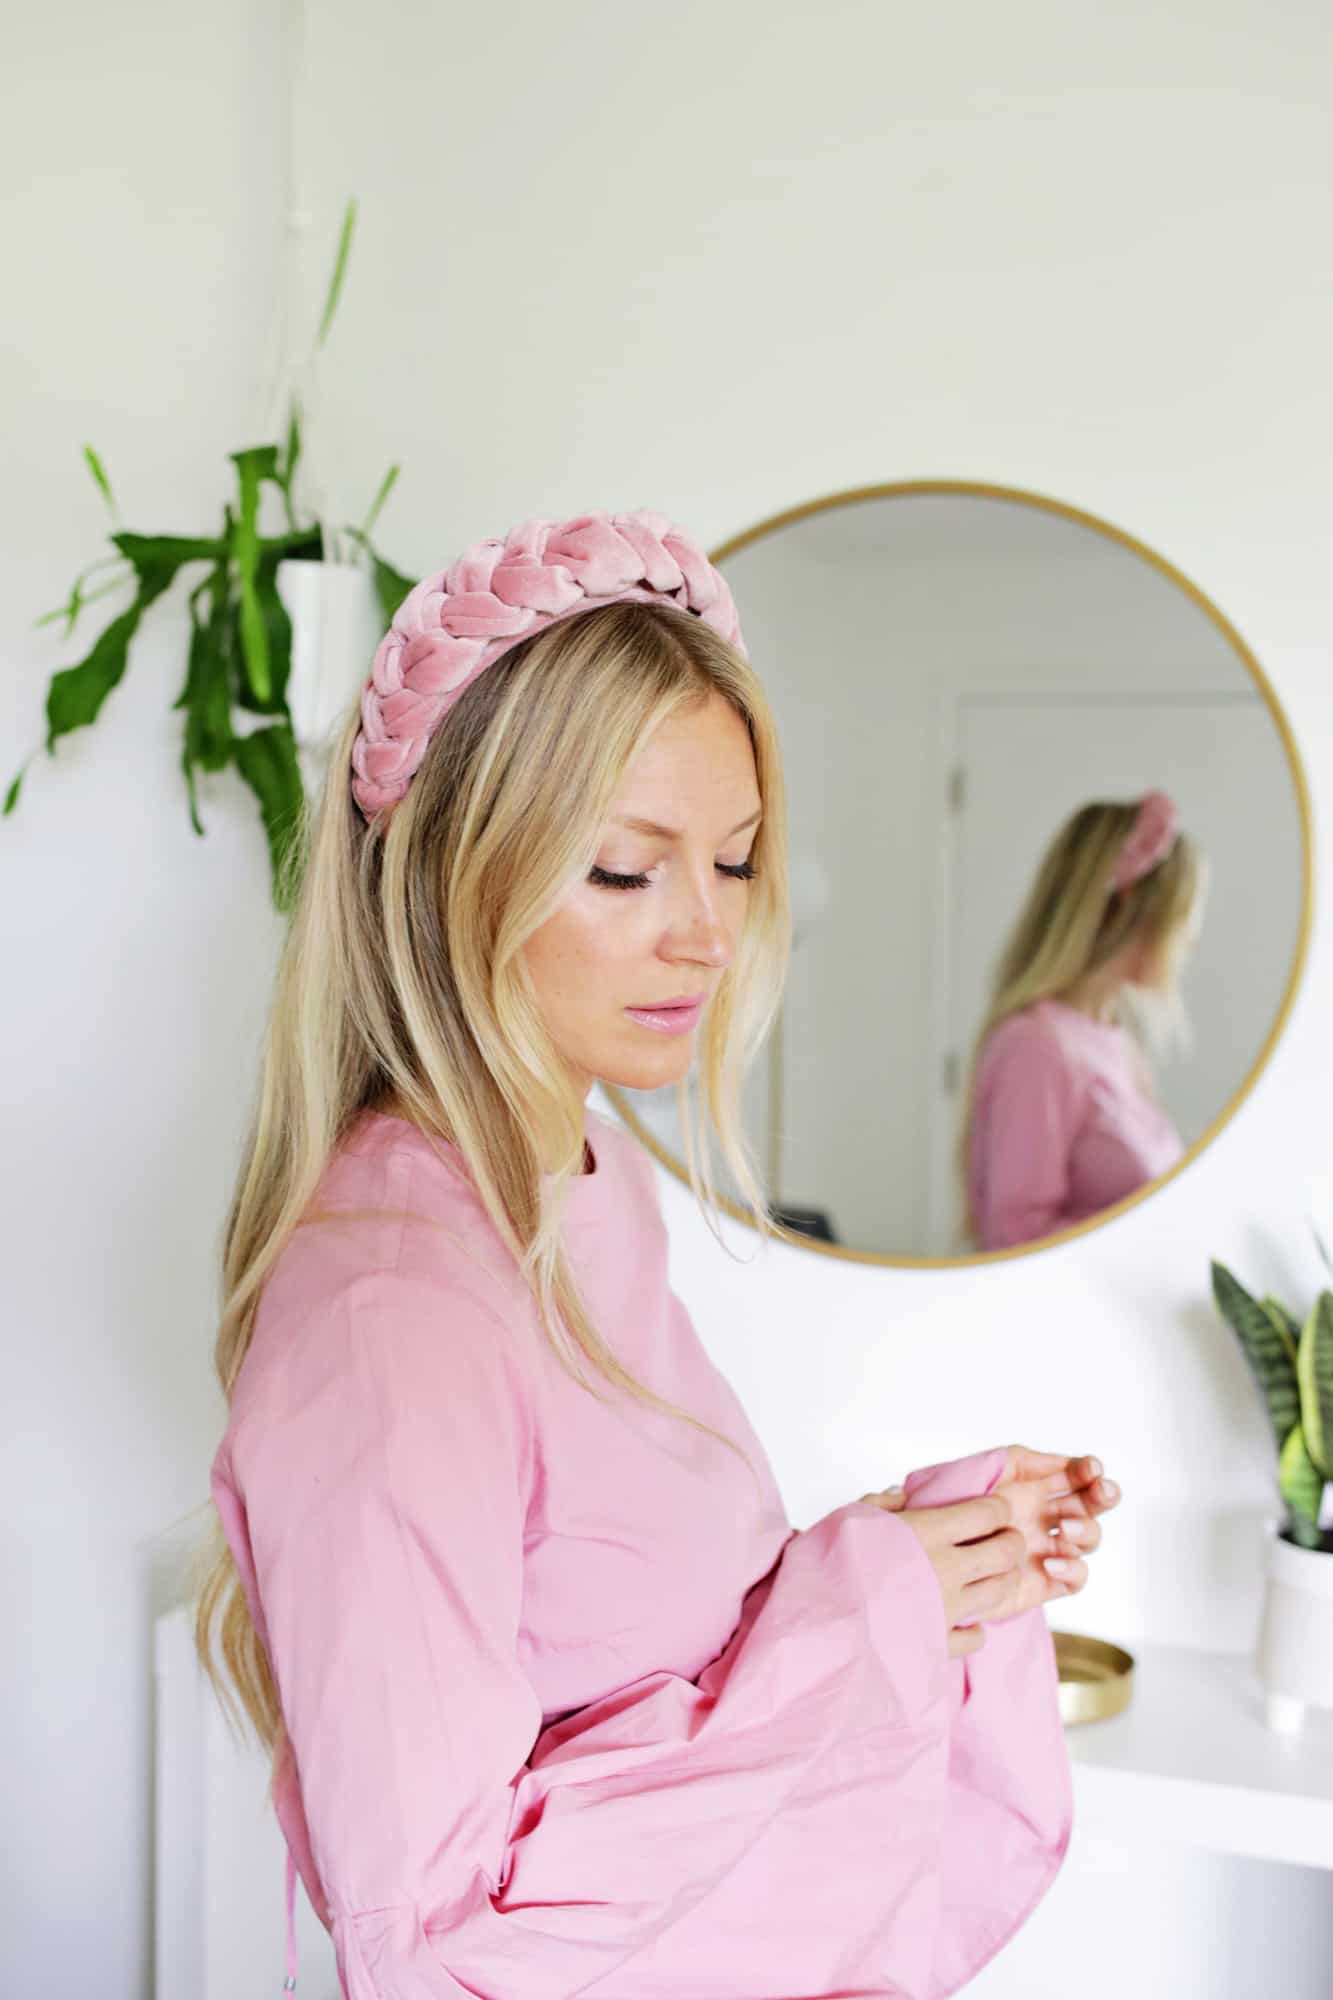
Headbands are just a fun accessory, as they can totally add a lot to a look and it only takes seconds to throw one on and take your look up a few notches. It was a lot easier than I thought to make a padded headband, so I thought it would also be fun to do a no-sew option with a braided version, as I’ve seen those all over my Pinterest feed as well lately.
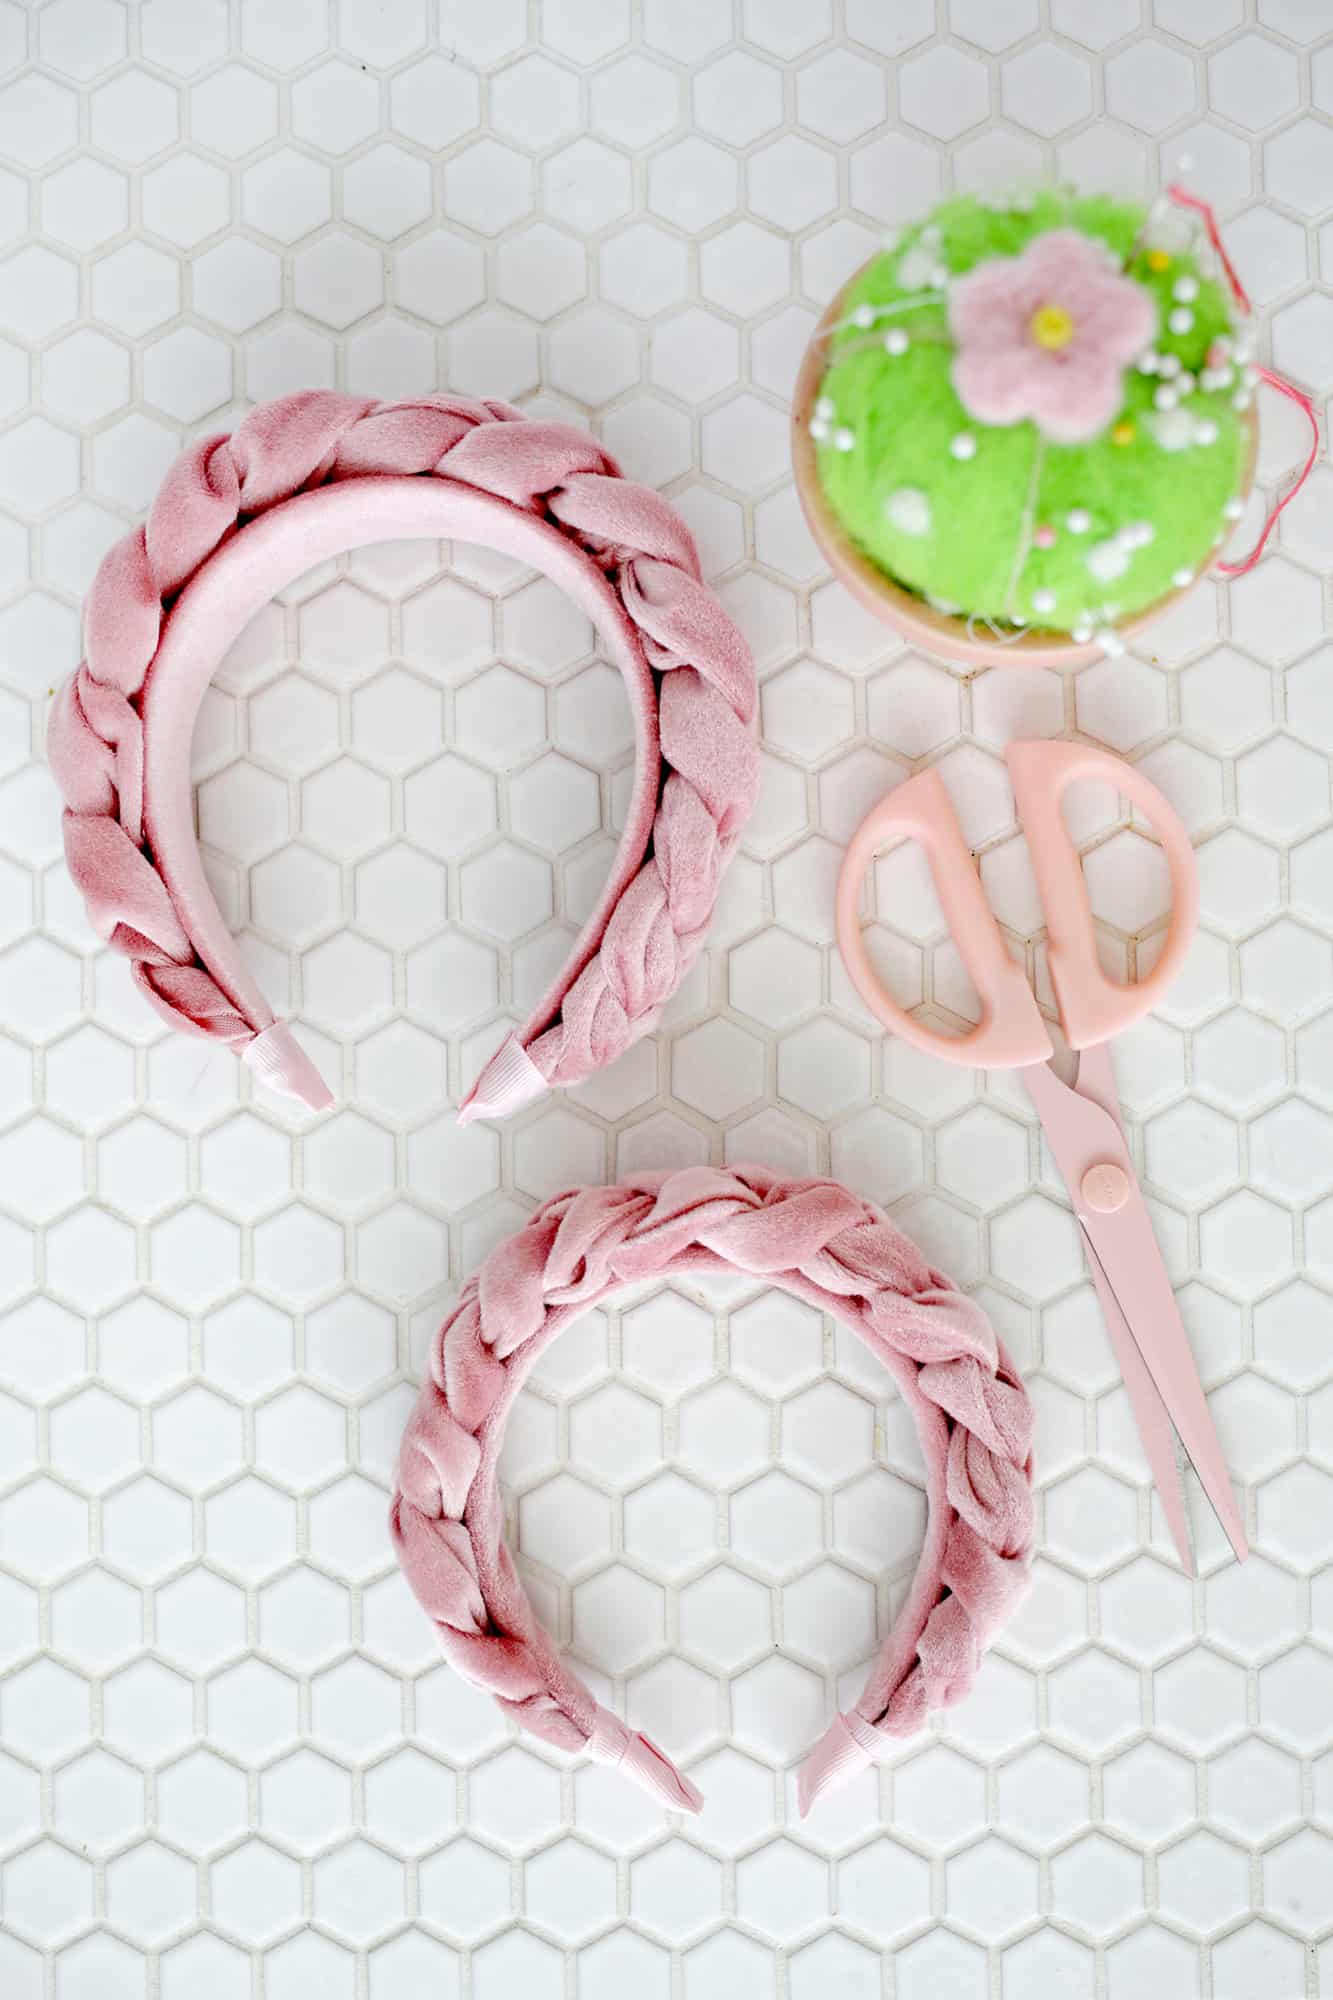
The no-sew makes it super easy and you can whip up a batch of these for gifts or in different colors for yourself in no time! I made a thicker/wider version for myself and a thinner version to match with my daughter Lola.
Related: 25+ Easy Hair Tutorials For Any Occasion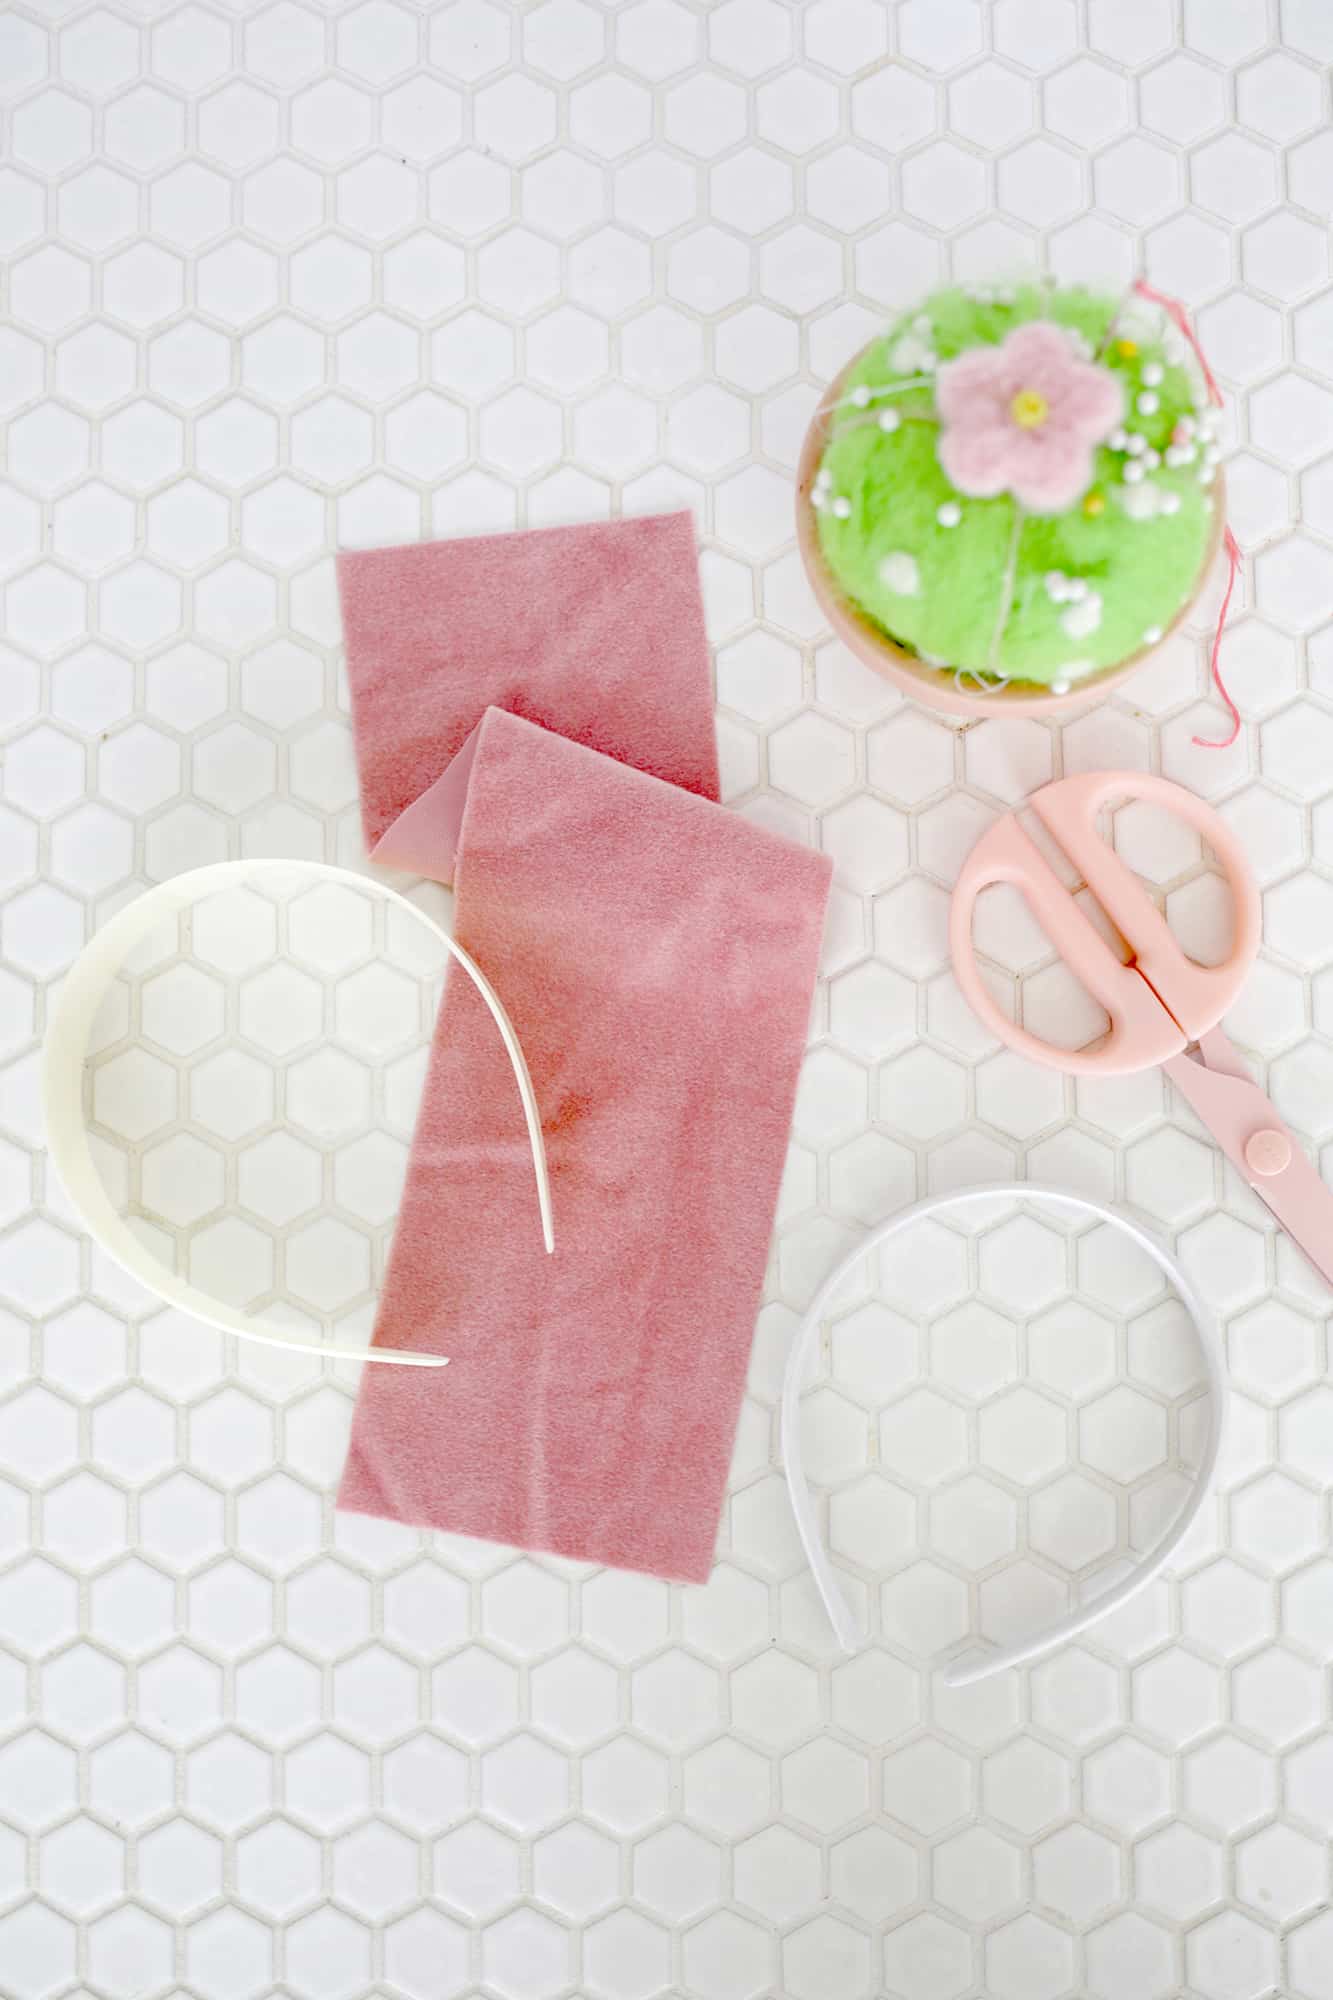
-1/4 yard of velvet fabric
-fabric scissors
-rotary cutter, ruler and mat (optional)
-hot glue gun
-ribbon that matches the color of the velvet
-headbands (I used this thick one for me and this thin one for Lola)
-straight pins

Place your headband in the middle of the velvet so it’s covering the underside and use your hot glue to glue the velvet to the length of the underside of the headband.
Fold up the velvet on one side and cut it so it covers half of the top of your headband. Repeat the process with the other side so your underside is fully covered and you have a seam running down the middle of the top of your headband (it can overlap a little or just have the sides meet together in the middle, either way it will be covered so it doesn’t matter very much).
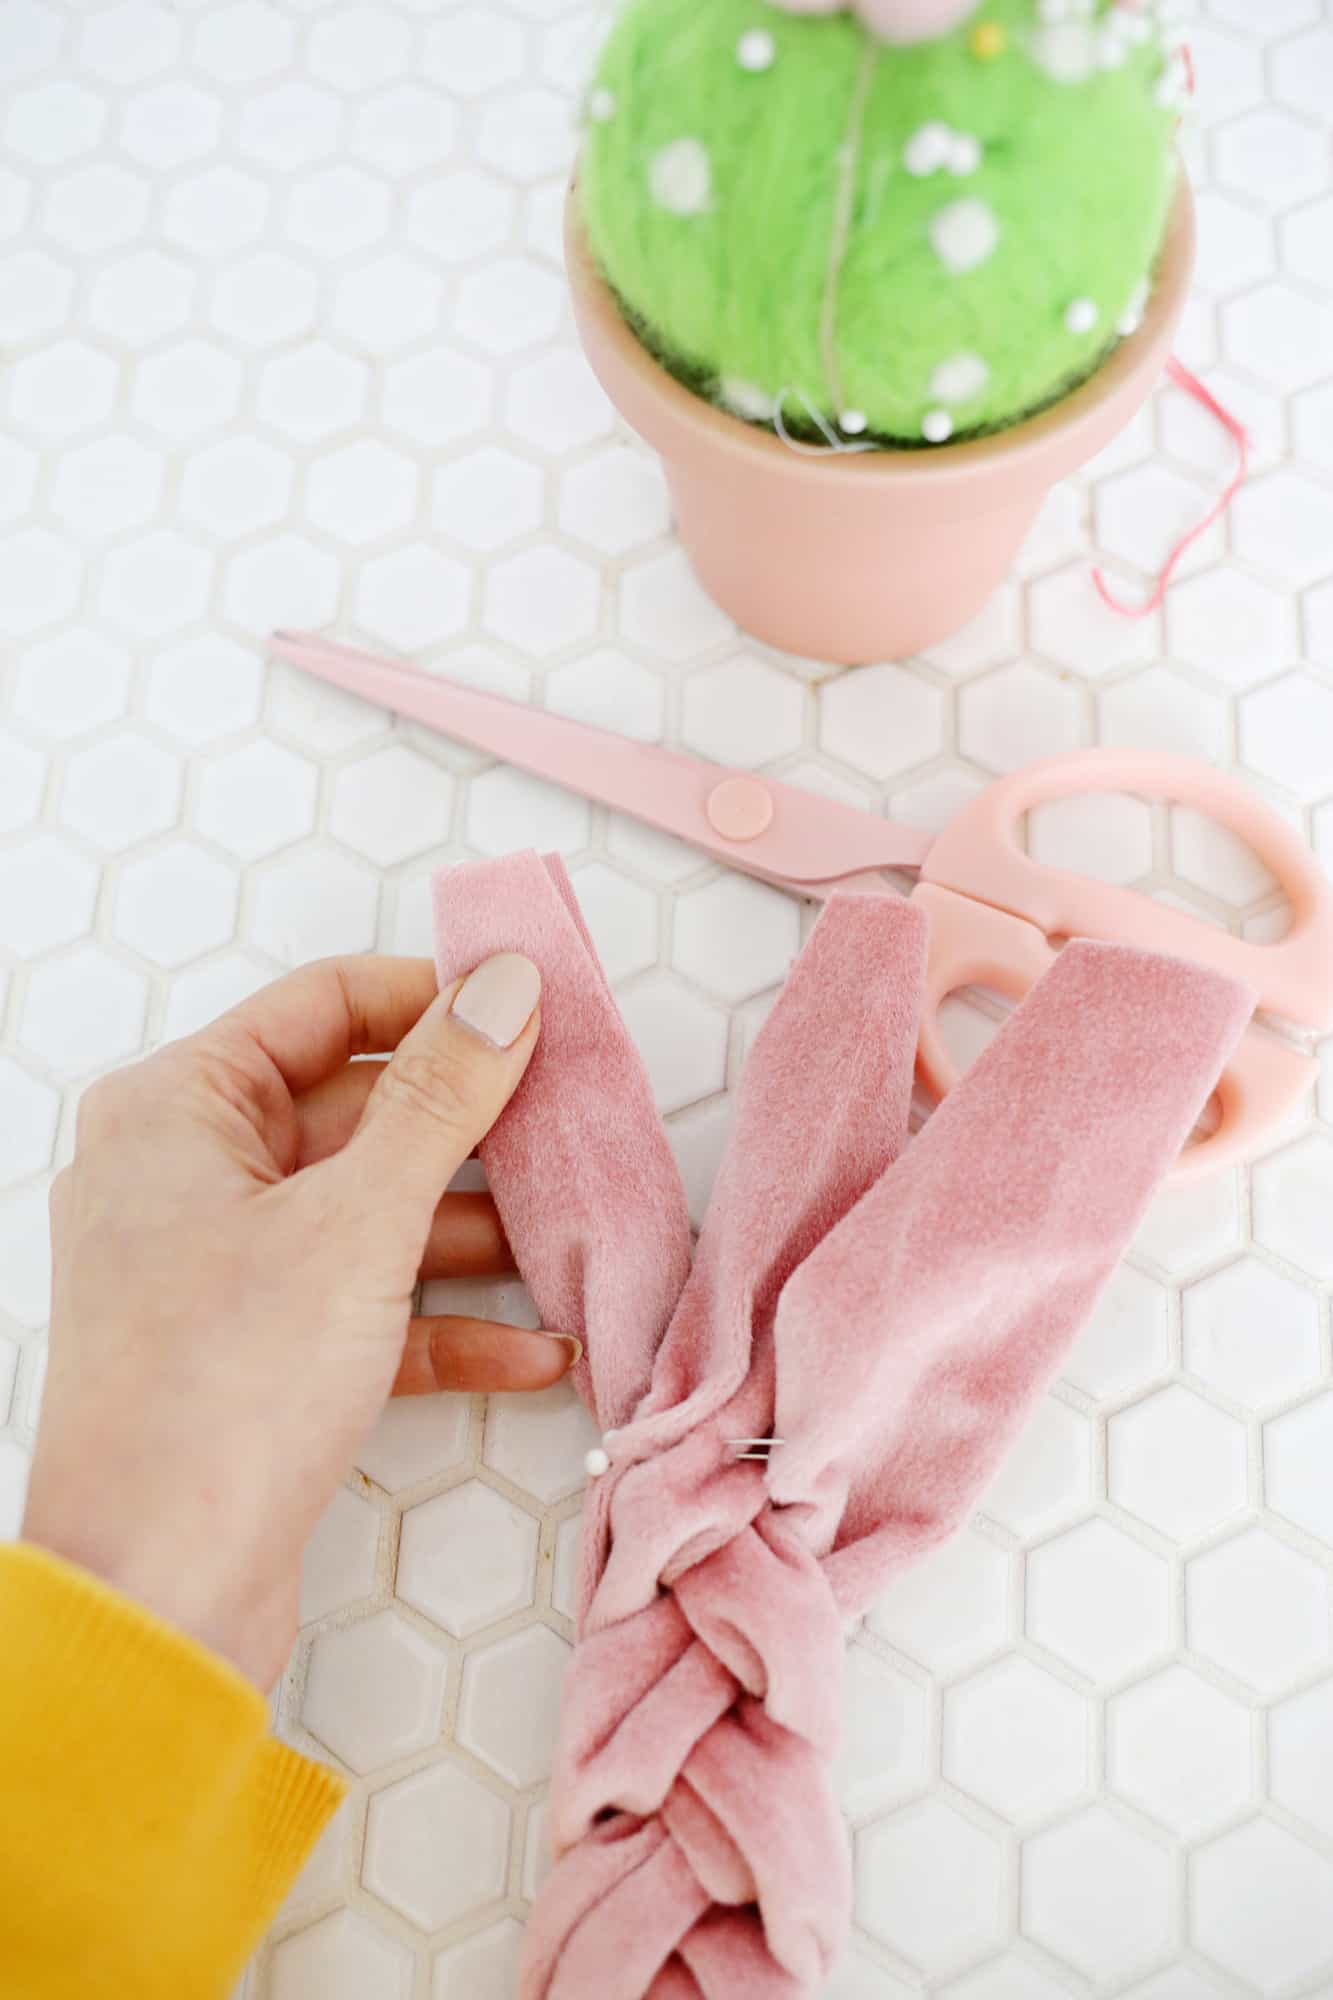
Use a straight pin to keep the three strips together and set something heavy on that end so you can braid the tails (you could set it under a couch leg or something while you braid or get someone else to hold it for you).
You’ll want to twist the strands so that the cut side of the fabric stays on the bottom side at all times, so just keep checking that your cut ends are hidden and twist/rotate the fabric as needed to make that happen.
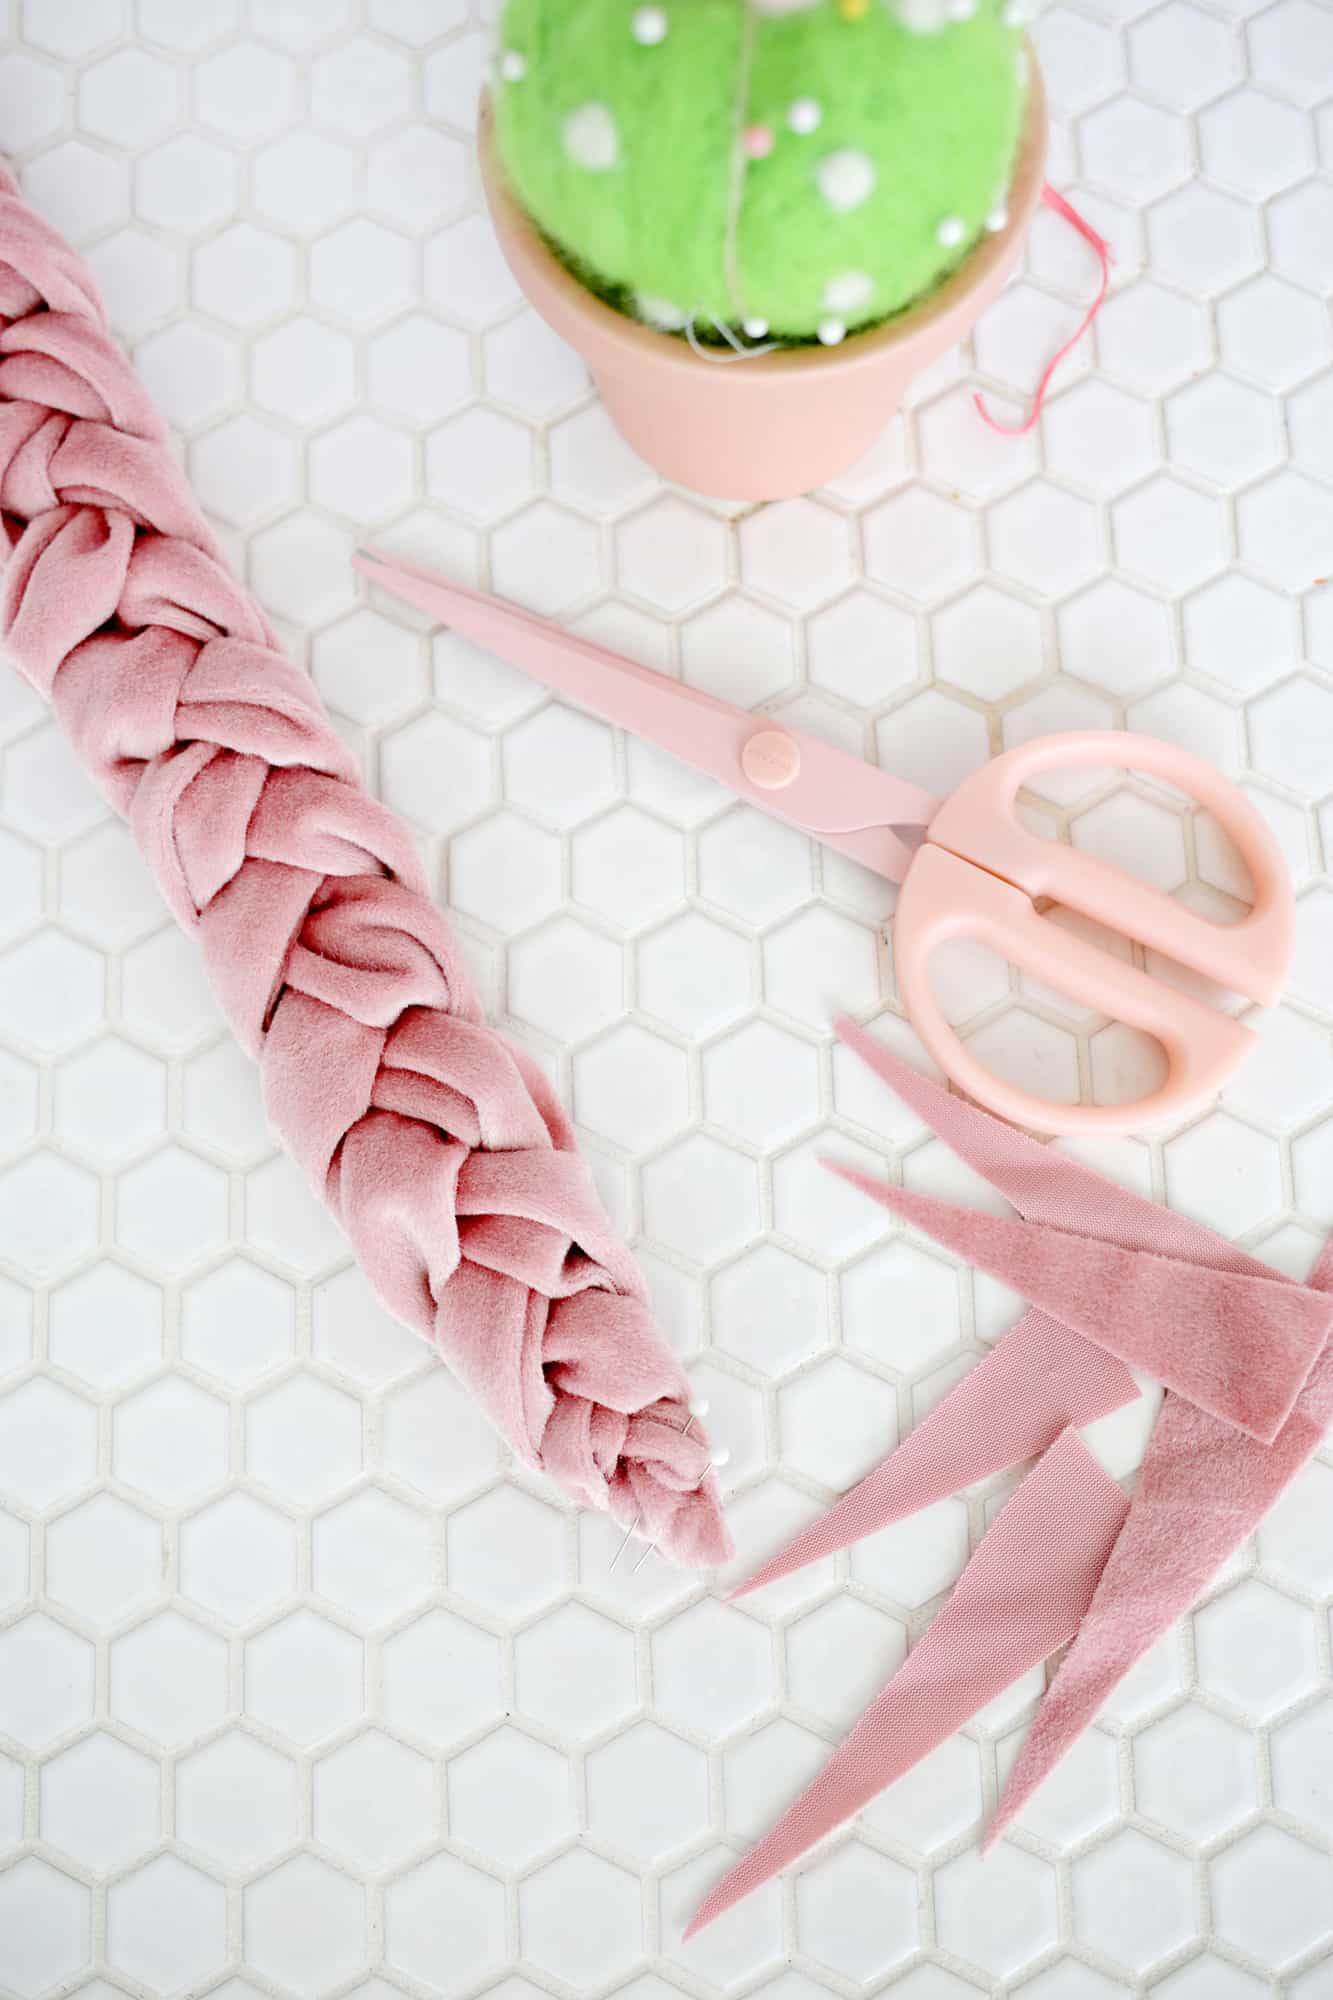
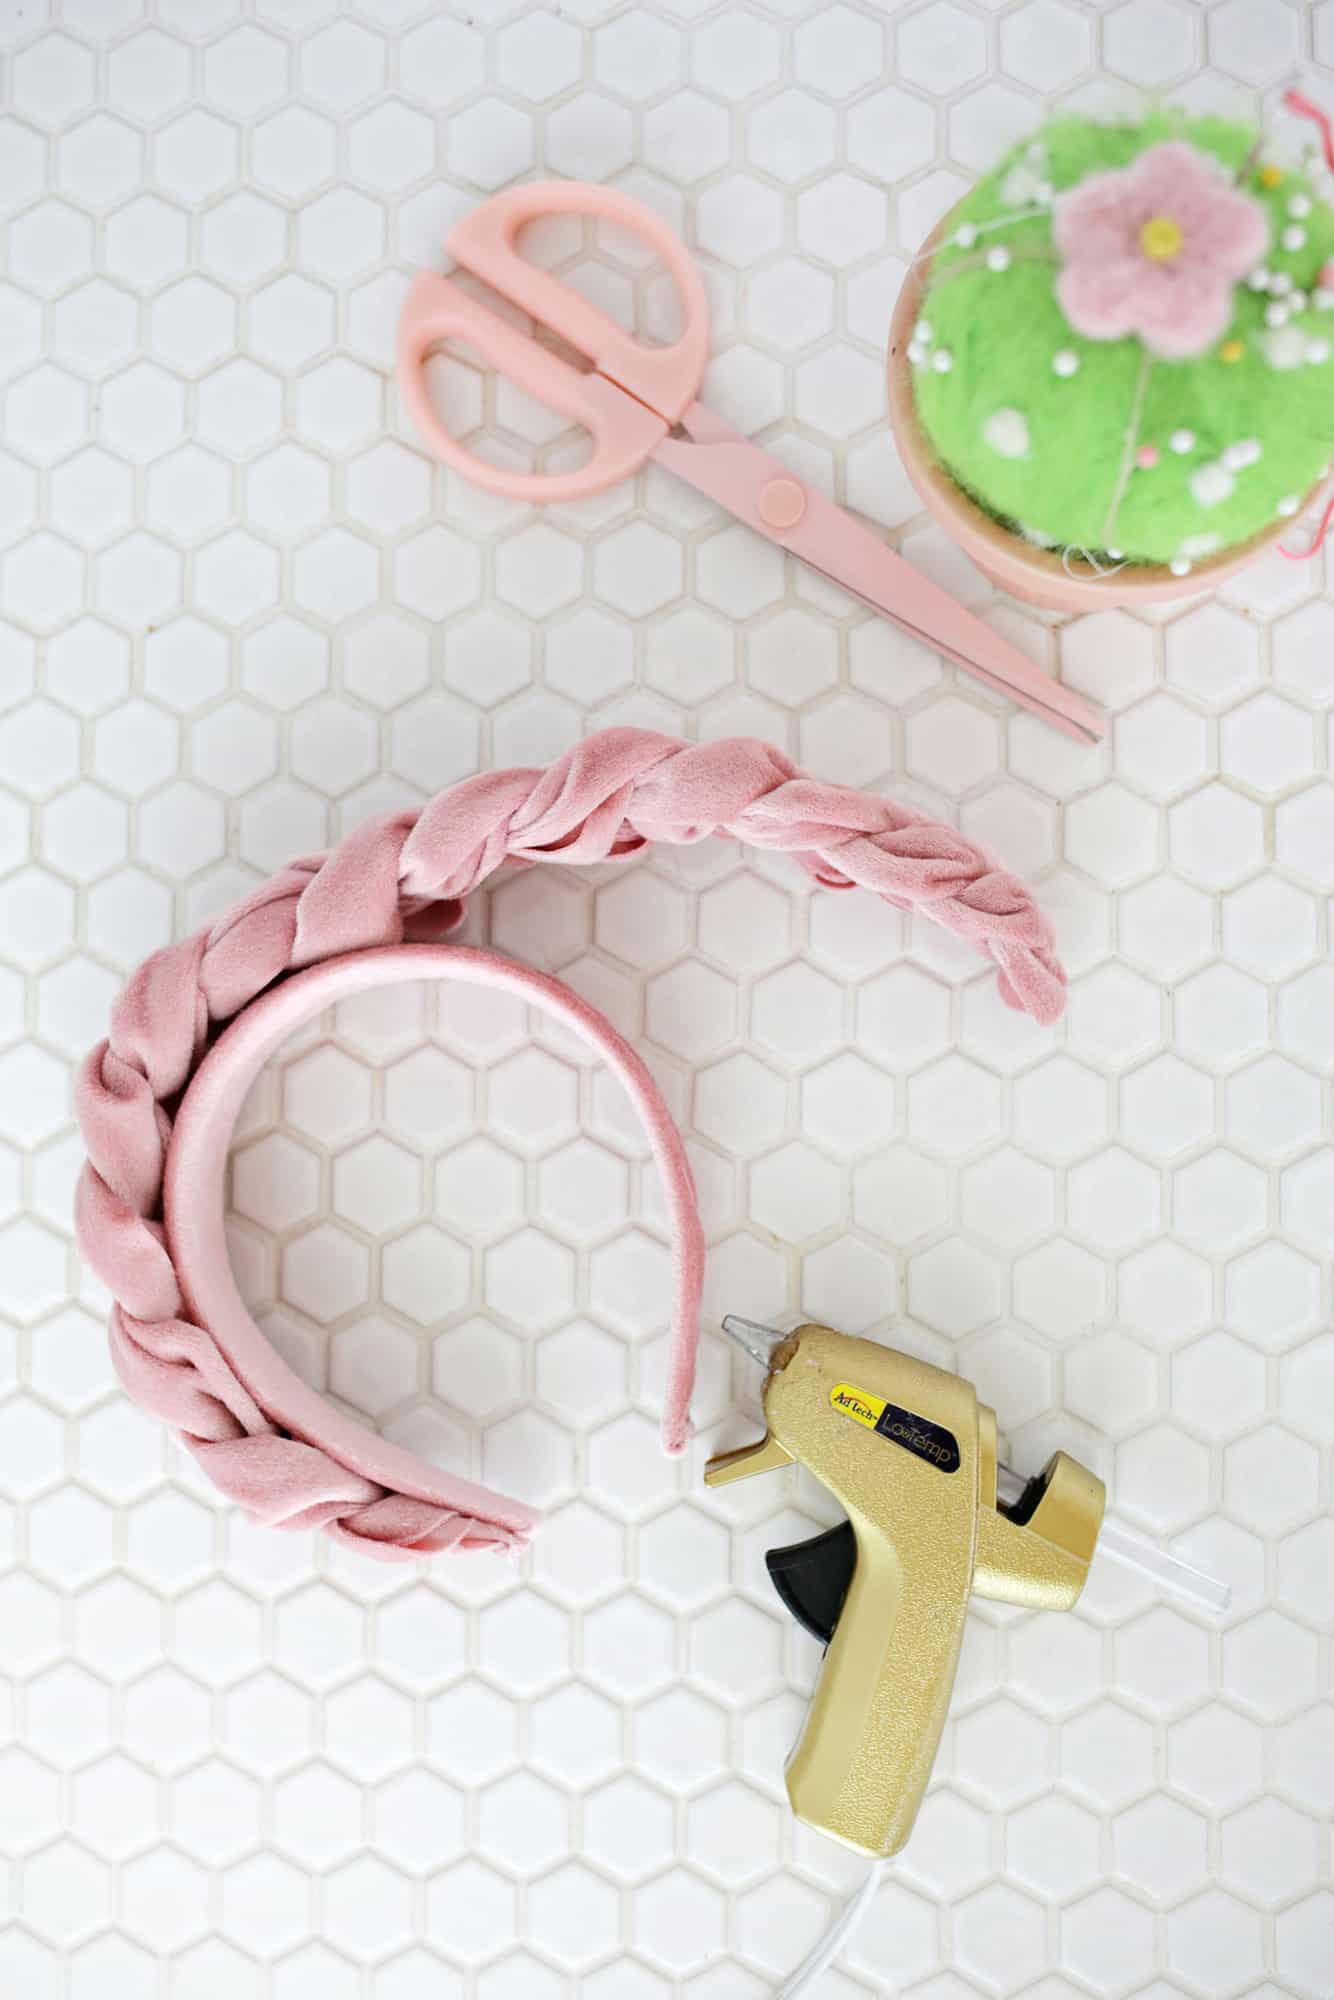
Once your braid is complete, place it against your headband to check the length and trim it if it’s longer than your headband length. Once you have a good length, you can unbraid the last 3″ of each end to gradually cut some of the fabric strip width off of the ends of the tails (as you see above in the photo). That will make the ends less bulky and tapered a bit as the braid ends on each side.
Now that your braid is the right length and tapered, glue it to the topside of your velvet headband with a generous amount of hot glue.
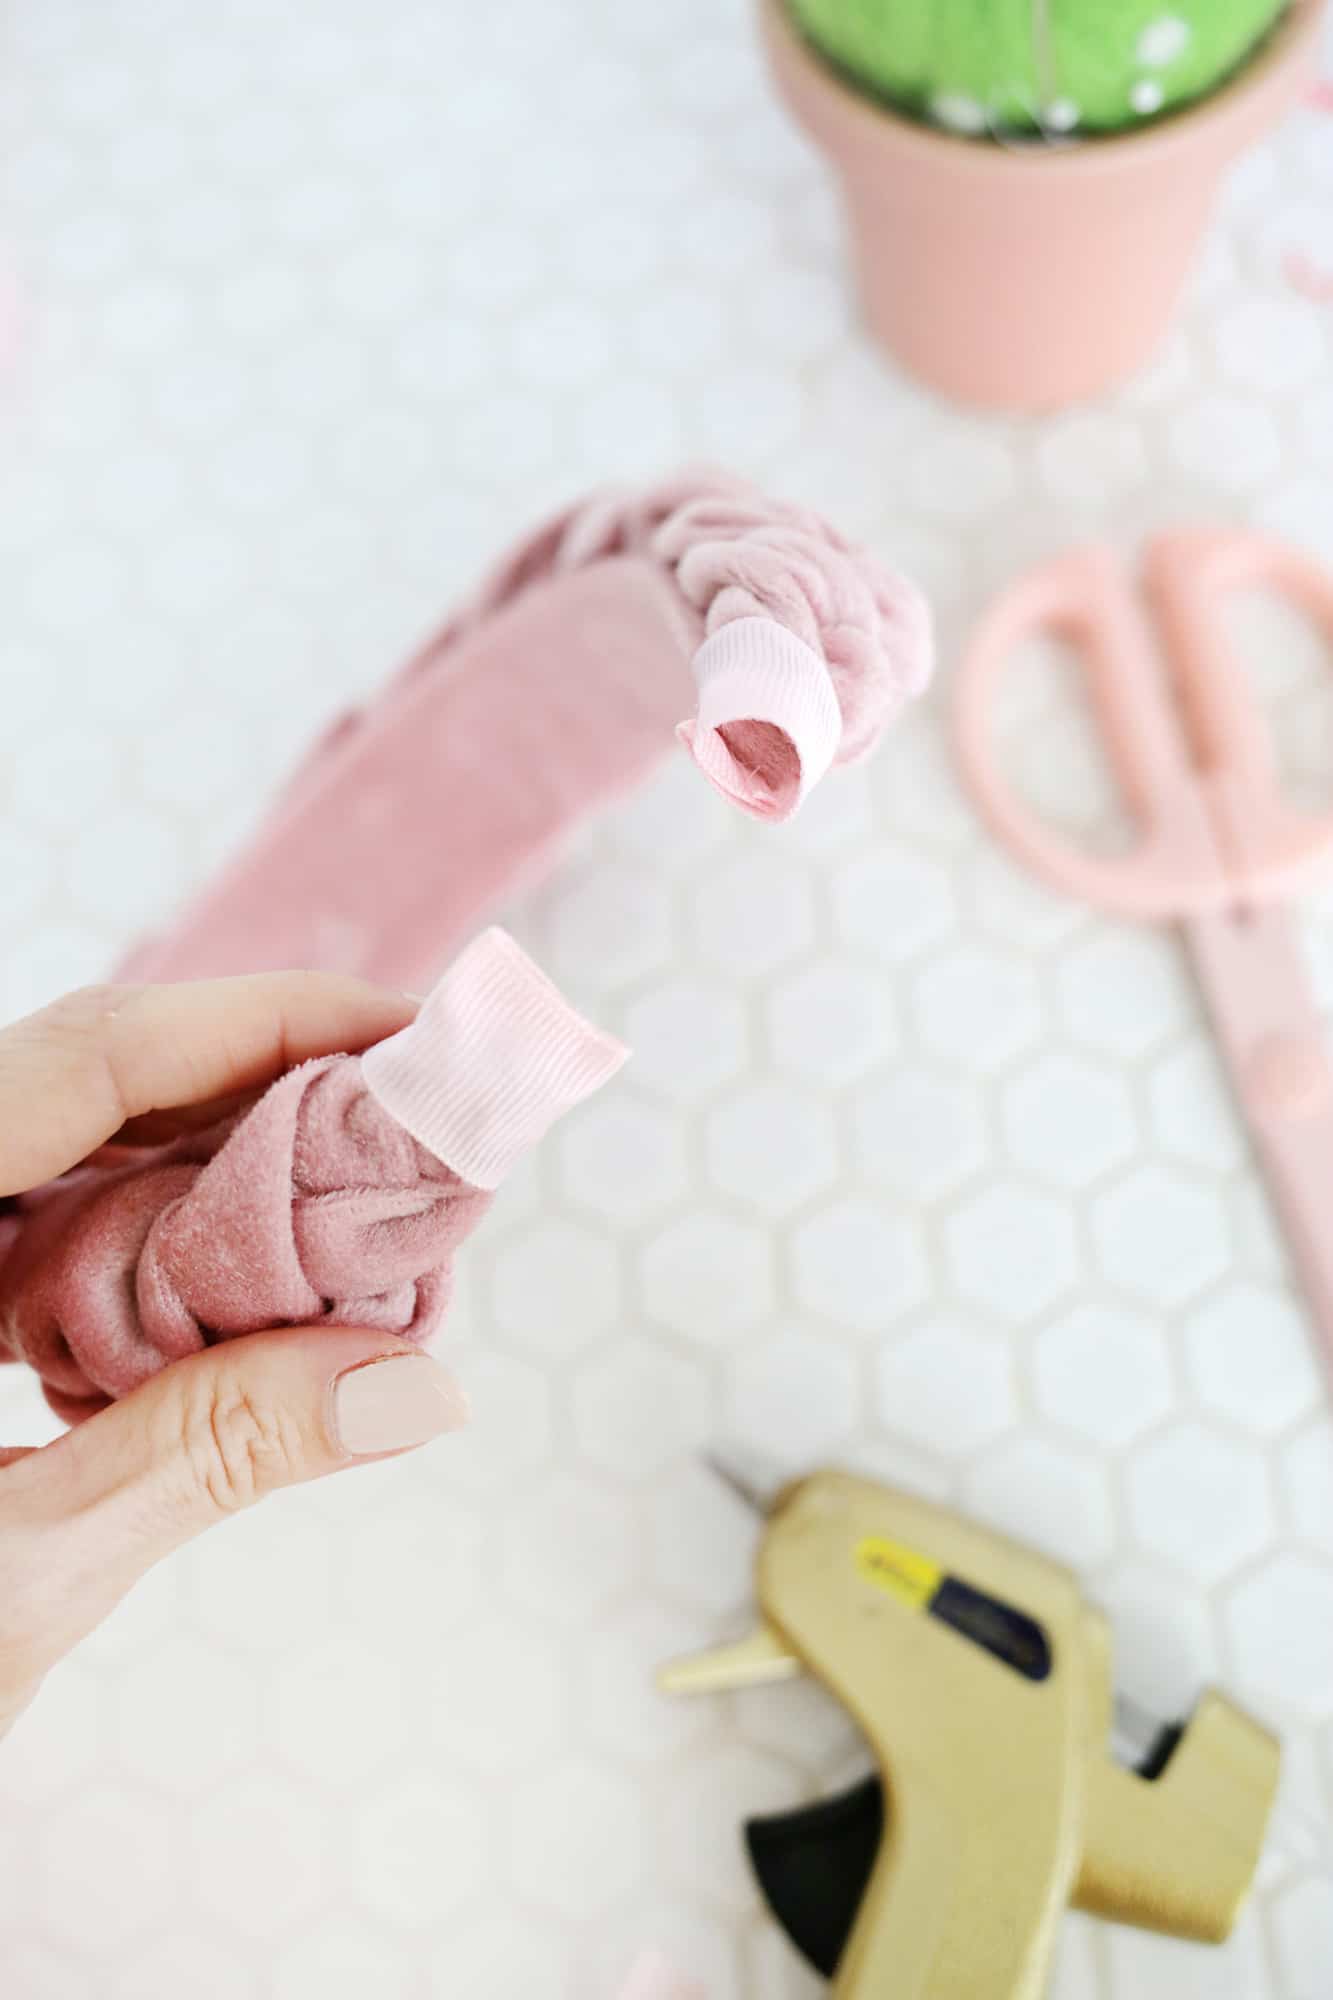
Starting on the underside of the headband, glue the start of the strip folded side down and wrap it around the end of your headband so that it overhangs the headband just a little. Wrap it around and glue it in place on the underside.
Use some glue in the overhang opening of the ribbon and pinch that opening shut while the glue sets to finish off the ends. Once your glue has set, your headband is ready to wear!
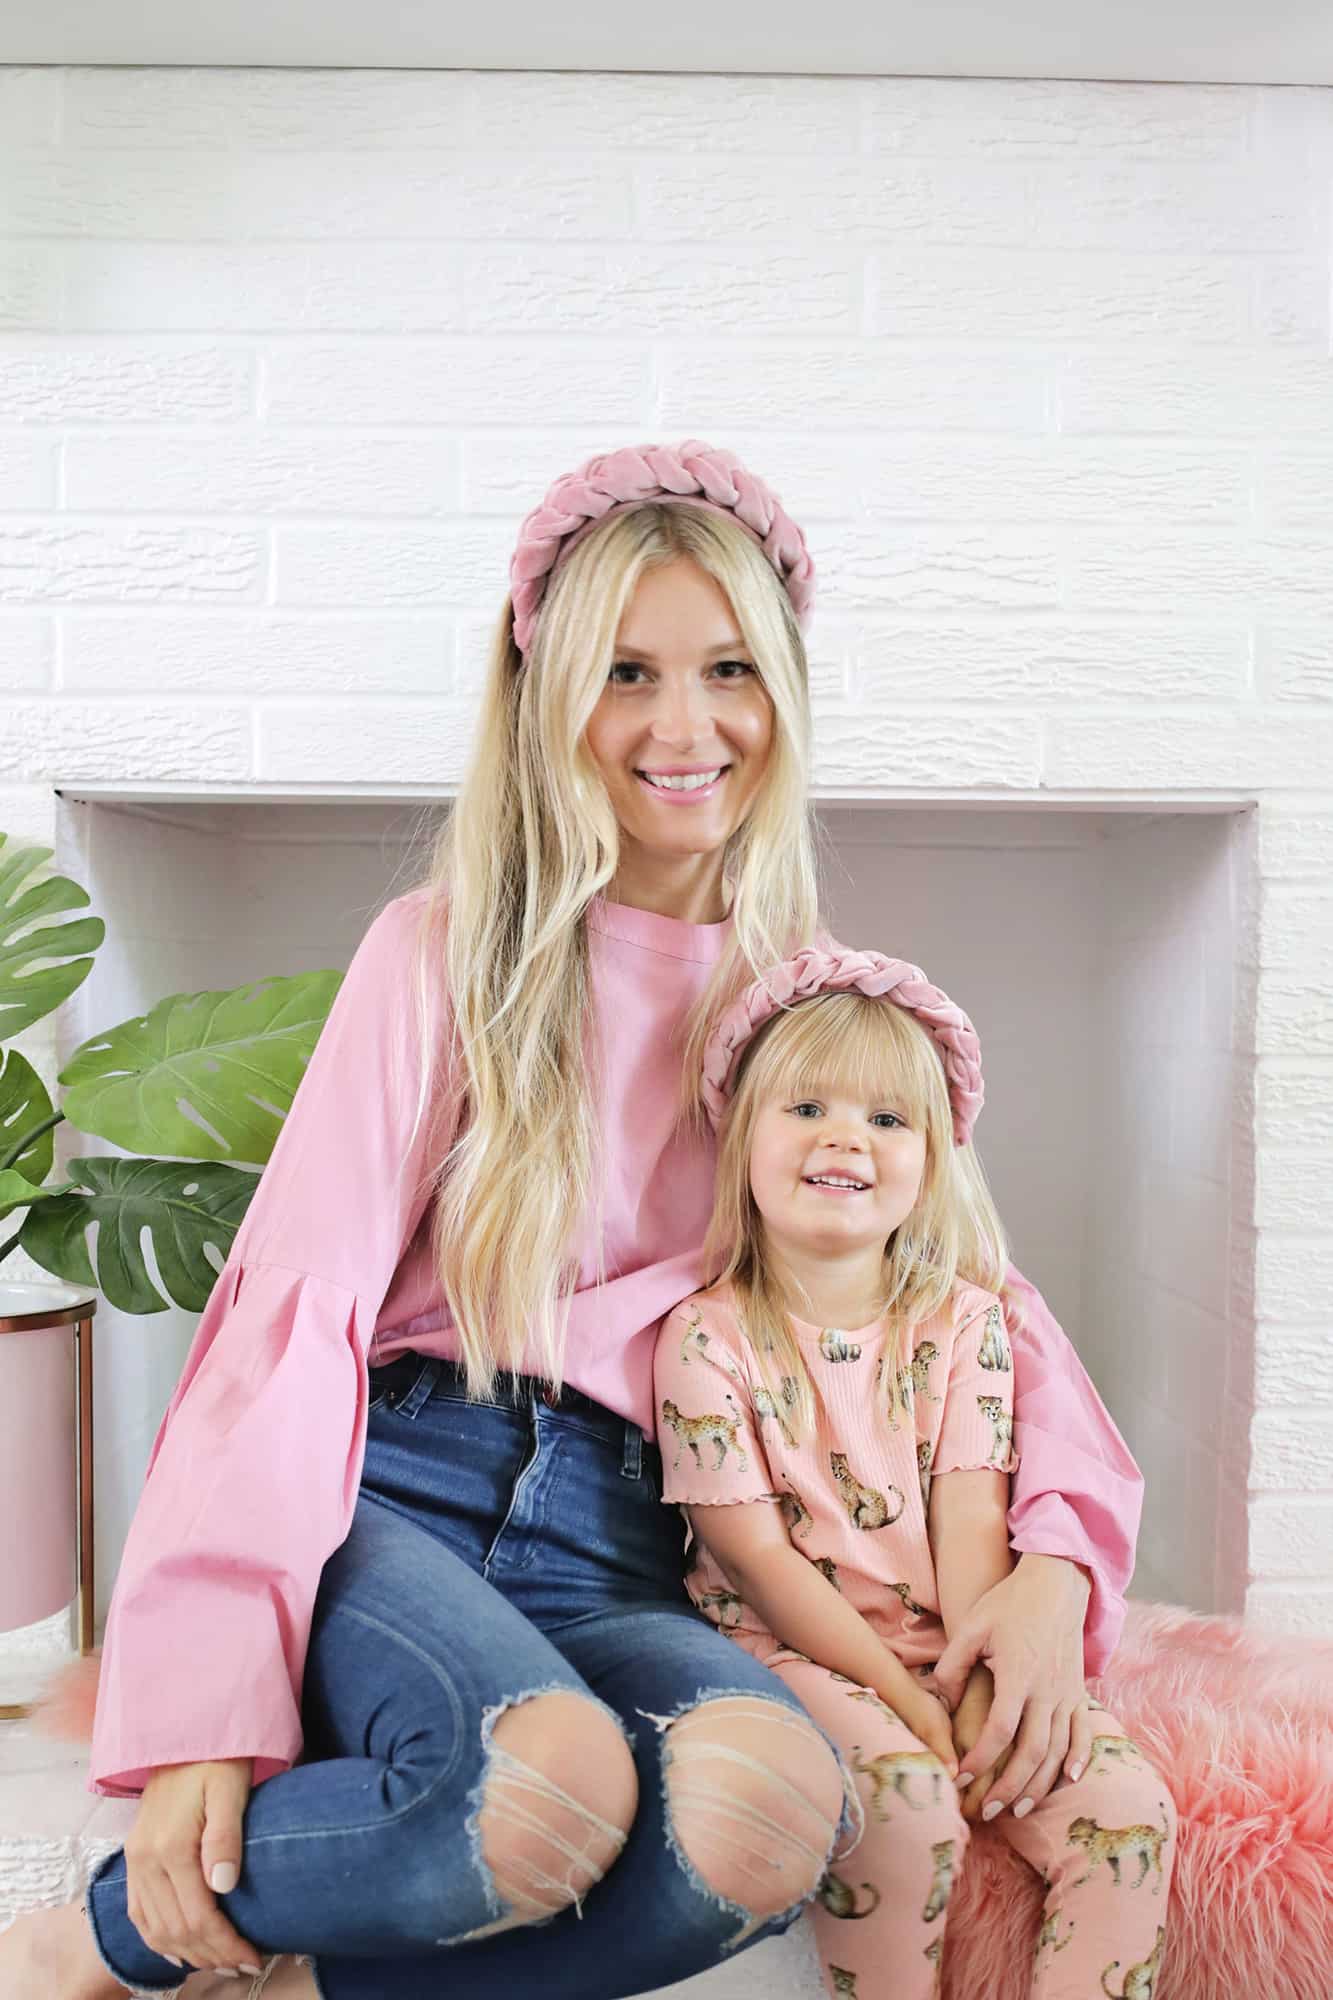
Either way, this is a super easy way to create a pretty look for any occasion and I realized that if you make this in a color similar to your own hair color, it will look like you have an awesome headband braid braided into your hair … I think I’m going to make another one in a tan color for just that reason! xo. Laura
Love this post? Sign up for our newsletter for more ideas!

Get creative ideas for recipes, crafts, decor, and more in your inbox!
 Get the How-To
Supplies
- 1/4 yard of velvet fabric
- fabric scissors
- rotary cutter, ruler and mat (optional)
- hot glue gun
- ribbon that matches the color of the velvet
- headbands (I used this thick one for me and this thin one for Lola)
- straight pins
Instructions
- For the first step, you’ll want to cover your headband with some velvet so it matches seamlessly with your braid on top. Cut a band of velvet as long as your headband and as wide as the circumference of the widest part of your headband. Place your headband in the middle of the velvet so it’s covering the underside and use your hot glue to glue the velvet to the length of the underside of the headband. Fold up the velvet on one side and cut it so it covers half of the top of your headband. Repeat the process with the other side so your underside is fully covered and you have a seam running down the middle of the top of your headband (it can overlap a little or just have the sides meet together in the middle, either way it will be covered so it doesn’t matter very much).
- For the wider headband, cut three strips of velvet that are 25″ long and 4″ wide (and for the smaller headband cut them 25″ long and 3″ wide). Fold your strips in half lengthwise and stack the three strips on top of each other so you can braid them together. Use a straight pin to keep the three strips together and set something heavy on that end so you can braid the tails (you could set it under a couch leg or something while you braid or get someone else to hold it for you). You’ll want to twist the strands so that the cut side of the fabric stays on the bottom side at all times, so just keep checking that your cut ends are hidden and twist/rotate the fabric as needed to make that happen.
- Once your braid is complete, place it against your headband to check the length and trim it if it’s longer than your headband length. Once you have a good length, you can unbraid the last 3″ of each end to gradually cut some of the fabric strip width off of the ends of the tails (as you see above in the photo). That will make the ends less bulky and tapered a bit as the braid ends on each side.
- Once you remove as much bulk as you want, rebraid and pin your ends together then use a hot glue gun to glue the ends together.
- Now that your braid is the right length and tapered, glue it to the topside of your velvet headband with a generous amount of hot glue.
- Take some ribbon and fold and glue the cut edges so you have a strip about 2 1/4″ long with folded edges on both sides (so the ribbon won’t unravel).
- Starting on the underside of the headband, glue the start of the strip folded side down and wrap it around the end of your headband so that it overhangs the headband just a little. Wrap it around and glue it in place on the underside. Use some glue in the overhang opening of the ribbon and pinch that opening shut while the glue sets to finish off the ends. Once your glue has set, your headband is ready to wear!


So beautiful ❤️. God bless you for sharing this information
Love this tutorial. And also managed to fell in love with your scissors ? can I get i link to them? ?Muuust have them
Here’s a link!
https://rstyle.me/cz-n/ey3gnkb64yf
Love this! I will definitely have to try it out. Have you ever tried Fashom? They are a personalized styling service with a focus on body positivity. I would love to hear your review of them
How gorgeous! And I love the color you made it. Perfect for my daughter and my 3.5 year old granddaughter!
What a lovely idea! It looks so cute!
xx Elisa
www.francinesplaceblog.com | DIY & LIFESTYLE BLOG
Oh my goodness! The cutest mama and me headbands! LOVE
These are amazing, and I absolutely love the top you’re wearing in the photos! Where is it from?? Thank you 🙂
So pretty- love it! I know the minute my daughter sees this post she’s going to want to go out and get the supplies to make it! Super cute pic of you and your little girl too!
Aw, thank you! I think she’s the cutest!
Laura 🙂