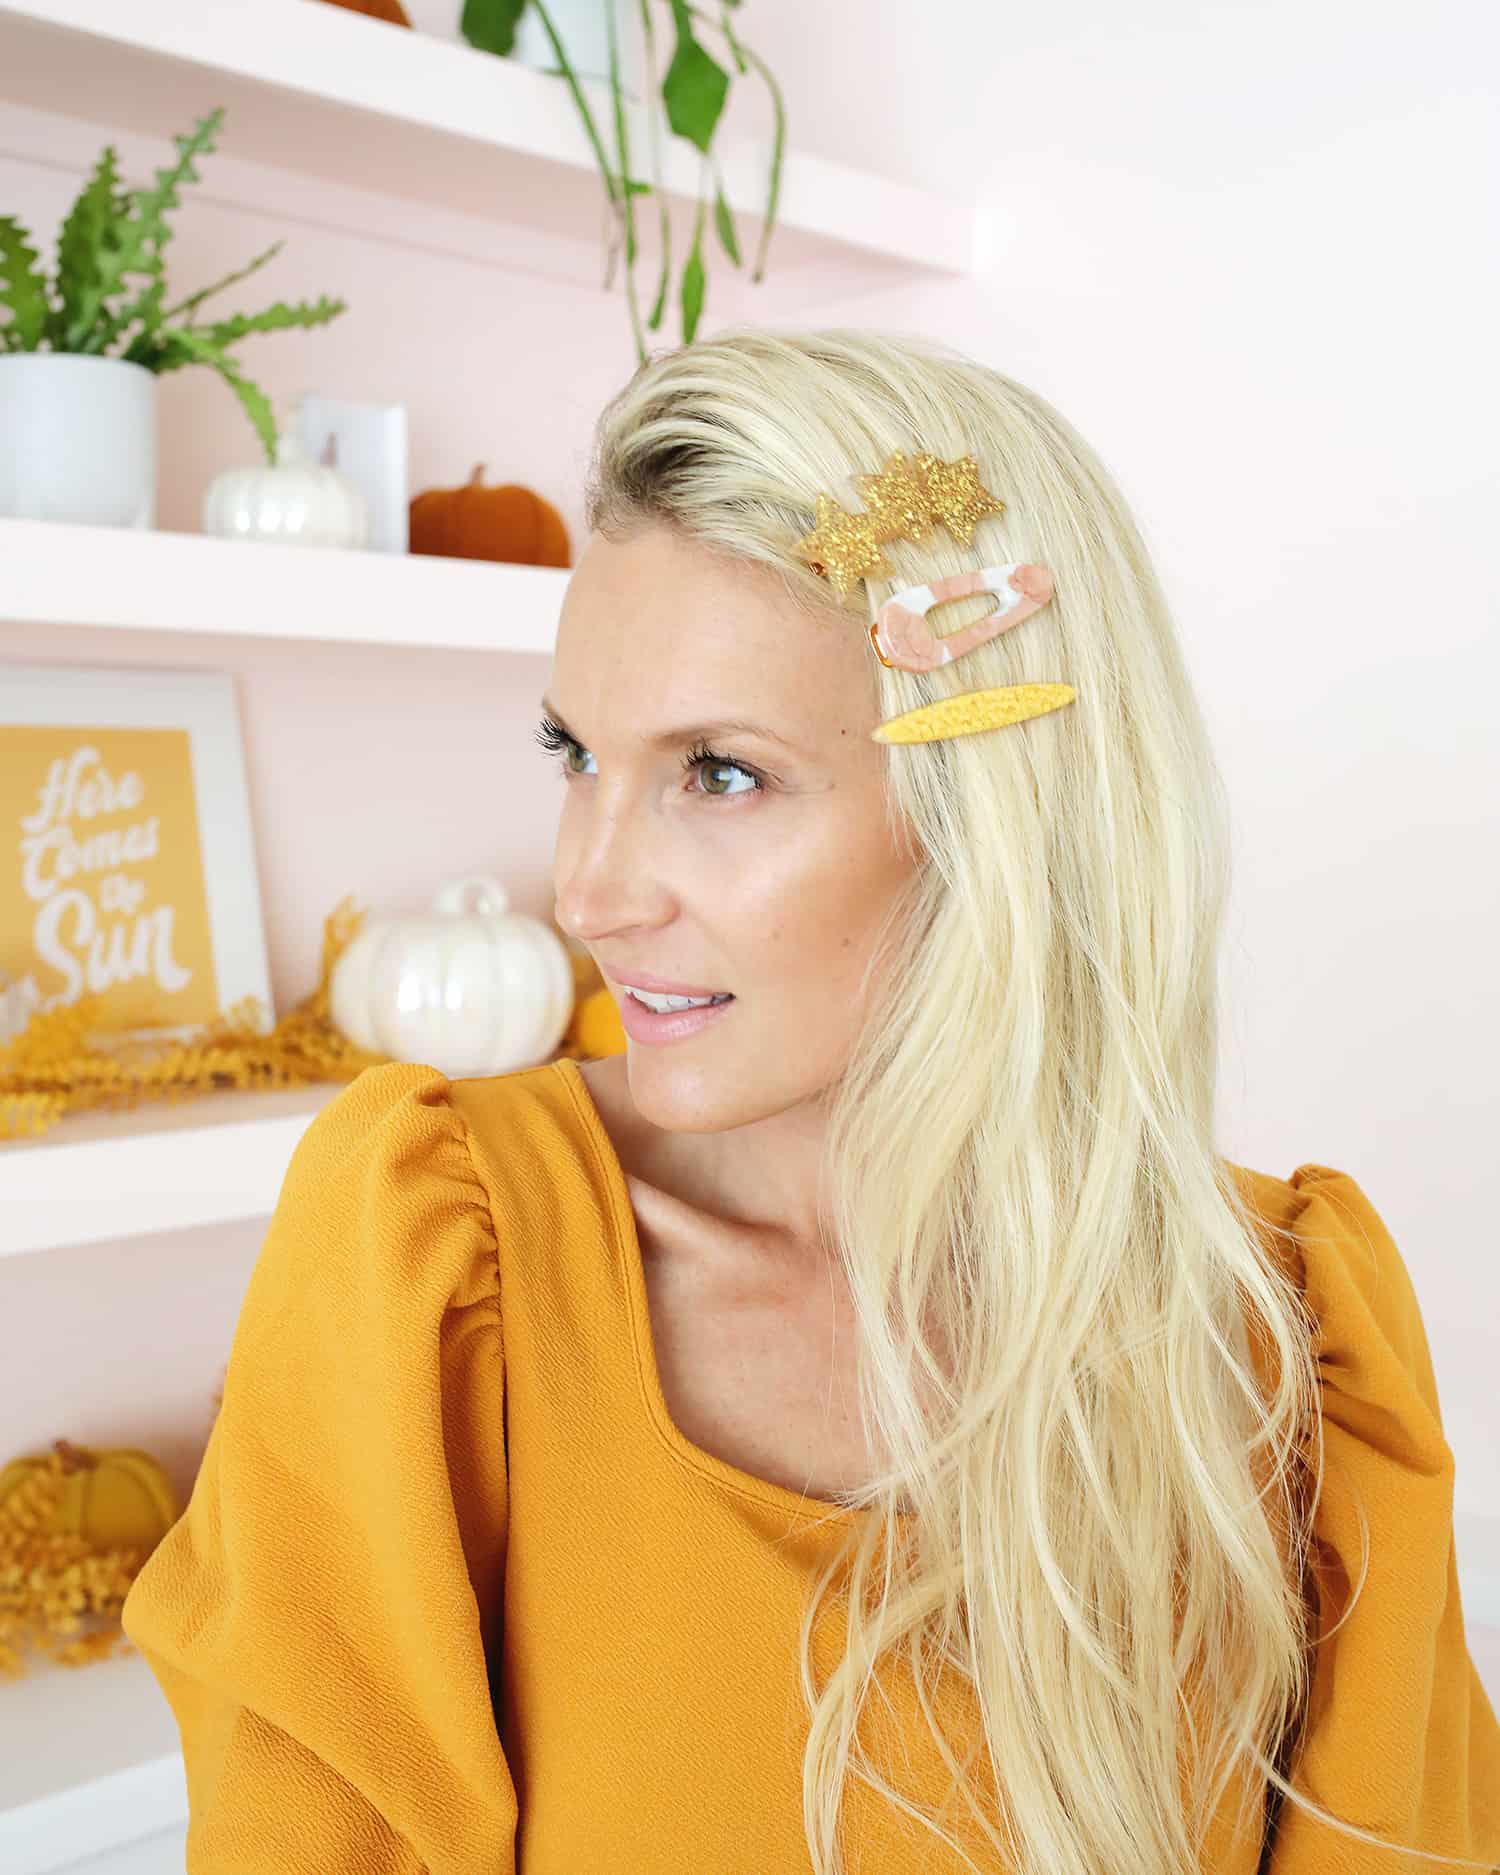
We love a good statement hair clip. Whether you are running errands, meeting for coffee, or going out on a date night, a fun hair clip takes only seconds to put in but really adds a little “wow” to your look.
Today, we are partnering with Sculpey to show you how you can make a bunch of different statement hair clips in one afternoon—all from the comfort of your own home! This is the first time I’ve use the liquid clay from Sculpey and it was so easy and so fun to use. I’ll show you how I made mine!
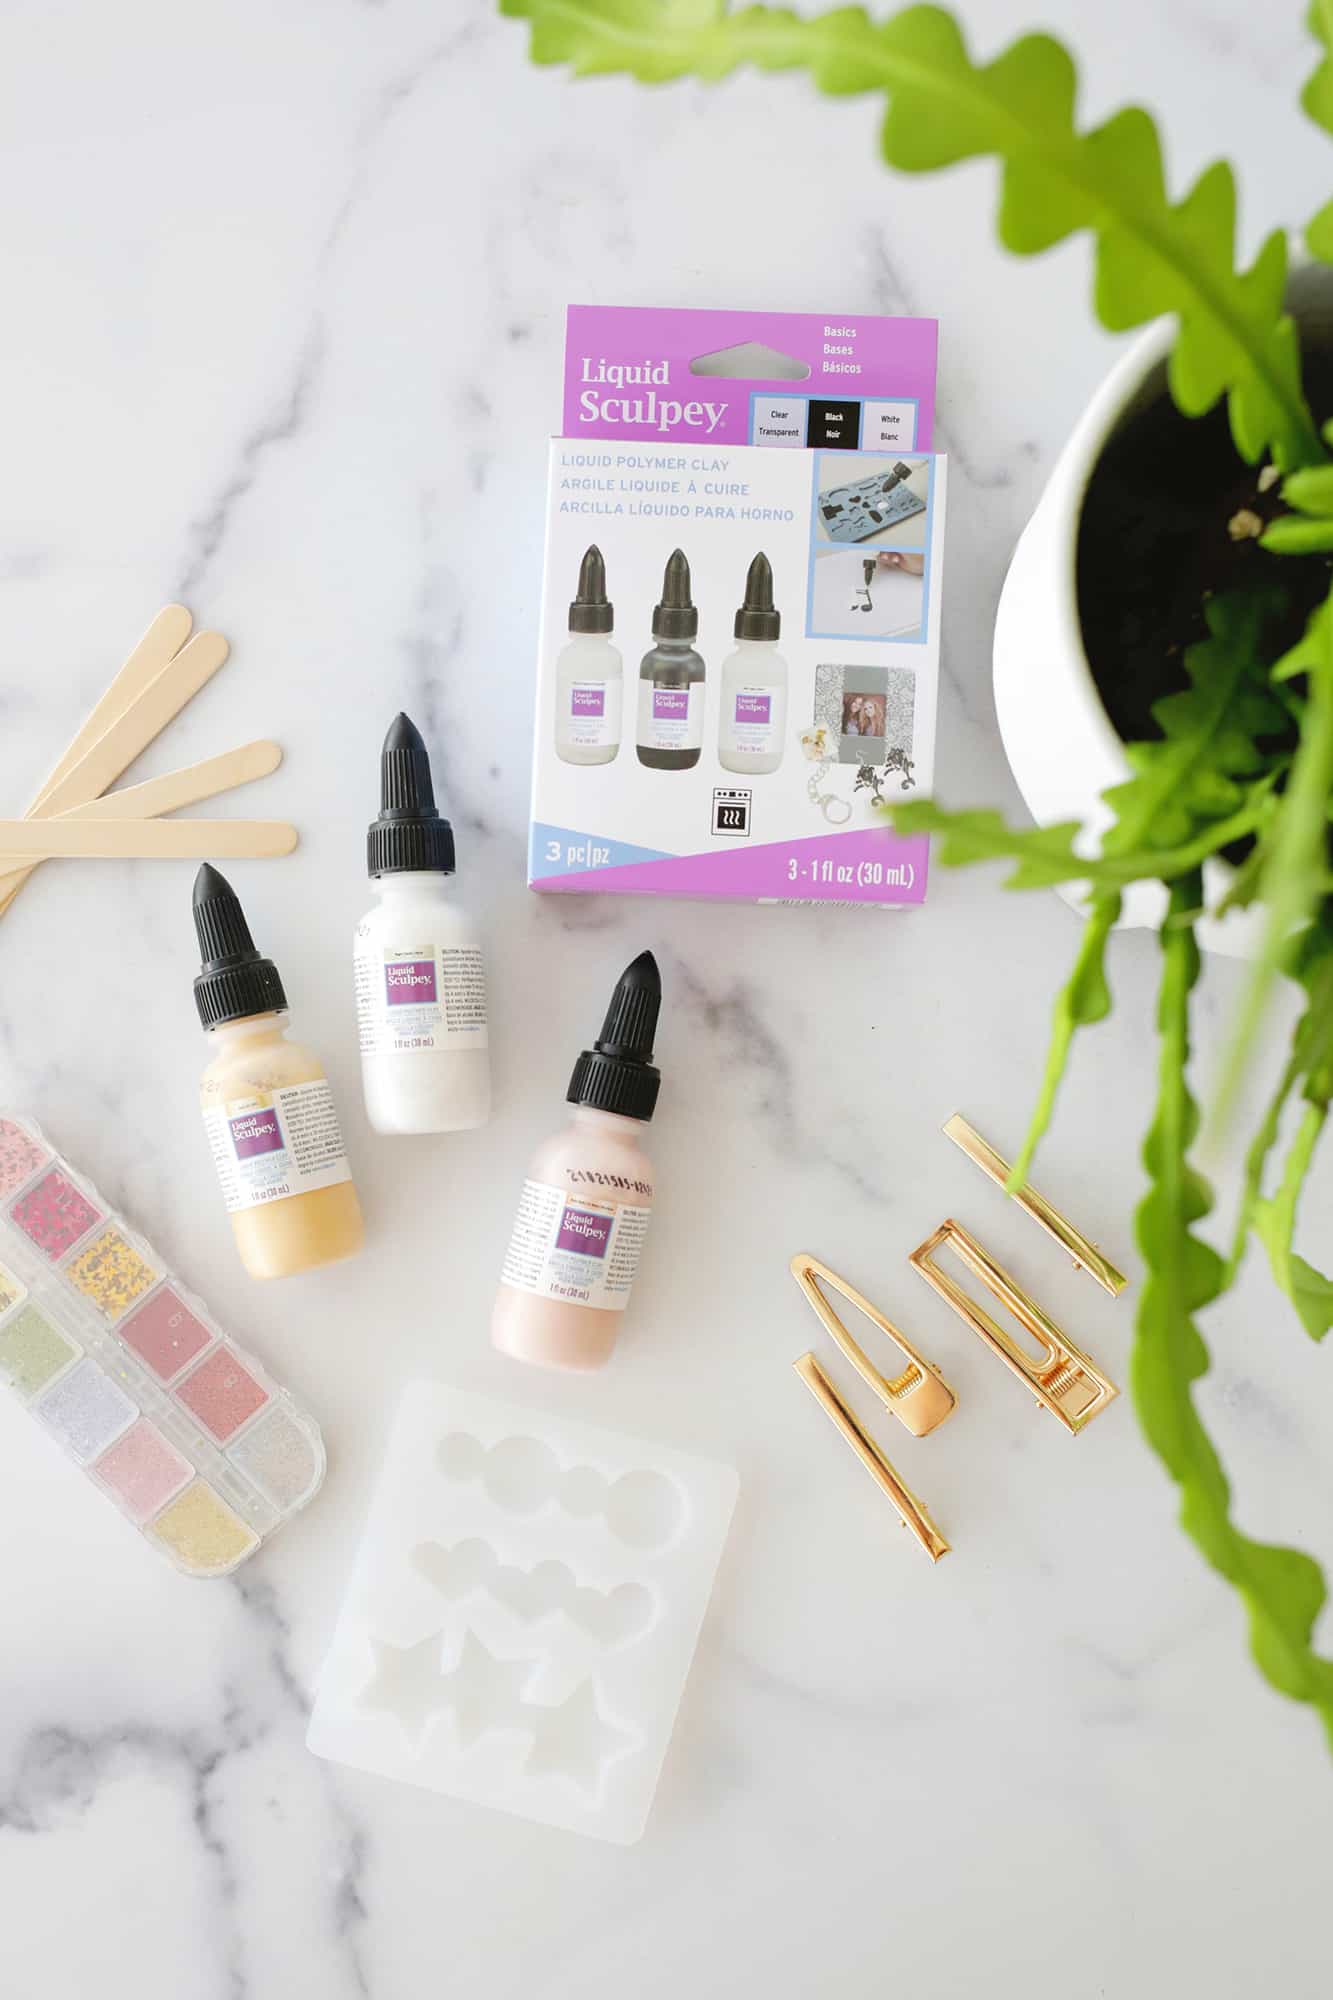
Supplies
- Sculpey Liquid Clay in various colors
- Barrette molds
- Barrette clips (this kit comes with the mold and the clips)
- Glue (this is my favorite one to use)
- Toothpicks or popsicle sticks
- Baking tray to bake clips on in oven
- Sculpey Clay Thinner (optional)
How to Make Your Own Statement Hair Clips At Home
- Open the lid of your liquid clay and stir the clay well with a popsicle stick. You can also add thinner to your clay if you want a more thin consistency, or you can let it sit out overnight with the cap off for a thicker consistency.
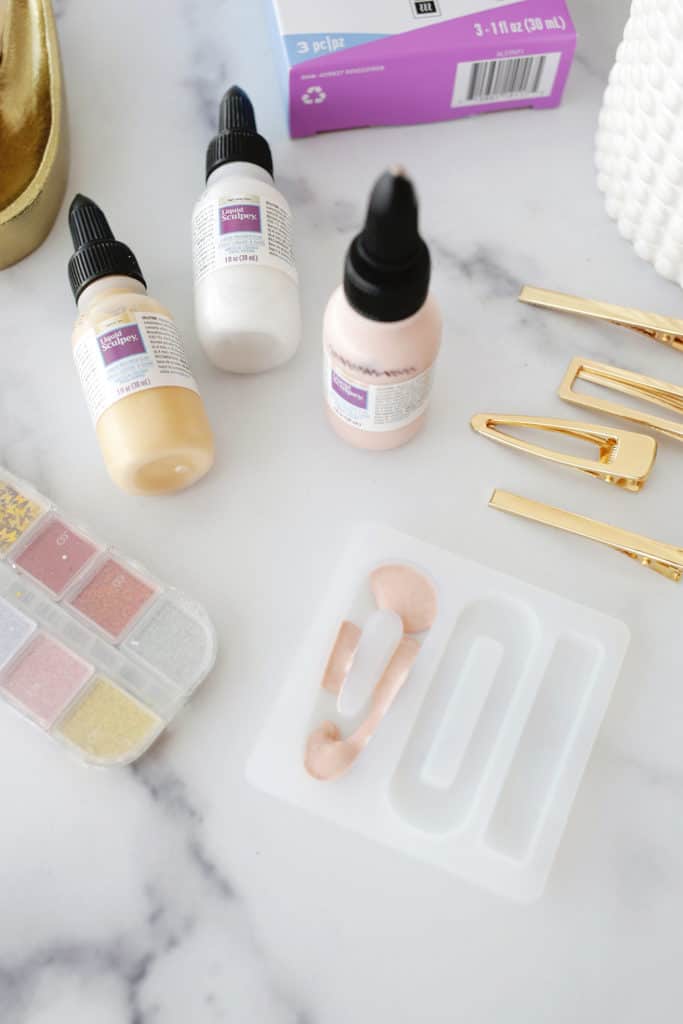
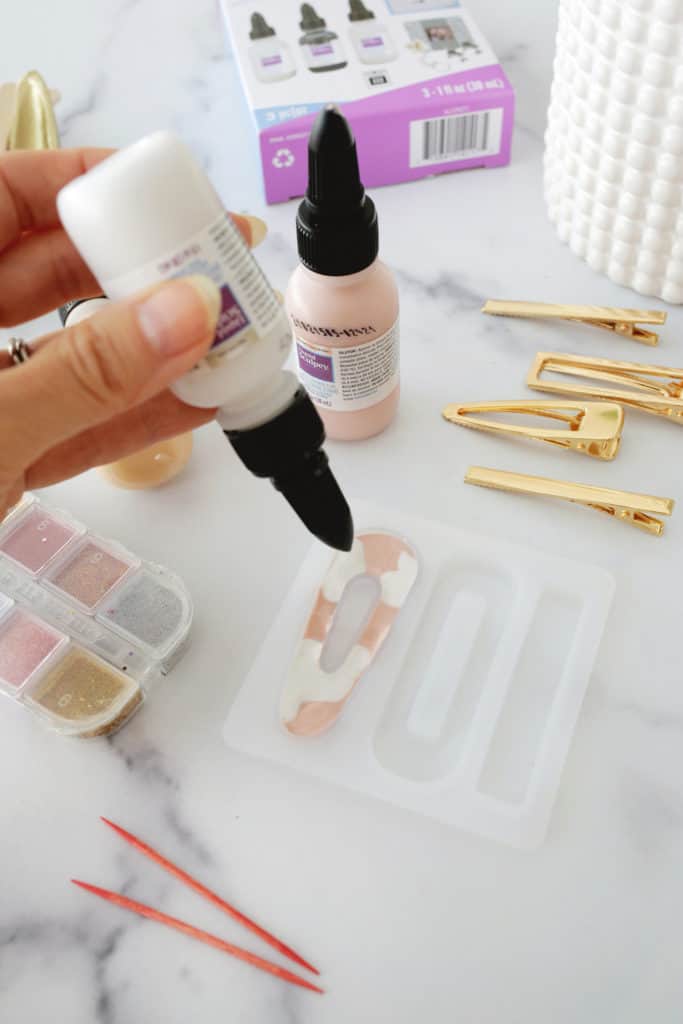
2. Twist the cap back on and twist the nozzle to open the clay and squeeze your color into your mold. There are lots of looks you can create with your liquid clay, but here are my favorite ones to do!
- Color blocked clips: To get a color block look, squeeze one color into half of your mold and straighten the edge where it will hit the other color with a toothpick so it’s as squared off as you can get it. Pour in the second color on the other side.
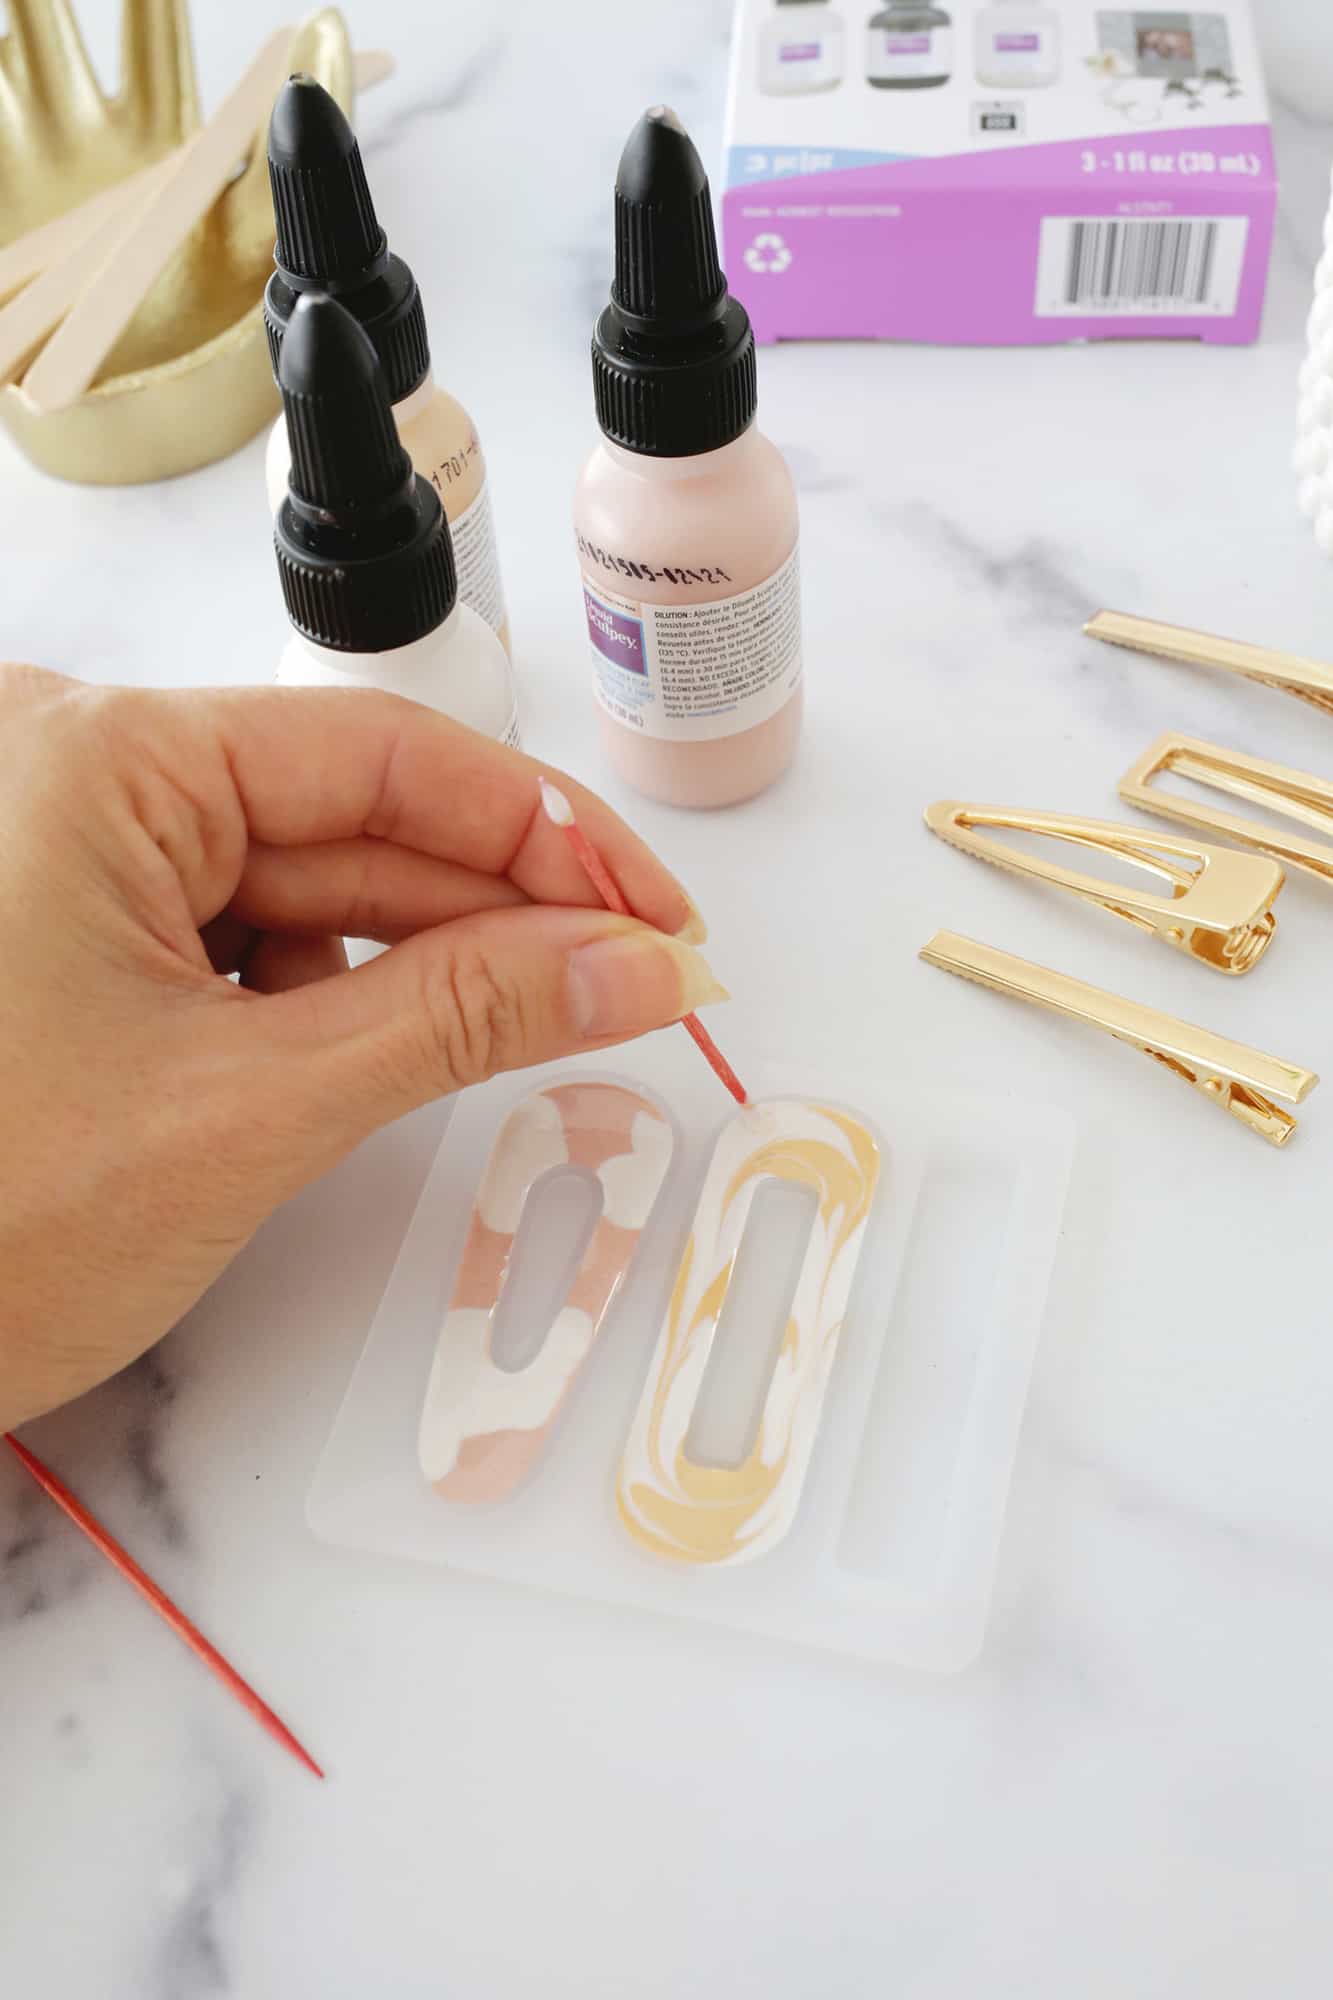
- Marbled clips: To get a swirled marbled look, squeeze one color in different spot of your mold and another color in the leftover areas (creating a tortoise shell-type of pattern).
Drag a toothpick or popsicle stick through the colors to swirl them. Make sure that your stick is touching the bottom of the mold when you drag it since the bottom of the mold will be the top when it’s done baking.
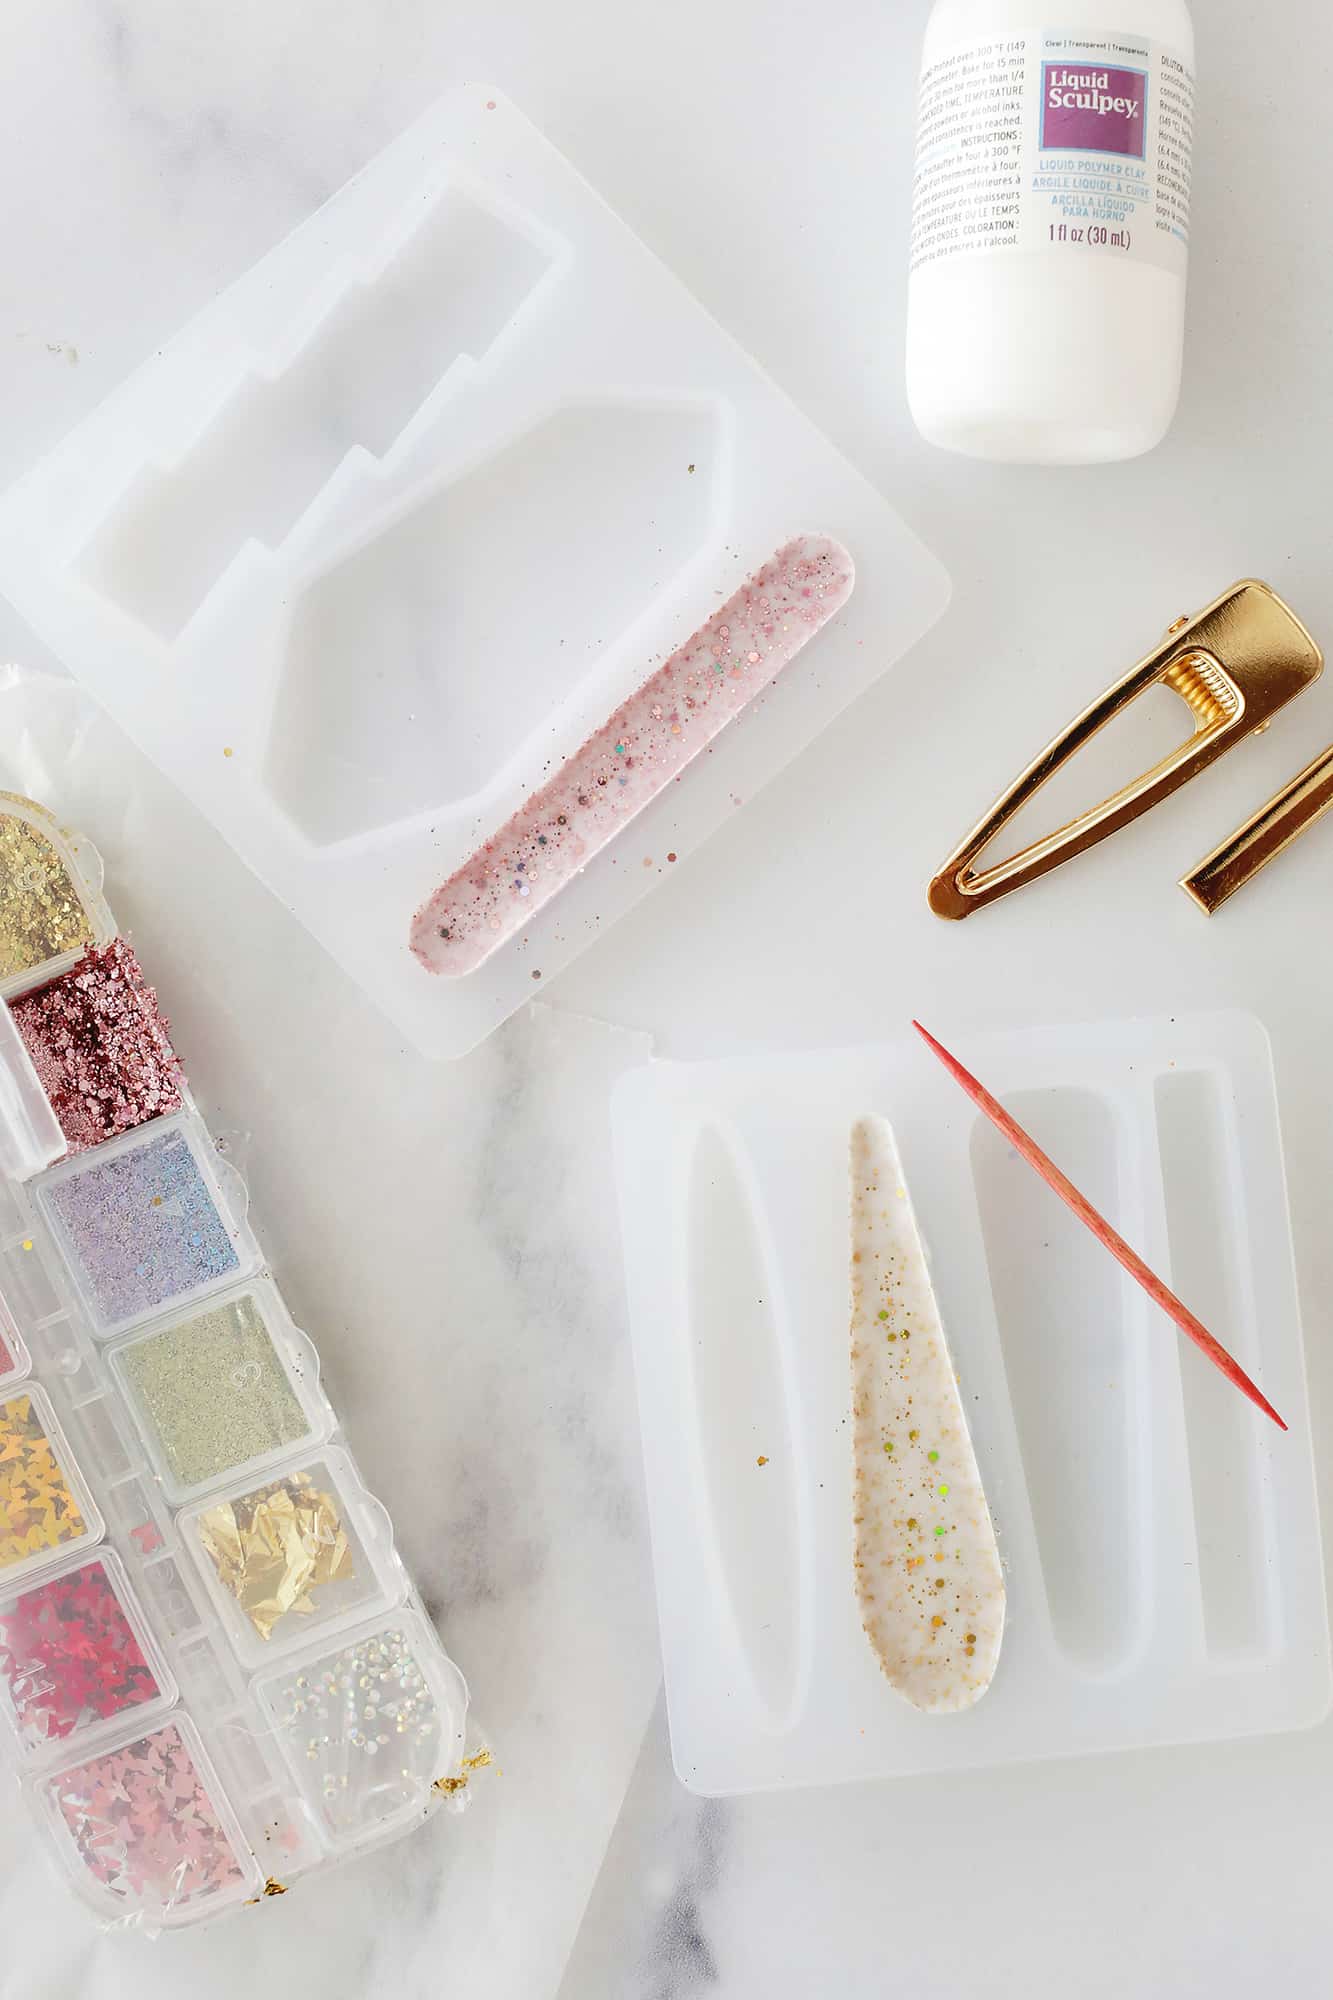
- Tortoise shell clips: To get a tortoise shell look, squeeze one color in different spots/corners of your mold and another color in the leftover areas.
- Glitter clips: To get a glitter look, use the clear liquid clay to fill your mold about 2/3 full and then pour in small glitter shapes or loose glitter.
Mix in with a toothpick until it’s evenly distributed, add more clear liquid clay until mold is full, and stir again. If you want a solid glitter look, add more, and use less glitter if you want it to be more spread out.
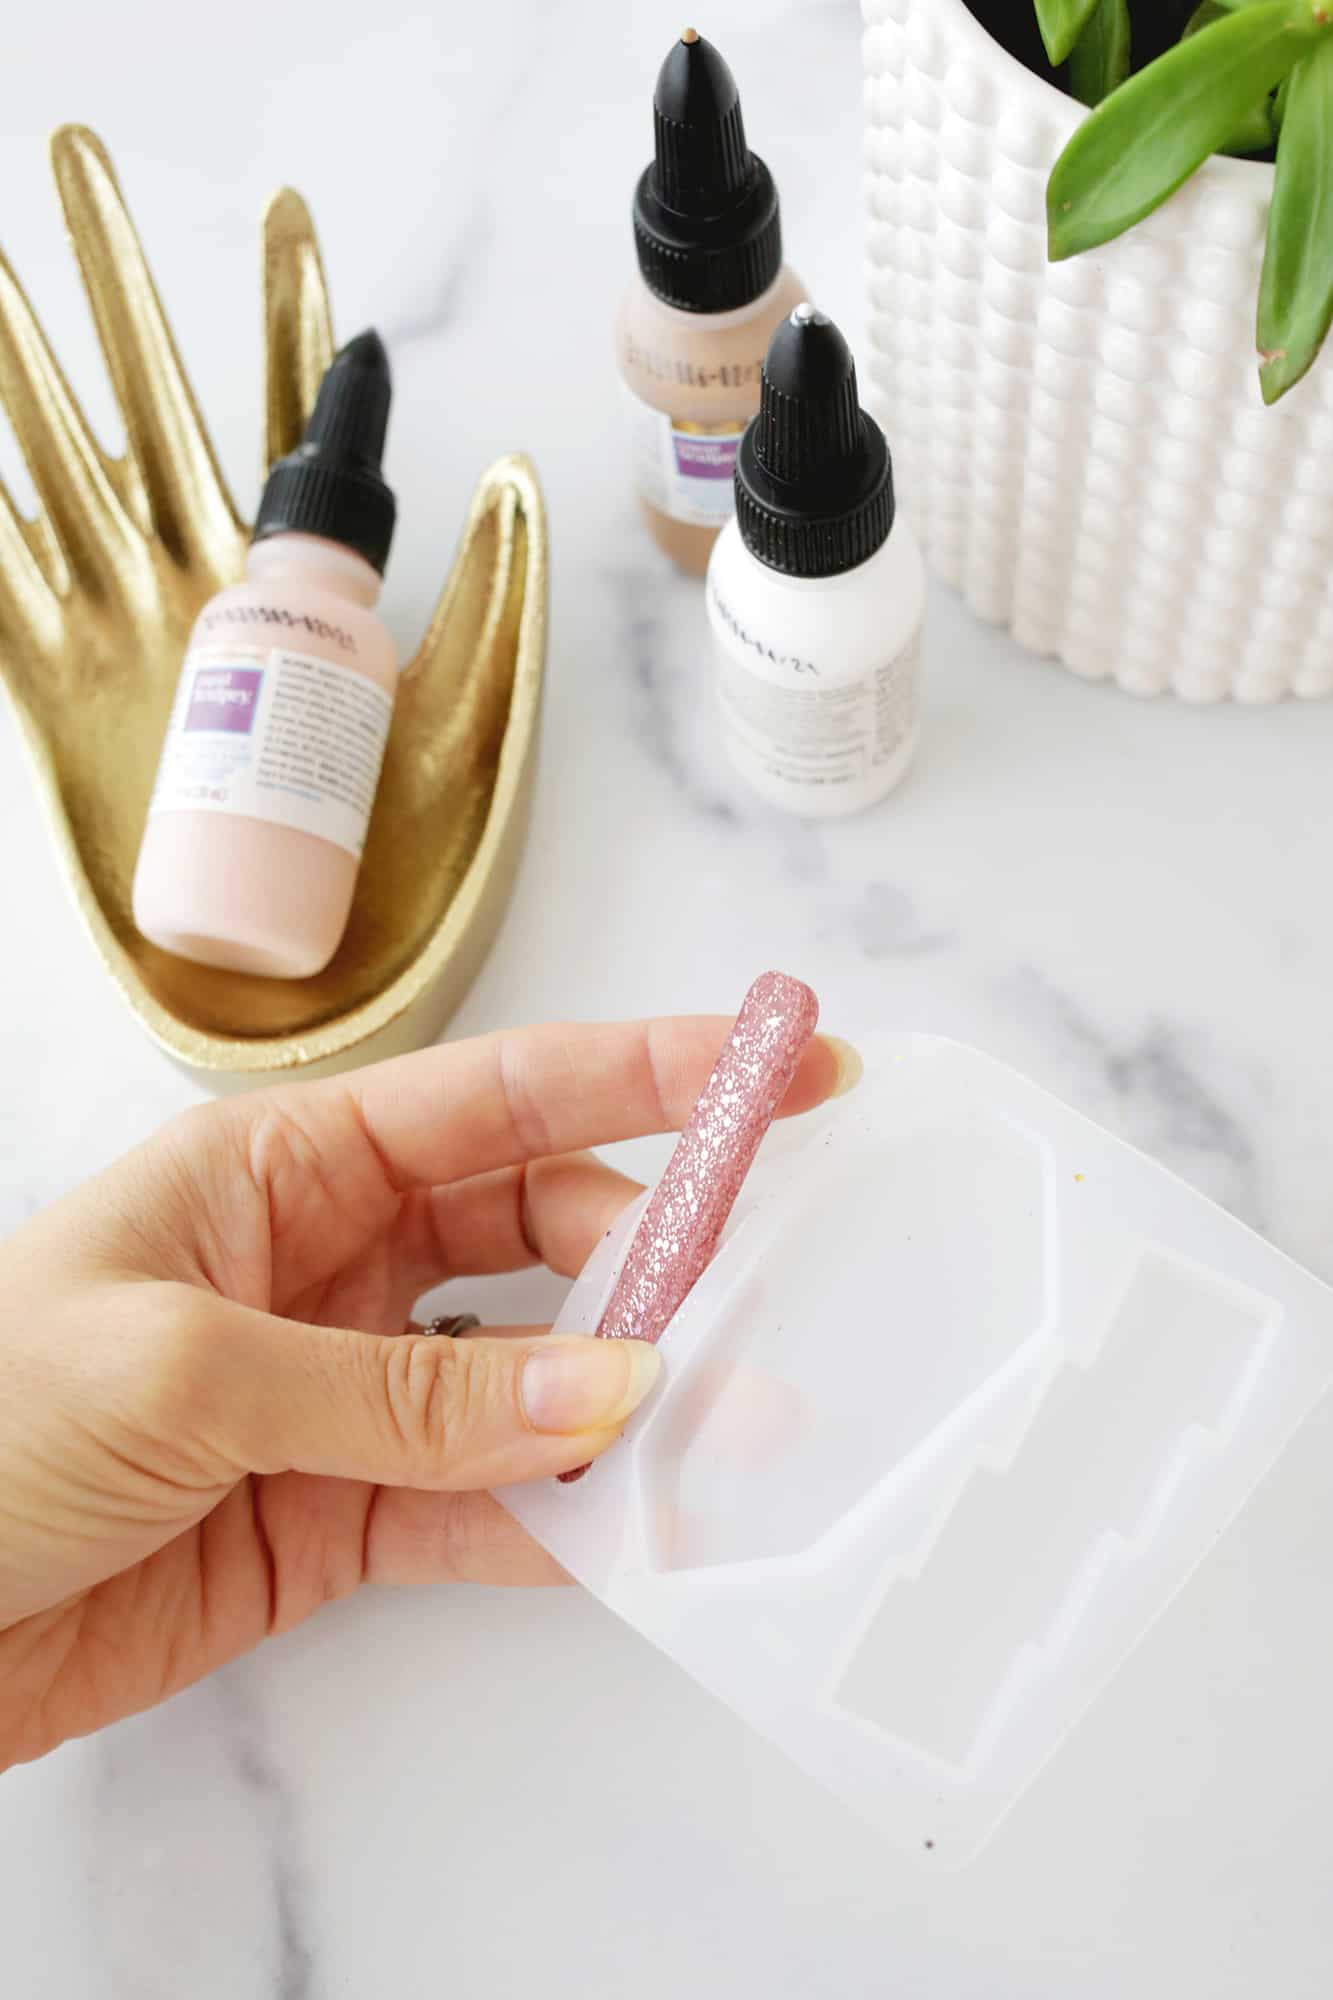
3. Once your molds are ready, bake them in the oven at 275° for 15 minutes (do 30 minutes if your molds are over 1/4″ thick).
4. When molds are done baking, pull them out of the oven and allow them to cool before popping them out of the mold. If you have any edges sticking up from the main part of your barrette, you can cut that edge off with scissors or an X-Acto knife.
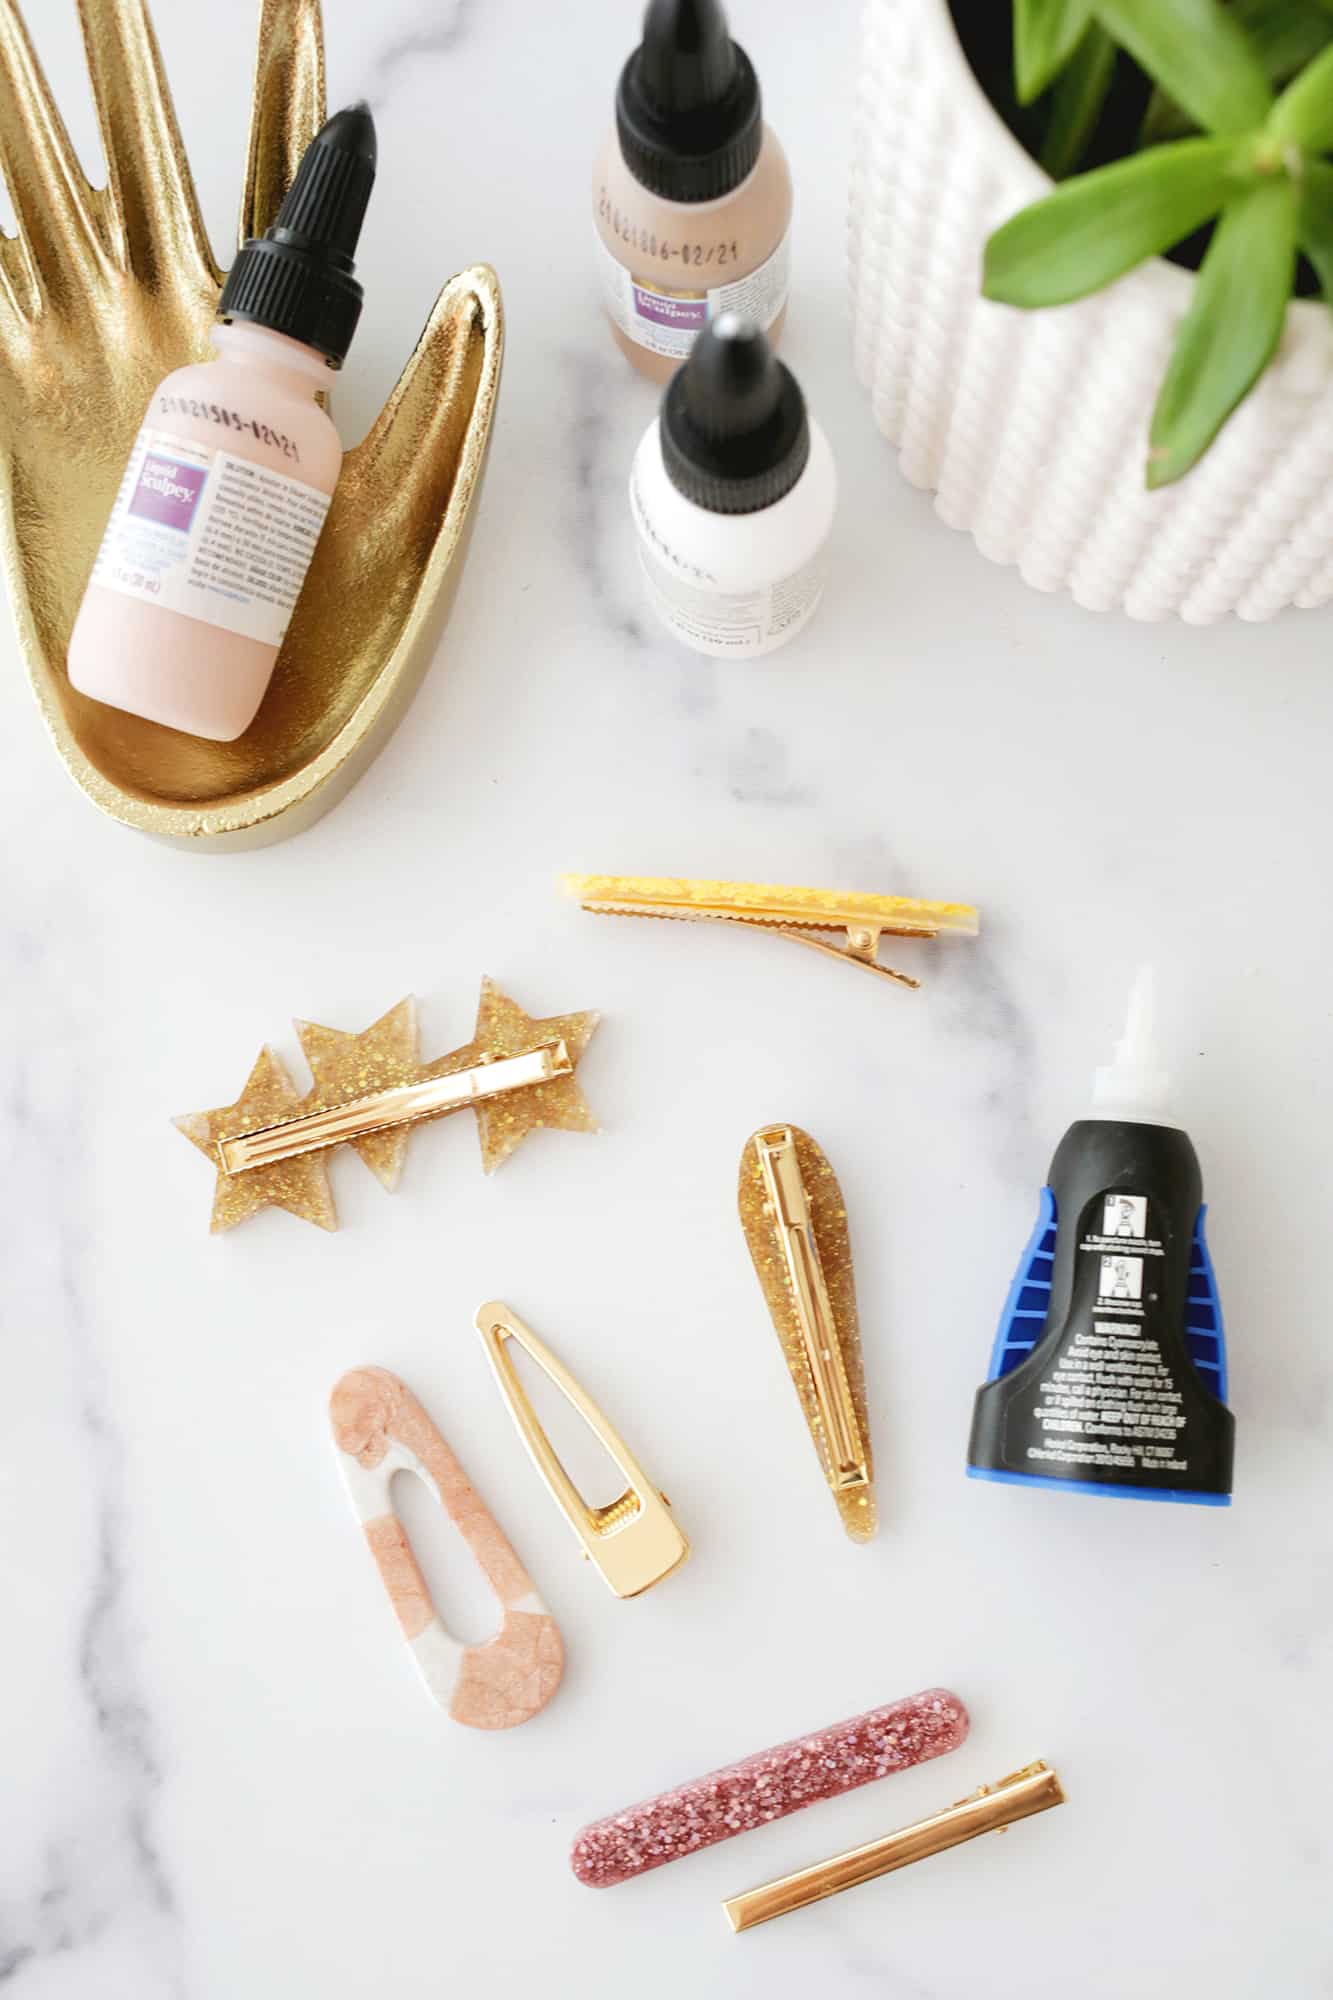
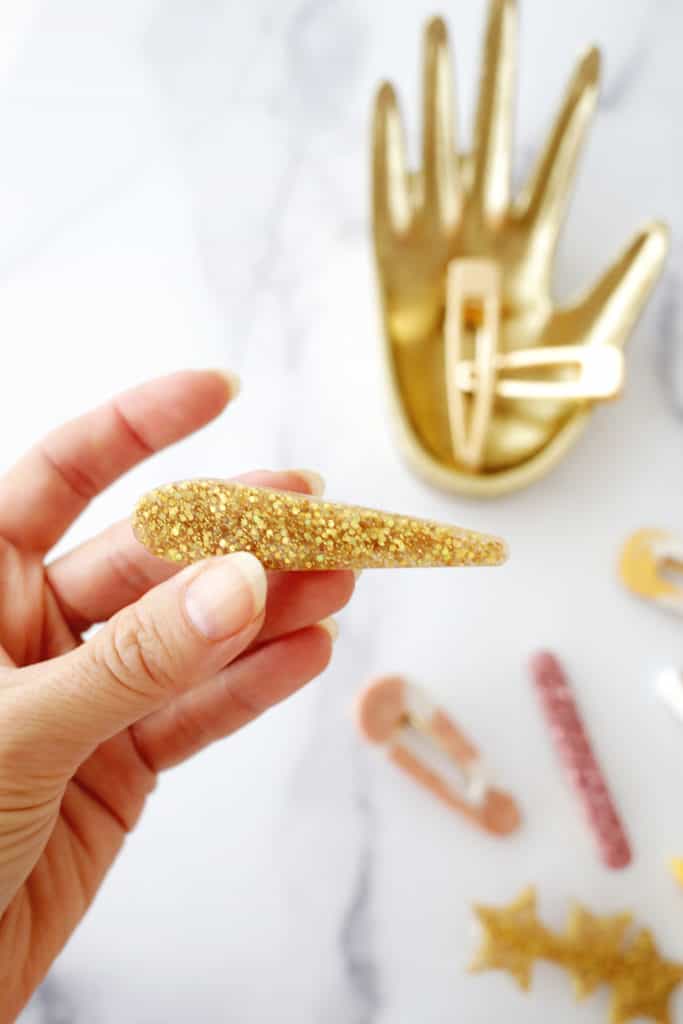
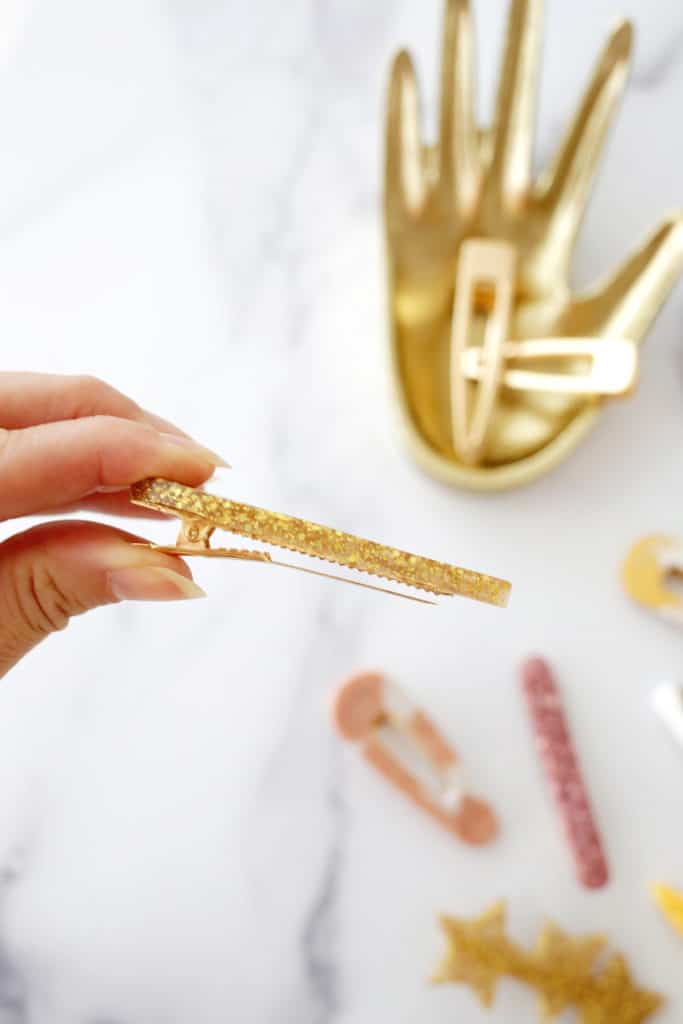
5. Once your clay has cooled, glue it onto the top of a barrette backing, let the glue set and you are ready to wear your creations!
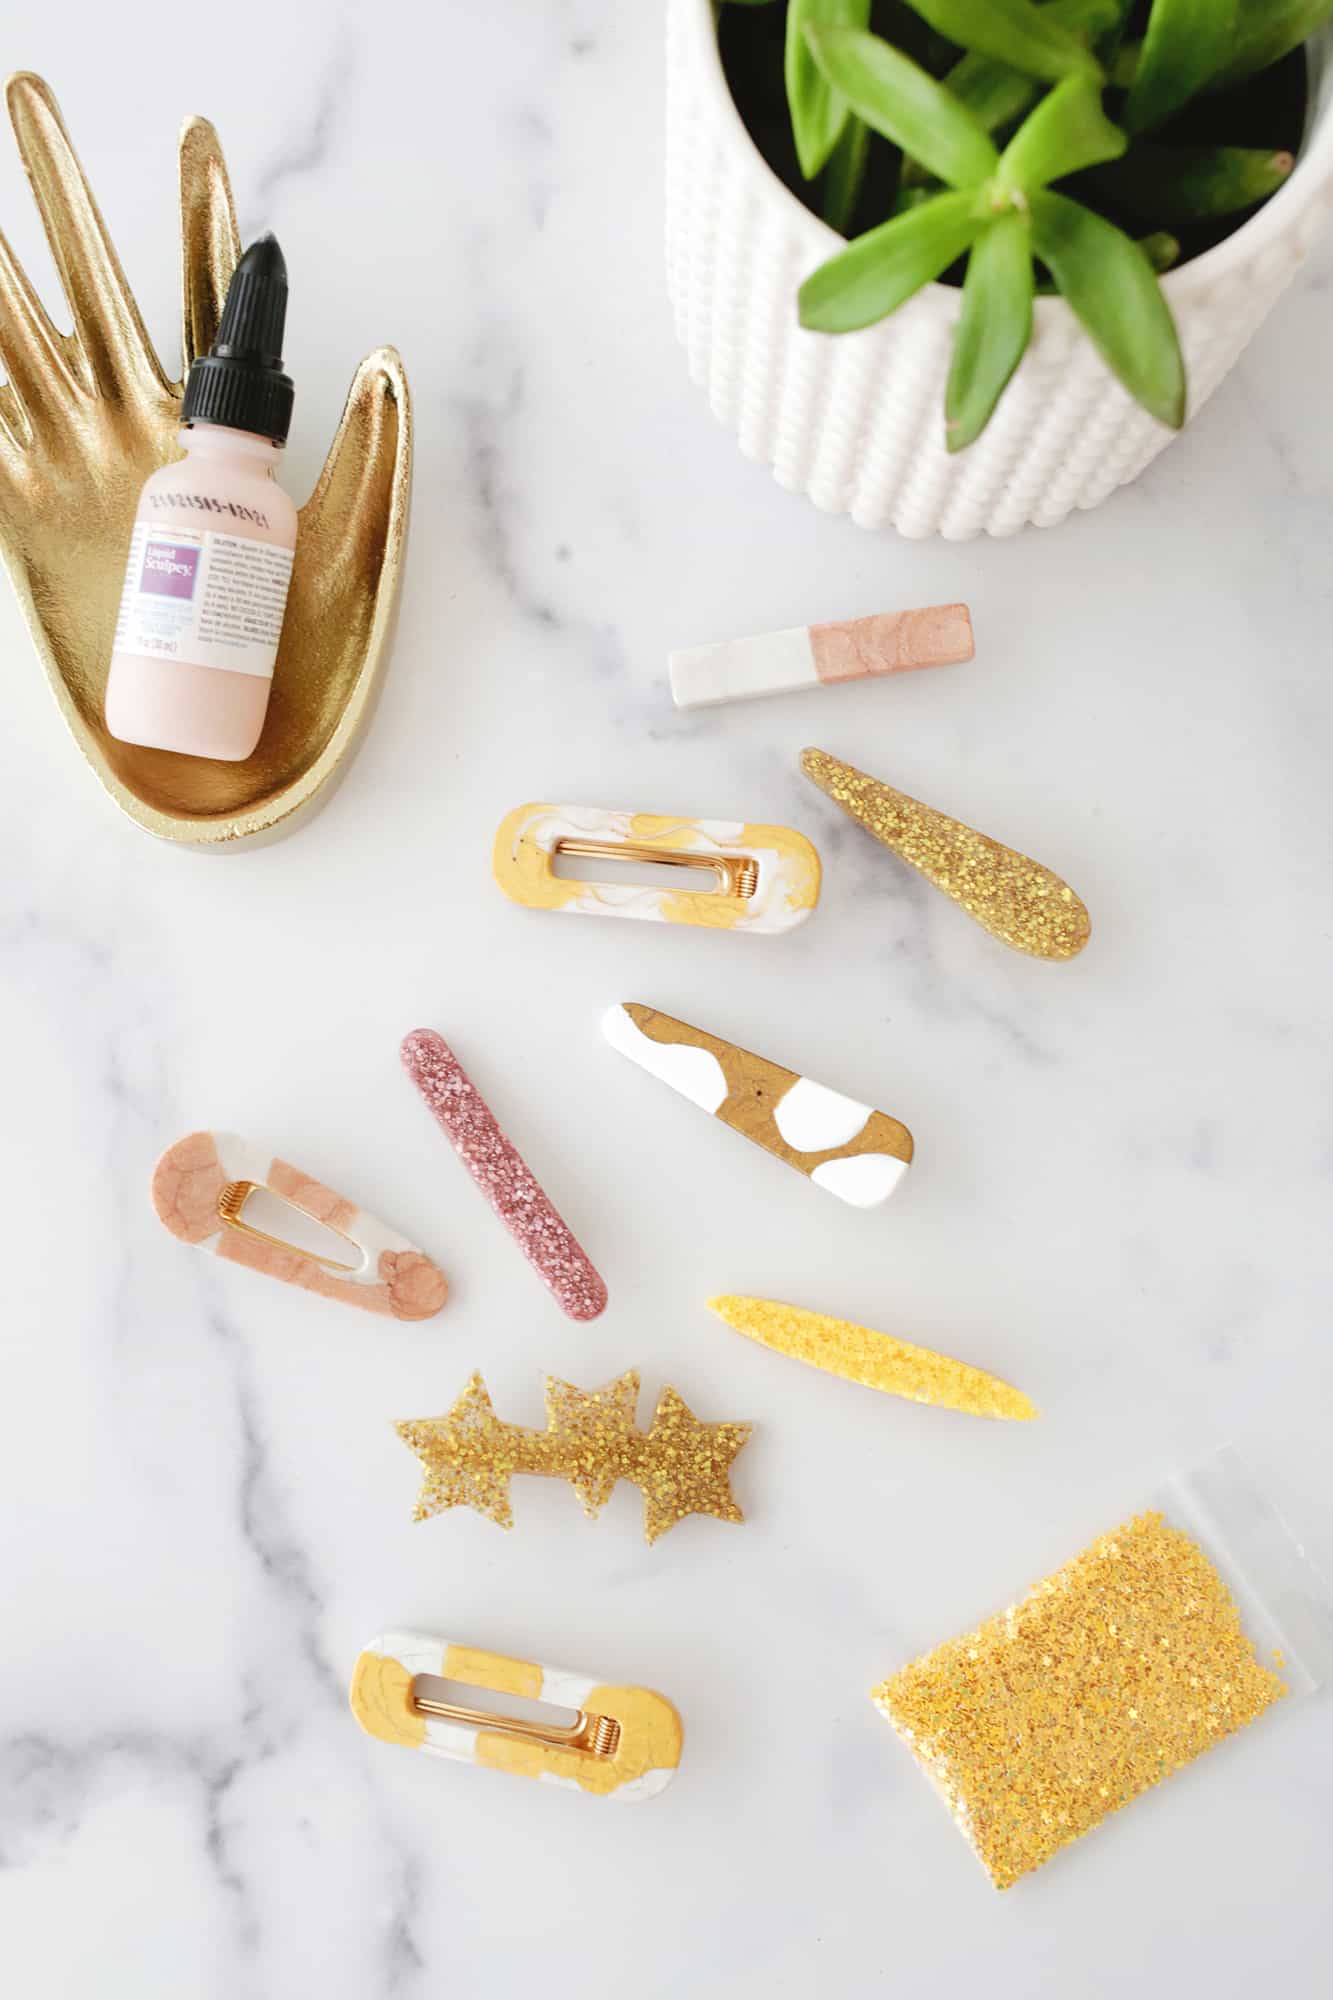
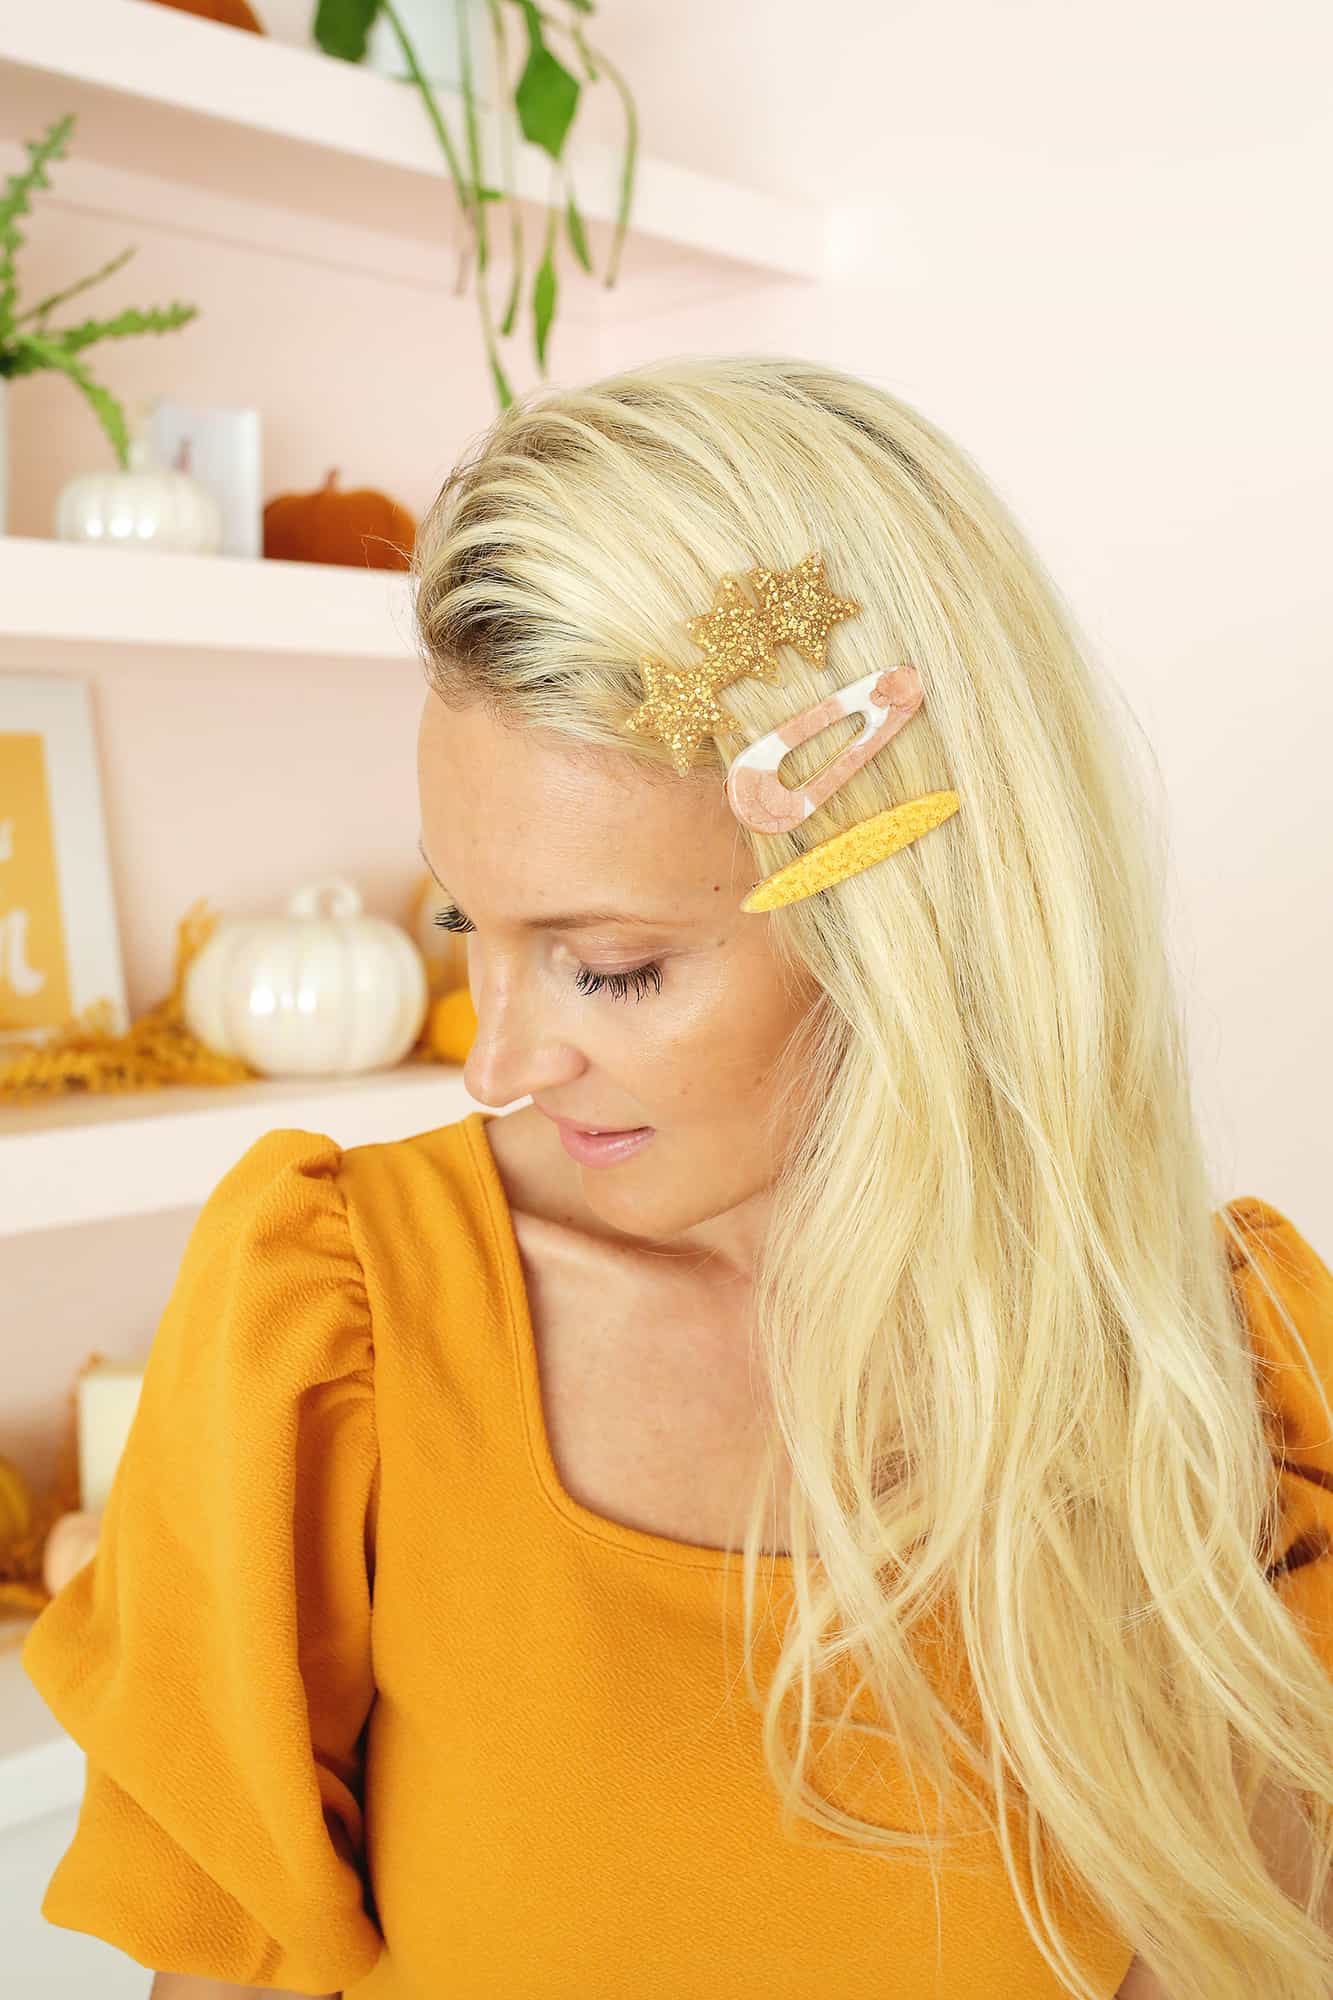
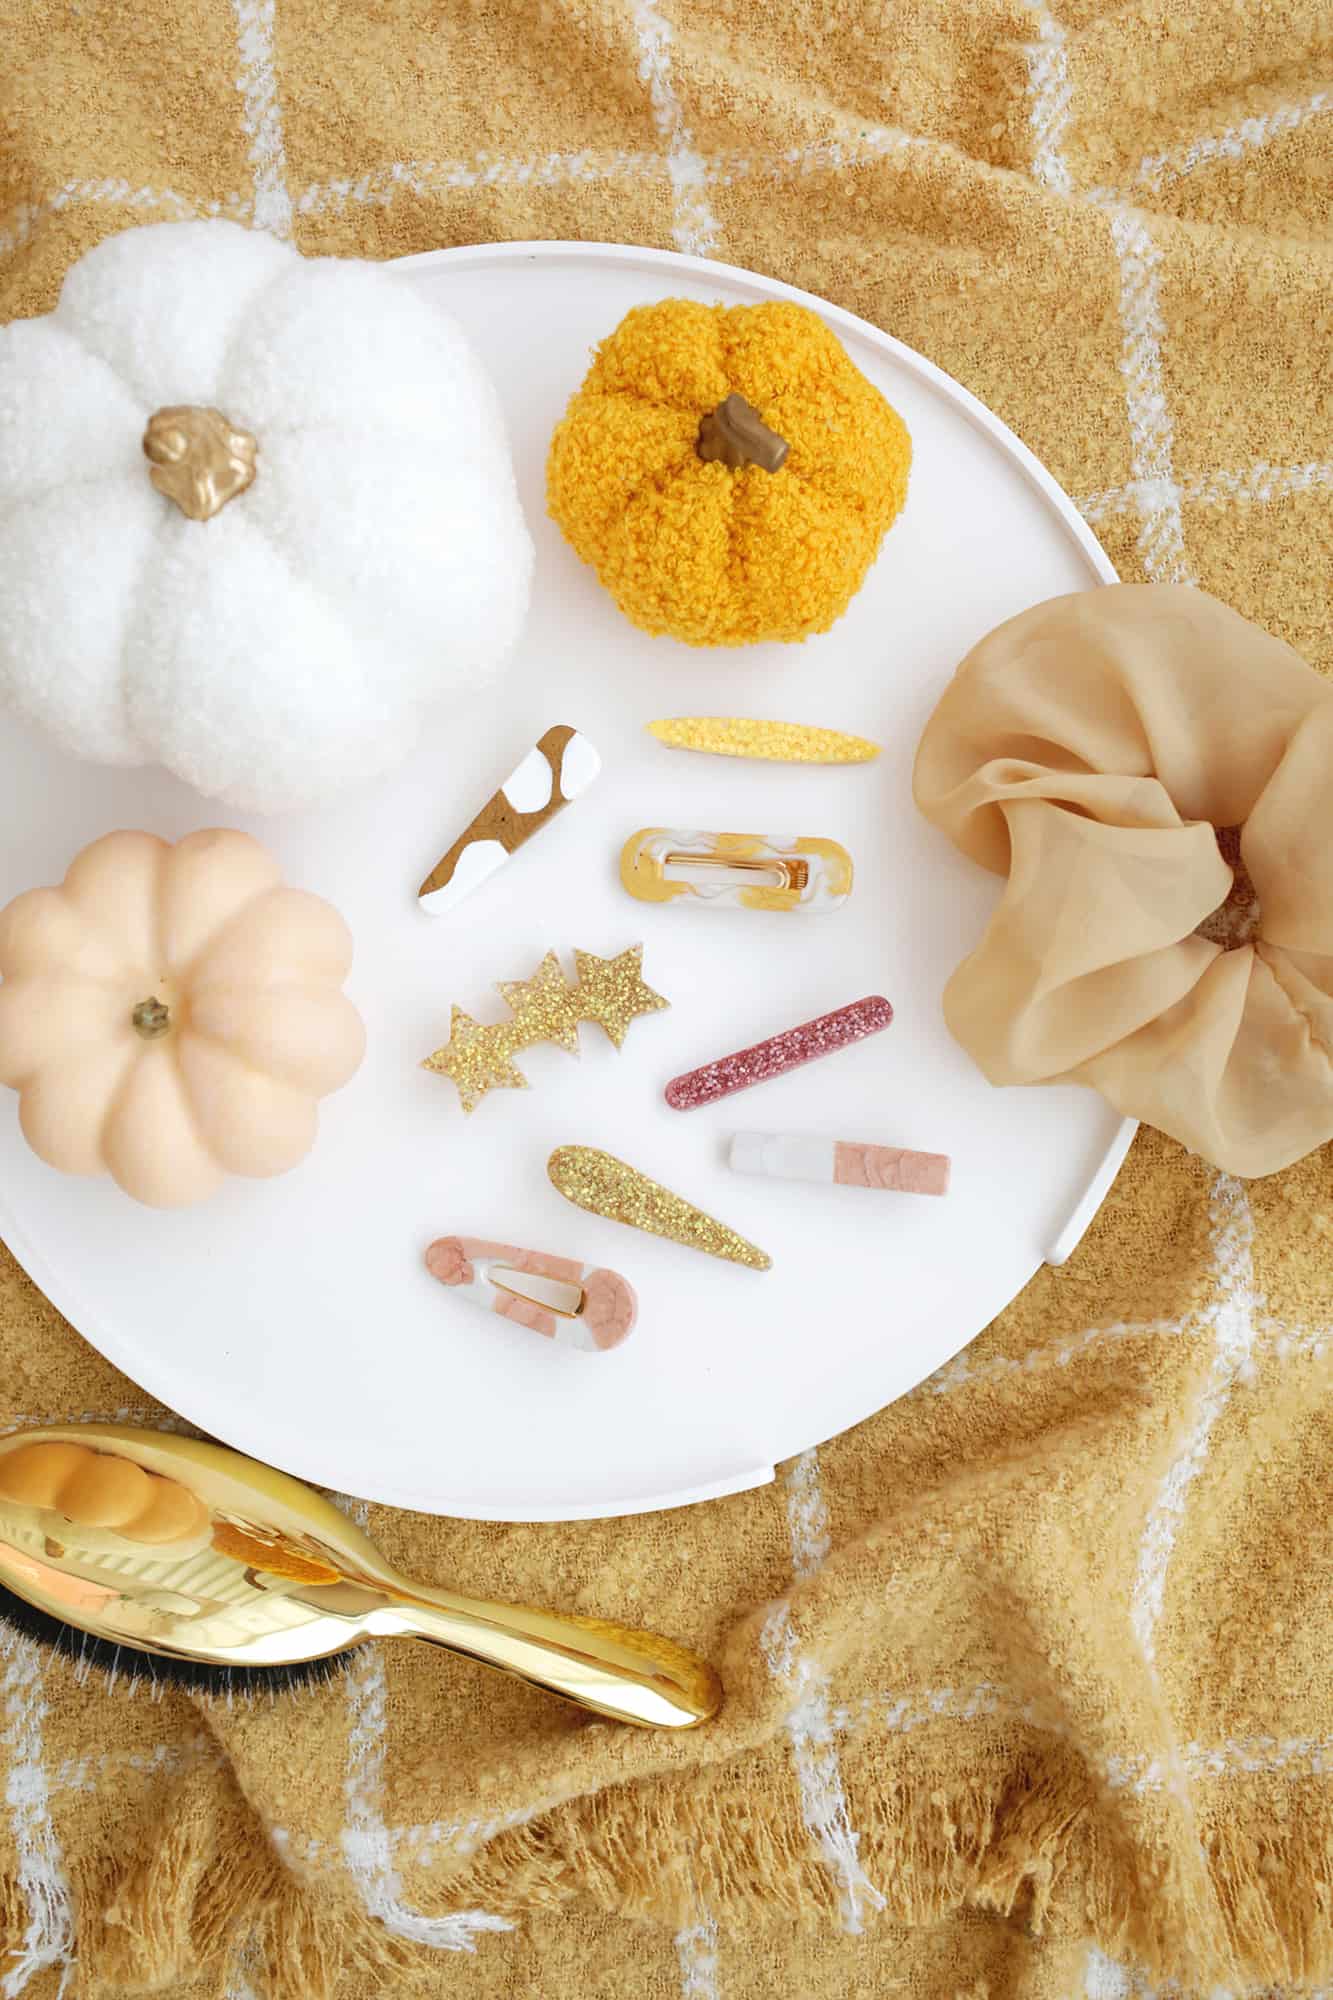
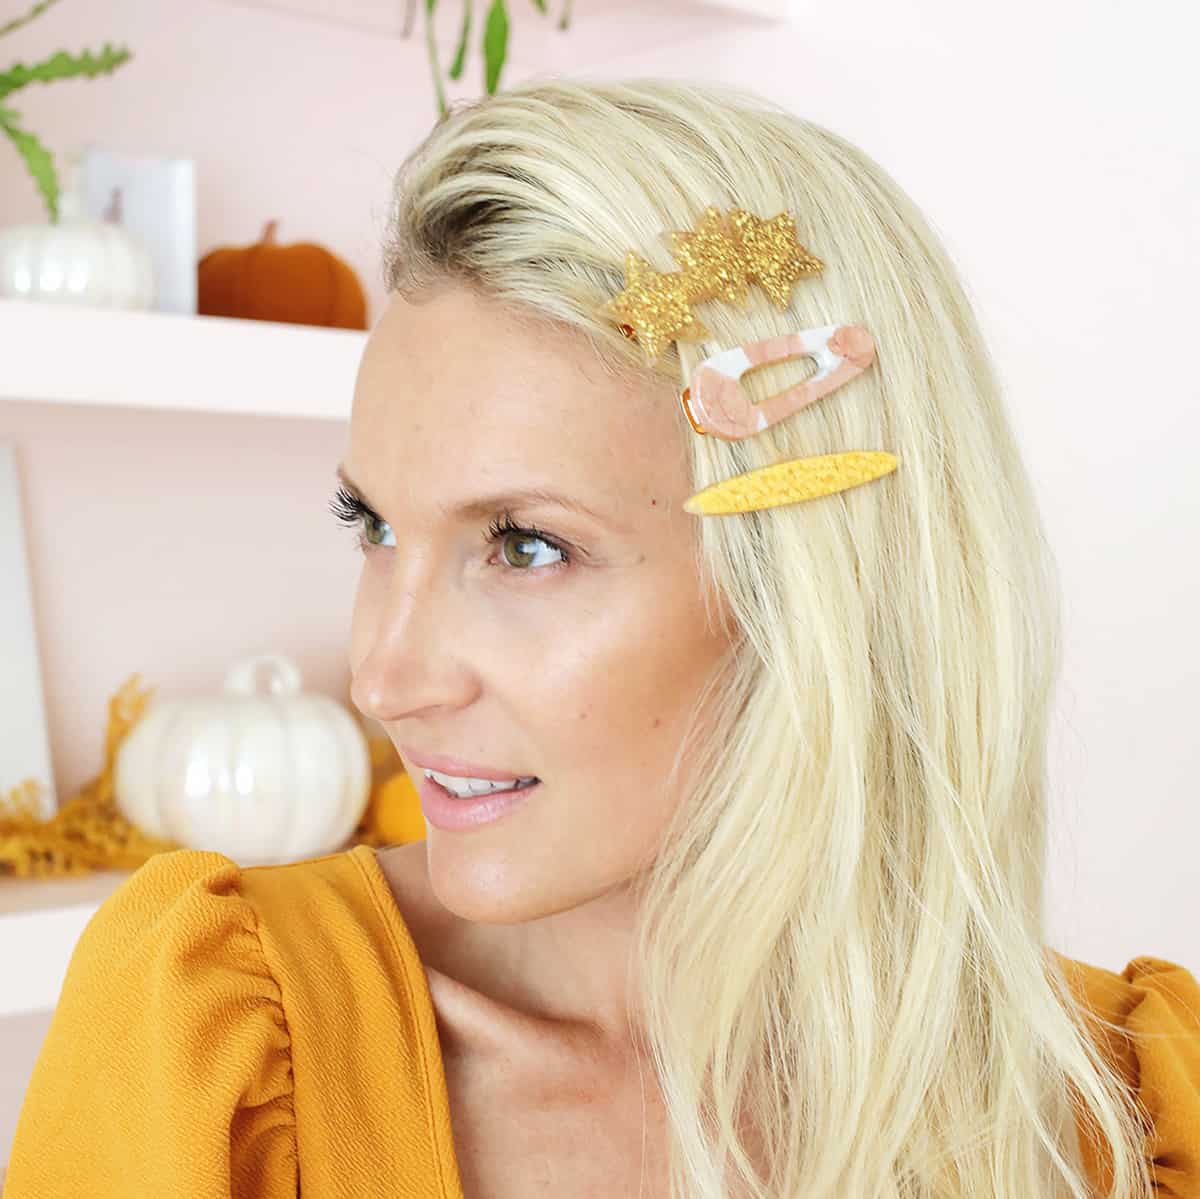
These clips turned out so cute, and your pals will be so impressed when they find out you made them yourself! Using the Sculpey liquid clay was so easy and it was really fun to be able to personalize all the clips to my favorite colors and designs.
Can you believe I made all of those in one afternoon?! And you can create so much more than hair clips with the liquid clay—from Croc charms for your shoes, home décor, jewelry, scrapbooking and beyond!
So, are you sold on making your own clips now? What kind of clips would you make? Color block? Glitter? Tortoise shell? All of them?? xo. Laura
Like This Post? Check Out More Easy Hair DIYs:
- 3 Trendy Hair Clips
- Padded Velvet Headband DIY
- Easy Rosemary Hair Growth Spray DIY
- No-Sew Braided Velvet Headband
If you’re looking for an easy to keep your hair accessories organized, check out Emma’s hair accessory organizer DIY!
FAQ
Frequently Asked Questions
What type of glue is best to glue the barrette holders to the barrettes?
You’ll want to use a multi-surface glue since you are gluing a rubber-like material to a metal surface.
A gel super glue should work well, but just make sure that the glue you are trying is for many different surfaces and that you give it adequate time for the glue to set before wearing.
Can I use the liquid clay for other DIYs as well?
Yes! There are tons of uses for Sculpey liquid clay! Besides using it in molds to make hair clips and jewelry, you can also write with it to add words/phrases to DIYs like we did with this wreath project.
Love this post? Sign up for our newsletter for more ideas!

Get creative ideas for recipes, crafts, decor, and more in your inbox!
 Get the How-To
Supplies
- Sculpey Liquid Clay ( in various colors)
- Barrette molds
- Barrette clips
- Glue
- Clay thinner ((optional))
Equipment
- oven
- Toothpick or popsicle sticks
- Baking sheet
Instructions
- Open the lid of your liquid clay and stir the clay well with a popsicle stick. You can also add thinner to your clay if you want a more thin consistency, or you can let it sit out overnight with the cap off for a thicker consistency.
- Twist the cap back on and twist the nozzle to open the clay and squeeze your color into your mold.
- To get a color block look, squeeze one color into half of your mold and straighten the edge where it will hit the other color with a toothpick so it’s as squared off as you can get it. Pour in the second color on the other side.
- To get a tortoise shell look, squeeze one color in different spots of your mold and another color in the leftover areas.
- To get a glitter look, use the clear liquid clay to fill your mold about 2/3 full and then pour in small glitter shapes or loose glitter. Mix in with a toothpick until it’s evenly distributed, add more clear liquid clay until mold is full, and stir again. If you want a solid glitter look, add more, and use less glitter if you want it to be more spread out.
- Once your molds are ready, bake them in the oven at 275° for 15 minutes (do 30 minutes if your molds are over 1/4″ thick).
- When molds are done baking, pull them out of the oven and allow them to cool before popping them out of the mold.
- Once your clay has cooled, glue it onto the top of a barrette backing, let the glue set and you are ready to wear your creations!


These clips turned out to be beautiful. Loved the marble look.
What a sweet DIY! These hair clips would make great holiday gifts.