So, I have a feeling that you saw the title of this post said, “Why would I want that?” or, “Oh, dear Lord, YES!”.
I’m always astounded by the amount of clothing items in stores (especially in summer) that it would be impossible to wear a bra with based on the low back/skinny straps/no straps/cutout designs.
And as someone who definitely needs some support in that department, it frustrates me to no end.
Related: Check out our sewing archives for more ideas.
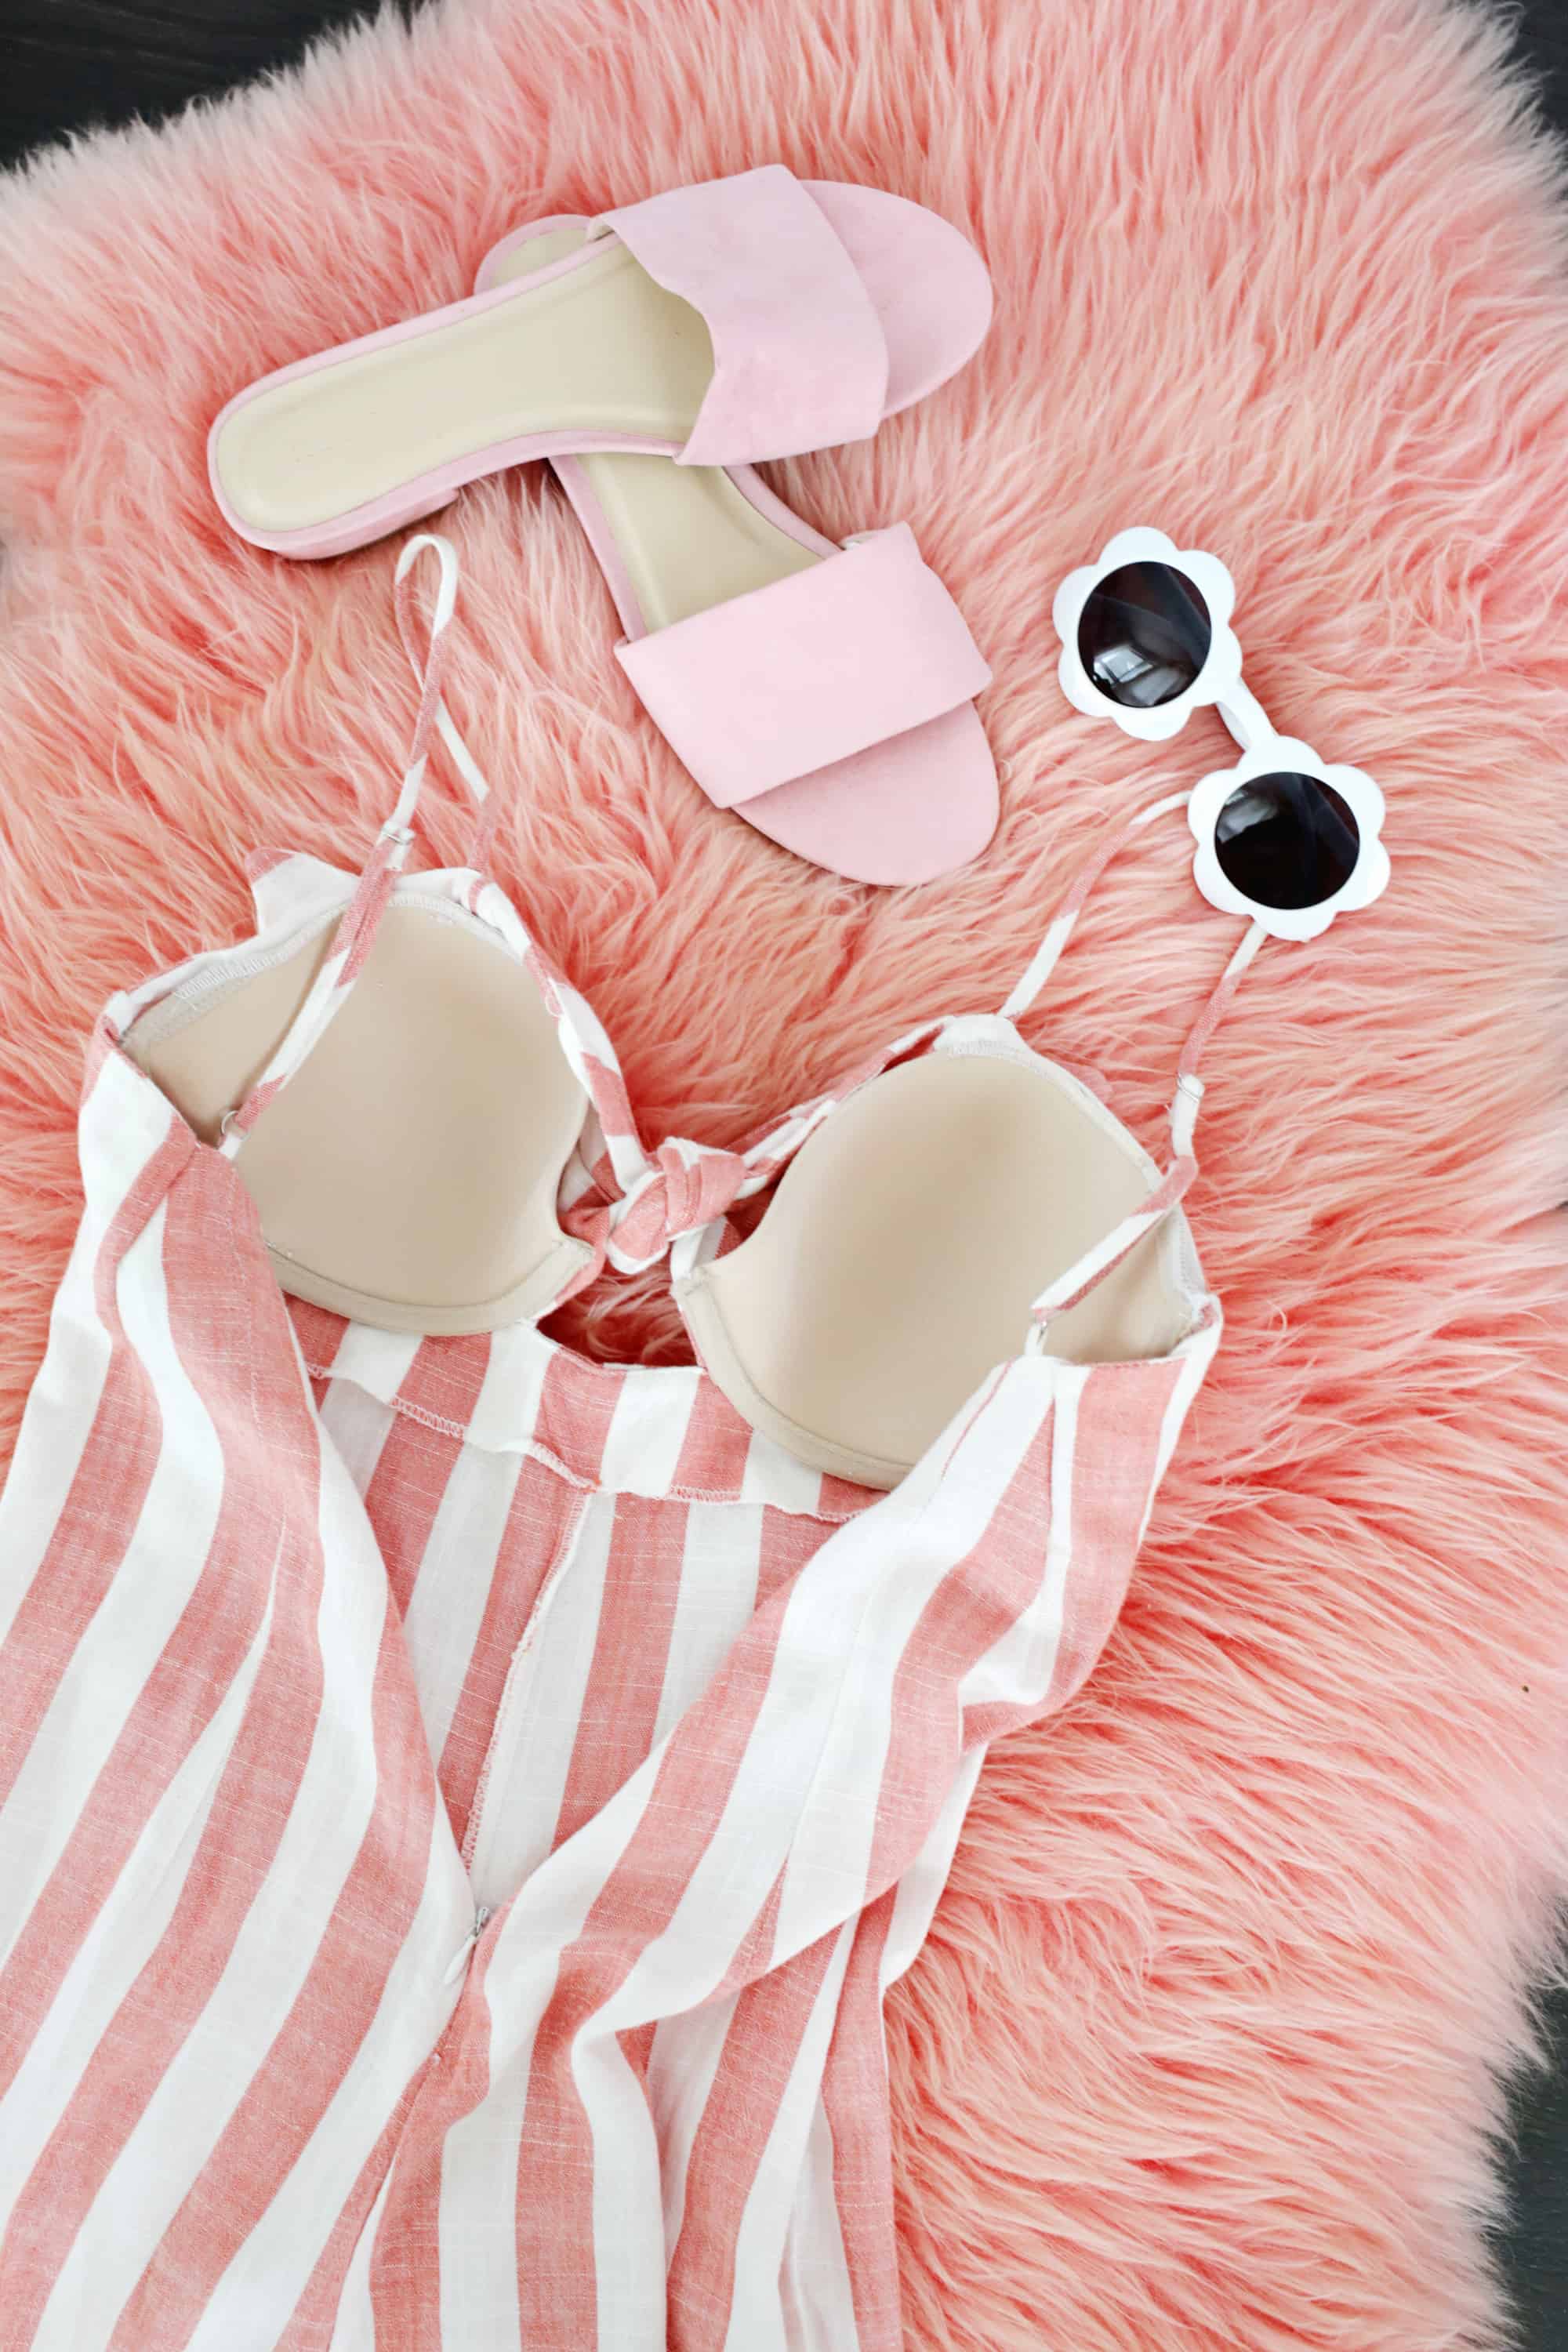
Now, this won’t work on every item depending on the construction and what the material is, but my guess is that you’ll be able to open up your options range a lot wider than you would think with this trick.
The items that work best with this are ones that are more fitted to the torso/waist, so this method wouldn’t work with a super flowy top or dress.
I’ll show you two ways to add some support to your garment based on the level of support that you need.
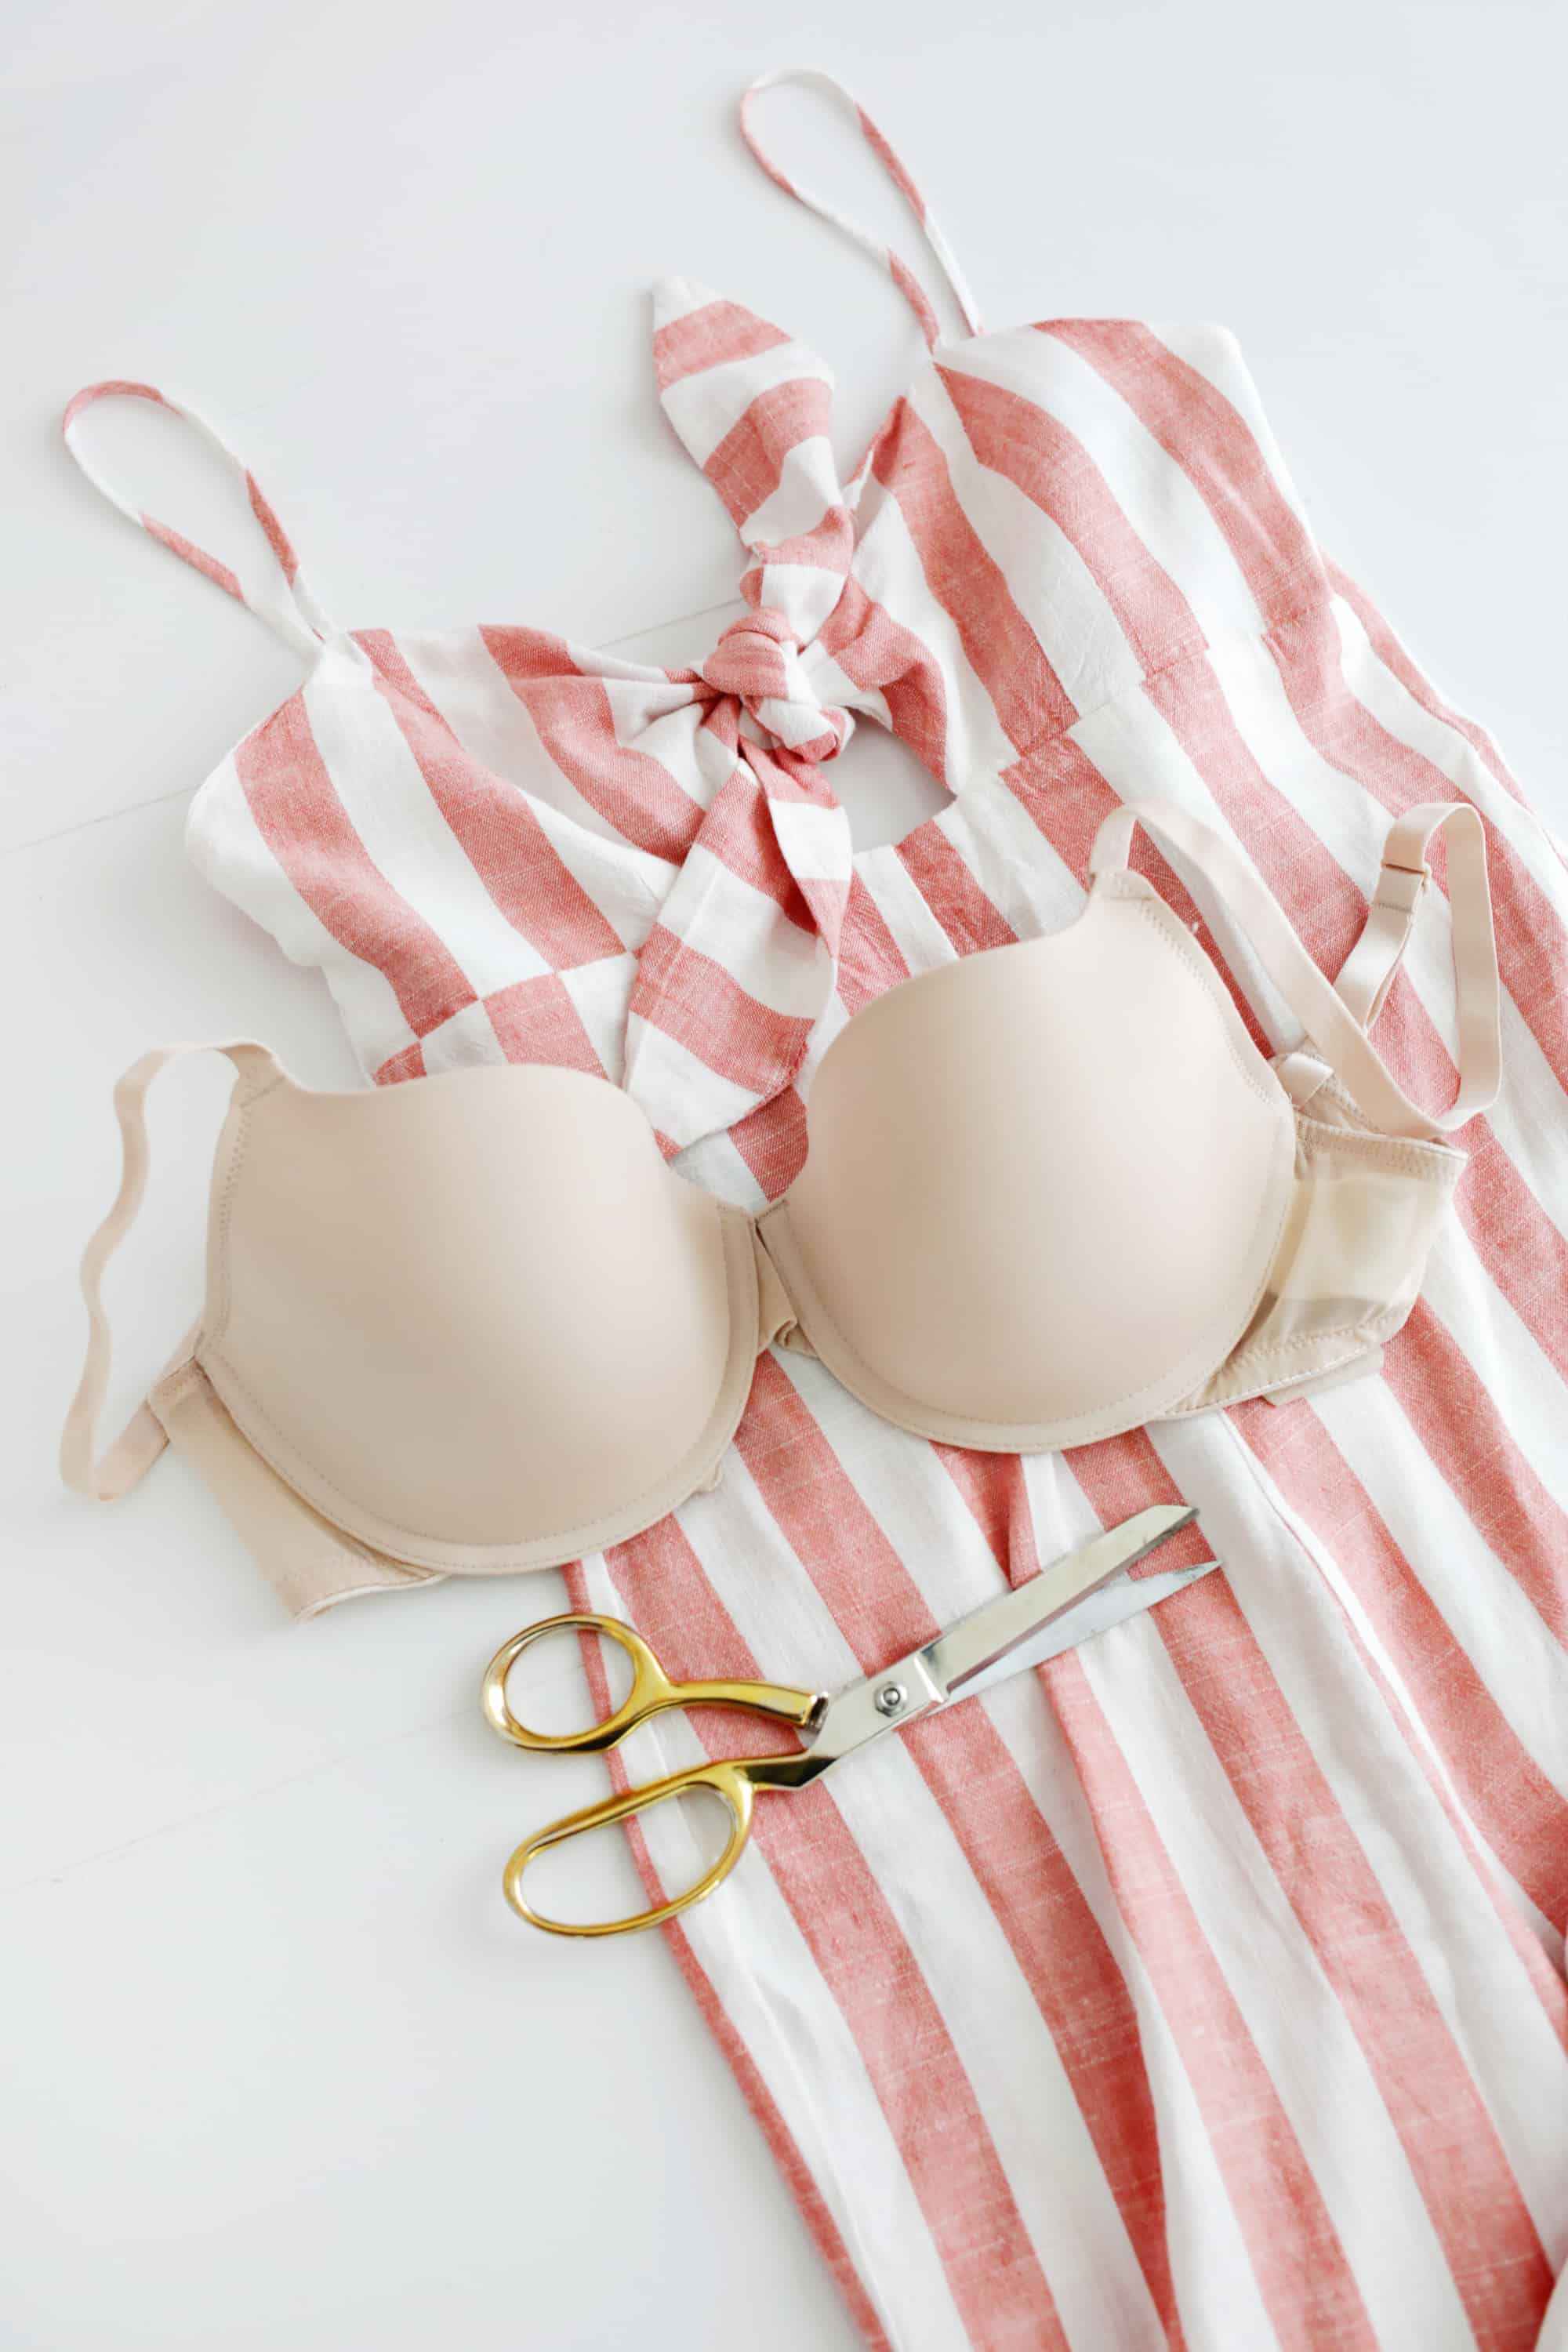
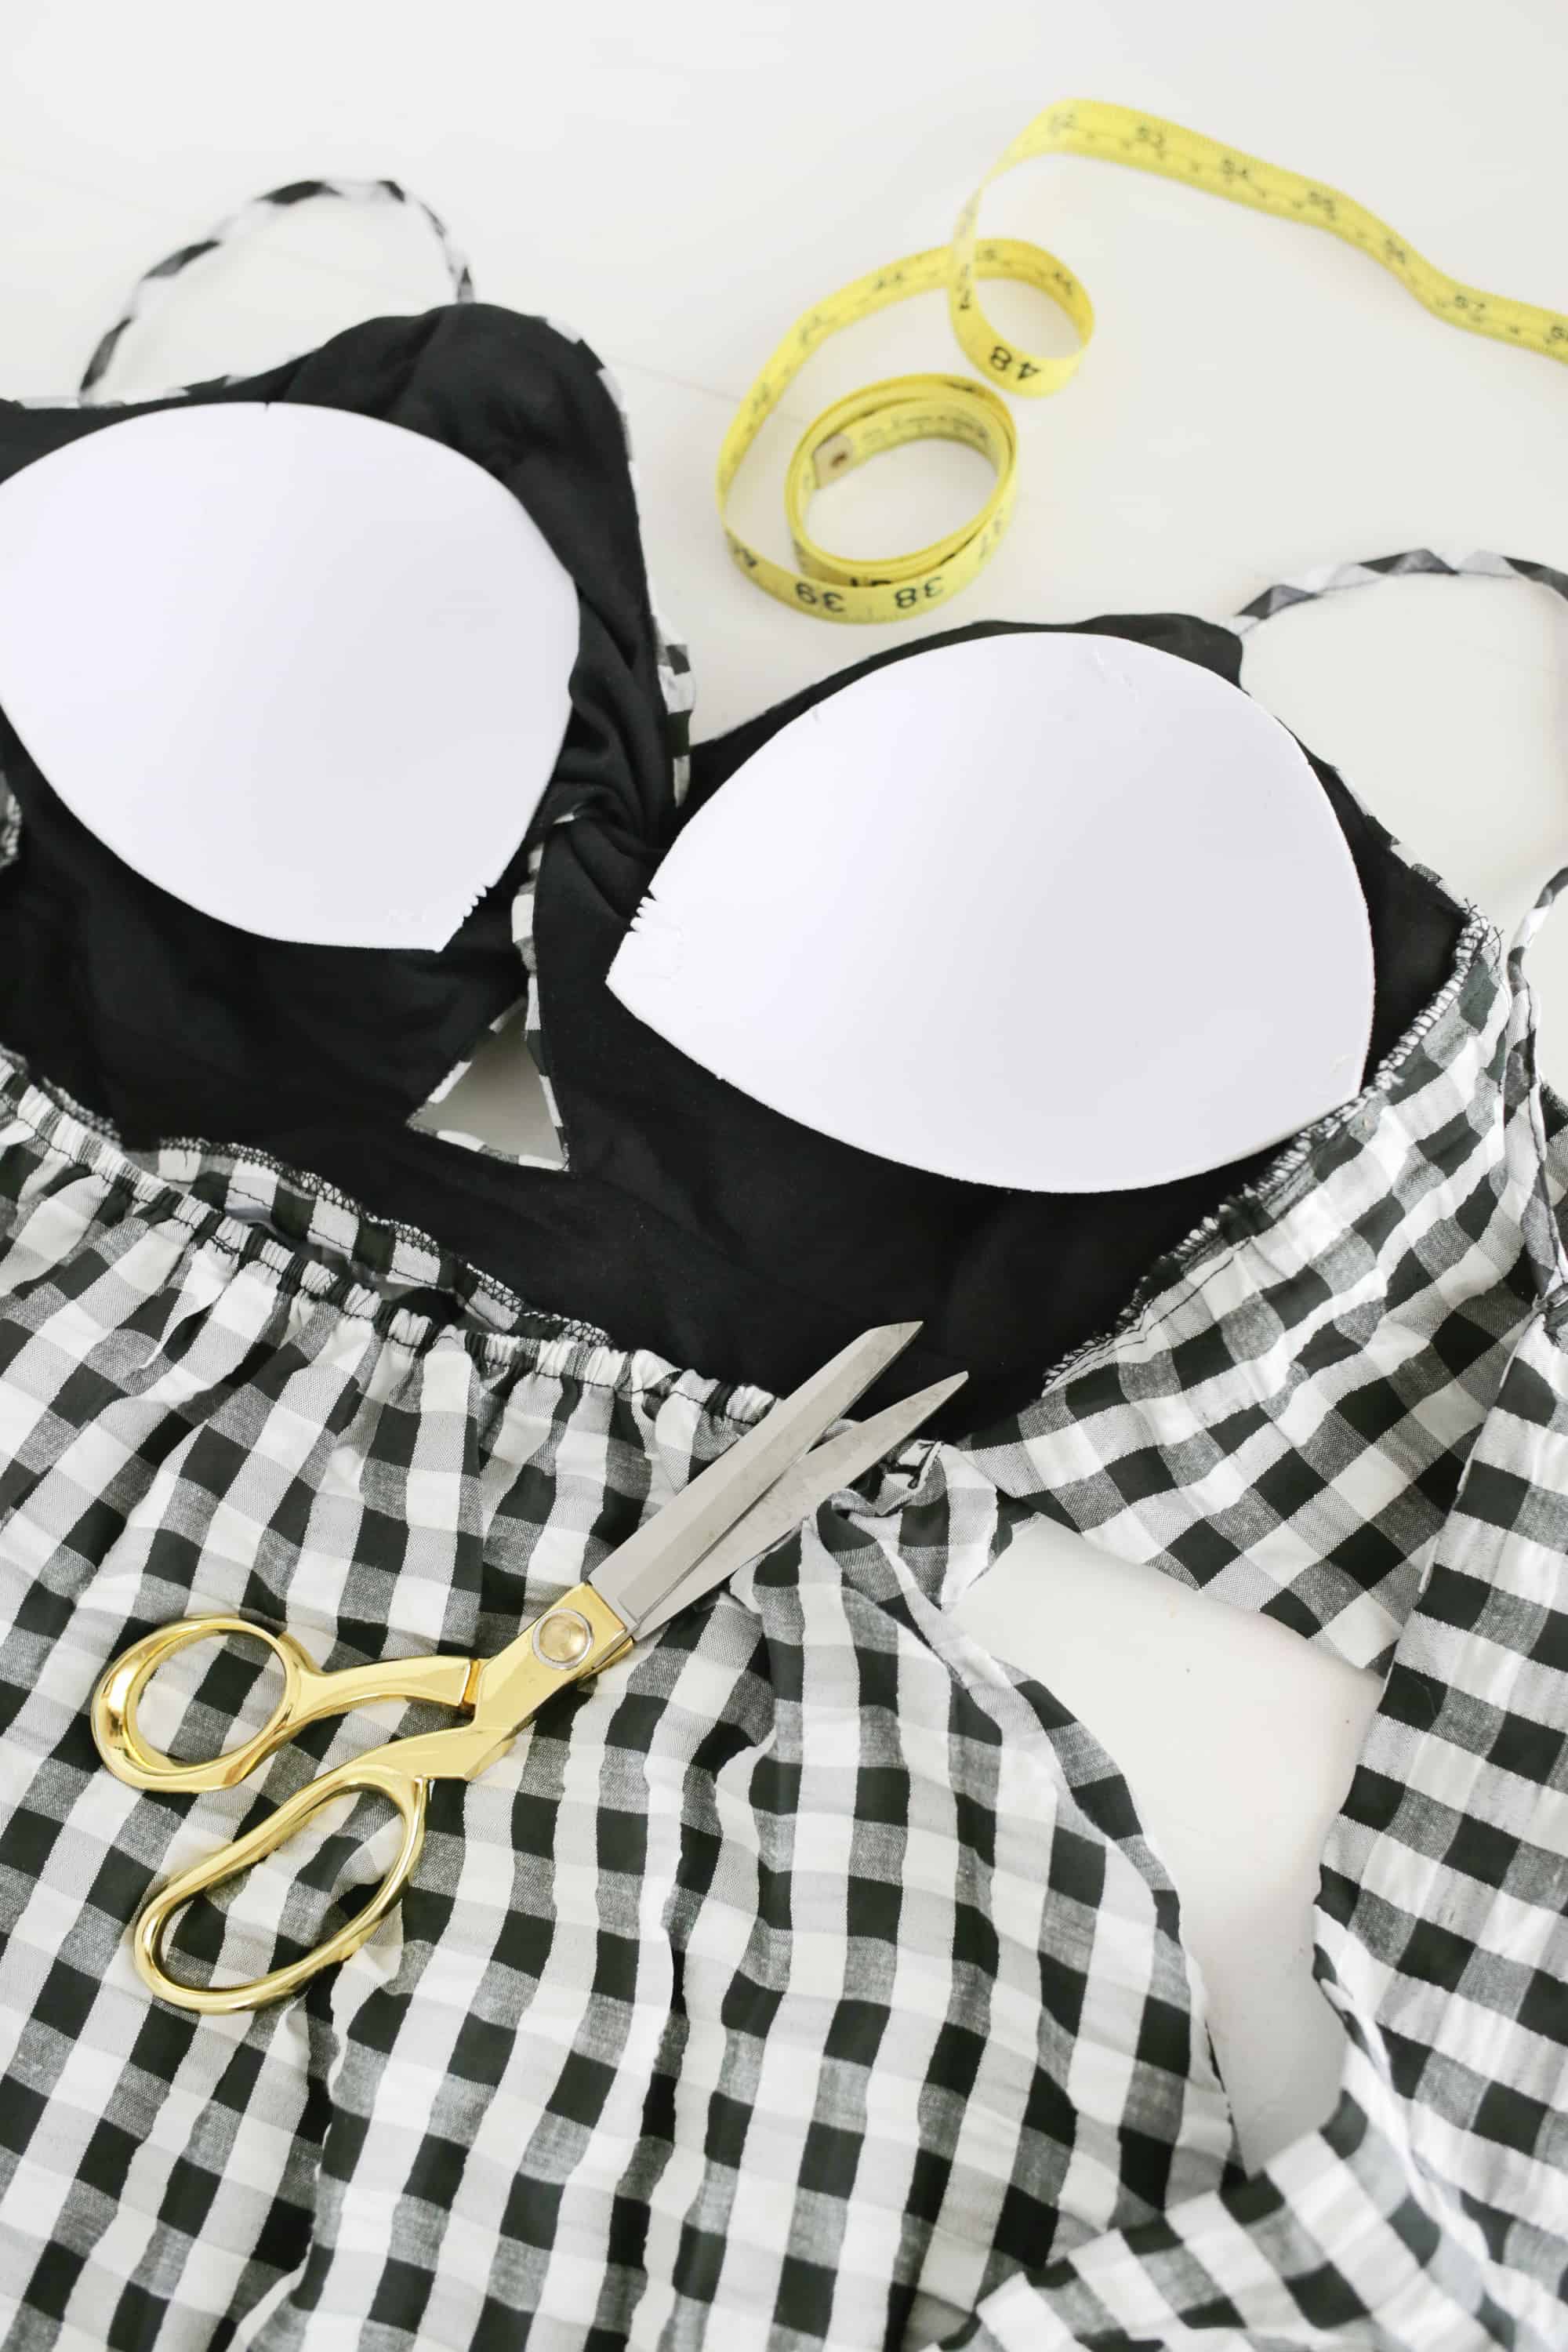
Since we are going to cut this bra apart, it’s a good idea to find a less expensive bra set, or you can use an old everyday underwire bra that you were about to retire.
I found some bras on sale that had a band size that was too large for me, but since the cups fit I got them anyway, since that’s the part I was going to be using.
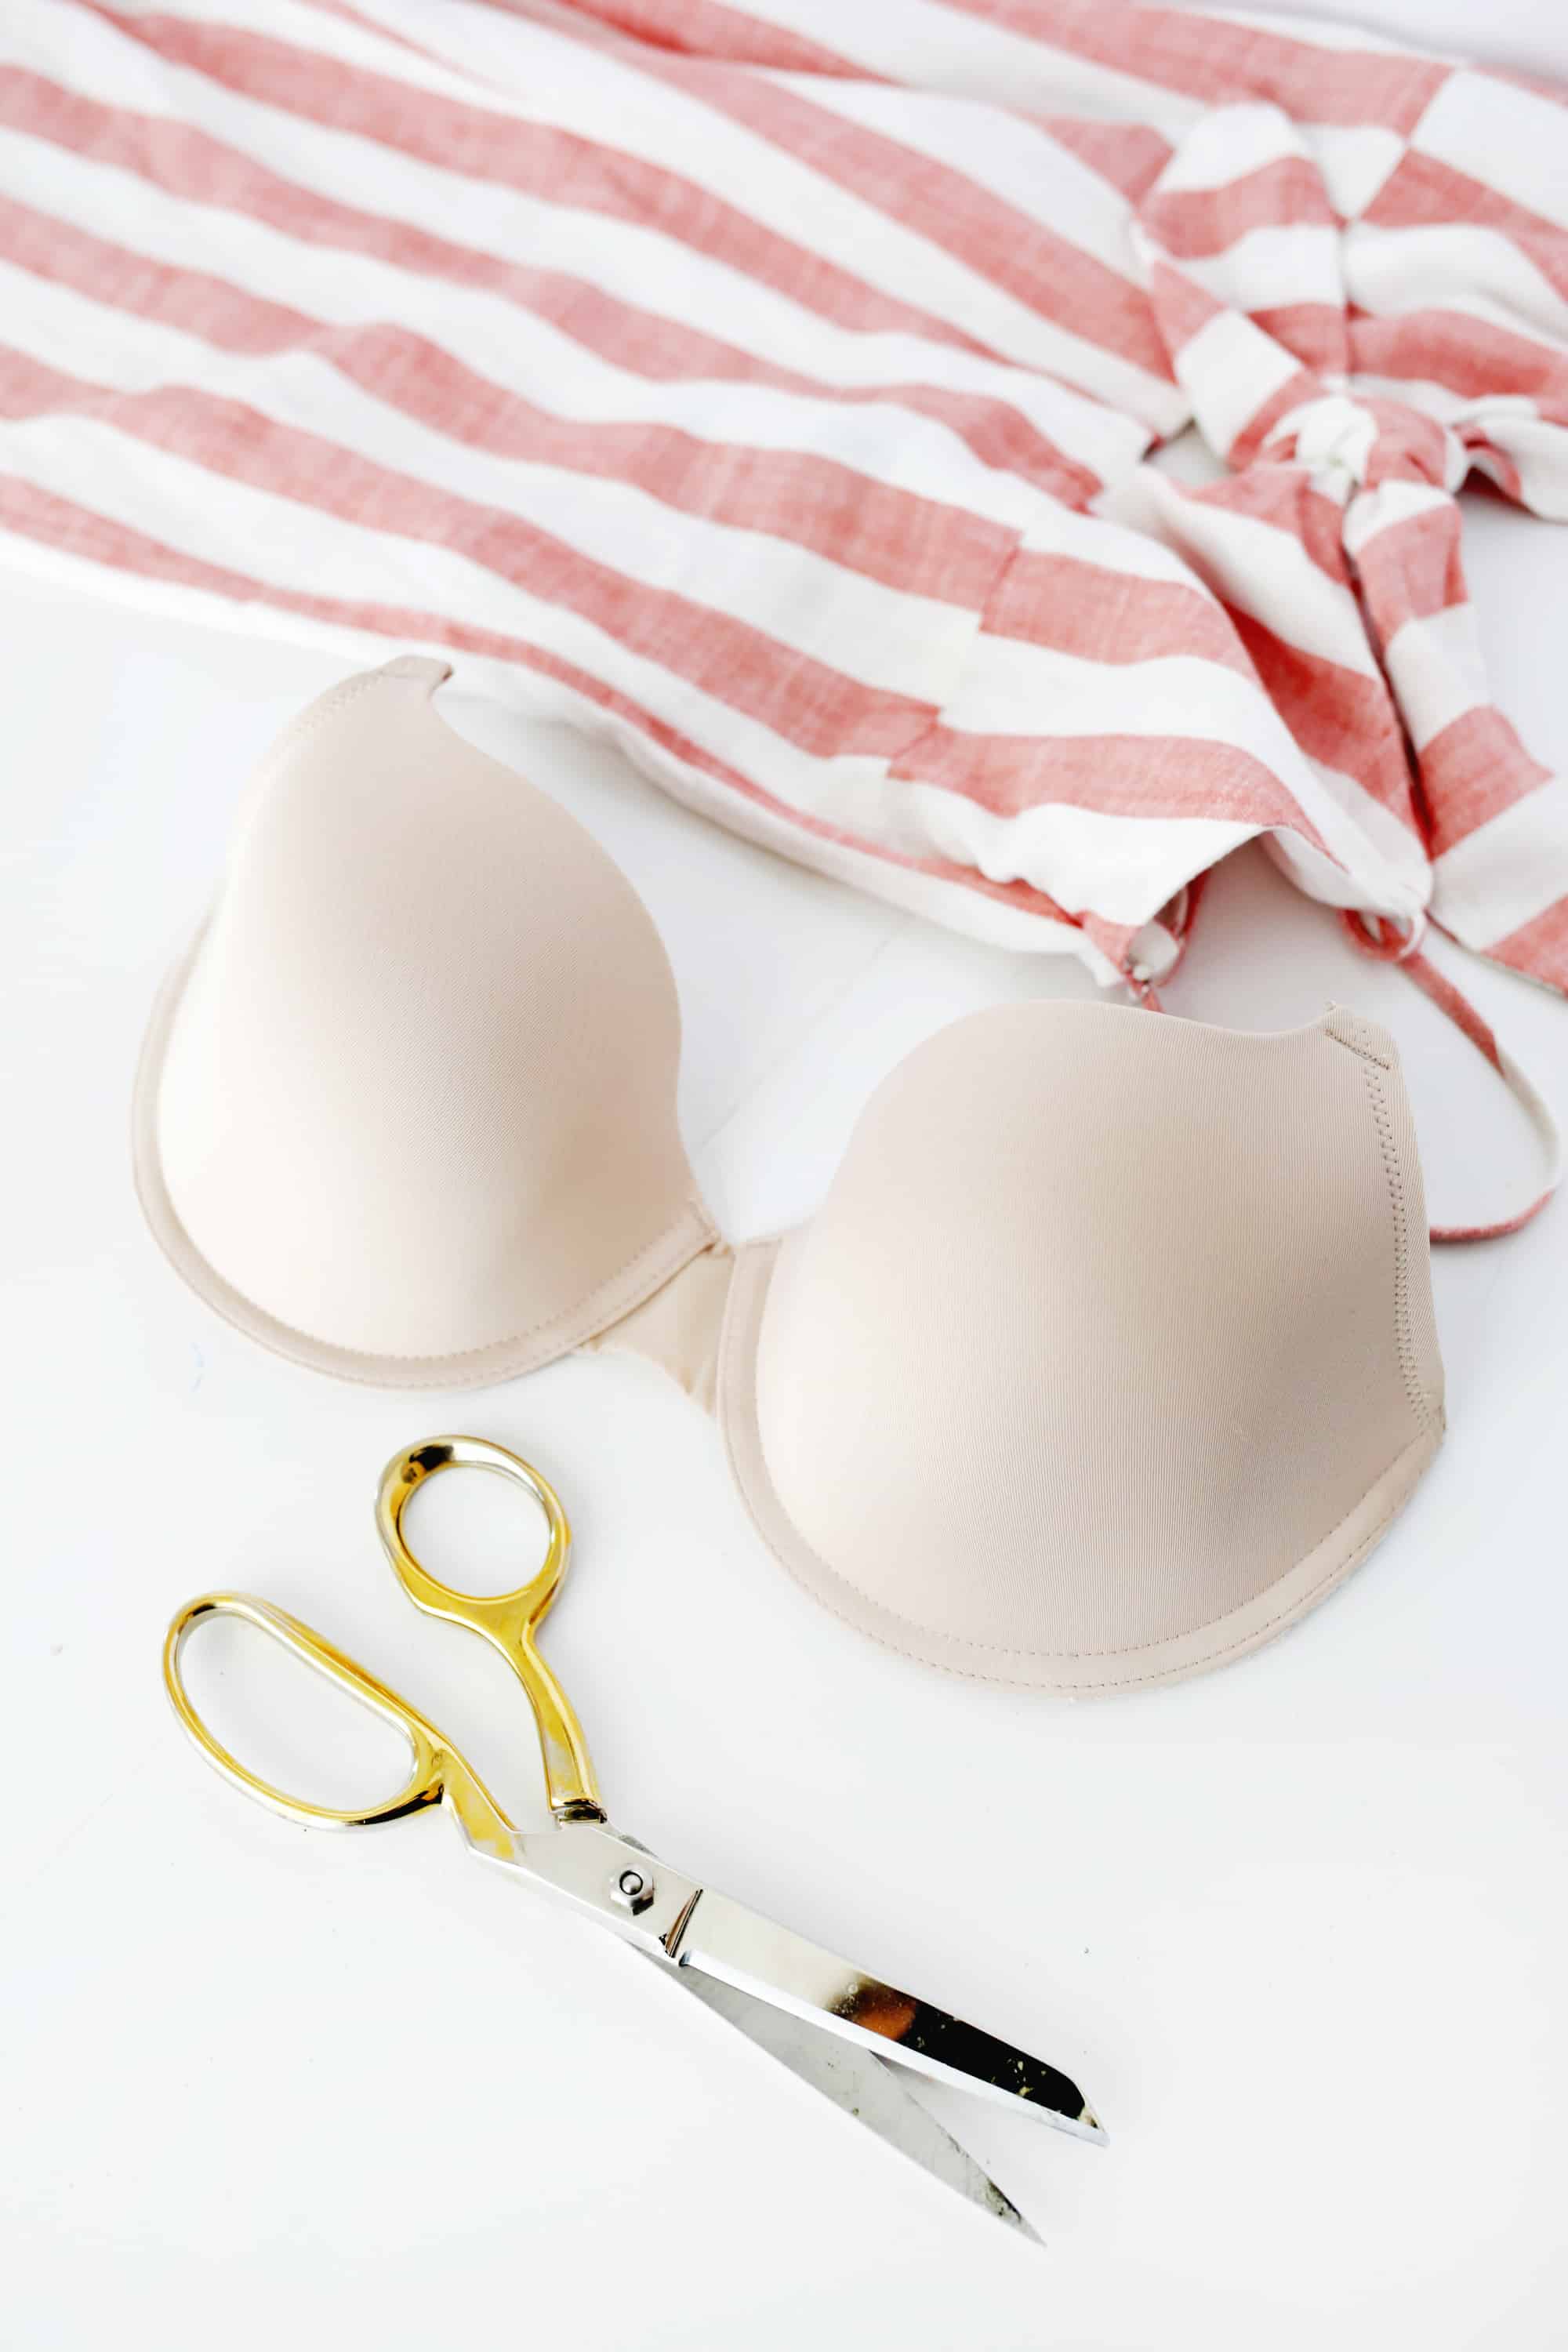
It really depends on what you would be able to see with your garment, so try and leave as much as possible and cut off the rest.
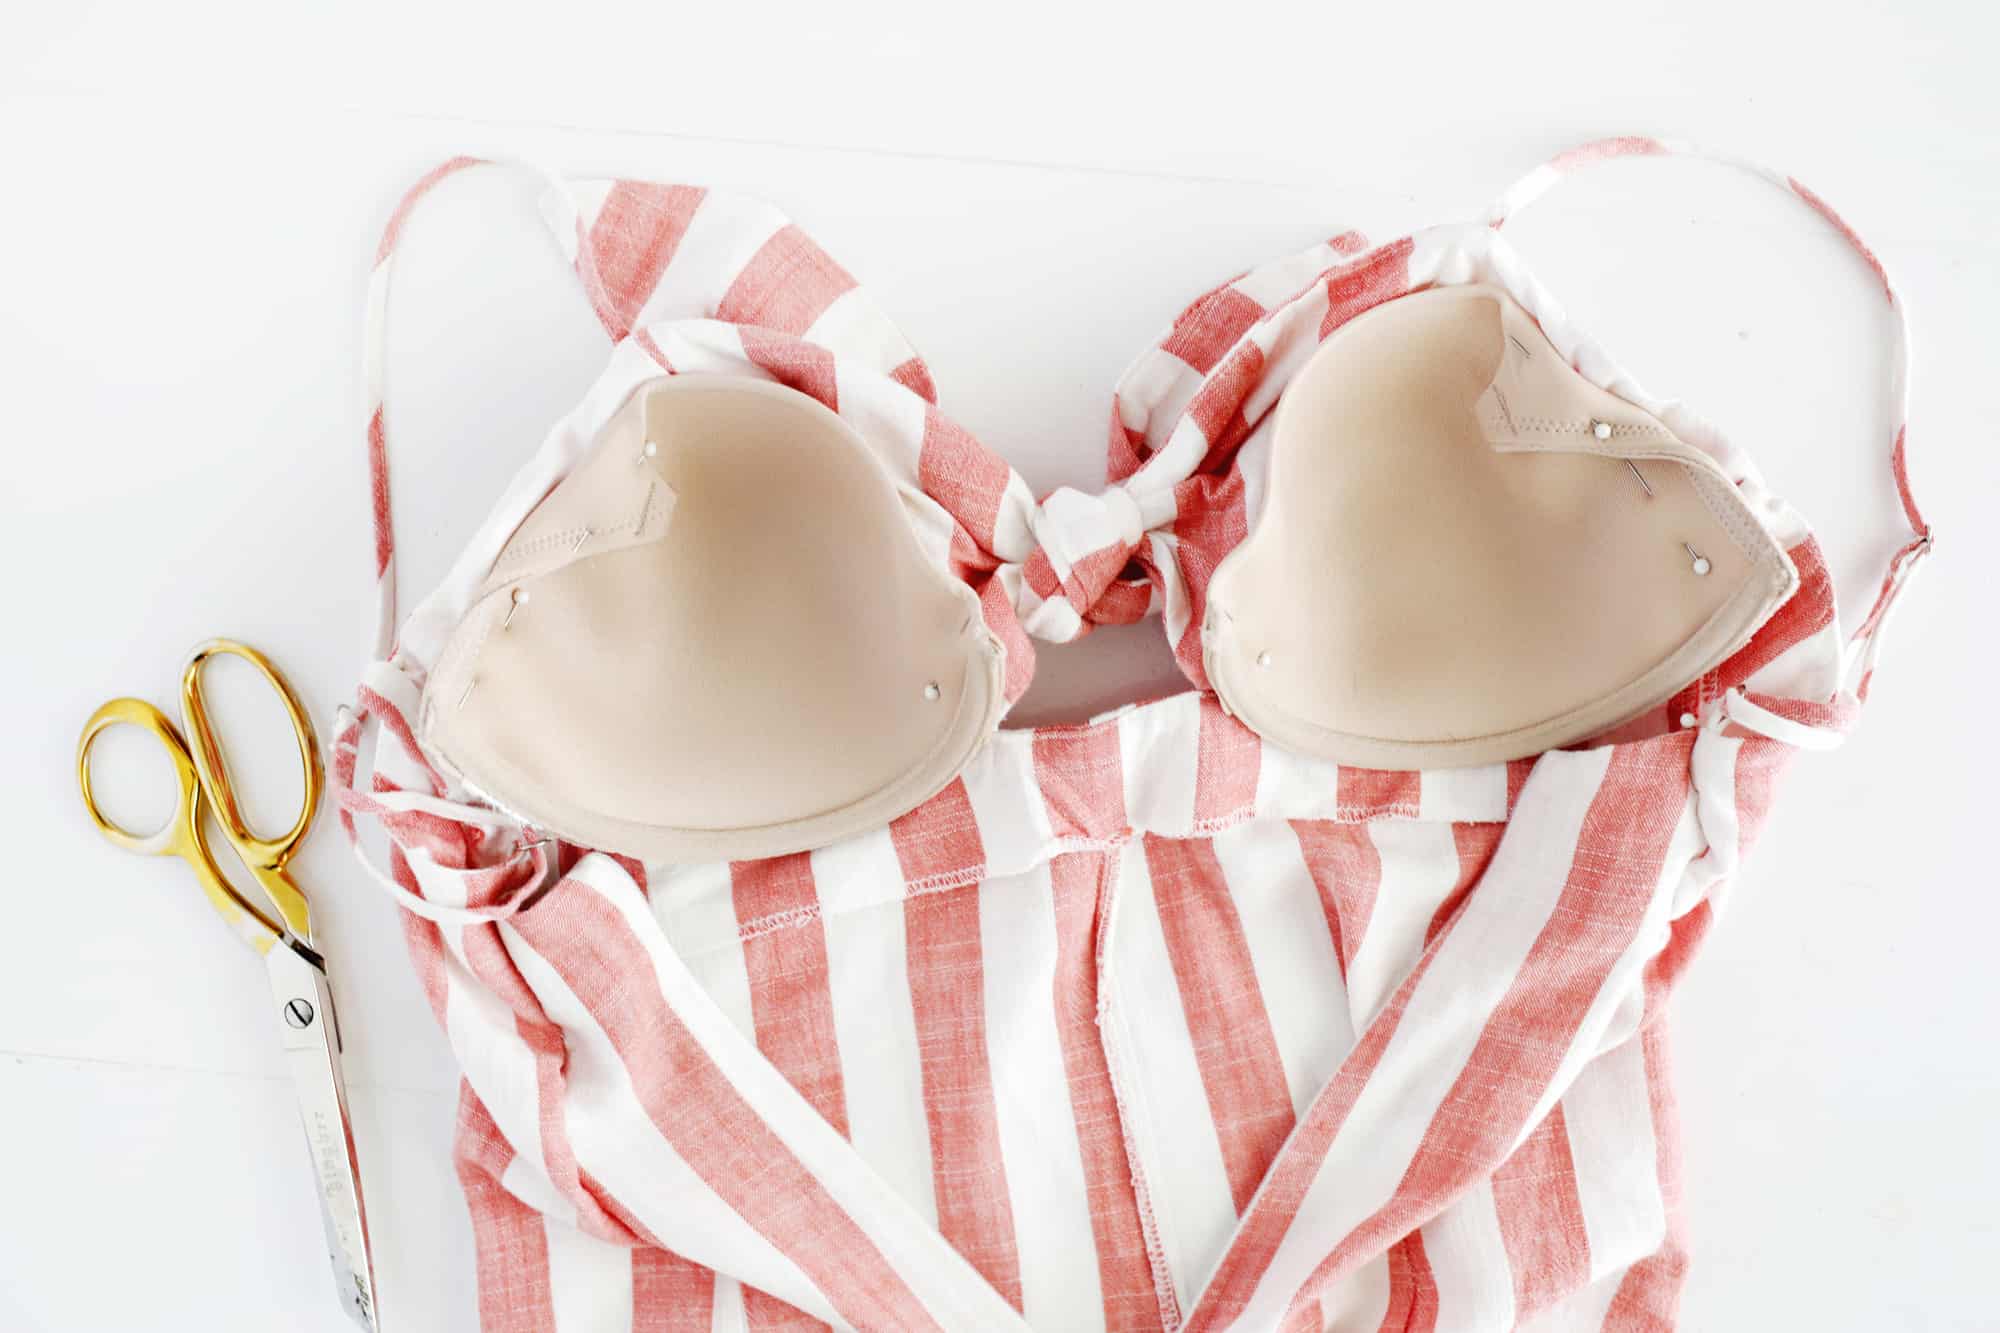
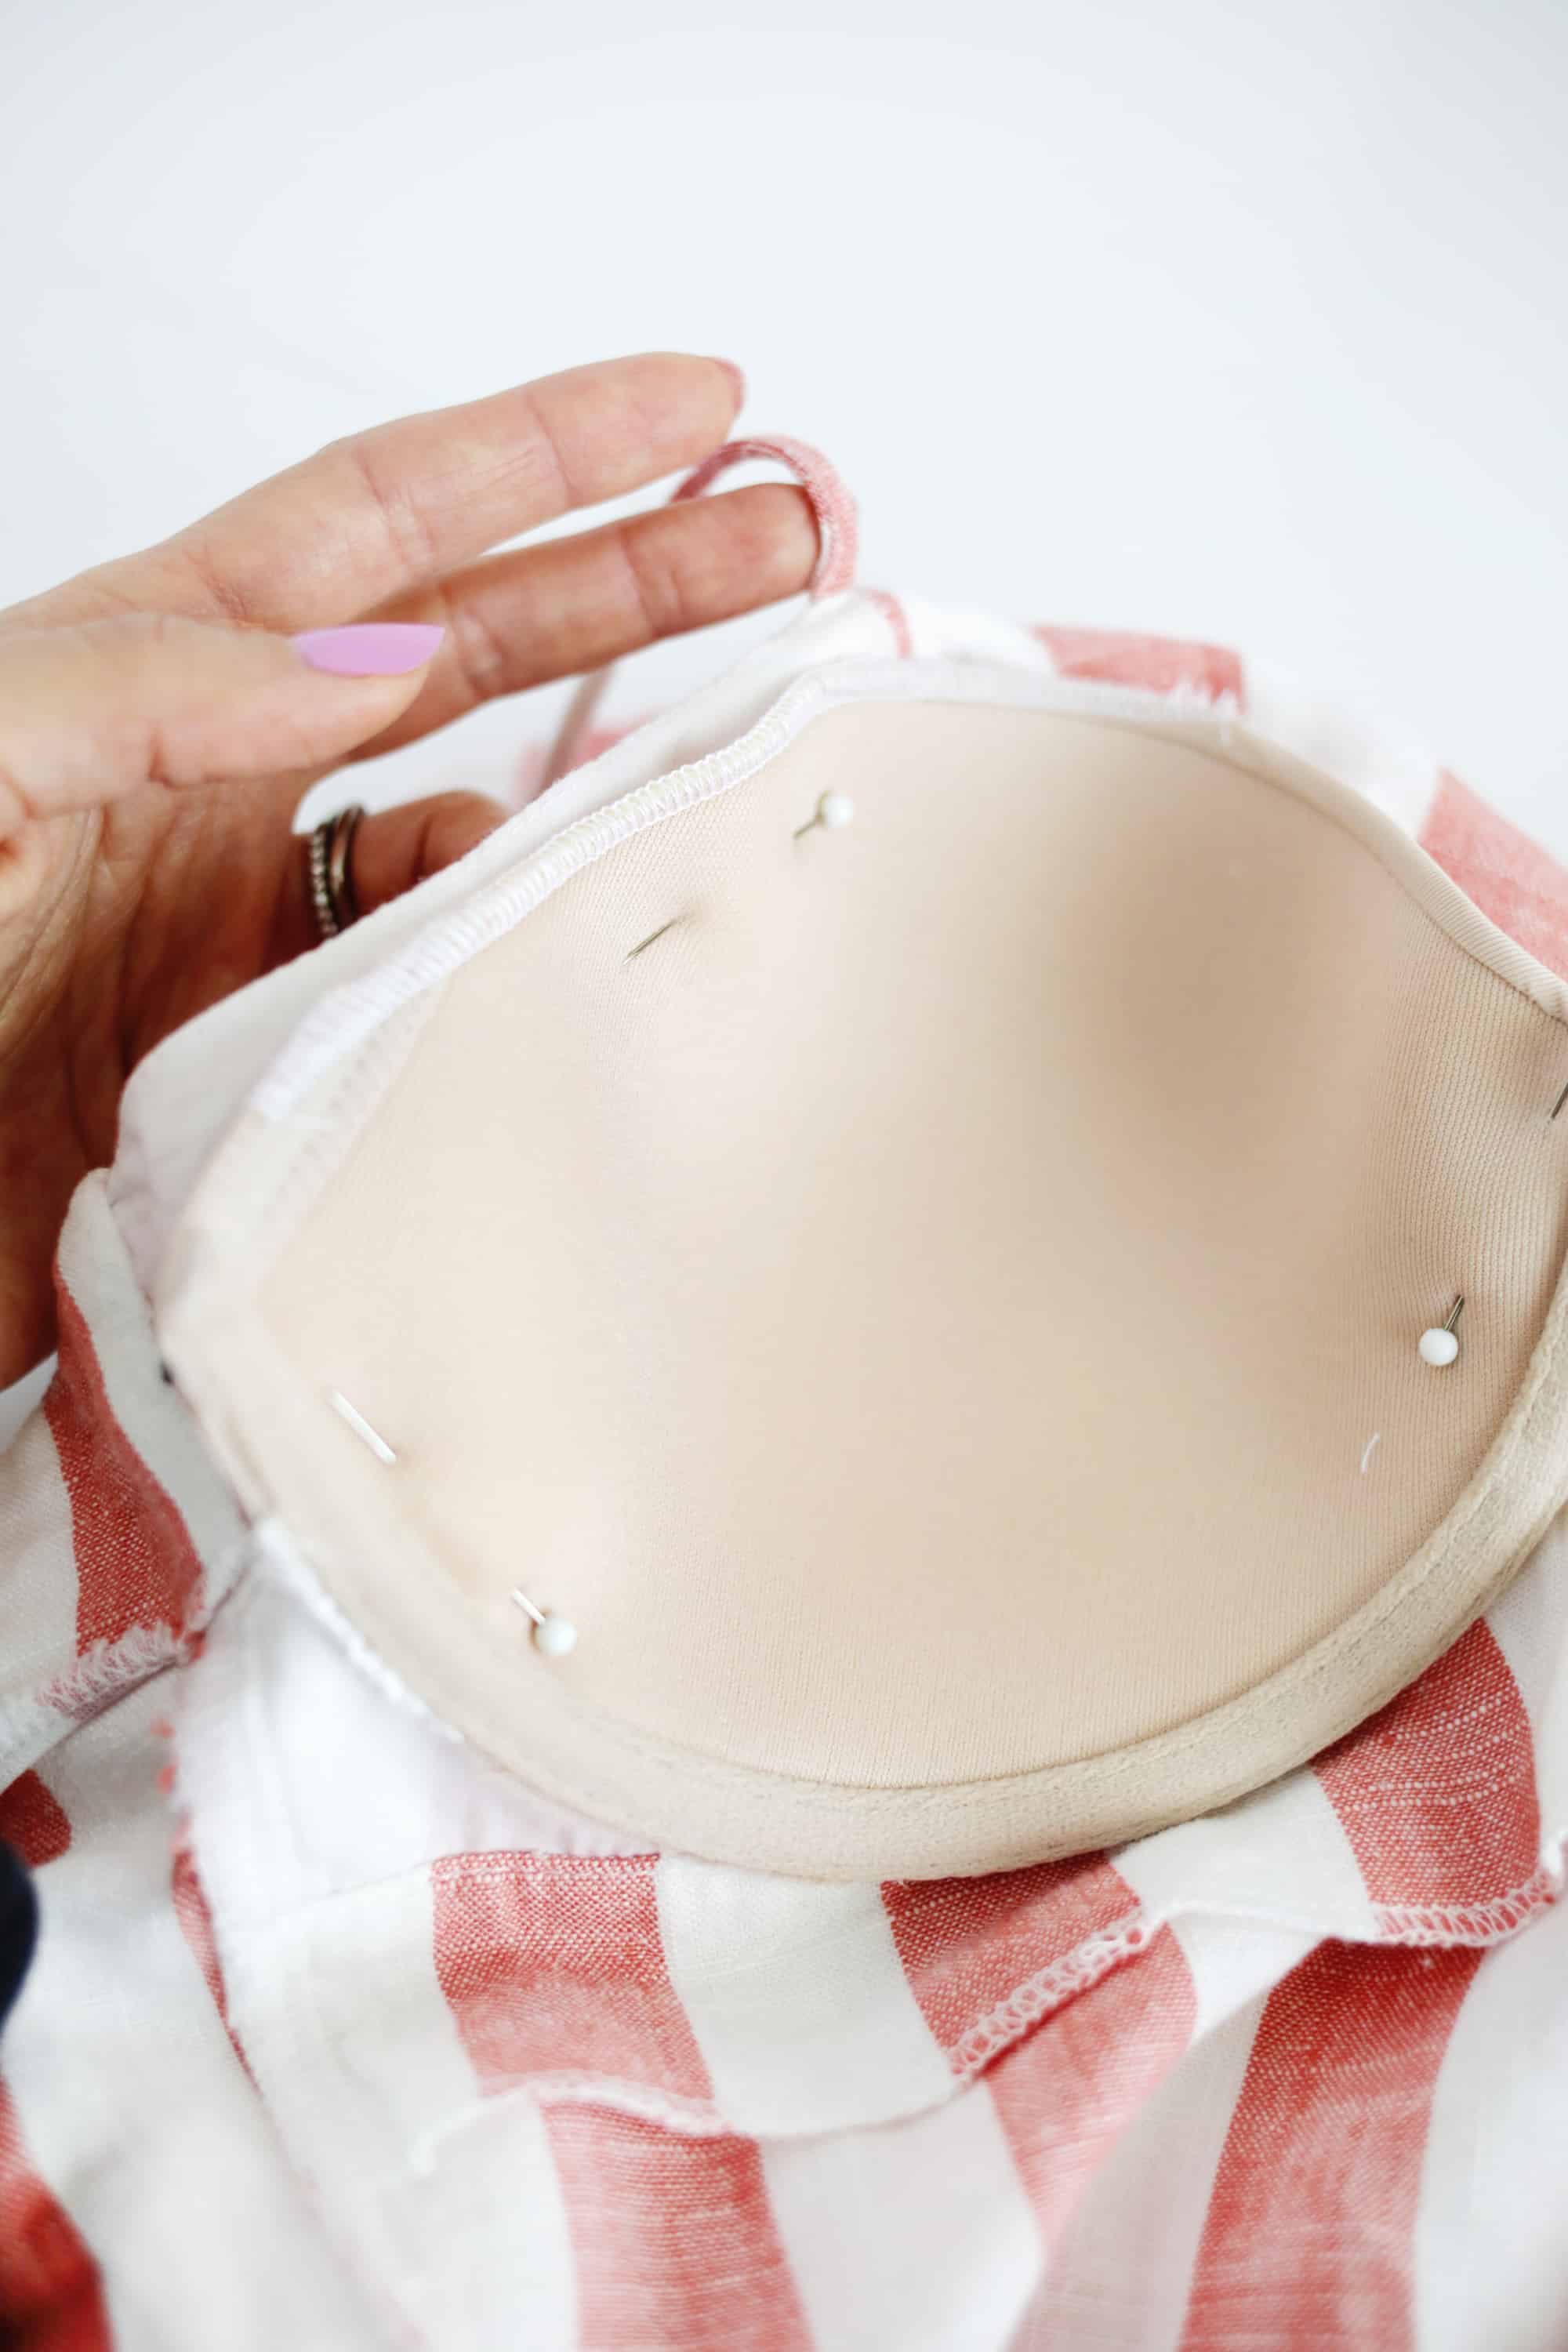
If the top edge or side of your cup is sticking out to where you can see it, you can fold over that edge inward and tack it in place with a needle and thread (the folded edge shouldn’t really bother you since it’s soft foam).
Or, you can cut the edge and sew alongside it with a zigzag stitch or a serger if you have one to keep it from unraveling further.
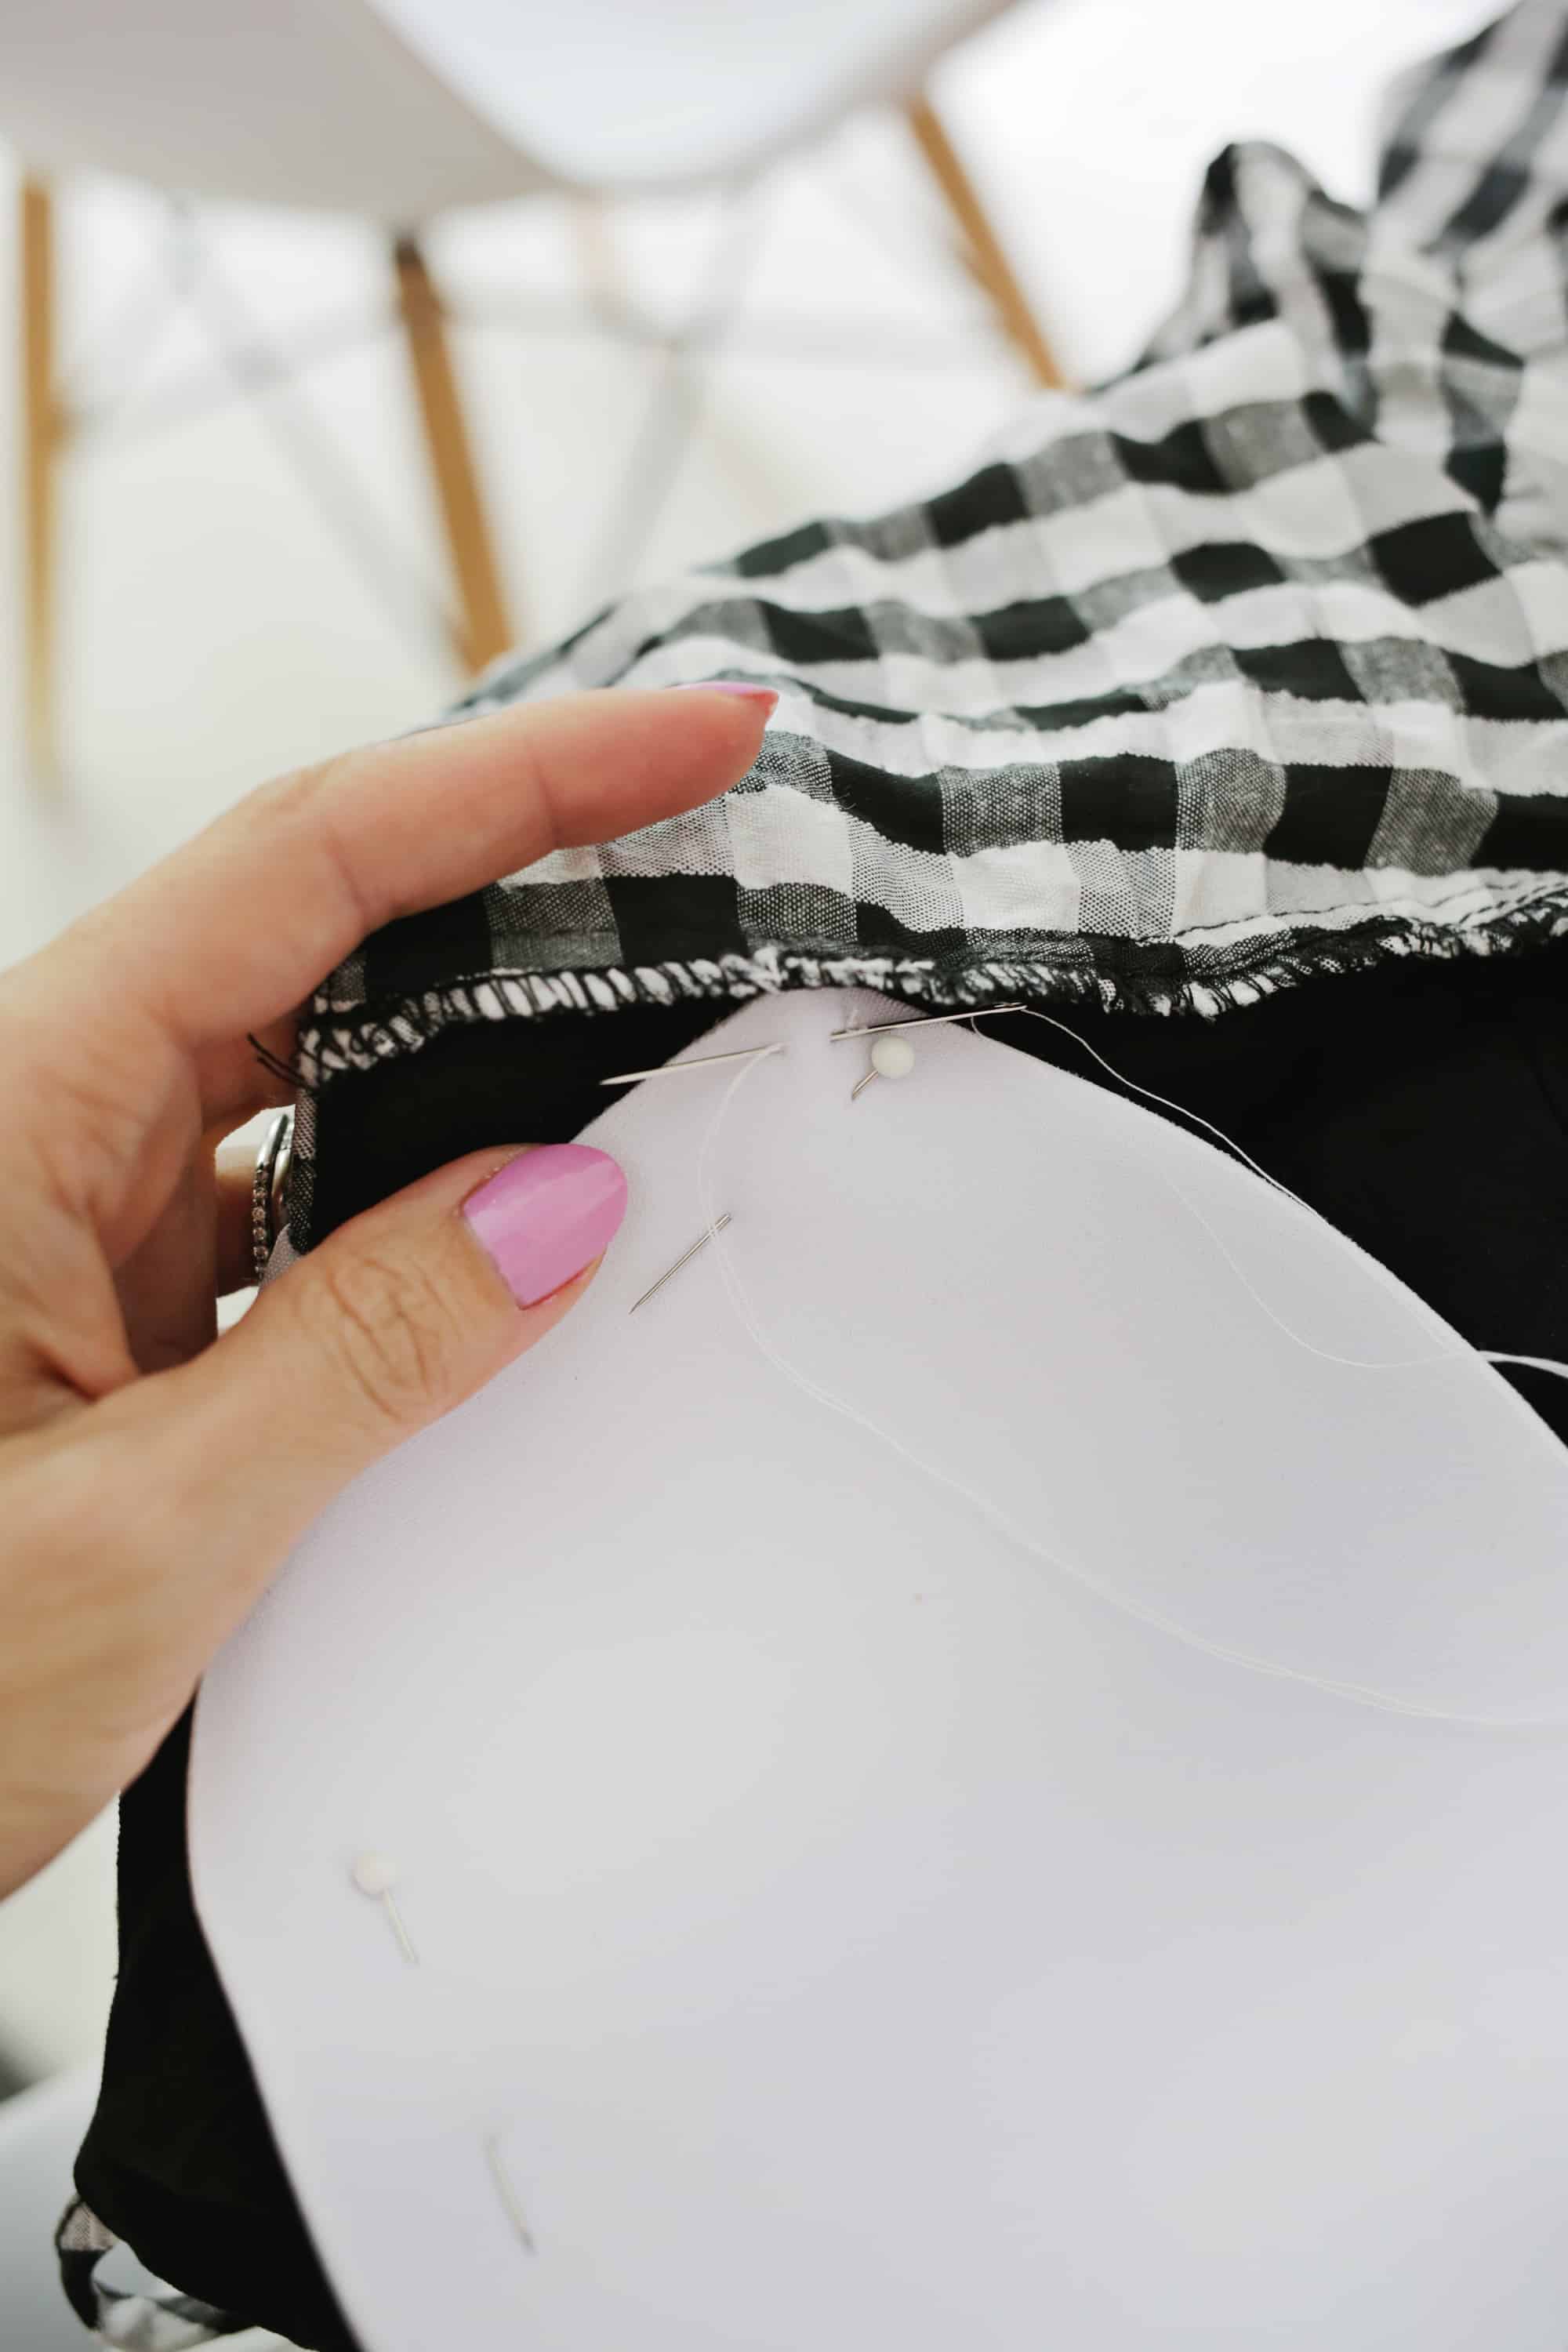
Once your cup is in place, use a needle and thread to attach each cup to the garment in at least four places about 1/4″ away from the cup edge (at each side and top and bottom). You can do more locations on the cup if you feel like it’s needed.
If you left on some of the sides of the bra, you’ll want to tack those areas down as well.
When attaching the cup, use a thread color that will be least noticeable on the outside of the garment and either make very small stitches to where you are coming through to the front and going back in almost at the same spot.
Or, if your garment has two layers of fabric in that area, just catch the inside layer so no stitches are noticeable from the outside.
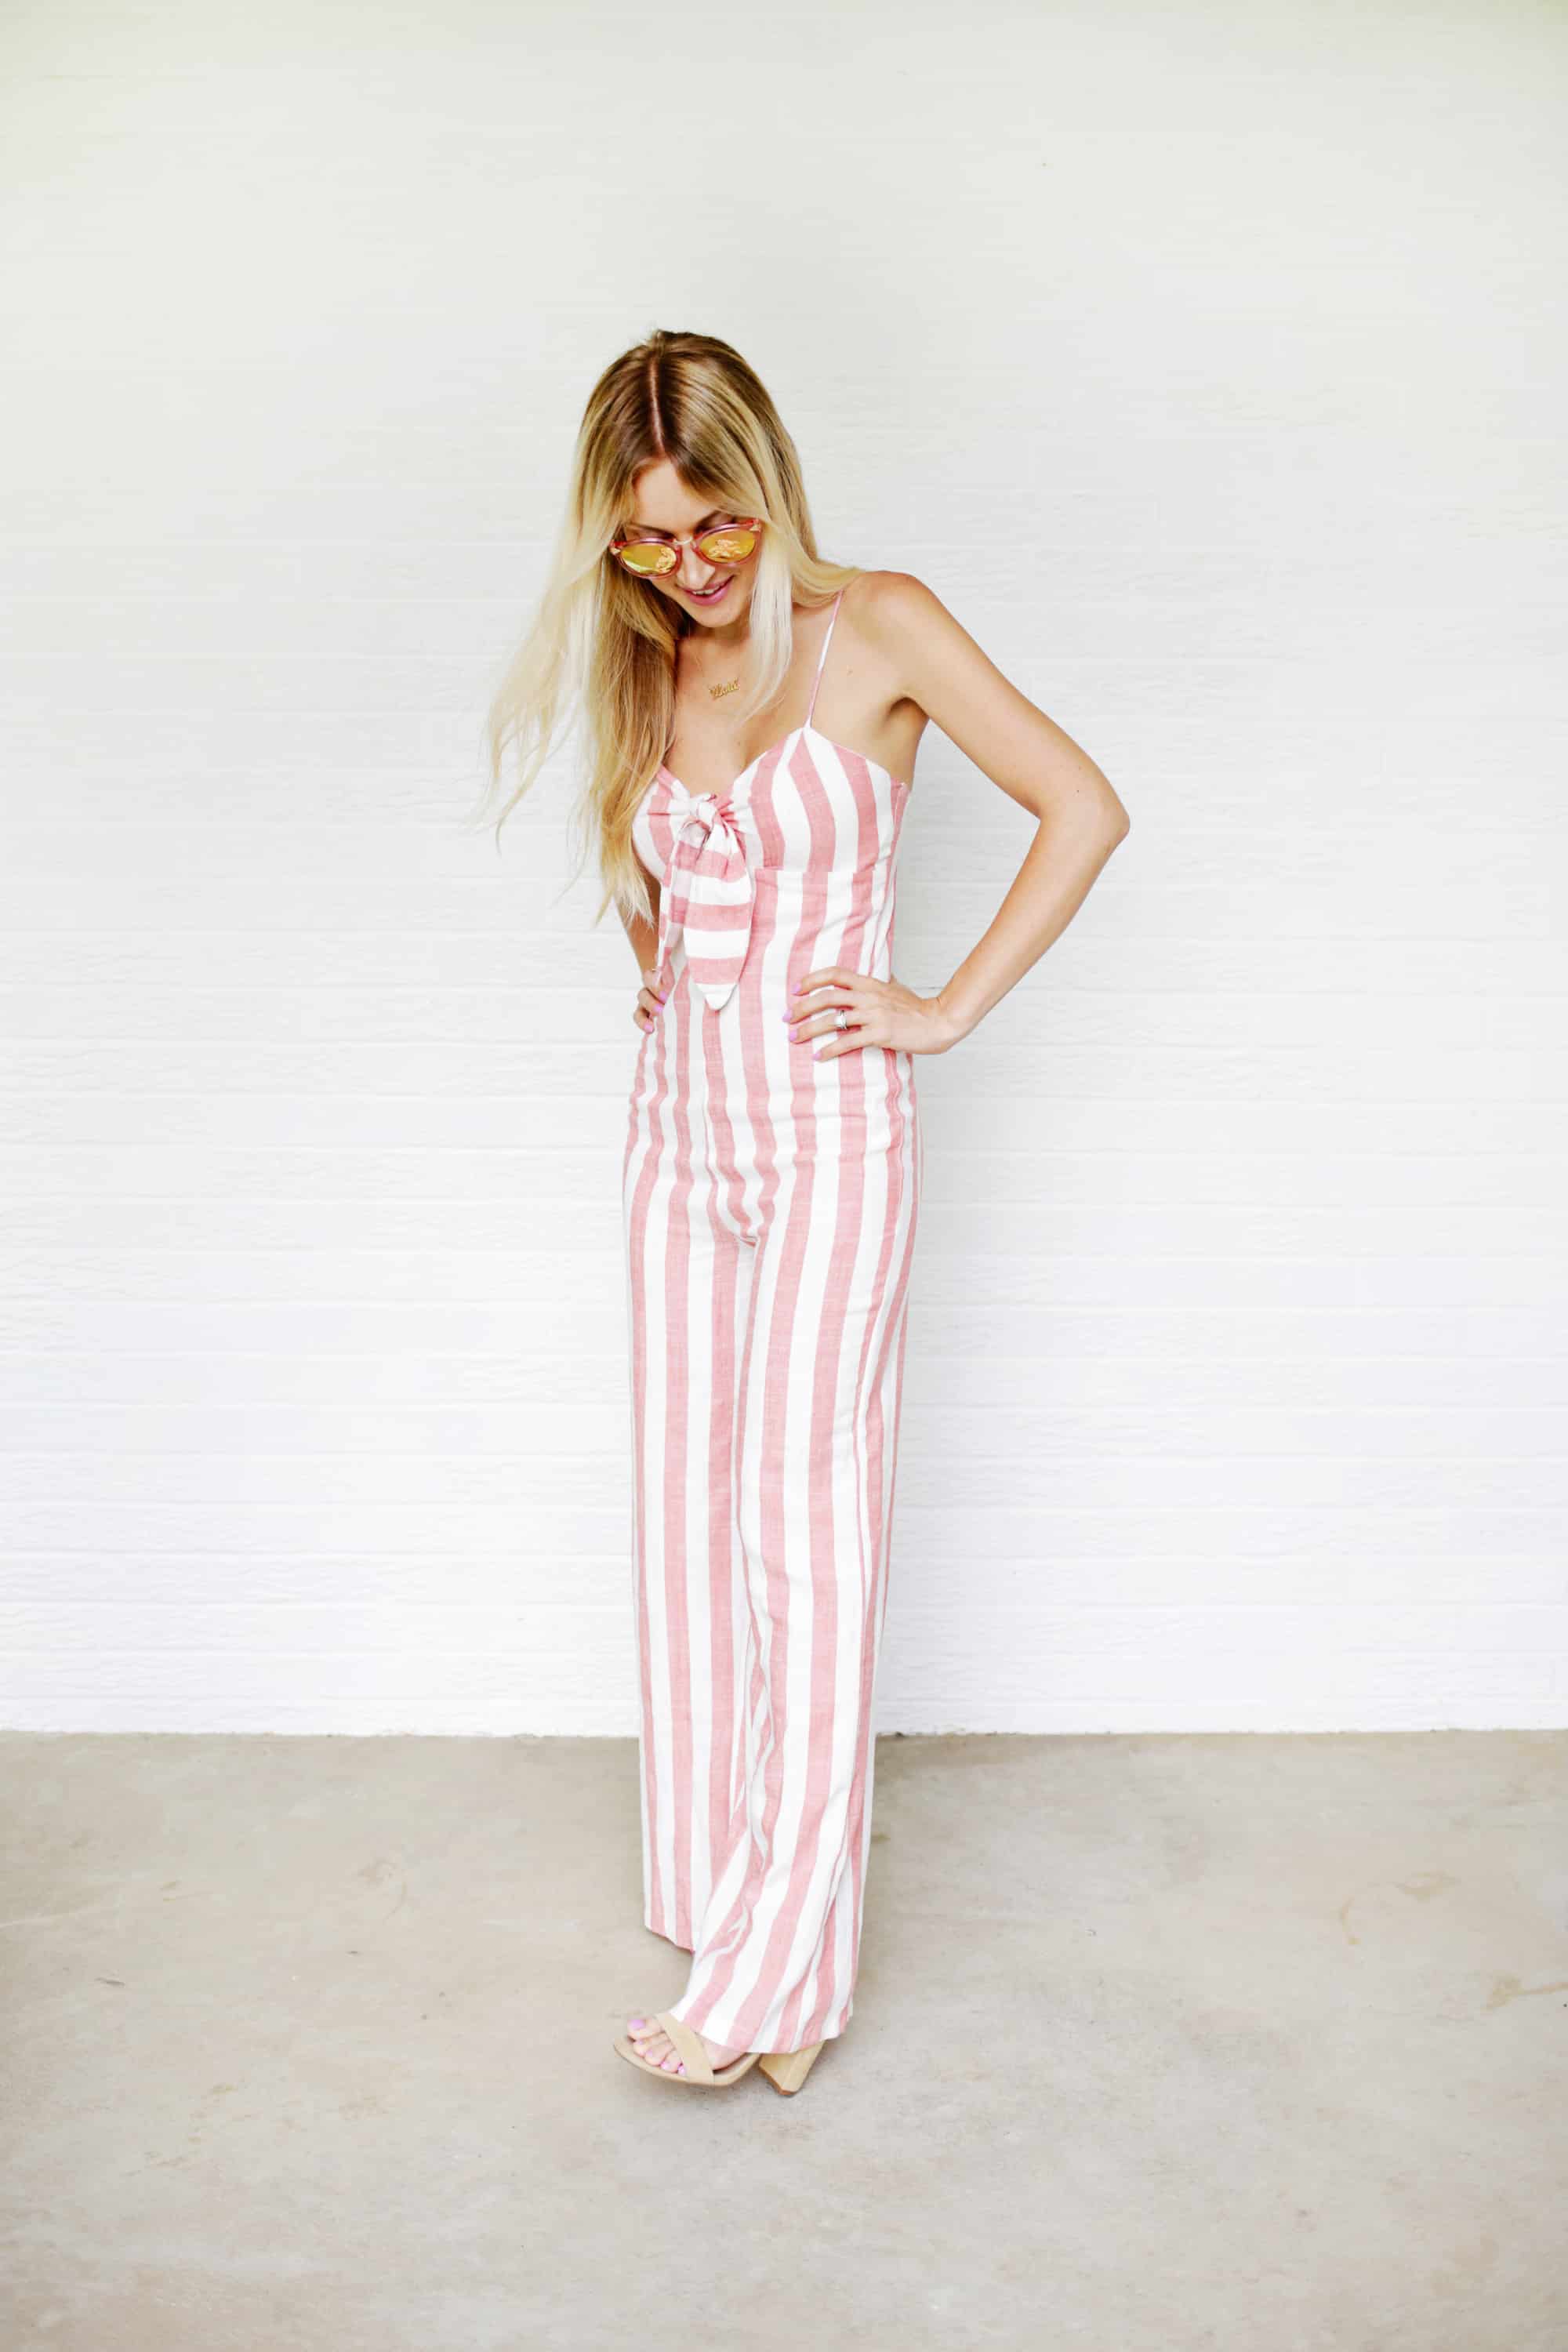
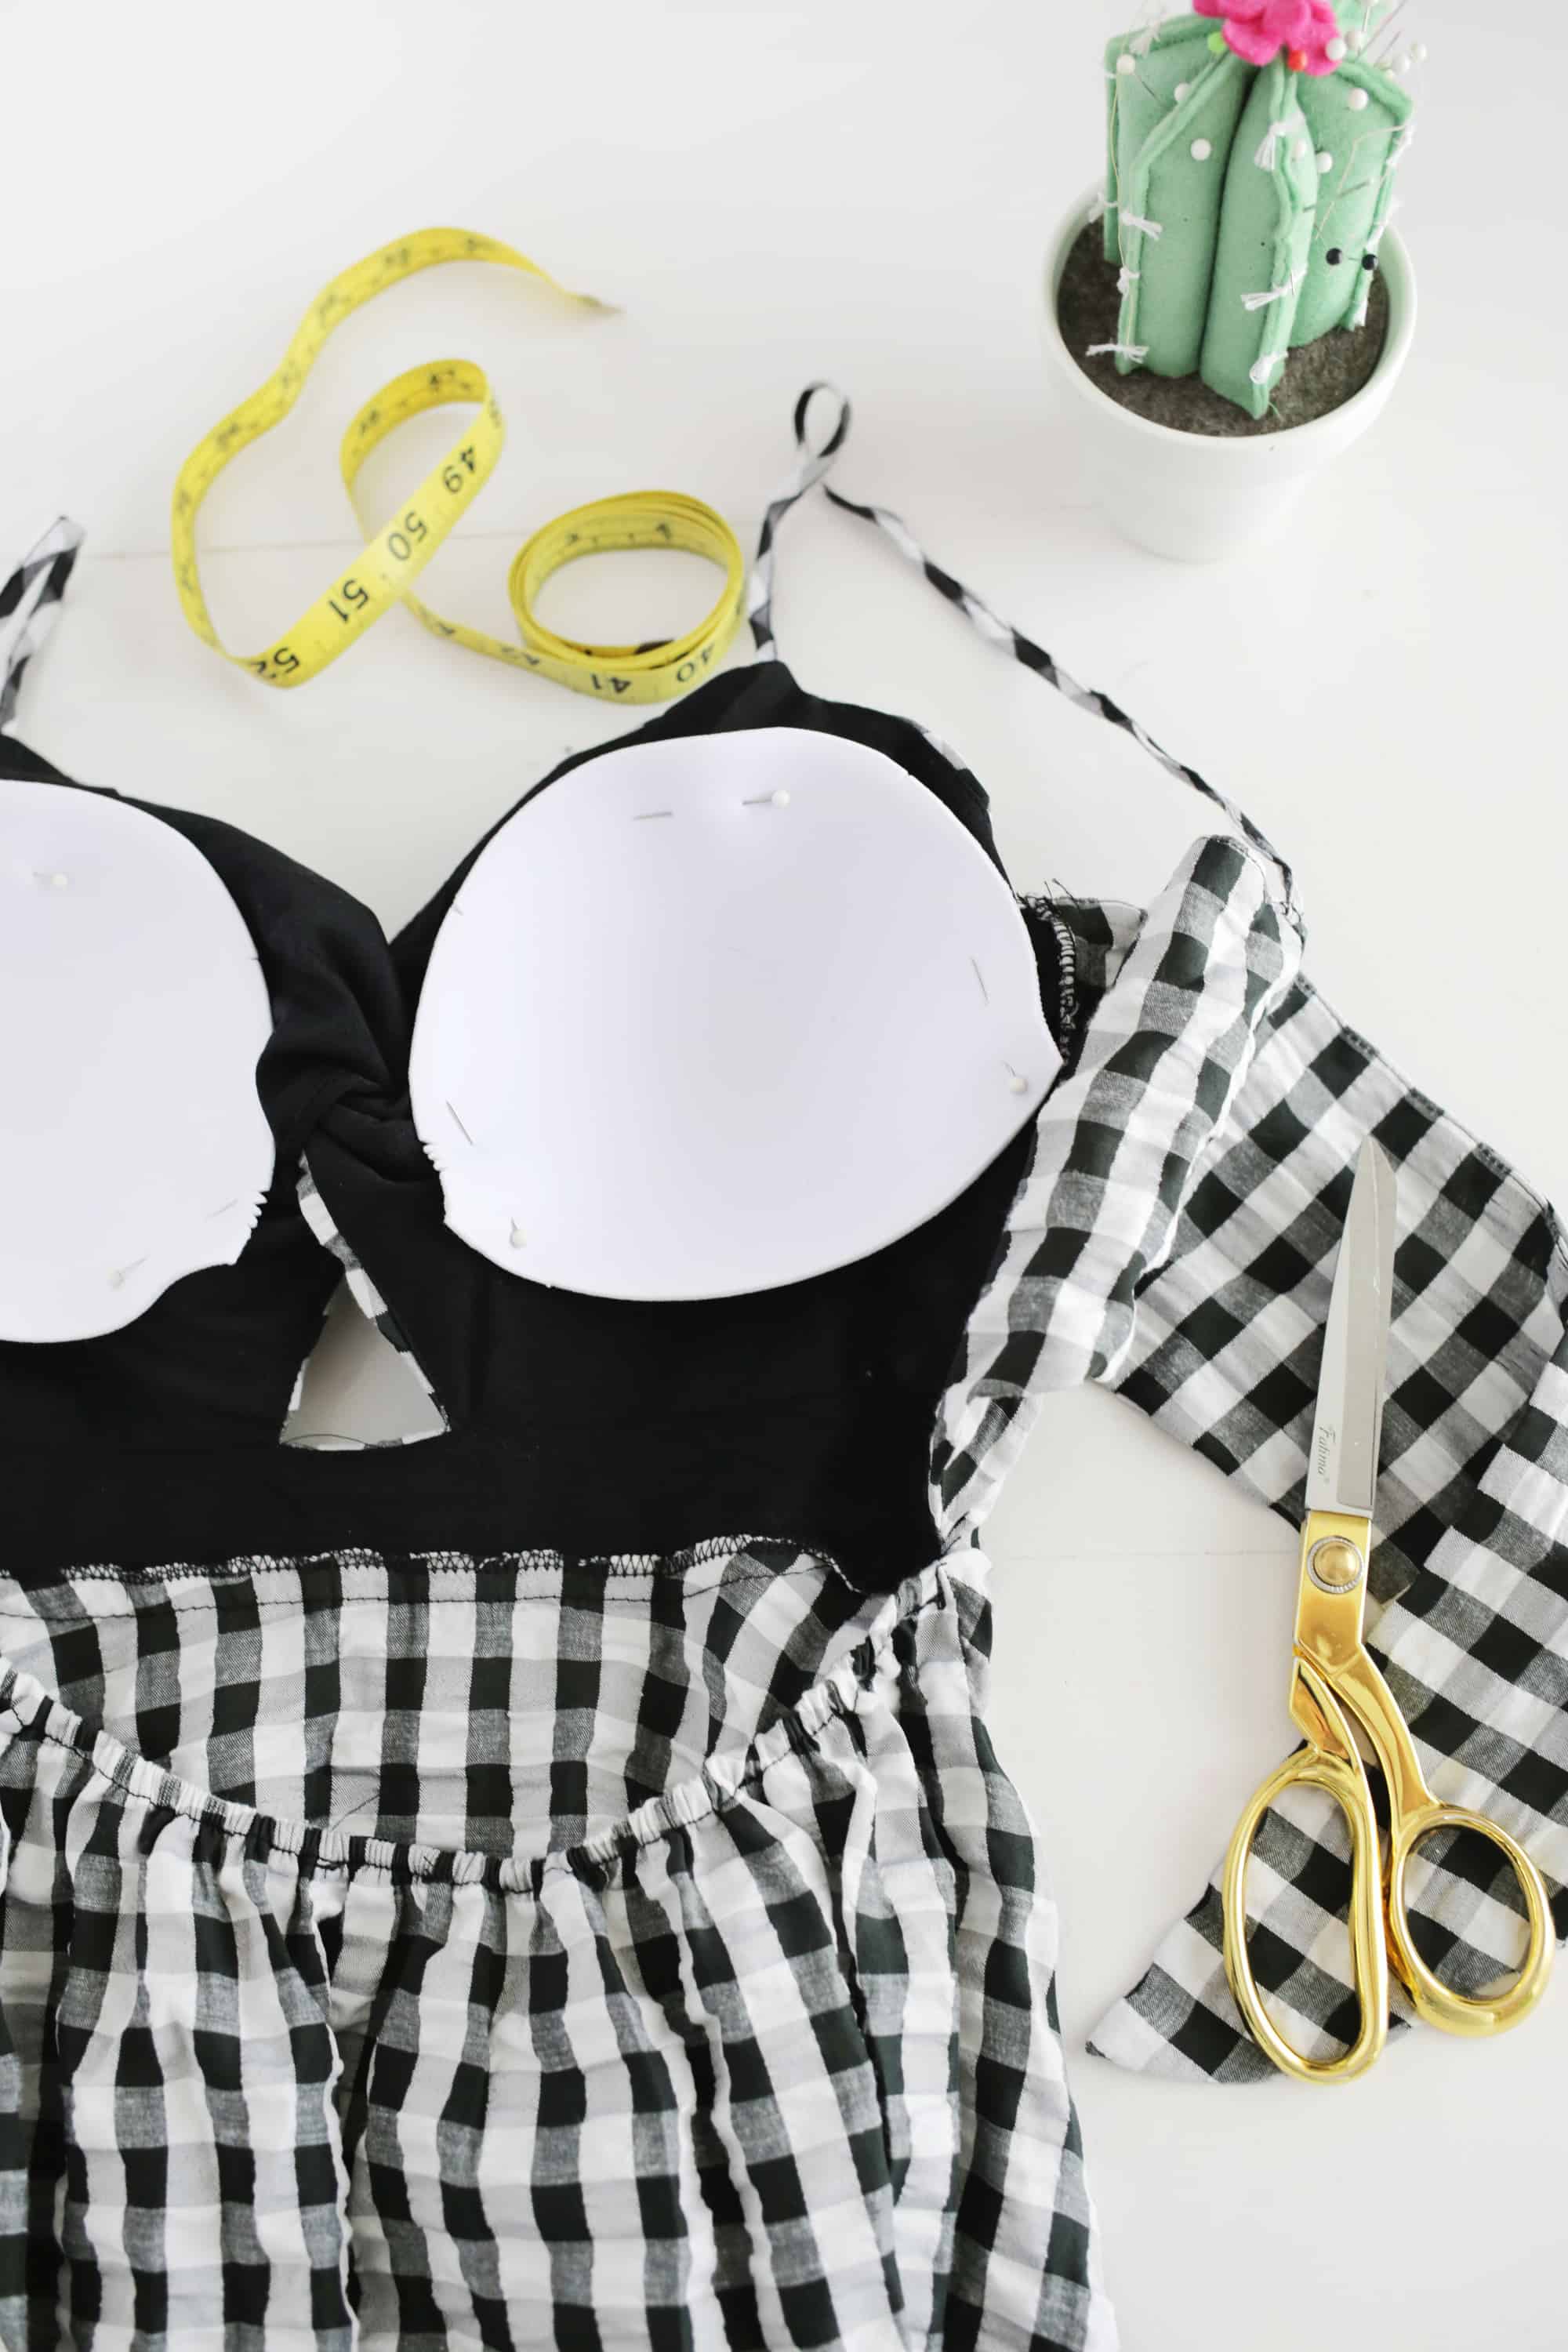
Try your garment on and assess where you would want the cups to be. Pin the cups in place, and gently try the item back on to make sure you like the cup location.

I hope this hack helps you widen your range of options the next time that you go shopping! xo. Laura
Looking for more sewing DIYs? Check out …
Love this post? Sign up for our newsletter for more ideas!

Get creative ideas for recipes, crafts, decor, and more in your inbox!
 Get the How-To
Supplies
- 1 bra
- 2 bra cups (optional)
Equipment
- 1 Pair of scissors
- needle and thread
- straight pins
- sewing machine optional
Instructions
The More Support Method:
- Once you have your bra, assess your garment and decide if you want to cut off the straps and cut out each cup individually, cut the sides off but leave the cups connected at the middle, or leave the middle and most of the sides and just cut off the closure on the back.
- Try your clothing on and pin your bra/cups in place at the location where you want it to be.
- If the top edge or side of your cup is sticking out to where you can see it, you can fold over that edge inward and tack it in place with a needle and thread (the folded edge shouldn’t really bother you since it’s soft foam).
- Or, you can cut the edge and sew alongside it with a zigzag stitch or a serger if you have one to keep it from unraveling further.
- Once your cup is in place, use a needle and thread to attach each cup to the garment in at least four places about 1/4″ away from the cup edge (at each side and top and bottom). You can do more locations on the cup if you feel like it’s needed.
- If you left on some of the sides of the bra, you’ll want to tack those areas down as well.
- When attaching the cup, use a thread color that will be least noticeable on the outside of the garment and either make very small stitches to where you are coming through to the front and going back in almost at the same spot.
- Or, if your garment has two layers of fabric in that area, just catch the inside layer so no stitches are noticeable from the outside.
- Once your bra is in, your item is ready to wear!
The Less Support Method:
- So, for this method, you’ll want to purchase a pair of bra cups that come in your size, and you may want to get some that match the clothing item color so it’s the least noticeable.
- Try your garment on and assess where you would want the cups to be. Pin the cups in place, and gently try the item back on to make sure you like the cup location.
- Follow the advice in the first method about trimming the cup size if needed and how to sew in place.
- Once your cups are in place, your new garment is ready to go!
Thank you so much for this ! I’m VERY new to sewing, and doing exactly this is one of my big goals. I usually don’t wear bras because no bras in my cup AND band size exist. I will absolutely try this on some of my favorite tops so I can finally wear them without using annoying, precarious nipple covers. Much love! xoxo
I love 5he pattern and all the information
Hello Laura
I know it’s been about three years since you created this but I’m hoping you can help. I’ve been reviewing your really helpful tutorial. I am having a challenge as I’m trying to use the method under more support and I have someone who is about a 34C and when I put in the bra it’s it’s not giving her much support.
I cut off the straps of the lightly padded bra, left about 1.5 of the sidesvand connected the middle with a small strap as it fastened in the middle and that fastener was cut off.
It is not holding her up well. I’m wondering if something different needs to be done as this is a lighter-medium weight stretch knit I am trying to attach it to. I saw your dress was probably a medium weight cotton. I would appreciate any input /advice
Lucy
Hi Lucy!
For larger busts you may need a dress/top that has the option of tying the back as tight as you need it like the outfits shown above, having that option helps a lot when you need support and not all clothing works on larger busts for sure!
Laura
Hey! I’m really interested in this idea. I just wanted to see if you had advice for me as I have multiple tank tops (bought online) that are amazing but the bust just doesn’t fit me. Is there a way to keep the same tops and just make the cups bigger, or shall I just recycle the material and start from scratch?
Any advice would be great!!!
Thanks 🙂
I’m upcycling an old shirt and I’m making the back lace up, so this will be perfect, but how do you hid the stitching lines?
Hi! Yours is the first tutorial I chose and I am glad I did. I am excited to try this! Thank you and be well ?
Can I just tell you how much better my life will be because of this? I am planning for a tropical vacation and just went through dozens of my old bras, trying to find what works with each sundress and strappy top I’m bringing… It was exhausting. I found my stash of bikini top pads, and thought, “Wouldn’t it be nice to just add something to each article I’m packing? ” Who wants to deal with complicated bra planning on vacation, anyway?! Looking forward to customizing my clothing with both cups and old underwire bras so I can throw ’em on and enjoy my time in the sun!
The style of this dress is very novel and I like it very much, but I also see the same style on other websites, so I wonder where to buy it. Can you give me some advice?
What great tips! I have always wondered why clothing manufacturers don’t have these built in with backless and strappy clothes….
This is brilliant! I don’t understand why I never thought of this before. Thank you!
That pink and white jumpsuit is ADORABLE!
This is seriously genius, never thought of this! THANK YOU so much for sharing!
Oh, dear Lord, YES – for realz!
What a brilliant idea! Thanks so much for sharing this it is so helpful especially this time of year.
Eme
www.peoniesandpassionfruit.com
Brilliant! Such a great idea for all the cute outfits out there thanks <3
Fab fab idea! And where is your candy stripe jumpsuit from please 🙂 happy day!
Thank you for posting this guide! Is there anything to note about washing the garment once the cups are secured?
Shouldn’t be any different! If you feel the cups are very delicately sewn in onto delicate fabric maybe hand wash, but otherwise you should be ok
Laura
This is the best DIY I have ever seen!! Thank youuuuuu
Wow this is GENUIS! Thank you so much for sharing! xo
Great idea! For those of us who aren’t crafty, my secret weapon is Nippies Skin. I learned about them through a Bachelor contestant of all people, as they always wear cute clothes and backless dresses with no bra lines. I’ve converted all my lady friends!