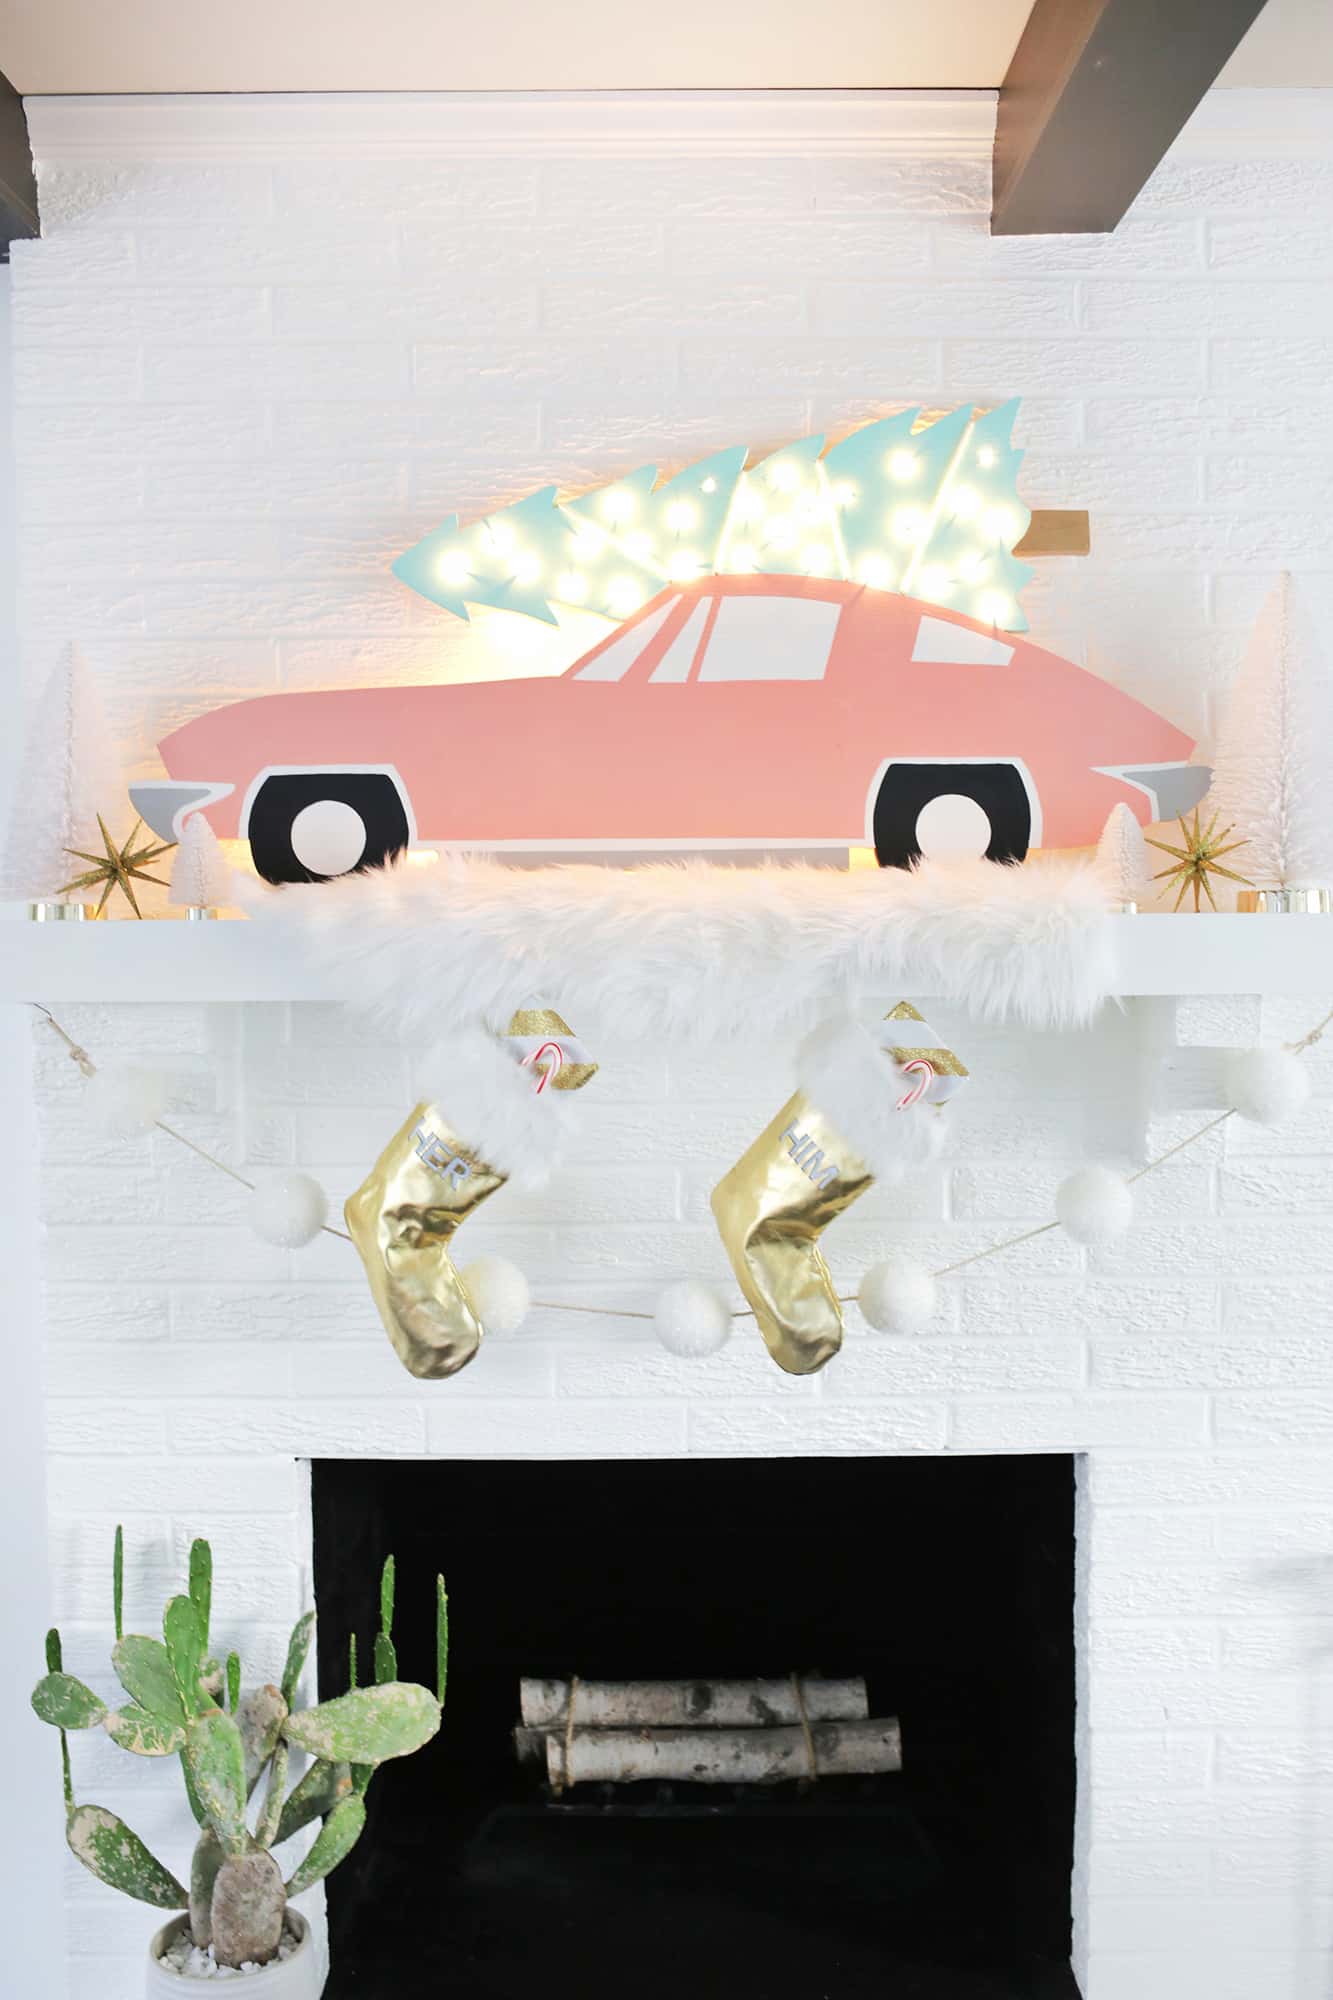
This epic DIY was originally published in 2016, but we feel it deserves a little more time in the sun (or snow! ha), so we’re putting her back on our homepage today in case new readers missed it. Enjoy!
Of all the different parts there are to Christmas decorating, I think the lights are actually my favorite part. I get SO sad when I have to take down my Christmas trees because I love having that soft glow from the Christmas lights floating around the room. For that reason, I’ve also made my fair share of Christmas marquees (like this Merry + Bright sign, a giant snowflake, and a light box Cheers sign as well) to add some extra warmth to the room. This year, I had this vision of a pink vintage car carrying a Christmas tree on top, and I thought it would be just the thing to make into a light-up sign for the mantel! We have a ’74 Corvette Stingray (it’s the only car I’ve ever been obsessed with), and I modeled the marquee car after a late ’60s model, which is actually the coolest Stingray timeframe IMO.
Supplies:
-24″ x 48″ board
–jigsaw
-paint in selected colors
-drill and various sized drill bits
-staple gun
-Christmas lights (50 count light strand should be enough)
-duct tape
–vintage car image (right click to download)
-thin rope
OK. So, if you have a projector, you can print the outline onto a transparency and trace the outside outline of the design onto the board like I did above (projectors are so handy for that reason), or you can print it as big as you need as a blueprint at a print shop (like FedEx Office) and then trace it onto the wood.
Once your design is traced, use a jigsaw to cut out the design (I suggest clamping the wood to sawhorses for stability).
Paint your car shape white, and then trace the inside lines so you can see where to paint each color.
After your lines are traced and you can see exactly where your tree will be on the car, you can use a drill to drill holes in the tree for your Christmas lights to come through (a 3/8” drill bit should be big enough to fit standard Christmas lights into). Sand the edges of your holes if needed, and then use your selected paint colors to basically “paint-by-number” the rest of your marquee!
I used Valspar Peach Punch and Aquatic Mist for the pink and green, gold gilding paint for the trunk, and then mixed up some grey and black for the chrome and wheel details.
When the paint is dry, you can drill 4 smaller holes where the rope sits on top of the car and thread 4 pieces of your small rope through the holes and around to the back of the top of the tree. Use a staple gun to secure the rope ends to the back of the board.
Now you can insert your Christmas lights into the holes from the back and use duct tape to keep the lights and cord in place. Use the shortest light strand you can get away with so you don’t have a ton of extra cord, and make sure to think of which side you want the main plug to be on before you start so it will be closest to an outlet. I usually secure all my lights to the back of the sign and then use an extension cord to travel down to a plug nearby.
Once your lights are secure, plug it in and watch it glow!
IT TURNED OUT SO CUUUTE!! I love the holiday feel of the tree-on-a-car situation, and the vintage style of the car and color choice make it an even more unique piece. While the larger ones can be a little annoying to store, marquees are décor you can keep and bring out year after year to keep the holiday spirit going. Hope this project inspired you to make your own or something else fun for the season! xo. Laura
Credits // Author and Photography: Laura Gummerman. Photos edited with the NEW A Beautiful Mess actions.


So glad you reposted this
Coolest light project ever !
Merry Christmas, Happy healthy New Year !
The car and the Christmas tree we so cute. I haven’t had time to look at everything yet
i’m so doing this next year! great idea
So creative and smart!
I really get a lot of inspiration from your posts.
Thanks a lot.
Wow, this is SO cute! Thank you so much for the inspiration!
I really love this project. Lights jokes are the very best part of the XMas decoration! Thank you very much for your post and for the usual inspirational article.
Consulenza immagine
You always KILL IT with these!!!
Wow Laura, you’ve really outdone yourself! That looks so good!
Okay this is adorable! http://www.likehanna.com
Okay I love the DIY but I love how awesome you look with your adorable outfit just casually using the jigsaw!
My husband is totally going to teach me how to use our tools. I need to make an awesome DIY water/sand table for my little one before summer!
I free-hand it, but you can use painter’s tape on the straight lines for sure! Since it’s something you look at from a few feet back, it’s ok the lines aren’t perfect 🙂
Laura
GOOD GIRL!! You’ll love all the things you can do with it!
Laura
Aw, thanks Rania!! It’s great to be part of such a creative team 🙂
Laura
Perfect for him!
Laura 🙂
Awww, thanks!
Laura
Thanks! A pregnant BA at that!
Laura
OMG OMG OMG
I LOVE it, Laura!! Such a cool DIY!
This is SO COOL!!!
You guys are DIY royalty! This is so incredibly creative. Love it!