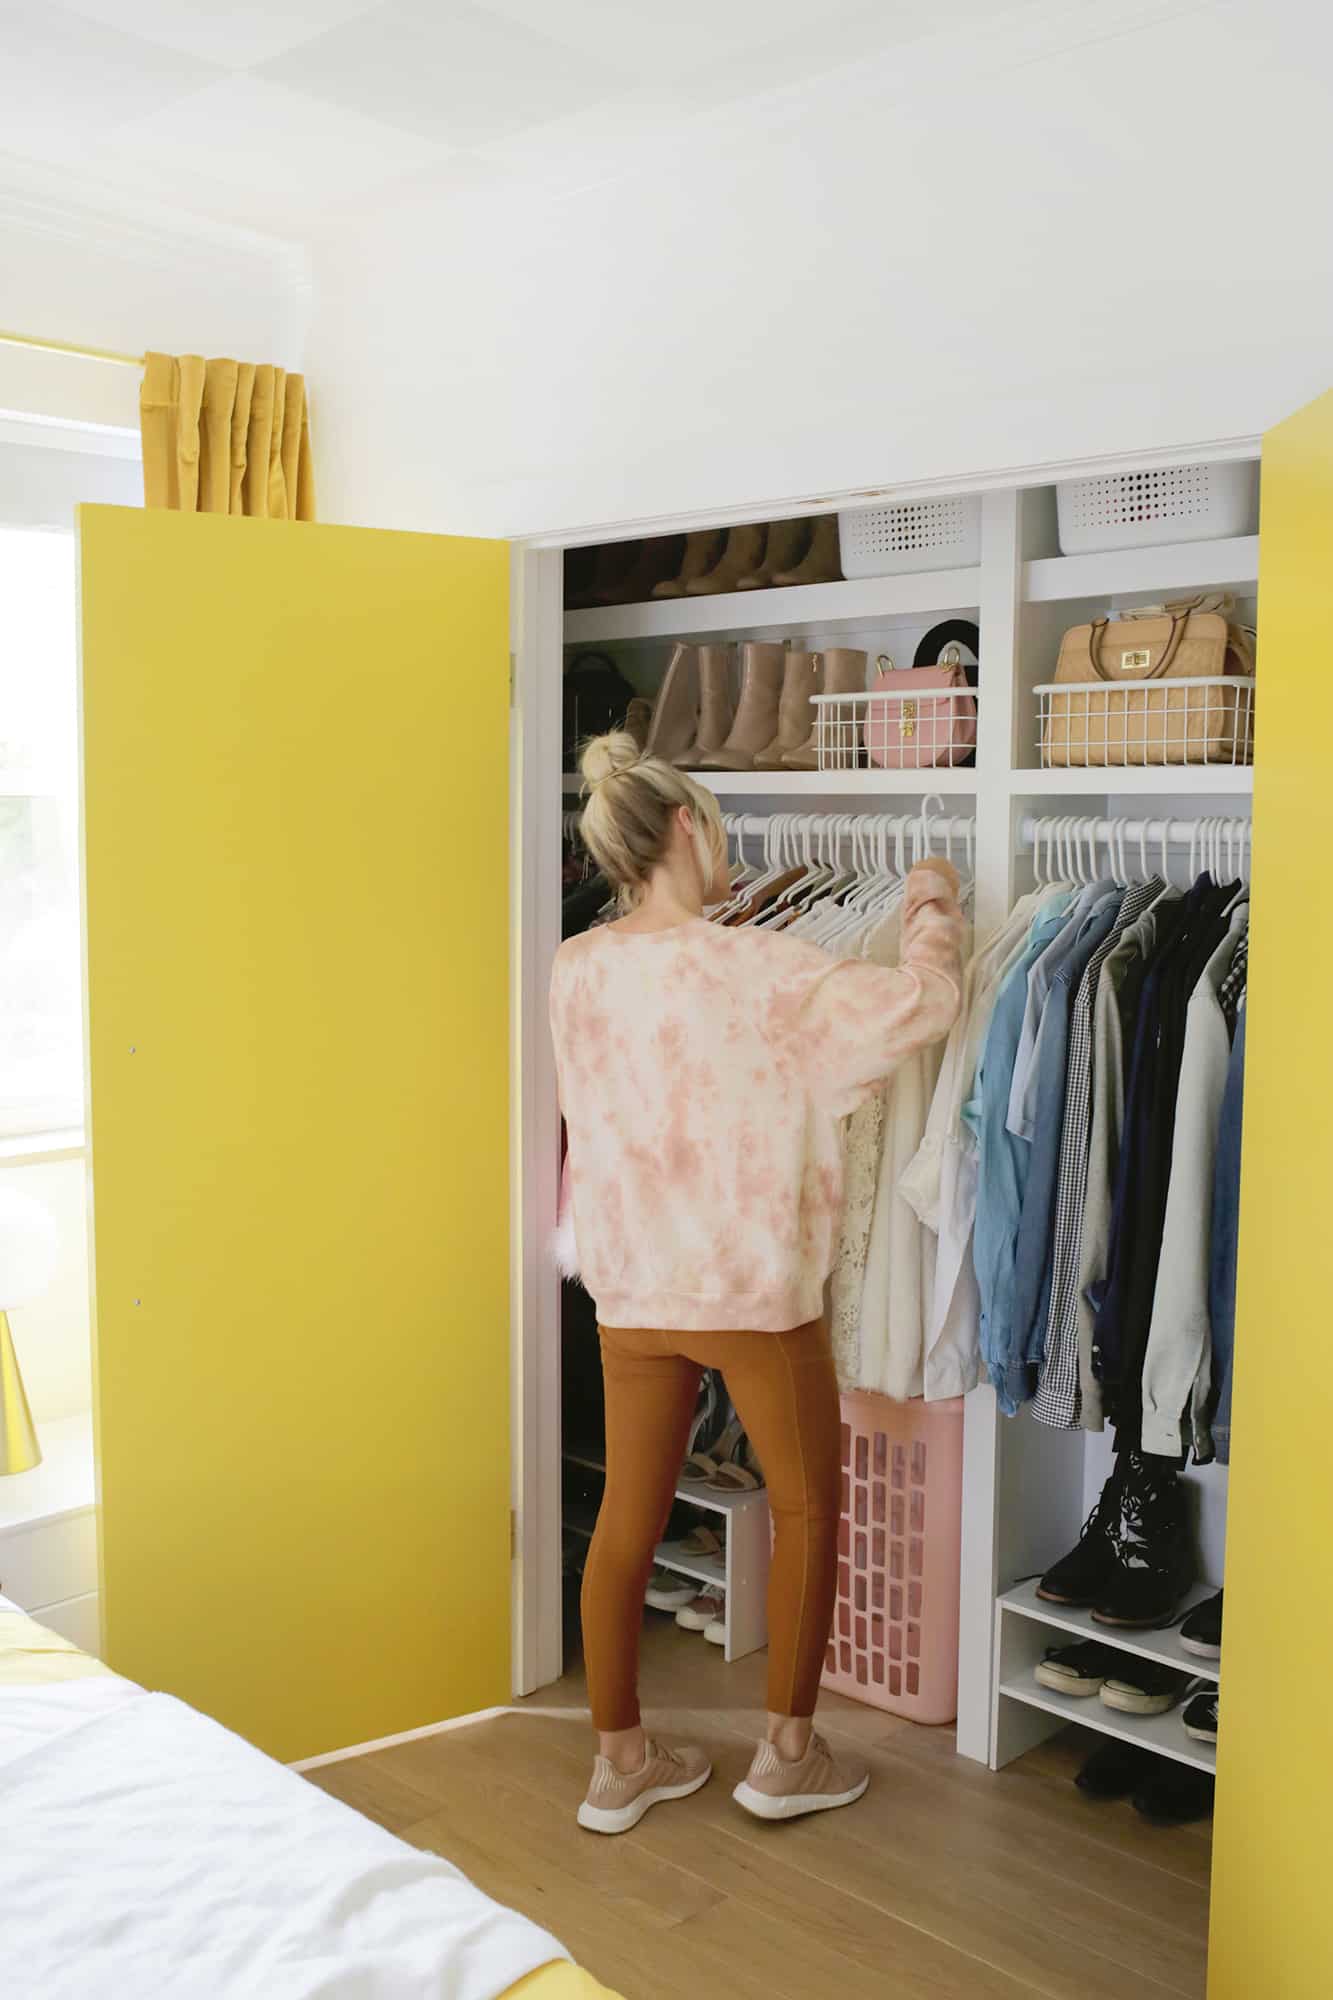
 Closets. Probably one of the more underrated areas of a house, but man, a nice organized closet makes a big difference in one’s day-to-day life if you ask me.
I was kind of bummed that we didn’t focus on the closets at our last house until right before we suddenly ended up moving, so I wanted to make sure that I made closets a priority upfront at our new home so we could enjoy them longer.
The main bedroom has one closet that Todd and I will share, and it was pretty apparent right away that it would need some TLC before it could be used properly.
The top shelves weren’t cut evenly and were loose and the bottom clothes bar had brackets every foot or so across the length of the closet so that you couldn’t really slide clothes in either direction, which I hated—the brackets were everywhere!
It felt like someone grabbed some boards and a bunch of hardware and just threw up a quick shelving system a few decades ago, so I decided to build a better version that looked more finished and custom when it was done.
Since this is a closet for two people, I decided to put a dividing board up the center of the closet to both divide the space into two and serve as a support board for the long shelves and clothing rods.
Technically, since our closet opening is a little offset from the center of the closet and I centered the middle board with the door opening rather than the true middle, one side of the closet is a little bigger, so can you guess who gets that side?? It’s me.
Supplies:
-12″ x 3/4″ board as tall as your ceiling height (I did the boards where you pay by the foot and get the length you need)
-12″ x 3/4″ boards for wider shelves
-10″ x 3/4″ boards for smaller shelves
–1″ x 2″ support boards
–1″ x 3″ trim boards
–1″ x 2″ trim boards (only if you want a smaller trim piece on the shelf above where you hang your clothes like I did)
–closet rods and rod brackets (and a hacksaw to cut them)
-white paint
–caulk
–wood screws
–screws with anchors
–wood filler
–countersink bit
–miter saw
–sandpaper

1. Mark your shelf locations: First, you’ll want to mark where you want your shelves so you know where to add your support rails for each shelf. To determine your rail placement, you can use painter’s tape to mark where you want your shelves to be and check with a level to make sure your lines are straight and even with each other.
I was fine with the placement height of my shelves, so I left that the same, but you can make yours higher, lower, add more or take away shelves as needed for your height. My closet is oddly tall for the size, so I have a really high third shelf that is less accessible but still handy for less used items.
Once you have your level, tape lines in place to mark the height, measure to find the middle of your closet (or wherever you want to divide the closet into two if not doing equal halves) and mark that location so you know where to put the center of your vertical middle support board.
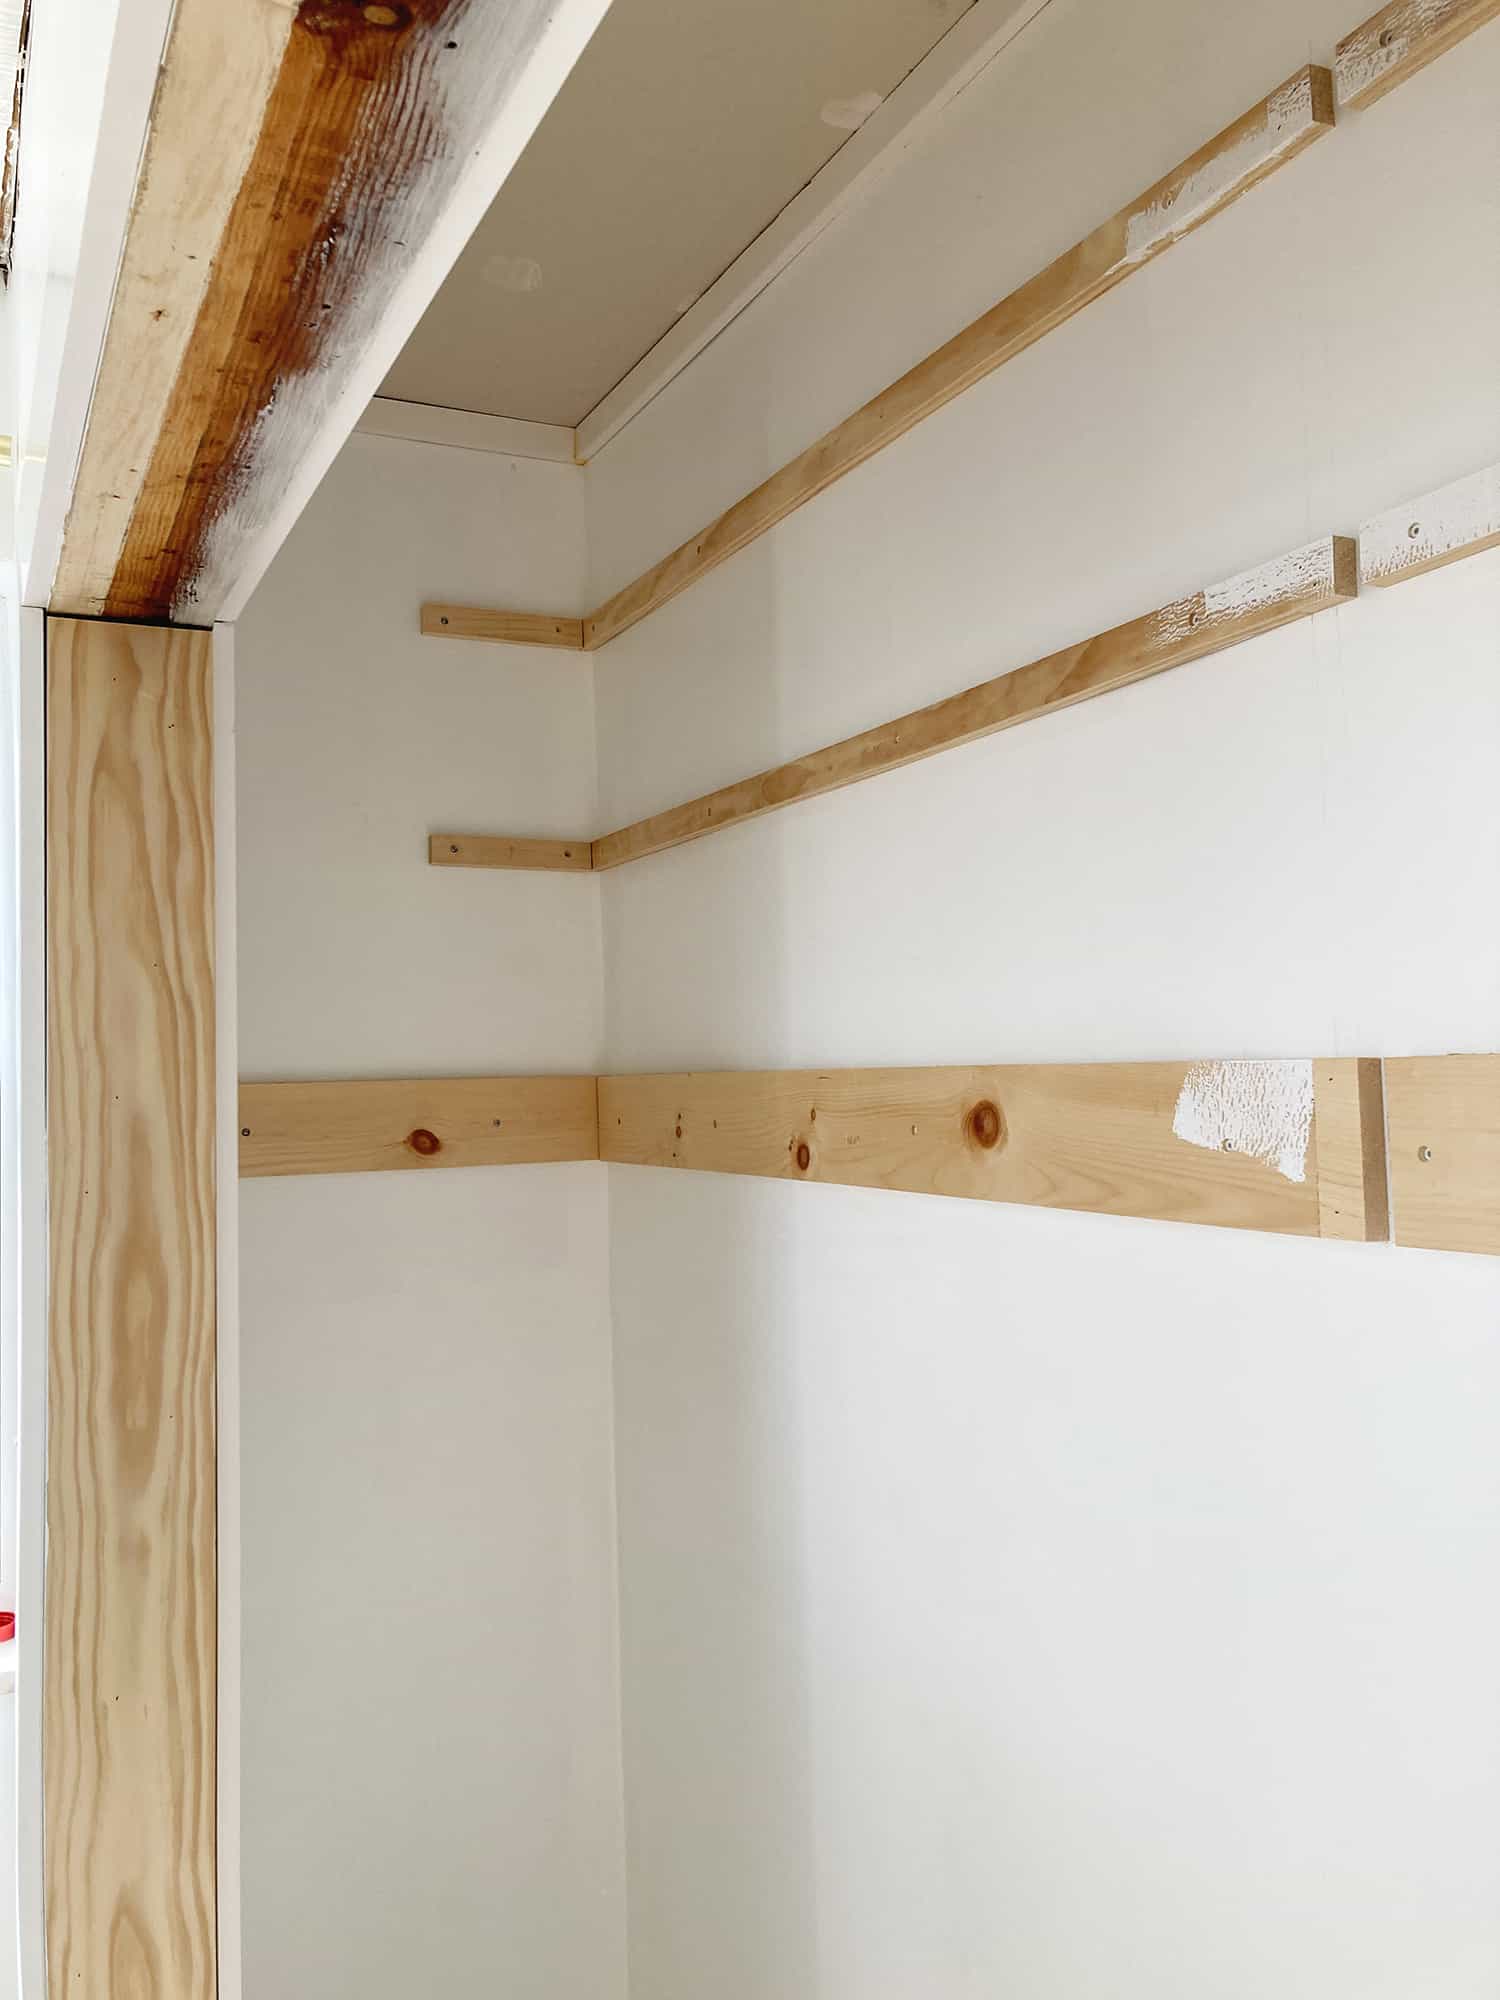
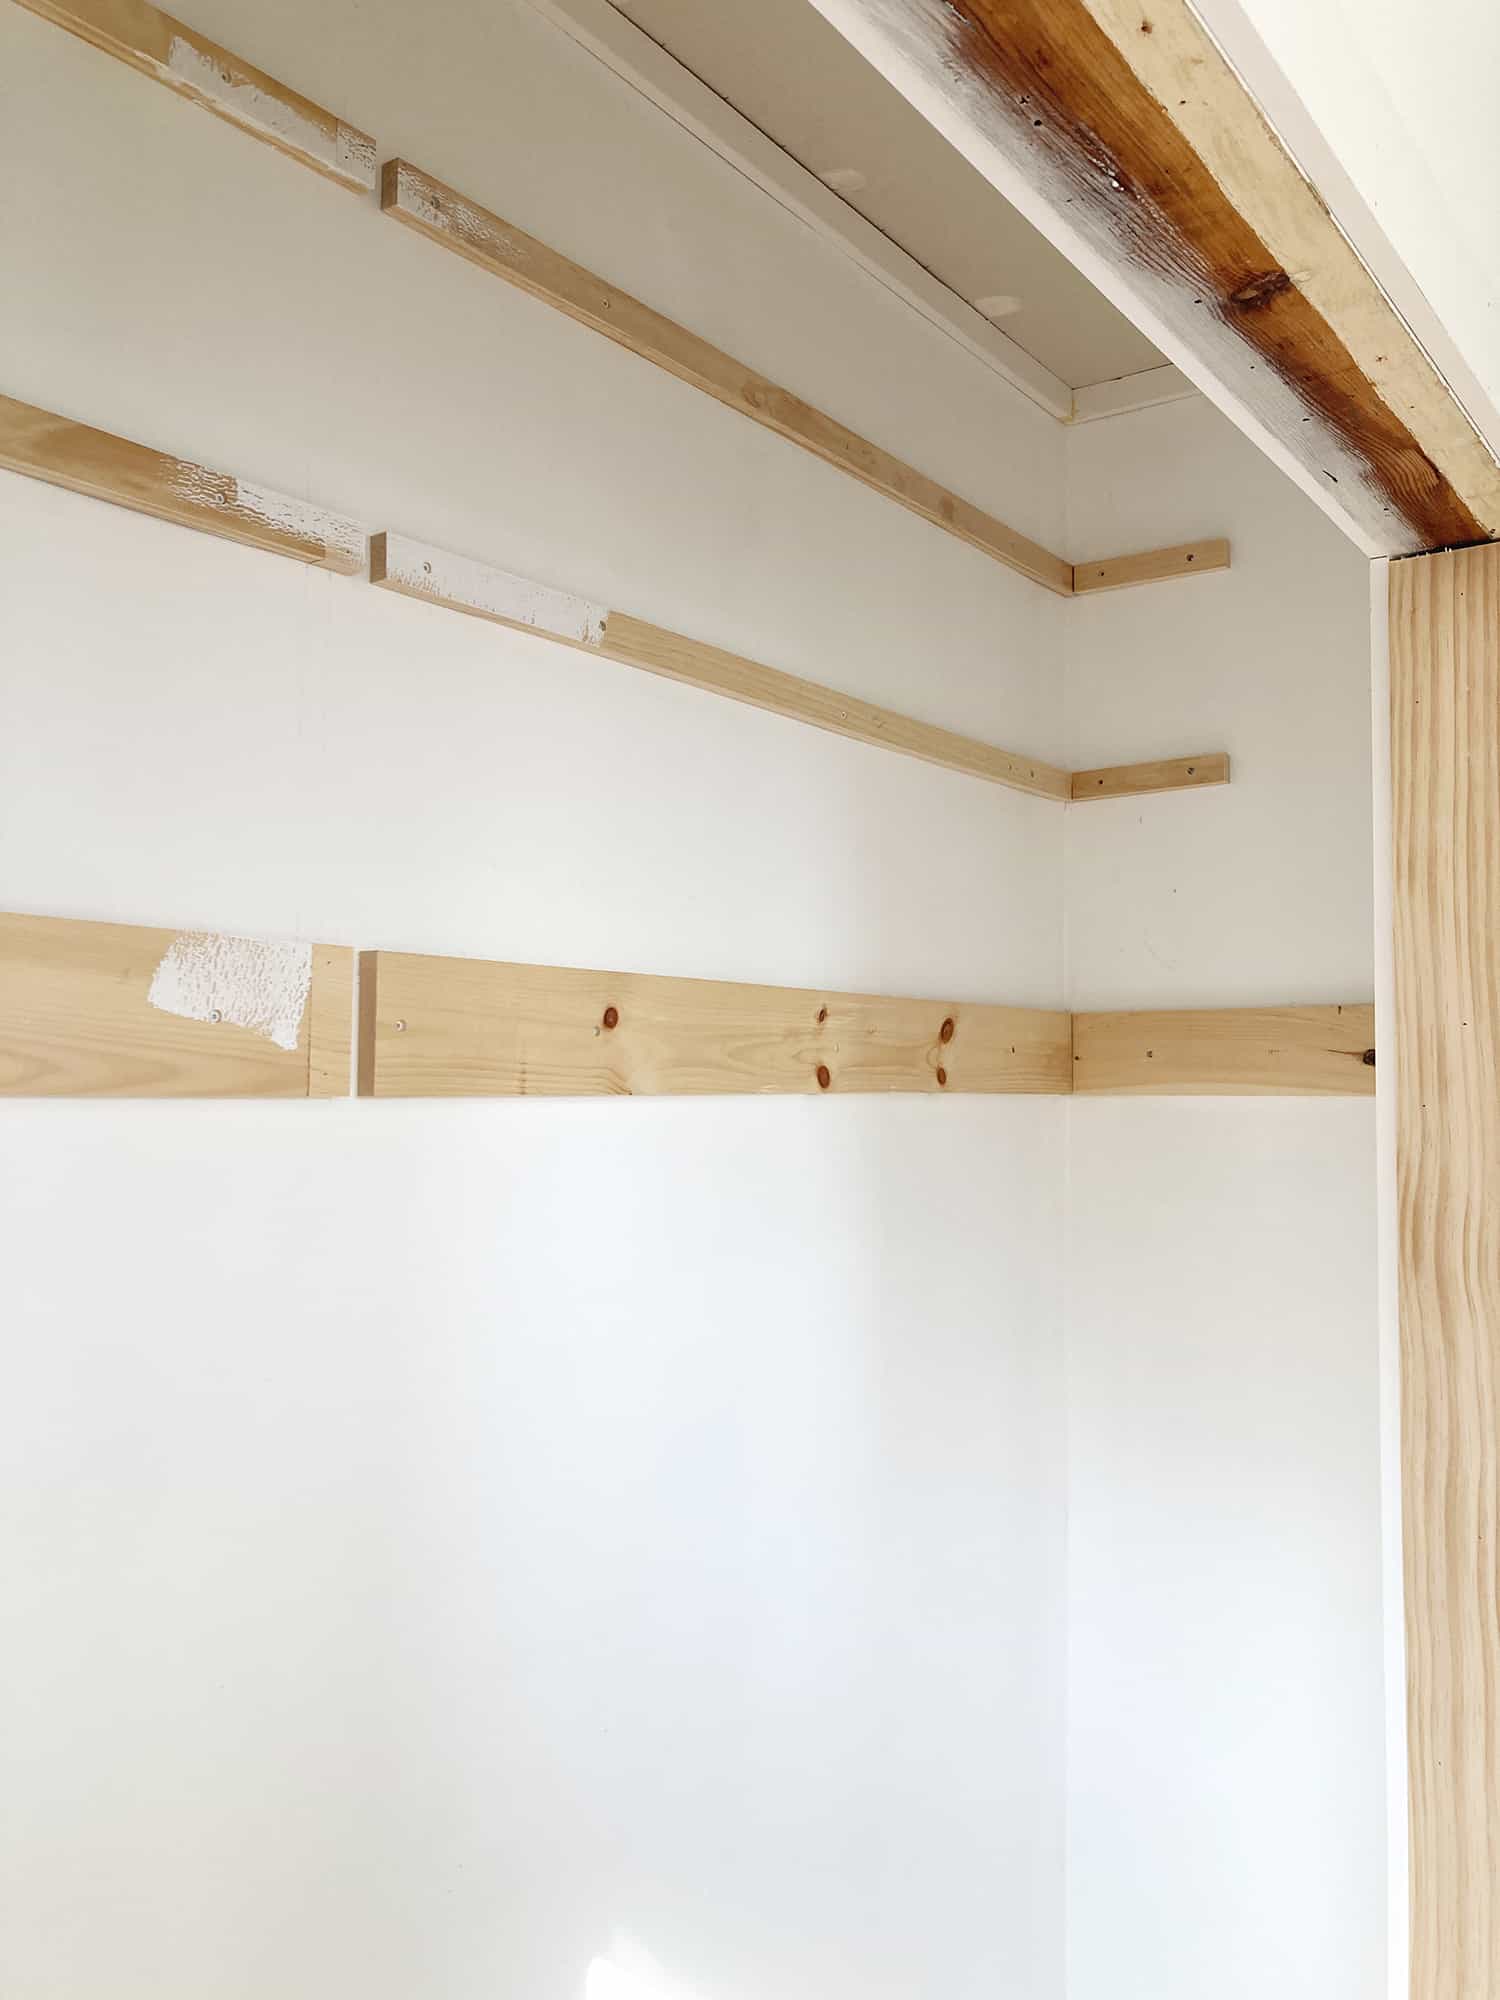
Find and mark the studs in the wall with a stud finder (you can just mark on the painter’s tape) to make sure you have a solid place to drill into with your screws (we love these screws for this type of job). If you can’t find a stud, you can use drywall anchors in the wall first (either self drilling or tapping in) and that will give you a good hold for your screw as well.
I highly recommend holding your board against the wall once you cut it to size and then marking directly on the board where you want your screw holes to be (screw into studs where you can!) and then take the board off to pre-drill your holes to make the process a lot easier.
Line your board up with your level tape lines and attach your board to the wall with your screws (again, you may want to hold up your pre-drilled board and drill holes into the wall first, but some screws are “self-drilling” and you don’t need to do that for them to go in smoothly).
For all screws in this project, I highly recommend also using a countersink bit when you pre-drill so your screw head will end up slightly below the surface of your board and you can fill in the hole with wood filler and smooth it out completely flat at the end. It will totally disappear like magic!
Repeat the process on the sides of your closet by cutting your side support rails as long as they need to be to come right to the edge of your top board once that is put on, and mark your holes, pre-drill your board, and attach those to the walls as well.
So, if you have 12″ deep shelving boards, you’ll want your side support rails to equal 12″ when added to the 3/4″ thick support board that’s already on the back wall.
In that case, you’d cut your side support rails to be 11 1/4″ so when you put it against the 3/4″ board on the back wall the total length will be 12″ from the back wall and it will be flush with your 12″ shelf board that goes on top.
*As a side note, our wall was kind of frail and crumbly where the closet rods needed to be attached to the wall (probably from a previous closet rod being yanked out roughly), so you can see that I put wider support rails on just the bottom shelf that go all the way across the sides of the closet so I would have a solid surface to add my rod to. But if your wall is in good shape, you shouldn’t need to do that step.
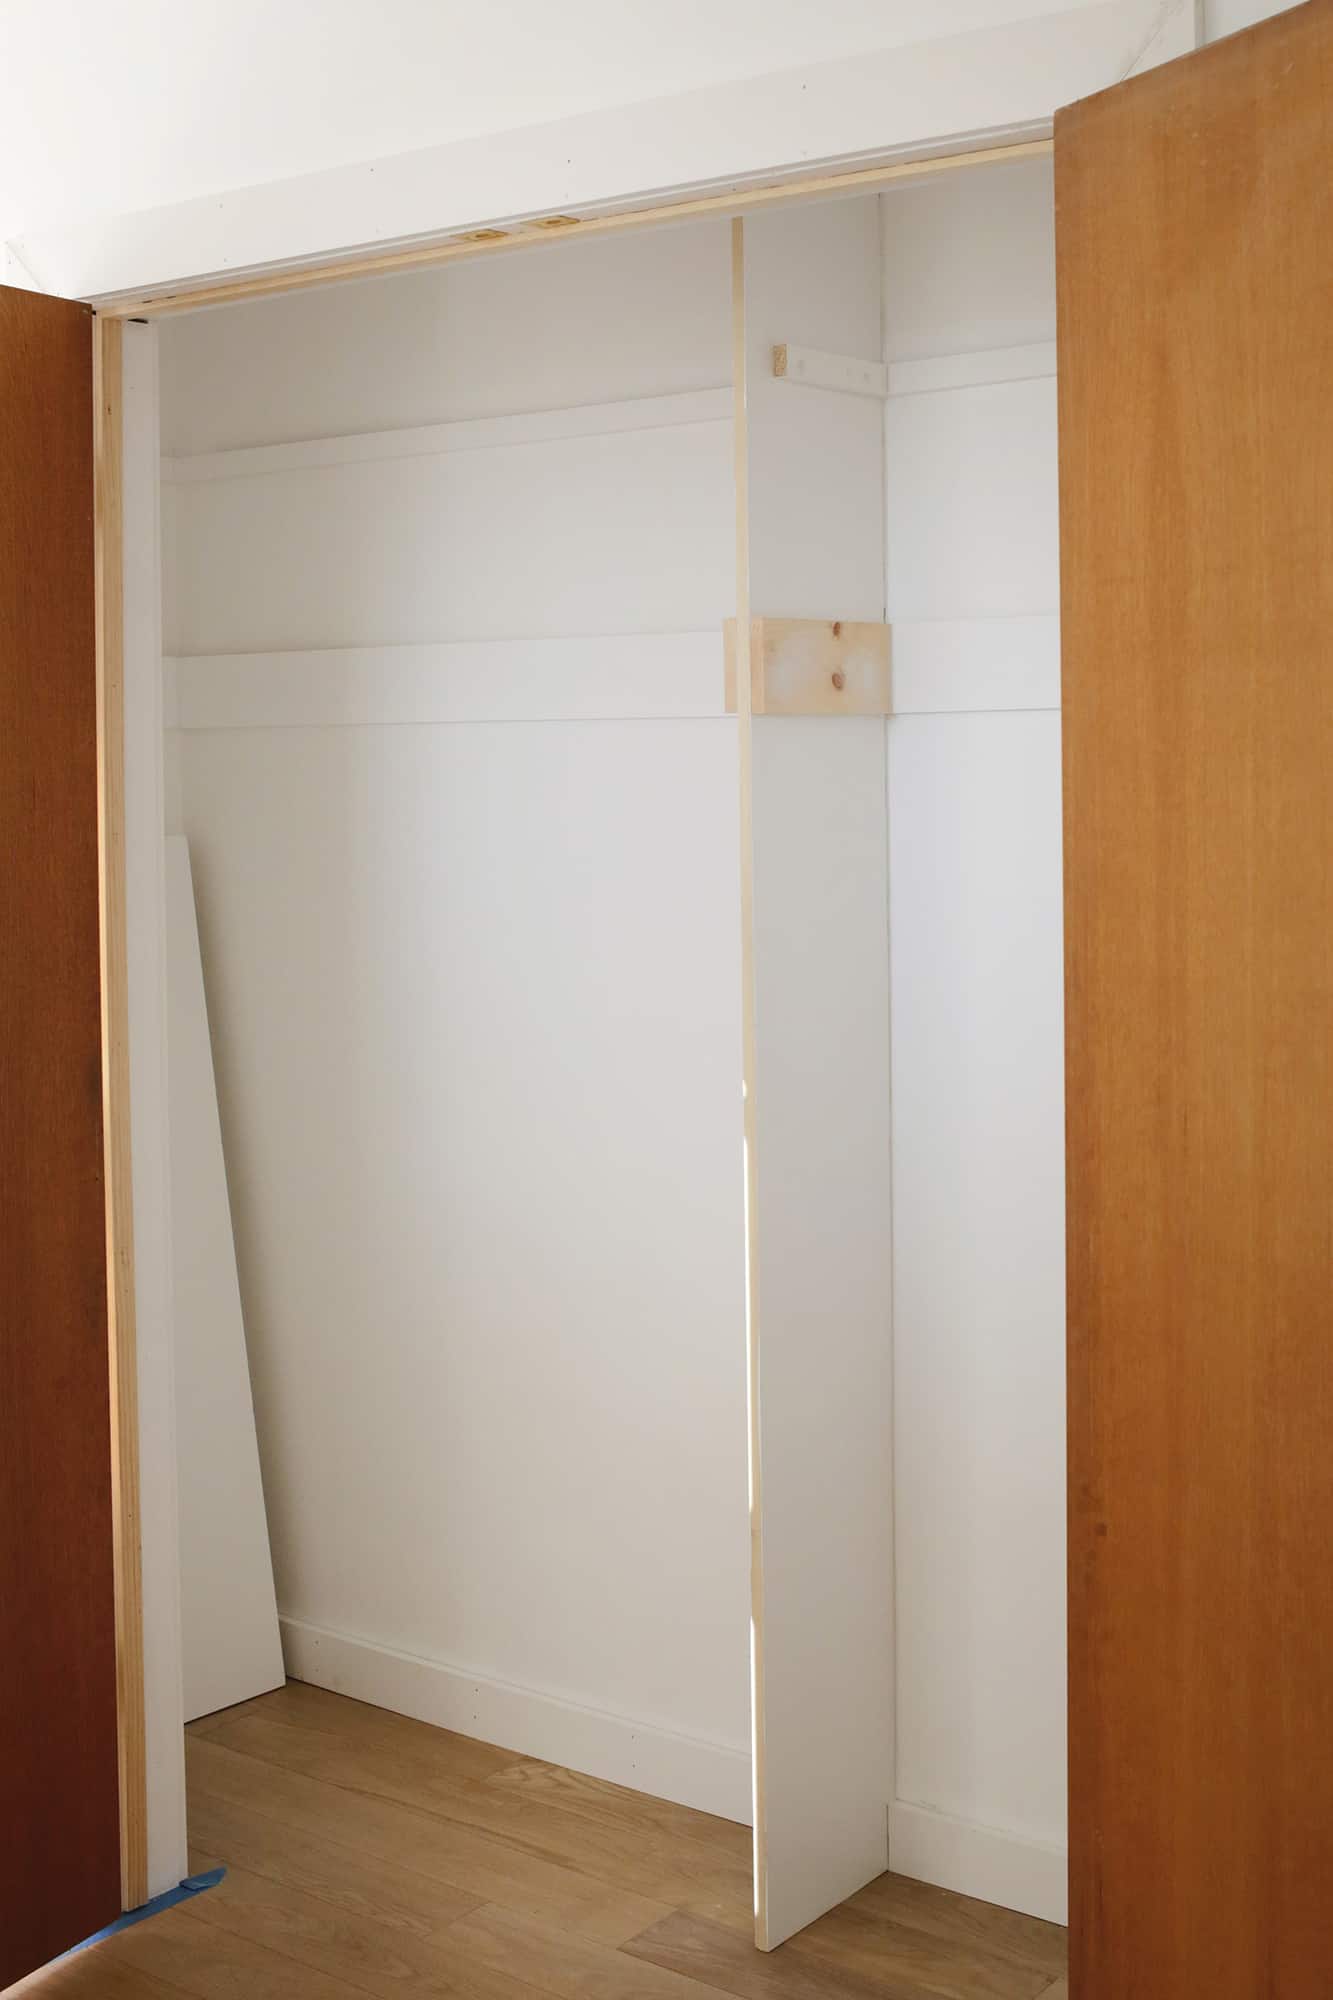
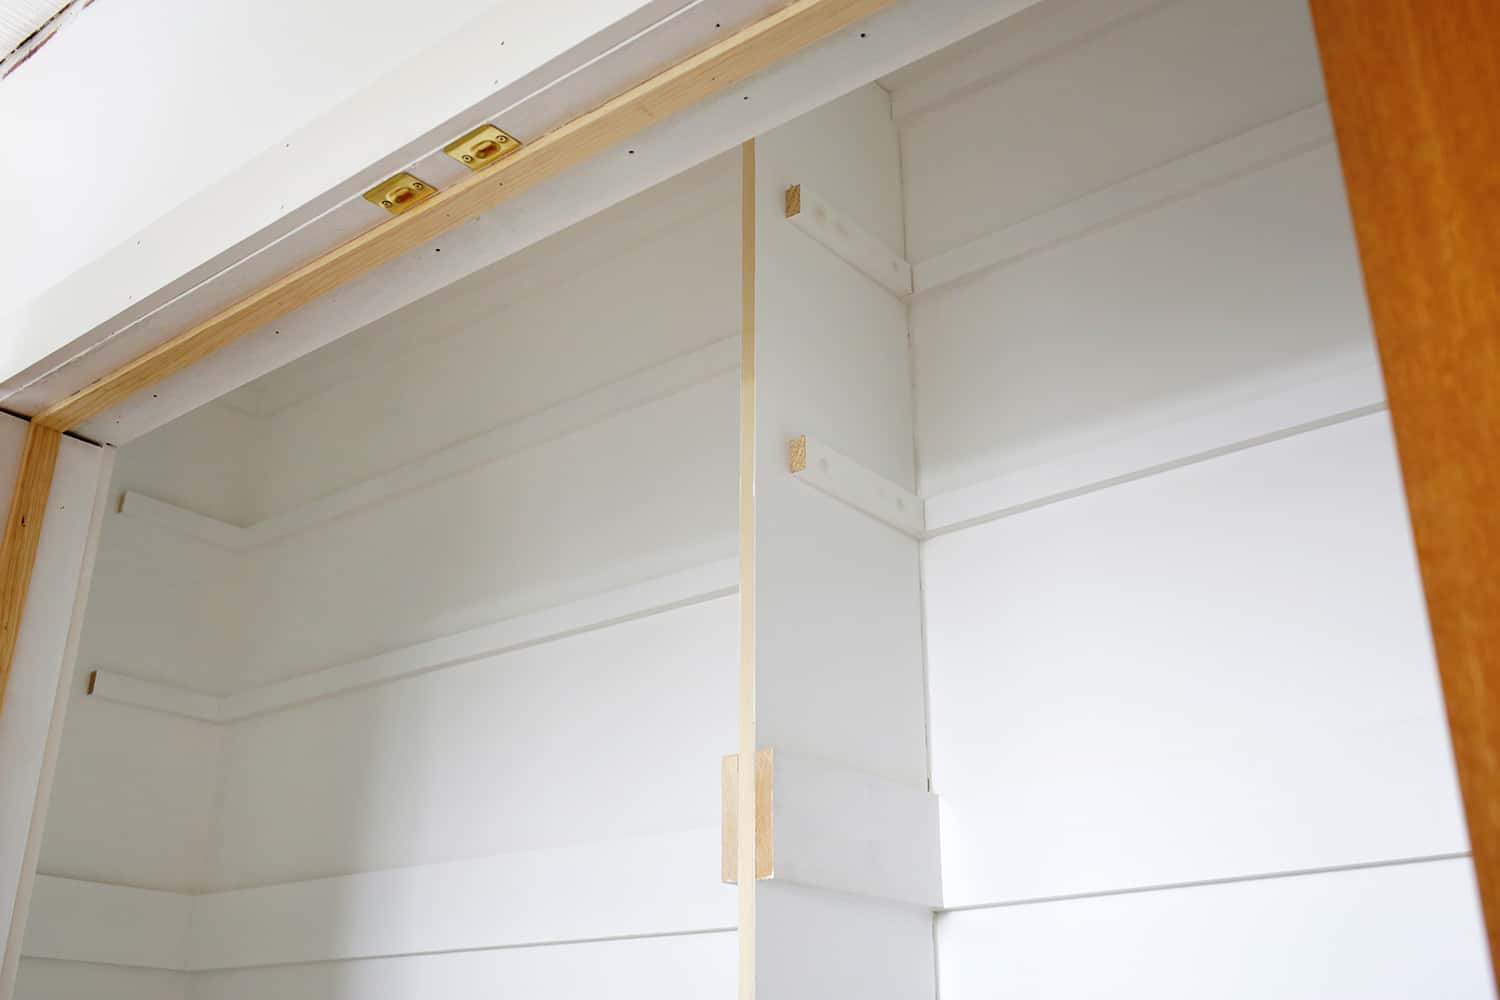
You can see above I also cut out a 3/4″ slice of the baseboard with my Dremel multi-tool so the vertical board would fit flush against the wall (or you can use a jig saw to cut out a baseboard-sized notch in the bottom back of your board so it will fit against it like a puzzle piece if you don’t want to cut your baseboard).
Cut the board height too long if you need to and keep taking bits off until it just fits the height (you can gently use a rubber mallet to get it in if it’s resisting going in a tiny bit).
Use a nail gun or Kreg jig and screws to nail a few nails or screws into the top of the board into the ceiling to secure it. You can do the same into the floor if you want, but I didn’t and it feels really sturdy without it.
Once your middle board is in, you’ll add your middle support rails for each layer of shelving to the vertical support board and you’ll be ready to add your shelves!
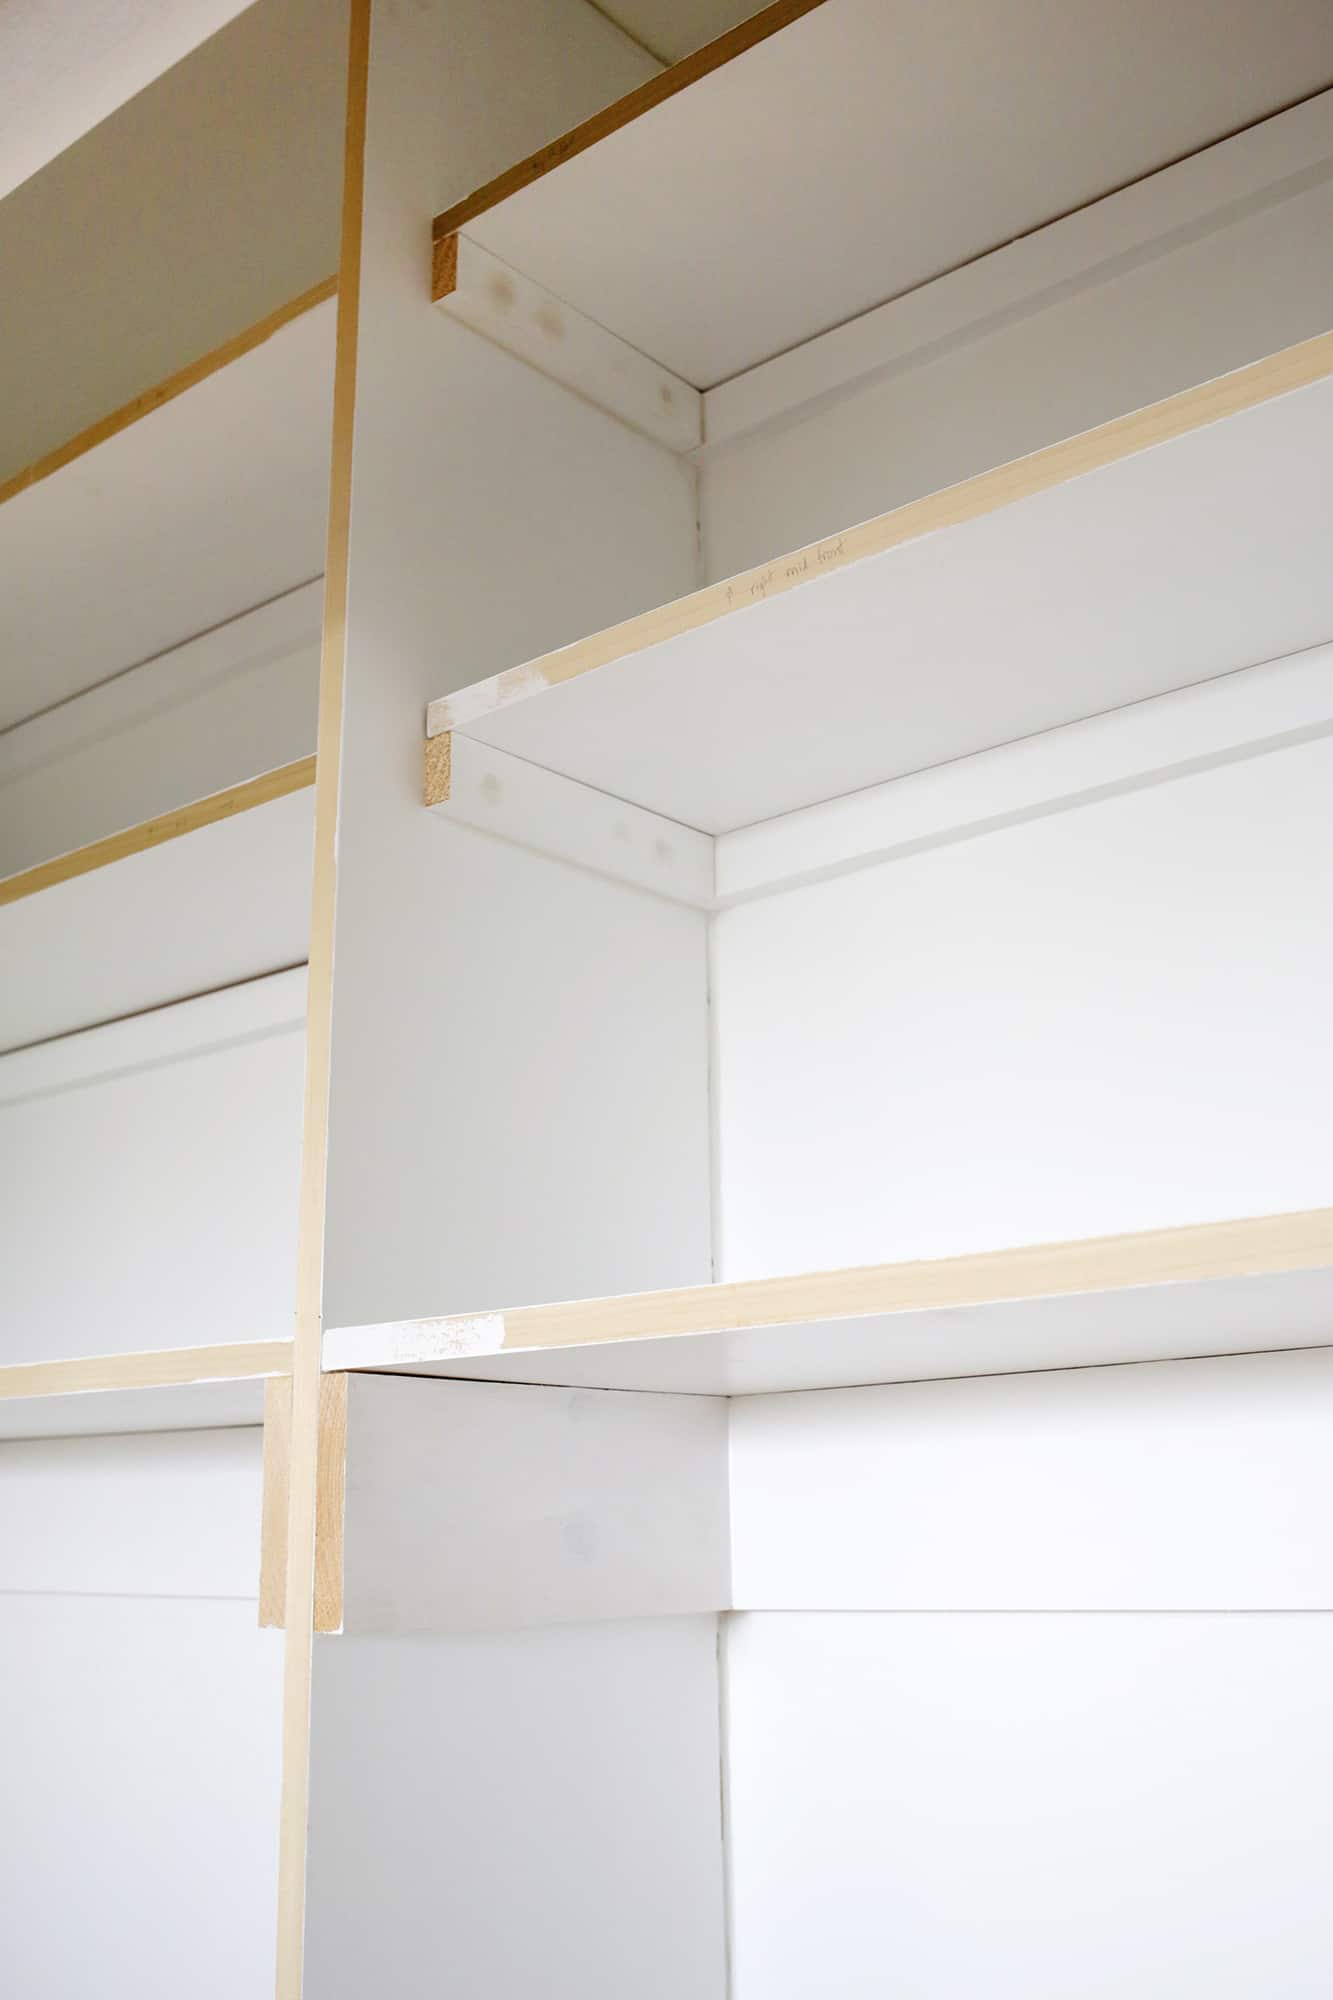
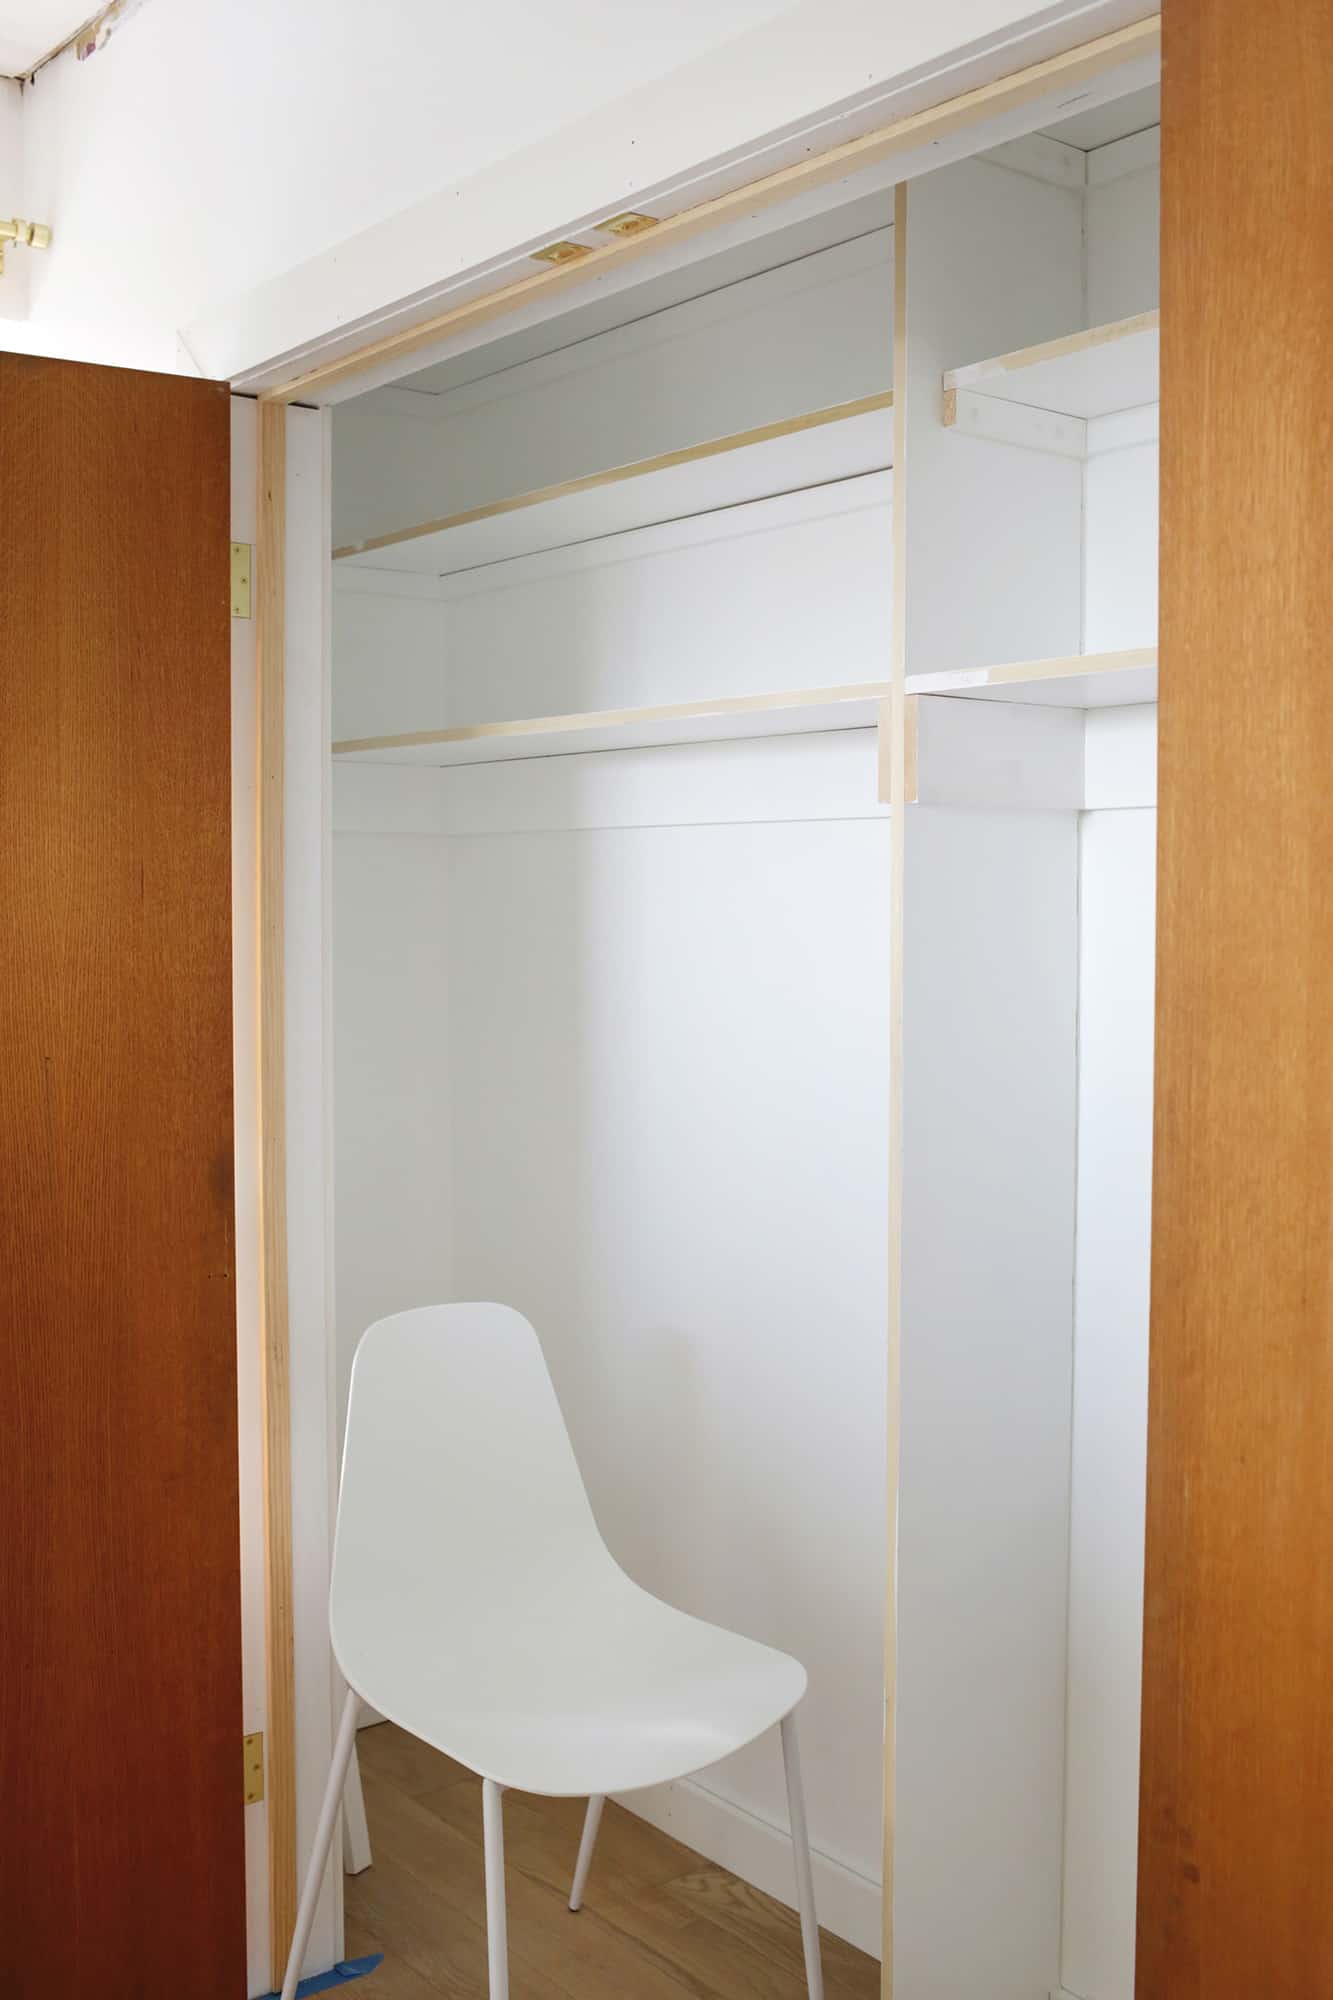
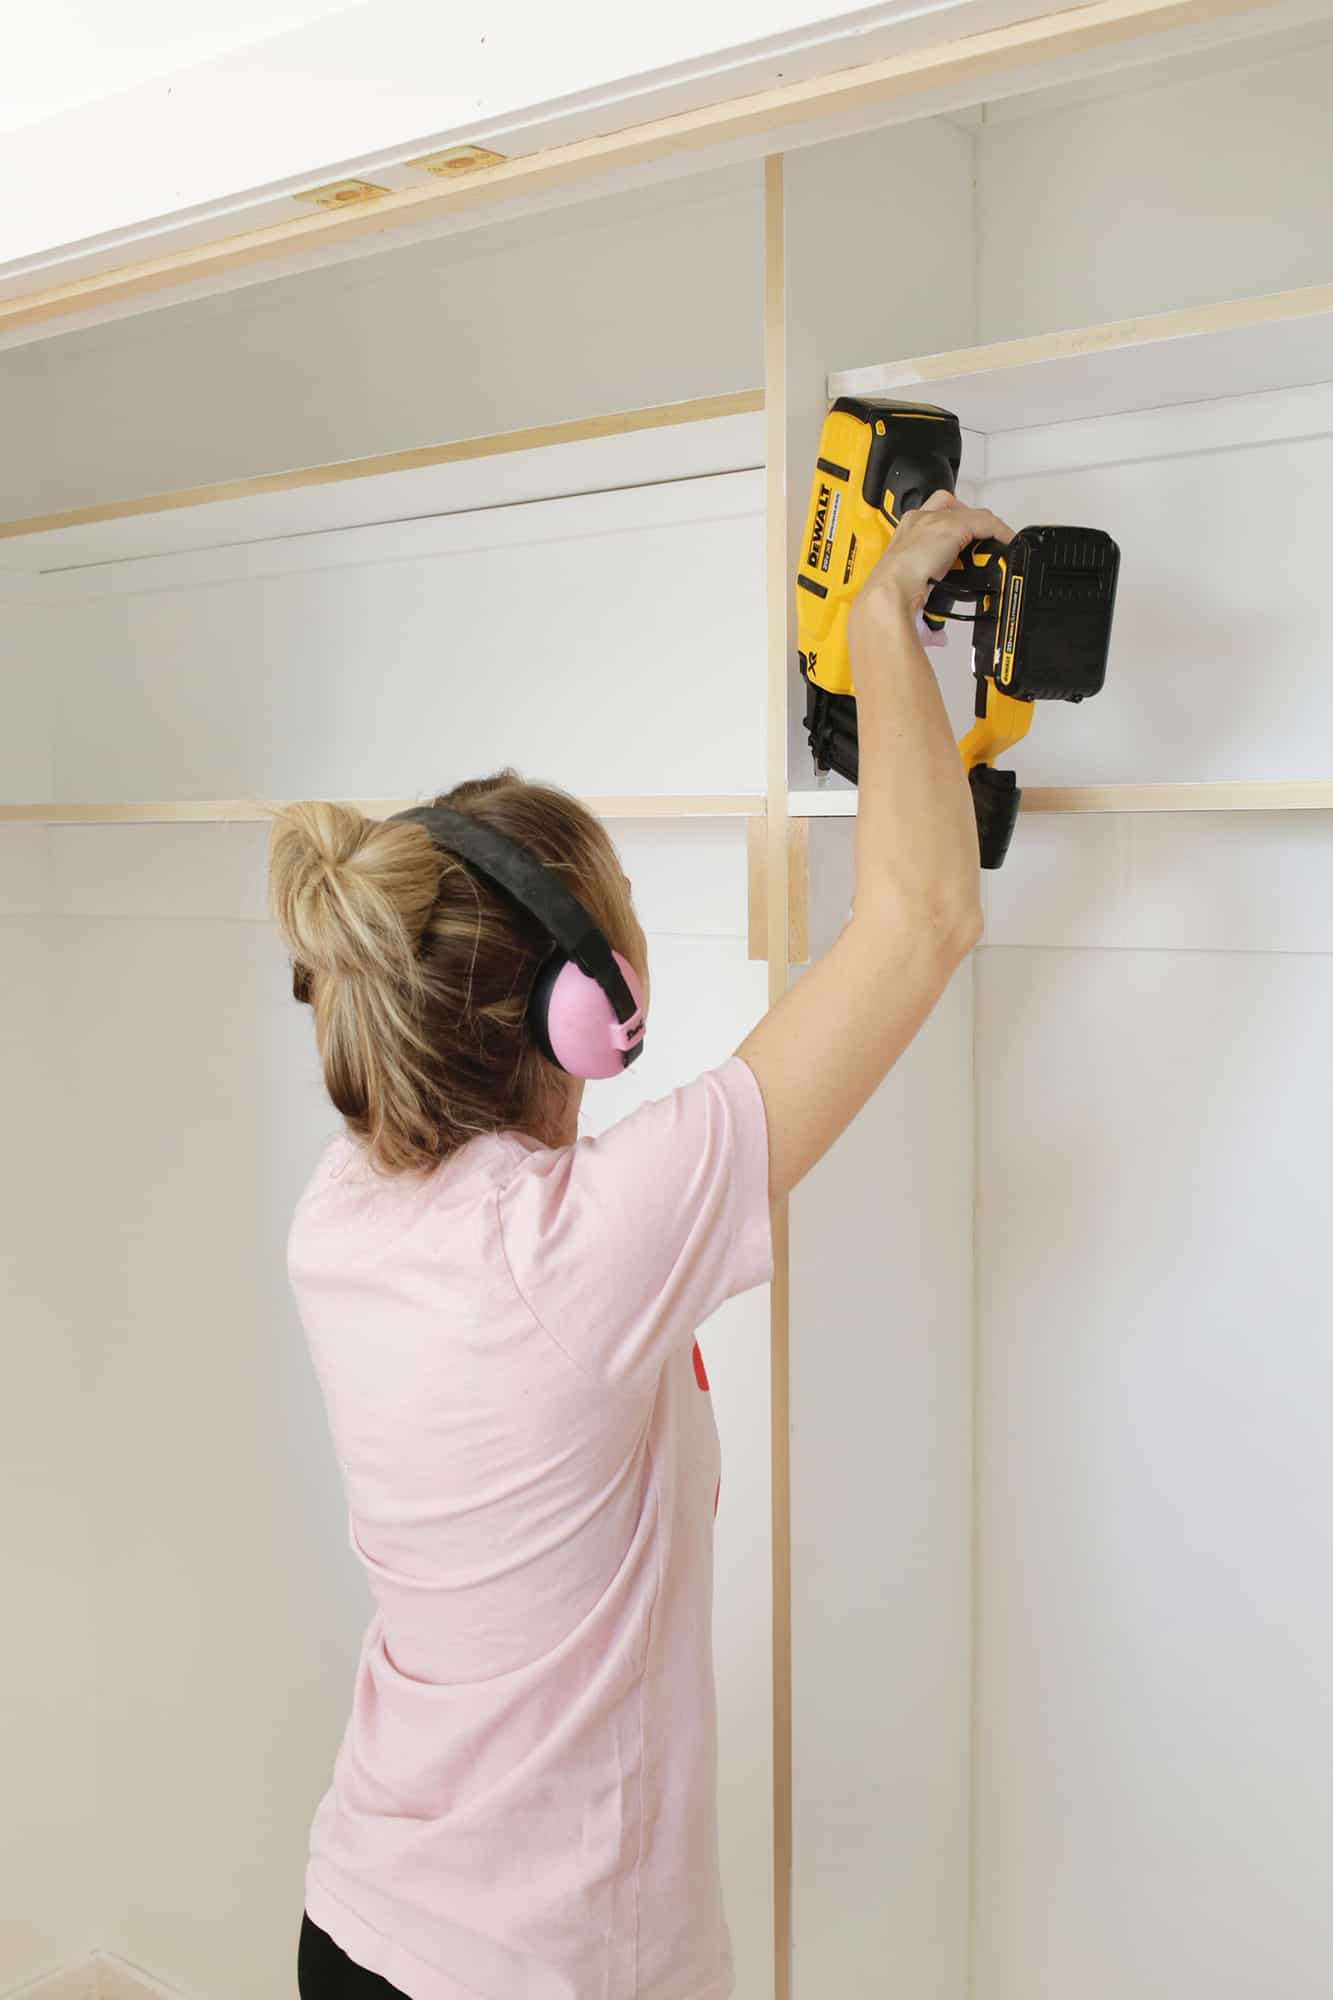
Use a nail gun (this one is amazing—no air tank needed!) to attach your board to your rails or you can also screw in the boards if you don’t have a nail gun (pre-drilling recommended so as not to split the wood).
You can rent nail guns if you don’t want to buy one! Renting tools can be a great way to go for things you don’t use often. I would also suggest laying down a line of wood glue on top of the rails before adding your board on top for a little extra bonding strength.
You can see that I made my higher shelves a little more shallow than the bottom shelf—that’s so I can have room to get boxes up and down out of there, but if your closet is deeper you can have them all be the same depth.
If using a drill and screws to attach your main and trim boards, I highly recommend also using a countersink bit when you pre-drill so your screw head will end up slightly below the surface of your board and you can fill in the hole with wood filler and smooth it out completely flat at the end.

Since I was hanging clothes under the bottom shelf, I put a smaller trim piece on the front of those shelves so it wouldn’t get in the way when I go to hang clothing.
I attached all of my trim boards with the brad nails and nail gun, but if you have spots where the trim was bowed a bit and a nail isn’t strong enough to hold it straight, you can pre-drill and use screws there to really keep the boards together (brad nails and glue should be fine for non-warped boards, but screws are a stronger hold if they are trying to pull apart based on warping).
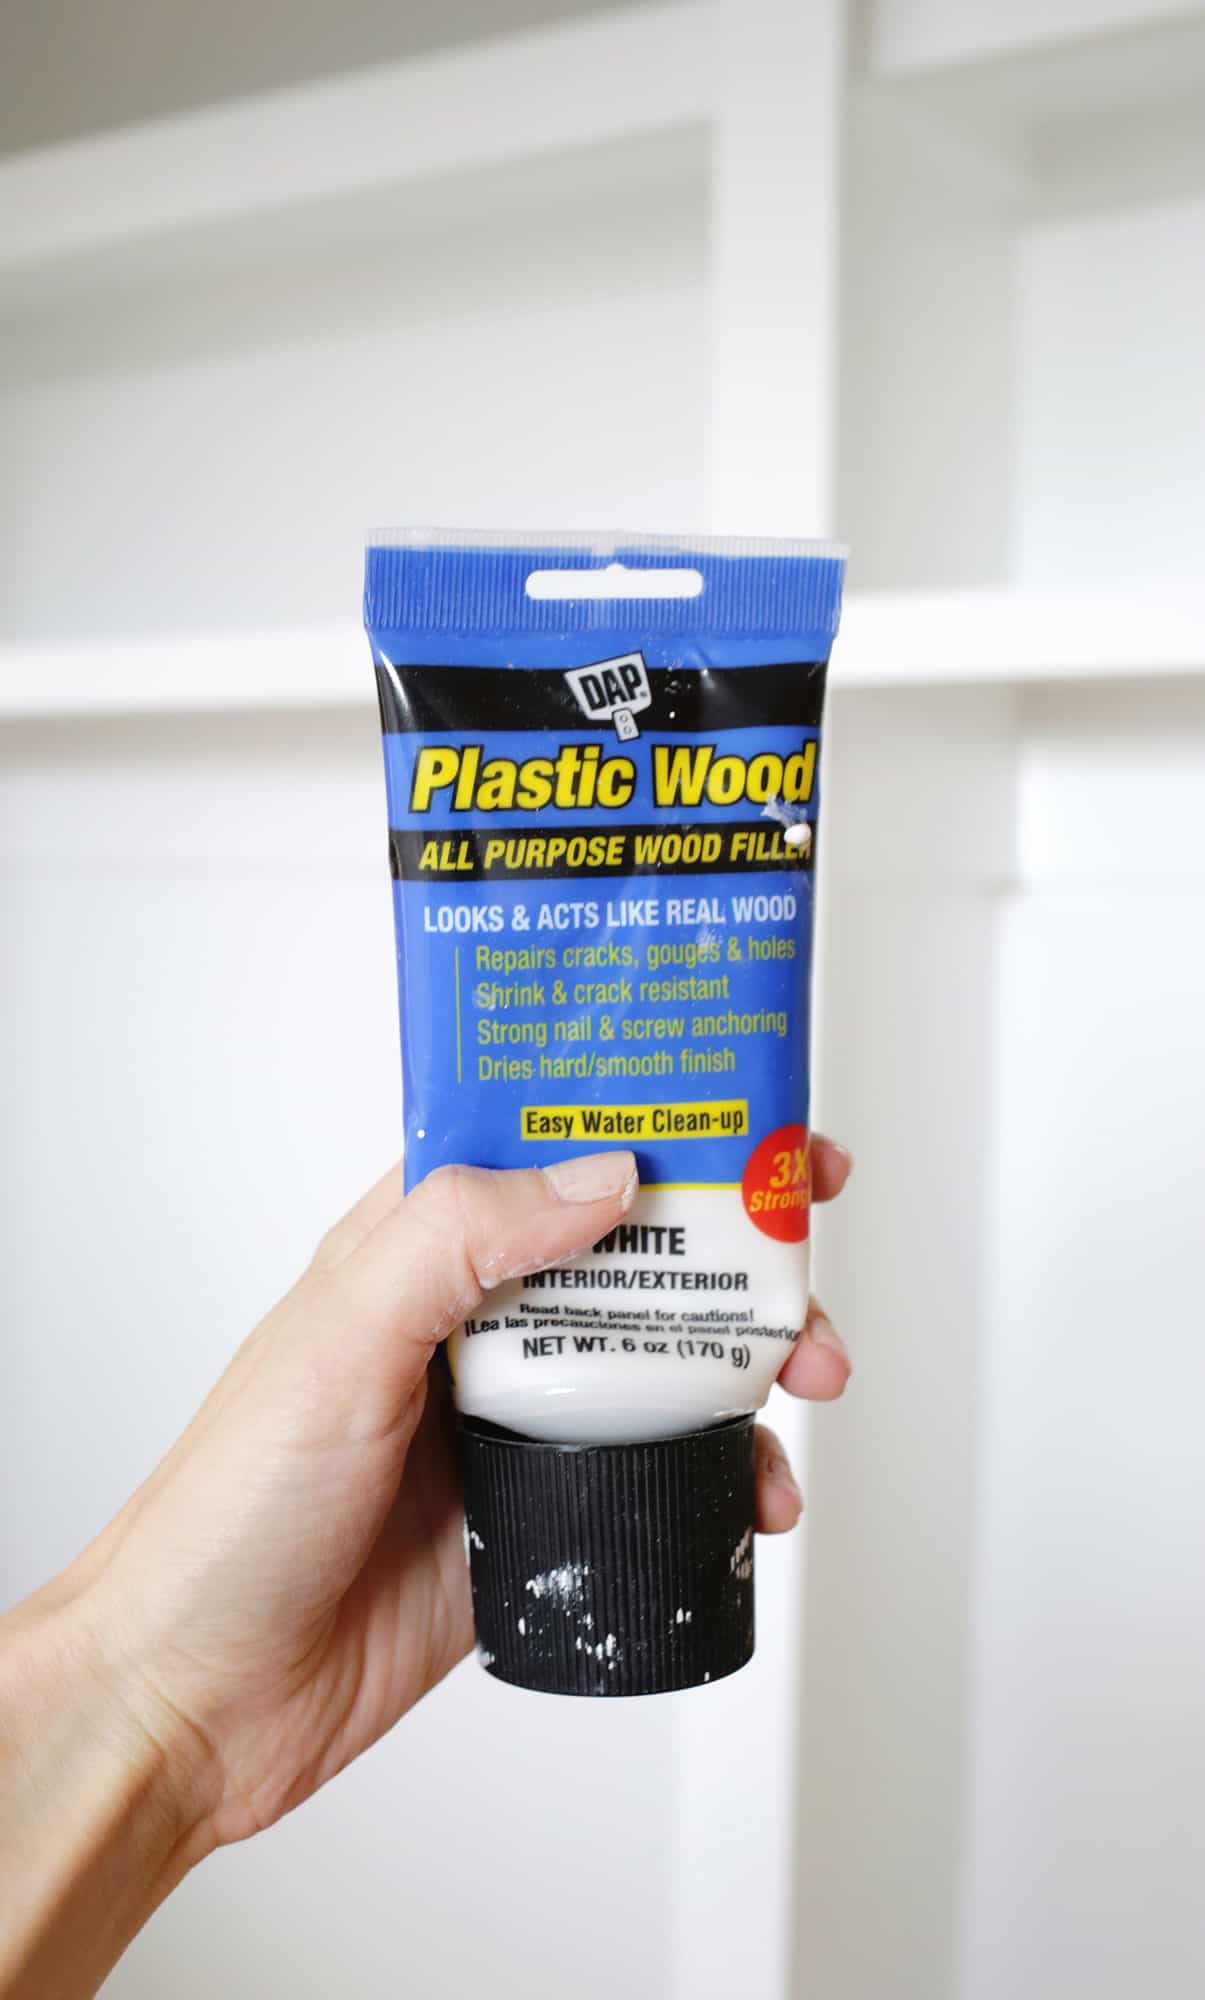
Paint your wood with semi-gloss paint and give it adequate time to cure before adding items to the shelves. You can also paint as many boards as you can before putting them in as that saves you a lot of awkward painting in a small closet.


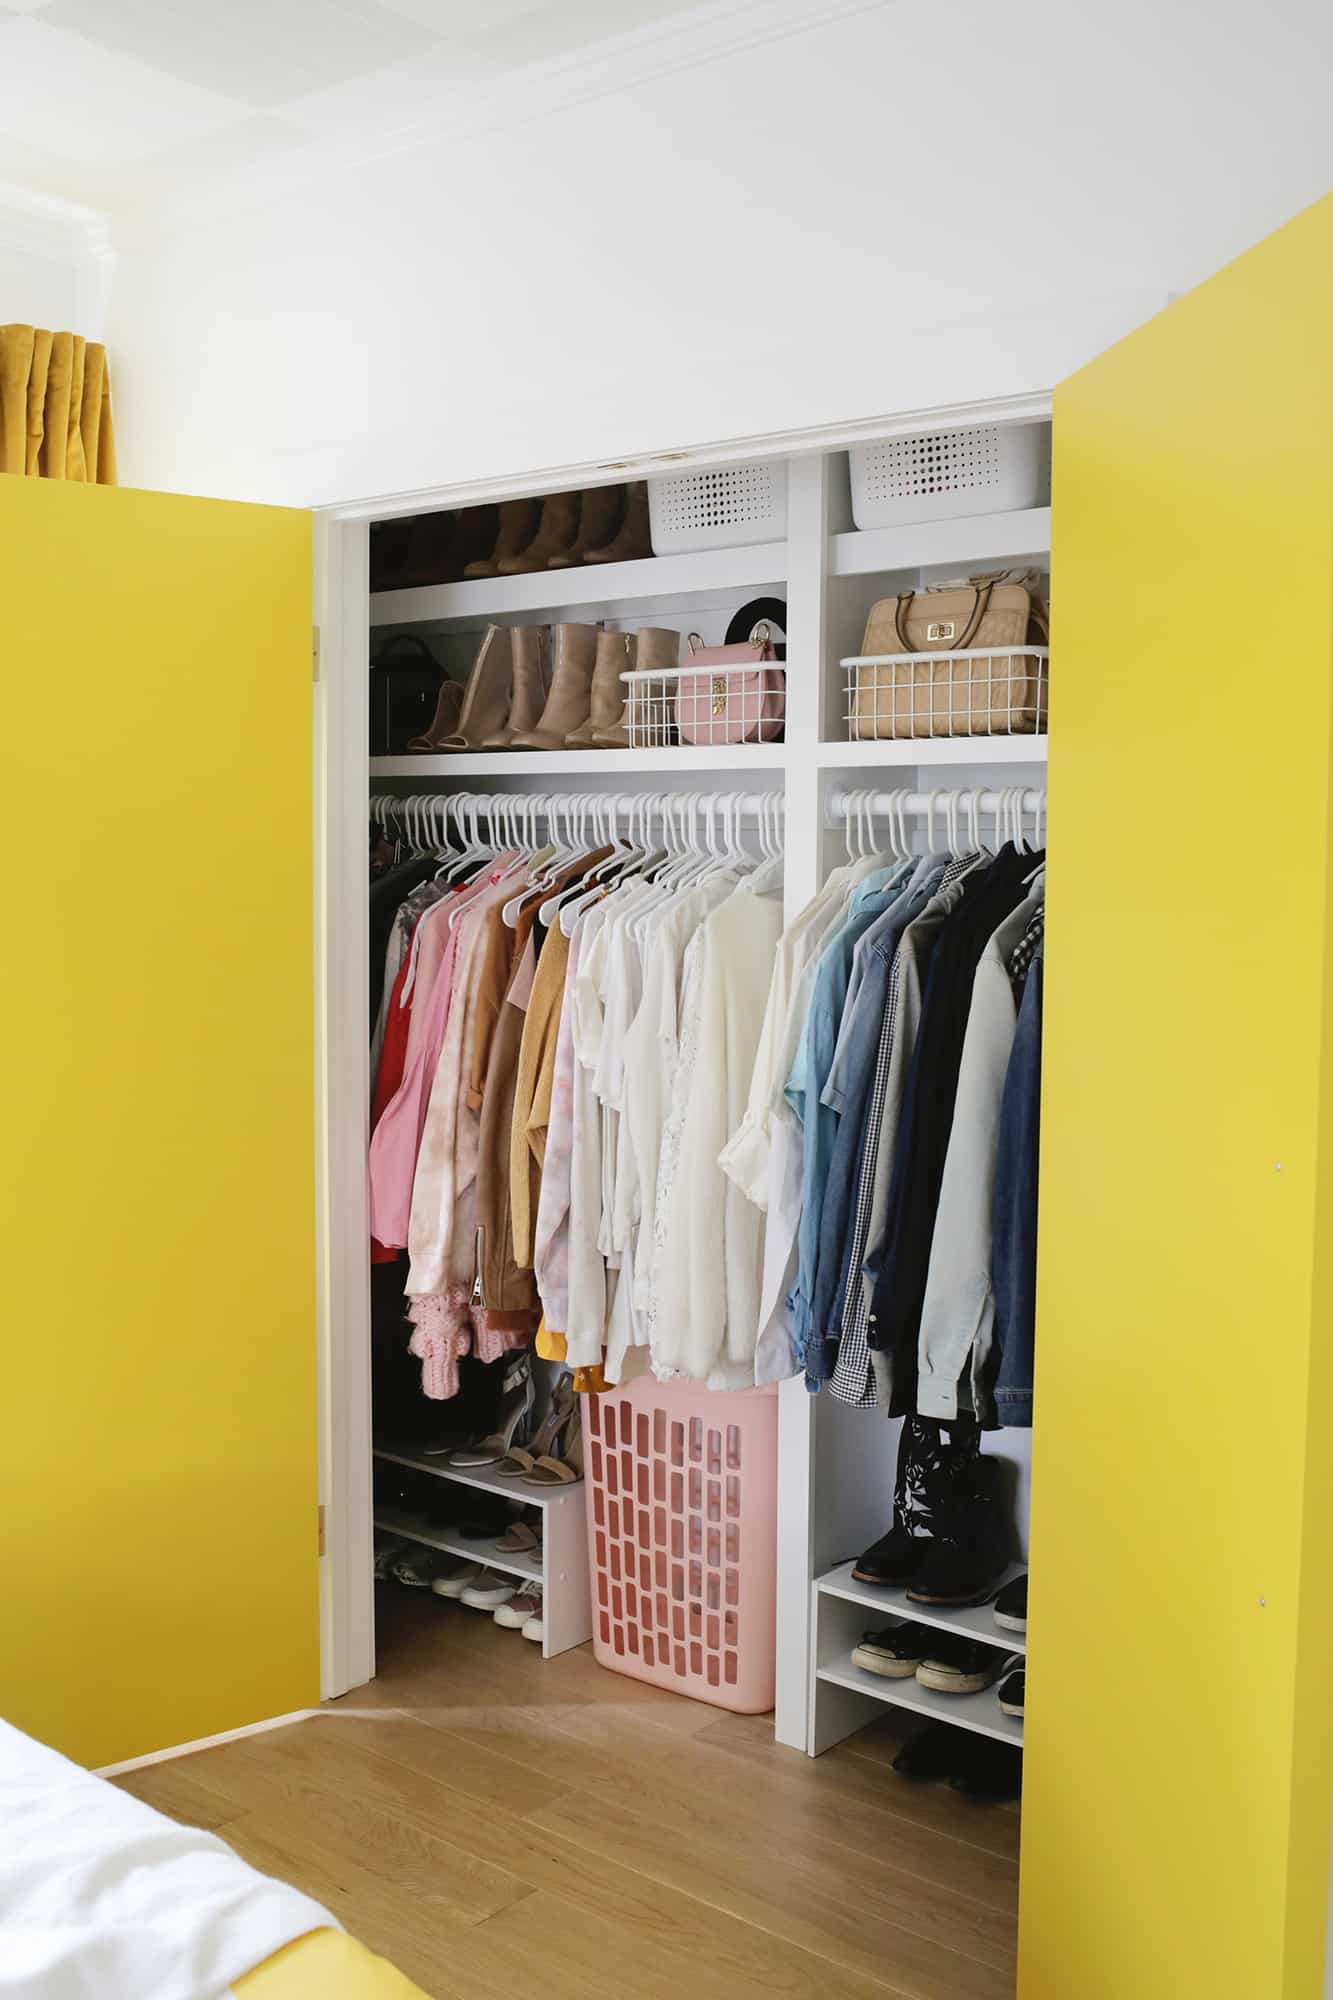

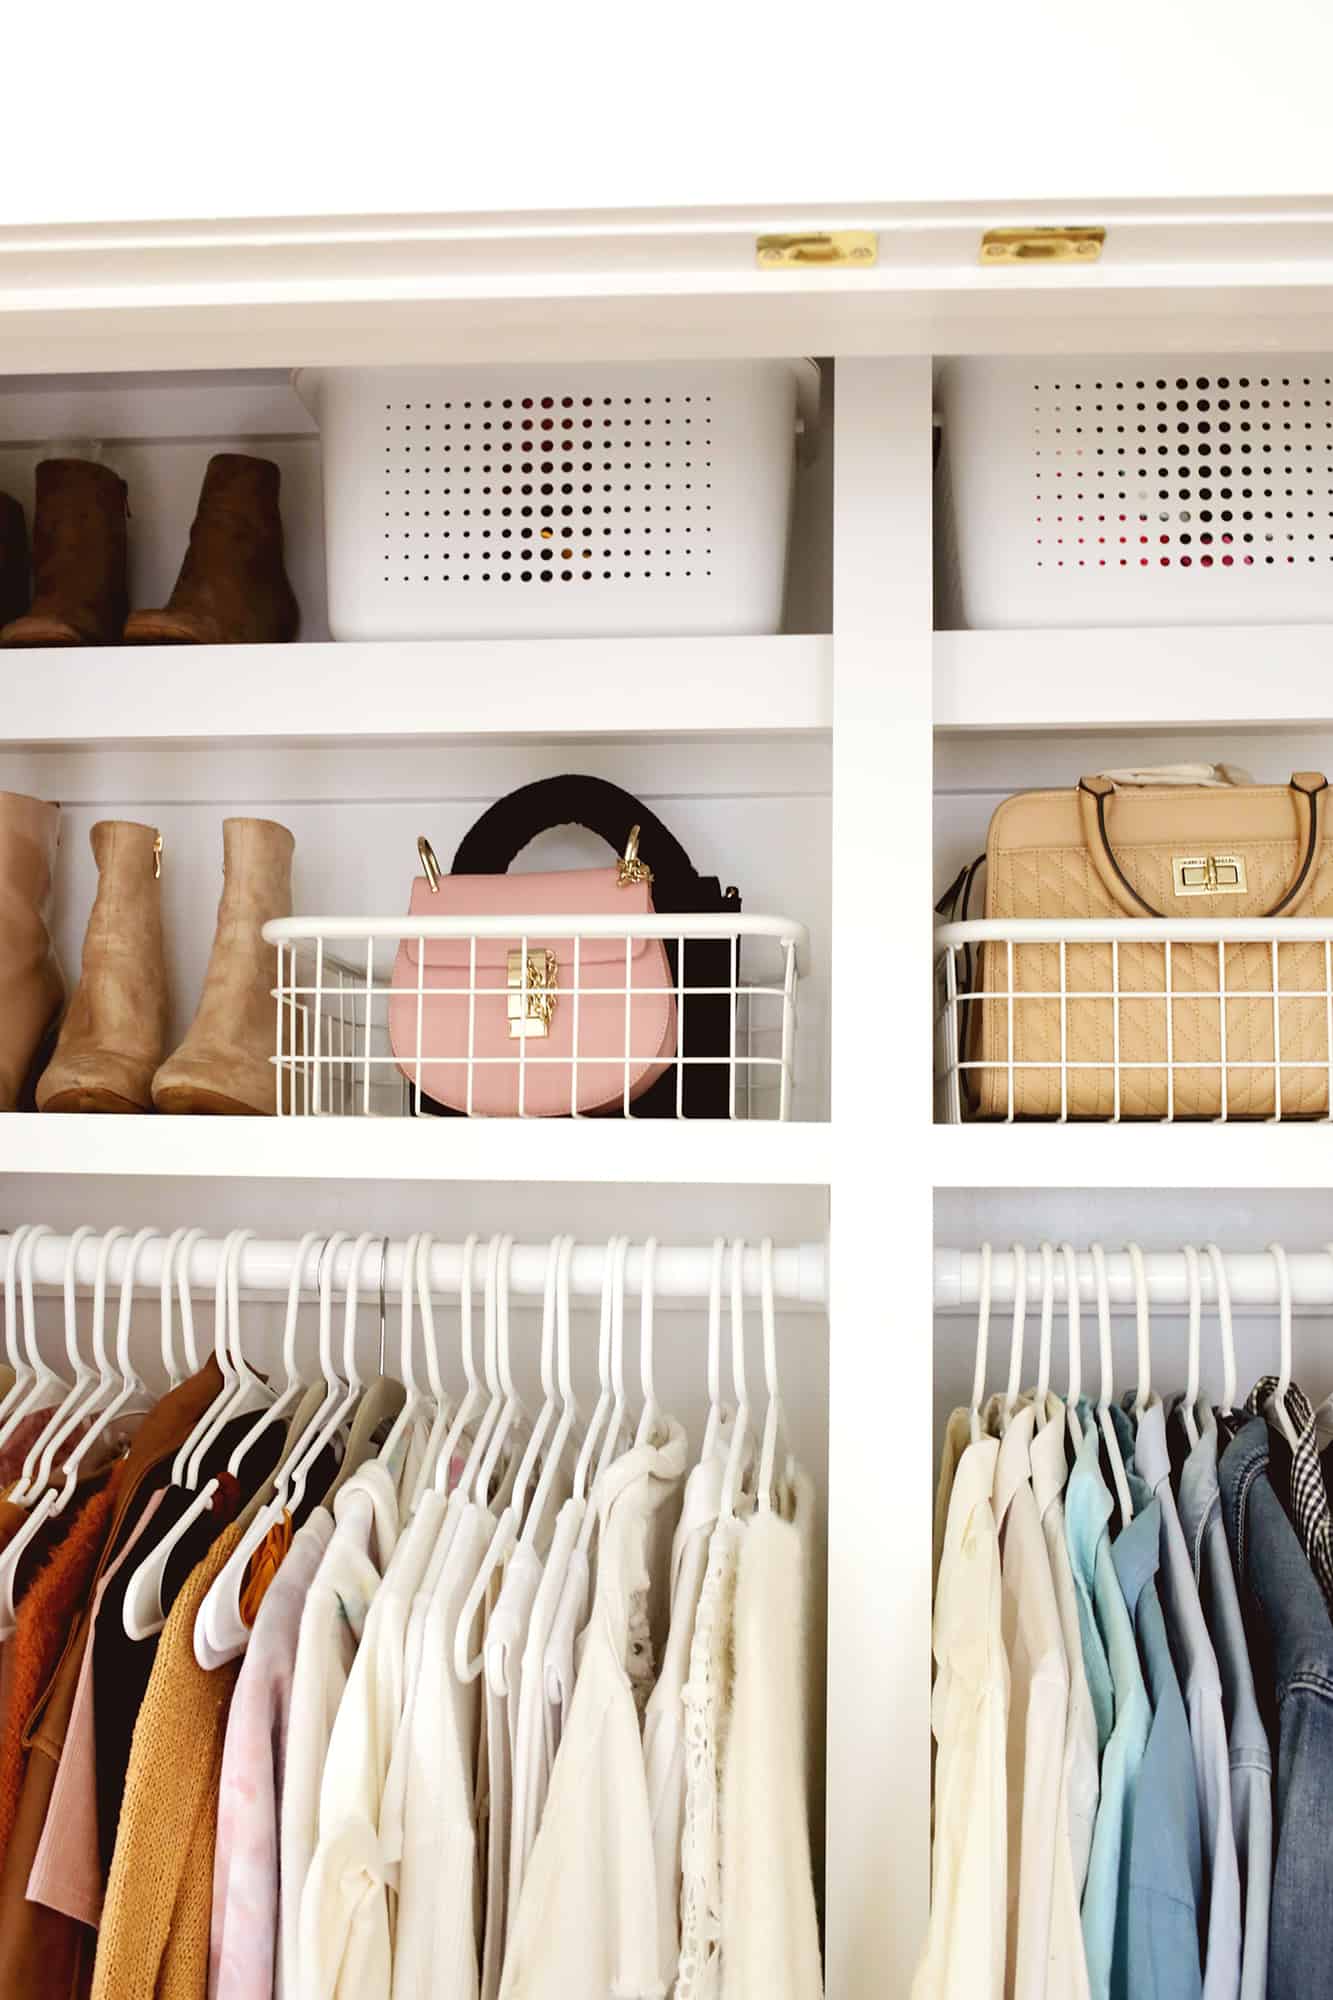
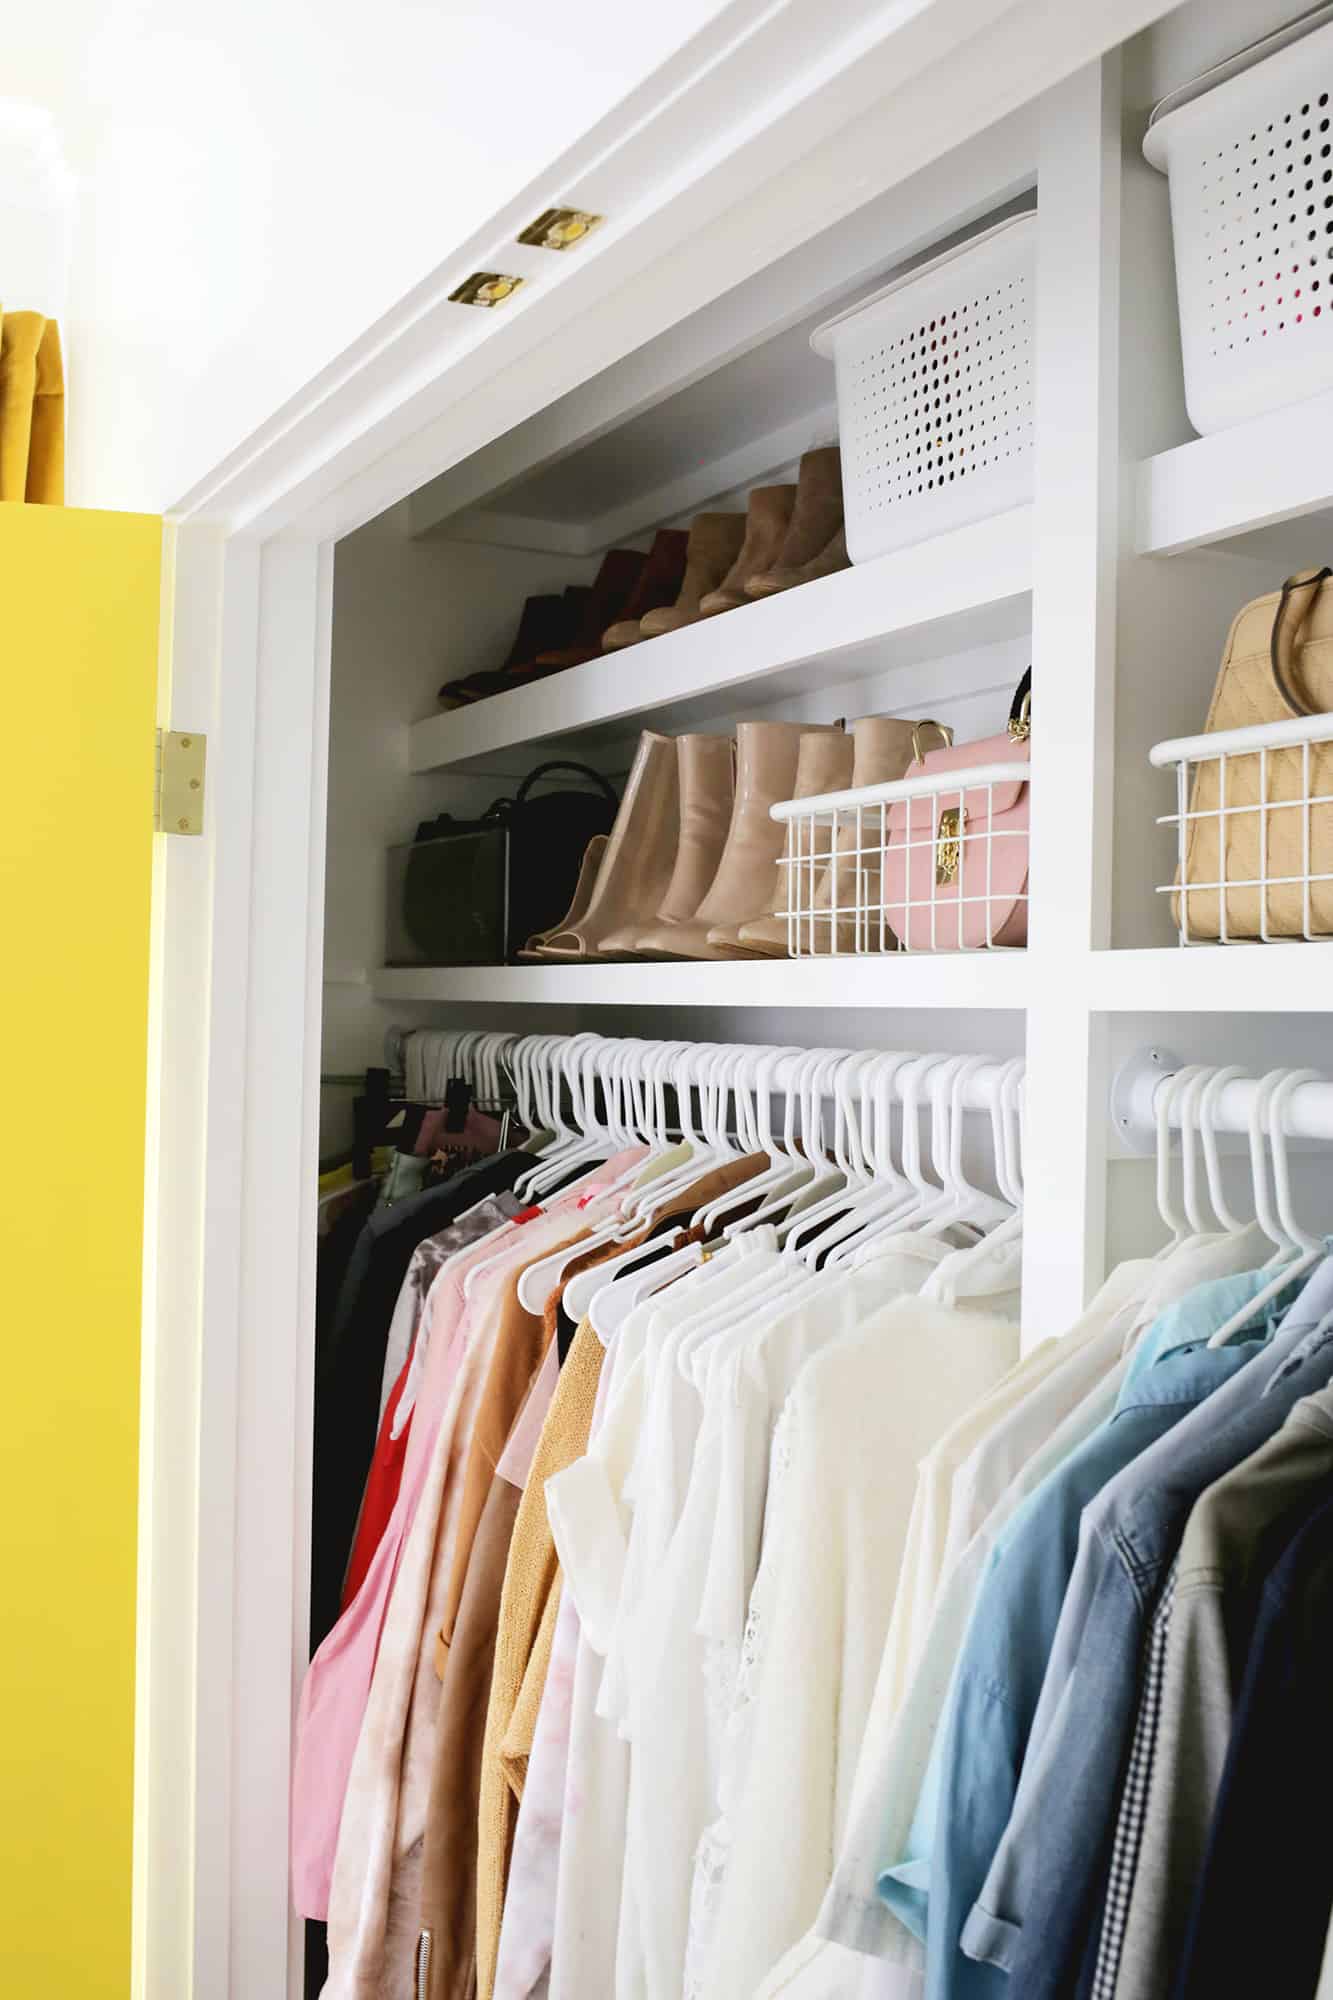
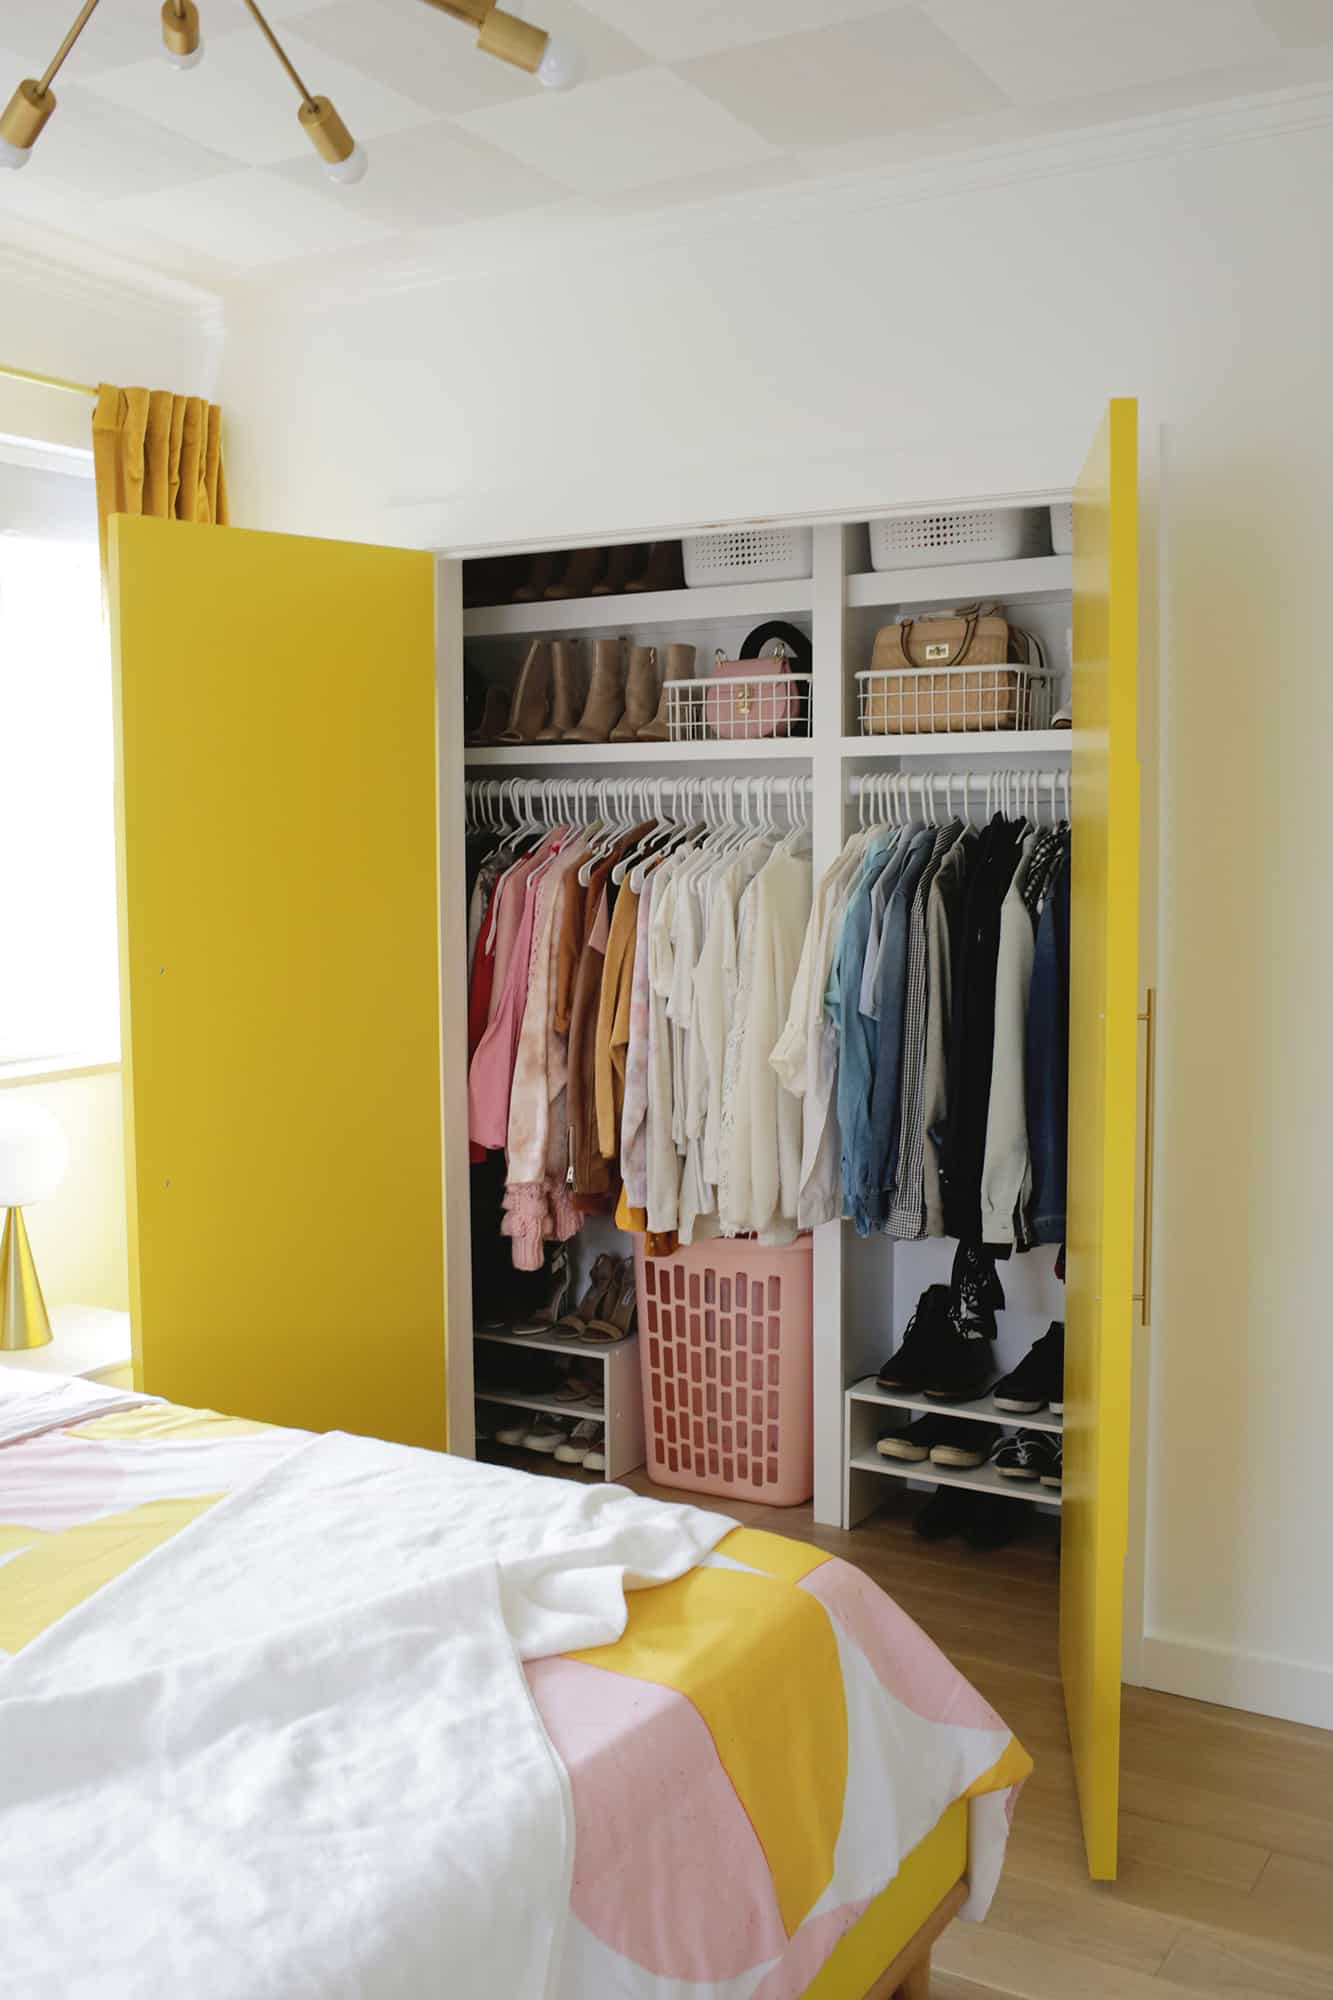
I put some shoe racks on the bottom as a quick way to store shoes (although you can build in shoe racks like we did here) and I added some wire baskets, acrylic bins, and boxes with lids for storage.
It feels SO good to have a clean, well-built custom closet setup in our new space and I like knowing that I can rearrange things as needed over the seasons to make it work for us as time goes on.
You can check out 7 tried and tested bedroom storage tips and everything you need to organize your home for more organization inspiration! Hope this inspires you to go build your own little custom closet as well! xo. Laura

This is brilliant! My boyfriend and I are moving in together in September, and it will be interesting to tackle closet-splitting. I’d love to see some easy DIY’s for upgrading rental spaces!
Could you do an Instagram story survey and see how many people organize hanging clothes by color vs. by type (ie, jackets, shirts, etc)? I am interested in this. I guess there must be other strategies, too, but these two strike me as the most likely. Followed by, third: pure chaos!
Great post, thank you! The closet looks amazing and I’m inspired to do the same to mine! Do you think the vertical support board NEEDS to go all the way to the ceiling in order to be supportive enough? I was thinking of just taking mine as high as my highest shelf instead but don’t want it to not be supportive enough. Thank you!
Way to go!!! You ought to be proud of yourself, that is such a great job done on a really useful project!
Side note, I feel really cool that we have the same Nordic baskets with lids for our kids’ toys lol.
Yes!! It’s fun to learn new skills and this one is really useful! And I bet you are really cool! 😉
Laura
? It looks great, Laura!!
Thank you!! I was very proud of myself, haha!
Laura