I love my living room, but I’ll admit, there are moments where I find myself itching for a little change.
I both like and dislike the feeling of familiarity this room gives me. I sometimes wonder if it’s the kind of job I do that makes me feel this way.
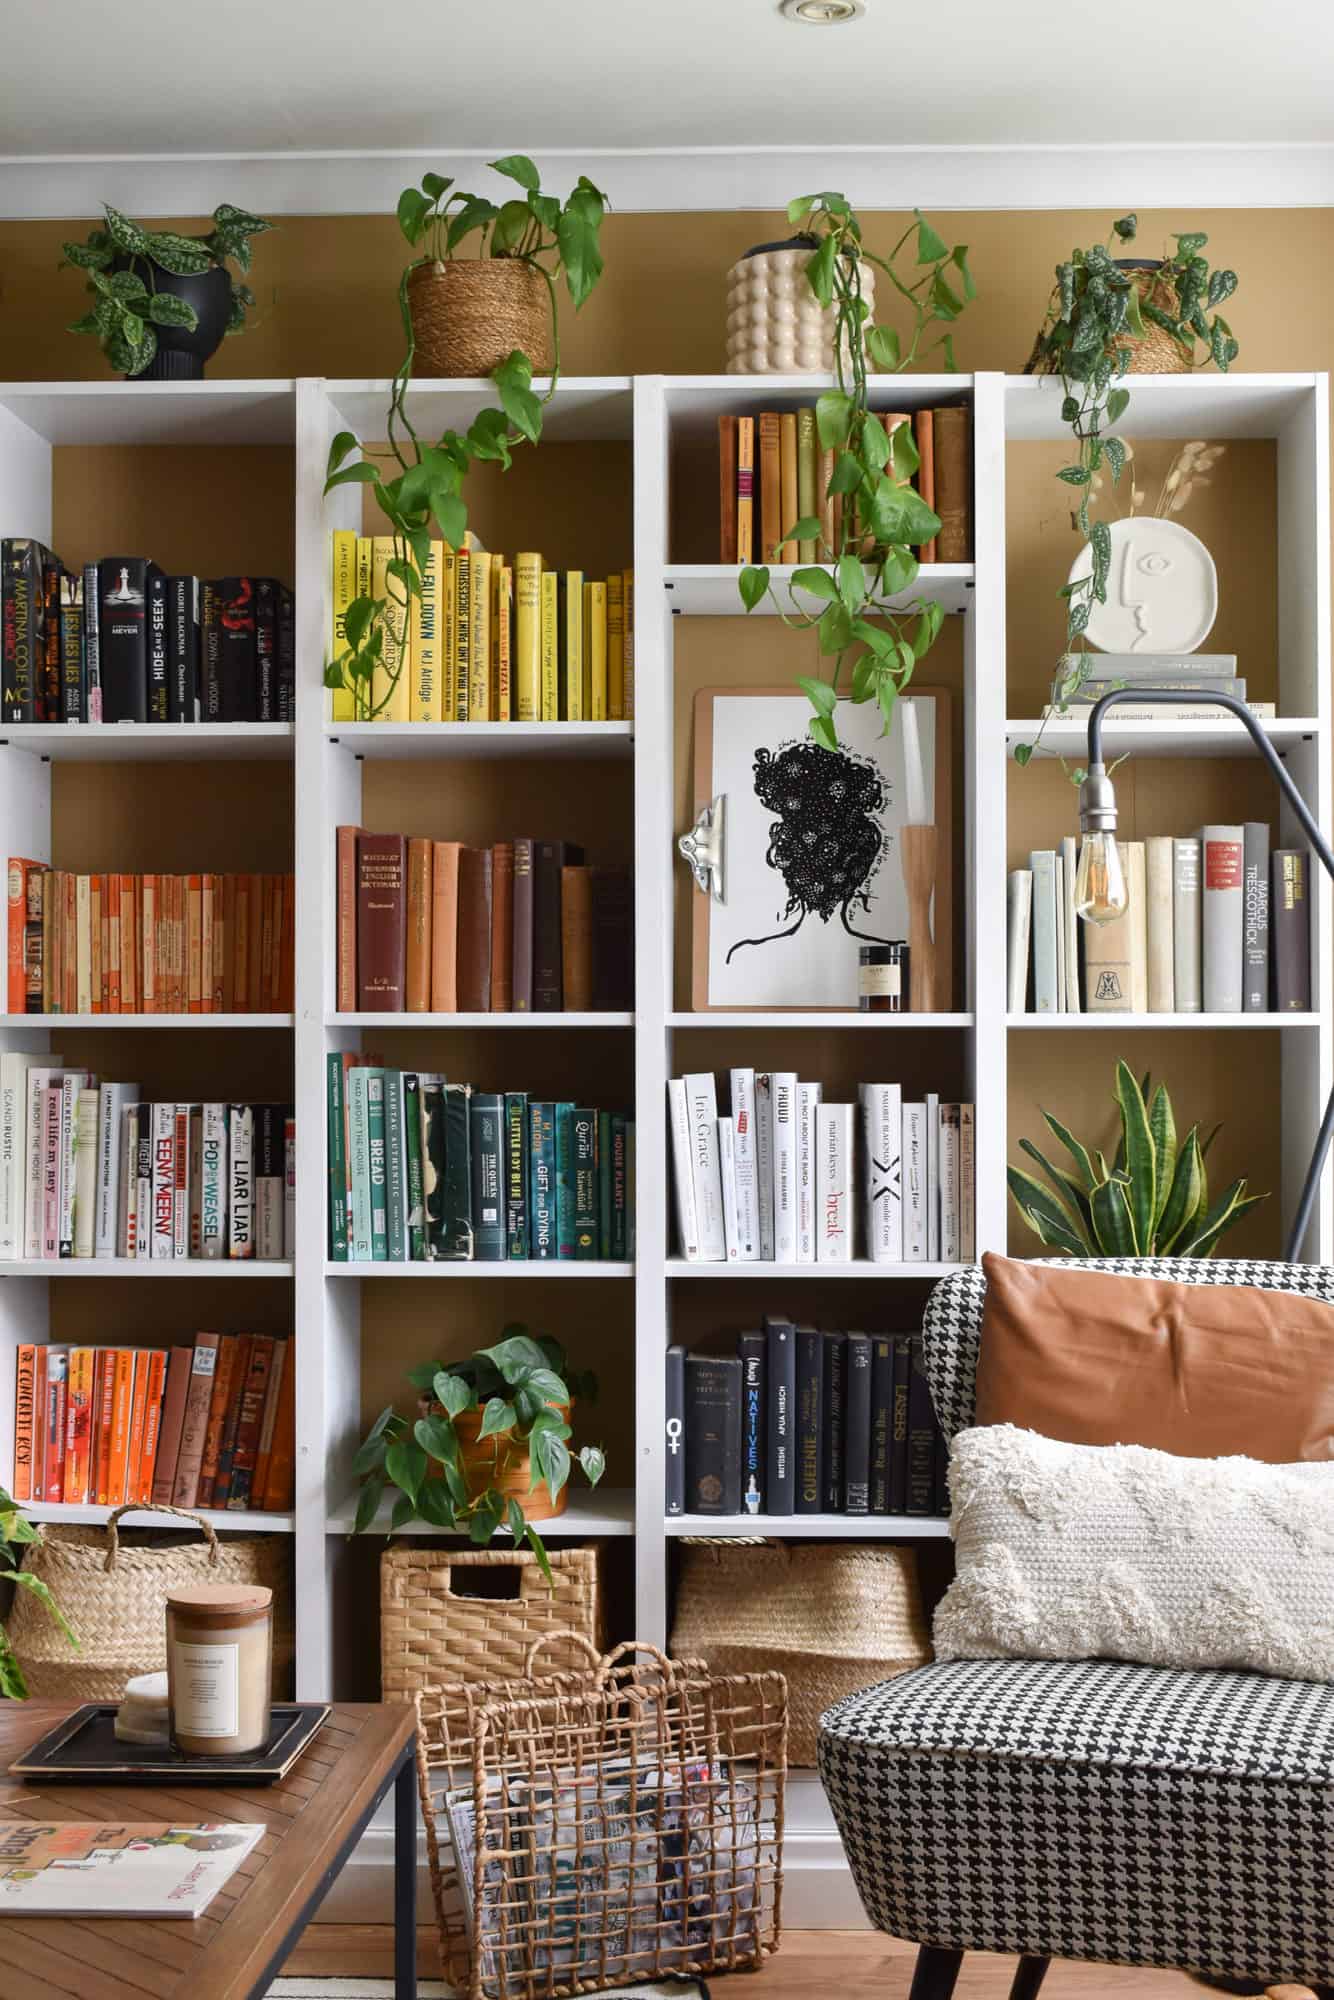
As my workplace is mainly in the online sphere, I’m often bombarded with images of other people changing and redecorating their homes, new products being launched, old trends being recycled or thrown out, etc.
I notice that if I don’t set a limit on my time online, that massive consumption of content can lead to me feeling less inspired to create (and more unsatisfied with things that might have brought me joy before). I talk a little bit about that here.
And the urge to buy another new thing is stronger than ever, setting off an entire room makeover that probably didn’t need to happen. Am I making sense?
I know I’m digressing a little, but I promise you there is a point to this rambling self-reflection. What I’m trying to say is that with all the time I’ve spent at home this year (as result of Ms. Rona), I’ve found myself becoming increasingly bored with my entrance—in particular the cabinet (pictured below).
As a result of consuming other people’s content online, I had spotted a few gorgeous alternative cabinets and immediately thought that I should just buy a new one.
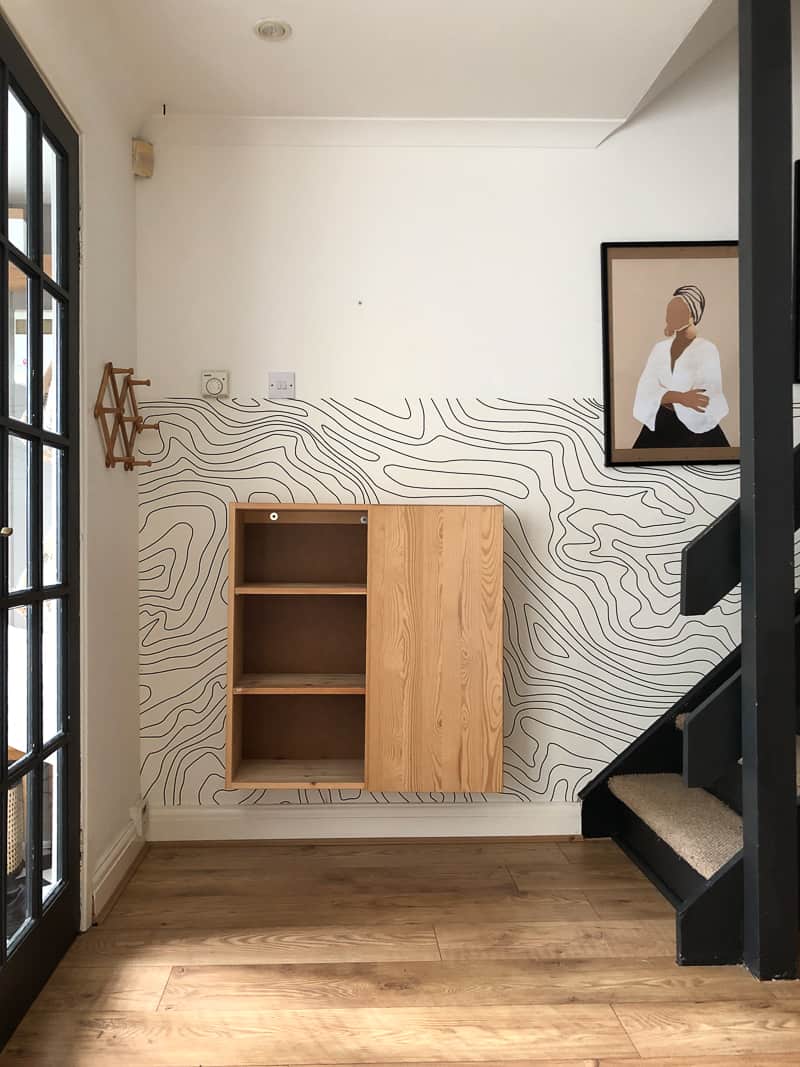
Thankfully, my sensible voice took over. “Medina, the cabinet you already have is fine. It’s functional, sturdy, looks pretty and truthfully, you don’t have the cash. Why not update it in some way instead if you’re craving that feeling of newness?”
See what I mean? Sensible. I’ll admit, being in my own company quite a lot this year due to England’s many lockdowns has really ramped up these these inner conversations that I have with myself. So, I listened and decided to hack my IVAR cabinet instead (using materials I already had in my home) in a really simple way.
And I documented it just in case you might want to try something similar.
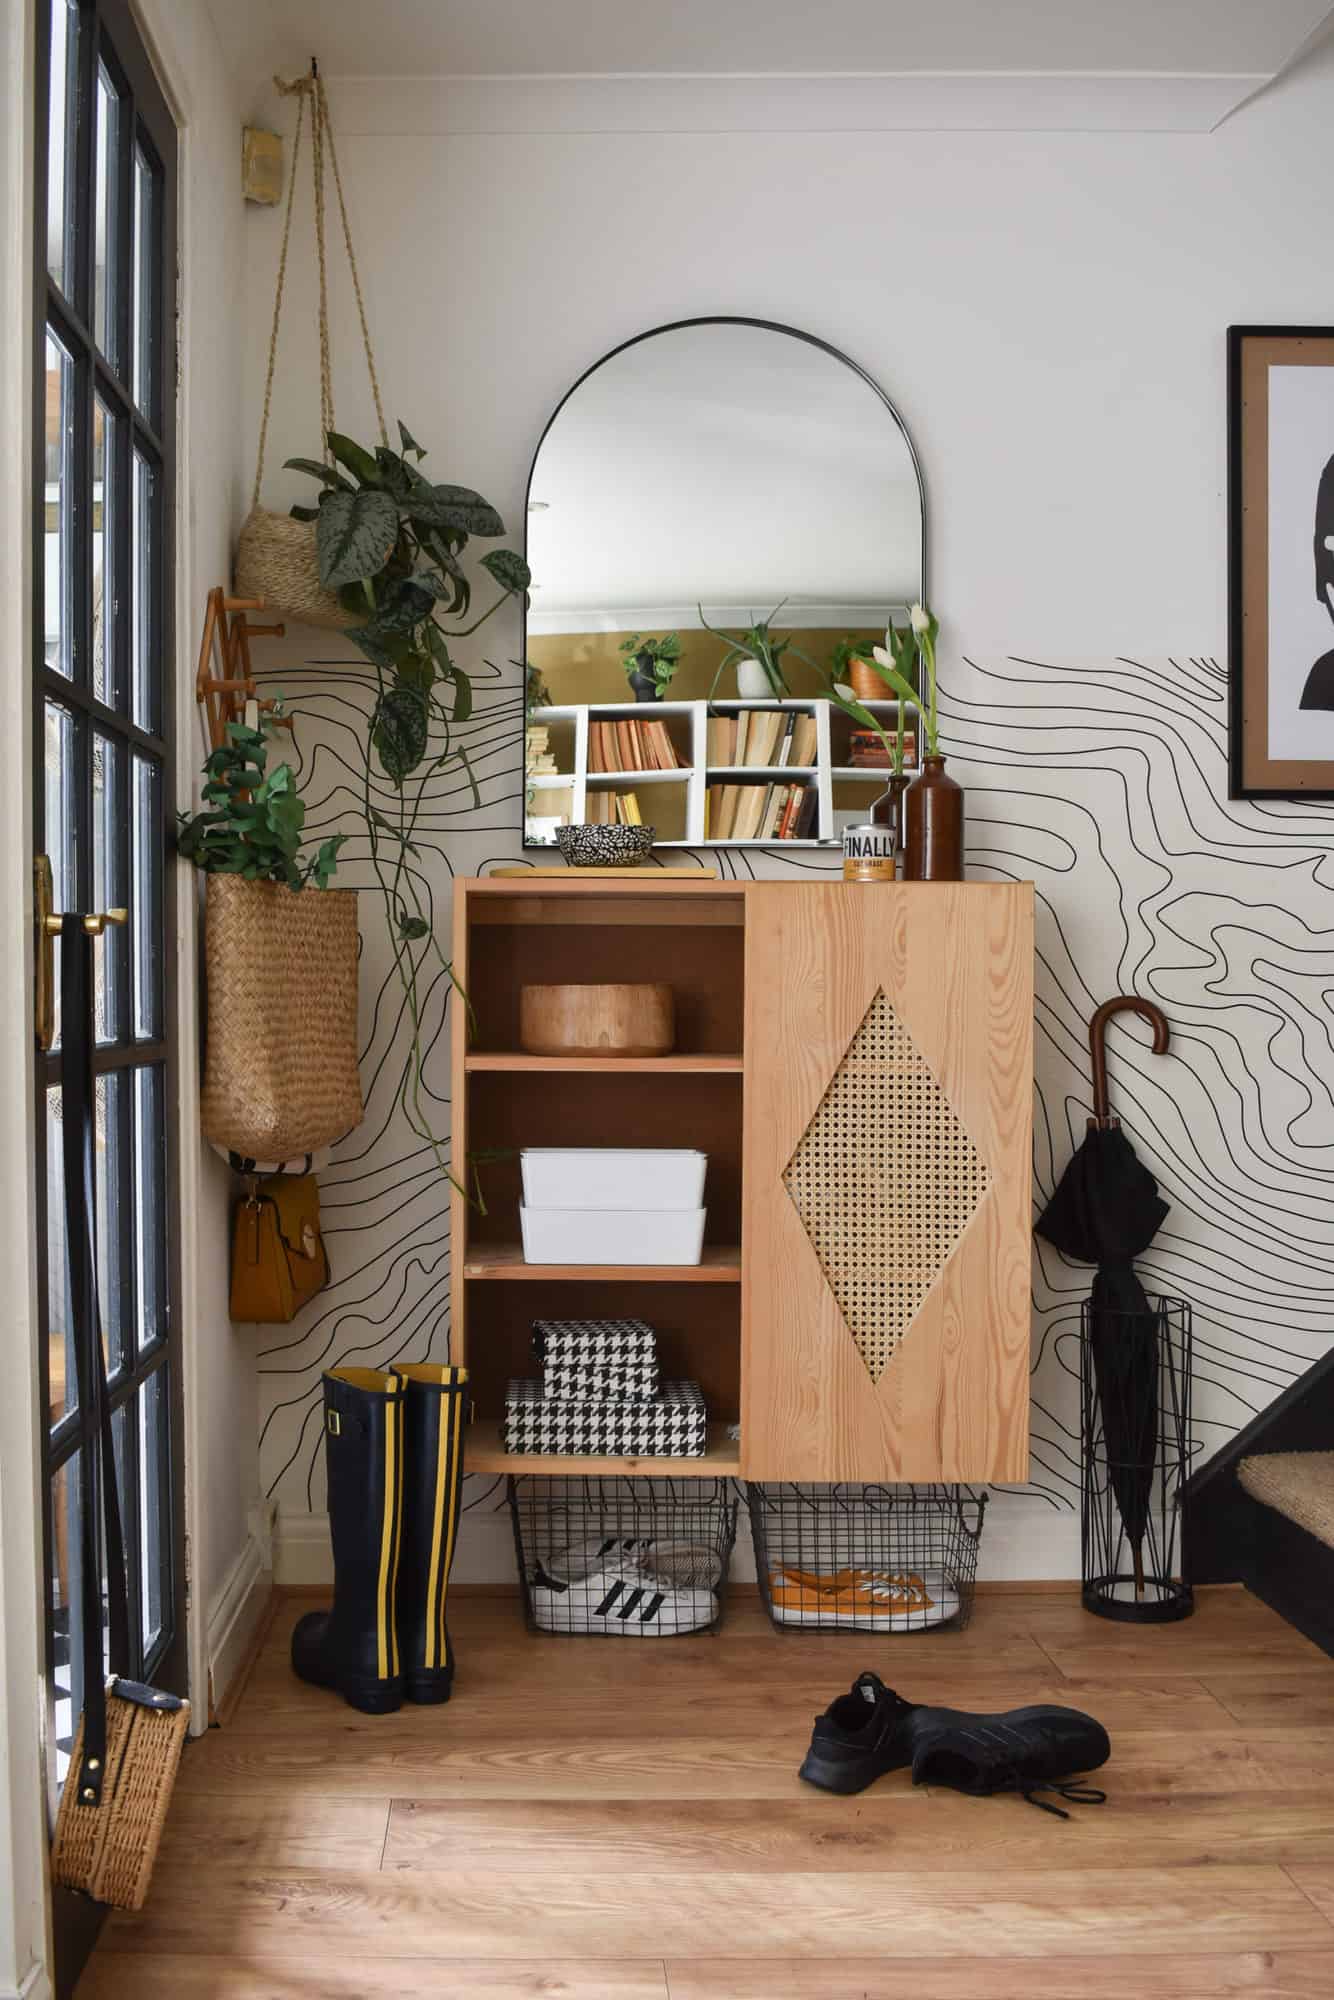
How to Add Cane Webbing to an IKEA IVAR Cabinet
MATERIALS NEEDED FOR THIS IKEA IVAR HACK:
- IVAR cabinet door
- pencil
- angle ruler/level
- cane webbing
- sandpaper or sanding machine
- jigsaw
- staple gun
- drill driver with 20″ speed drill spade
HOW TO:
Here’s a short video of this IVAR Cabinet hack and the DIY steps:
1. The first thing I did was remove the door from the IVAR cabinet. This is easy enough to do with the drill driver or even with a manual screwdriver.
2. I then laid the door flat on the ground. The doors come with wooden battens fixed across the back that you don’t need. Remove them as well if you feel they will get in your way.
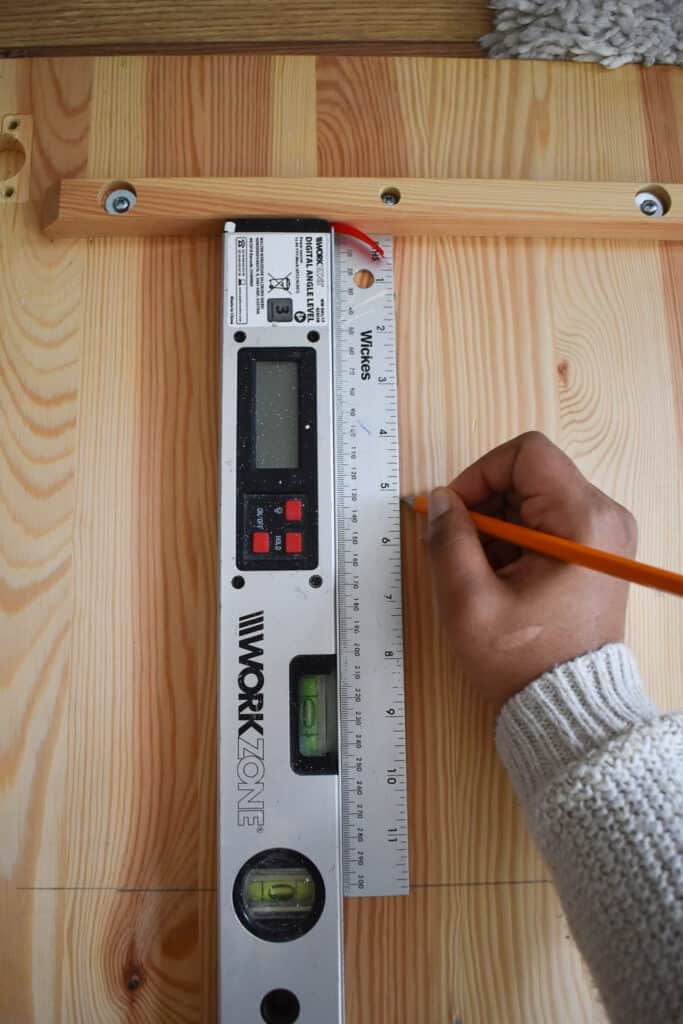
3. Find the center of the door and use that to mark out a diamond shape. You can use a level to ensure your angles are straight or you can use an angle ruler. I’ll admit, my diamond wasn’t very perfect (I rushed it a little but don’t be like me, absolutely take your time with this part).
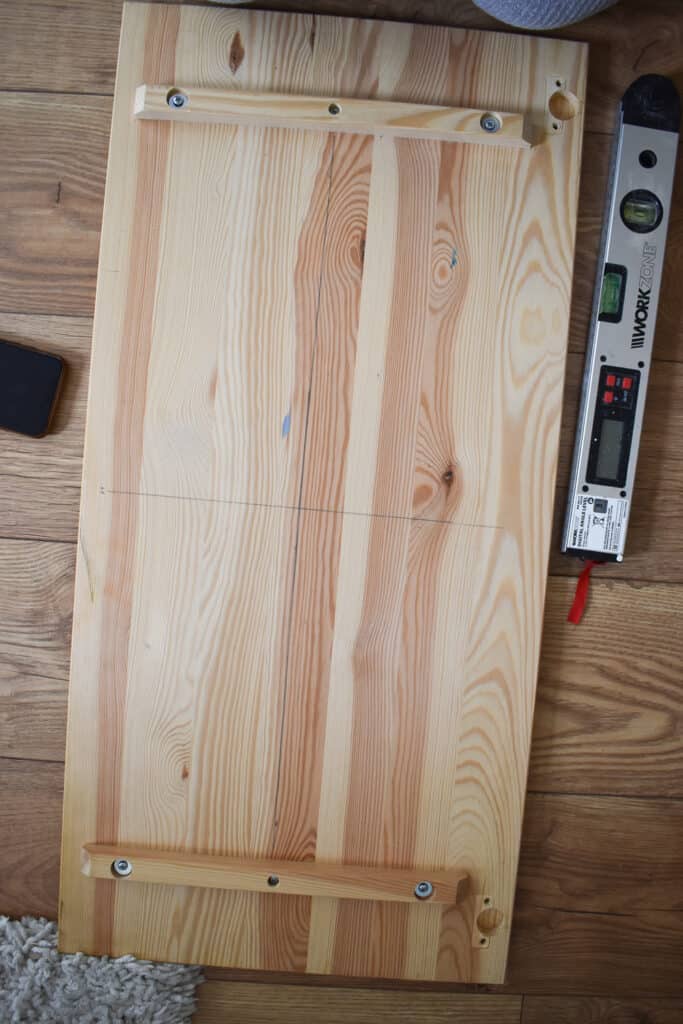
4. Next, it’s time to cut out the diamond shape with a jigsaw. To do this, you will need to make some holes for the blade of the jigsaw to fit in for cutting. Secure the door to a raised surface with clamps before you start drilling and cutting.
5. Using a drill driver with a 20″ spade attachment, drill a hole at each corner of the diamond, making sure the holes are located inside the lines of the diamond shape.
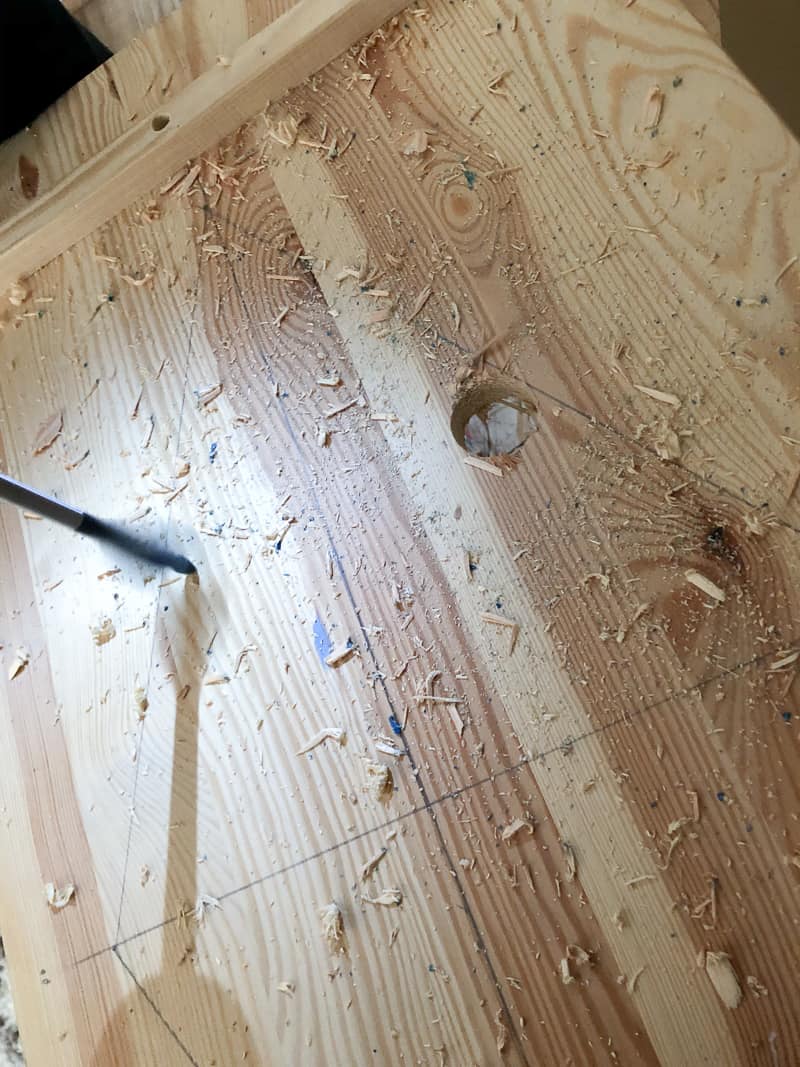
6. Next, place the jigsaw blade through a corner hole and begin cutting along the pencil line until you reach the next corner. Take your time to ensure you get a clean cut.
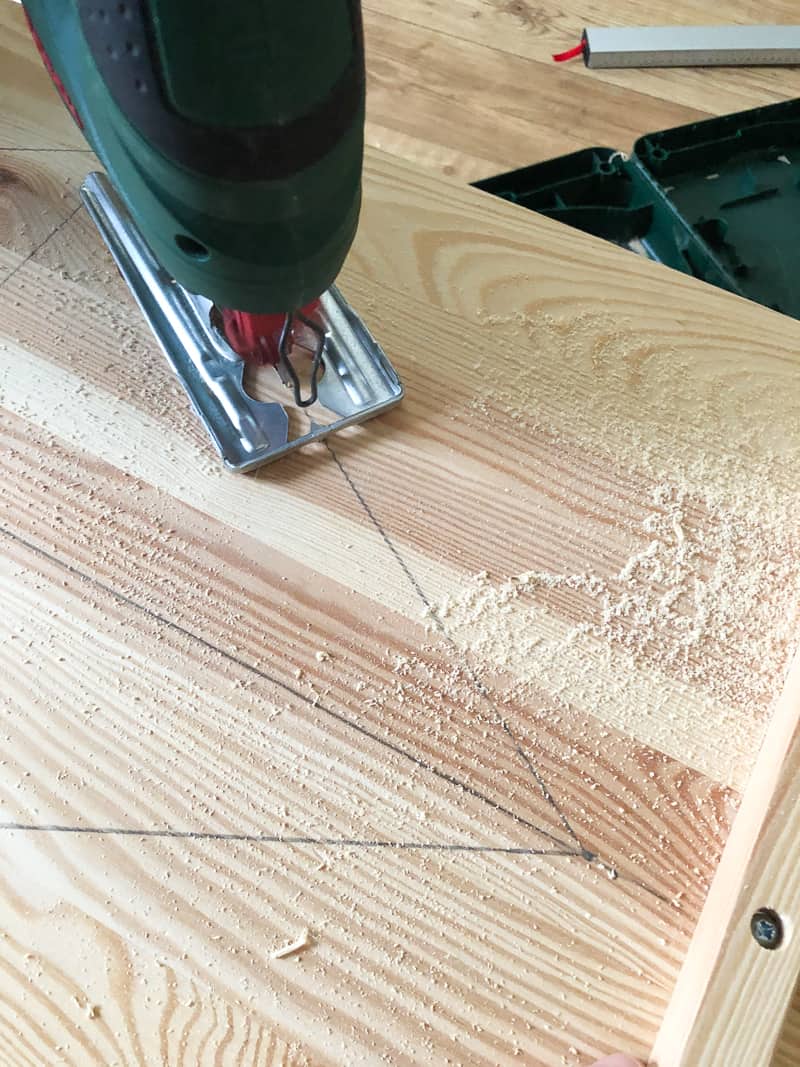
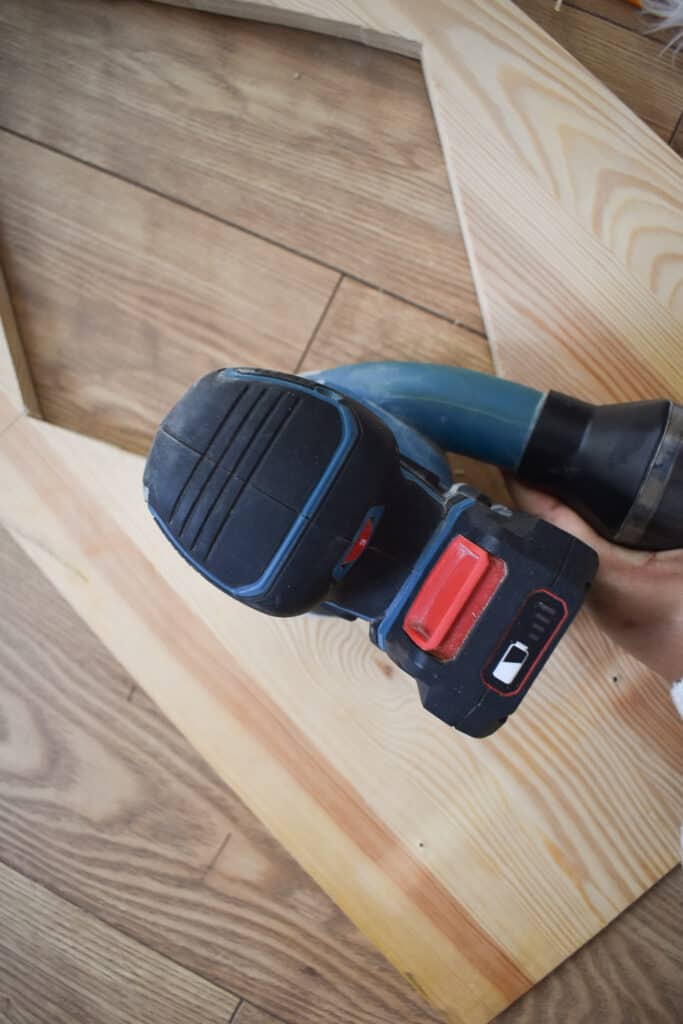
7. Once you’ve cut along all the lines, the diamond shape will come apart. Sand the inner edges of the shape to smooth them out.
8. Next, cut your cane panel to size. It should fit the dimension of the diamond (I went for a rectangle panel). Note: If your cane webbing is hard to work with, you can soak it in water for 15 minutes to make it more pliable.
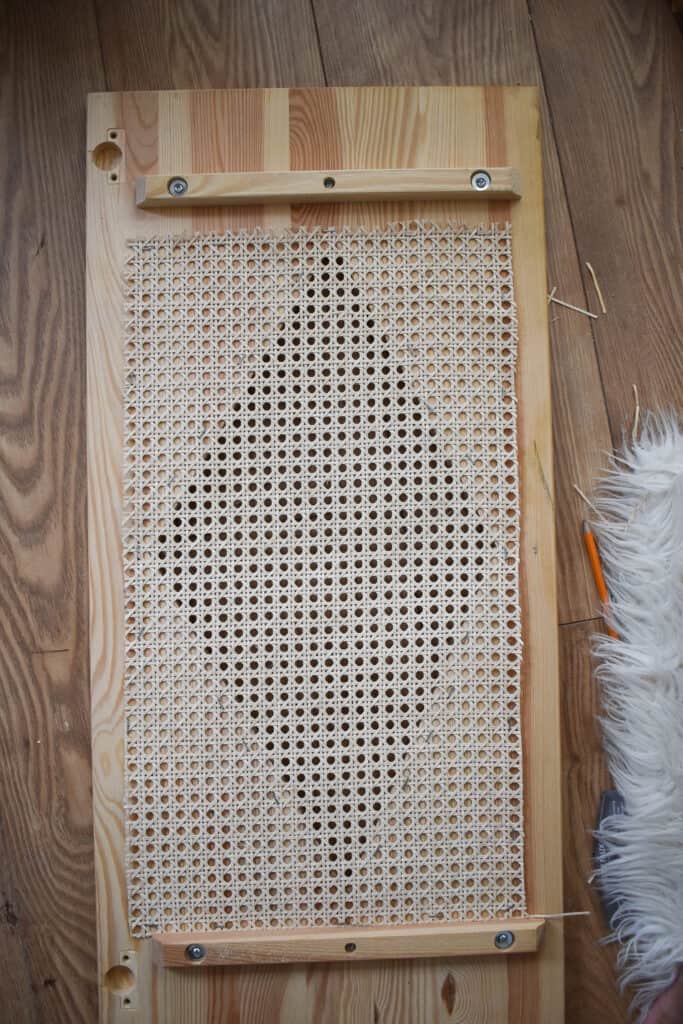
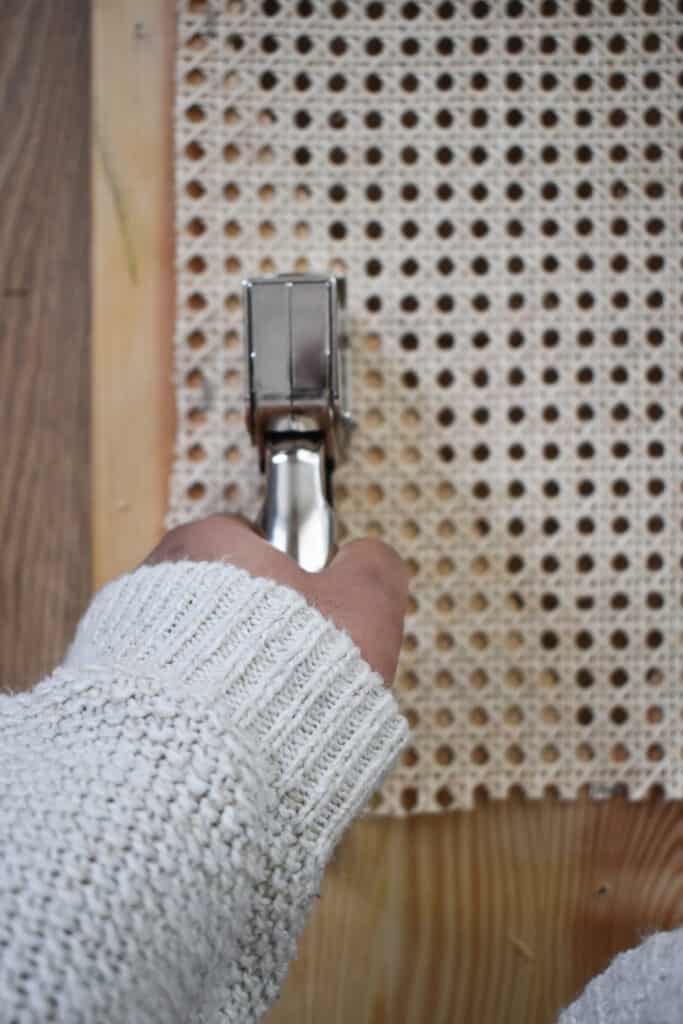
9. Staple the cane all the way around the diamond at the back of the door, pulling to ensure the cane webbing is taut.
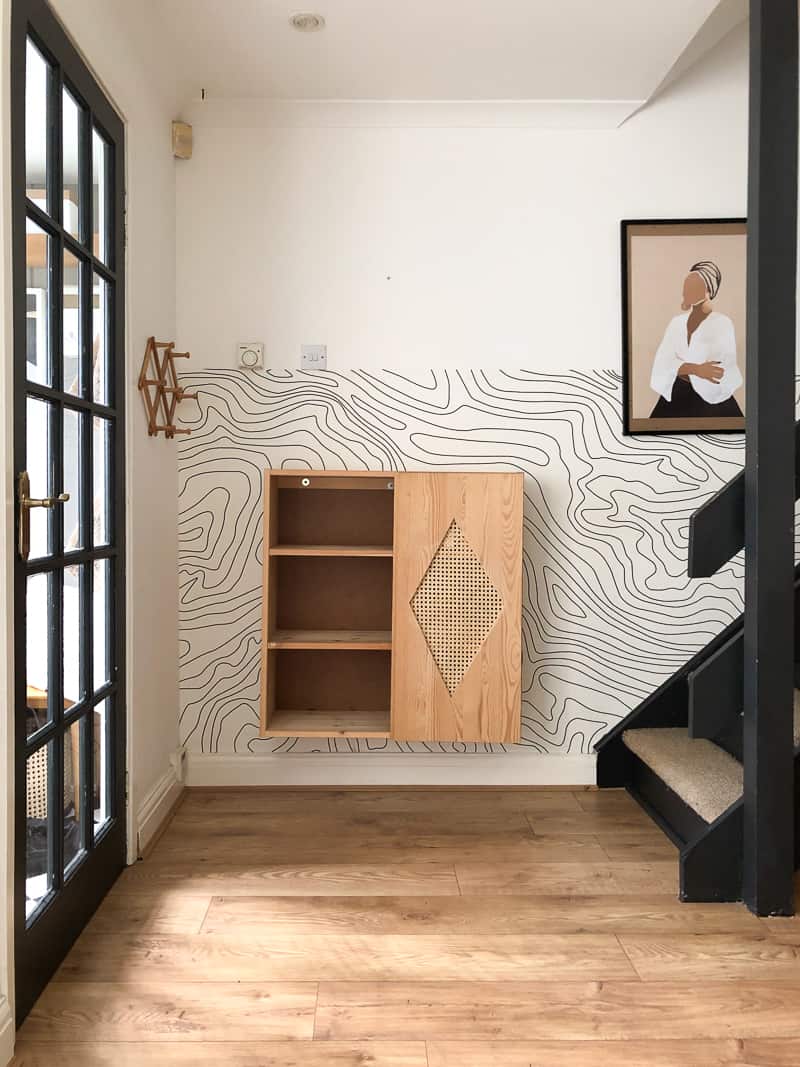
10. Secure the door in place! Voila. If you have two doors, repeat this step again but make sure your diamond shape matches the measurements of the other door.
Optional: You can also add some wooden beading or trim to the edges of the cane for a neater look. As far as the design, you could cut out a rectangle space or an arch.
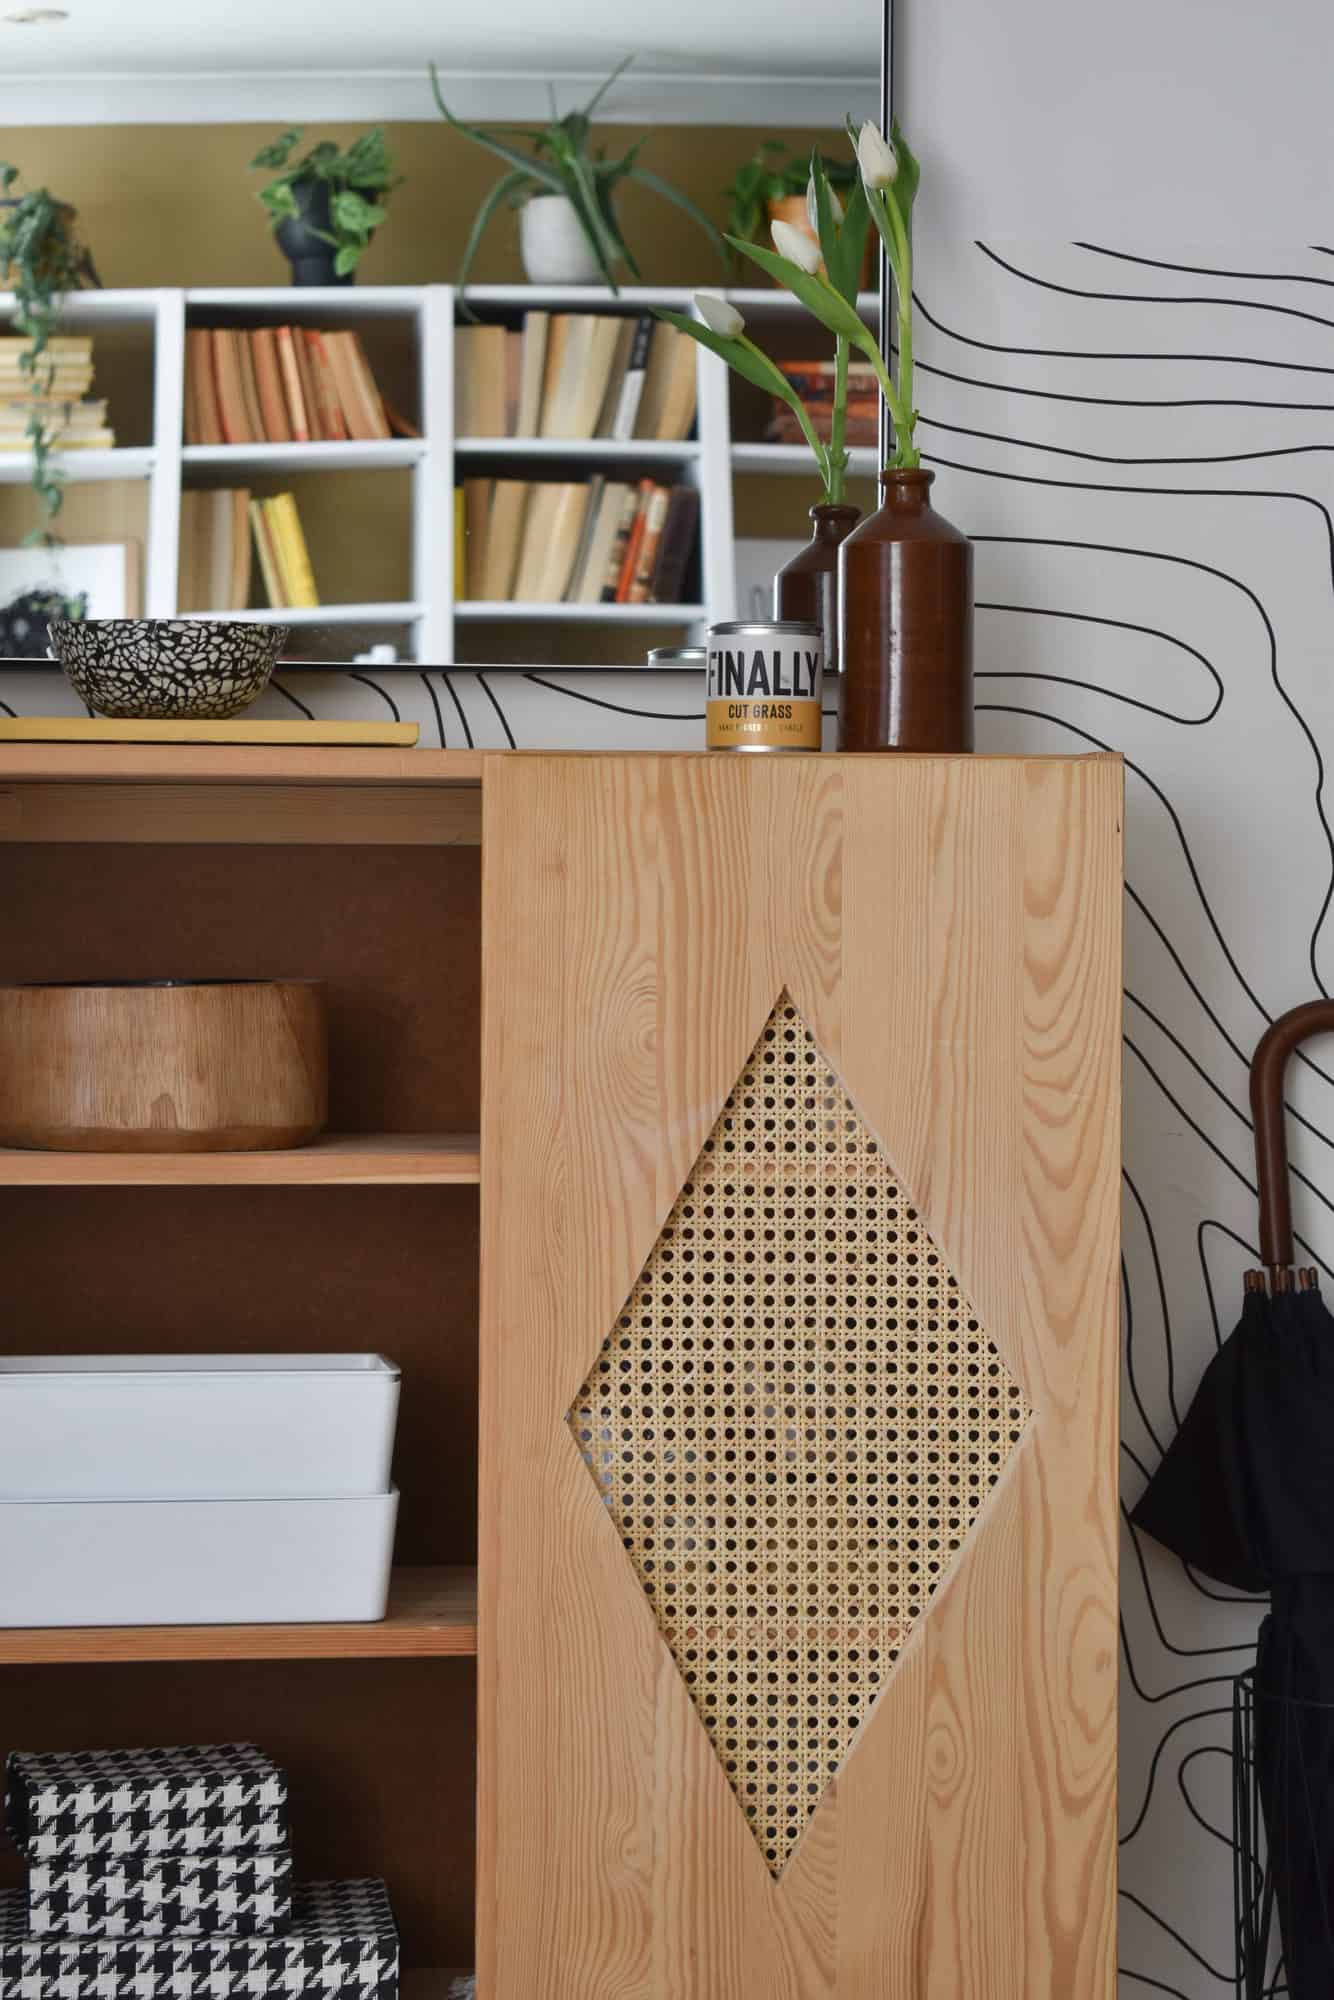
It feels and looks like a different cabinet.
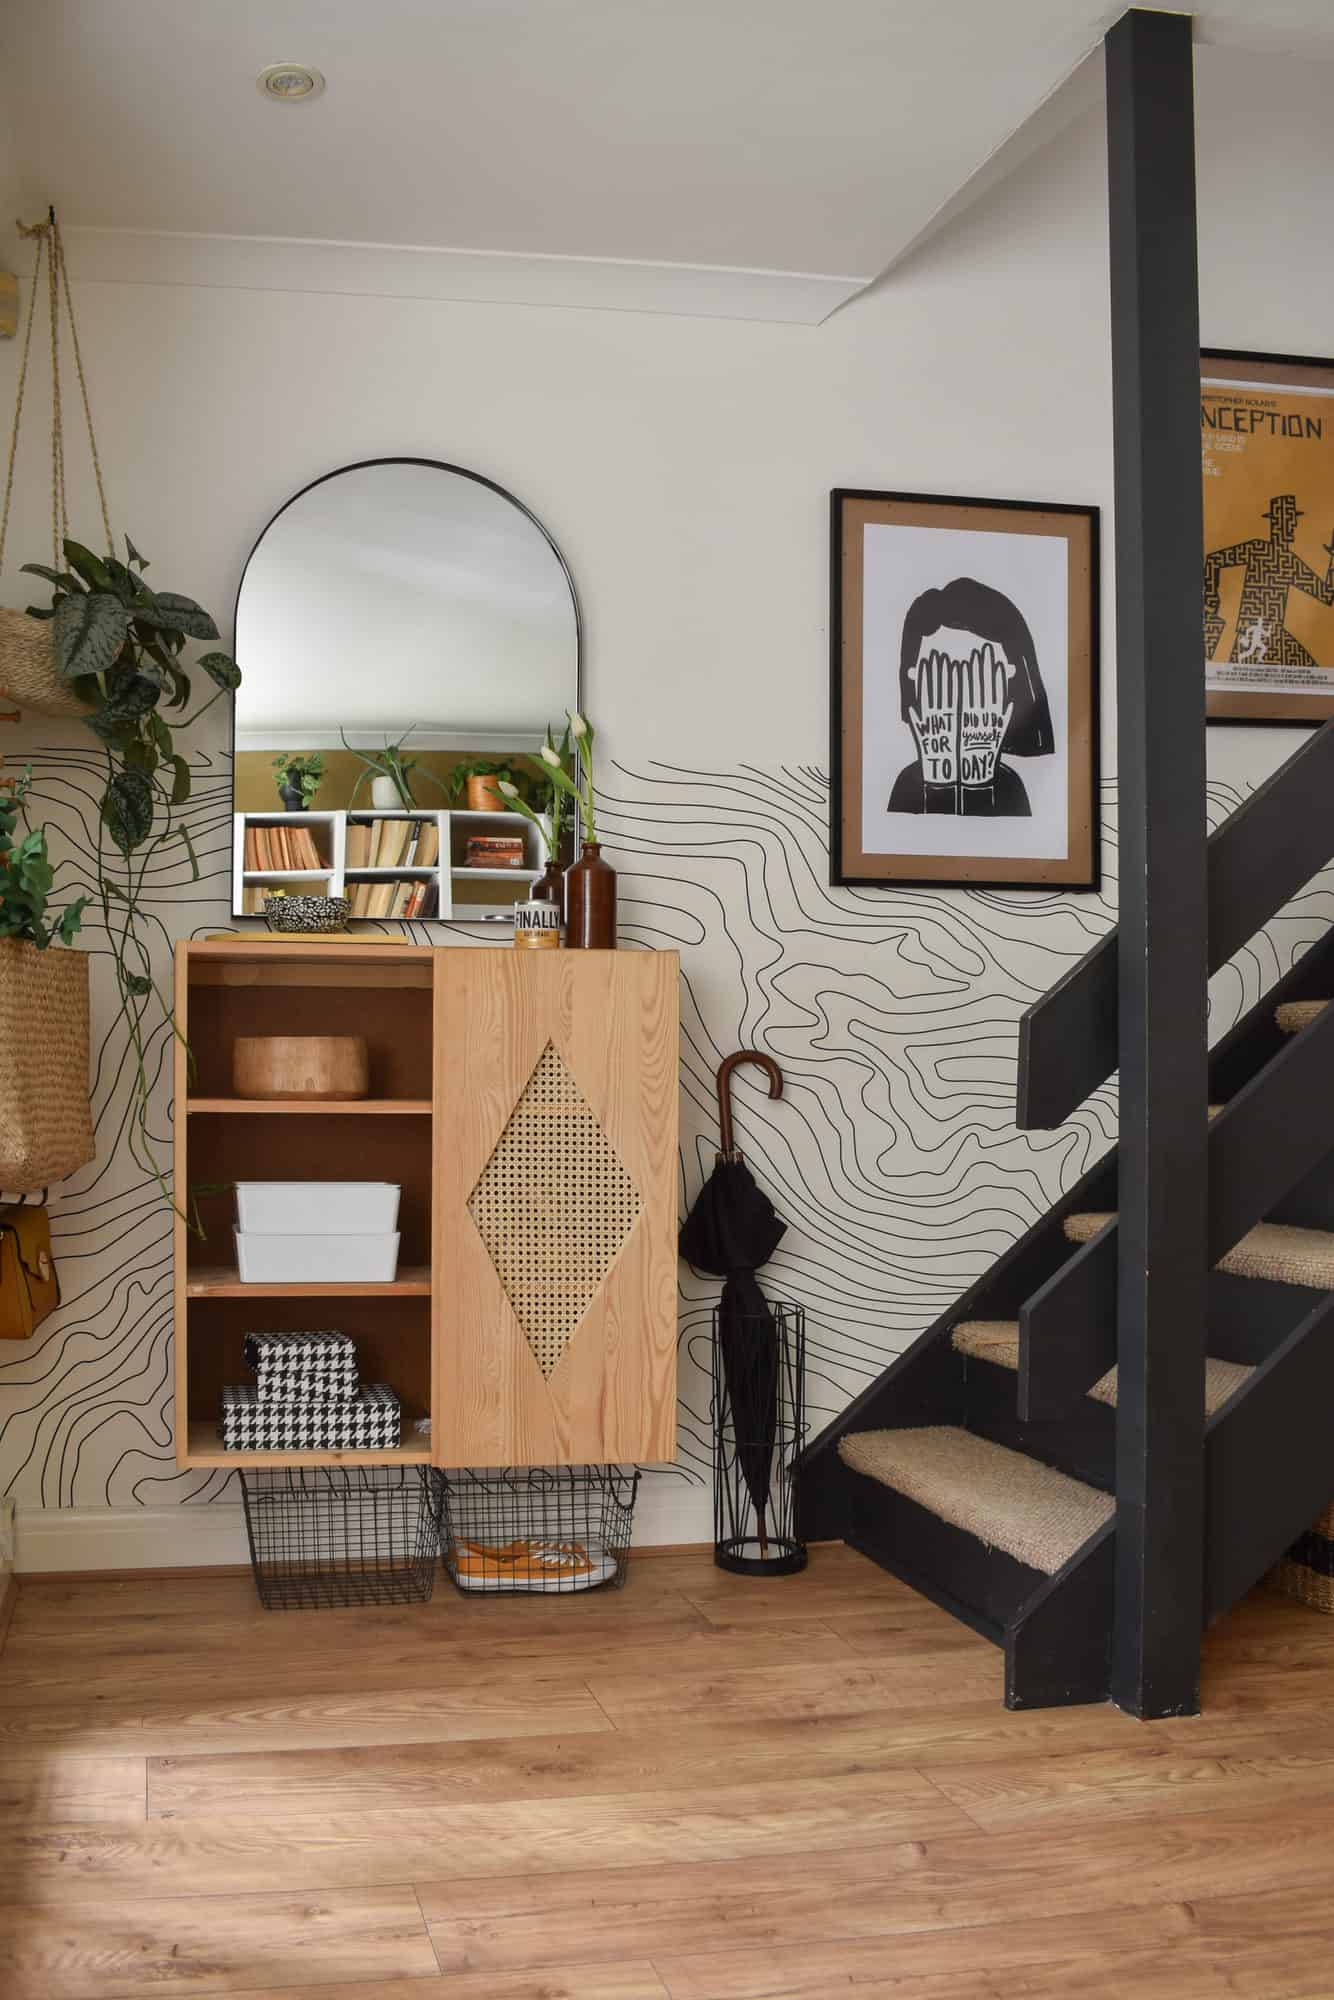
What do you think? Do you think you might try this? Let me know in the comments below. You can also check out my blog and Instagram, and the ABM archives for more easy rental decorating ideas! xo, Medina
P.S. You can see Medina’s home tour here!
Credits // Author: Medina Grillo. Photography: Grillo Designs.
I really appreciate the thoughtful discussion of consumerism and creating a classic style.
Please include more DIYs like this on the site. It’s budget friendly and can be applied to existing materials—a MUST considering current supply chain issues. Also easier on the budget and better for the environment.
Well done Medina for this quick and easy tutorial! Thanks to Elsie and Emma for being more inclusive.
Great to see you back on her Medina. Love your style as always. Also love your thoughts on re-using rather than buying new.
I love this. Great step-by-step how-to! I recently updated my IKEA headboard with caning, and now I’m curious to try this method on other furniture around the house.
I love this! Very cool way to update the look.
This DIY is cool as hell! I have never seen a cabinet like that with dual storage options. So functional.
Omg it looks so good
Medina’s house is so satisfying to look at! I love following her on Instagram and am always happy to see her contributing here : )
This looks great! I love the wallpaper, too. And the black stairs & railing! We have a similar railing in our 1970s house. It’s stained a dark brown which we don’t like. I’ve been planning to replace it with something more sleek & contemporary, but you’ve inspired me to try out some paint! Thanks!
The hack is super cute, but I love your wallpaper. Where is it from?
I love it!
I actually bookmarked Medina’s blog post on that amazing wallpaper, since I went down the rabbit hole the last time she posted here. https://grillo-designs.com/best-monochrome-self-adhesive-wallpaper-patterns/
This is my favourite DIY in a while! Looks super high-end and also easy enough to tackle in a couple hours 🙂
I like that you found a way to give an existing piece a new look. Brava!