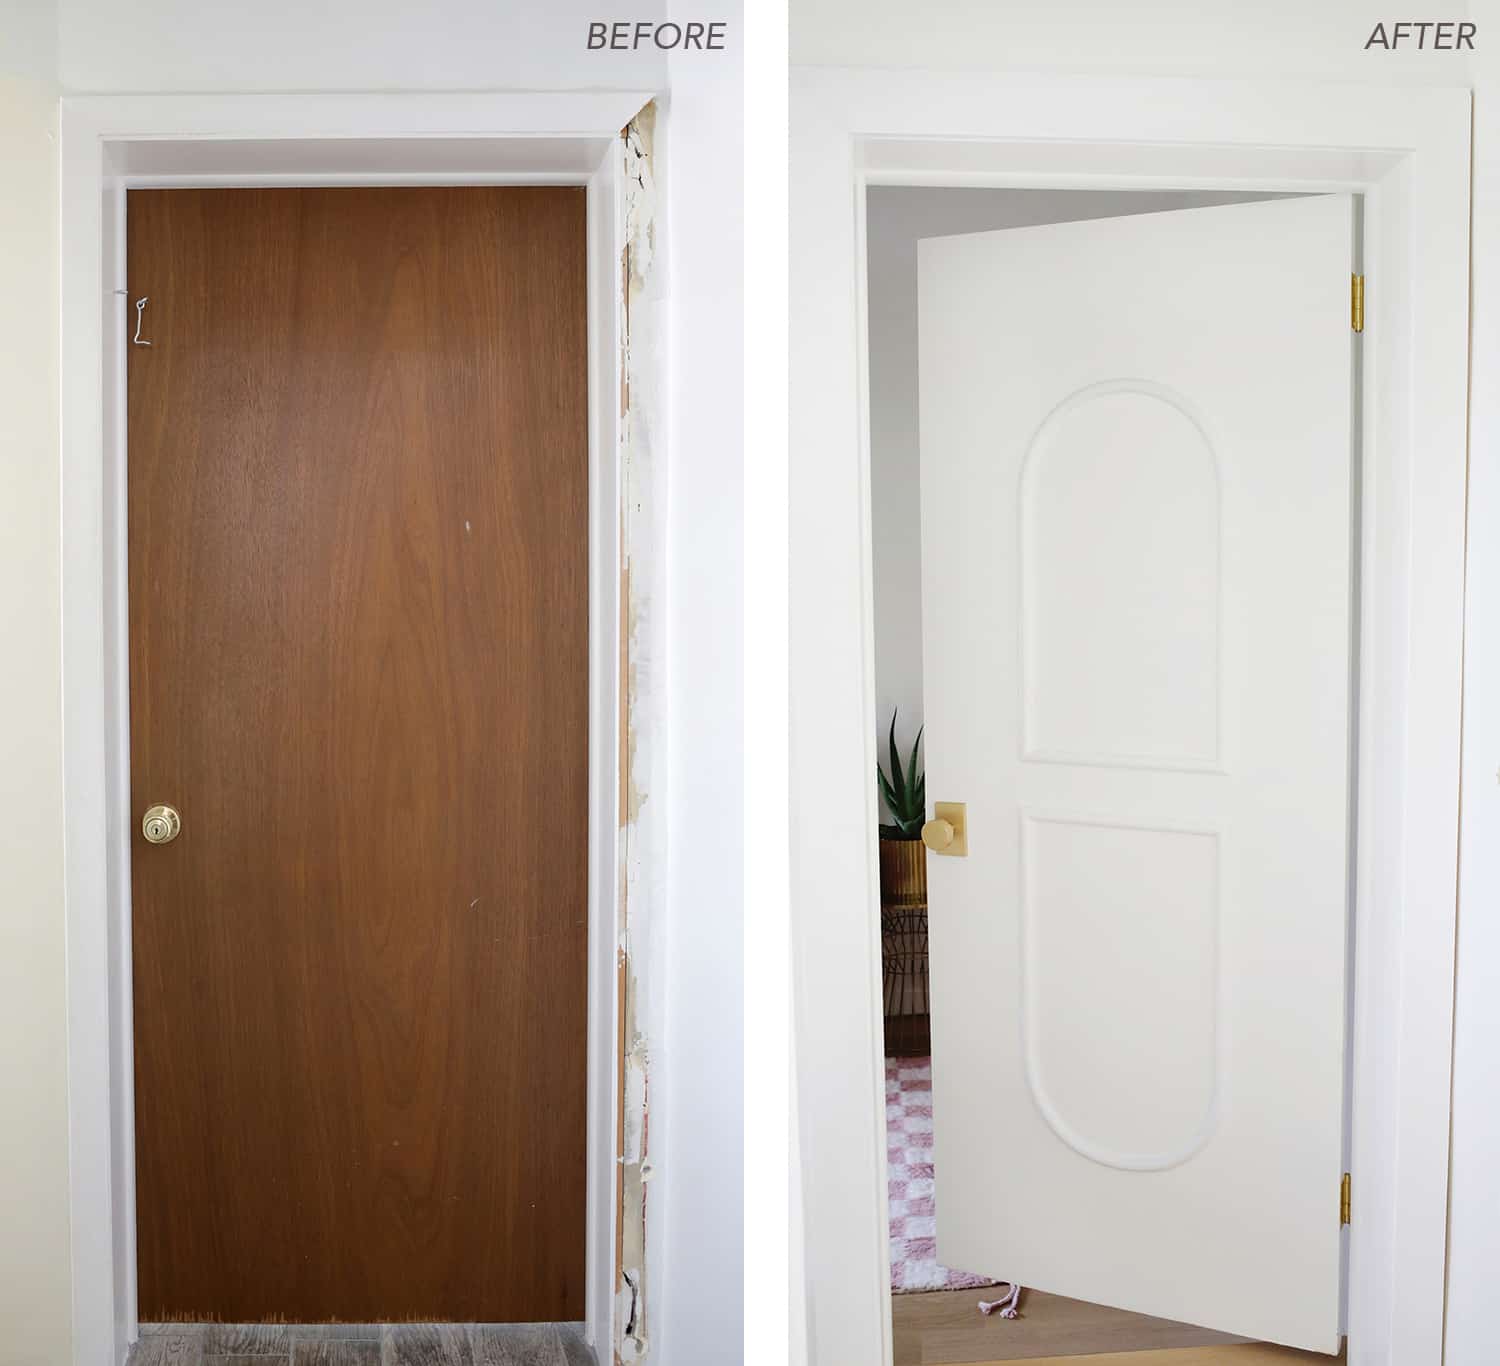
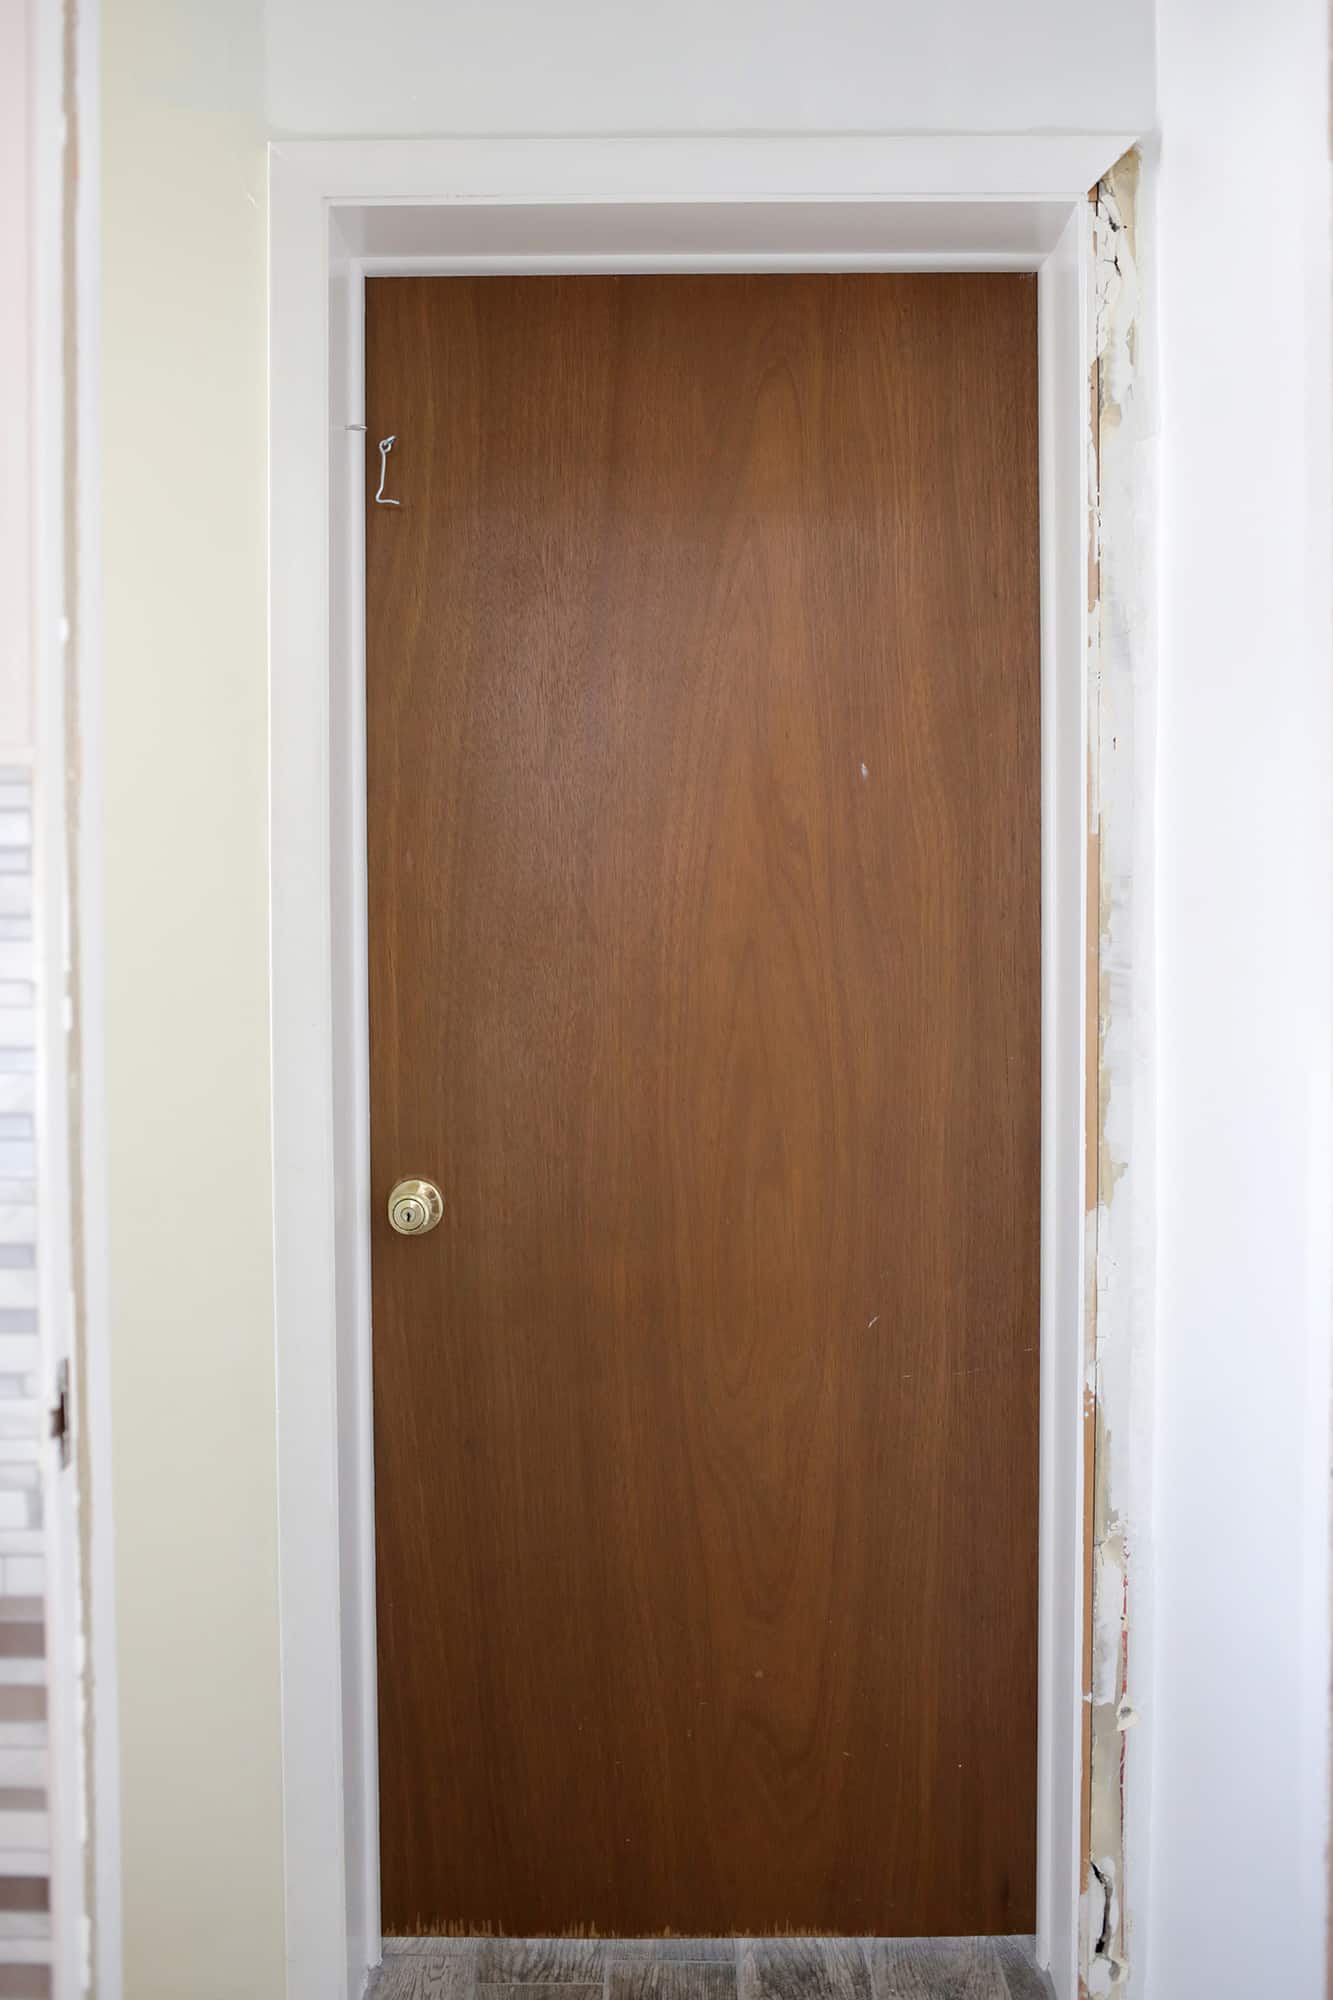
I think every house I’ve moved into has had a brown hollow core door situation. Sometimes they are in decent shape and other times they are splinted (and split) in spots, so you can really tell how thin and cheap the veneer of wood is.
Once you start to research how much new/nicer doors are, it becomes apparent (to the budget-conscious shopper, anyway) that the budget-friendly thing to do is rehab the doors you’ve got and give them a total refresh!
That also saves you from having to hang all new doors, which can also be a frustrating project. As I’ve done it a few times now, I’ll show you my process to refresh hollow core doors and take them from crummy to cute!
Supplies:
–wood filler and putty knife
-sandpaper (medium and fine grit)
-primer that’s also a stain blocker (like this one)
-semi gloss paint in your color choice
-hinges in your metal preference (I used these)
-doorknob set of your preference (I used this one but you can see trendy hardware options for all budgets here!)
–half round molding or molding of your choice
1.) Repair any splintering/cracks:
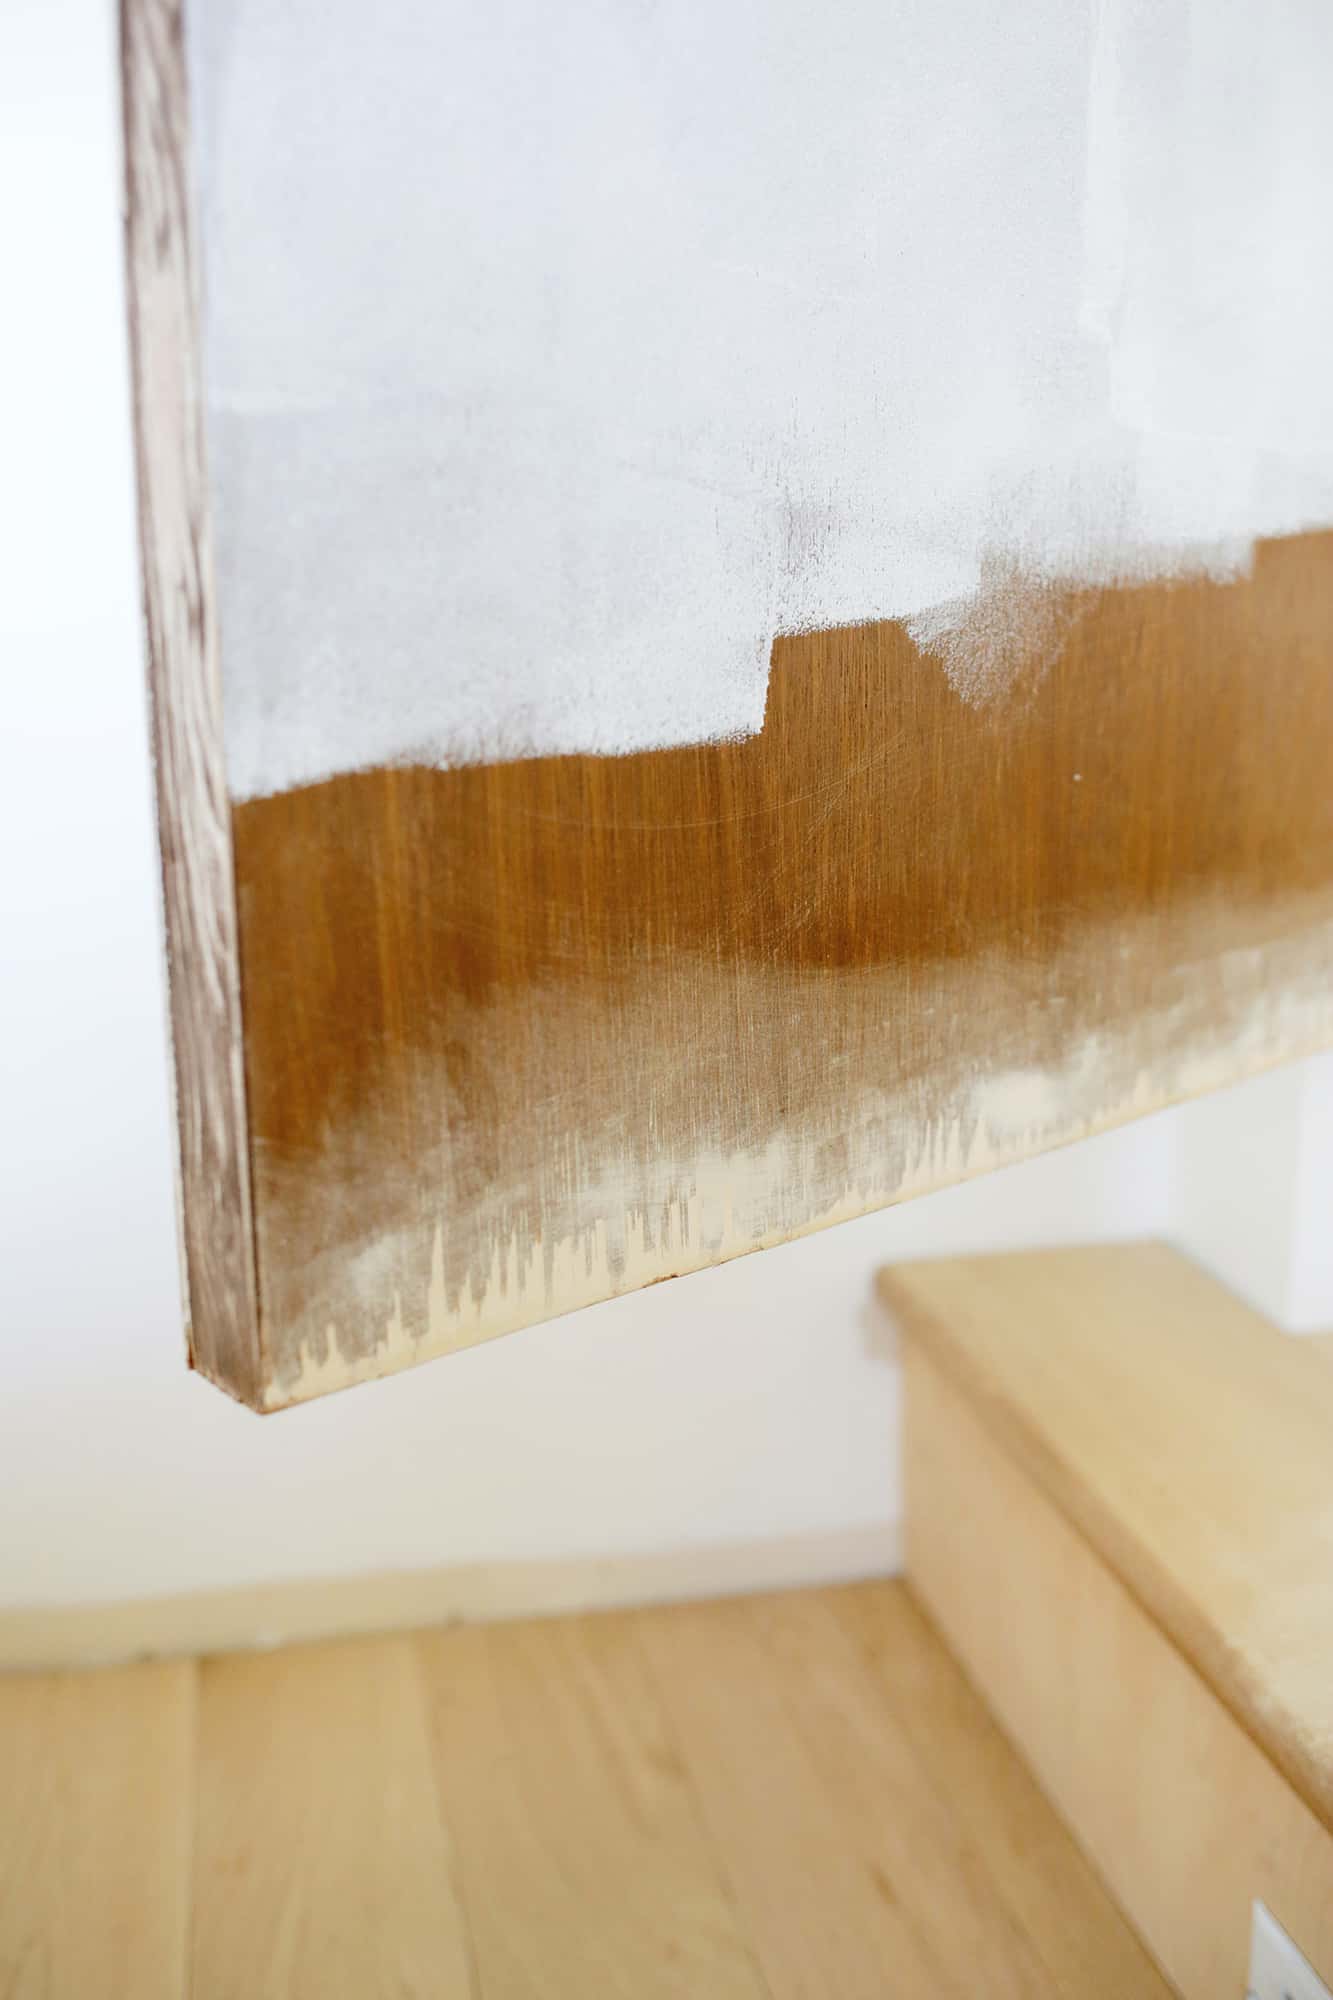
It’s not uncommon on hollow core doors for the bottom of the door to start to splinter off and leave some uneven surfaces. The best way to repair that is to get some wood filler and a putty knife to fill the splintered areas.
Put a layer of wood filler that’s a little higher than the surface of the door so you can sand it down to a level surface once the wood filler has dried.
2.) Paint the door:
The color and tone of the wood on a hollow core door is always a dead giveaway that it’s a cheap door, so painting it helps to hide those splintered areas you just repaired, and makes it look like it could be a solid slab door.
I like to sand down the door with a medium sandpaper to rough up the surface. Don’t skimp on the sanding—the paint won’t stick to the door as well if you don’t really rough up the glossy surface enough.
Then, do a coat or two of a stain-blocking primer to keep the wood stains from bleeding through.
If you’re painting the doors a dark color, you can probably get away with a paint/primer in one rather than separate coats. Then, use a semi-gloss paint in the color of your choice (I usually do white) to refresh your door with a low nap roller for smooth surfaces.
3.) Replace the hinges:
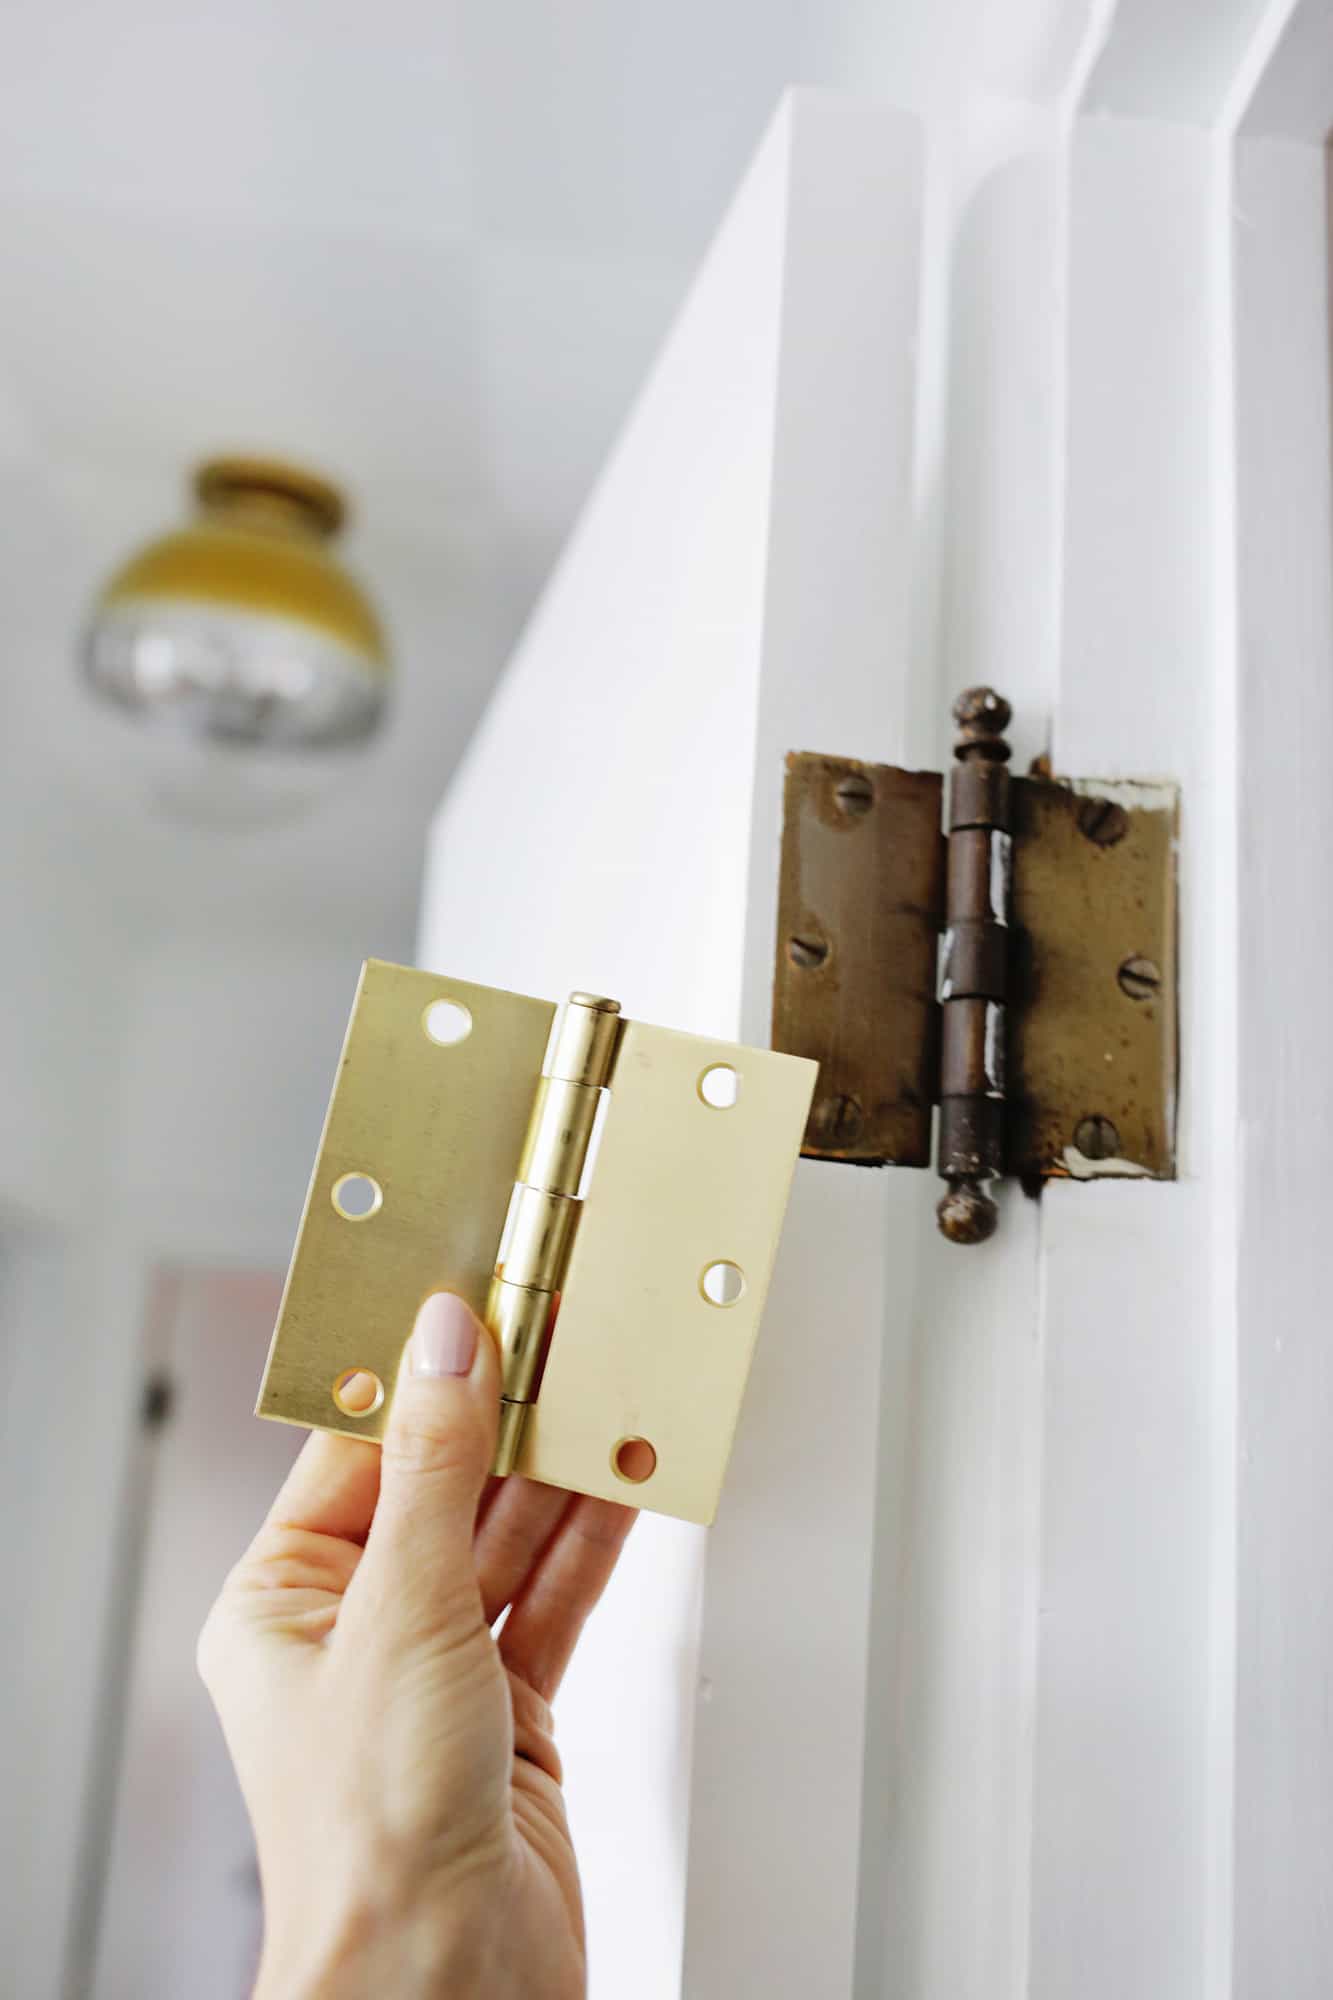
A lot of the time, an older hollow core door will also have older hinges that could use a swap for something nicer and newer. Our doors had really clunky heavy hinges that are meant for outdoor doors (very heavy duty) and they were also rusty and splattered with several colors of previous trim paint colors.
Getting a pack of sleek modern hinges can go a long way in modernizing a door and making the whole thing feel refreshed (you’ll want these if your hinge cutouts are rounded).
4.) Switch the door hardware:
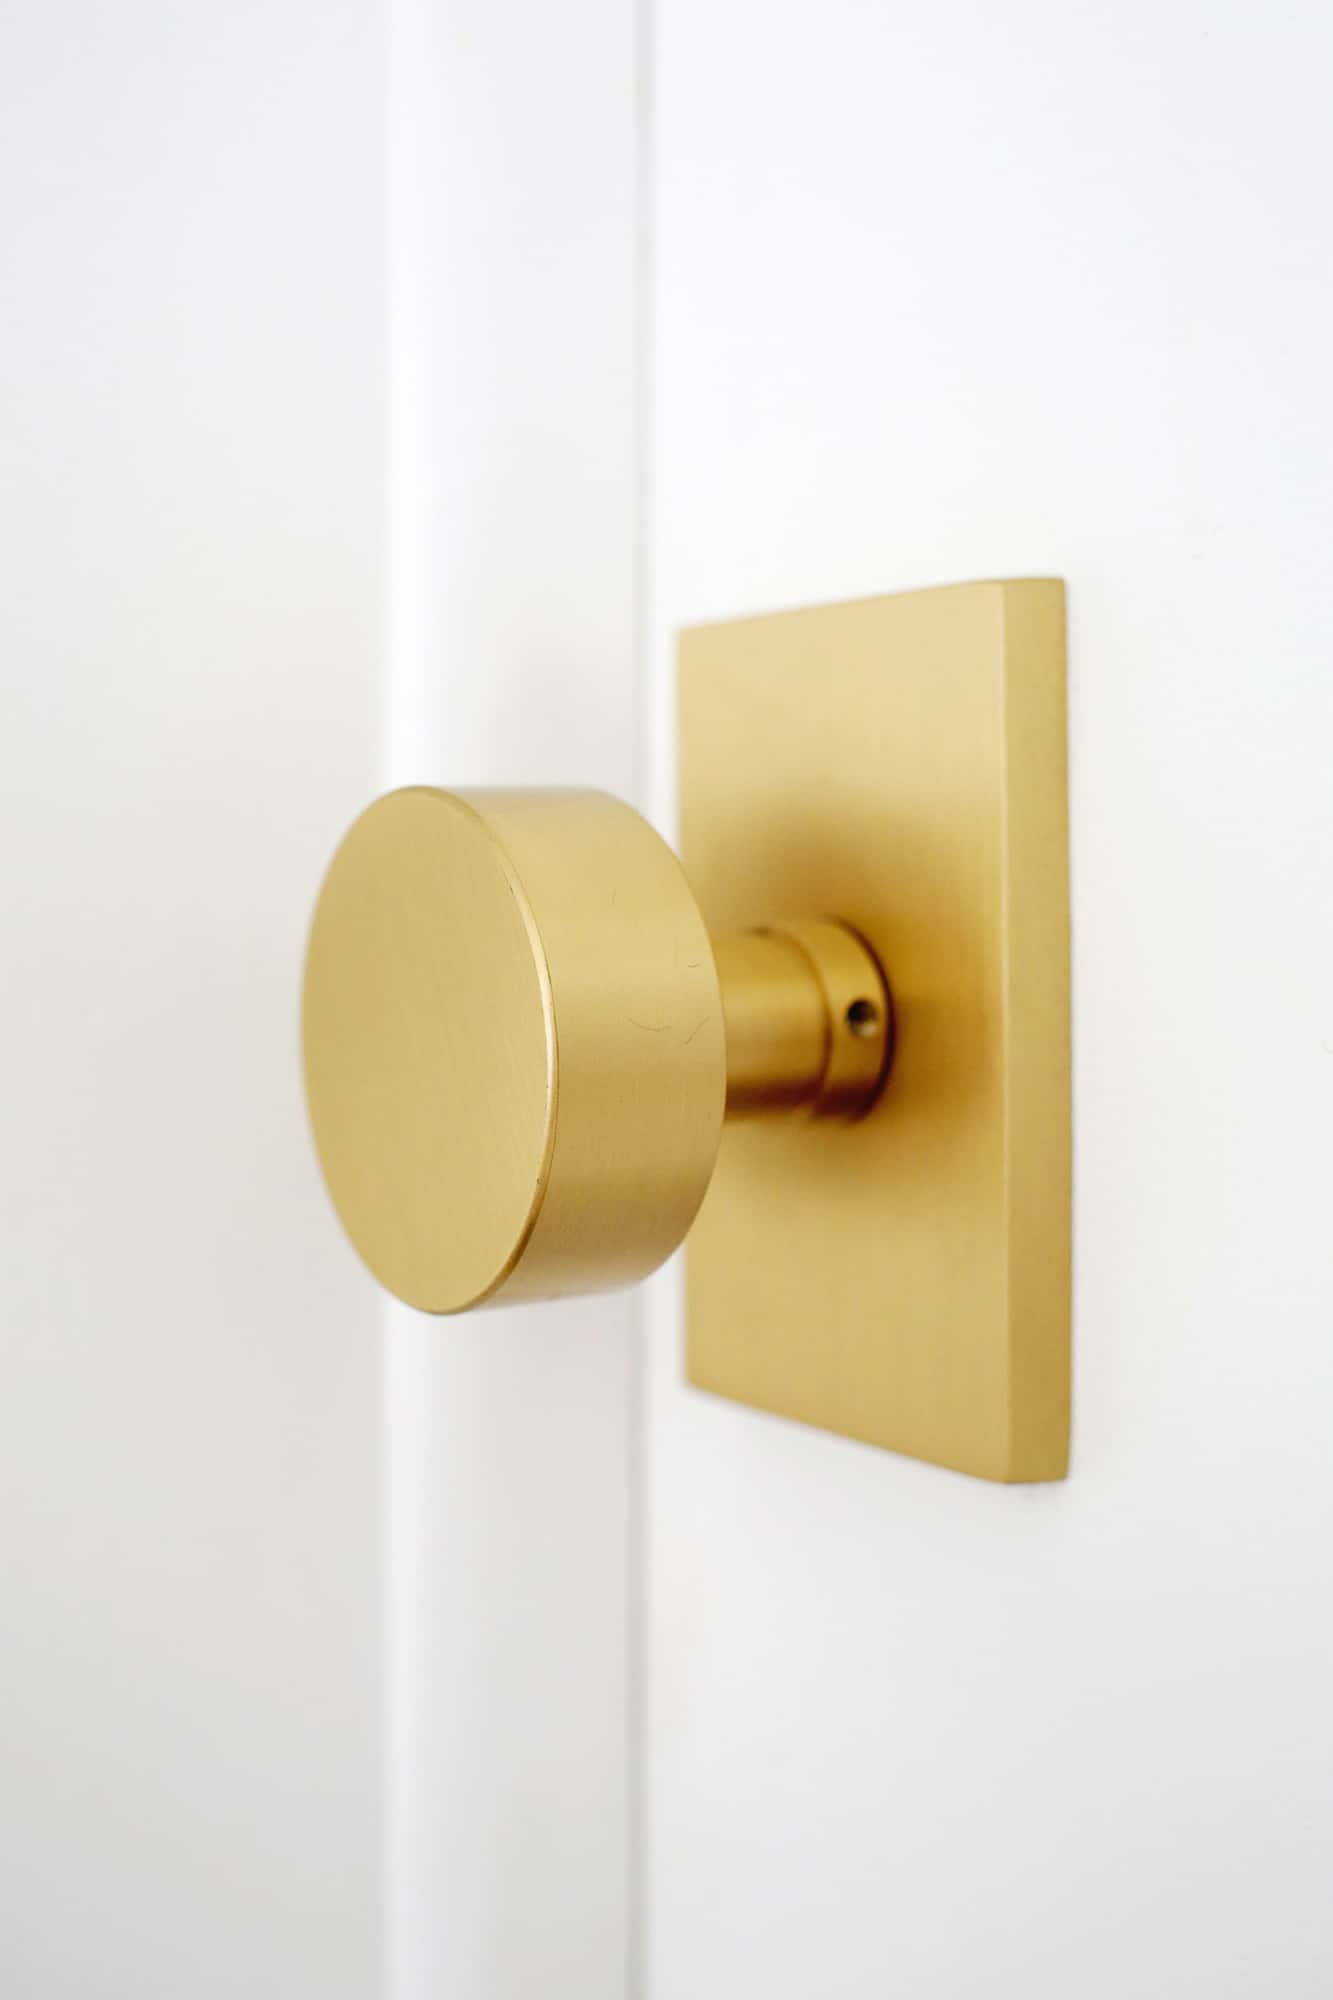
Now, this is the final step in making your door makeover a real success! Getting some sleek modern door hardware will be a giant leap forward for your hollow core door project.
I wanted to spend a little more on the hardware to really make the end result feel more luxe (and since we saved so much on rehabbing the doors that was possible), so I bought this one. It has a 5-year finish warranty for the finish color I wanted (a nice thing to have for brass hardware).
If you are wanting to save all around, they have more budget-friendly options that are similar like these and these that would be beautiful, too!
5.) Add some custom trim (optional but amazing!!)
Now that you have a repaired door with a fresh coat of paint and new hardware, you can call it a day and admire your new door, OR, you can go one step further and make the door pretty special with some custom trim additions.
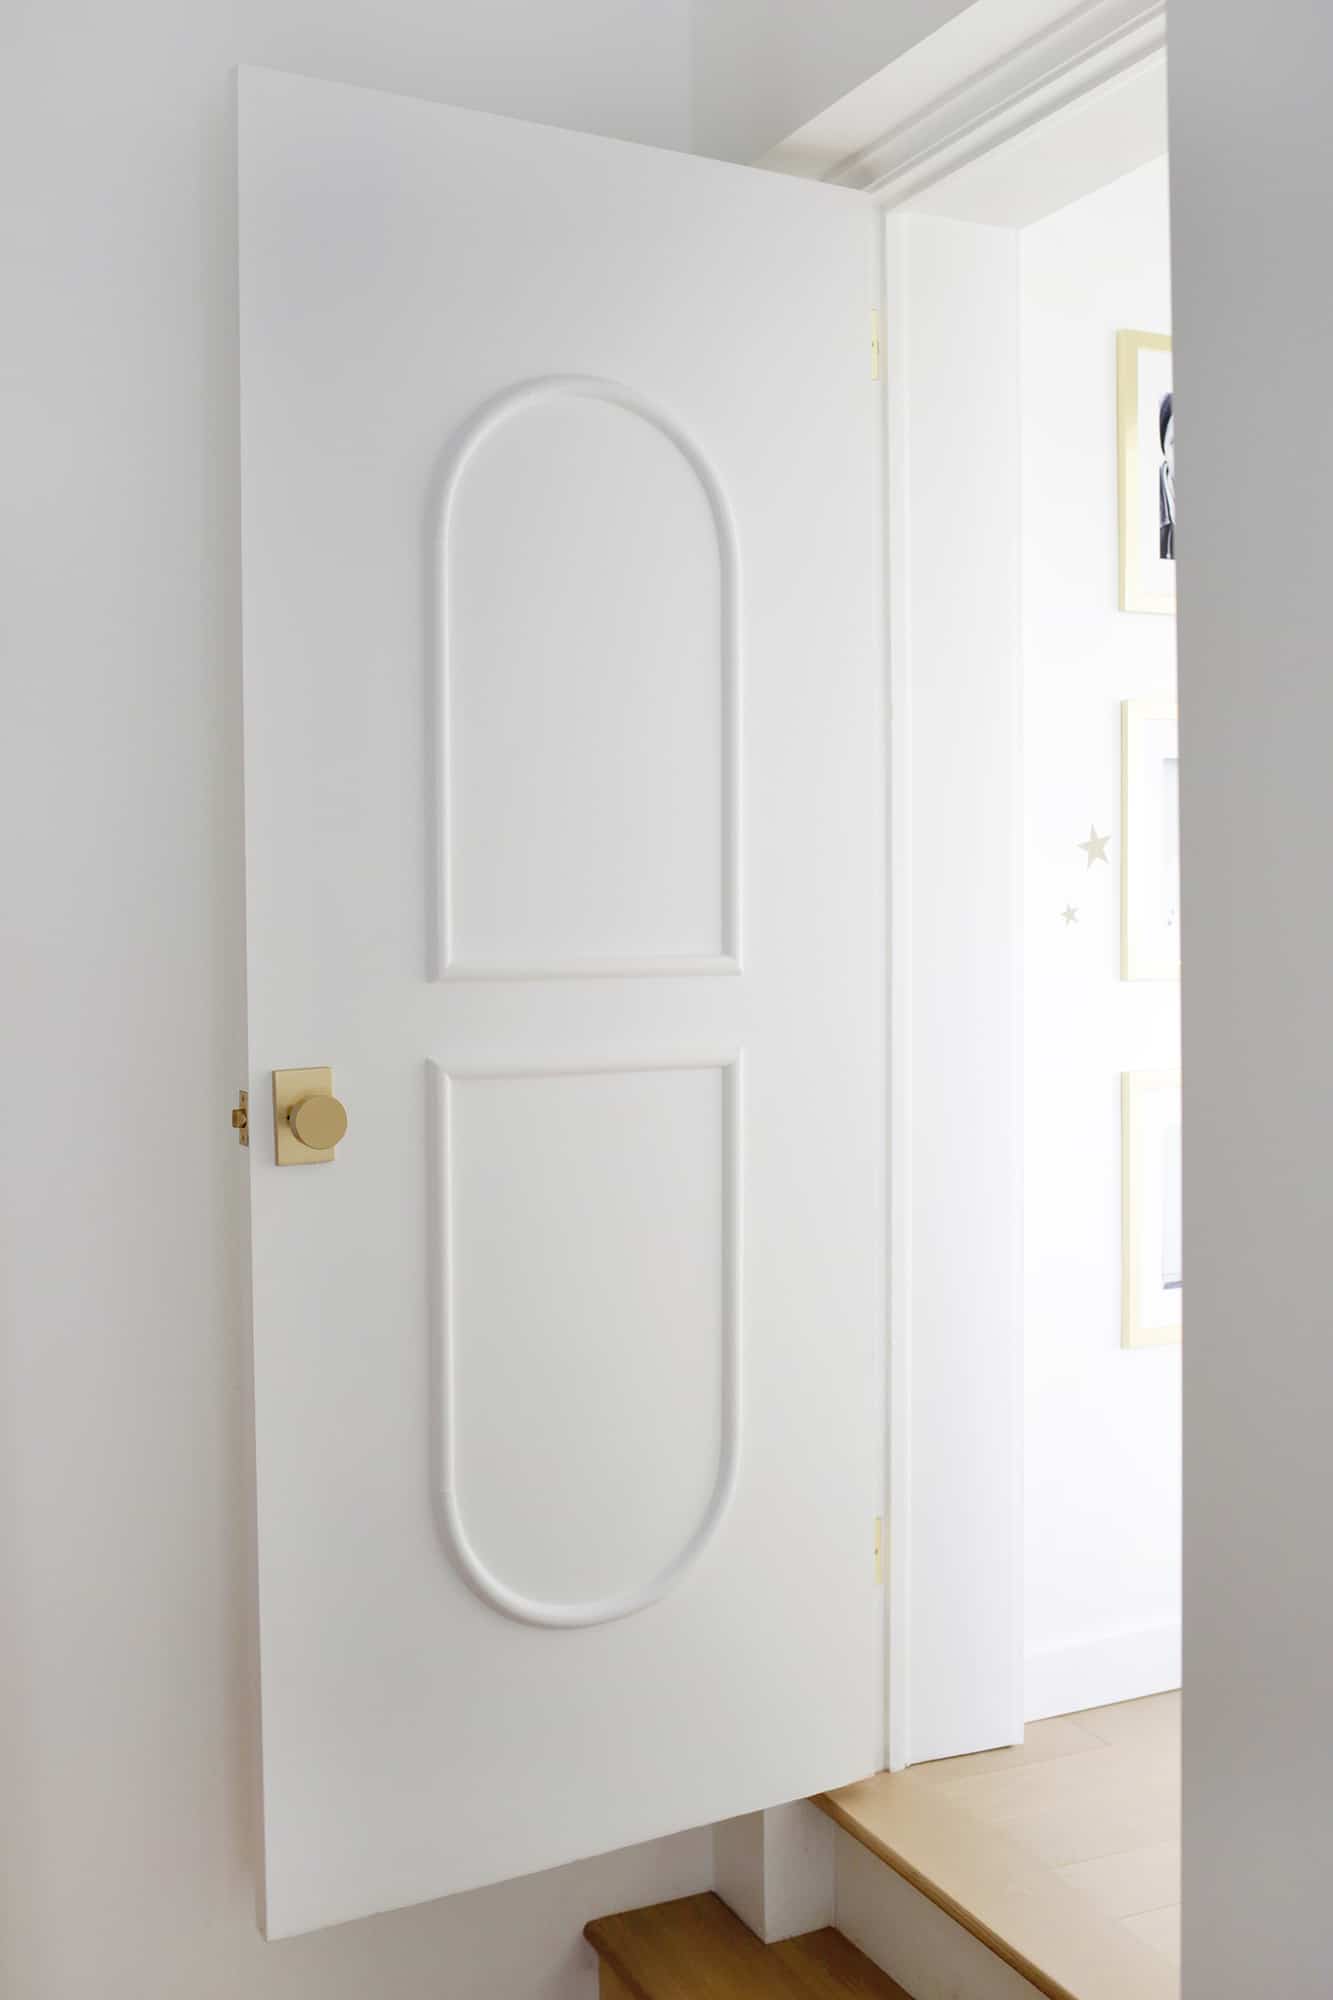
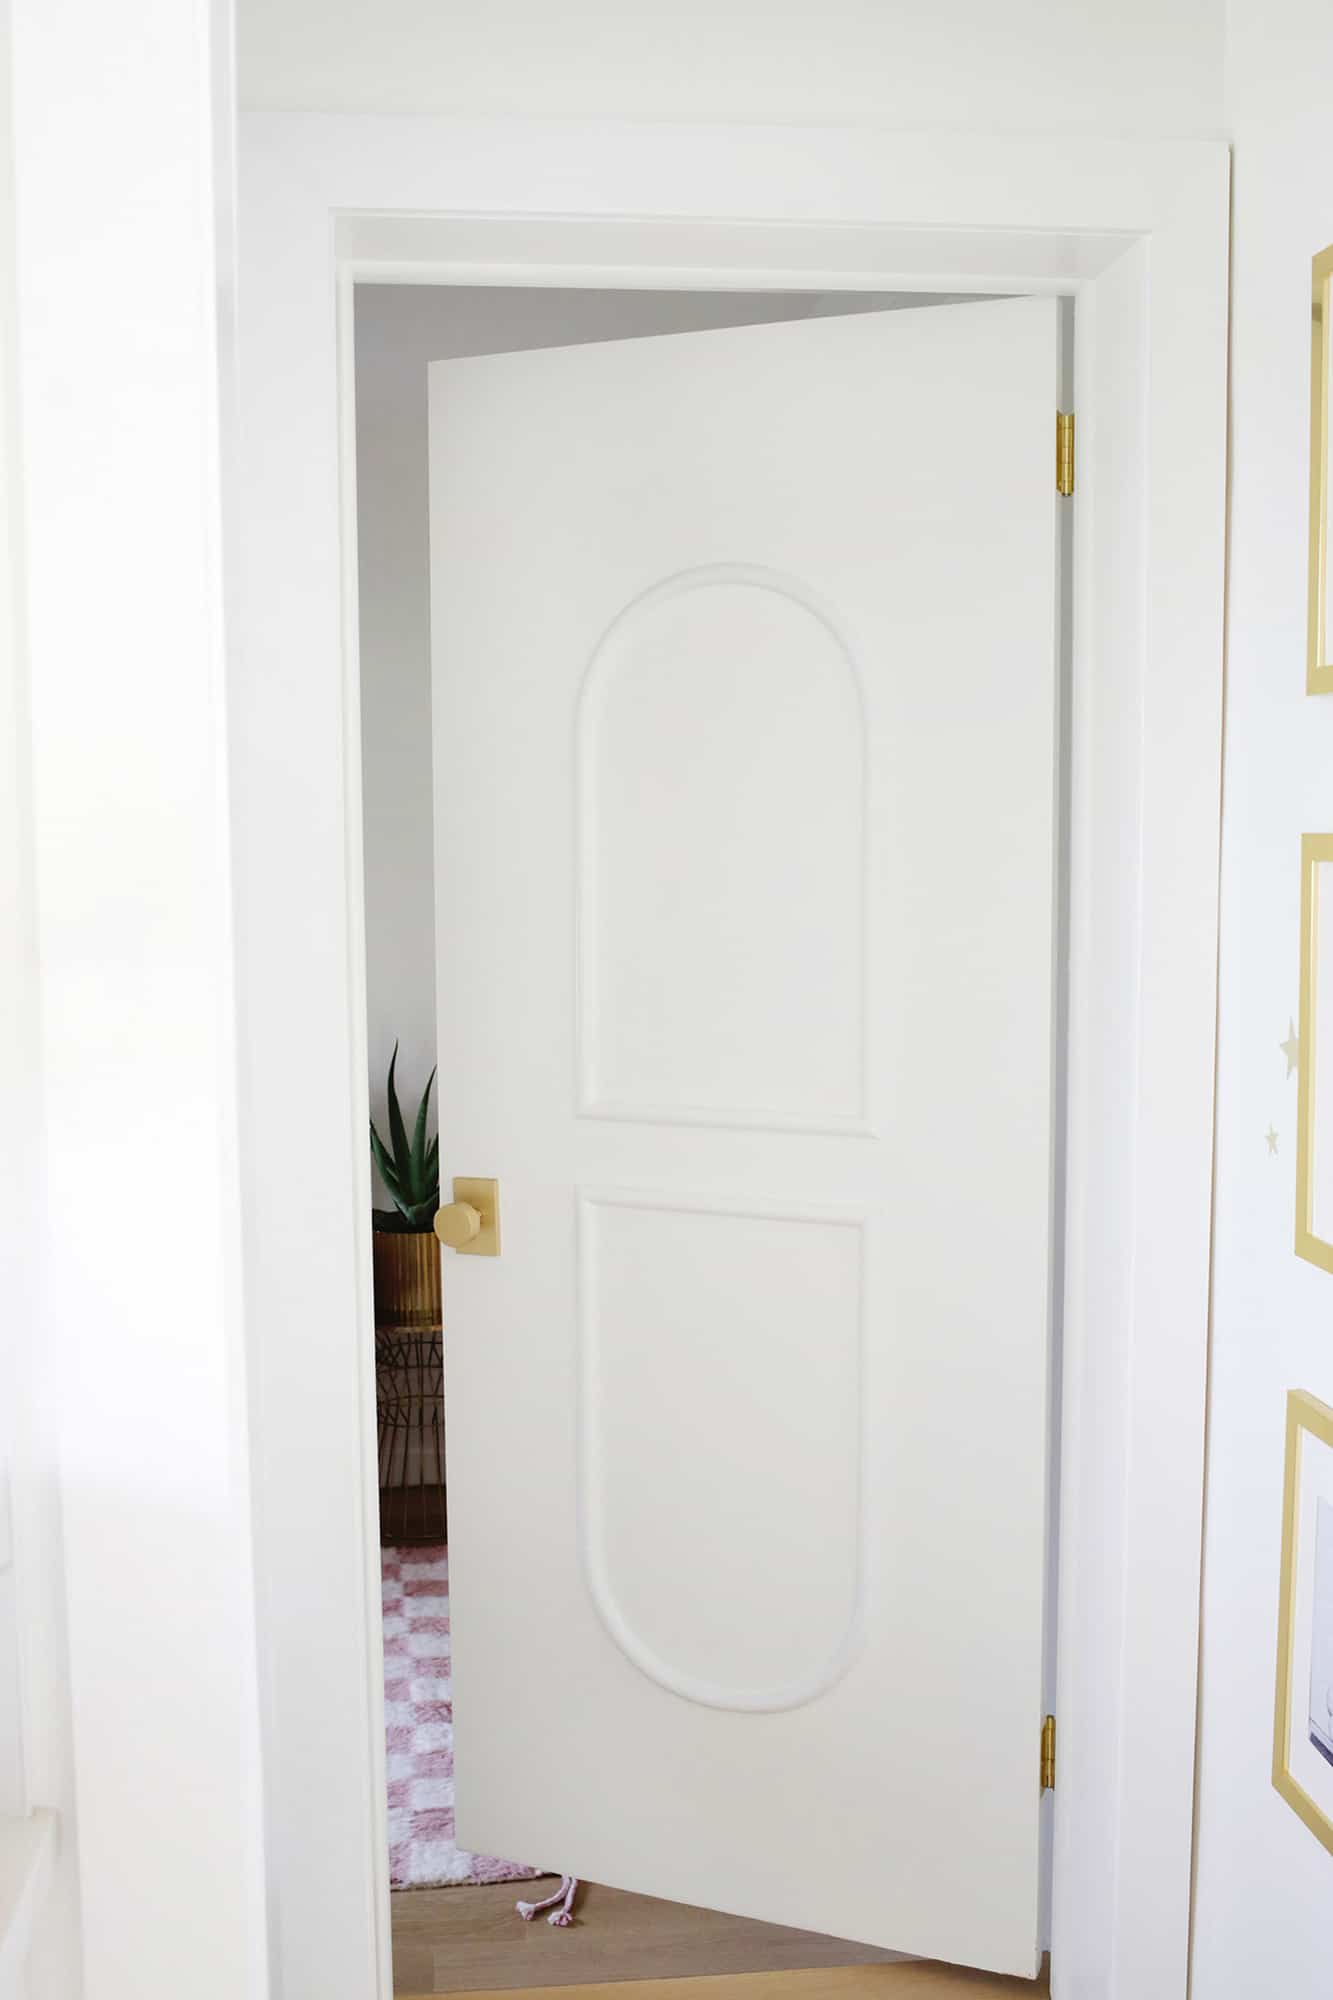
I’ve made quite a few basic doors feel much more special with either wooden trim or wooden cutout designs, but in this house I added an arched half-round trim design to the back and all the main interior doors with flexible moulding, and I just LOVE how it made the doors feel so much more luxe and custom.
Want to see more door DIY ideas? Check out …
- Star Trim Closet Door DIY
- Pyramid Trim Closet Door DIY
- Circle French Door DIY
- Add Geometric Panels to Your Doors DIY
- Modernizing Bi-Fold Closet Doors

Looking for new hardware? Check out our trendy hardware favorites for every budget!
As a side note, especially if you have older doors, you may need to drill a hole bigger to fit current standard door hardware sizes and a jig like this one is extremely helpful for that!
The doors that were add-ons later in the life of the house were updated to the standard hole sizes, but all the doors in the main hallway of our ’60s house had smaller latch holes than we needed, so that jig came in handy to update those holes so the hardware would fit properly.
There you go! You can see that we also updated the door casing around the doors since we had the baseboards and flooring replaced, and that also helps make the whole doorway look more updated.
Hope this helped show you that hollow core doors don’t have to be removed to refresh your home into a more modern and updated space! xo. Laura
Love this post? Sign up for our newsletter for more ideas!

Get creative ideas for recipes, crafts, decor, and more in your inbox!
 Get the How-To
Supplies
- sandpaper ( medium and fine grit)
- wood filler and putty knife
- primer that’s also a stain blocker
- semi gloss paint (in your color choice)
- hinges in your metal preference
- doorknob set of your preference
- half round molding (or molding of your choice)
Instructions
- Repair splinters and cracks: It’s not uncommon on hollow core doors for the bottom of the door to start to splinter off and leave some uneven surfaces. The best way to repair that is to get some wood filler and a putty knife to fill the splintered areas. Put a layer of wood filler that’s a little higher than the surface of the door so you can sand it down to a level surface once the wood filler has dried.
- Paint the door: The color and tone of the wood on hollow core door is always a dead giveaway that it’s a cheap door, so painting it helps to hide those splintered areas you just repaired and makes it look like it could be a solid slab door. I like to sand down the door lightly with a medium sandpaper to rough up the surface and then do a coat or two of a stain-blocking primer to keep the wood stains from bleeding through (if painting the doors a dark color, you can probably get away with a paint/primer in one rather than separate coats). Then use a semi-gloss paint in the color of your choice (I usually do white) to refresh your door with a low nap roller for smooth surfaces.
- Replace the hinges: A lot of the time, an older hollow core door will also have older hinges that could use a swap for something nicer and newer. Our doors had really clunky heavy hinges that are meant for outdoor doors (very heavy duty) and they were also rusty and splattered with several colors of previous trim paint colors. Getting a pack of sleek modern hinges can go a long way in modernizing a door and making the whole thing feel refreshed (you’ll want these if your hinge cutouts are rounded).
- Switch the door hardware: Now this is the final step in making your door makeover a real success! Getting some sleek modern door hardware will be a giant leap forward for your hollow core door project. I wanted to spend a little more on the hardware to really make the end result feel more luxe (and since we saved so much on rehabbing the doors that was possible), so I bought this one that has a 5-year finish warranty for the finish color I wanted (a nice thing to have for brass hardware) and here’s a pretty budget-friendly option too. If you are wanting to save all around, they have more budget-friendly options that are similar like these and these that would be beautiful too!
- Add some custom trim: Now that you have a repaired door with a fresh coat of paint and new hardware, you can call it a day and admire your new door, OR, you can go one step further and make the door pretty special with some custom trim additions. I’ve made quite a few basic doors feel much more special with either wooden trim or wooden cutout designs, but in this house I added an arched half-round trim design to the back and all the main interior doors with flexible moulding and I just LOVE how it made the doors feel so much more luxe and custom.



Did you use anything to hold the molding down? (Other than the self stick)
Thanks so much for this awesome tutorial! I painted three hollow core doors – including one that needed a lot of repairs (involved spray foam and spackle) and they’re looking great. Just wondering if you’d recommend sealing the doors with a water-based polyurethane?
Good evening. I too have a door that needs a lot of TLC. Previous owner had dogs that ripped at the inside of the basement door. So I was thinking of using some spray foam to fill the big holes, and then tackling the veneer with glue and wood putty. Since I am a real novice at this, I was hoping that someone could give me an idea if that’s a good plan of attack.
This is genius! You are so creative.
Did you do all this without taking the door down and rehanging? It appears that way in the pics but can’t figure out how to replace the hinges without taking it down?
I have those doors! Thanks for the fantastic ideas.
Hahaaa, oh boy. I know the sight of splintered, hollow-core doors all too well and am excited to attempt a refresh! Yours looks great!
I have been wanting to do something like this but was concerned I’d have to take the door off the hinges. Didn’t even think to try to paint while they are up but what a great suggestion! Also appreciate how eco-friendly this is.
Yes! Not dealing with the hinges if you want to keep them can make it easier for sure 🙂
Laura
Love this suggestion and tutorial! It’s both budget and eco-friendly. I’ve added trim to my hollow core doors and painted them to make them look more special and it really elevates them! Also love the suggestion above to spray paint the knobs. I am going to try this out!
Love the arches! How many feet of this molding did you need per door?
Tania
Glad you like them! Somewhere around 14′ per door!
Laura
These doors look great! If you want to go SUPER budget friendly, I have had success with lightly sanding and spray painting my existing door hardware with Rustoleum metallic spraypaint (I used ORB). No new holes are needed and you can do a whole bunch of doors at one time. I did this about 10 years ago when I first bought my house and had almost no money left for anything, They aren’t as pretty as the modern hardware above, but I did all the doors in the house with one can (less than $10!) A couple have gotten scratches over the years, and others still look new. It was meant to be a temporary solution, but 10 years later I still haven’t changed them 🙂
Great idea! And you can use a clear poly spray paint to add extra protection. Use a small box with a precise circle cut out of the bottom and you can spray paint in the house with the handle still installed by pushing the box over the handle!