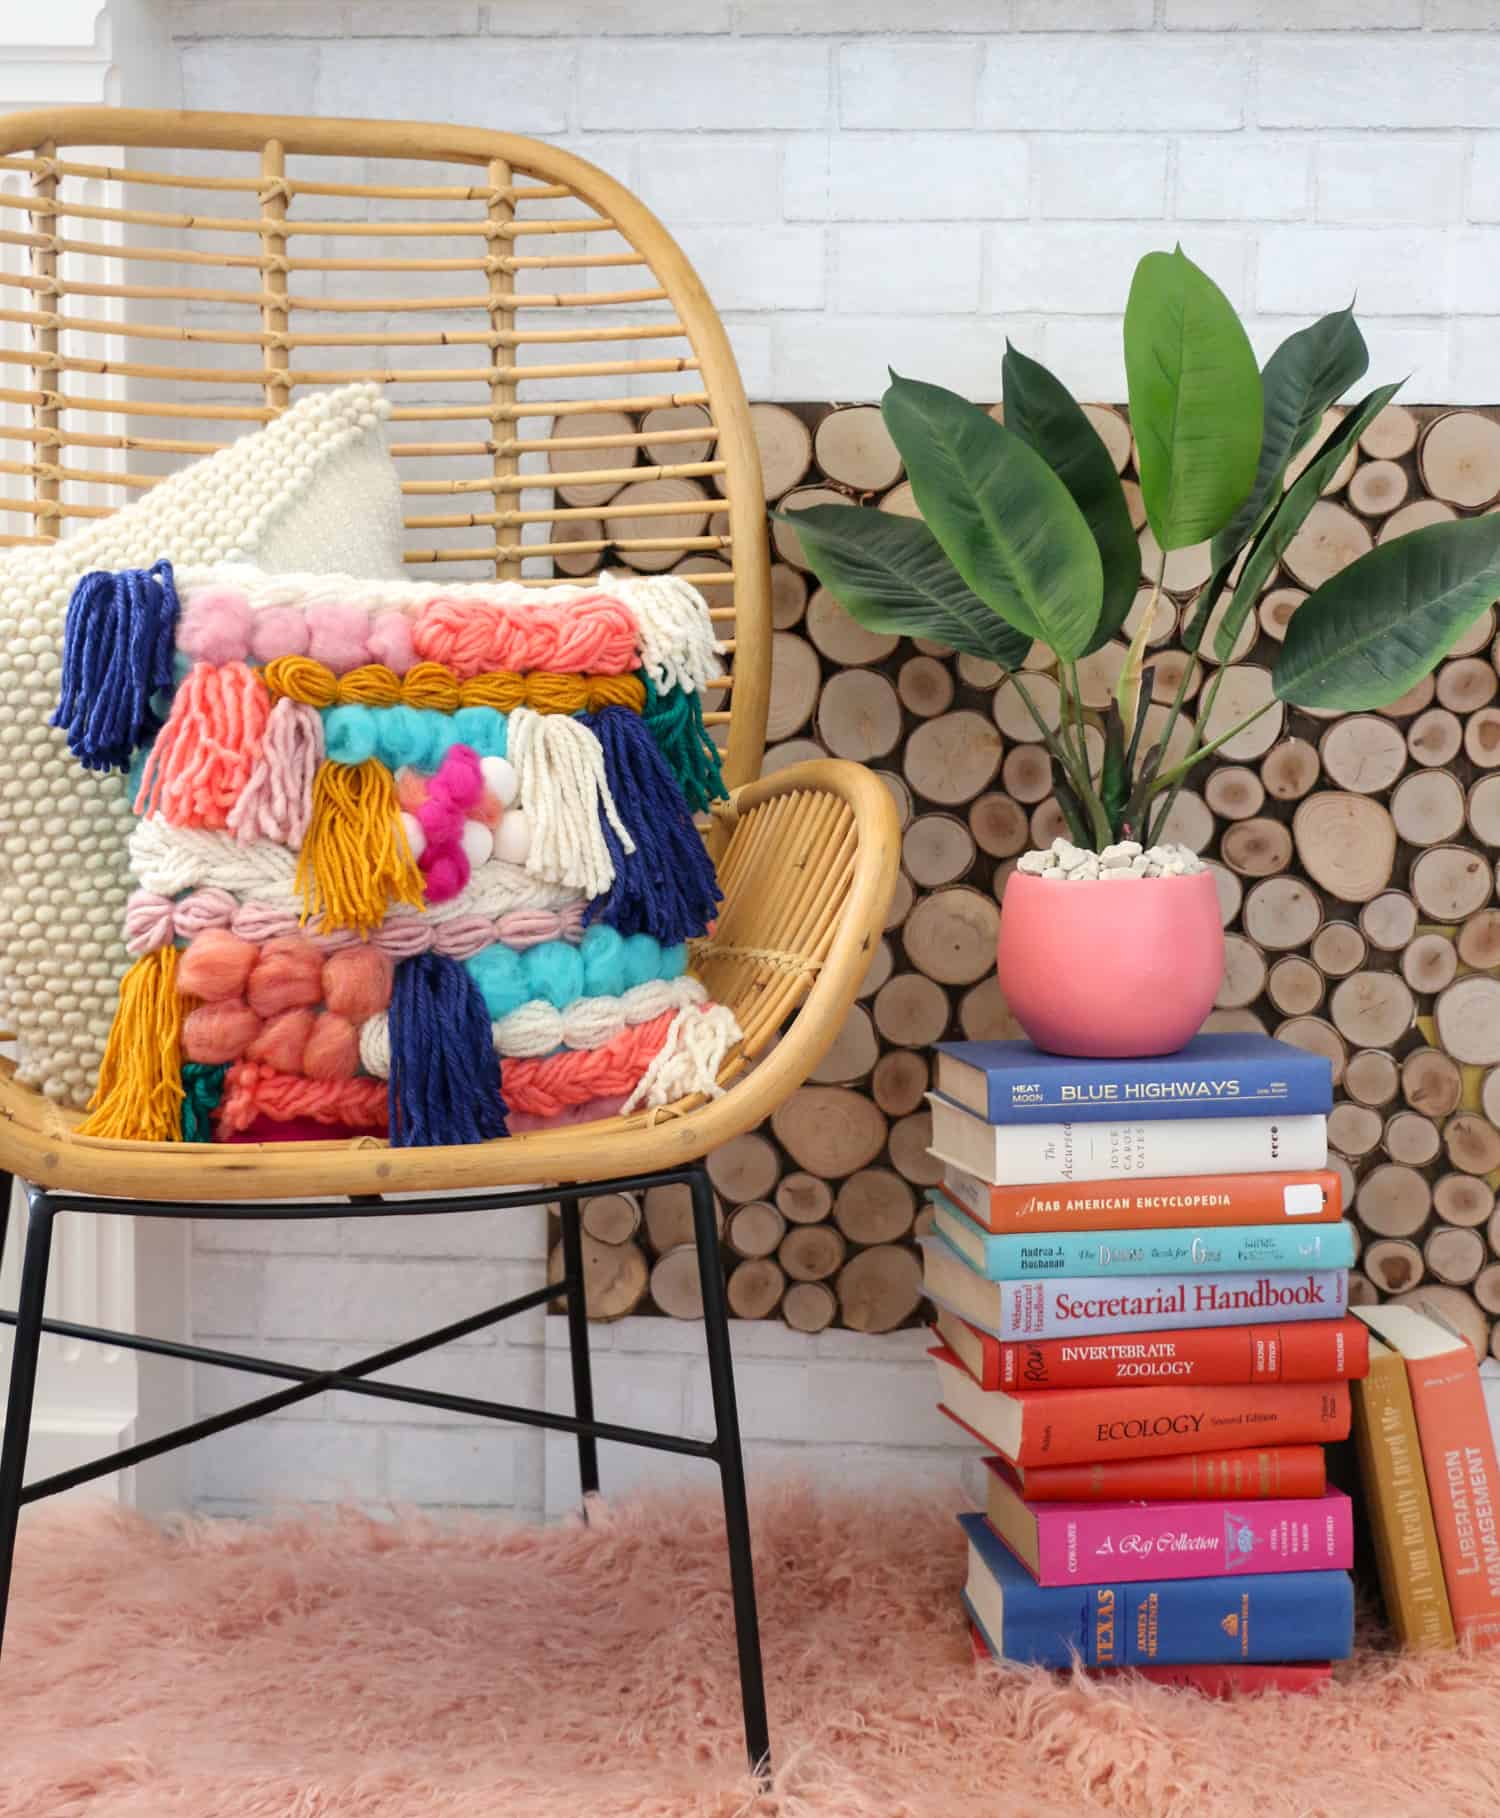
There is something about fall that has me wanting to bring in all the textures and make all the yarn projects. Adding in that warmth really starts to get my home cozy for when the temperatures plummet.
The funny thing is, as much as I like yarn crafts, I still don’t know how to knit or weave. But you can bet I know how to fake the look!
I have been wanting to try my hand at making a faux woven pillow, and I finally found the time this past week. I am so obsessed with how it turned out! And it only took a few hours to make, which is even more awesome.
I am going to share how to make a faux woven pillow with you, so you can get in on this cozy action too!
Related: Easy (Faux) Weaving DIY and Weaving for Beginners
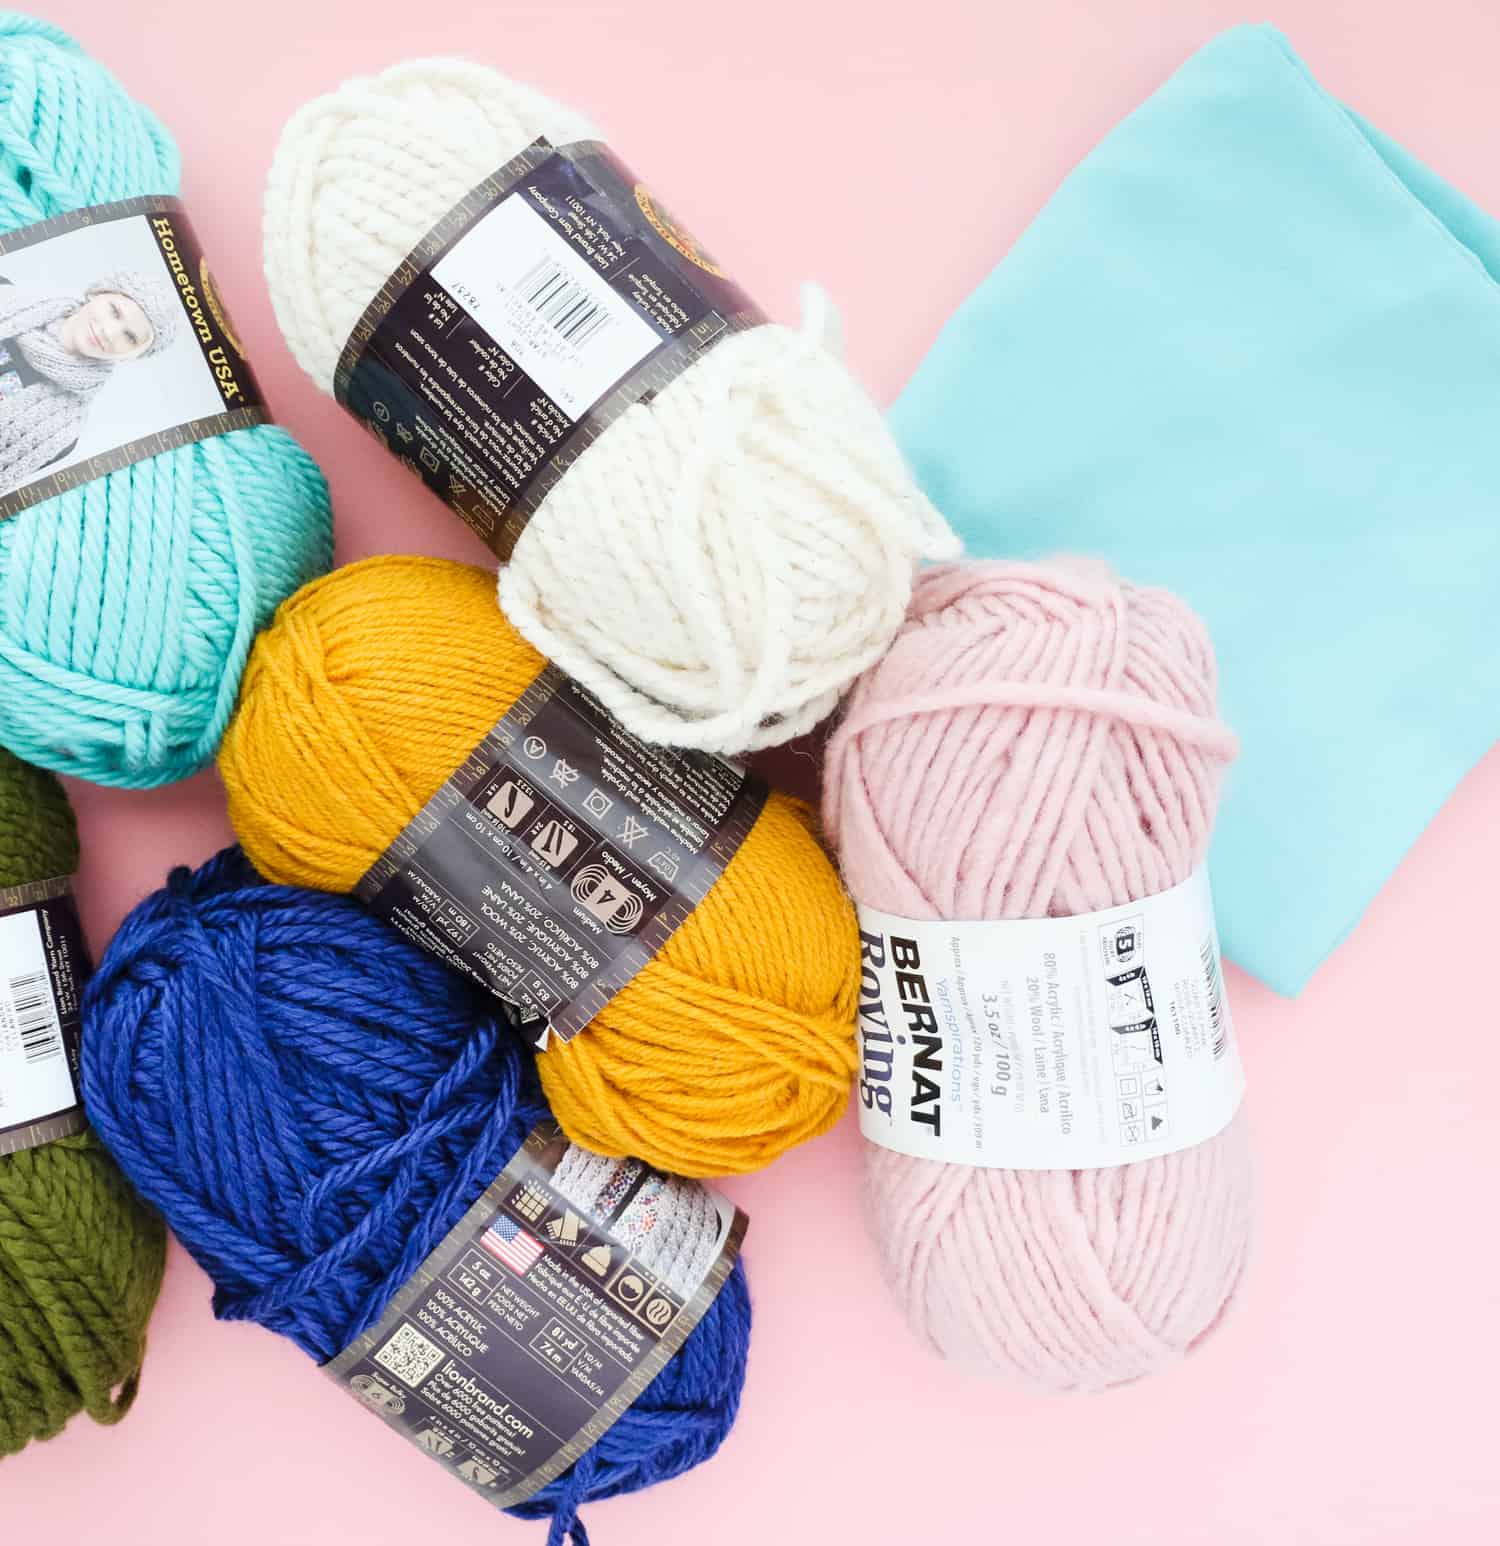
Supplies:
–yarn (the thicker the better)
–wool roving
-hot glue or fabric glue
-scissors
-throw pillow with cover
–felt balls (optional)
The process of how to make a faux woven pillow is pretty straightforward. I will share how to make a few of the simple faux woven yarn look like the roving balls and braided pieces, then you simply use these techniques with the yarn in your colors.
Once you have made a few different yarn pieces, you will layer them onto your pillow case however you like to create your own unique woven look.
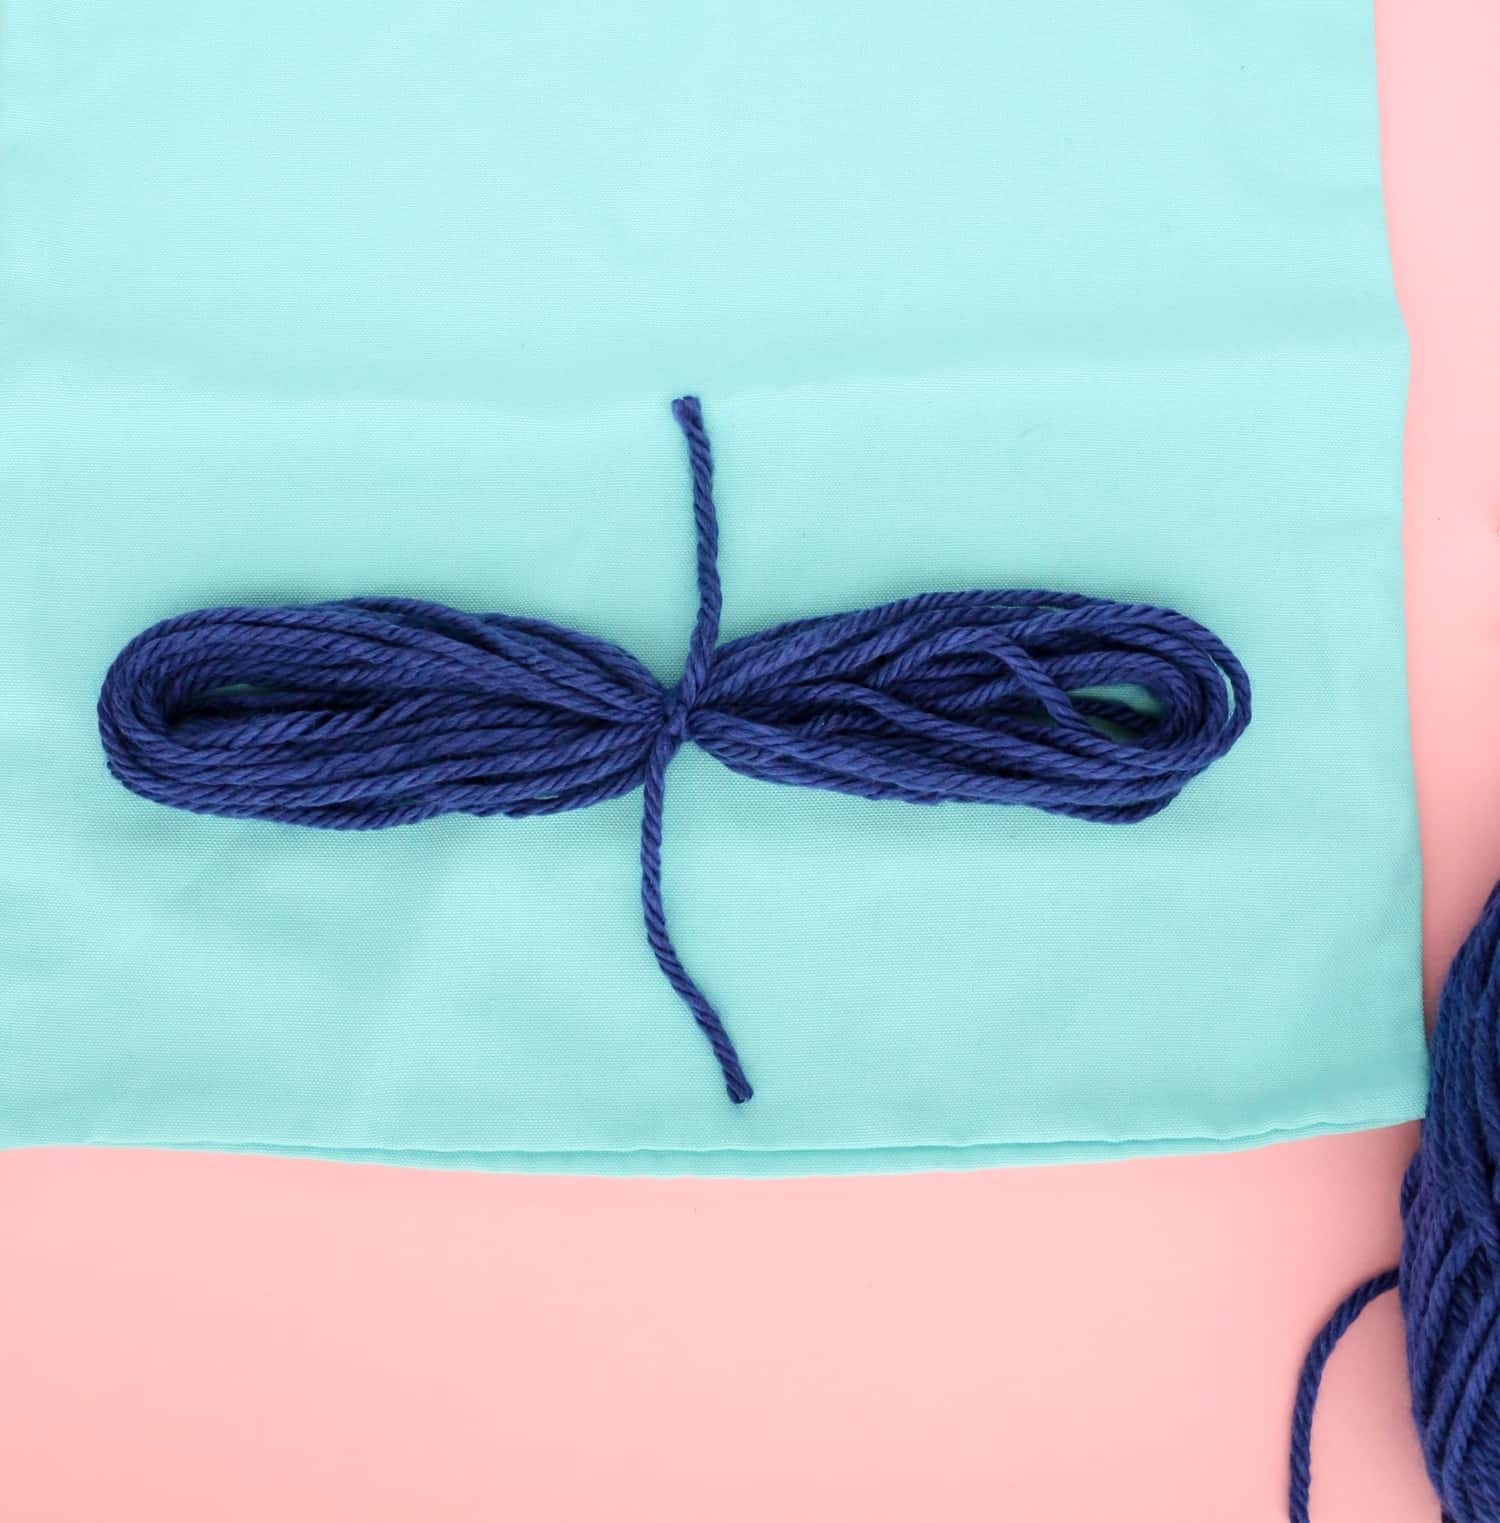
For the tassels, wrap the yarn around your arm from your palm to your elbow as if you were winding up an extension cord. Repeat until you have 8-10 strands, then remove from your arm and tie a 6″ piece of yarn around the center. Fold the two ends together and trim off the looped ends to form your tassel.
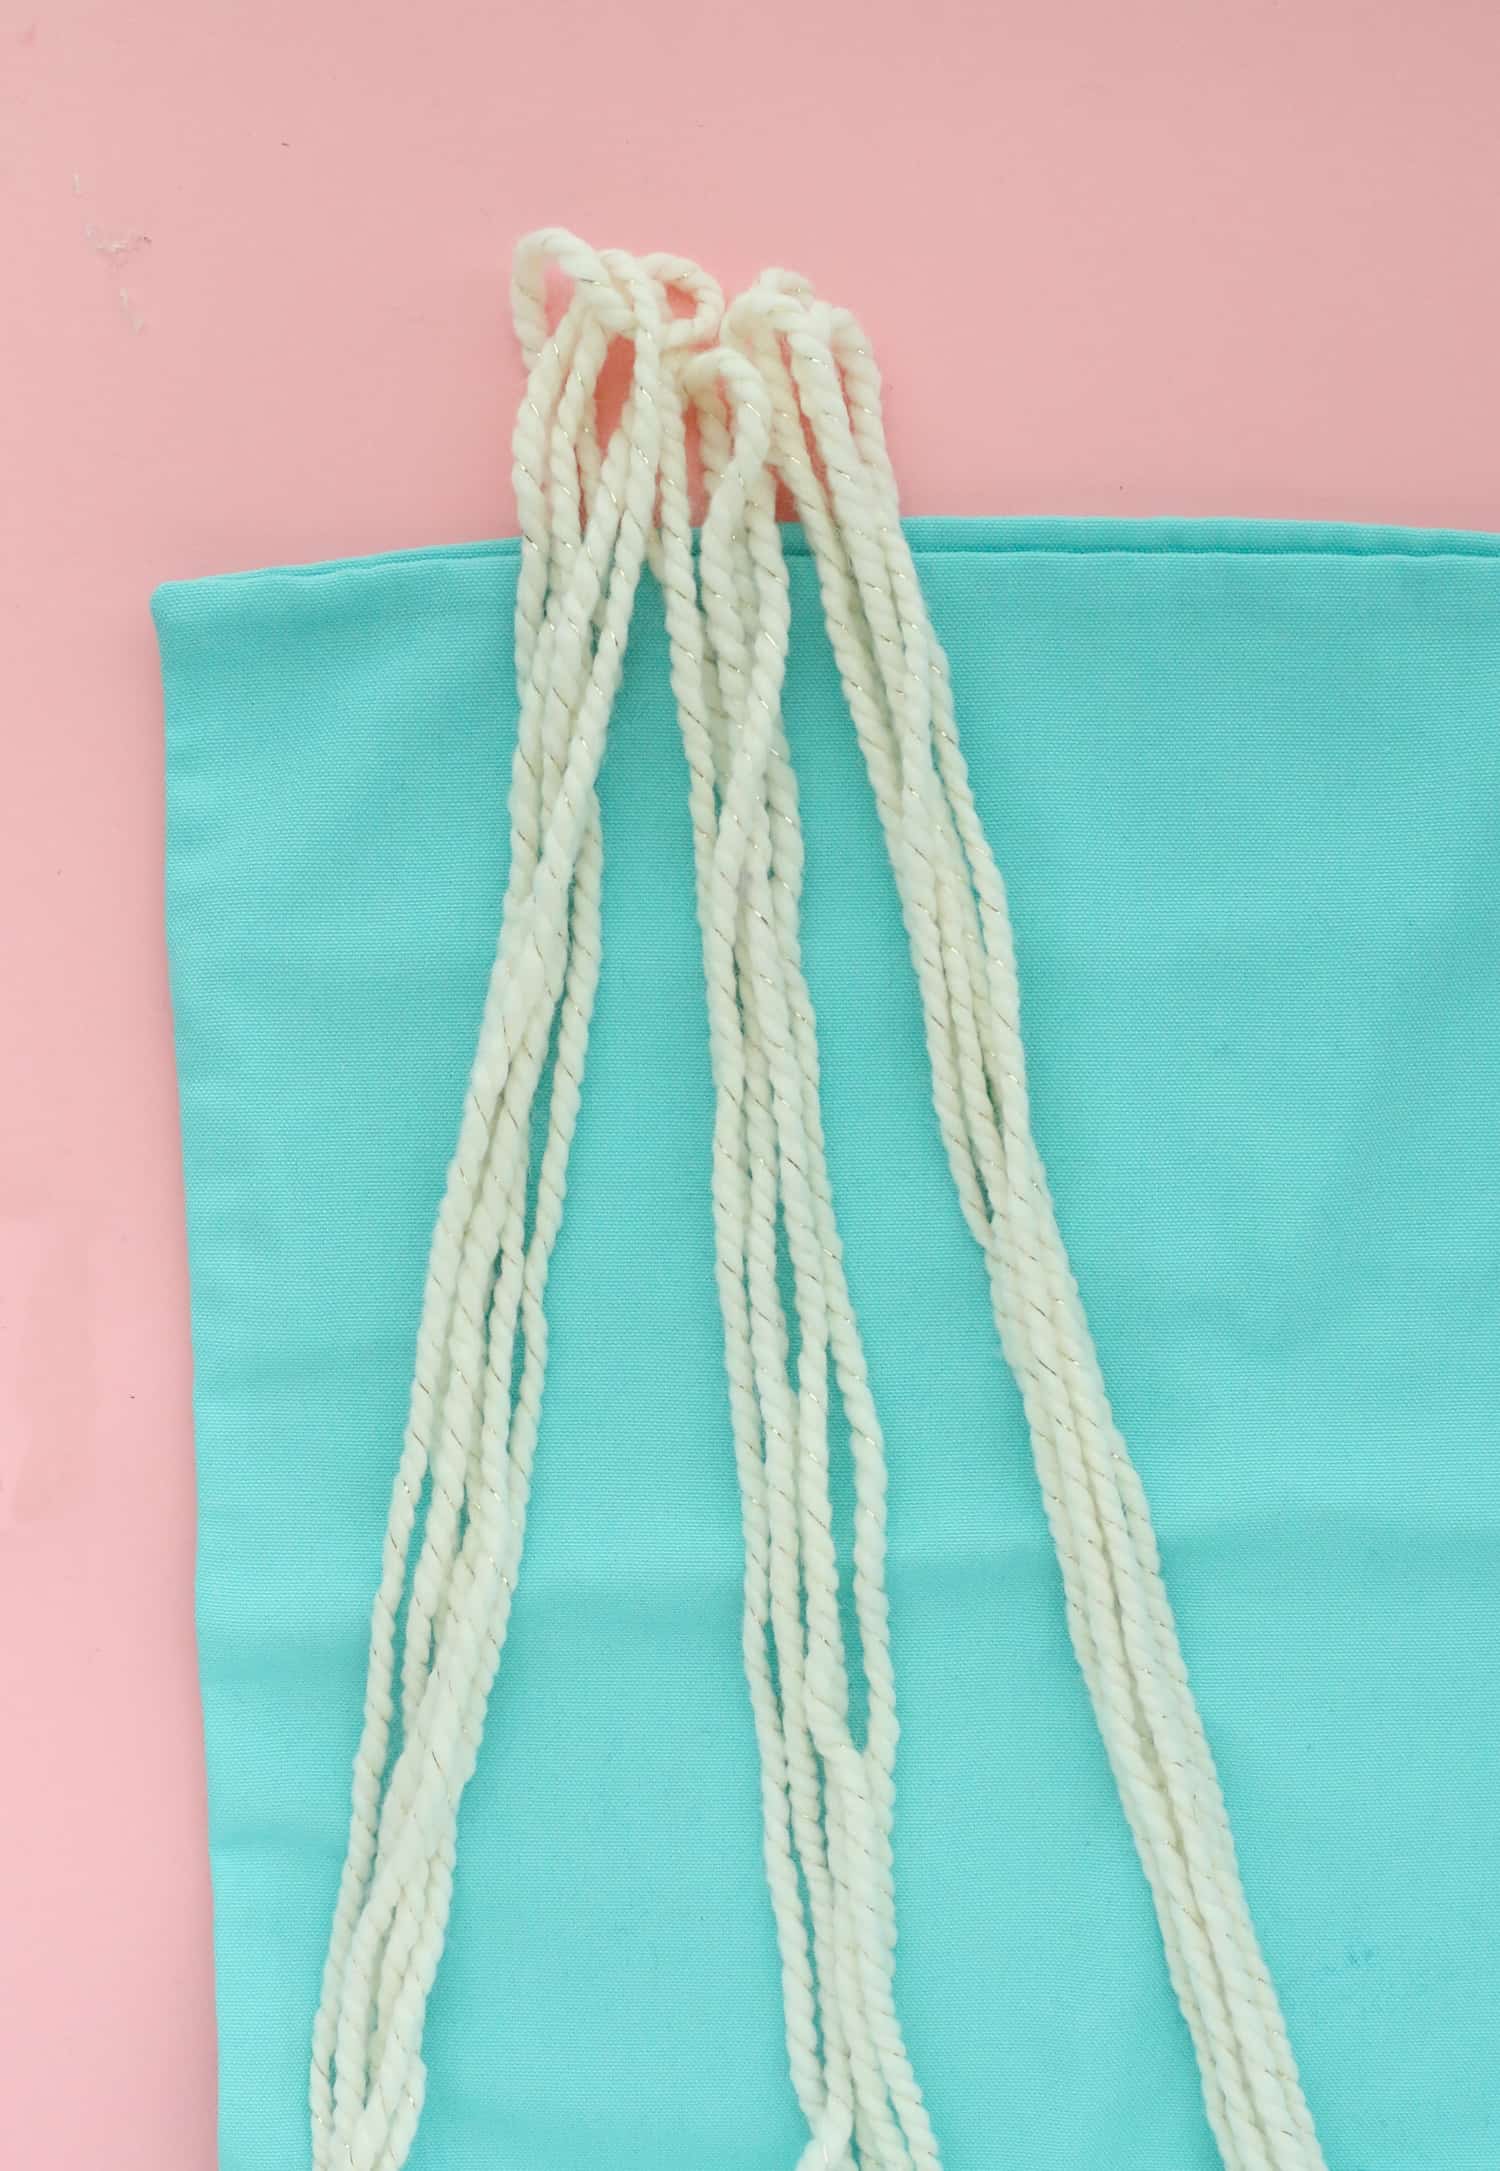
For the braided pieces, create the same looped yarn strands as above, but create three. Then tie them together on one end and braid the three looped yarn pieces together to form a chunky braid. Pull the yarn to loosen the braid a bit and then tie the bottom together.
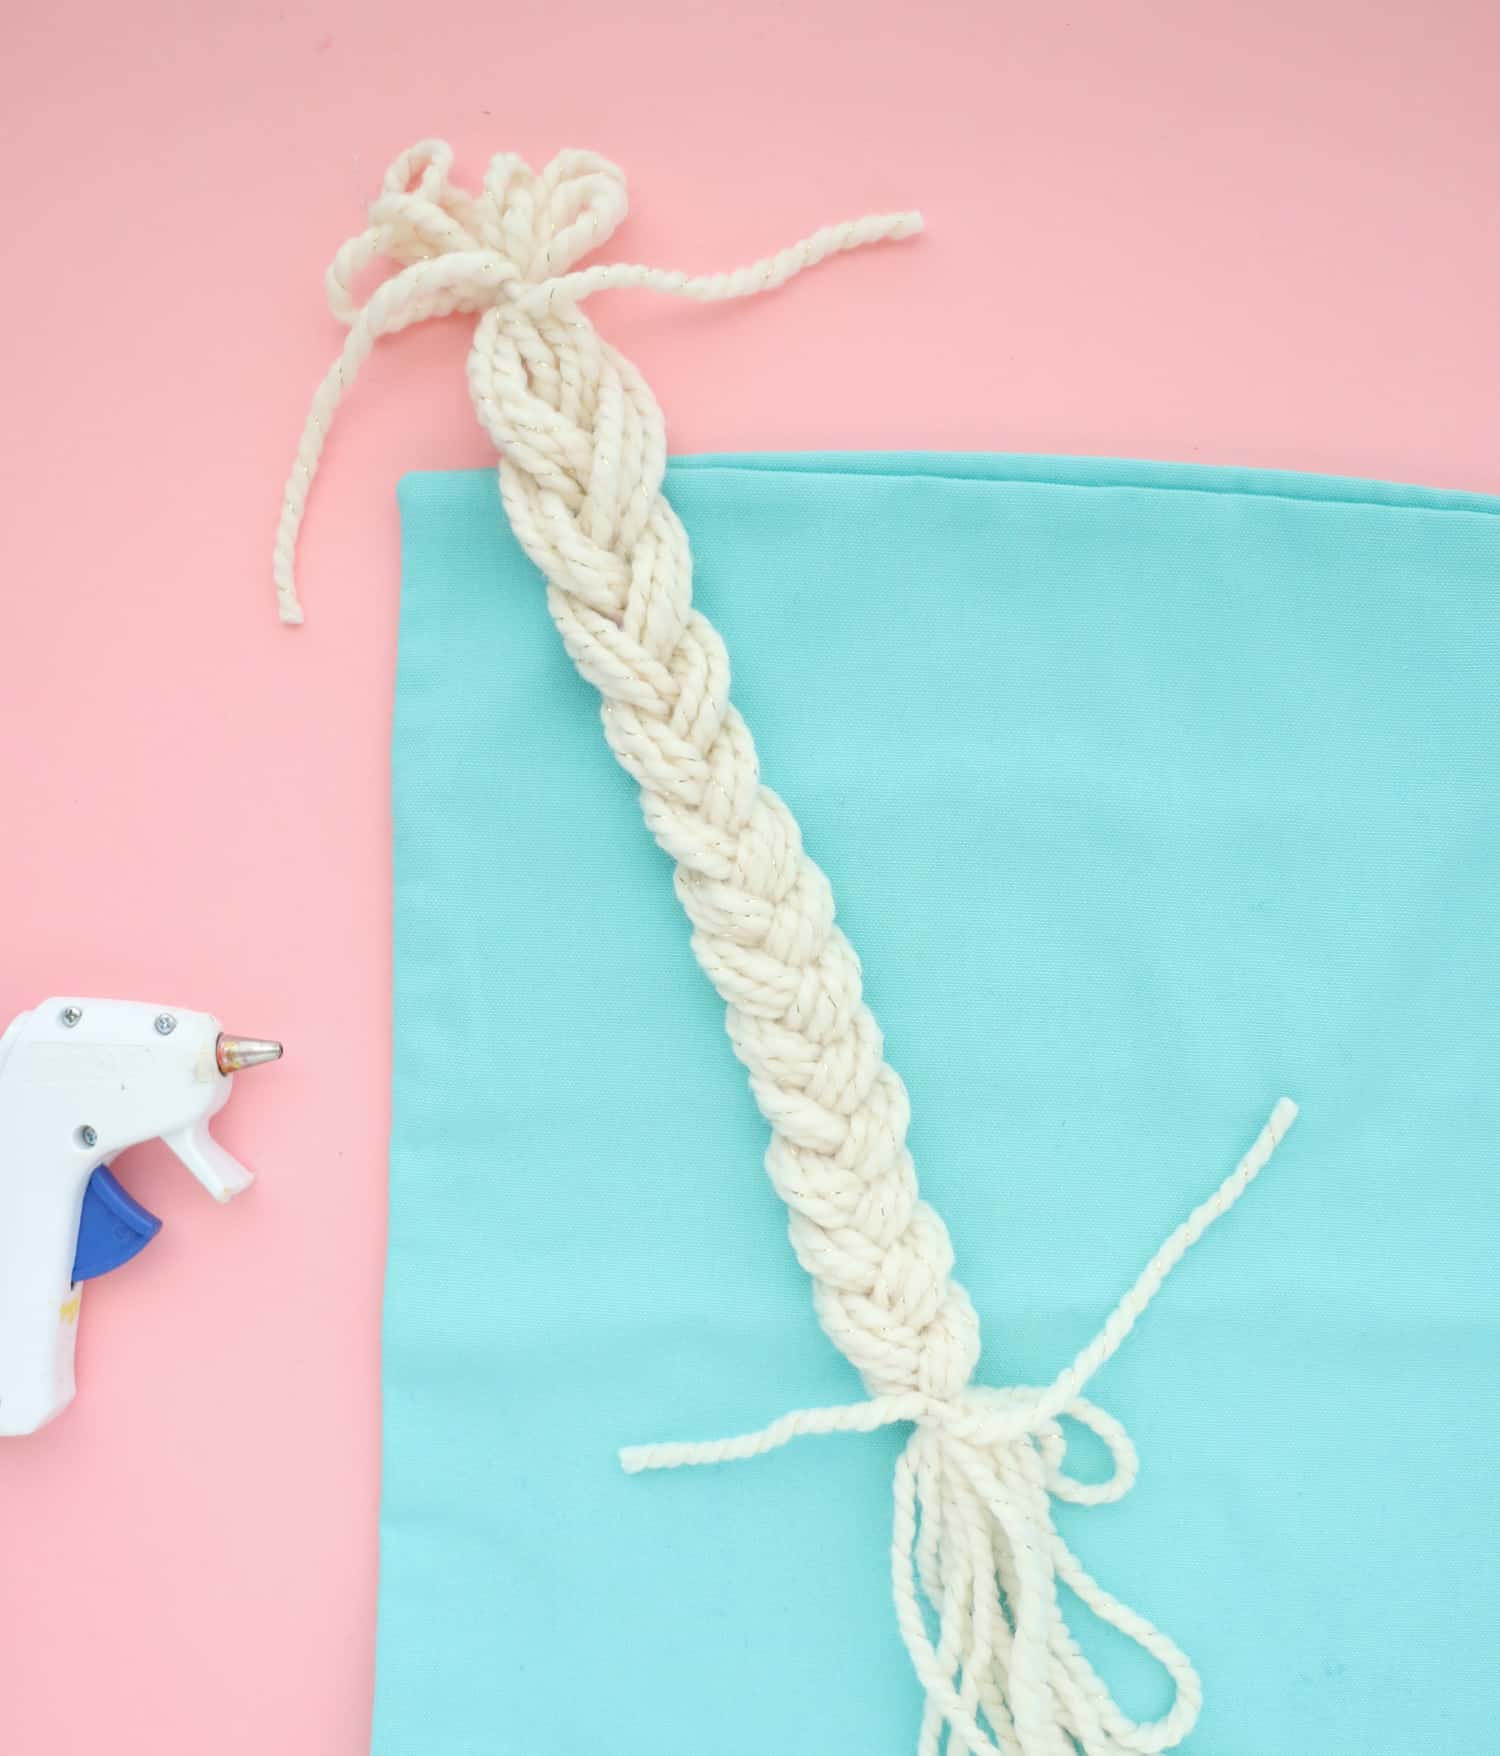
The final yarn piece that I used on the pillow was a long tuffed and tied piece of yarn. To make this, make another long looped piece around your forearm. Then remove and tie several pieces of 4″ long yarn around the looped yarn in 1″ segments.
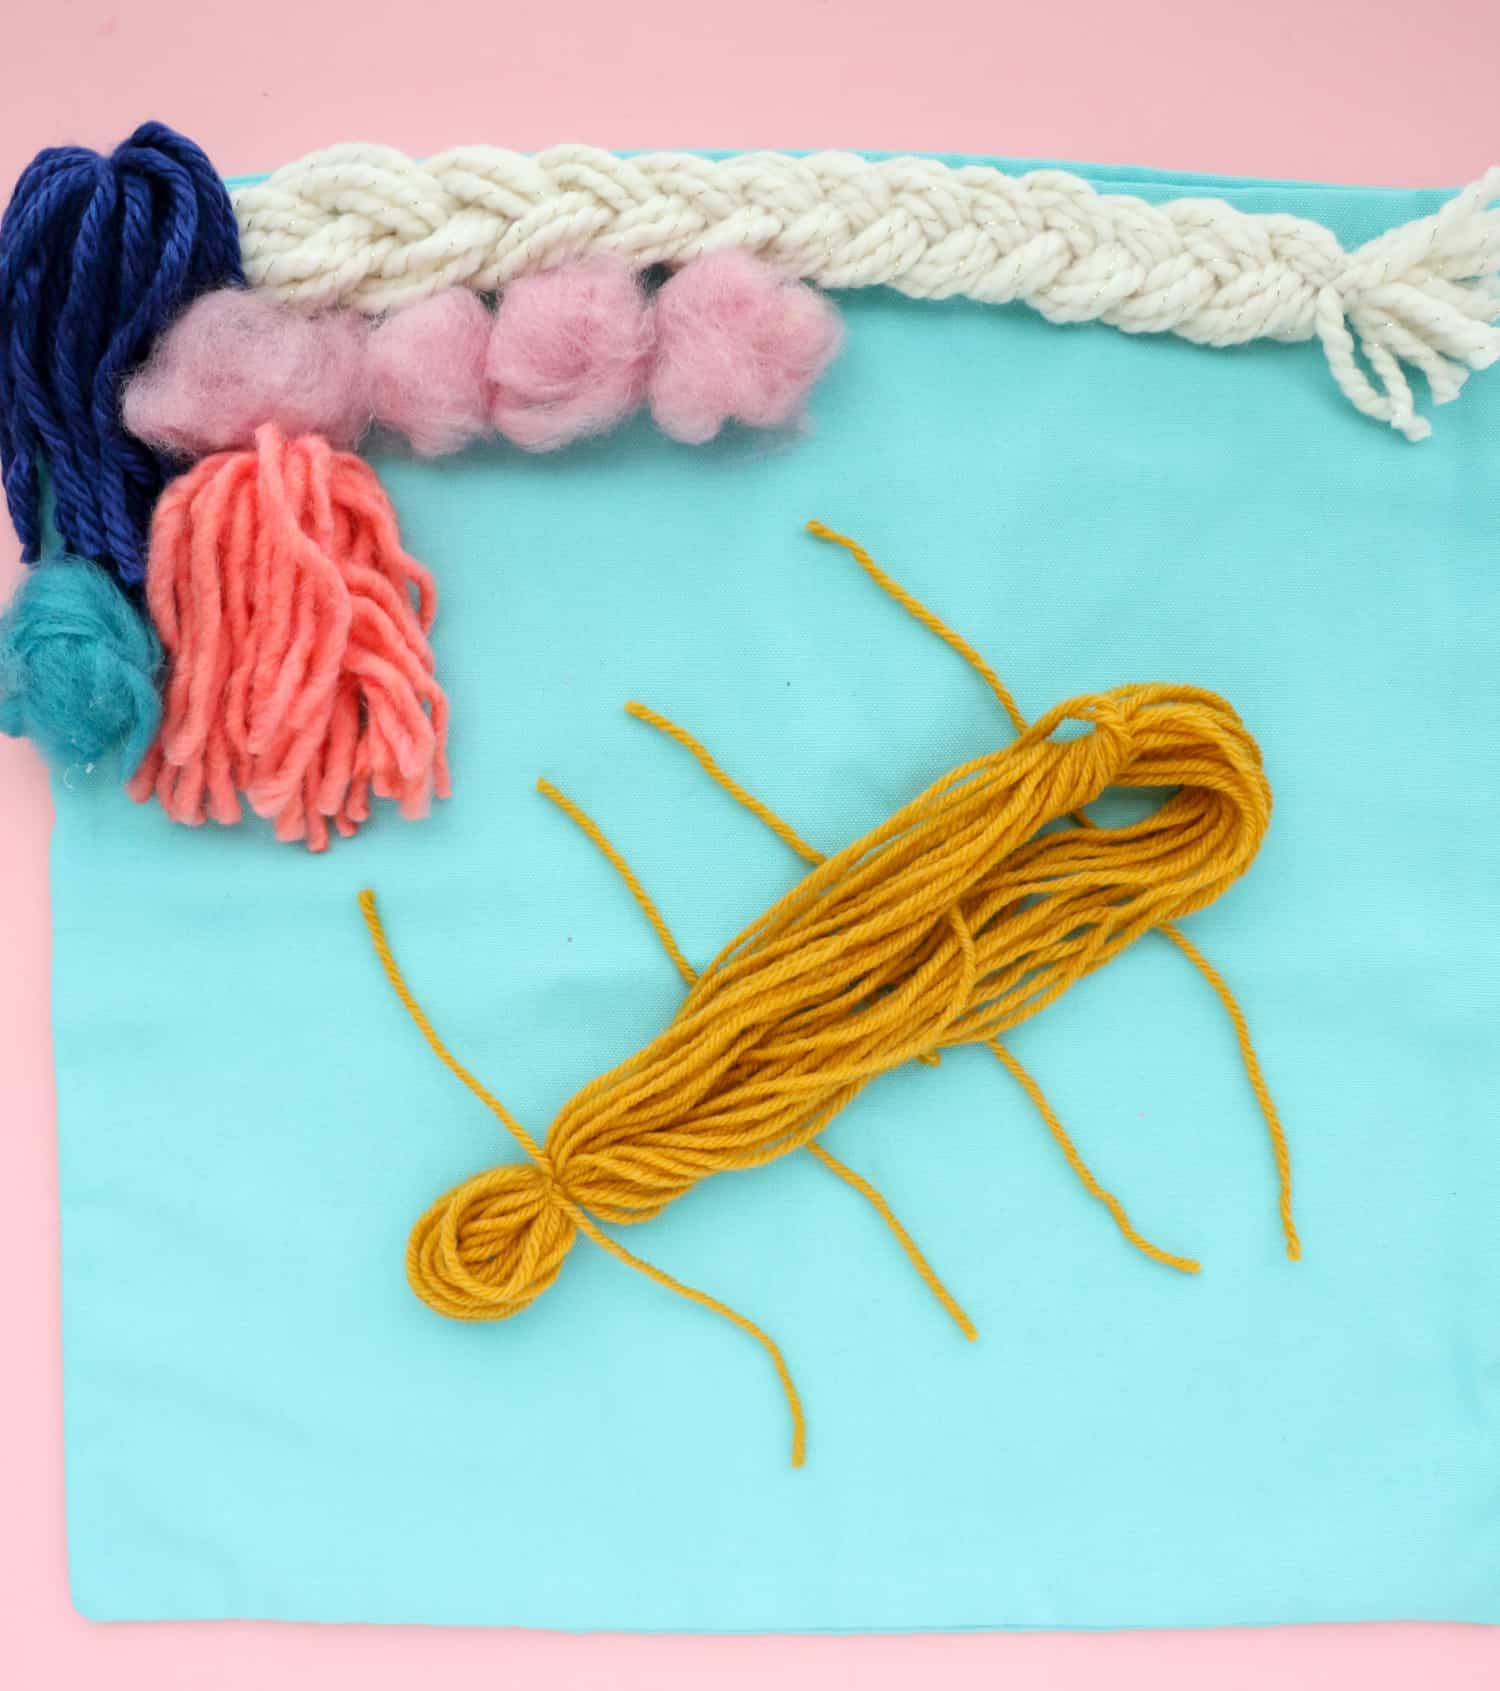
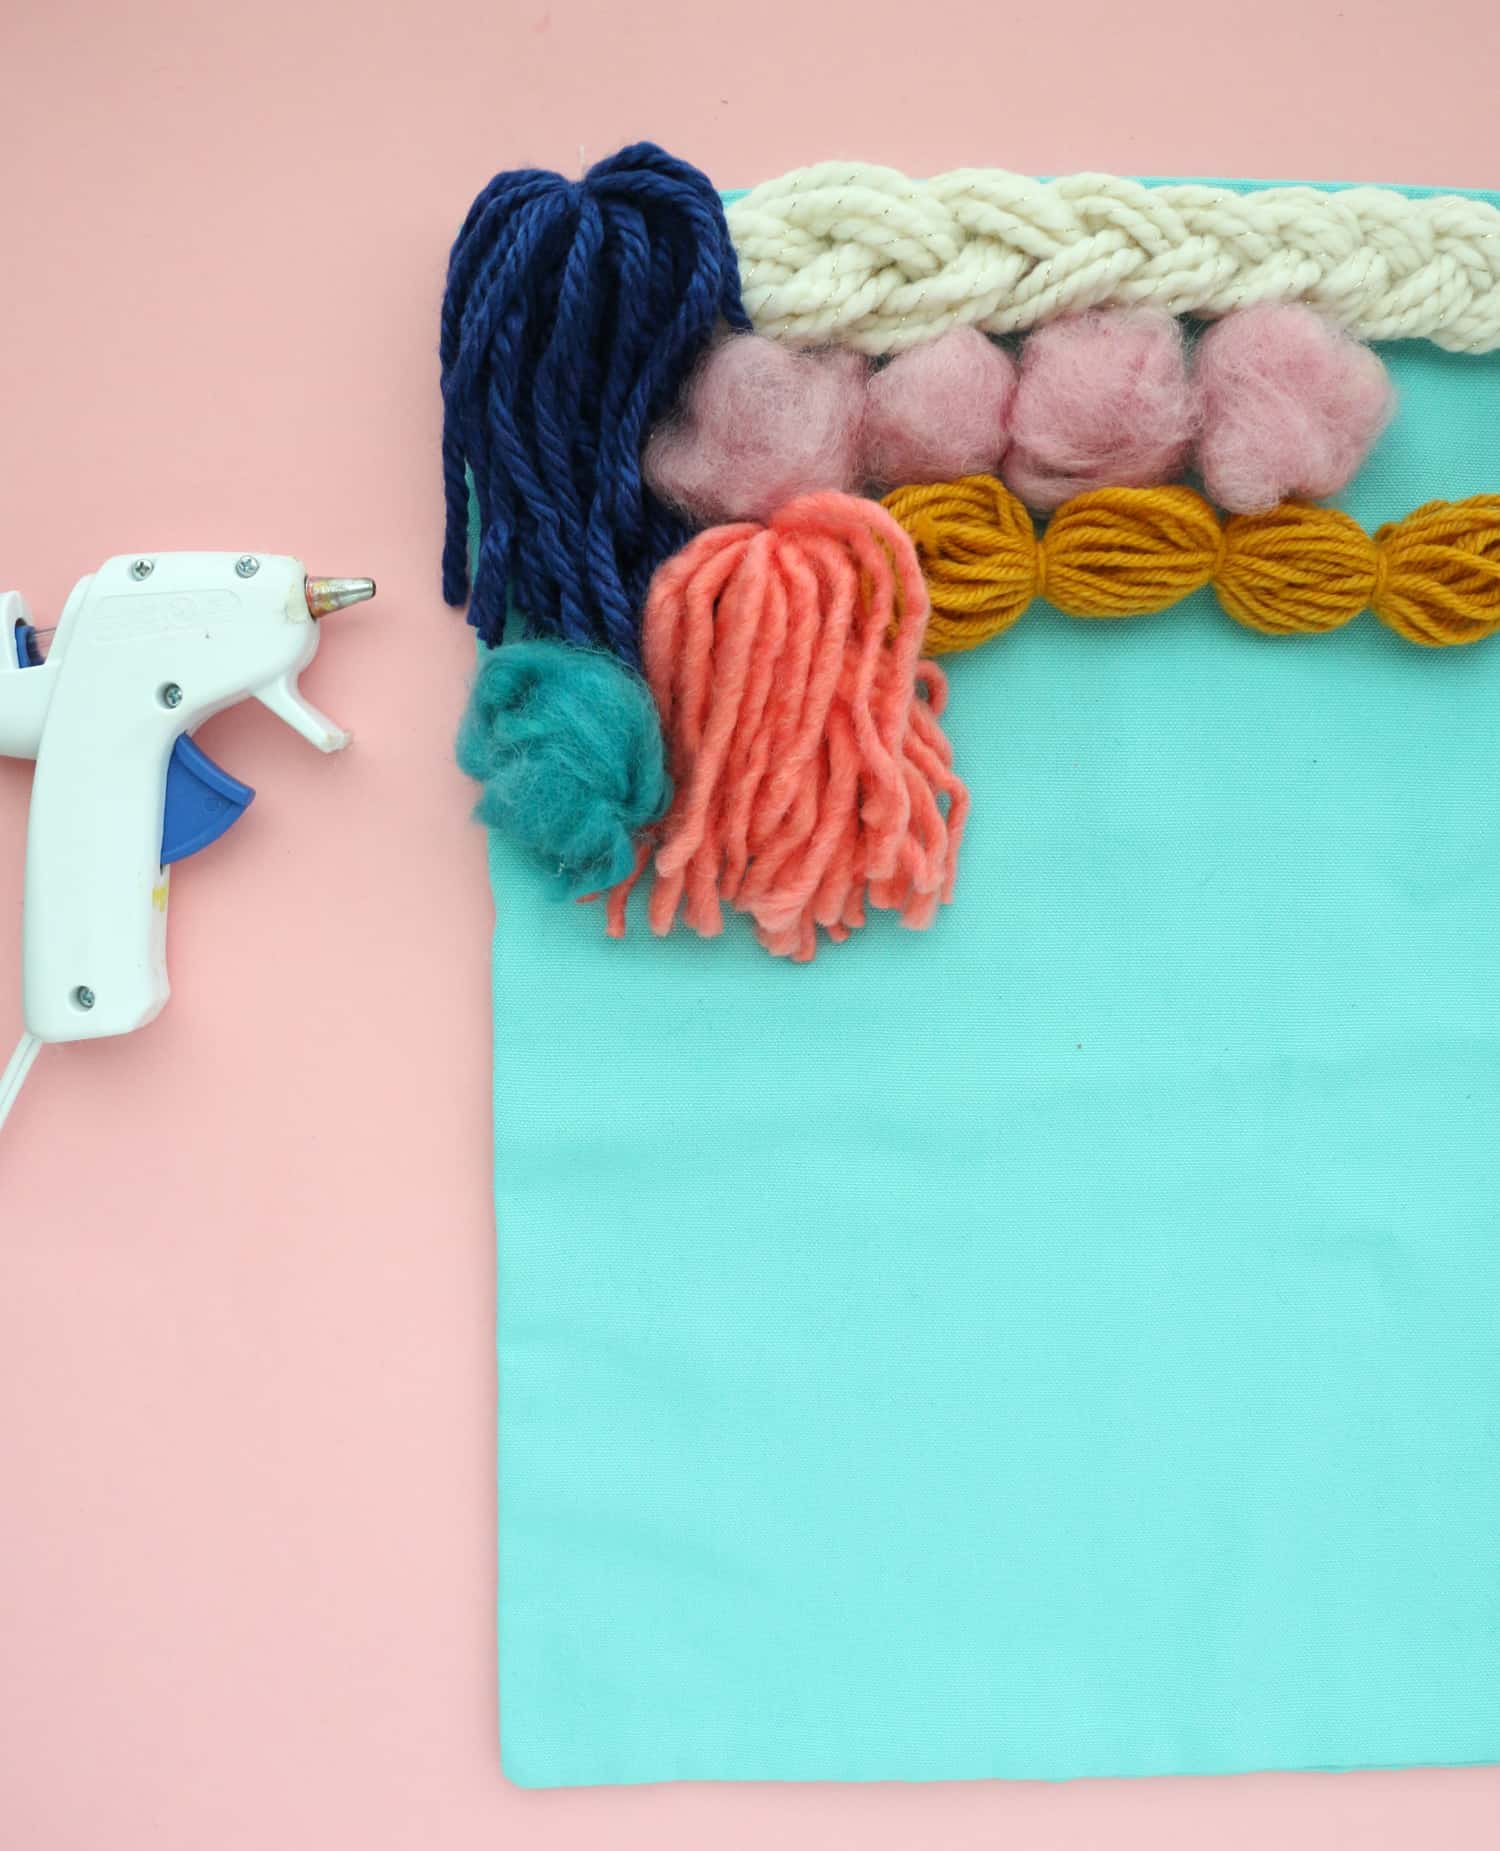
For the roving balls, I tore the roving into 4″ long pieces and spread it out and then folded into a ball shape.
Now that you have all the details on how to make each type of yarn segment on the pillow, the creativity comes in to play. Vary up the color, length, and type of piece as you work your way down the pillow using the fabric glue or hot glue to secure the pieces to the pillow case as you go.
You can also use a needle and thread to give a quick few stitches around each piece to ensure it stays secured to the case.
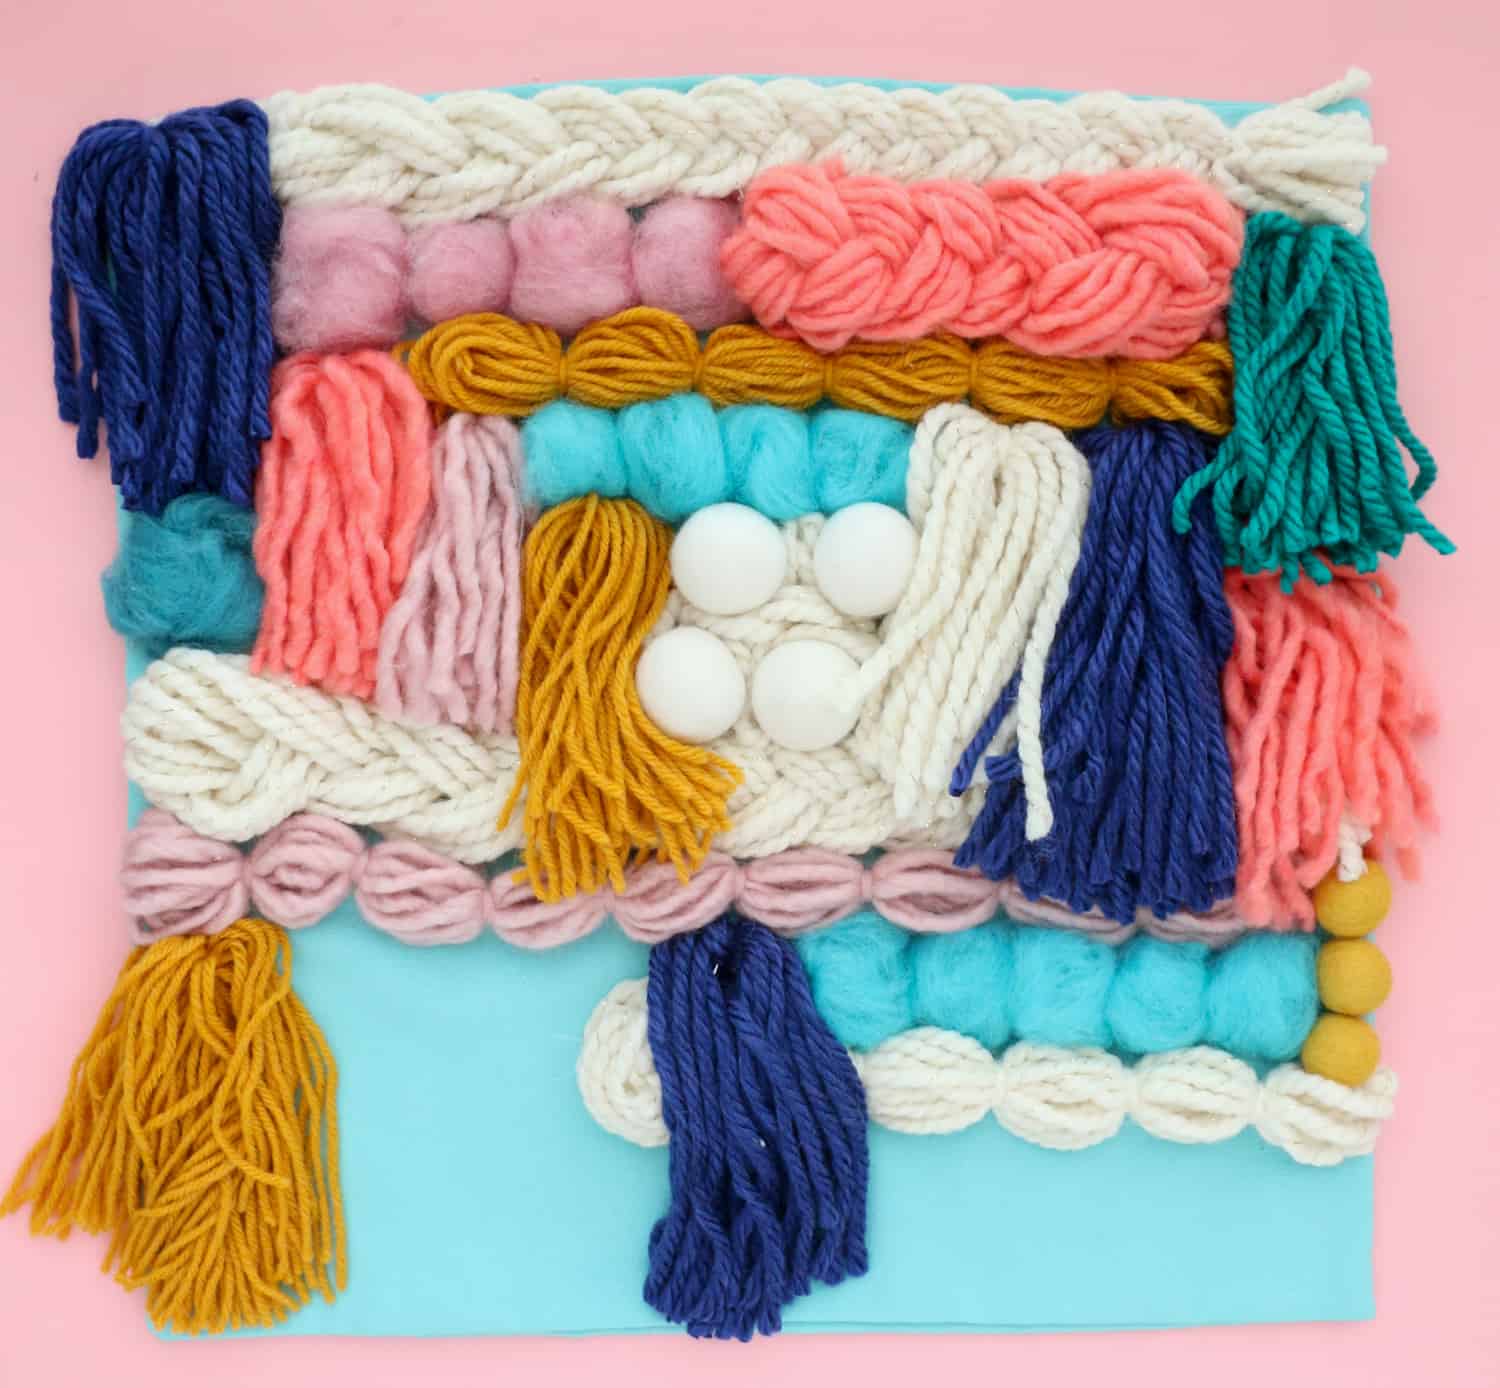
I added a few felt balls to my case as well, but didn’t end up liking the look of them once finished, so there will be some trial and error. Luckily, I was able to add some roving tufts over the felt balls to disguise them a bit.
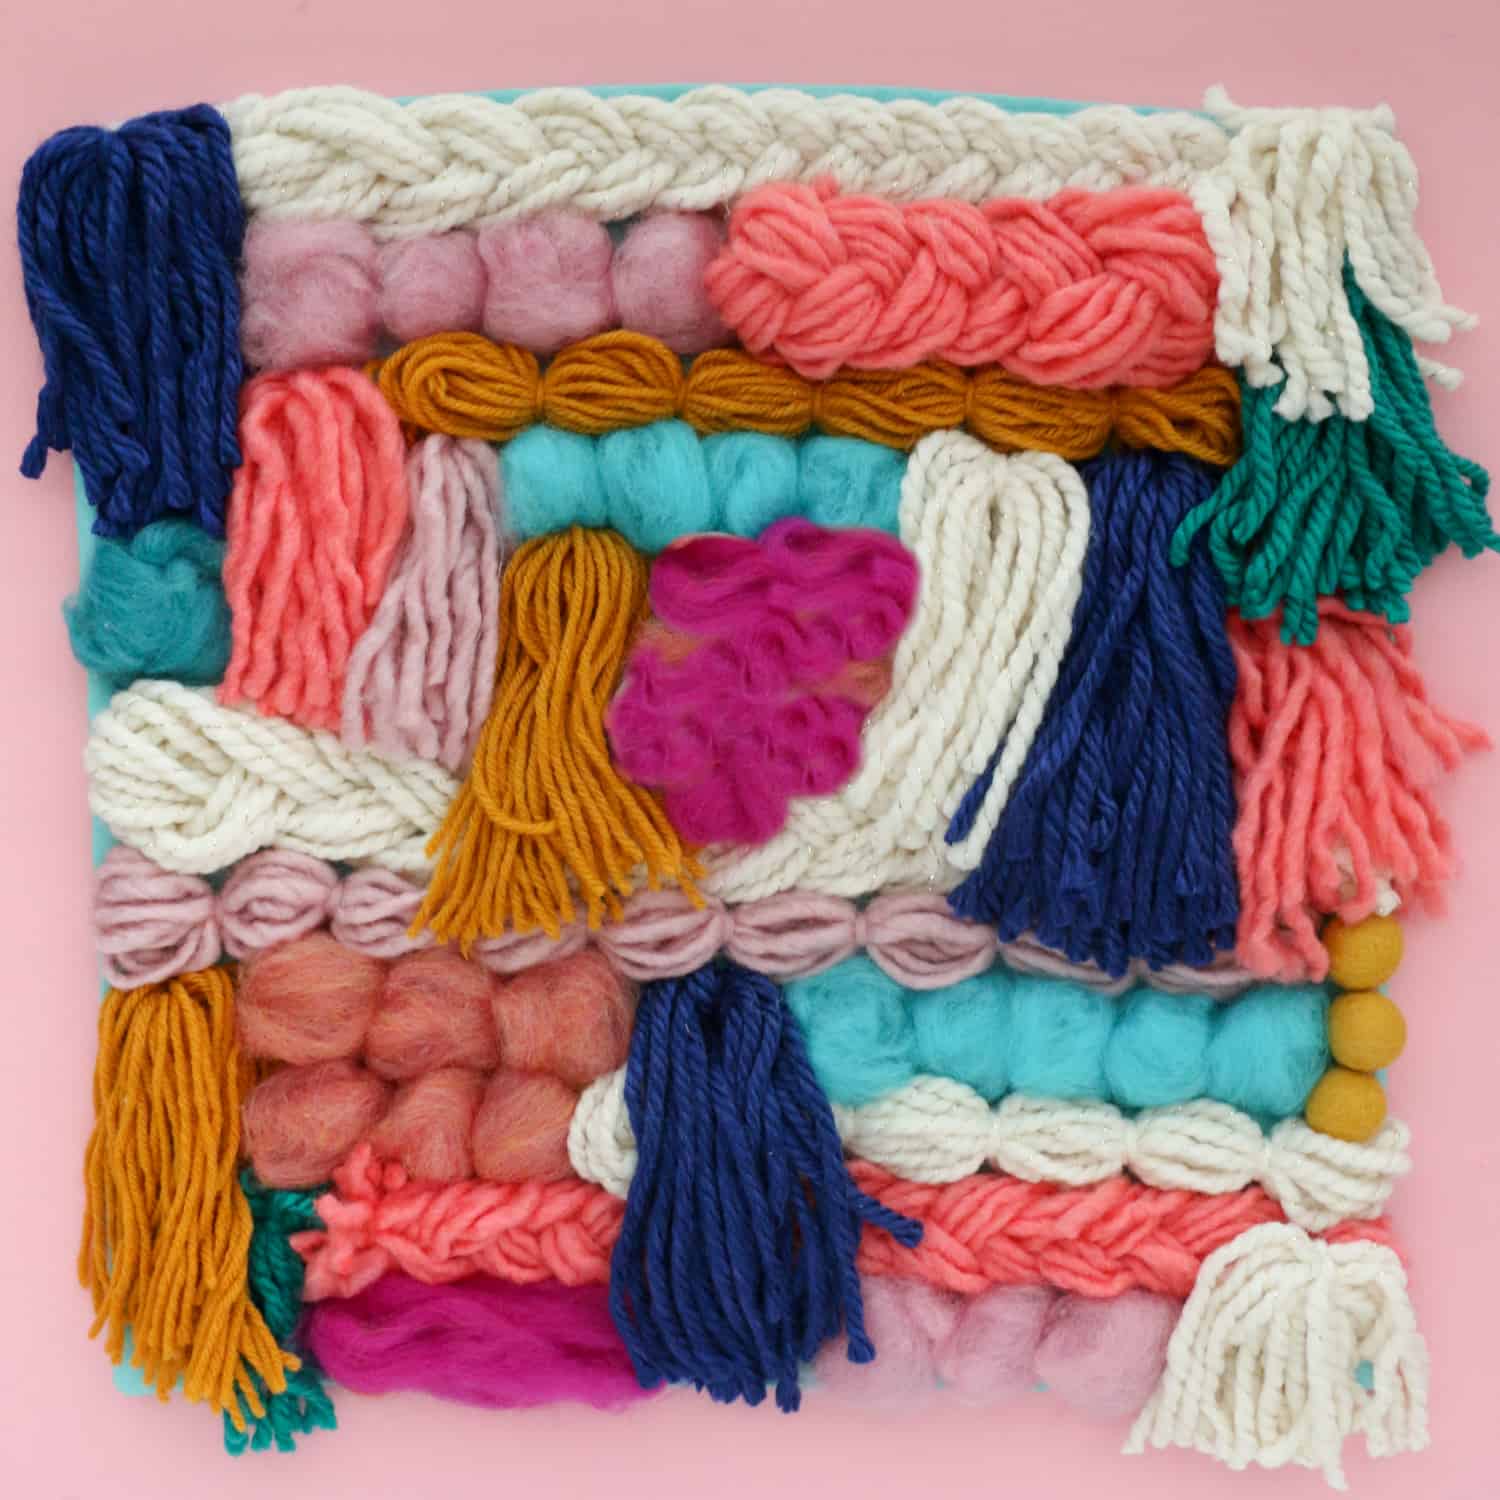
Once the front of the pillow case is complete, you can flip it around and do the back, or leave it as is. Then just add your pillow insert and your ready to add a little warmth to your home this fall.
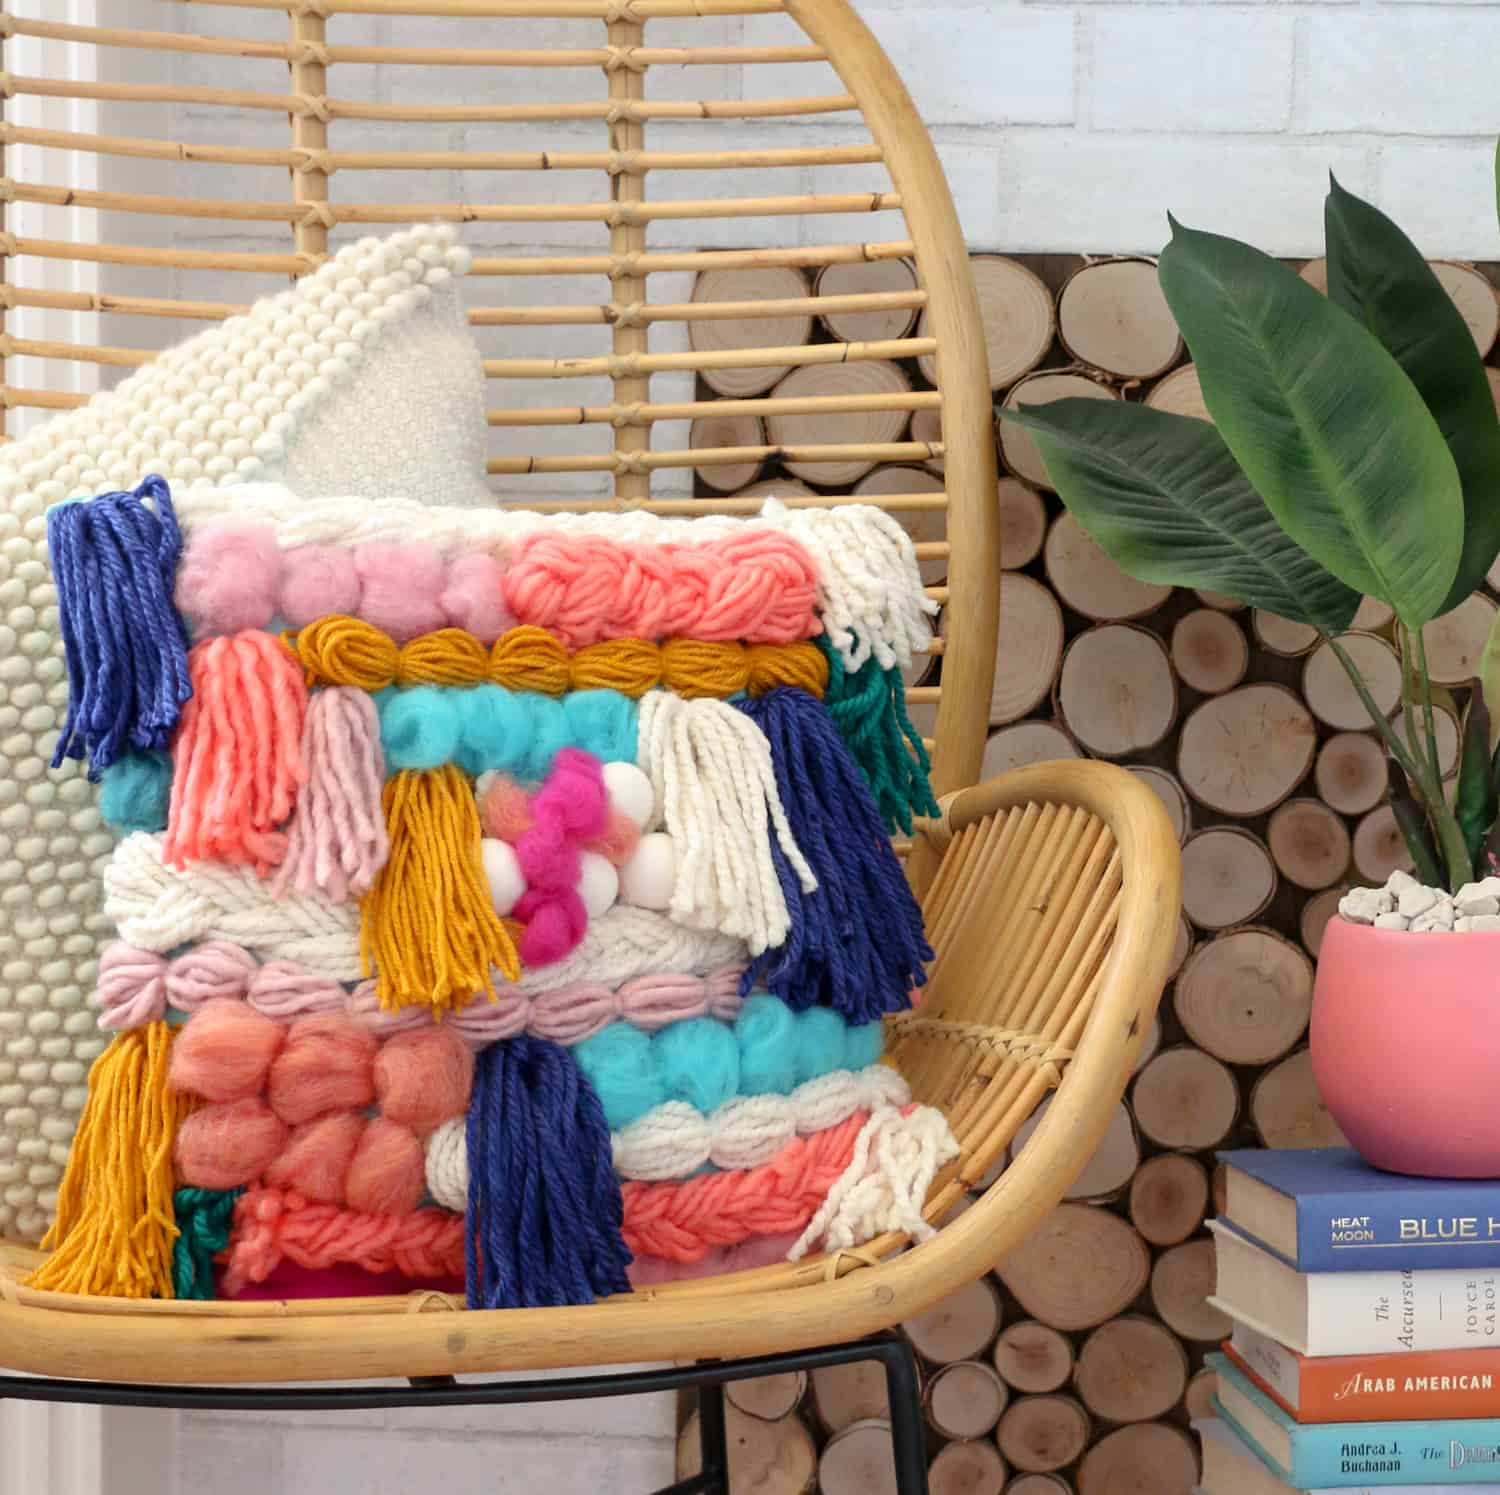
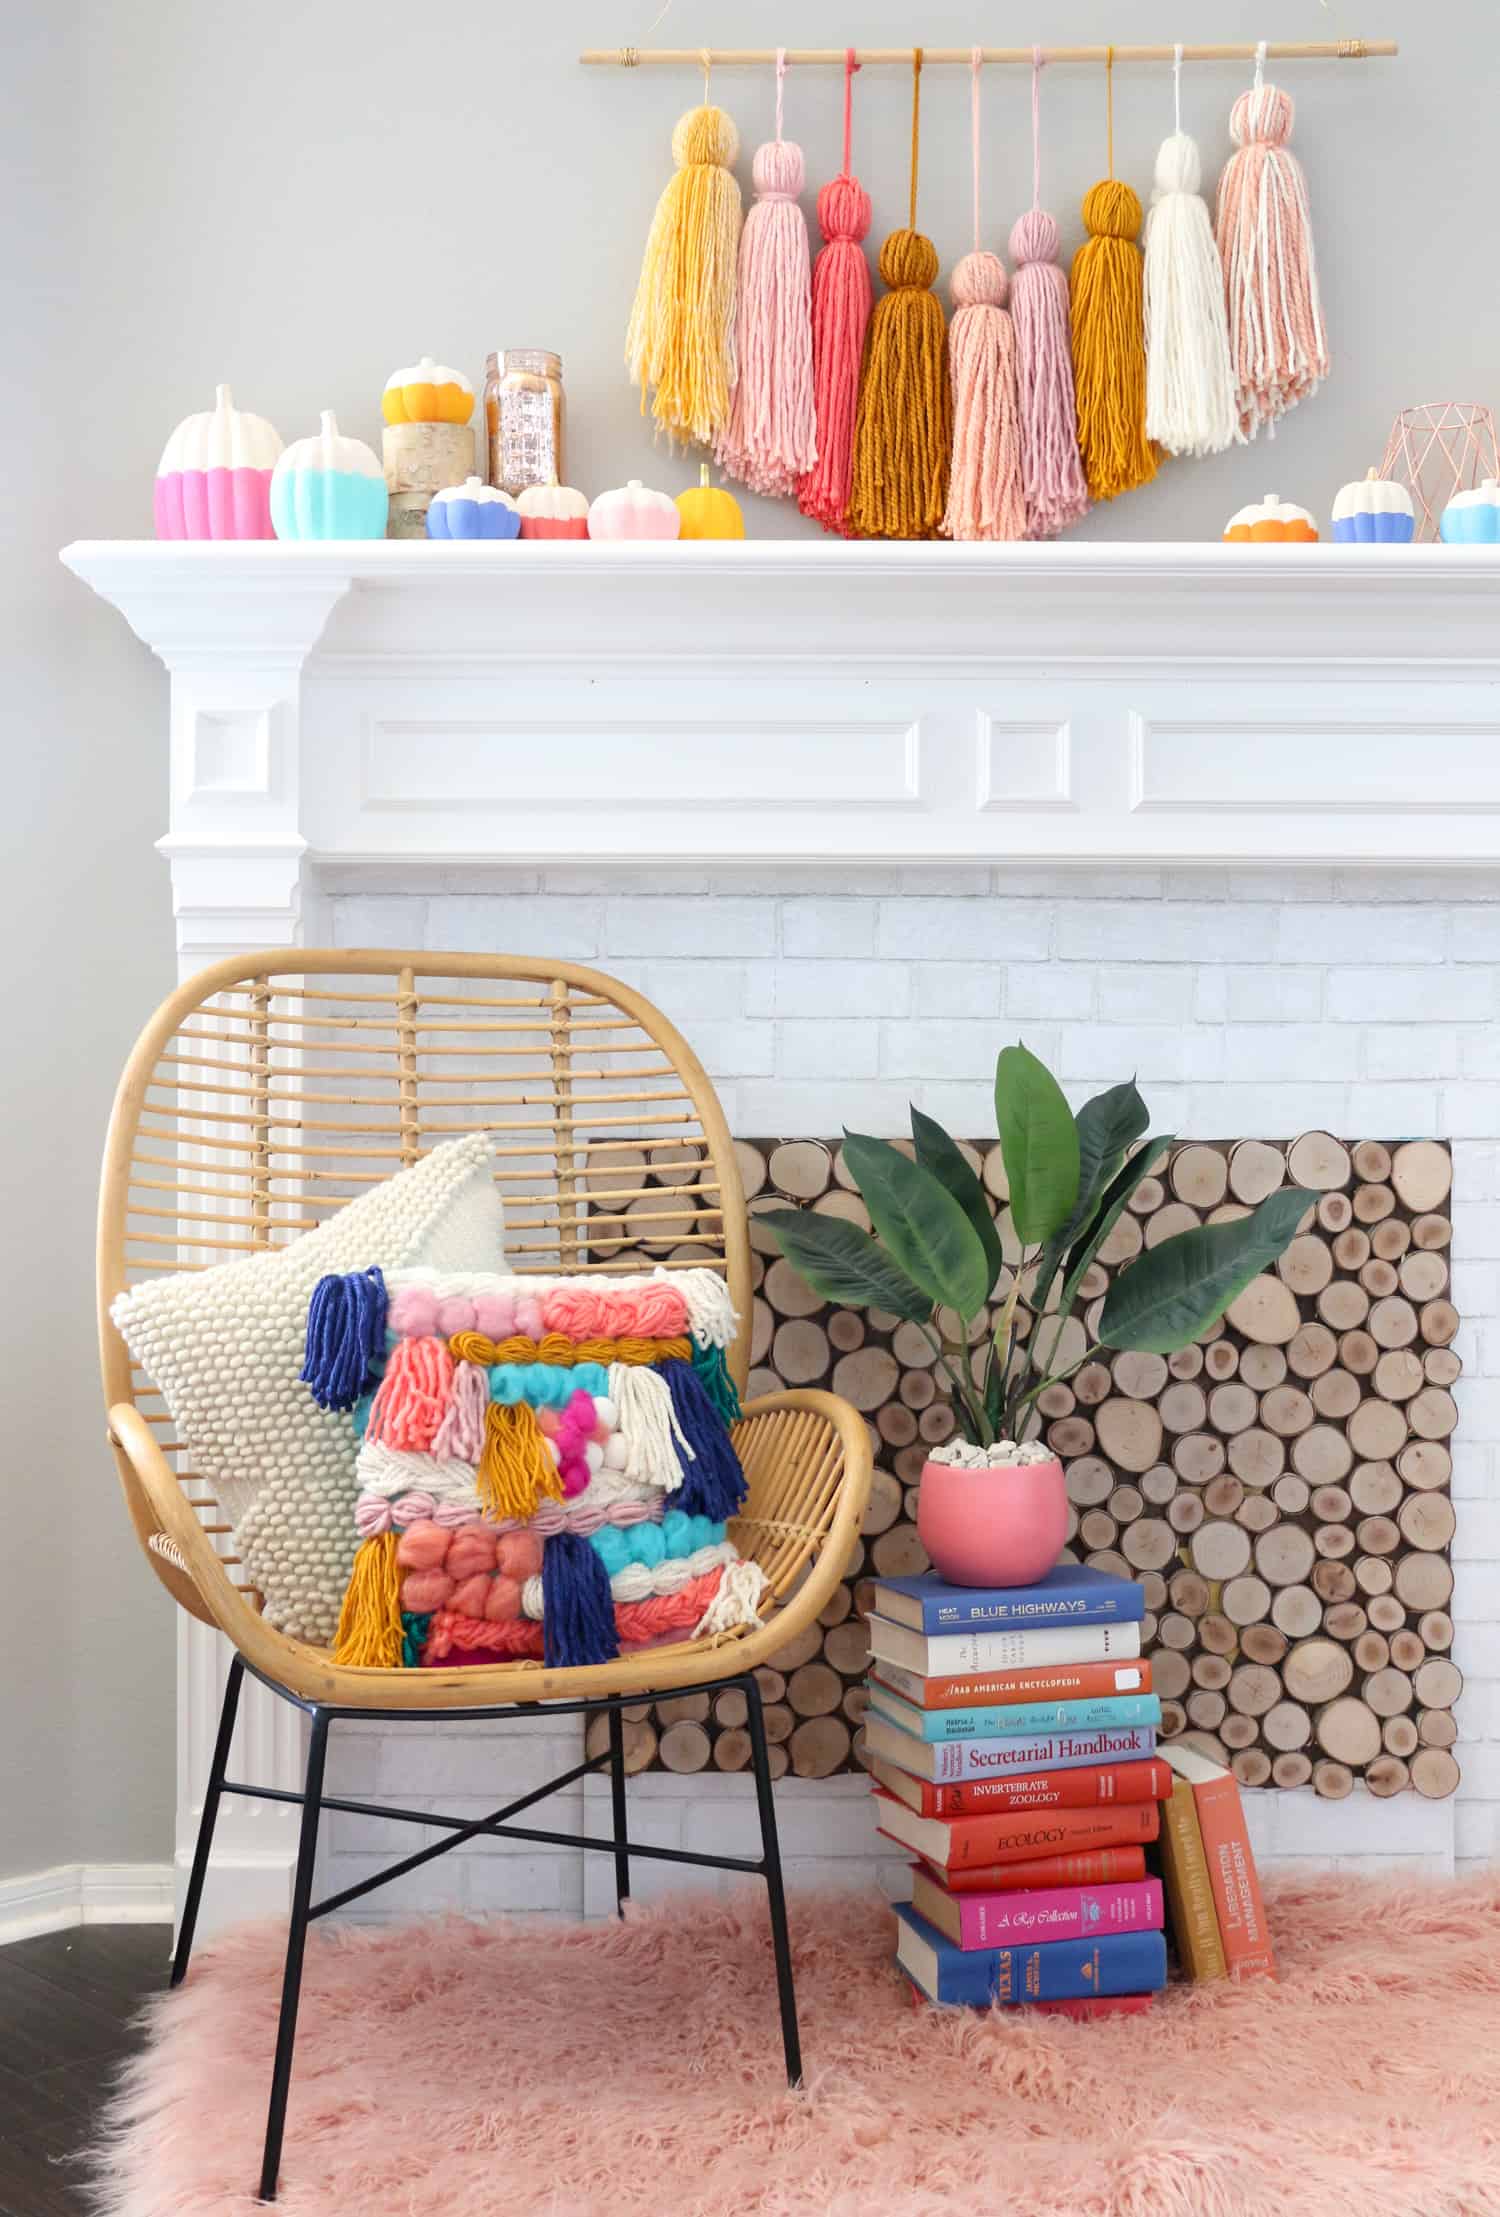
As I mentioned, this pillow took about two hours to make (I just covered the front), but it was a great project to do while watching a movie.
I love the texture it brings to my living room and plan to make a few more for my bedroom. Now that you know how to make a faux woven pillow, I can’t wait to see what patterns and color options you choose! xo. Kara
Thanks so much for this wonderful idea. I made it and it’s turned out beautiful! I’d love to share a pic but there’s no option to share it here.
How big is your pillow that you can use such big tassels?
What a great tutorial! I’m obsessed with the vibrant colors you chose and the variety of textures. Thanks for sharing–I will have to put this on my to-do list!
Thanks for another DIY idea.
Thanks so much for the amazing tutorial Kara! I’m the same way, fascinated by textiles and weaving and don’t know anything about it, so will def try this project out — thanks for making it look so doable!
Wow, you would think this was totally woven!
Love the pillow, fiber arts are my favorite! Do you have a DIY for the fireplace? I love the wood.
Yes! I have a tutorial for it over on my blog.
This would make such a cheery addition to any living room! The pillow is so cute! 🙂
Charmaine Ng | Architecture & Lifestyle Blog
http://charmainenyw.com
This pillow looks spectacular, what an eye-catcher!
https://www.makeandmess.com/
I love it!!! This may not be a diy for it, but the wall hanging with tassels is super cute too!!