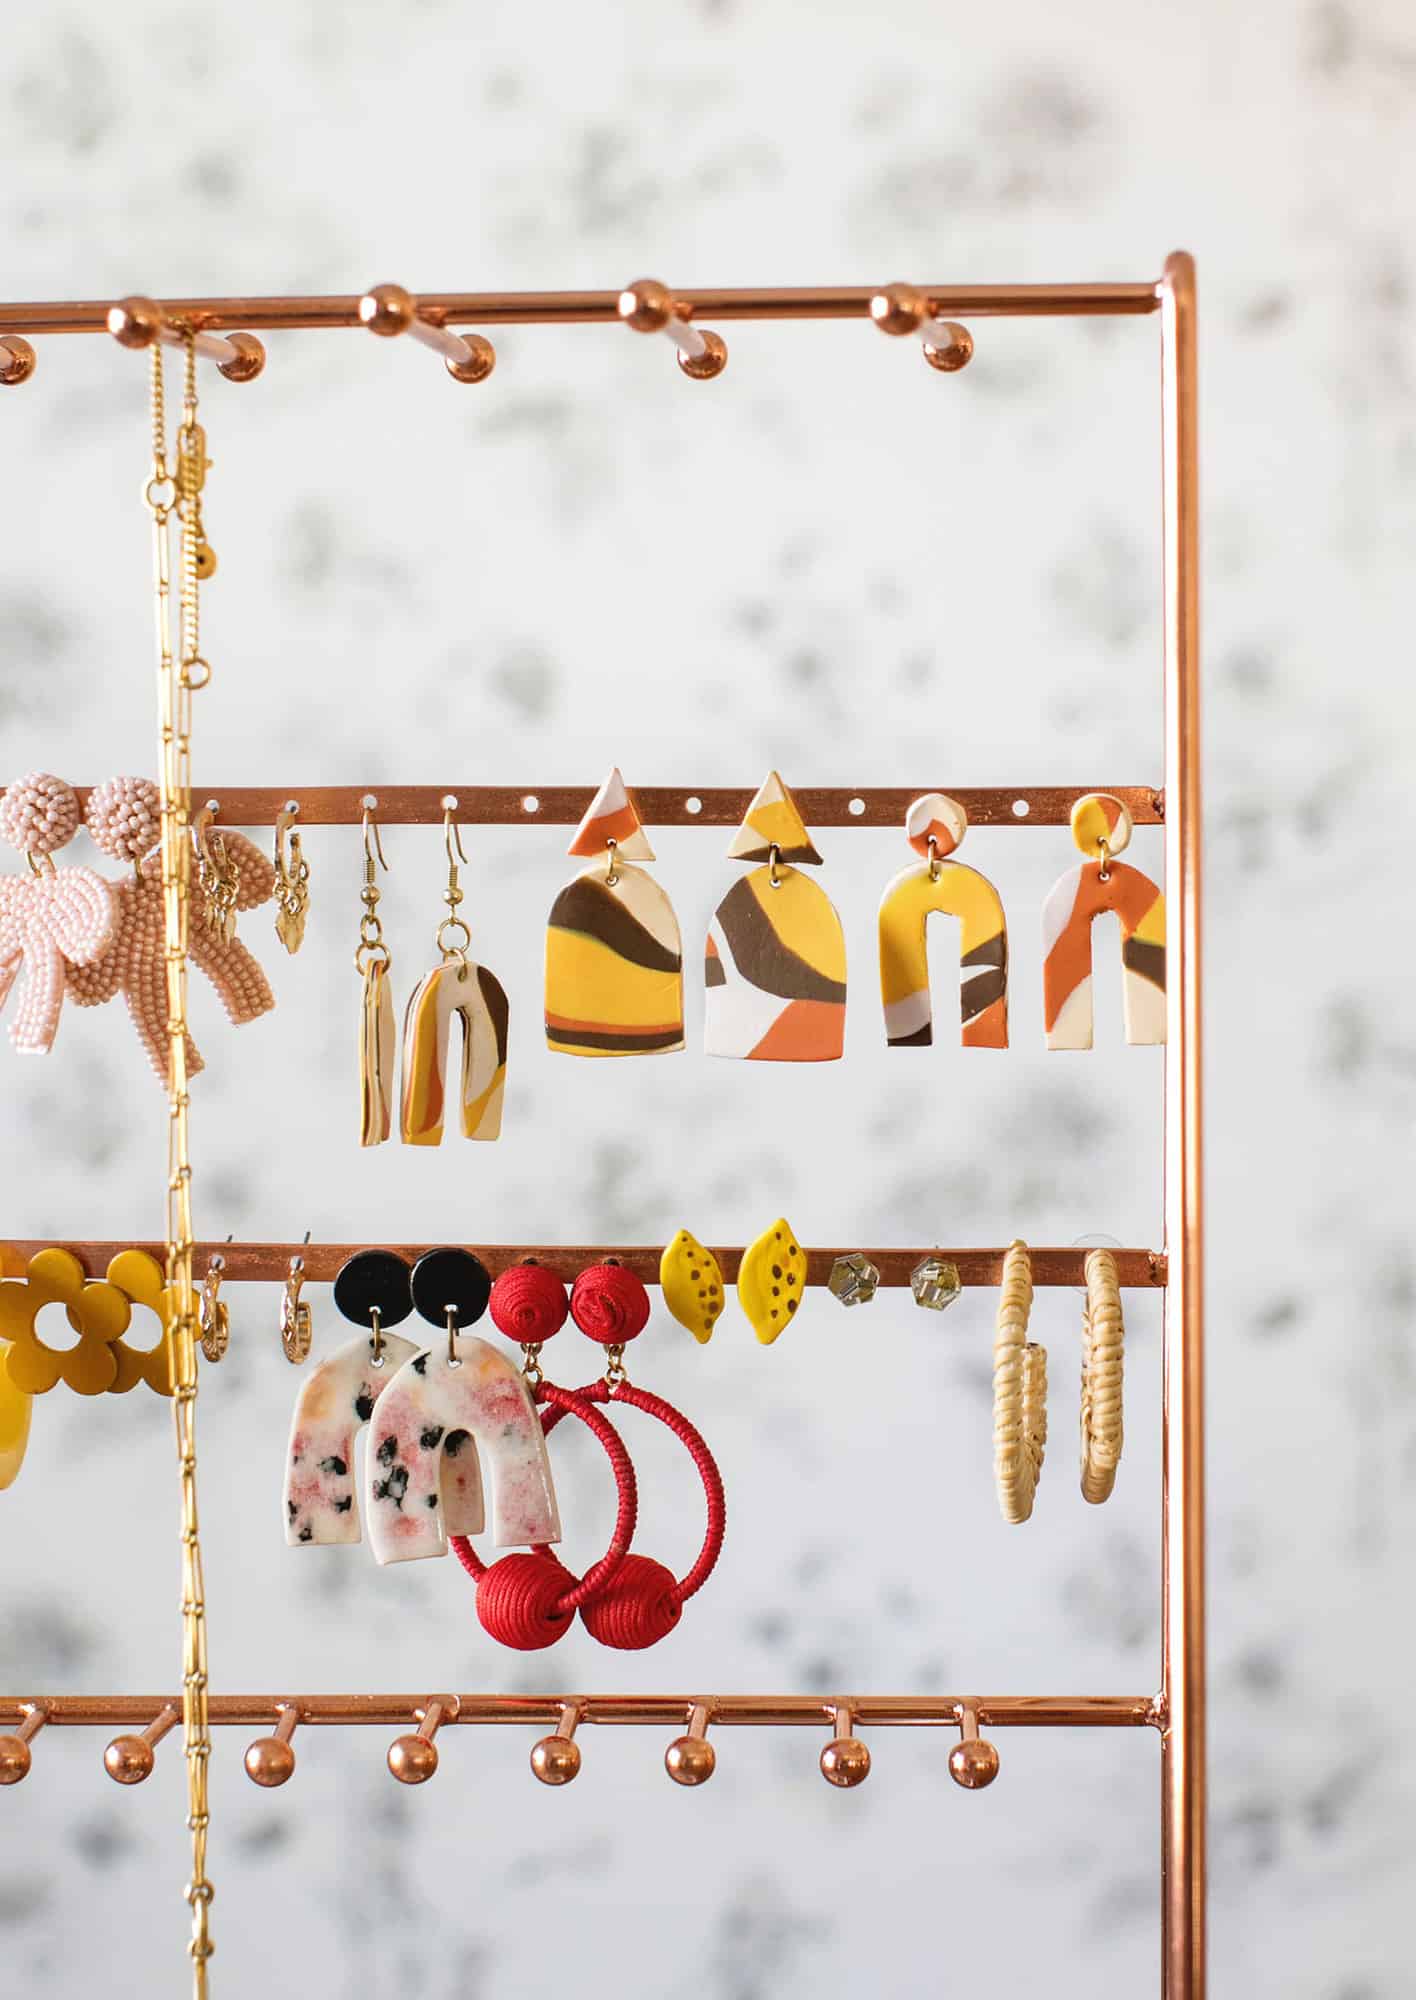
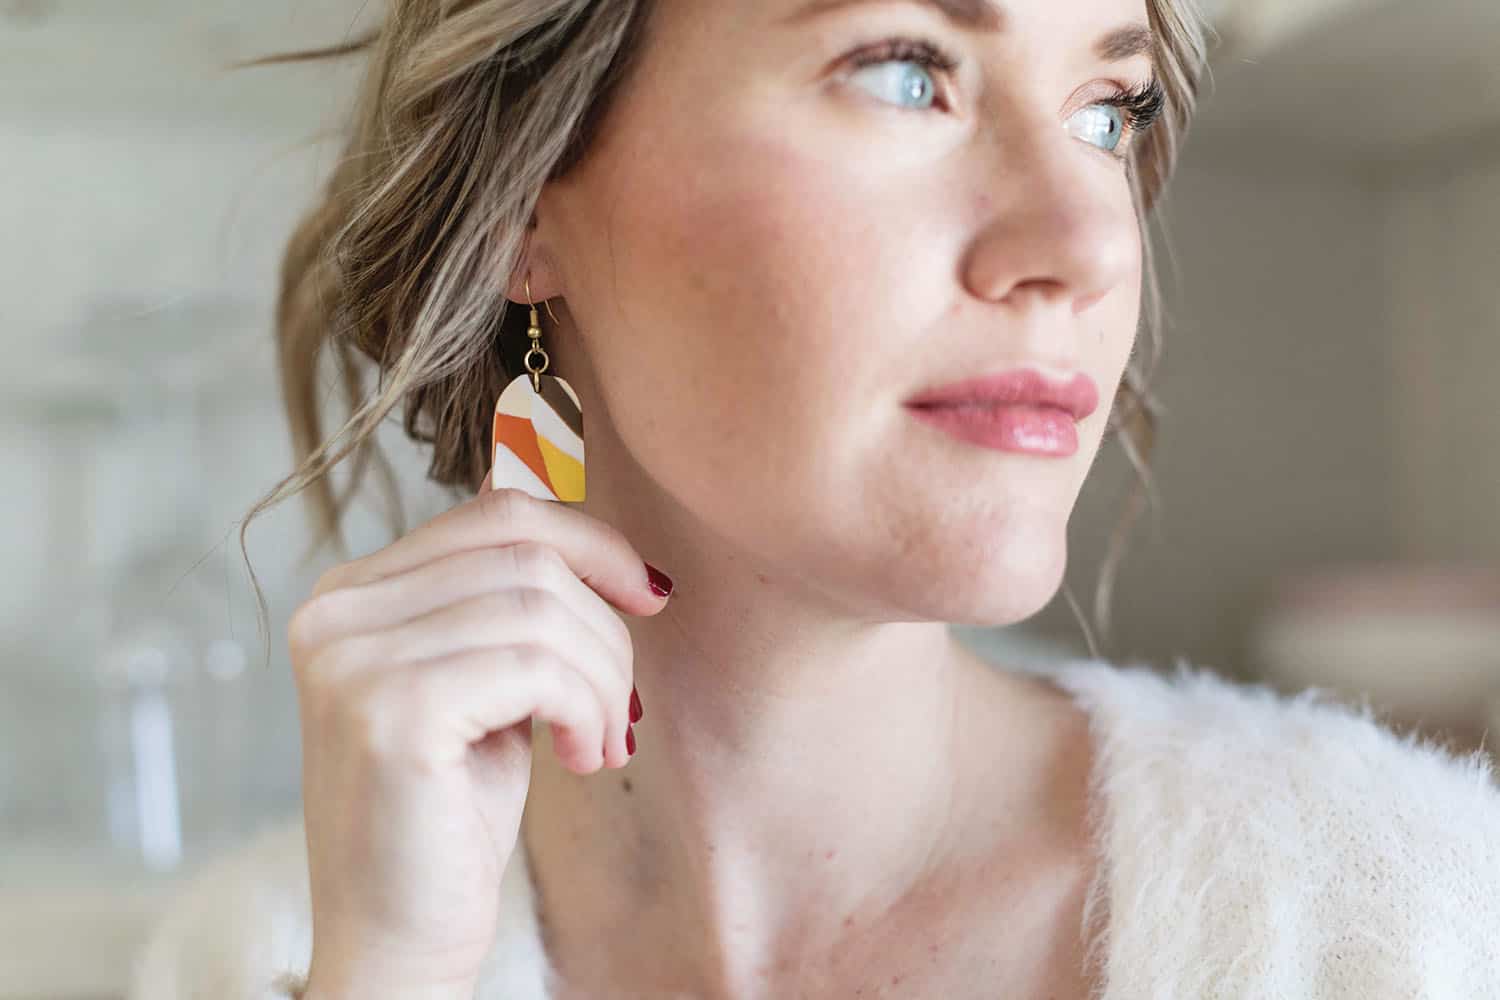
This post is sponsored by Sculpey, and I used the new Sculpey Soufflé clay for this jewelry project. I loved the feeling of this clay—it’s not sticky or messy and it’s very easy to work with. Once baked, it has a soft finish (almost like a suede). It comes in tons of colors and doesn’t dry out (until you bake it), so it’s easy to work with and store.

–Sculpté Souffle clay
–jewelry design templates (or you can create your own unique shapes)
–clay rolling pin
-exacto knife or clay cutting tool
-cutting mat
-jewelry rings, hooks, or posts (depending what you want to make)
-needle nose pliers
-quick-drying, strong glue (if using post earring backs)
-parchment paper + baking sheet
You can buy your clay by individual colors or a variety pack like I have pictured below. There is nothing like opening up a new craft supply like this, right?!
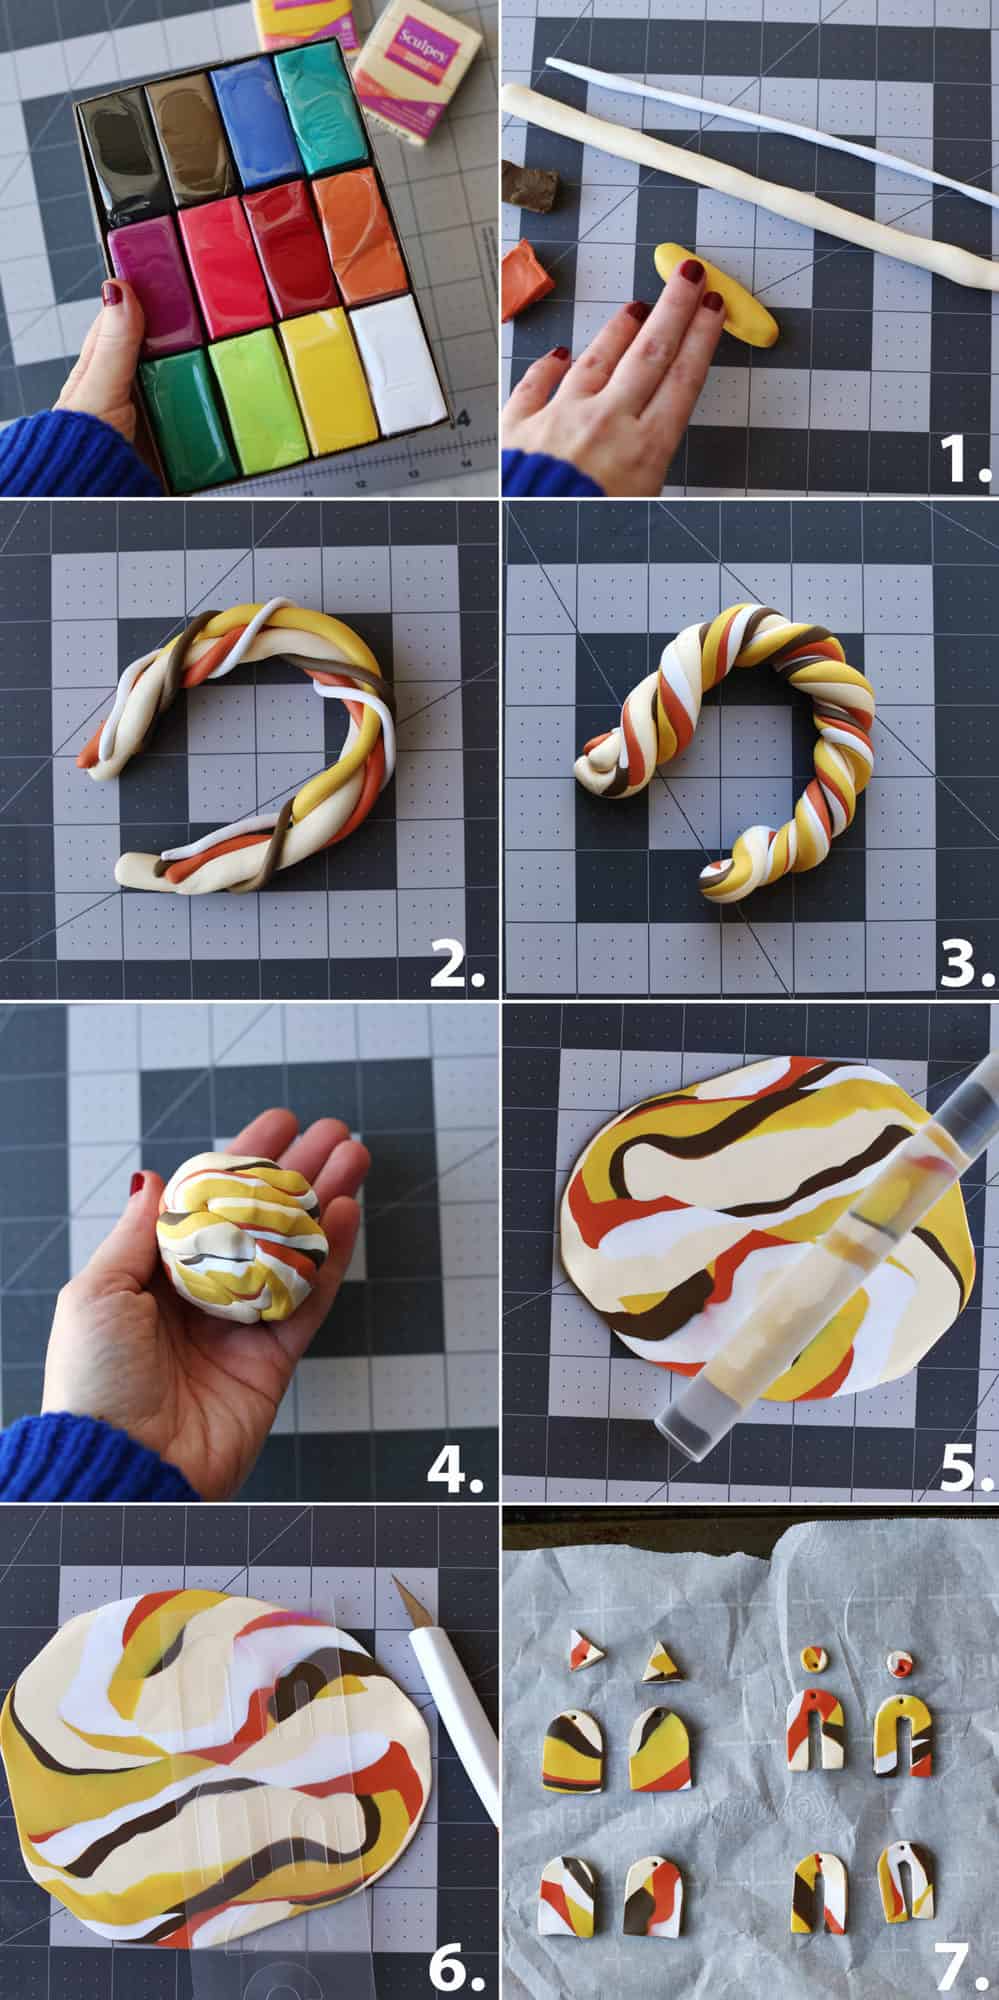
Step Two: Wind the cylinders together and gently press into one big cylinder.
Step Three: Roll out some, then fold over and wind the cylinder on itself.
Step Four: Press into a ball.
Step Five: Using your clay rolling pin, roll out into a thin, flat plate.
Step Six: Use the templates to cut out your shapes (or you can freehand this). You can also use the ends of the pliers or the earring posts to add holes to the clay pieces, where you plan to add rings or other jewelry pieces. But, if you forget or are unsure, the clay will still be soft enough to do this after baking as well.
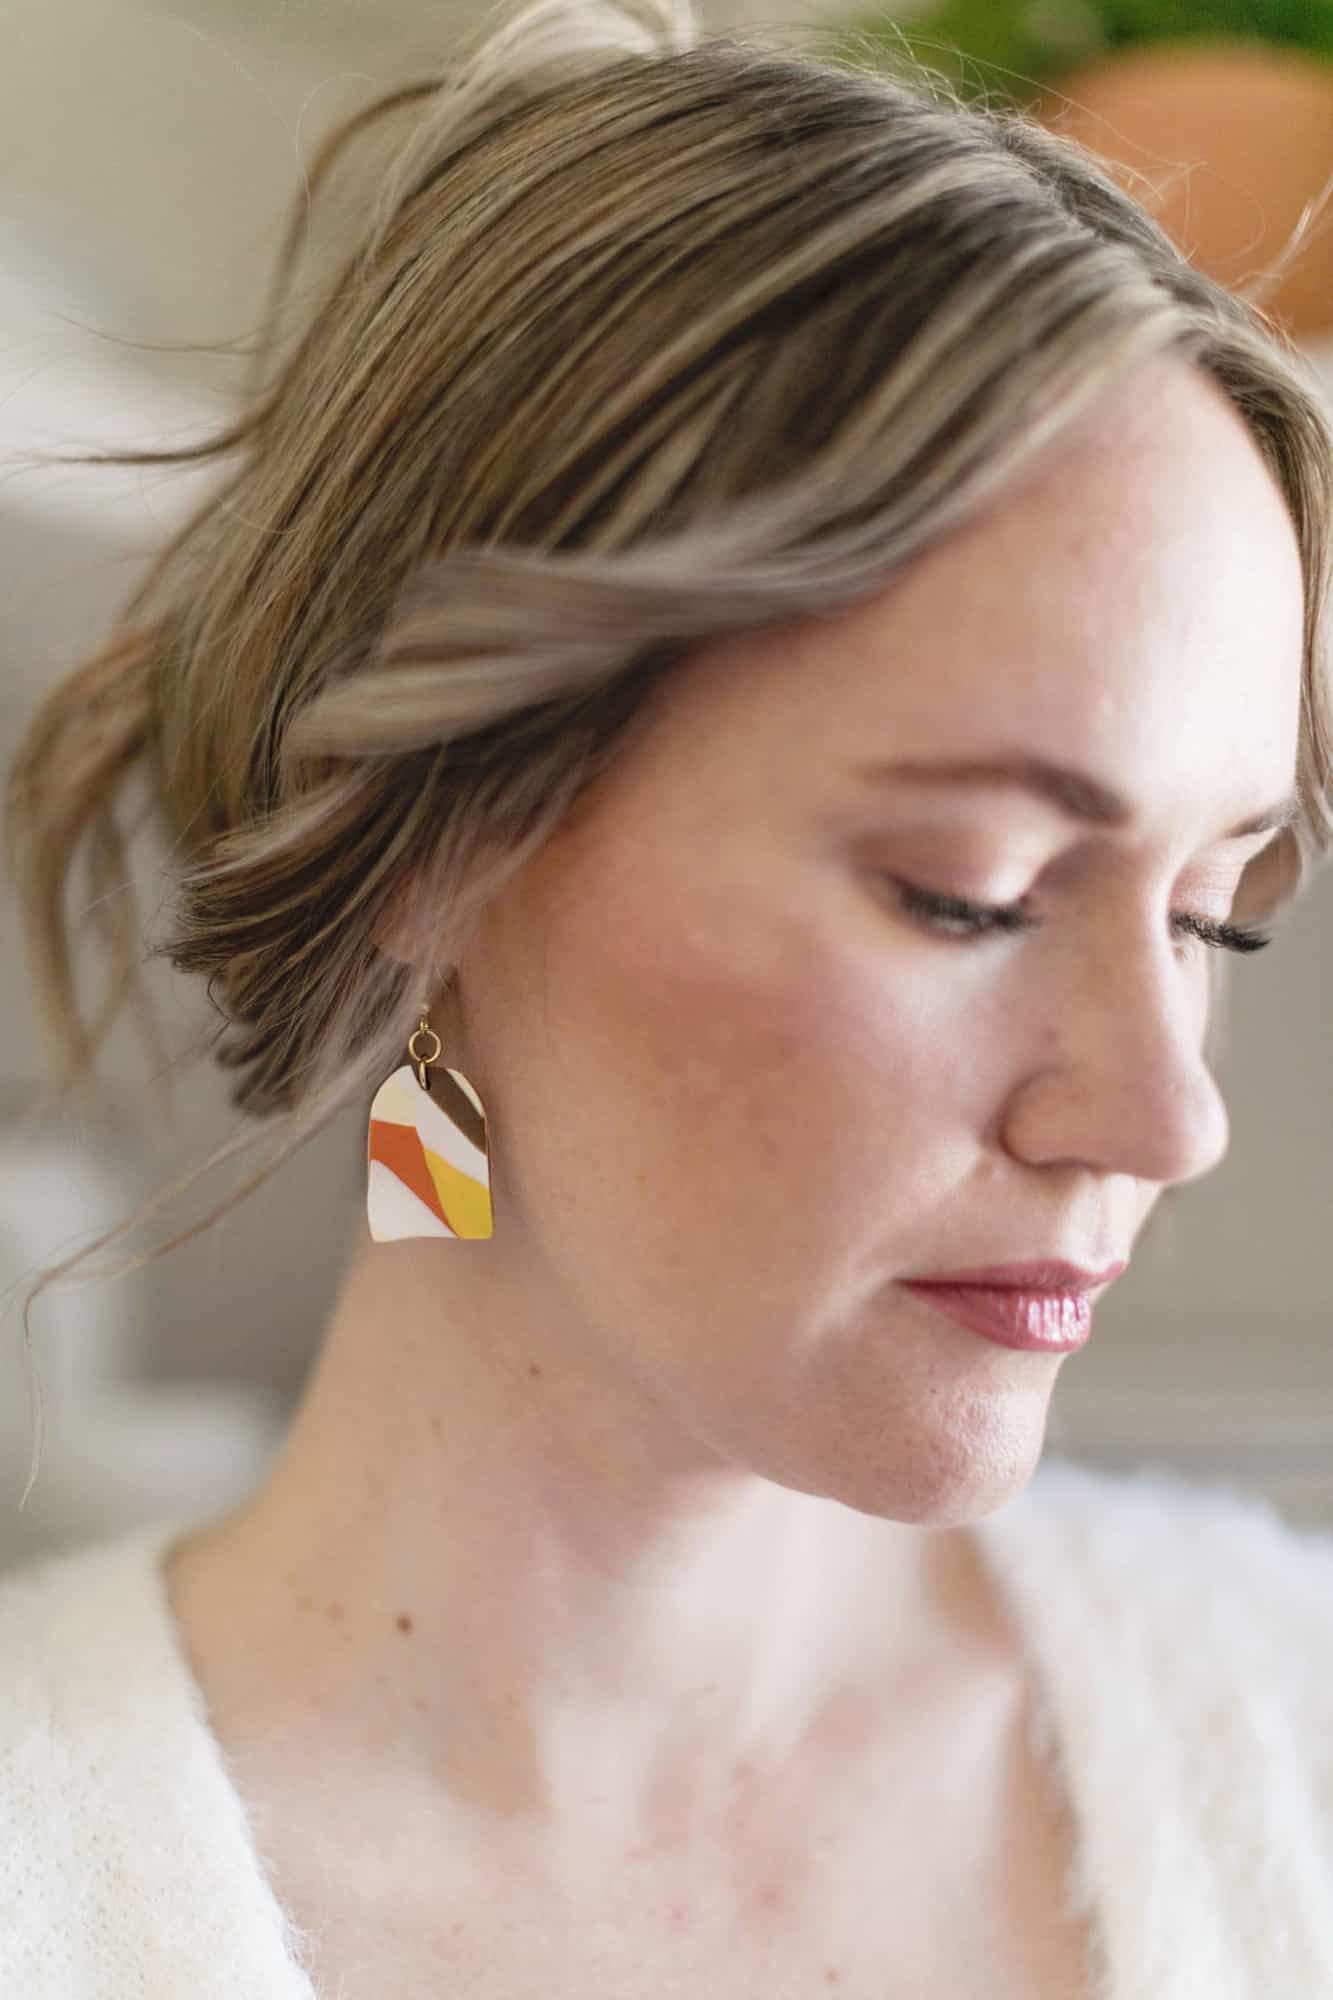
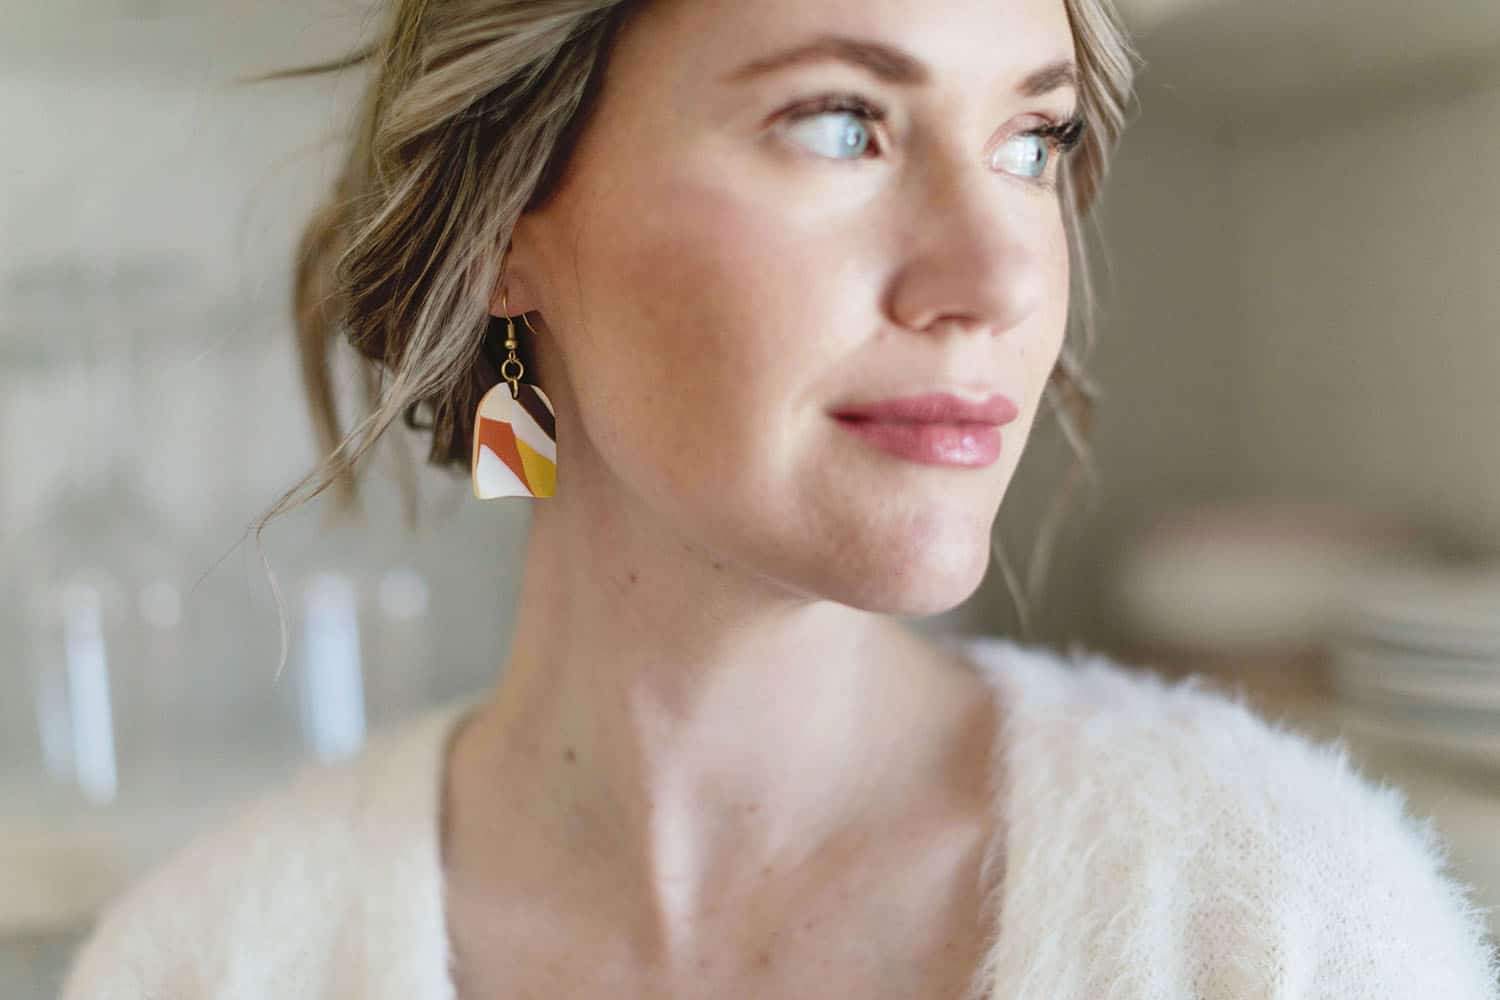
Step Seven: Follow the package directions to bake the pieces and allow to cool. Then add the jewelry hardware and you’re ready to wear your new pieces!

For the earrings with post backs, what glue did you use to attach the posts? Beautiful earrings!
Great result for a simple DIY : definitely love that. Also, Emma, can we talk about how lovely you look on these pics!? 🙂
Love these. Can you use the same clay to make trinket dishes?
LOVE these. Great color combo.
Those all came out SO cute!!! Love this tutorial 🙂
Thank you!
These look so cute!
Laura
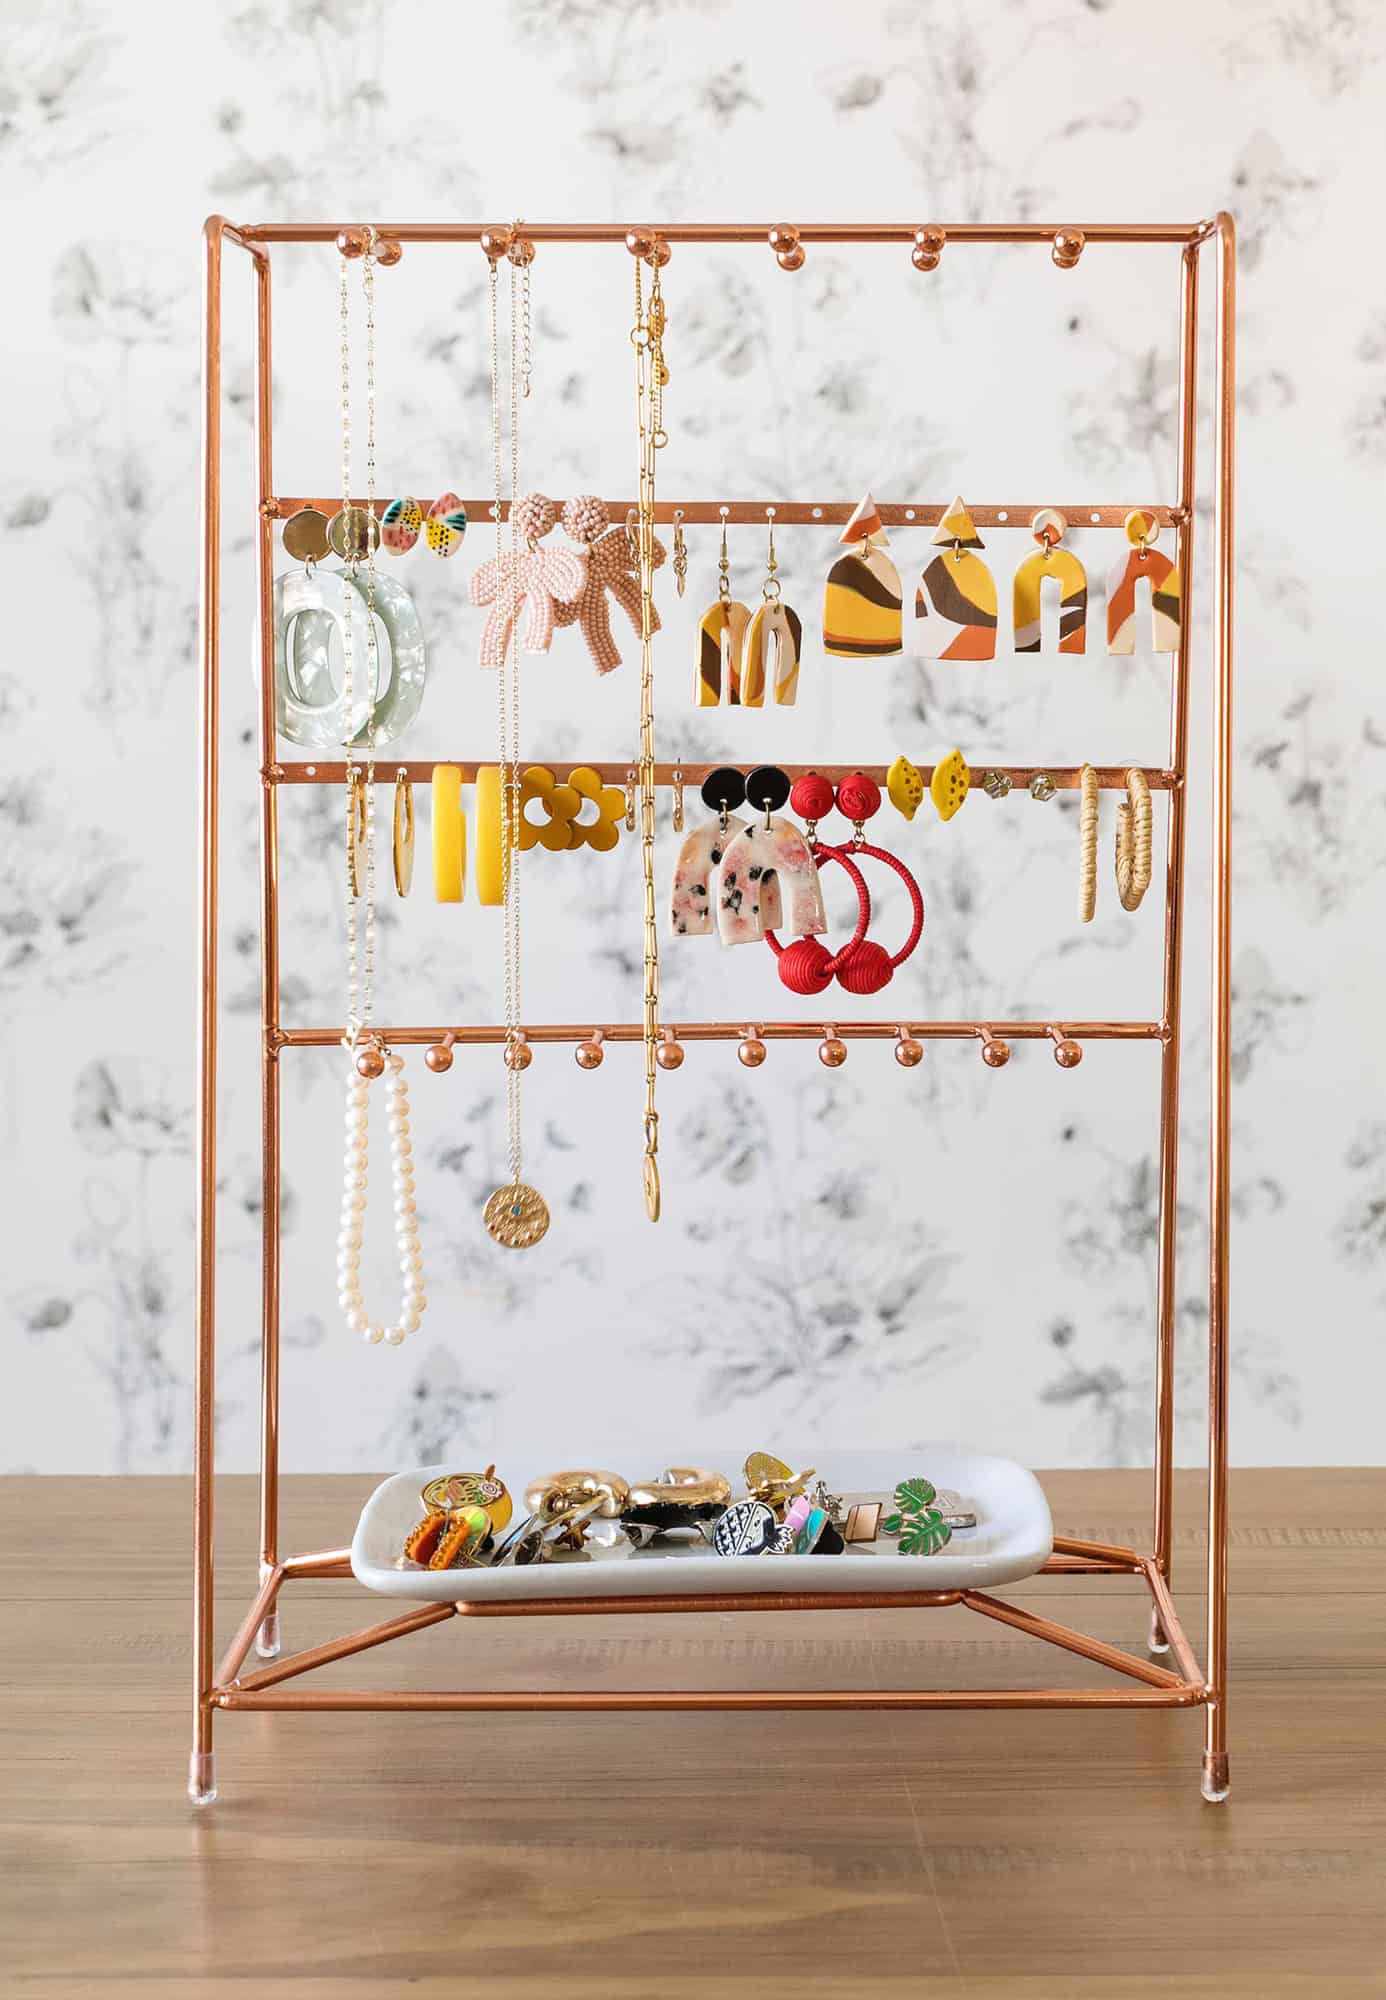
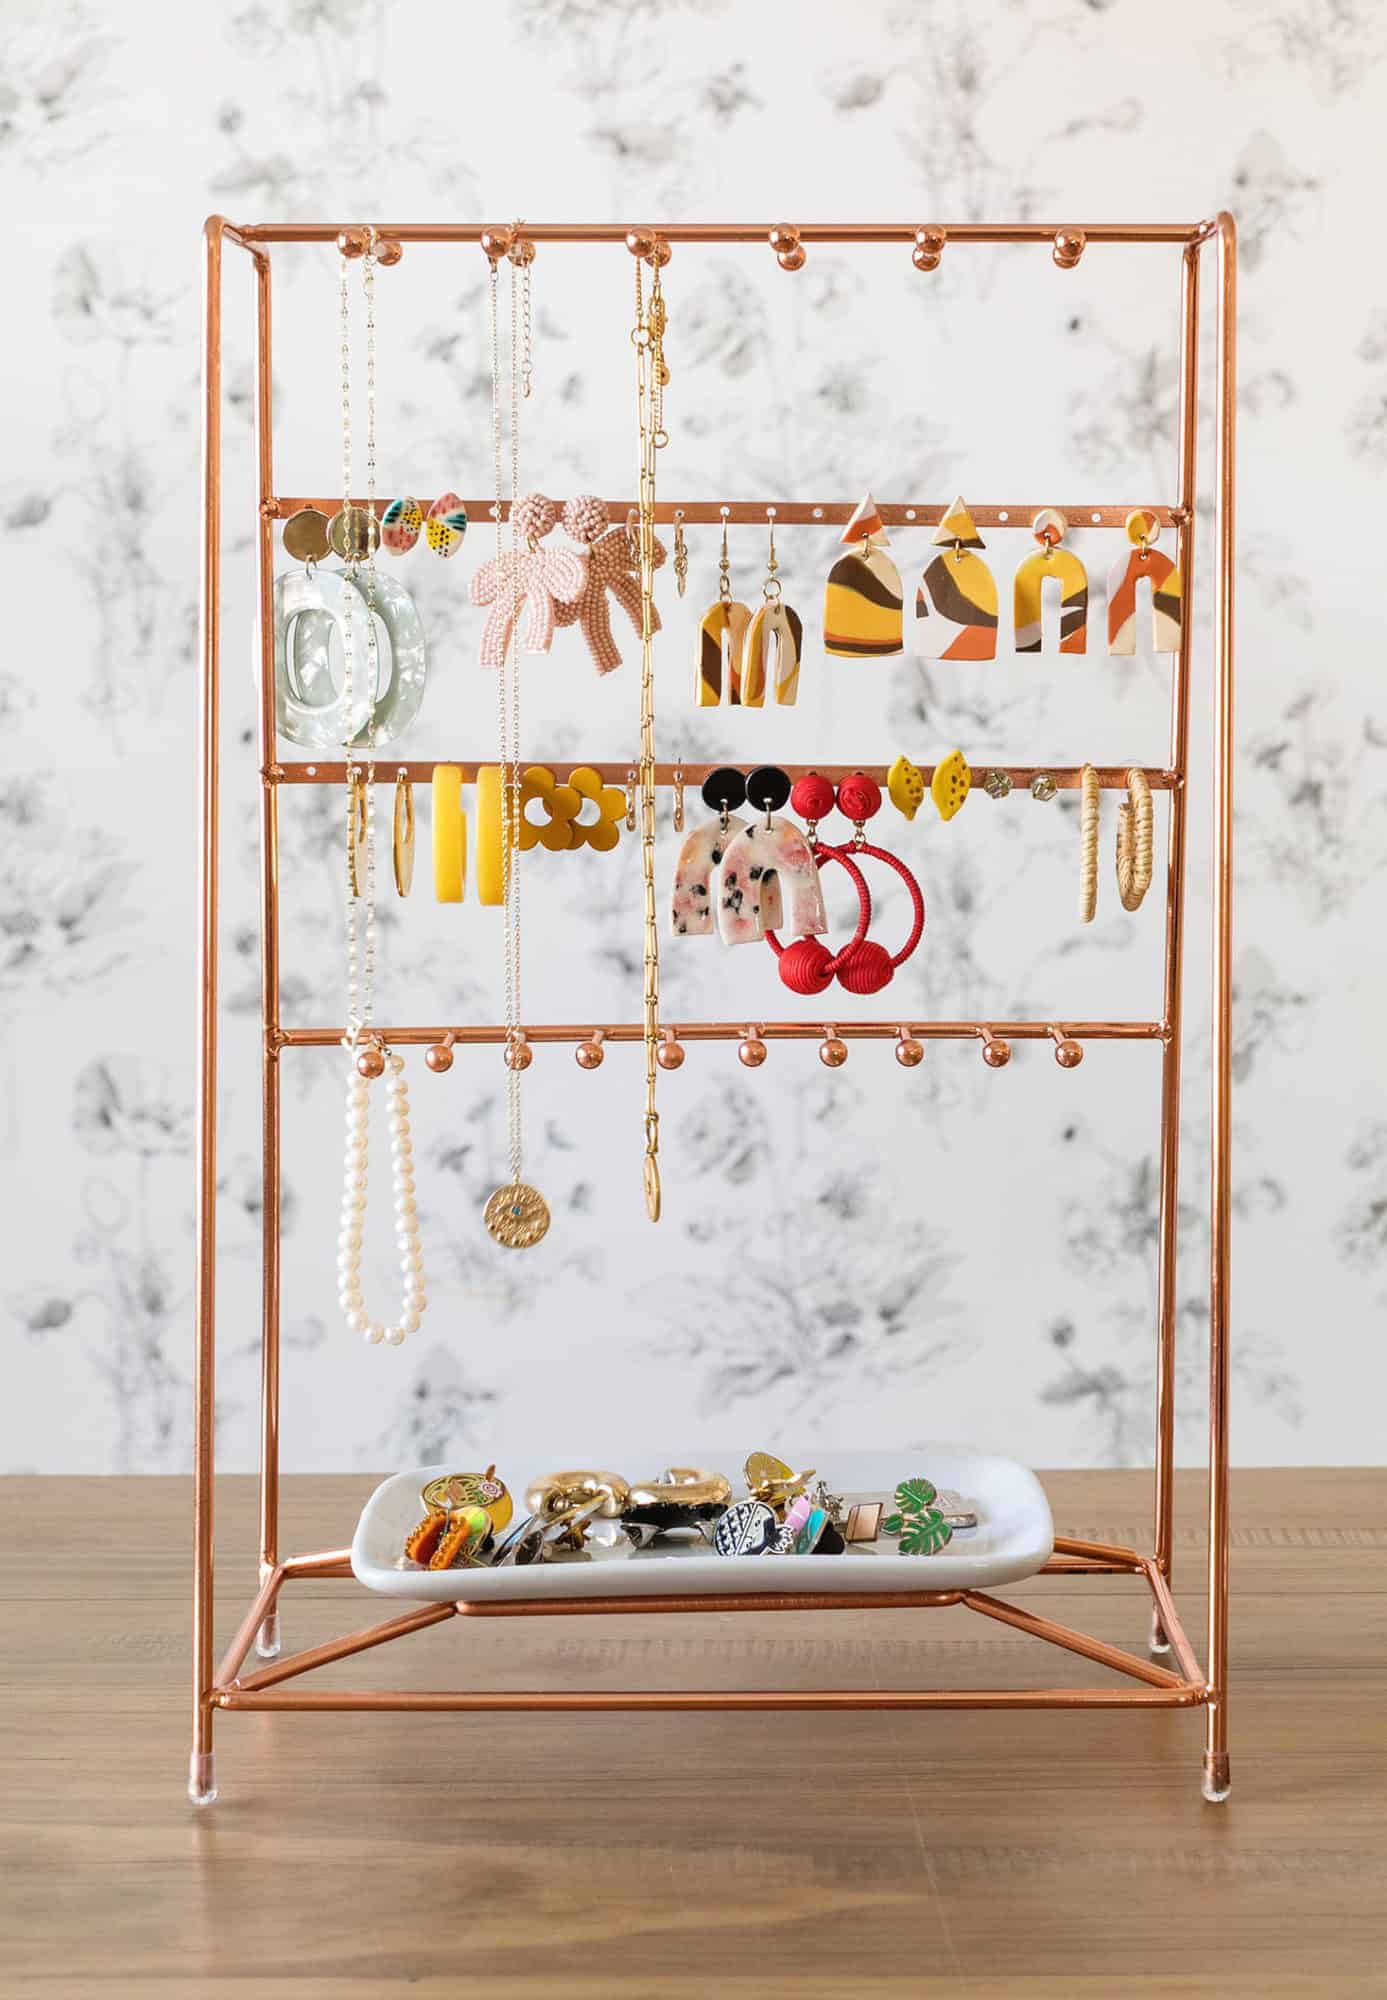
Love this craft — and I REALLY love the earring display rack used in the photos. Could you possibly share the source for this? Thank you!
Here’s the link! https://rstyle.me/+_hjGg5YXPf0ccHH2llN8zA 🙂