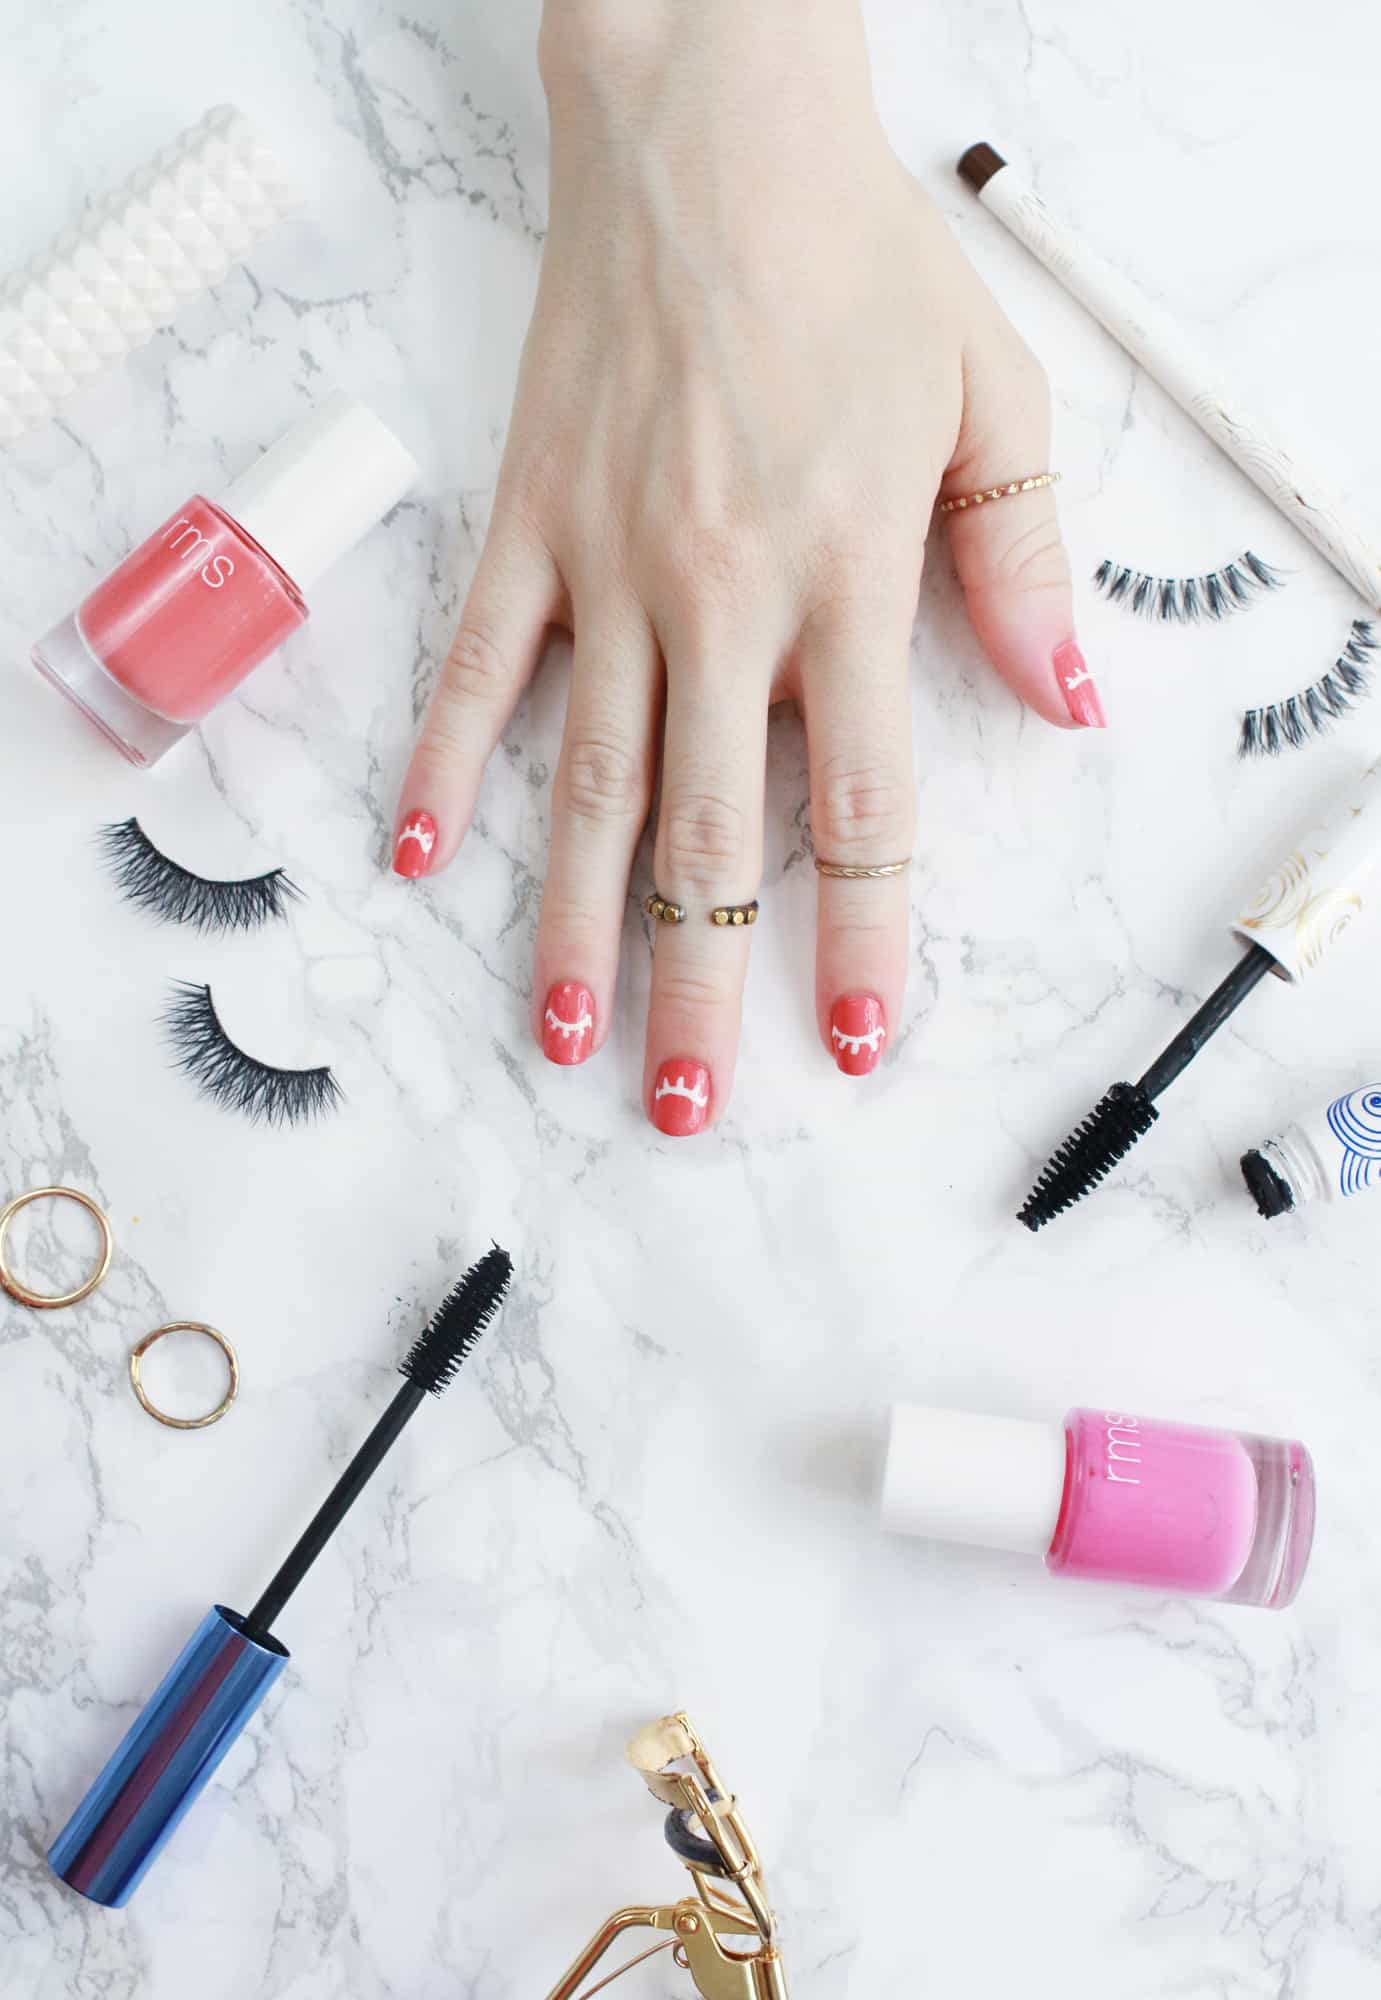
If you’re a newbie to nail art or you’re just looking for an easy upgrade from your normal mani routine, this DIY is 100% for you! I tend to go for a simple at-home mani, usually reaching for my signature orangey-red shade and calling it a night, but lately I’ve rekindled my love for nail art and now enjoy the little bit of “me” time it allows. This DIY is incredibly easy and instantly adds a cute factor to your Monday night mani session. *wink wink*
Supplies:
-your favorite cream polish
-polish remover
-small, stiff makeup brush
–white gel pen
-base coat and top coat
Step One: Apply a base coat to protect your nails from staining and then use your favorite cream polish and apply two coats to your nails. Since we are using a white gel pen, I love combining a nude or peachy-pink with this DIY.
It makes the white pop in a subtle way and still gives you minimalistic vibes. I’ve been trying out the RMS polishes lately, and I love them! I picked the color Smile for this tutorial. Be sure to let your polish completely dry before the next step.
Step Two: Time to grab that gel pen! When creating this DIY, I wanted to think of a simple solution that would make adding art to your nails easy. I tried out a few different methods, and then discovered how wonderful gel pens work.
I’ve linked the exact one I used in the supply list above, and it worked beautifully, giving you a lot more control over your nail art. To get the ink going, make sure you scribble a little on a piece of paper, and then draw out your lash design on your nails.
If you notice the ink not flowing well, scribble on the paper again to maintain a good ink flow on your nails. I drew alternating half circles on each fingernail and then added a few sparse lashes for a cute wink mani. You can easily just do a few accent nails too!
Step Three: Use your polish remover and a small, stiff makeup brush to clean up any polish or ink that’s out of place. Be sure to clean up around your cuticles too. This leaves your at-home mani looking extra professional.
Step Four: Don’t skip this step!! Apply a top coat over your entire nail. This will be the difference between your nail art lasting barely a day to it lasting nearly a week!
I tried both ways and found that using a top coat is really the secret to making the gel pen stay put and keeping your mani from chipping too soon, it also smoothes out the entire look and adds the right shine to make everything come together beautifully.
See! So easy!! Side note, I have a little bit of a thing for matching my lipstick to my polish. 😉
Now I kinda want to buy a pack of multi-colored gel pens and try out a whole bunch of different nail art ideas! There are SO many cute and simple designs you can do using this method. Girl, just don’t forget that top coat! 😉 Lots of love, Sav.
P.S. Here are 10 Easy Nail Art Tutorials (Step-by-Step) if you’re looking for more ideas!
Credits//Author: Savannah Wallace. Photography: Isabel Jones.


This is too cute! I love how easy it is. Leopard patterns are also super-easy to do, too! Nail art is so fun.
Keshia
www.queenlifeblog.com
You are too cute and you actually made this seem achievable. Nail art always seems intimidating – time consuming AND way over my head. But this one is so cute and creative and sassy! Love it, love you. xoxo
Super cute!
I LOVE that color and that it’s a clean nailpolish. Do you have any suggestions for a more natural-based polish remover?
Stunning DIY x
Jessica — WS Community
Adorable!
www.petiteandhungry.com
So so cute! And it actually looks doable! I’m usually not too good at the home manicures, but I wanna give this one a try!
Happy Monday!
XOXO,
Cortney
A Whimsy Wonderland
won’t smudge and no hairspray necessary? does it work like a sharpie then?
Okay. This is a whole new level of adorable!
http://annescribblesanddoodles.blogspot.com
It looks funny and perfect for summer. And the coral nail polish is awesome!
It looks really adorable 🙂
Love the coral color and how fun it looks! could you please let me know where your ring is from?
Lena – http://zoyaandme.com/
Never knew that gel pens worked so wonderfully on nails, I have to try this!
https://www.makeandmess.com/